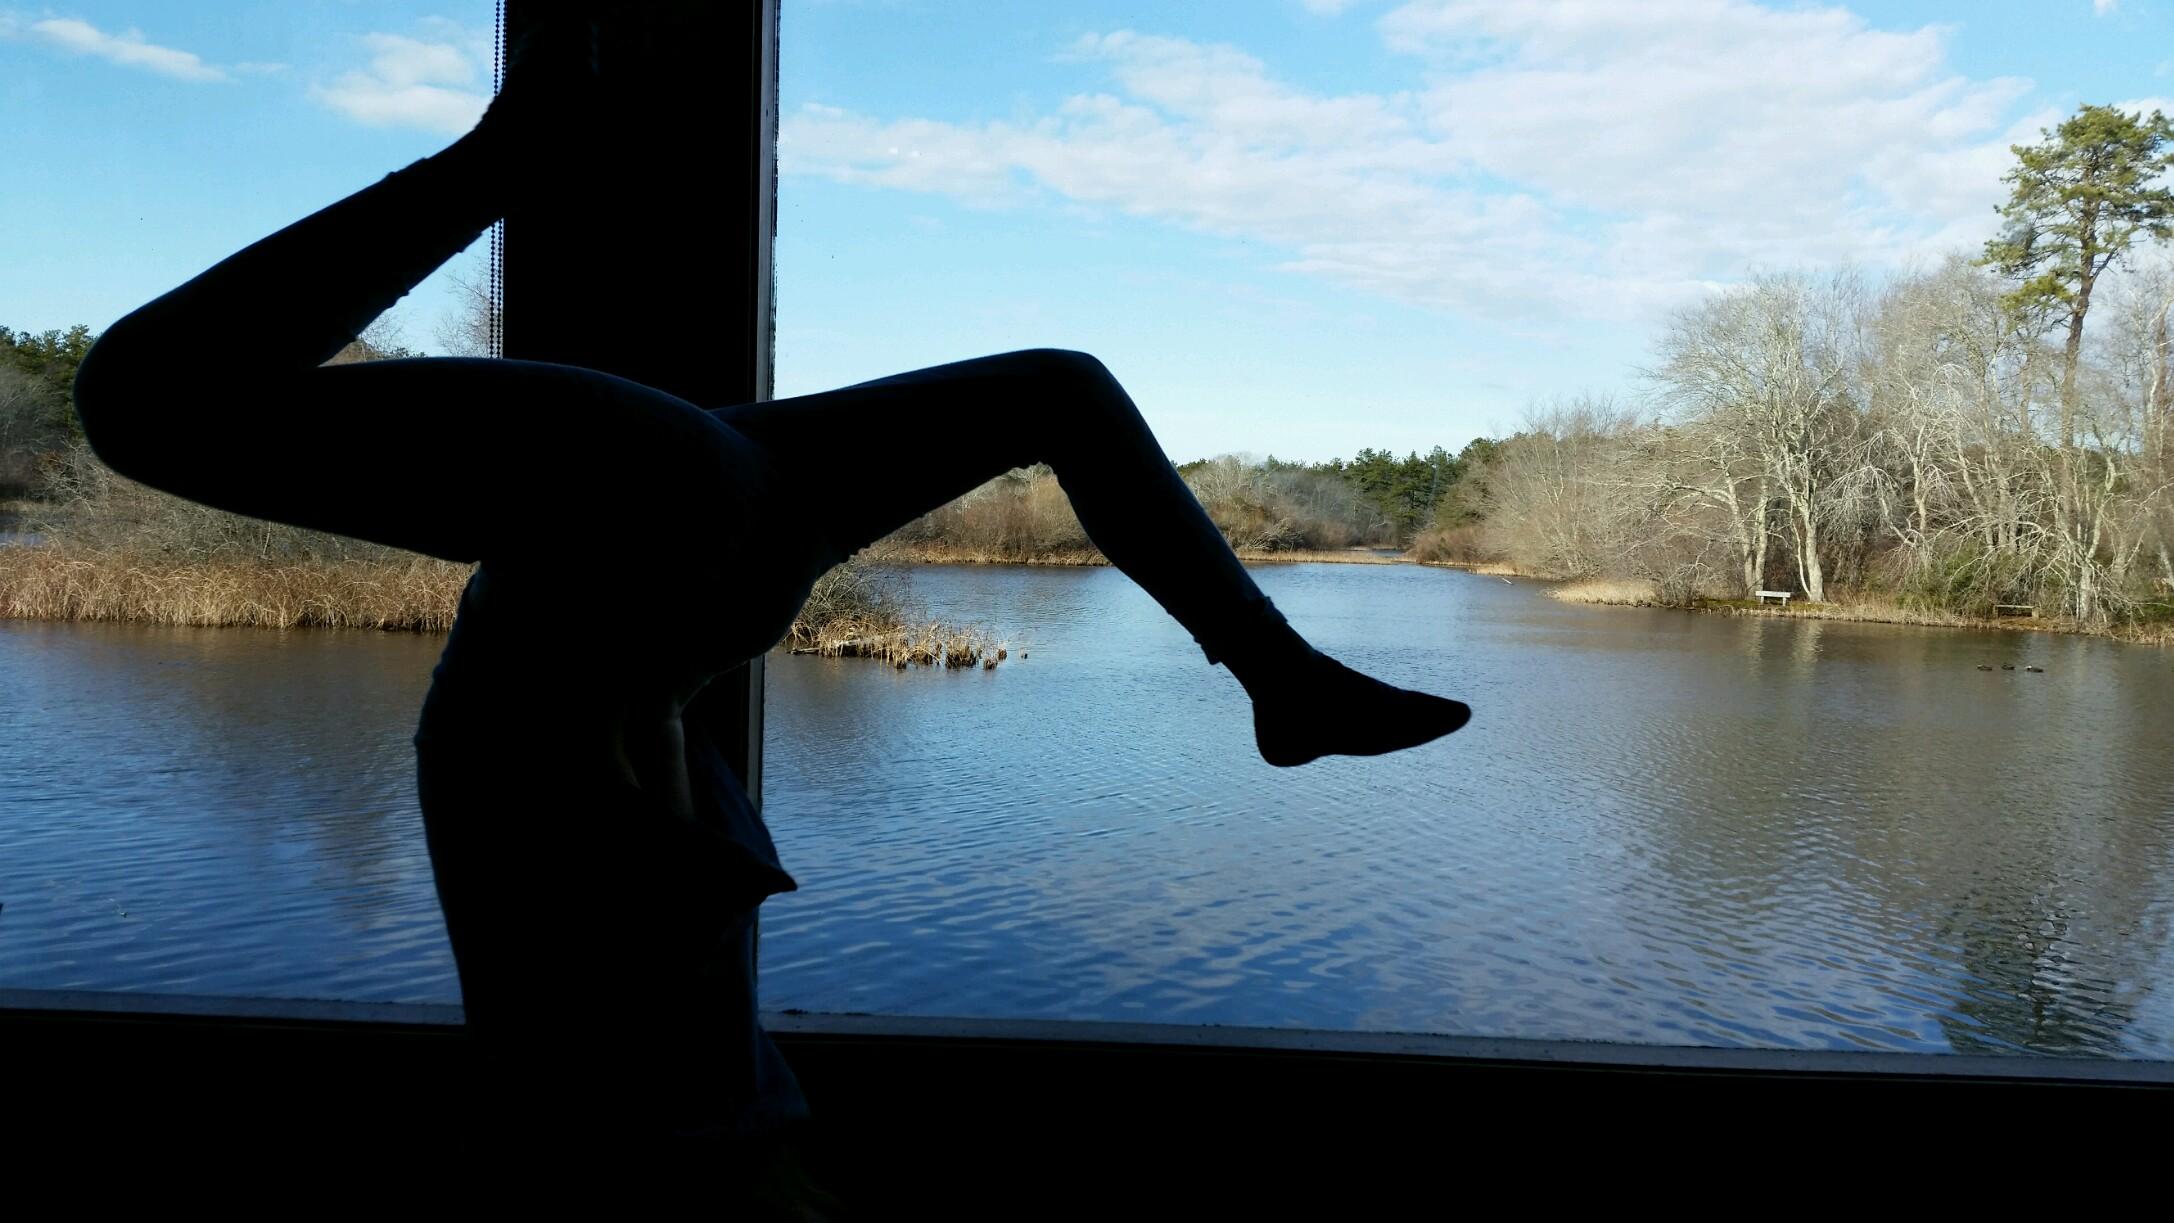
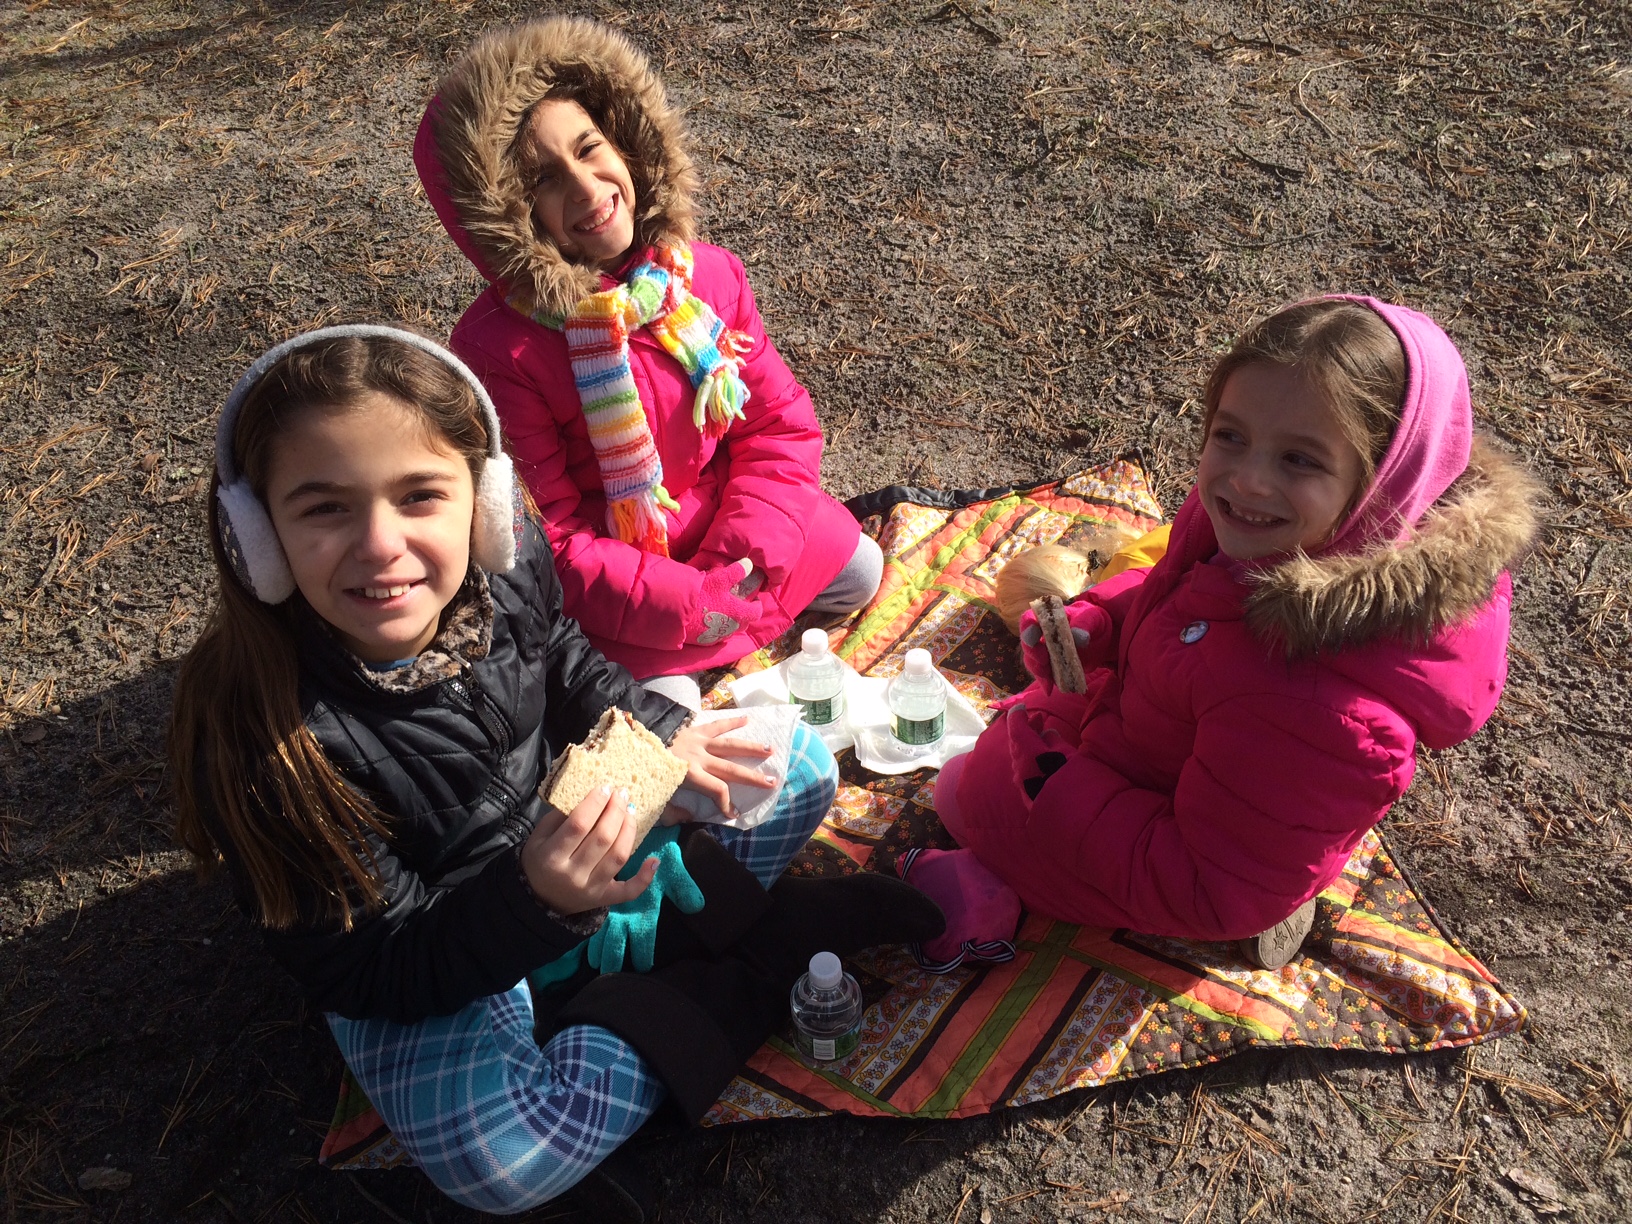
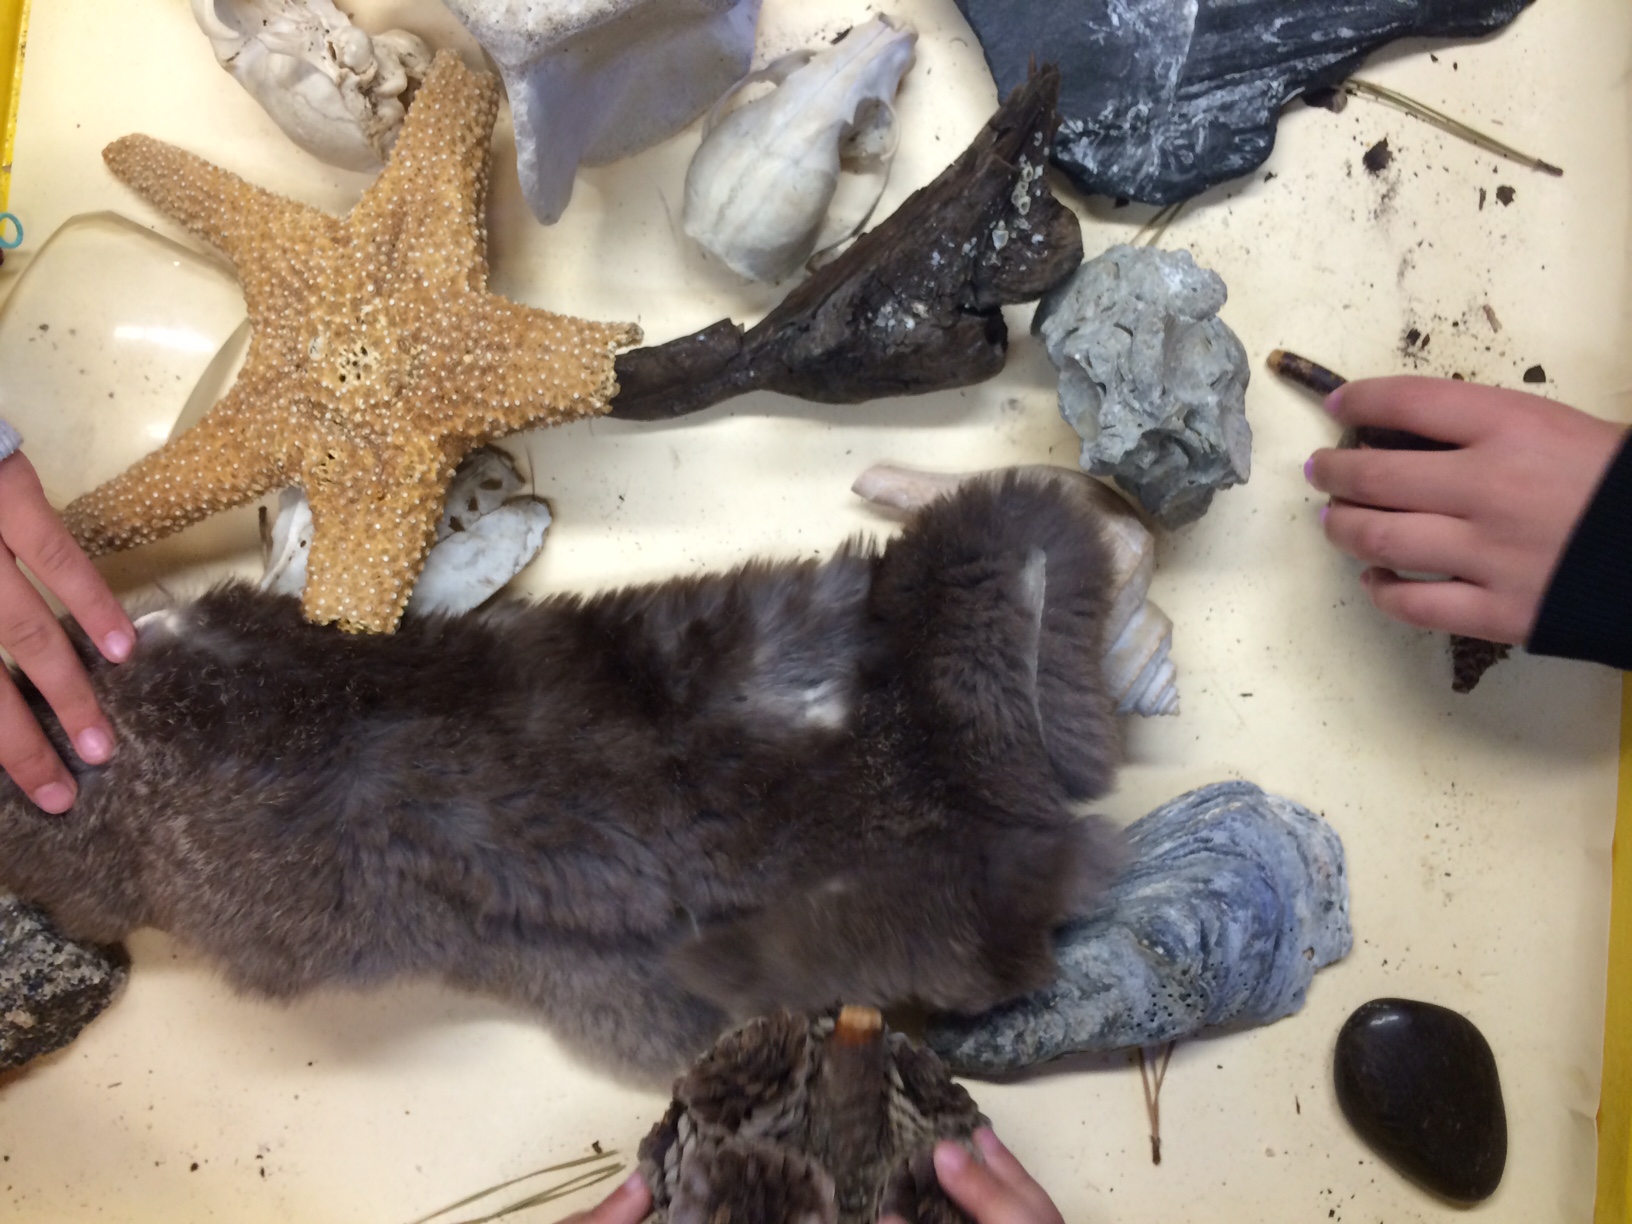
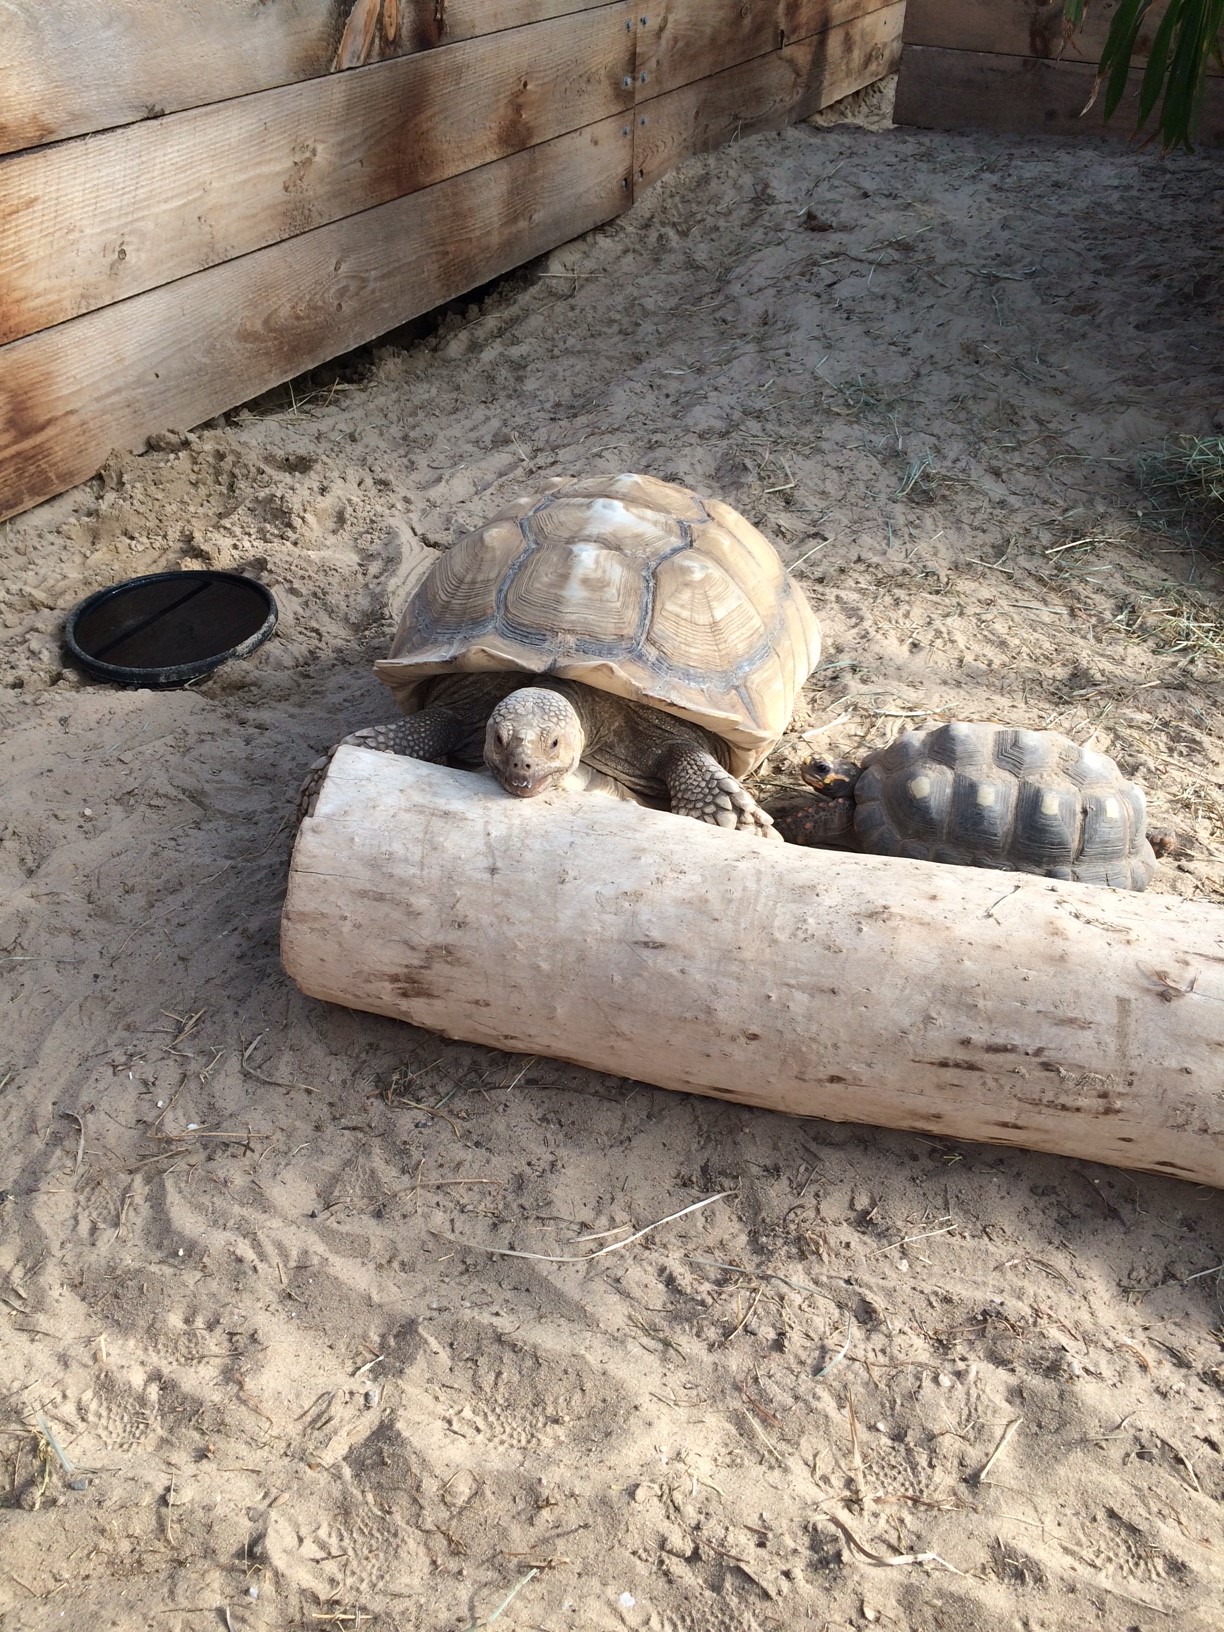
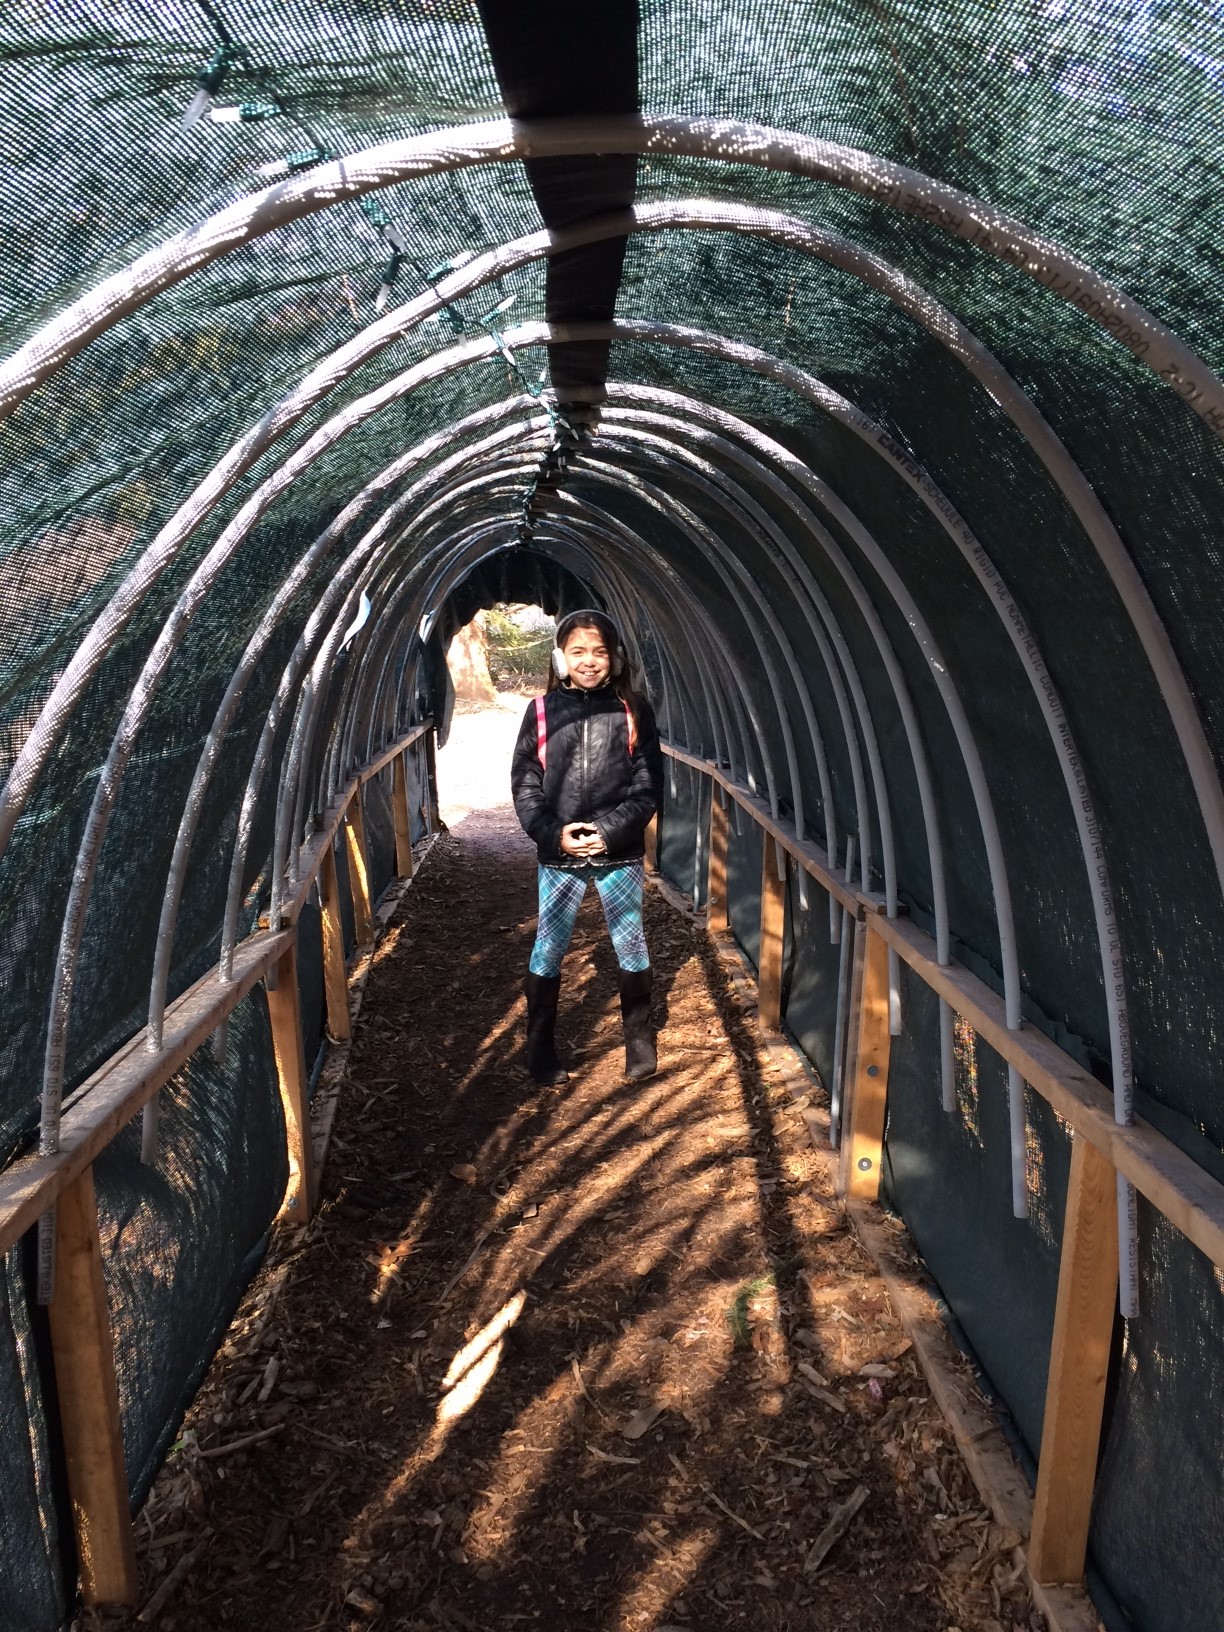
 Winter, spring, summer or fall the Quogue Wildlife Refuge is a perfect place for a family hike. We discovered it several years ago from a book titled “Discover Long Island”, by (put authors name here). My husband purchased it when our oldest child was born so we could discover new places with her. The book has been so helpful for planning special day trips right here on Long Island, and over the years we’ve discovered some family favorites (The Quogue Refuge definitely being one of them). Its 305-acre preserve has seven miles of trails that we’ve enjoyed on beautiful winters days as well as a budding spring afternoons. We never tire of this place and it’s free! There is so much to discover here, from the outdoor wildlife complex that is the home of several injured birds, owls, foxes, bobcat, and tortoises that the refuge has rescued, to its indoor nature center, where you can discover a variety of reptiles, freshwater turtles, large insects, Chinchillas and mush more. Inside the nature center there is a spacious room filled with books, a table filled with animal artifacts, and a relaxing seating area with a beautiful view of the pond and surrounding woods. It’s the perfect place to pack a lunch (picnic tables out front) and spend a morning or afternoon.
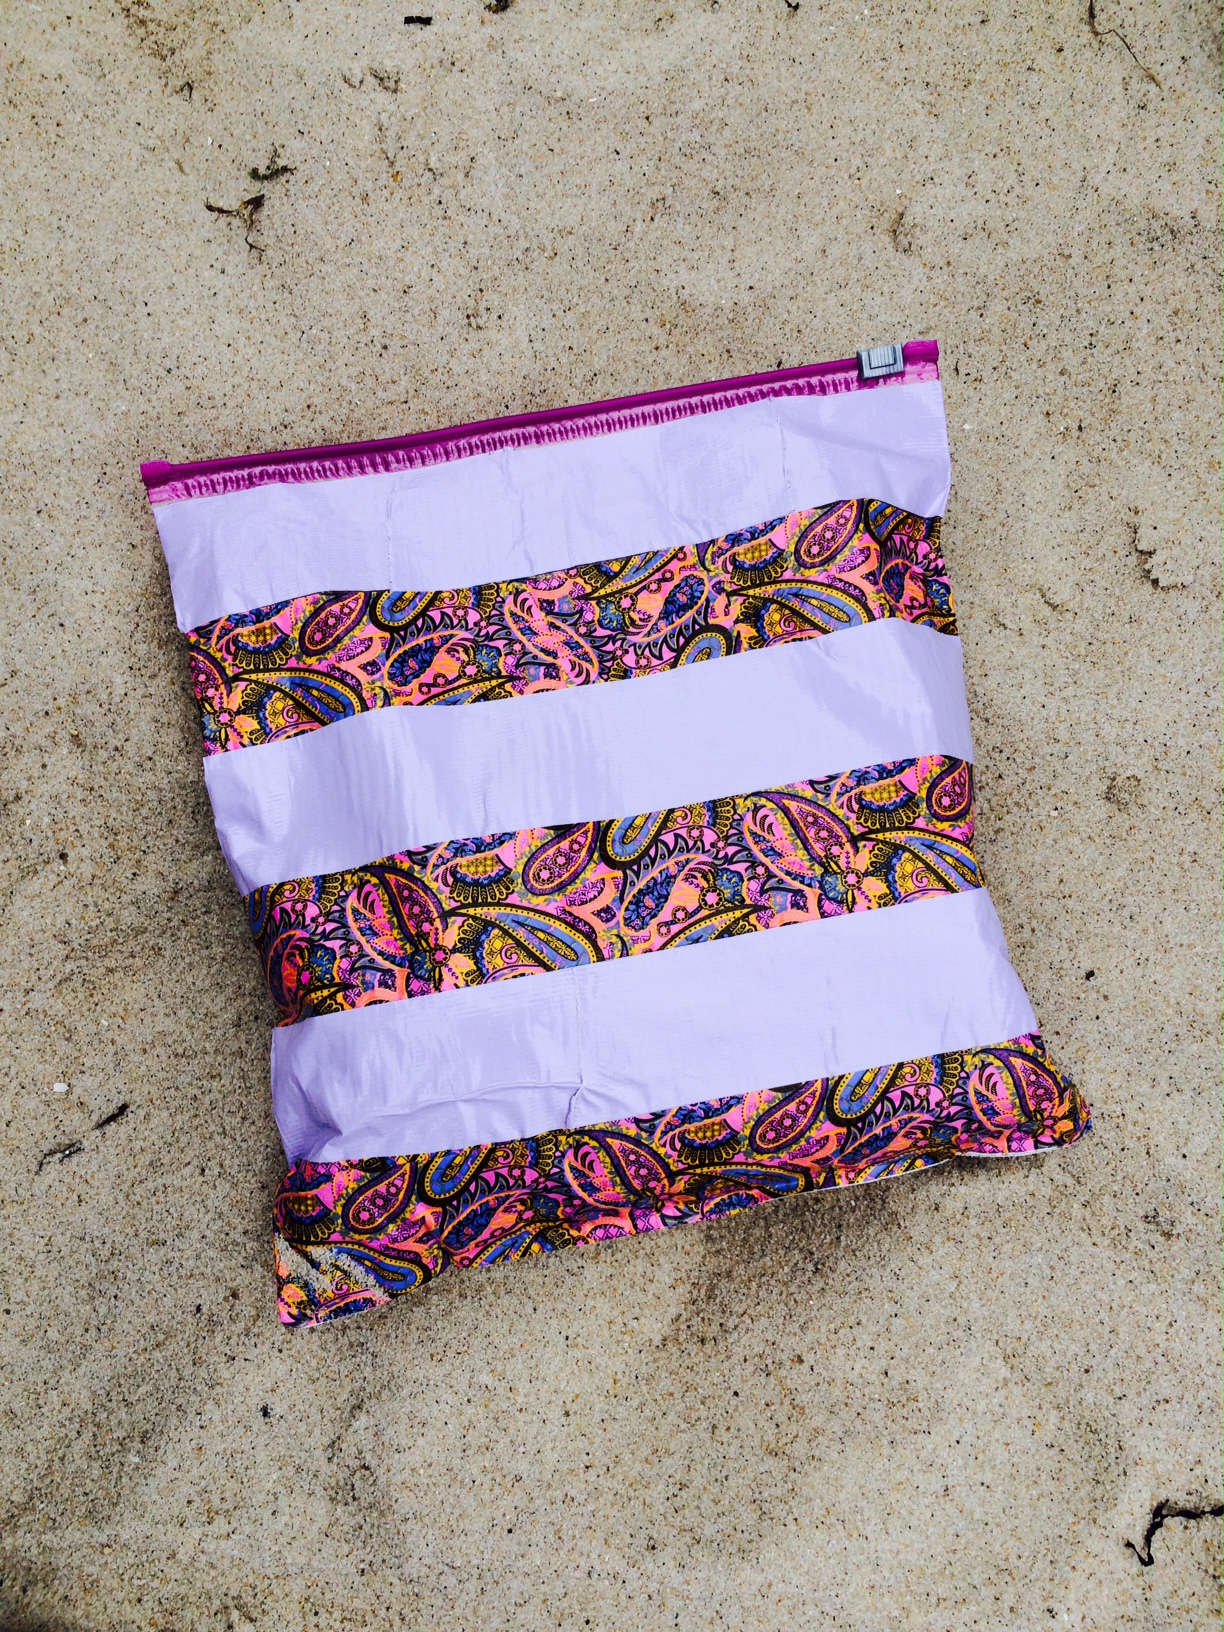
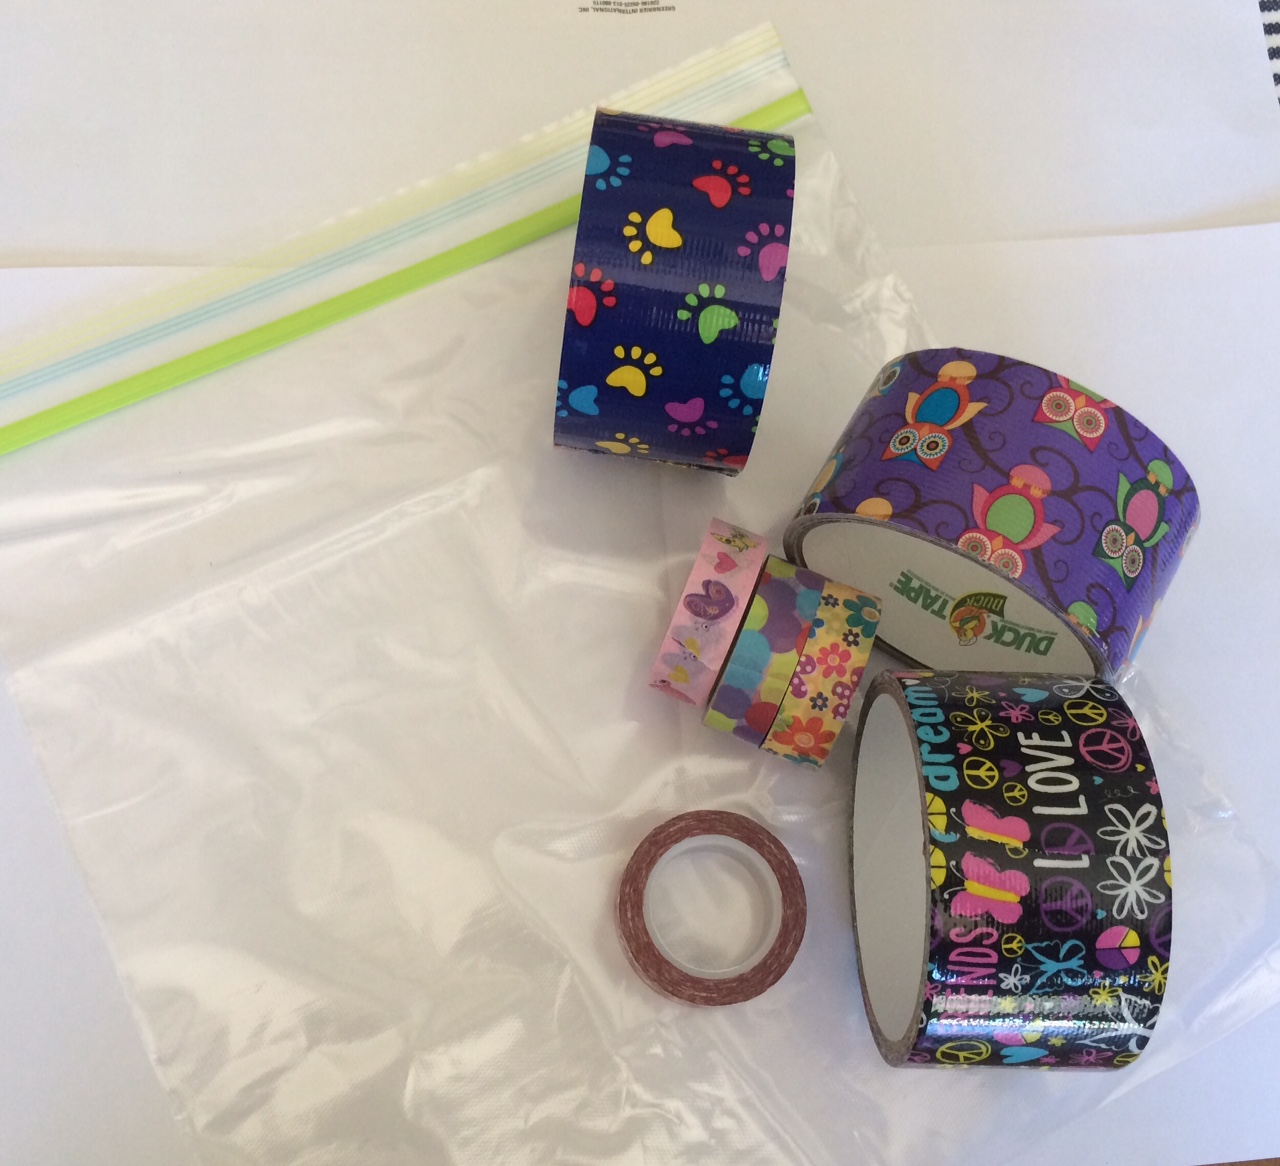
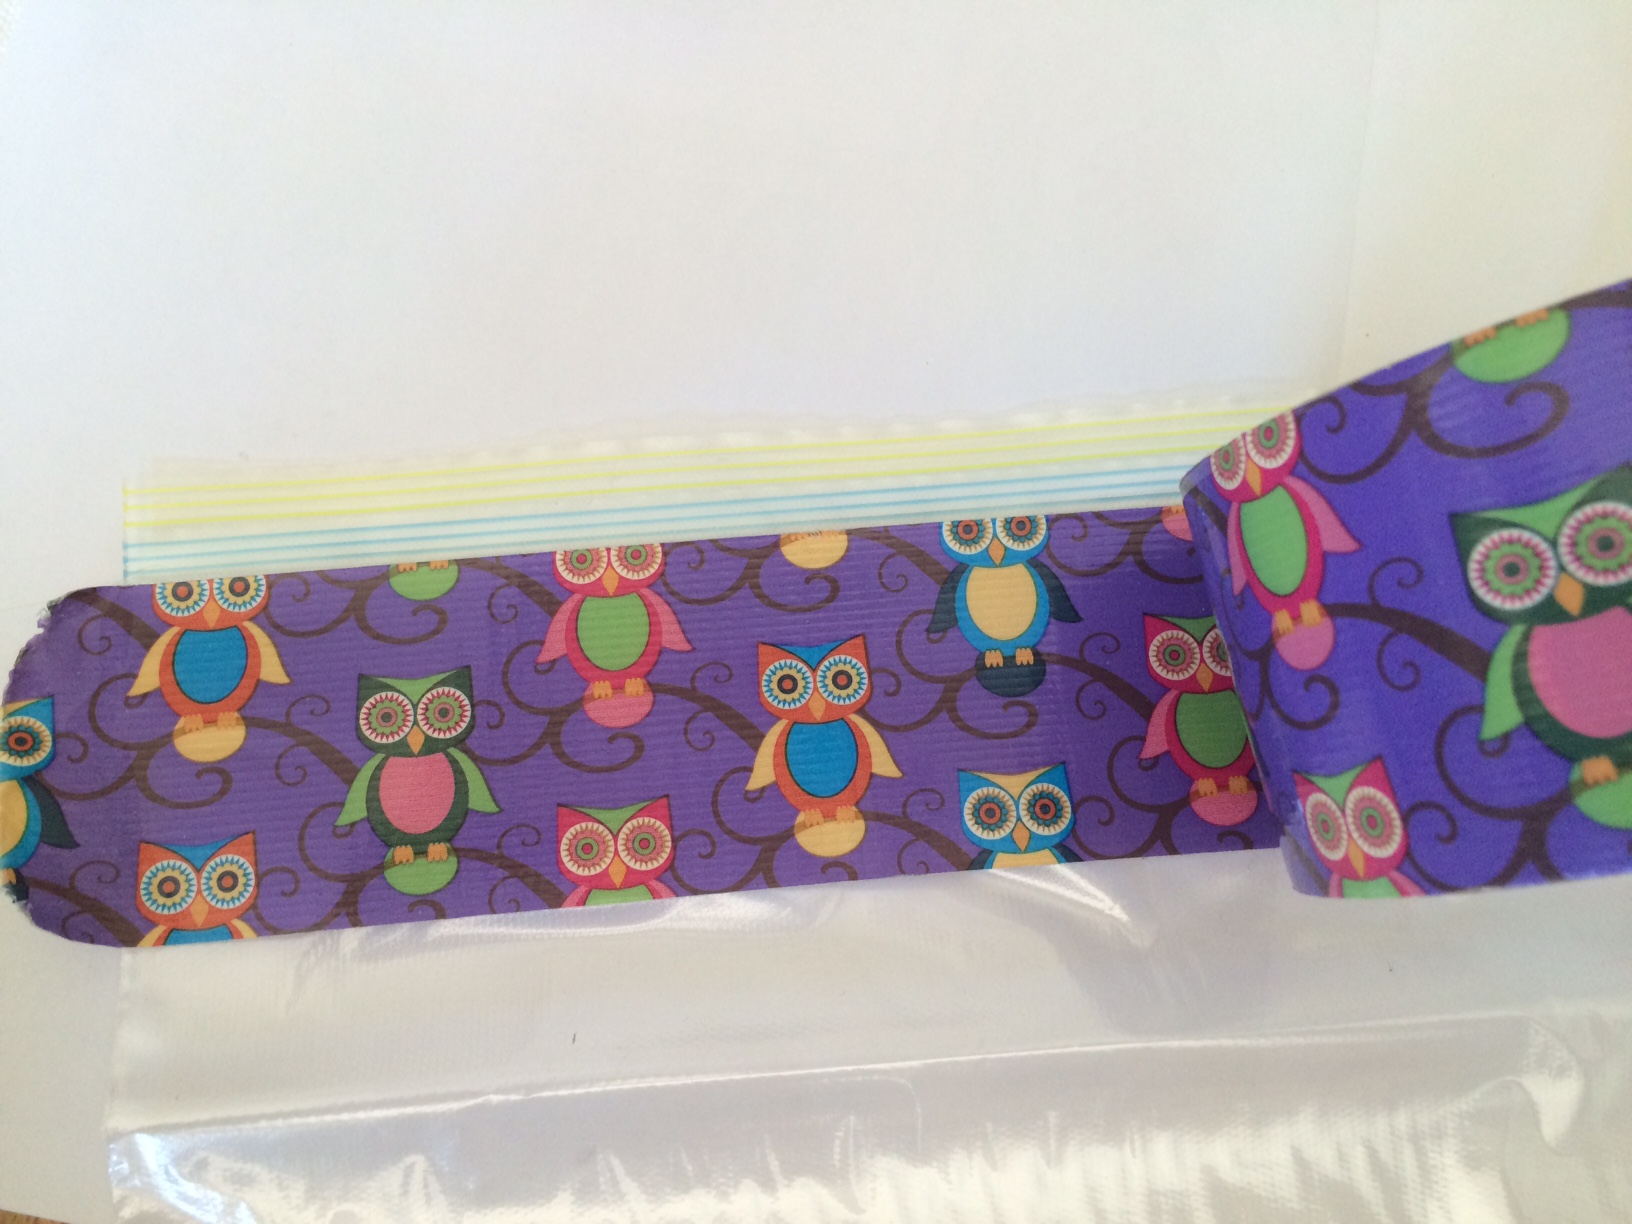
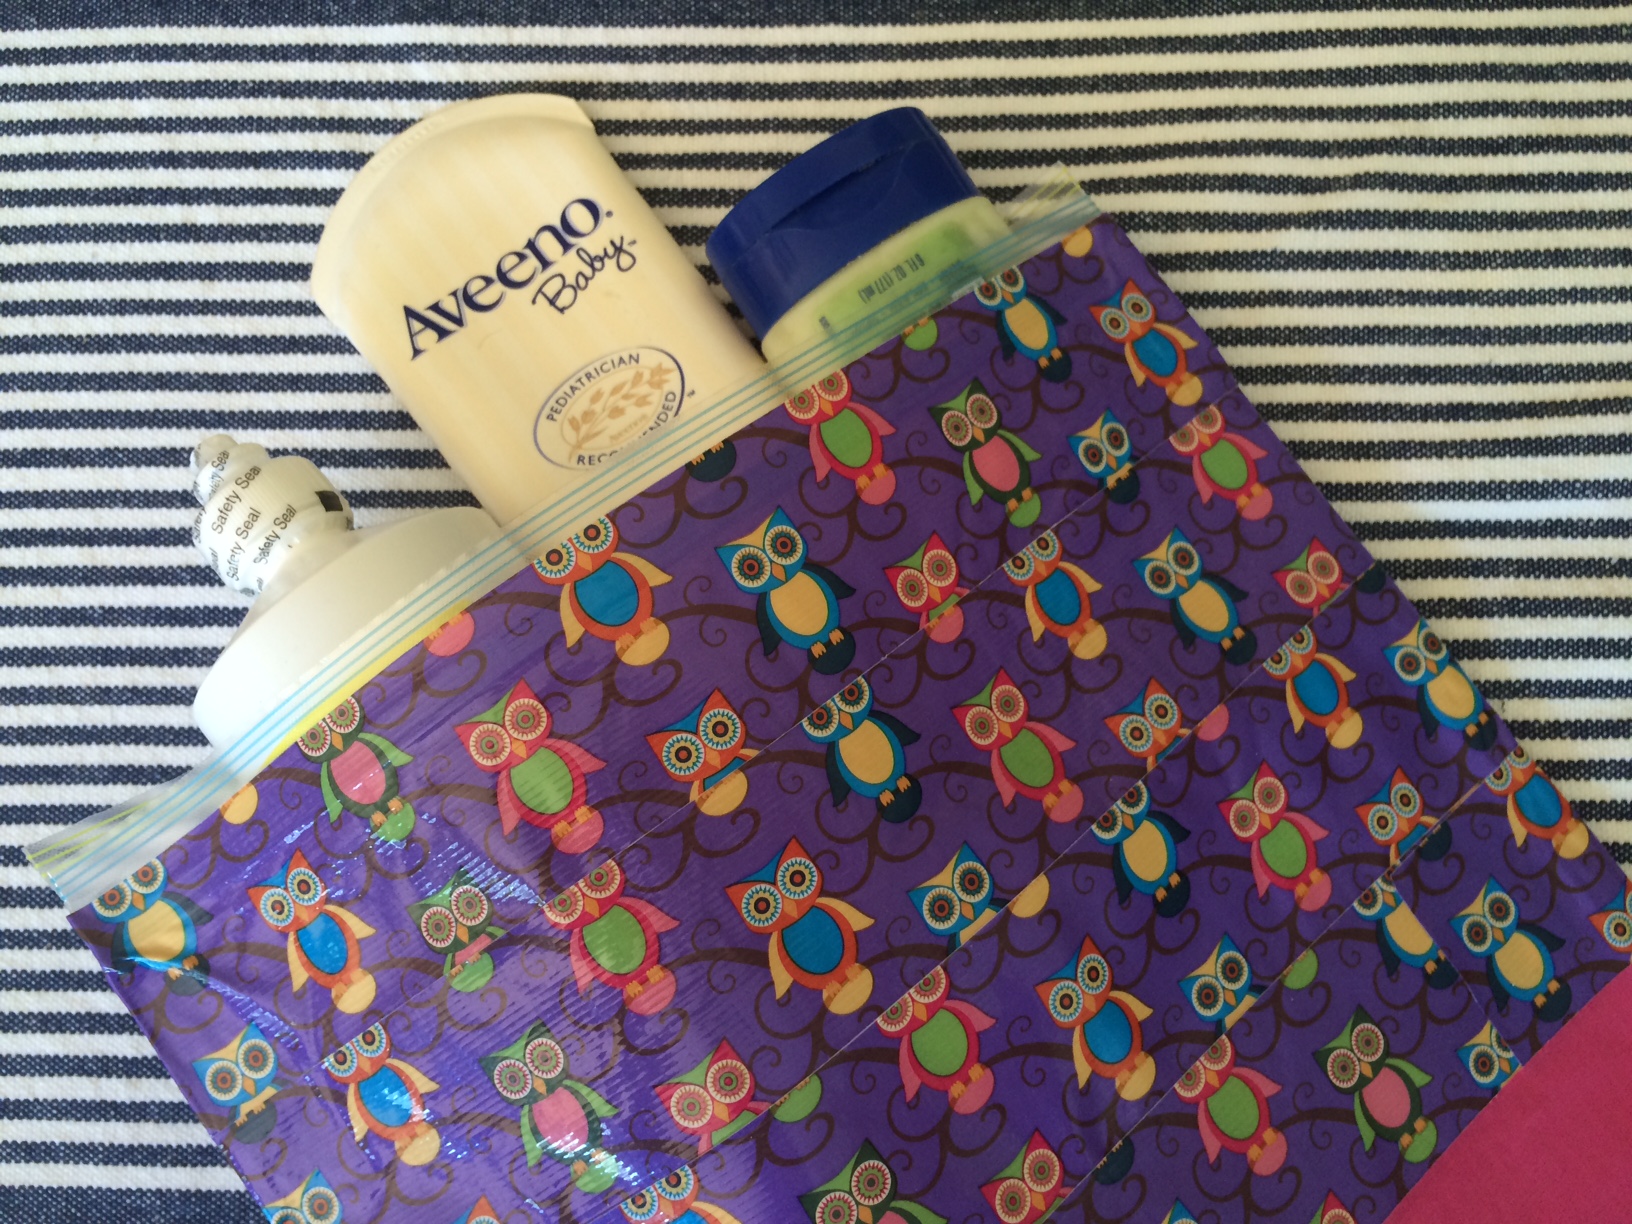
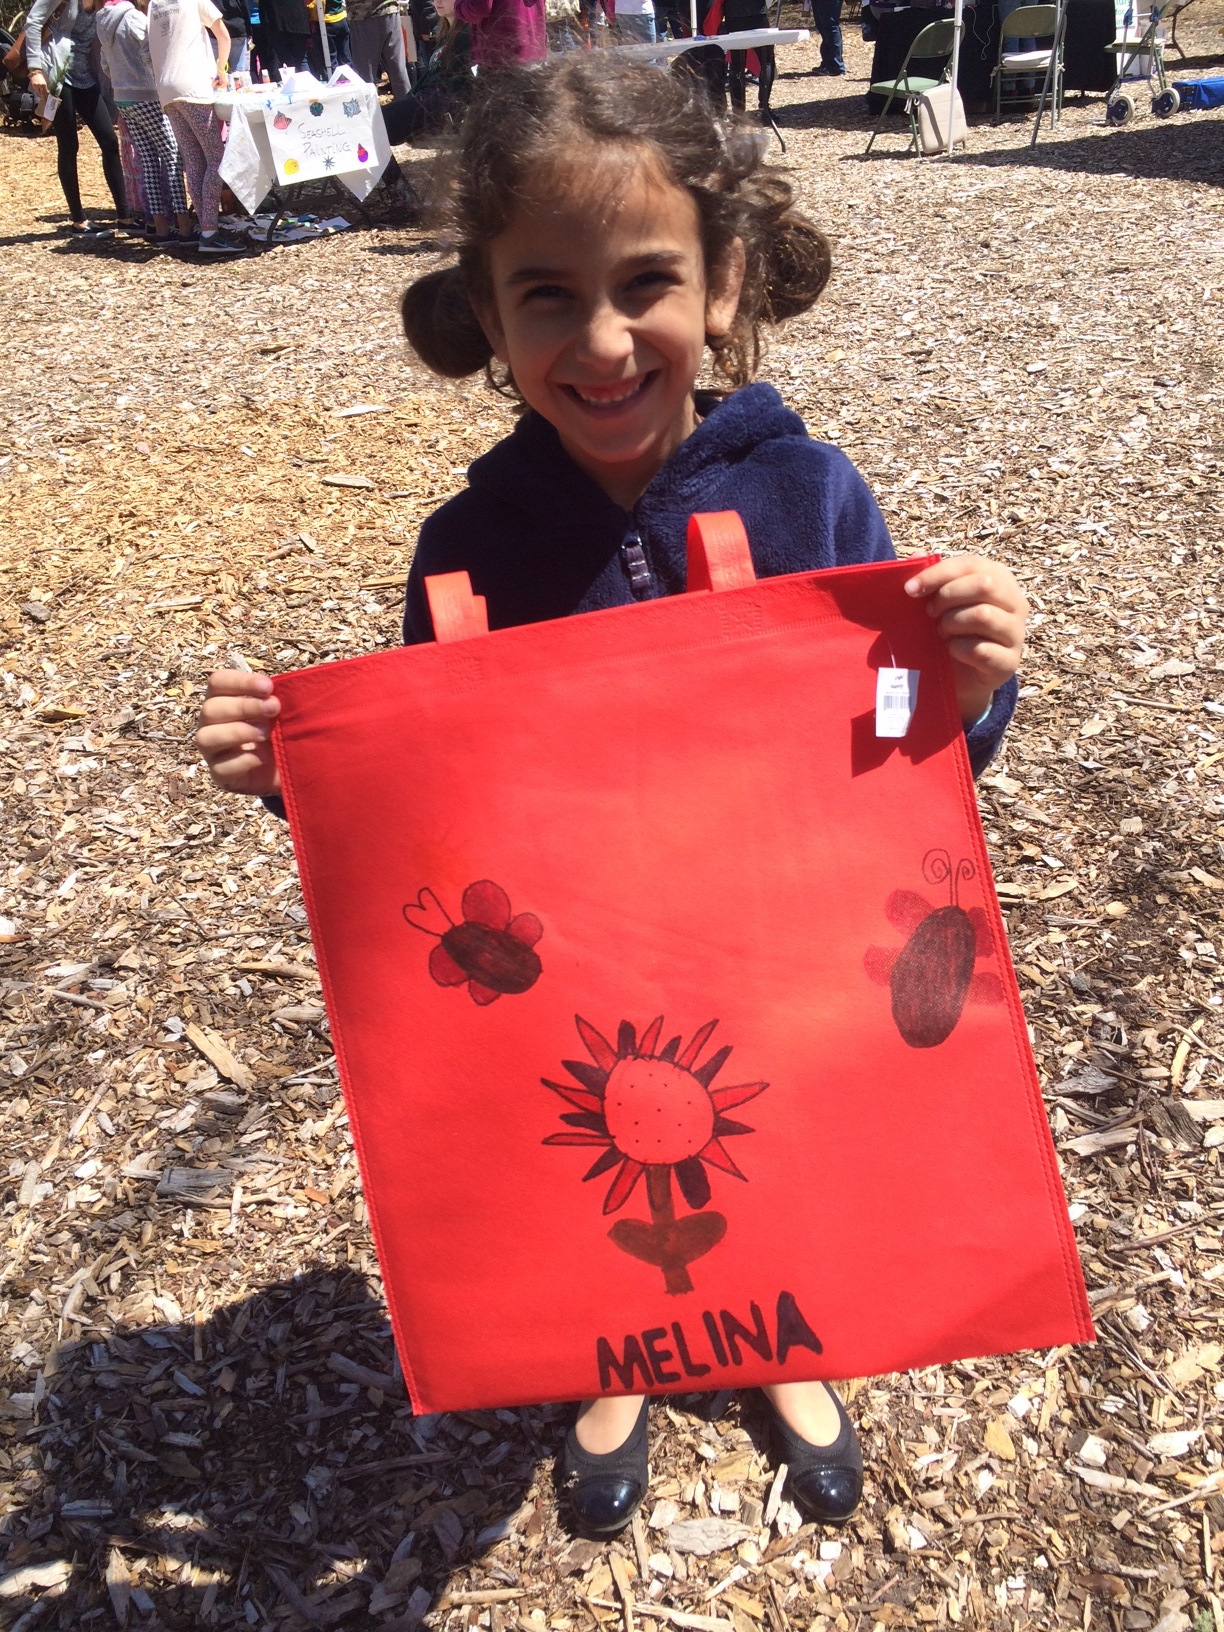
They also host a beautiful Earth Day celebration every year that we’ve faithfully attended several years running. Definitely a lot of fun! This year the kids all got a free bag to decorate and Dragonfly Landscape Design gave a free Norway Spruce to everyone who attended! We’ve since planted a few that we received and gave the rest to family members!
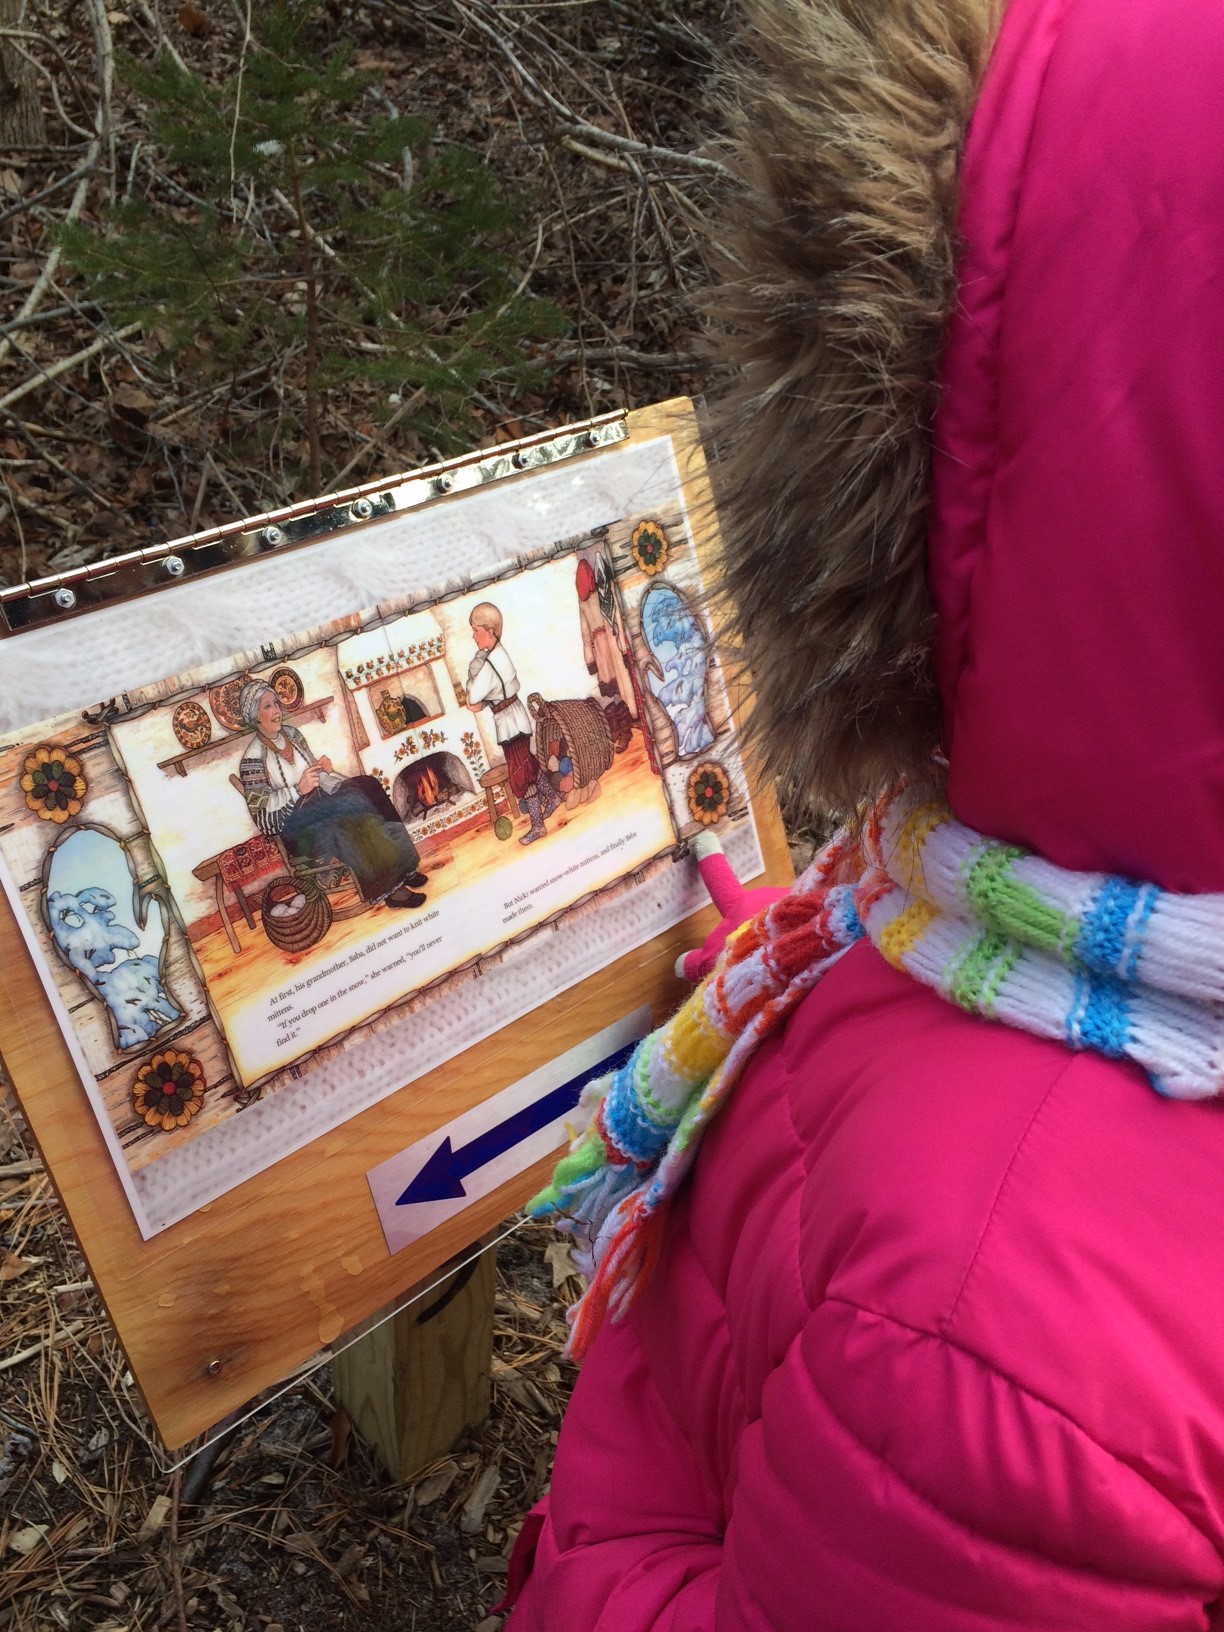
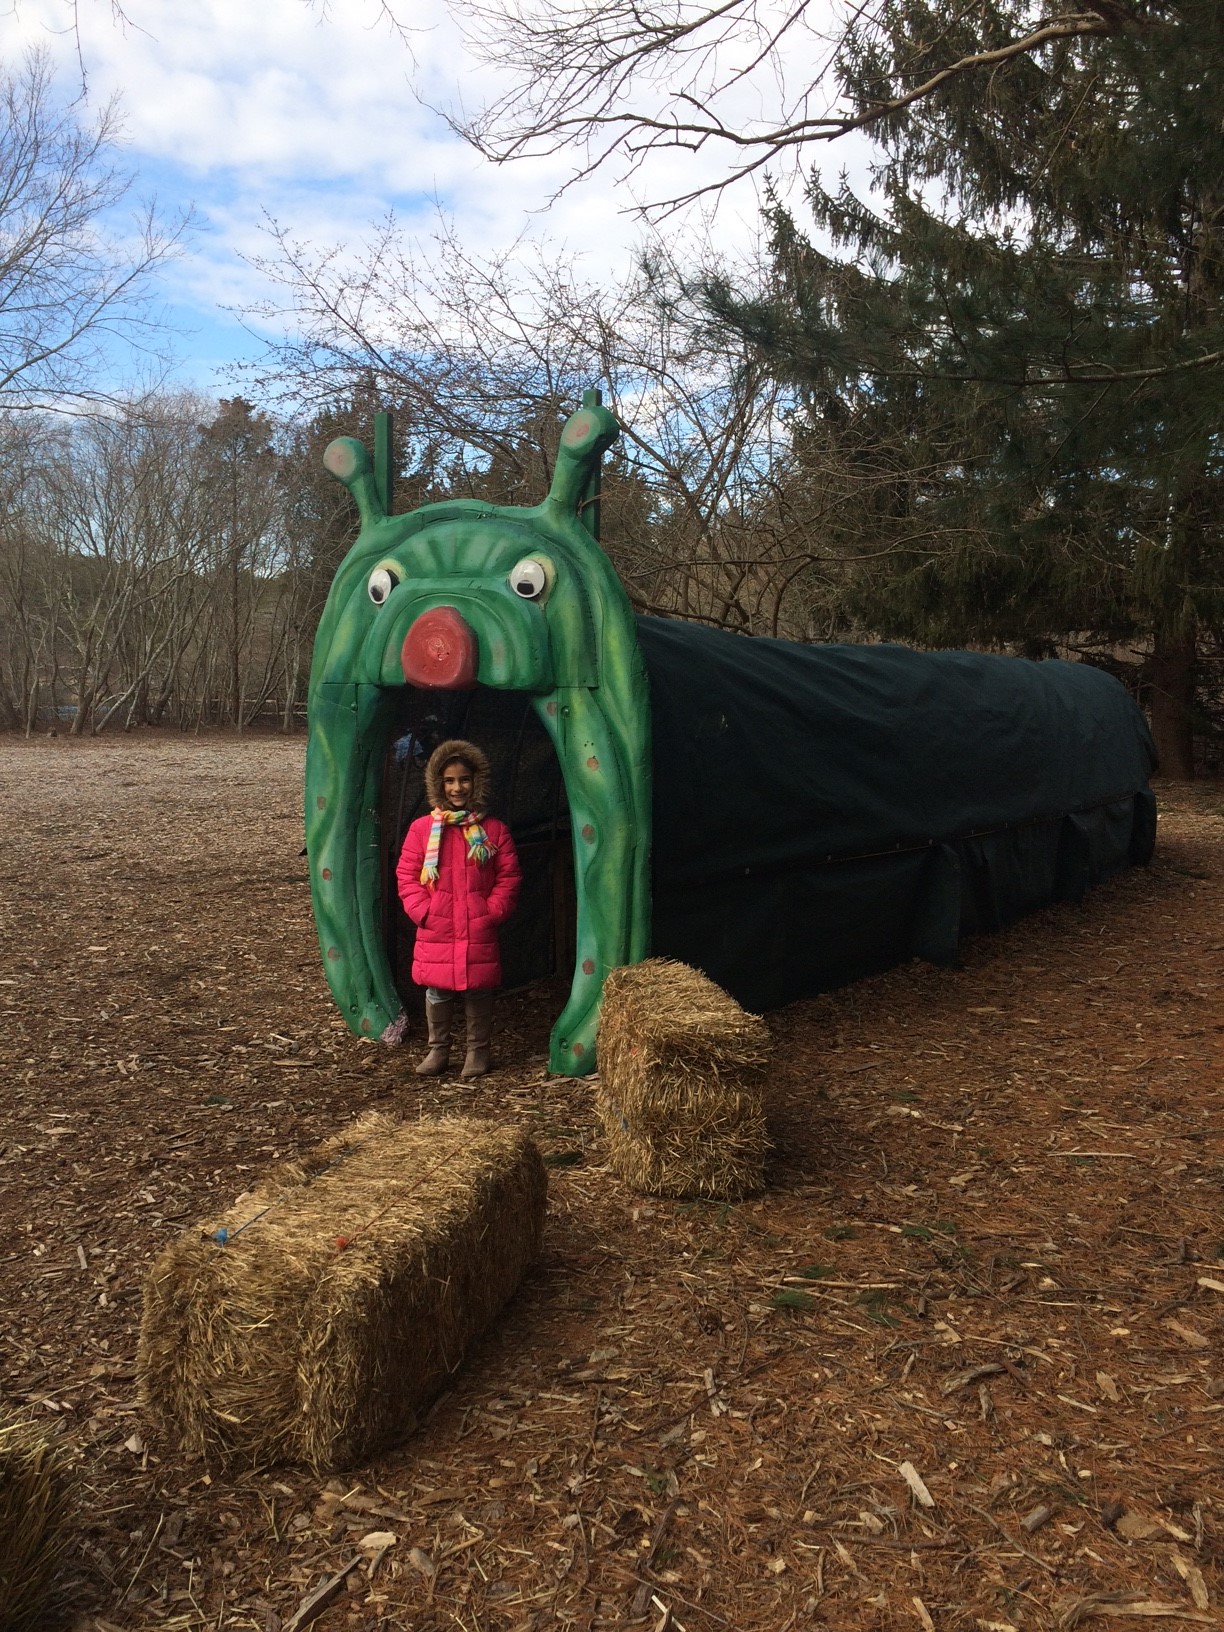
This past weekend we returned for a quiet winter walk and discovered that they added a “story book read along” to one of the trails (absolutely brilliant). The story was the well-known book “The Mitten”, written by Jan Brett. Each page was cleverly mounted into a Plexiglas case and spaced a couple hundred feet apart with arrows directing you along the path. Our kids were literally running from one to the next to be the first one there to read the next page. Their excitement and energy was a testament to how wonderful an idea this story book walk is, and the cases make it easy for the Refuge to replace the pages with the another book every couple weeks.


 Simply stated: This place is so much fun and you’ll find it hard to leave! I’m sure my children will take their kids here someday!
Find out more at quoguewildliferefuge.org
Schedule: The Refuge trails and Outdoor Wildlife Complex are open every day from sunrise to sunset. The Nature Center is open Tuesdays, Thursdays, Saturdays and Sundays 11 a.m.- 4 p.m.