Hope you find your pot of gold.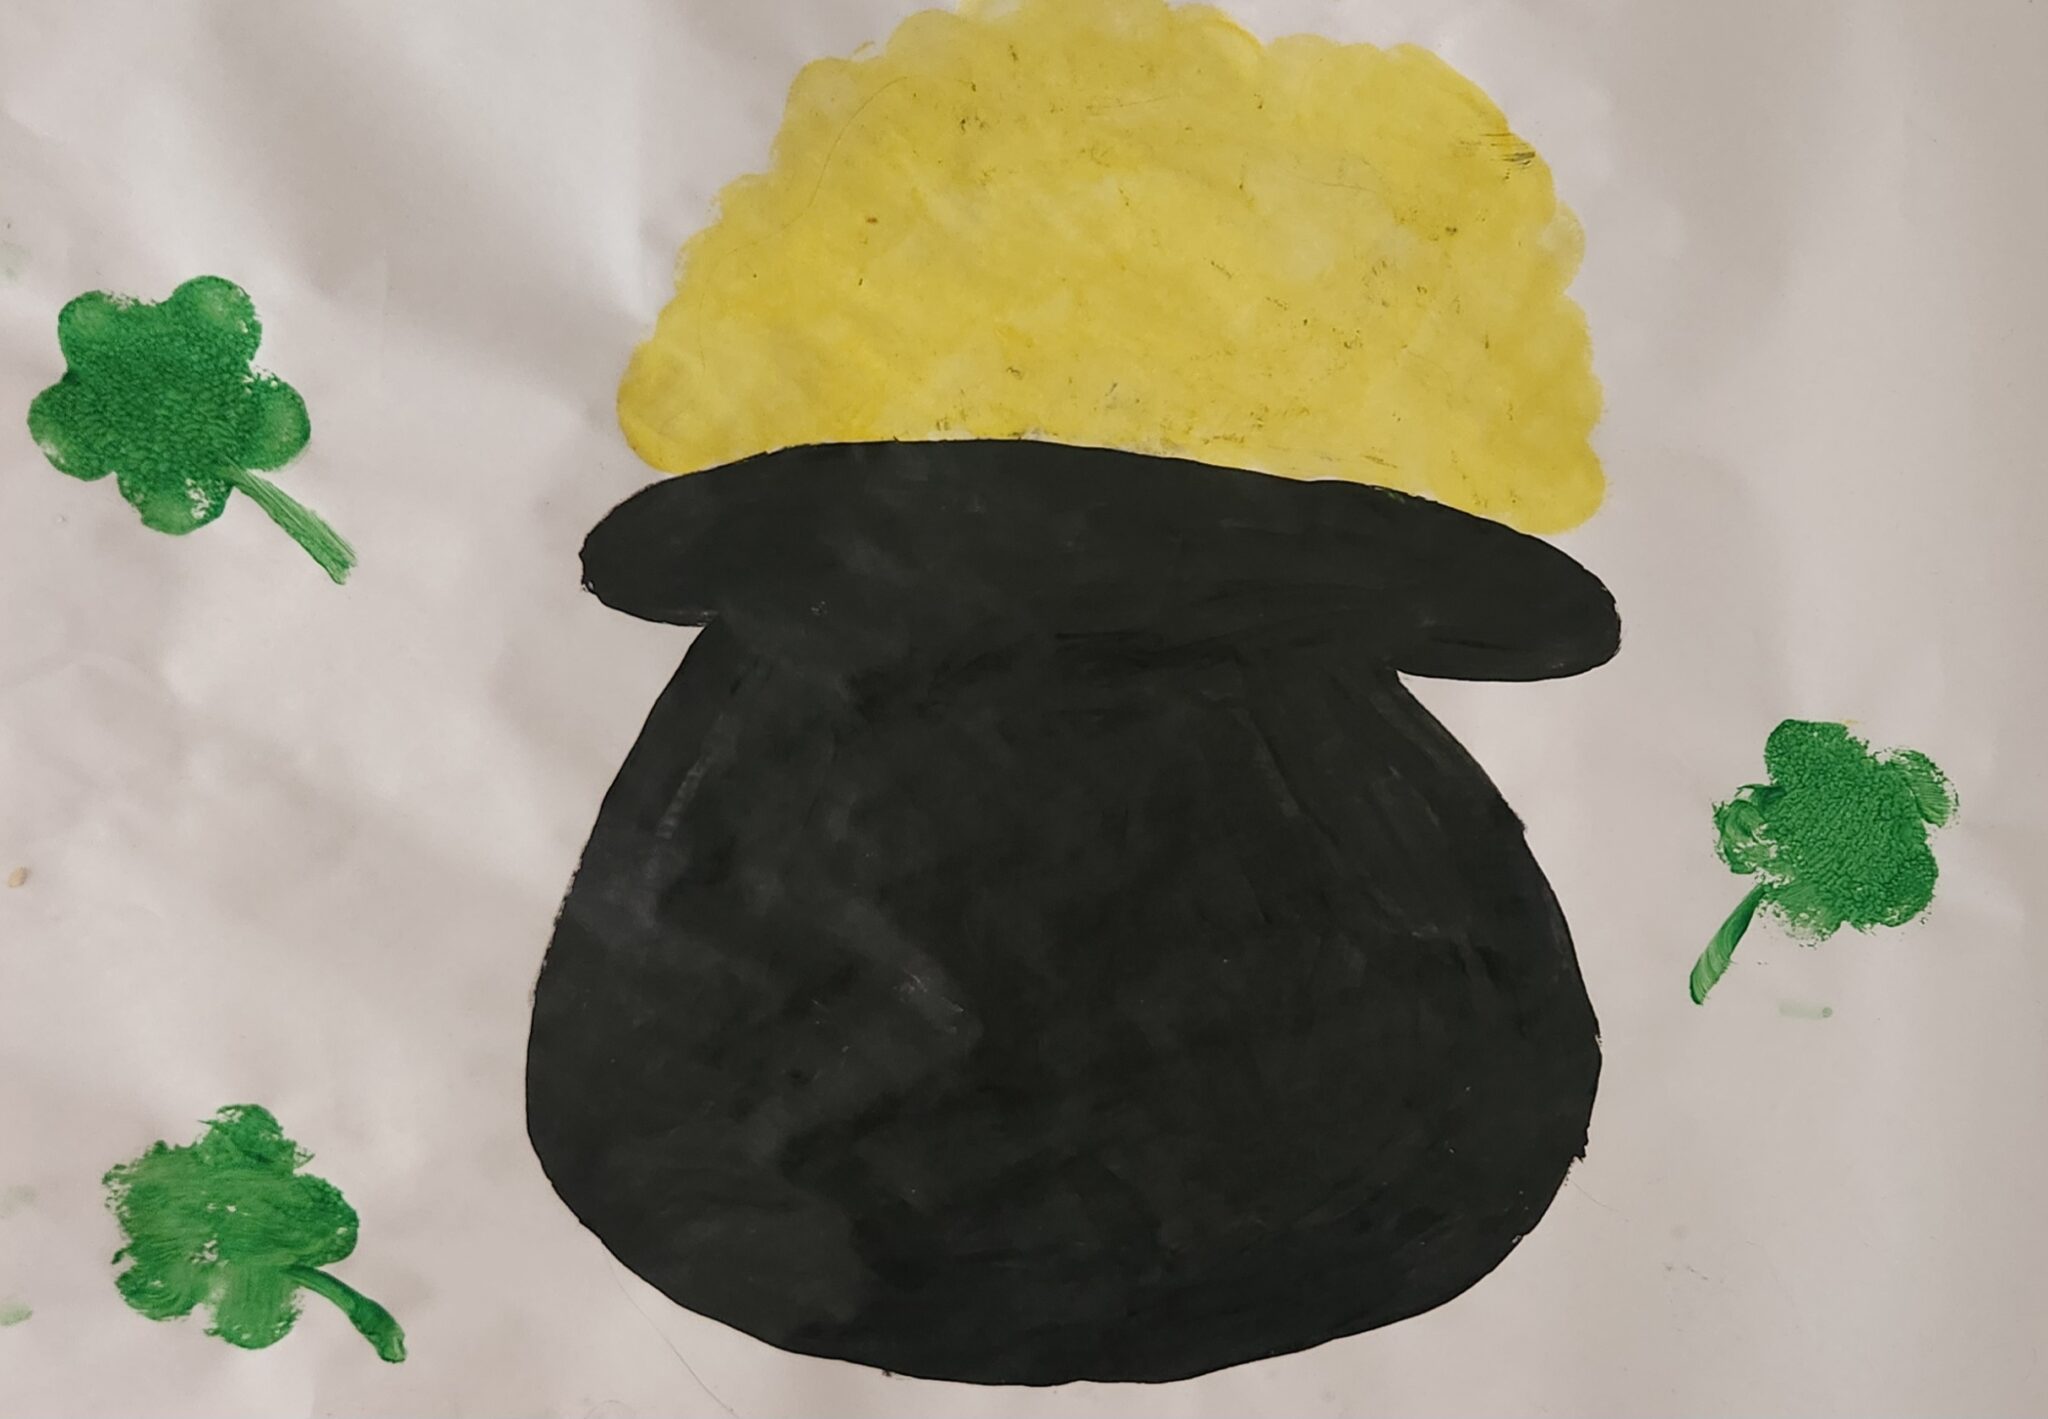
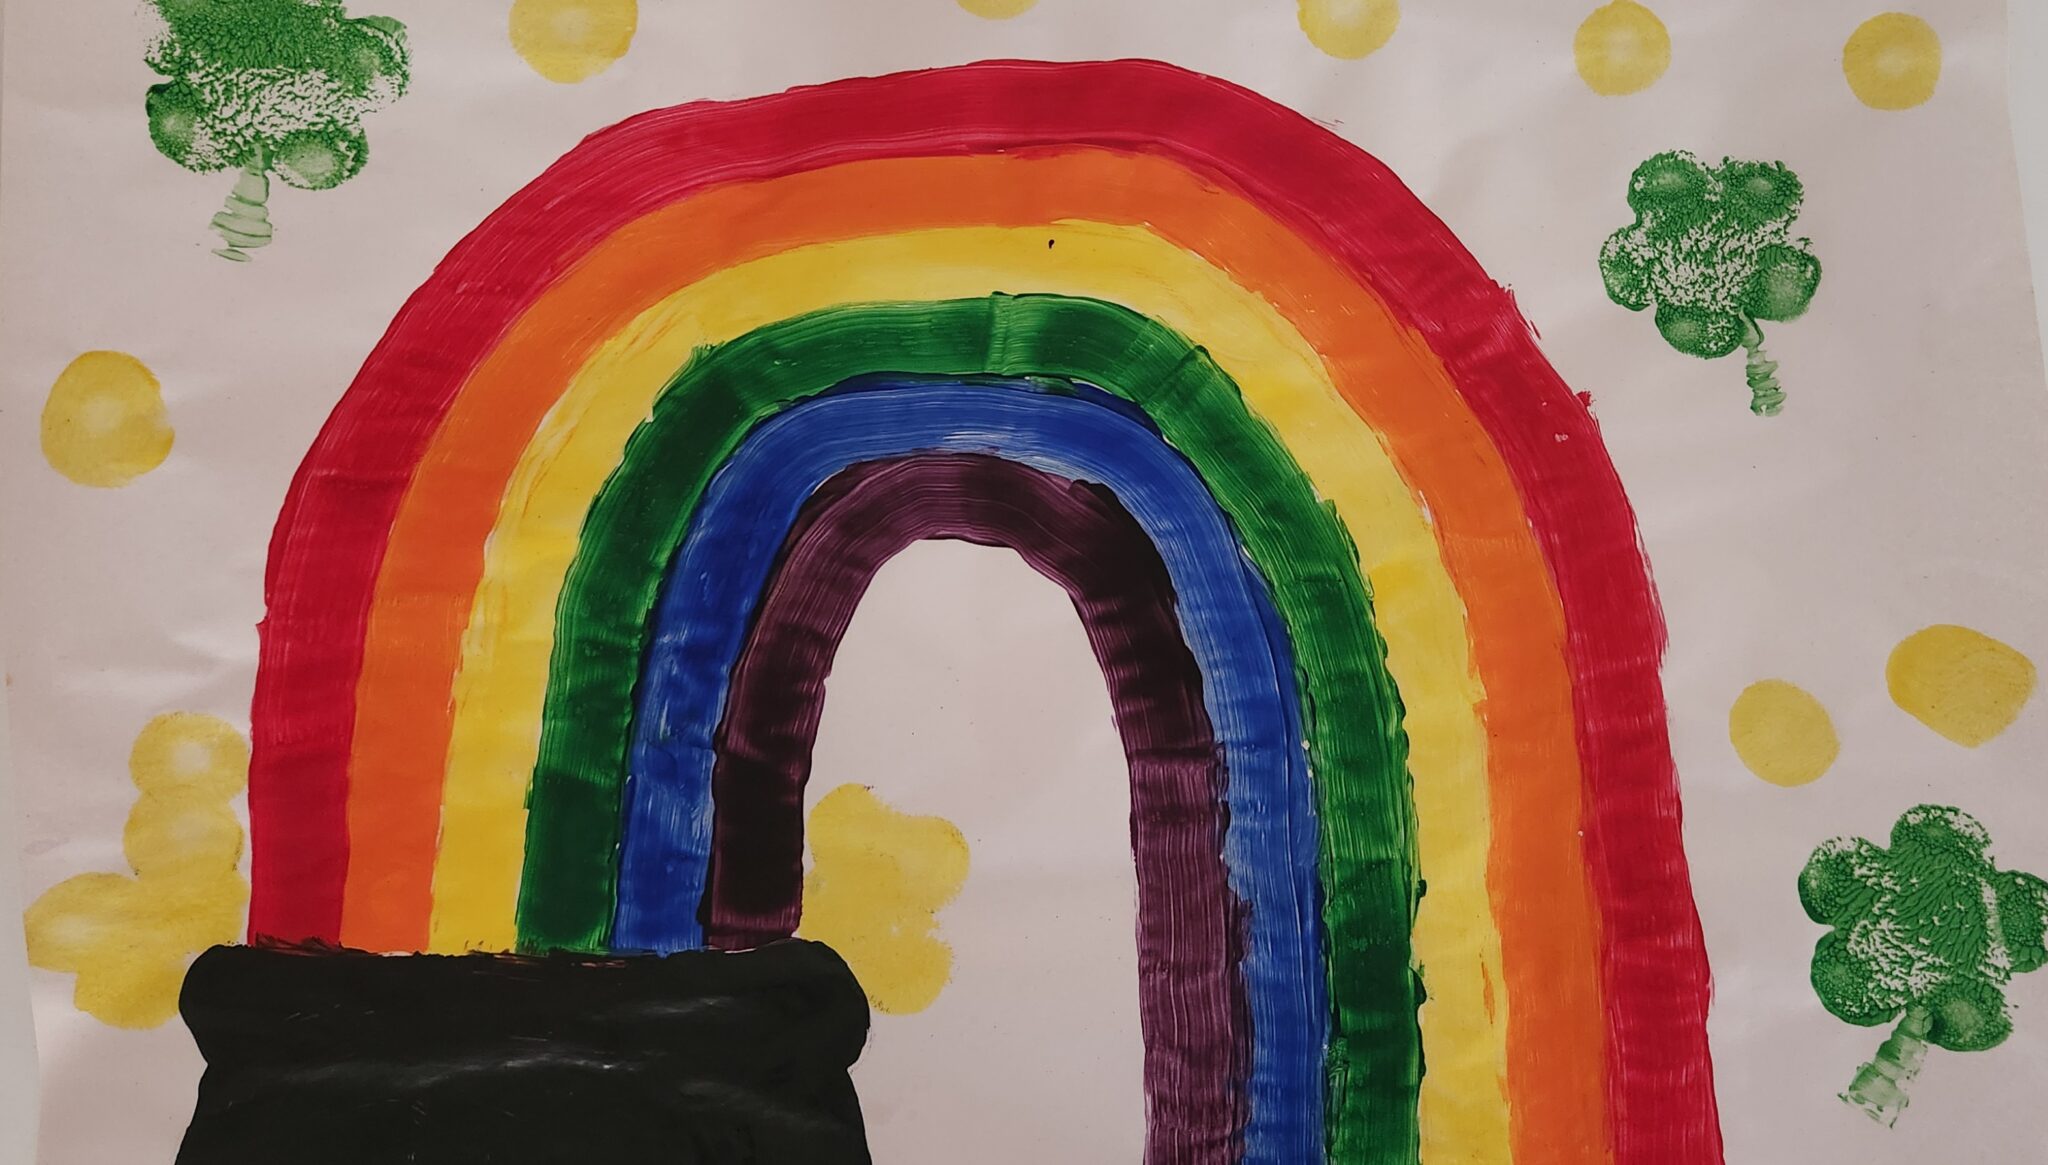
Hope you find your pot of gold.
We made you out of clay, and when you’re dry and ready we hope that you will spin.
This is our first year making our own dreidels out of clay. The kids are older and can actually do this kind of stuff on their own. I actually sat back and watched this while eating some pumpkin pie. This was dad’s idea, anything that has to do with using your hands to create something is his cup of tea. He’s so good at that.
We used polymer clay. The clay was as hard as a brick when we opened it. I read that baby oil would soften it up, so they went ahead and baby oiled the clay, and continued to knead it until it softened up. It took a few minutes but soon enough they were able to start sculpting their individual dreidels. We popped them in the oven at 275 degrees for about 45 minutes, maybe more and out came these adorable dreidels. Tomorrow we will see whose dreidel does the best job spinning. I bet it will be dad’s.
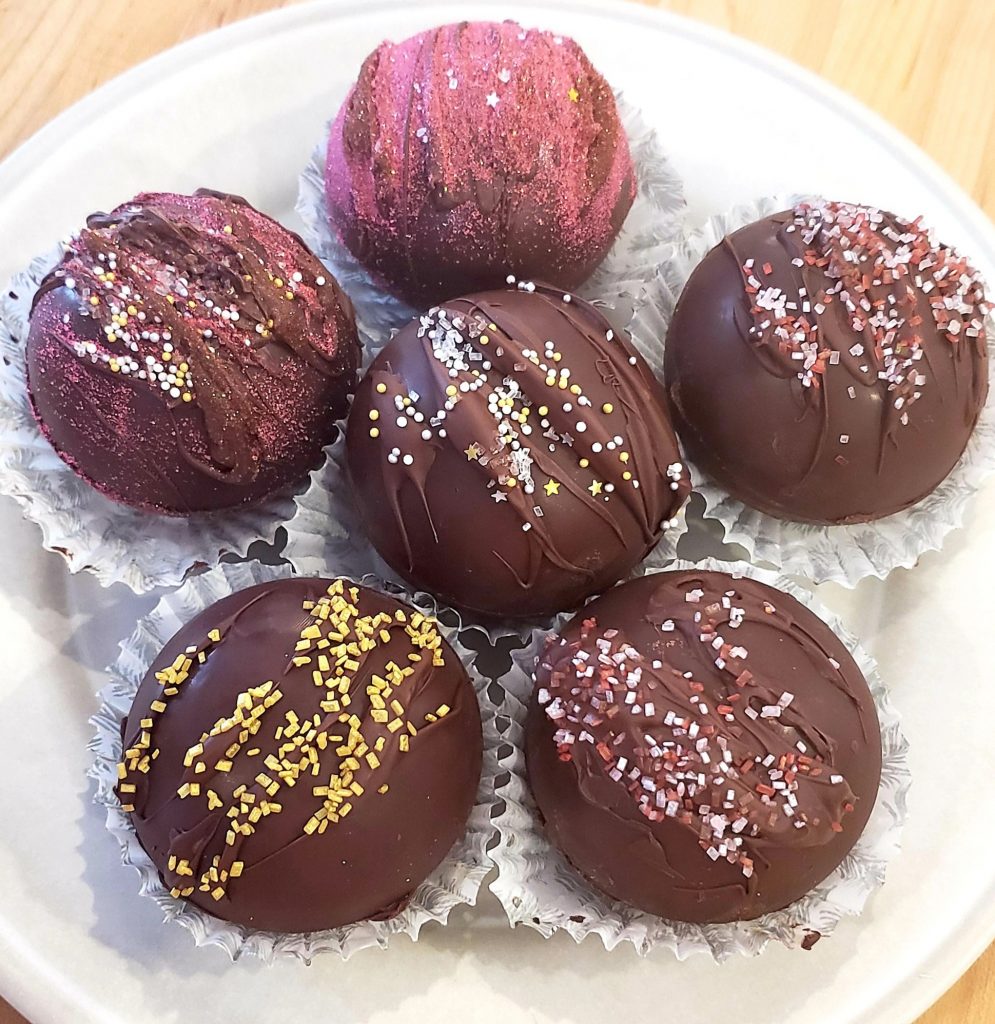
 I am so proud of these hot cocoa bombs and I didn’t even make them. My two oldest, Isabel and Melina did! (And actually we could have never gotten through them without lias help in watching little liam) I bought the molds for Christmas but they got here late so the other day Isabel decided it was time to make them. I Was kinda hesitant thinking “oh dear another mess to clean up!” But oh my goodness, these were so easy and fun to make! I watched as they hot bombed away. Its crazy for me to think that my kids are at an age where they are self sufficient for the most part and can create things in the kitchen without my assistance. They do however leave everything for me to clean, but I don’t mind. I’m always right there on top of them making sure things don’t get too messy…I’m pretty annoying like that. Anyhow, just love the way my kids dive into stuff like this. I was reluctant to make these, worried they would bomb, not in a good way and my daughters proved the only way to make them was to try!!! Love you girls!!! And you too Liam!
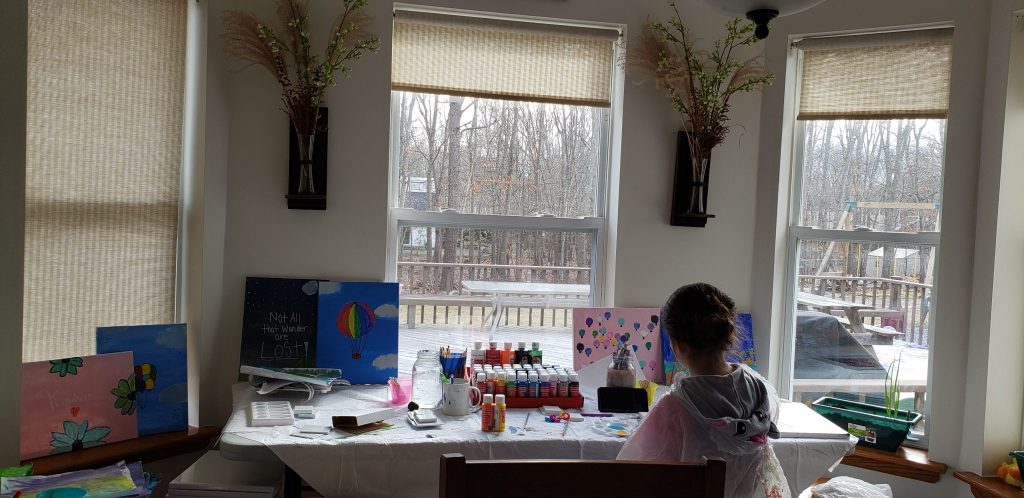 I set up a little art studio in our dining room knowing this would become one of our favorite spots in the house. I have yet to sit and create something but I feel like it’s the best gift I can give to the family right now. It’s been a great outlet for the kids. While Amir works night and day to sustain us, I’m trying to find ways to keep us all mentally healthy and happy.
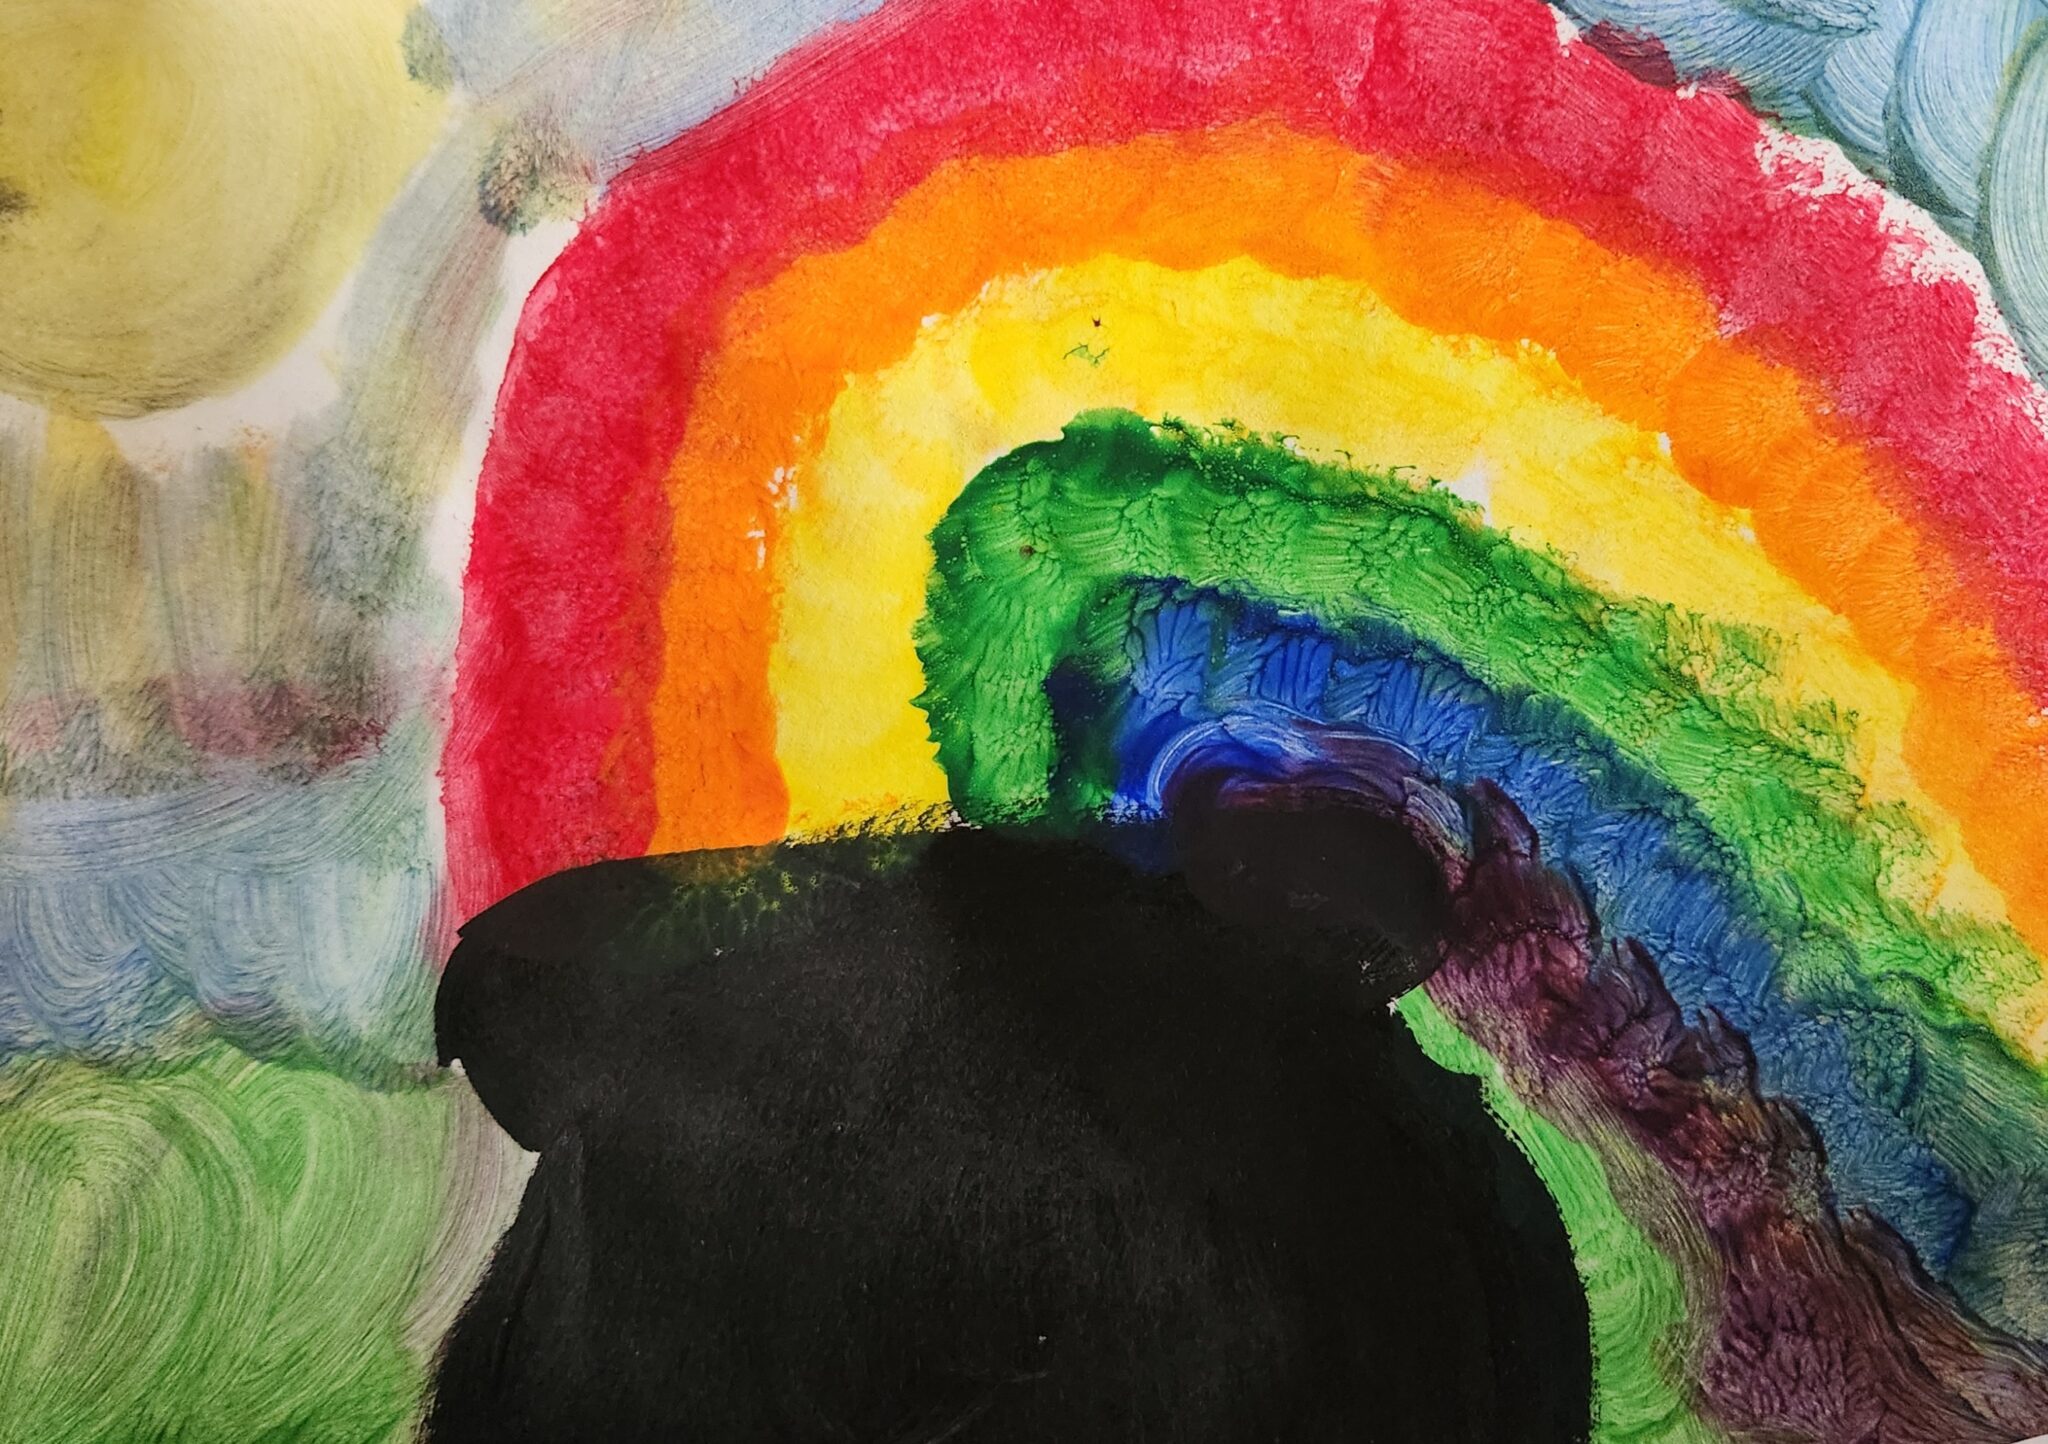
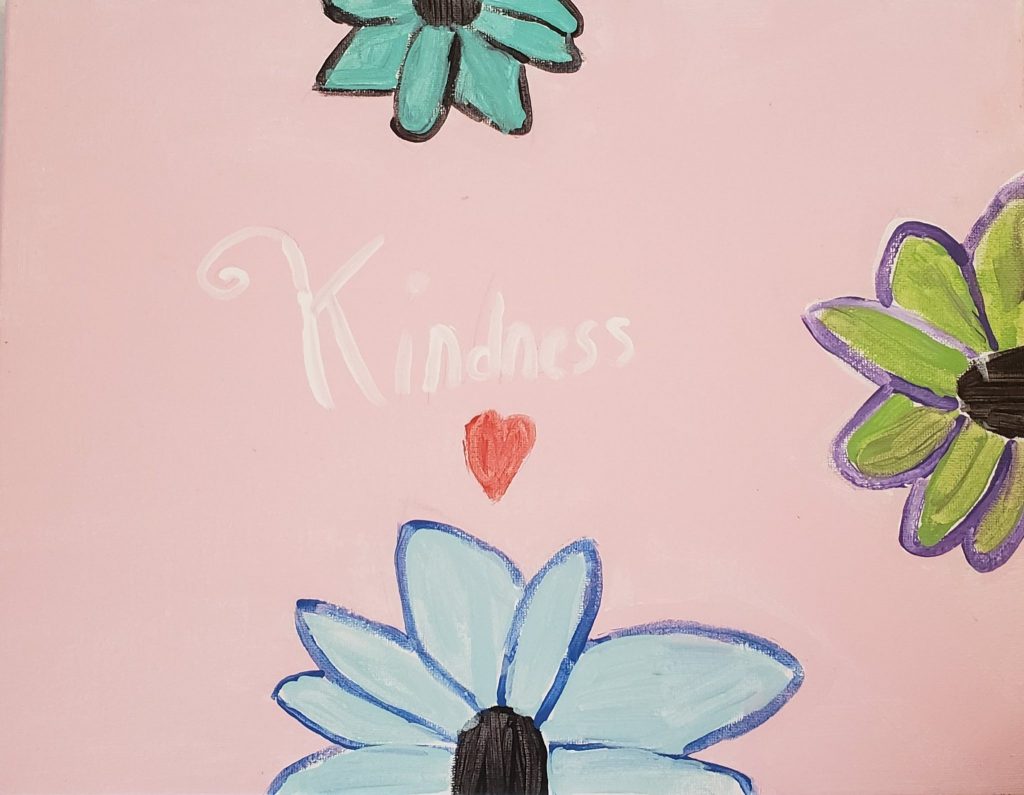 Painting by Lia Weiss
The girls have been keeping super busy creating beautiful artwork. In these uncertain times I have realized a couple of things, one is that I always wanted to homeschool the girls and well, here’s my opportunity! Two, I always wanted to have an art studio for kids, well here is another opportunity and three, I always wanted the family home together for more than just on the weekends, well here’s my opportunity and I’m embracing each and everyone. Praying we all get through this unaffected by the negative and effected by the positive.
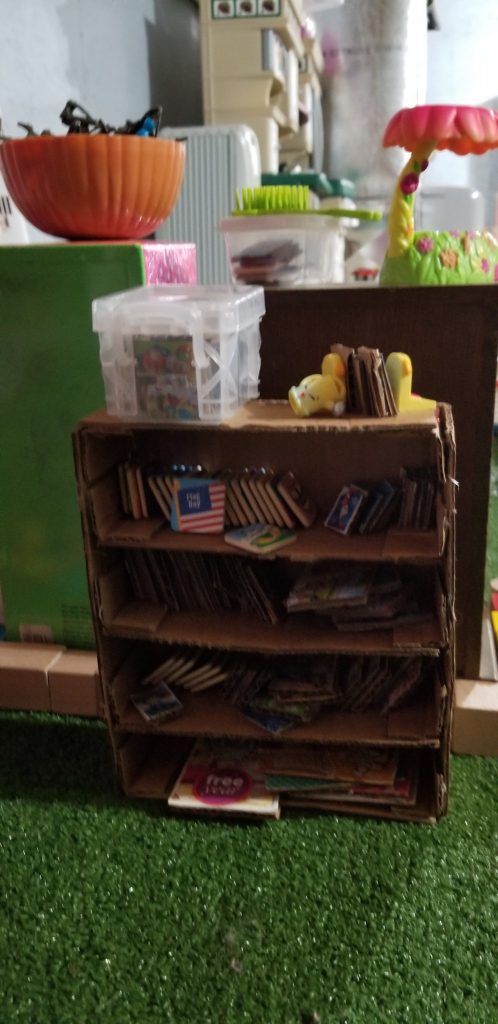
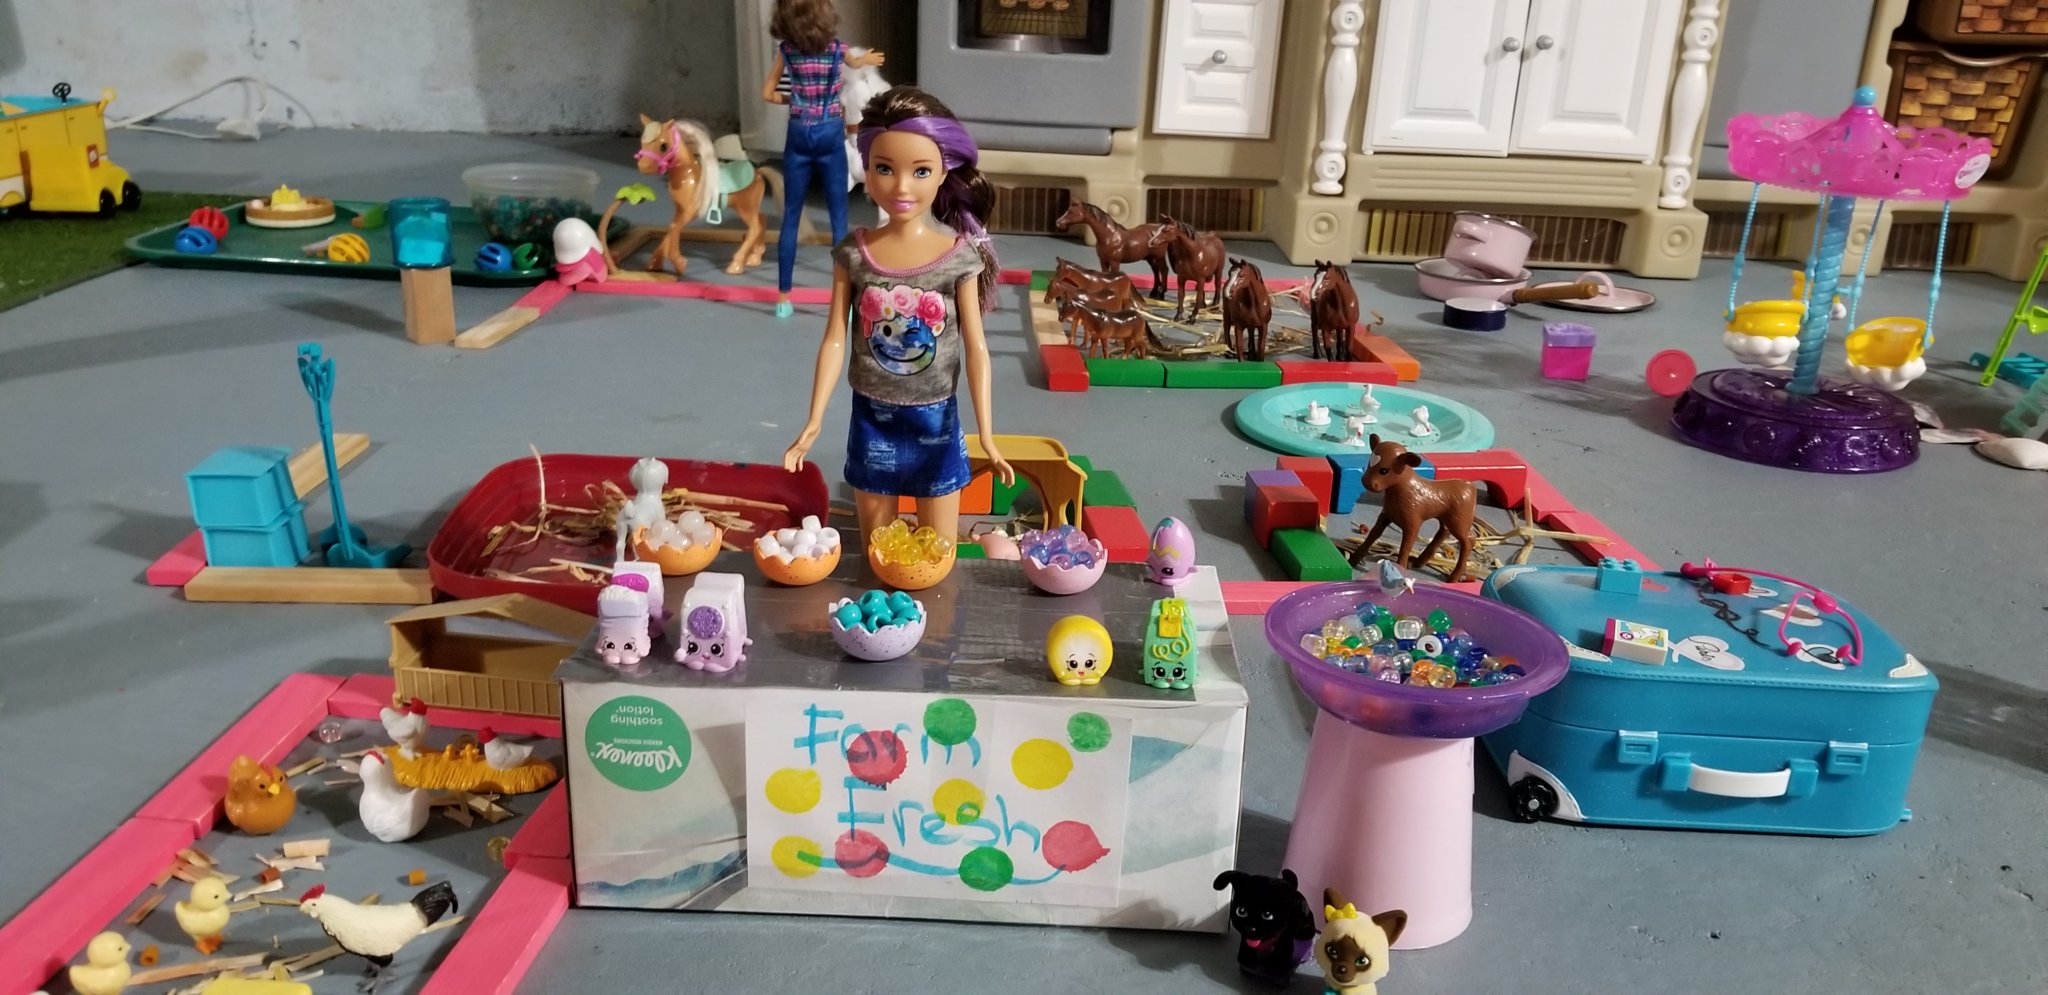
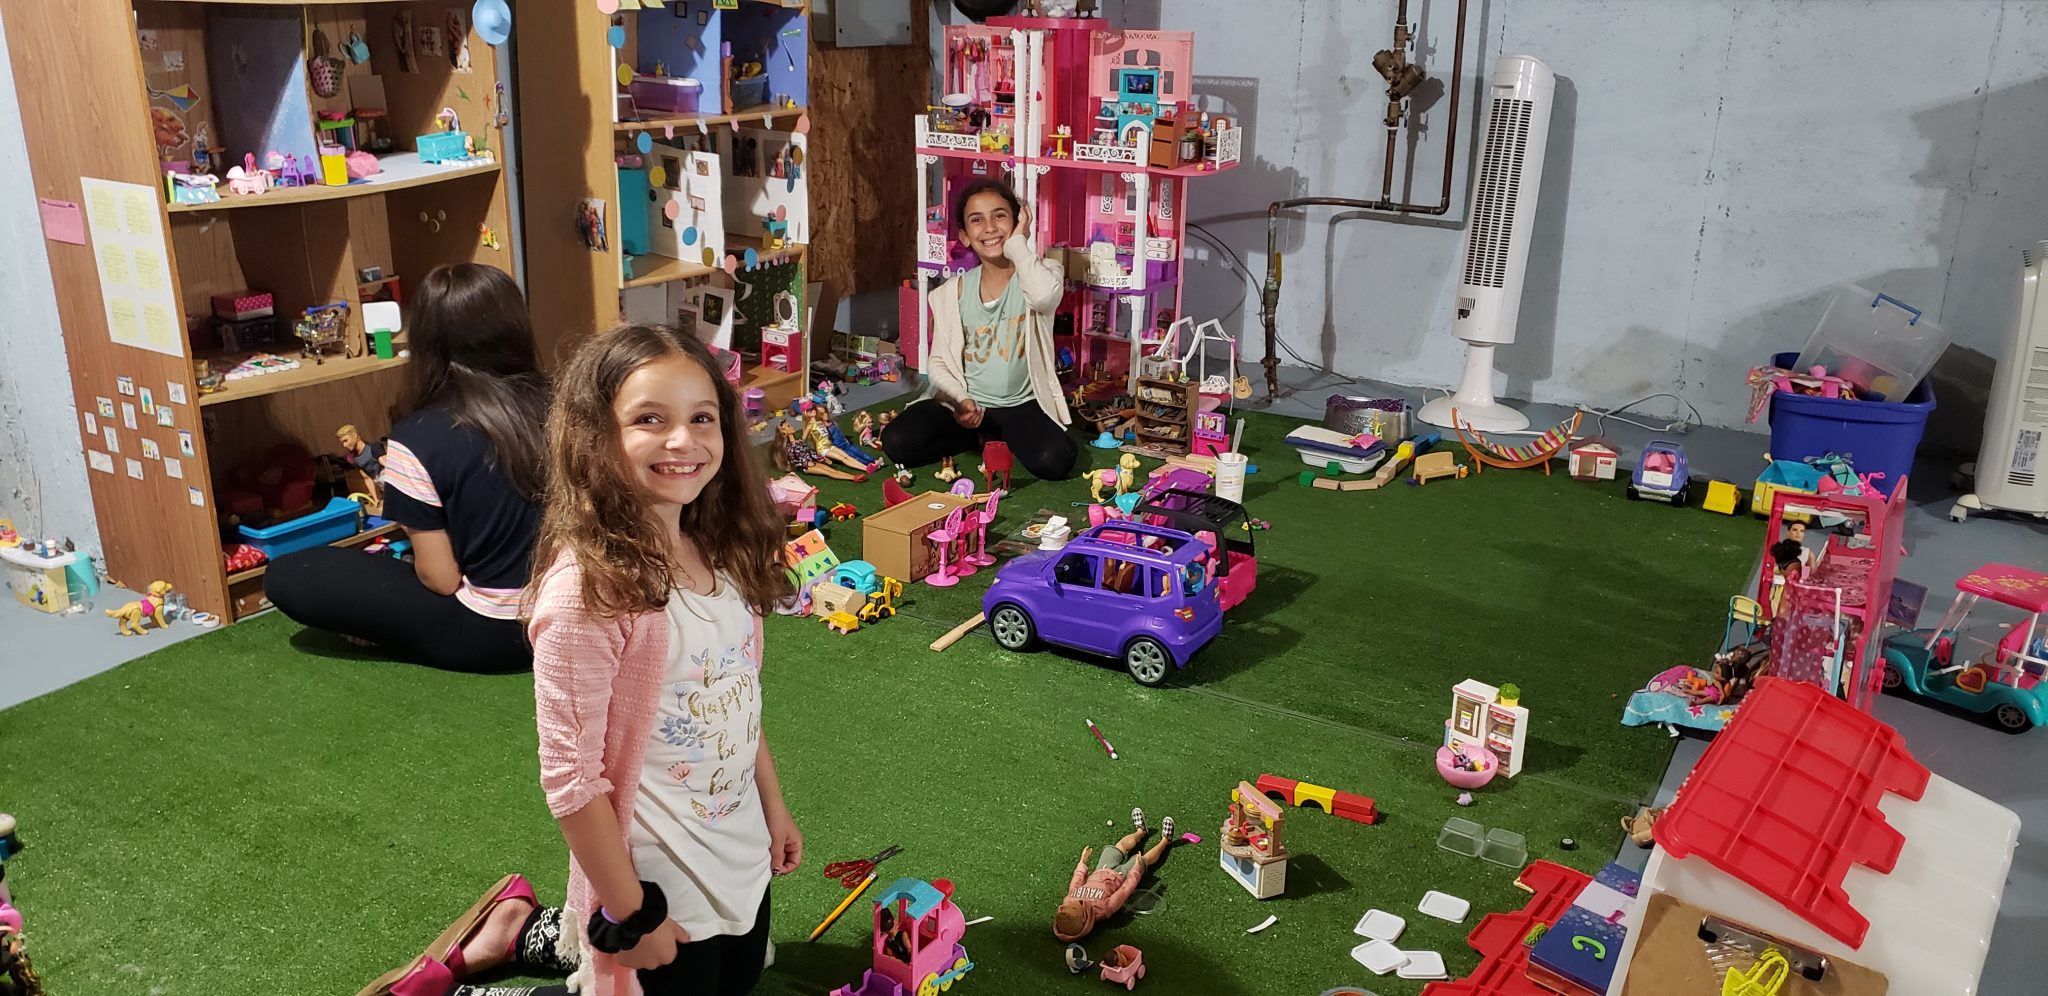 You’ll often hear my girls say to eachother B.I.T.B? This is what they say to one another when one of them wants to play Barbies In The Basement. It’s become one of their go to activity together. My girls have a love for barbie. I love that they are all into it and that it’s something they love to play together. Since we moved two years ago, their barbie collection has grown immensely. They have free range of our entire unfinished basement and have used almost every square inch of space to build an entire barbie community. They have scenerios they come up with and then they play it out. For instance, one day they plan a birthday party, or a baby shower or a family is playing a soccer tournament and all of the girls play based on this event. The barbies have real families and stories. They have jobs and responsibilities. Some of the families have foster and adopted children. They all have names and the girls can name each and every one of them. They can get lost in playing for hours, but the play sometimes comes to an abrupt ending due to a disagreement between what the barbies should and should not be doing. I love how their imagination sparks. It’s not just playing but theres alot of creativity going on too.
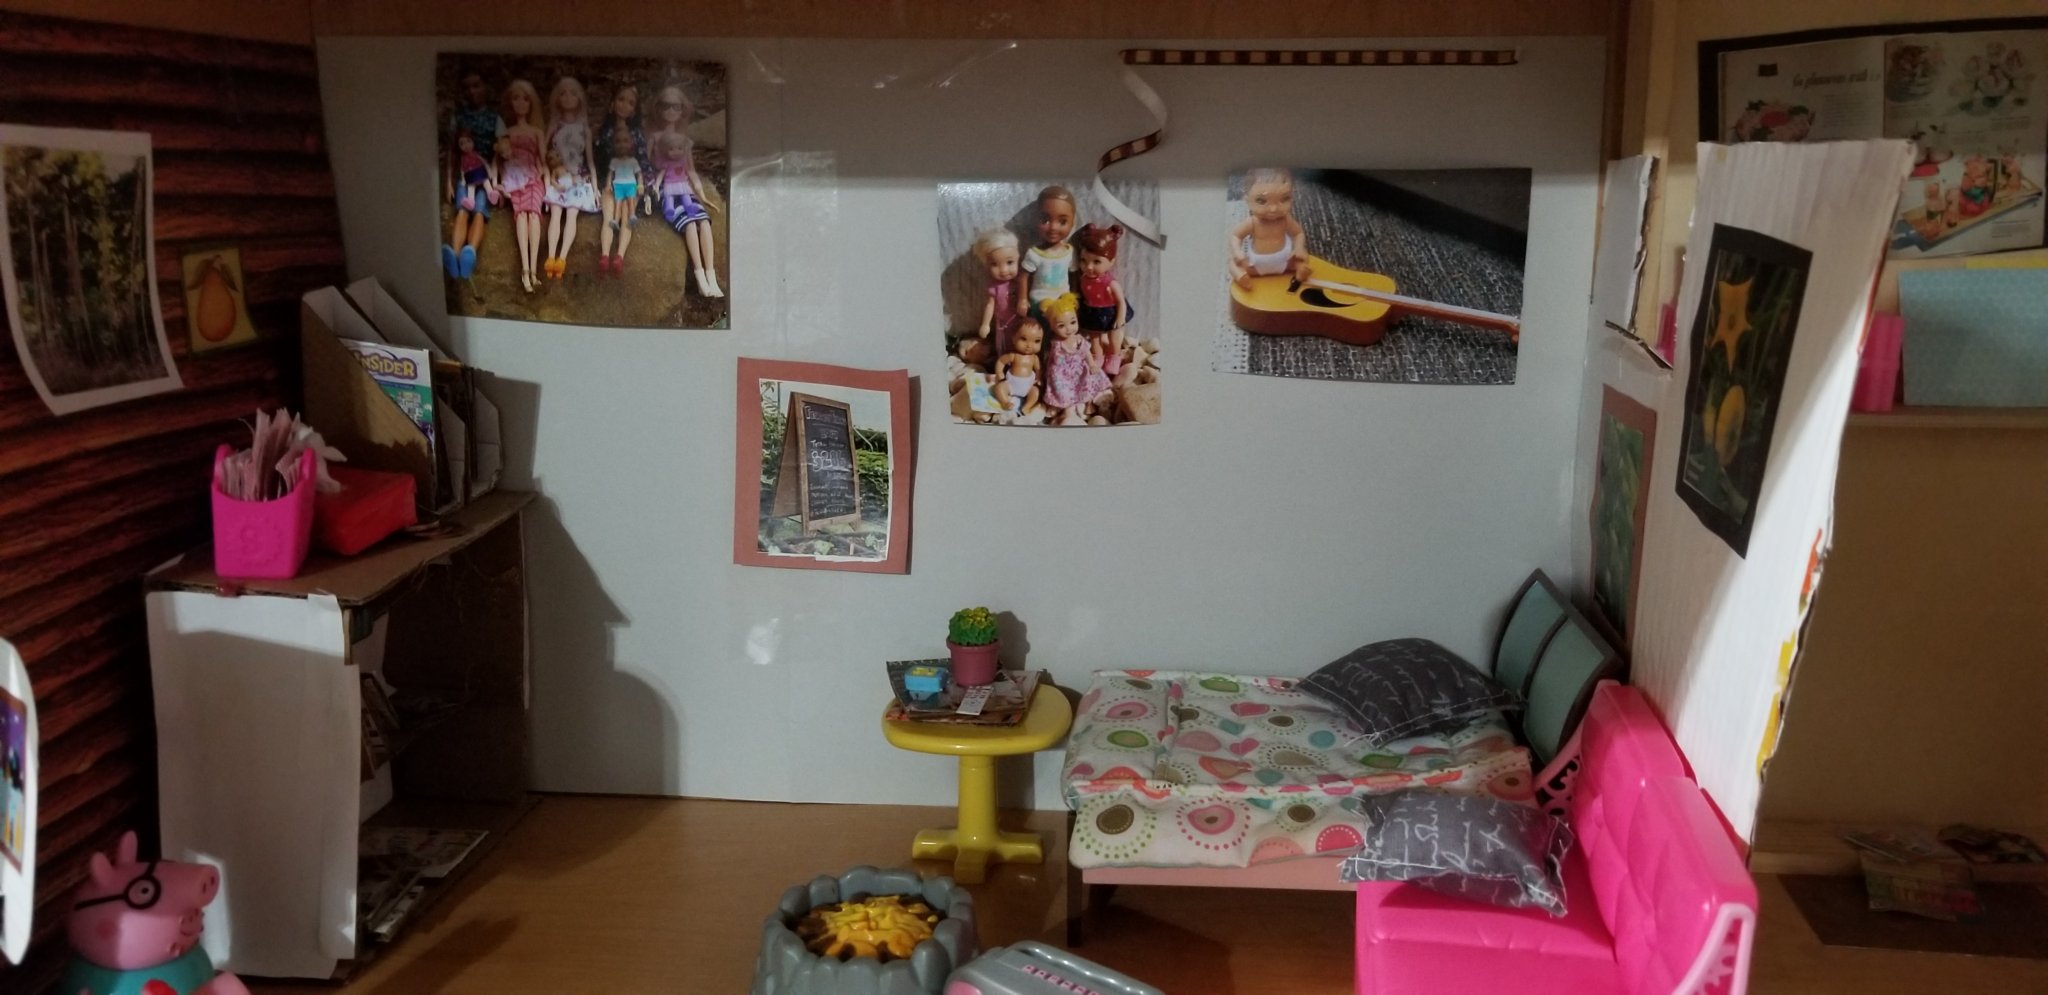
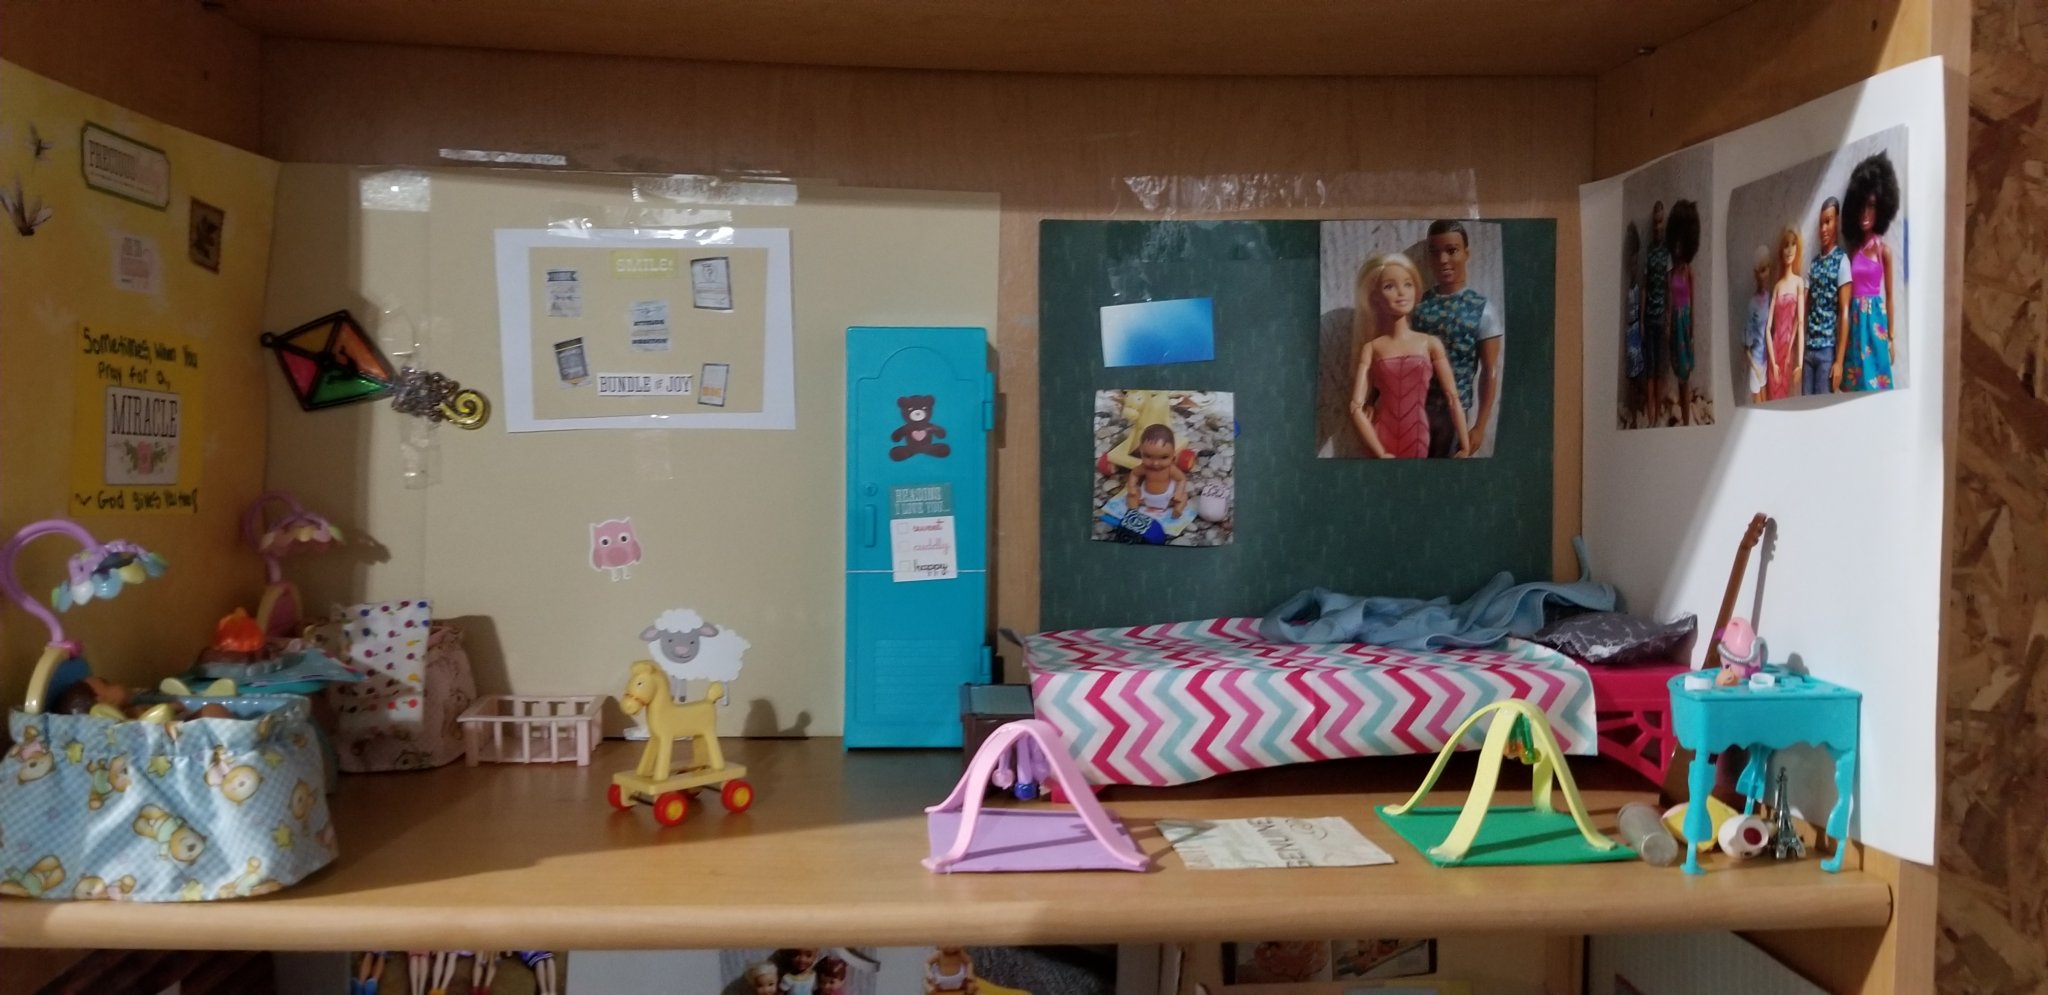
 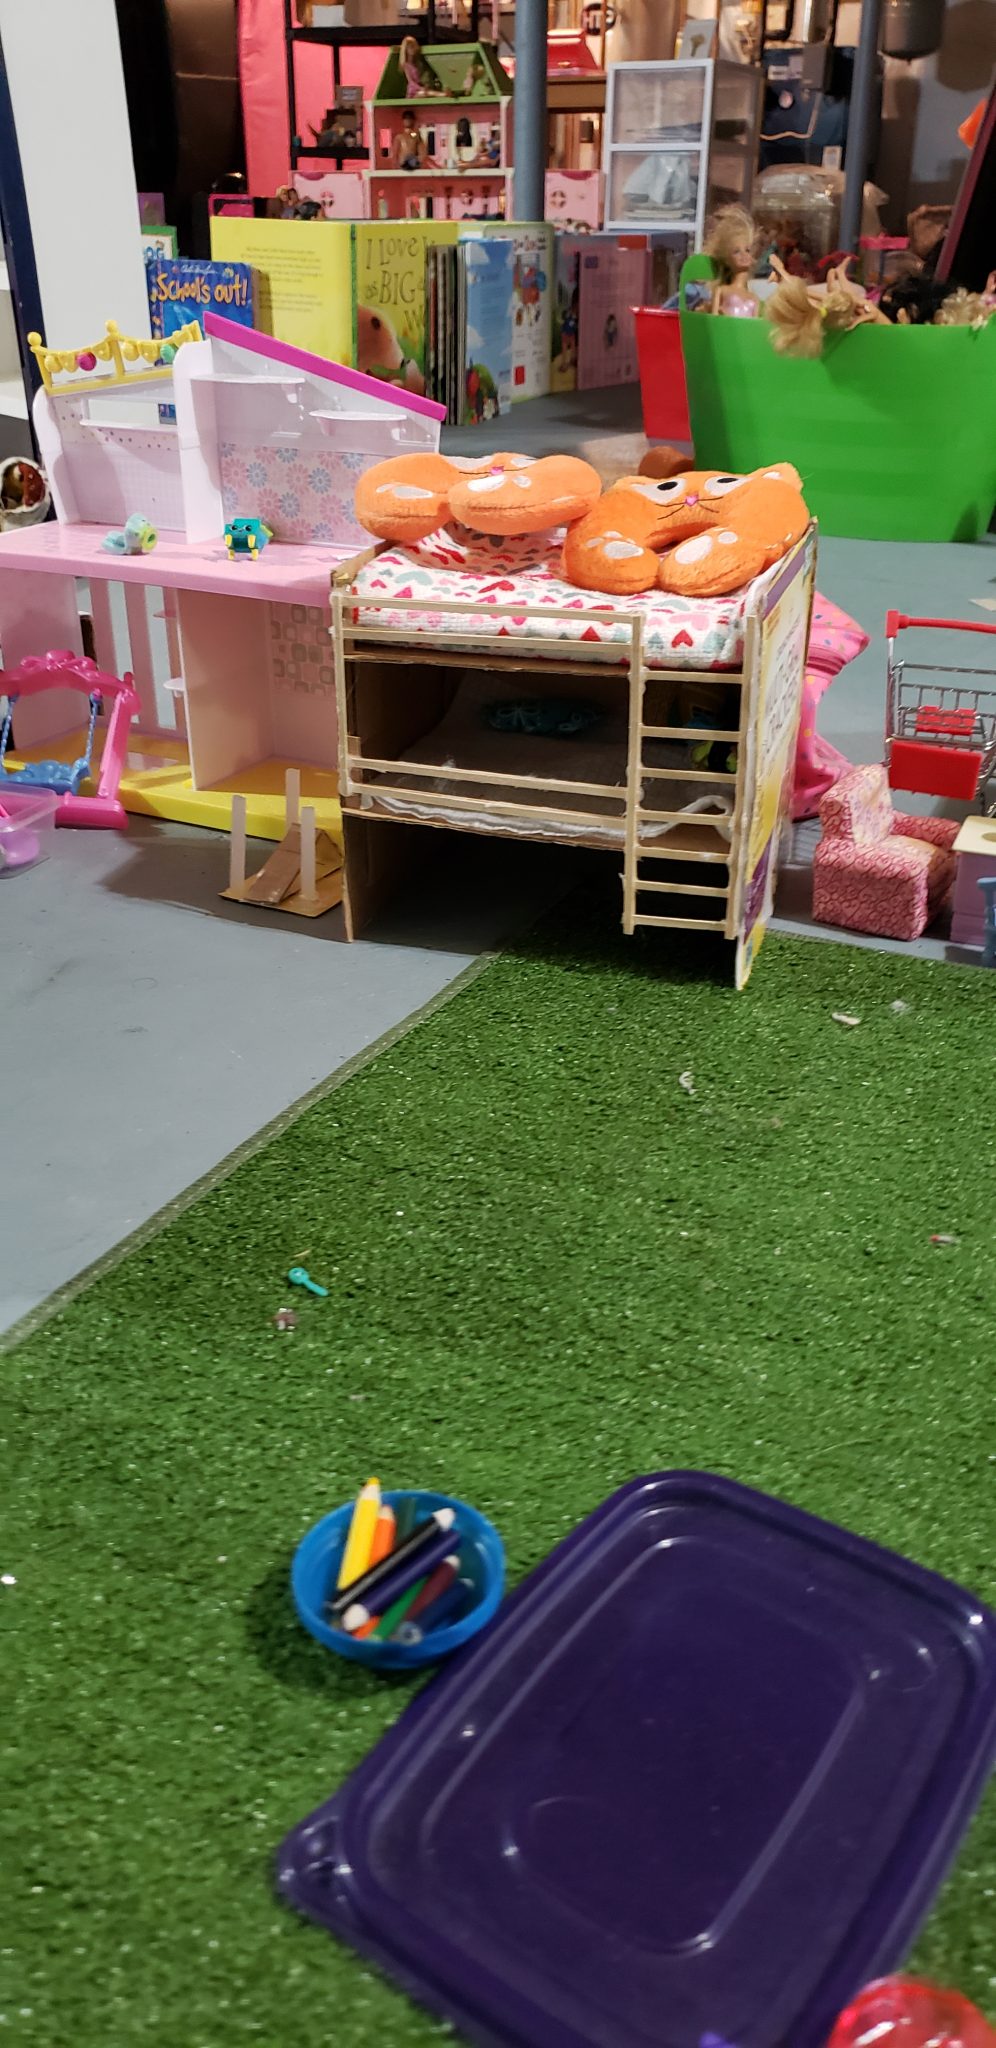 They built bunk beds out of card board, book cases, and other household furnishings. They’ve made bounce and play areas, and mini books using magazine cut outs. They’ve built laundry rooms, custom made beds, closets, garages. Theres so much thought and detail involved. I tell them when they get older the three of them should open a real Barbie Land where little girls and boys can go and play everything and anything barbie.
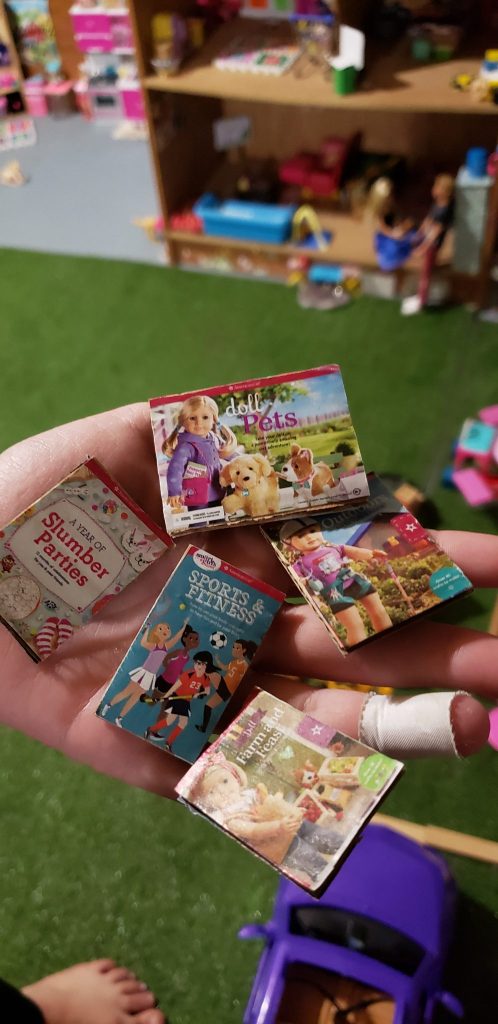
 I wish I was their sister! We would have had so much fun together and fights too, but the fun definatley outweighs the fights. I hope they remember these days forever. They are so blessed to be here on this earth together as sisters and have the opportunity to play together.
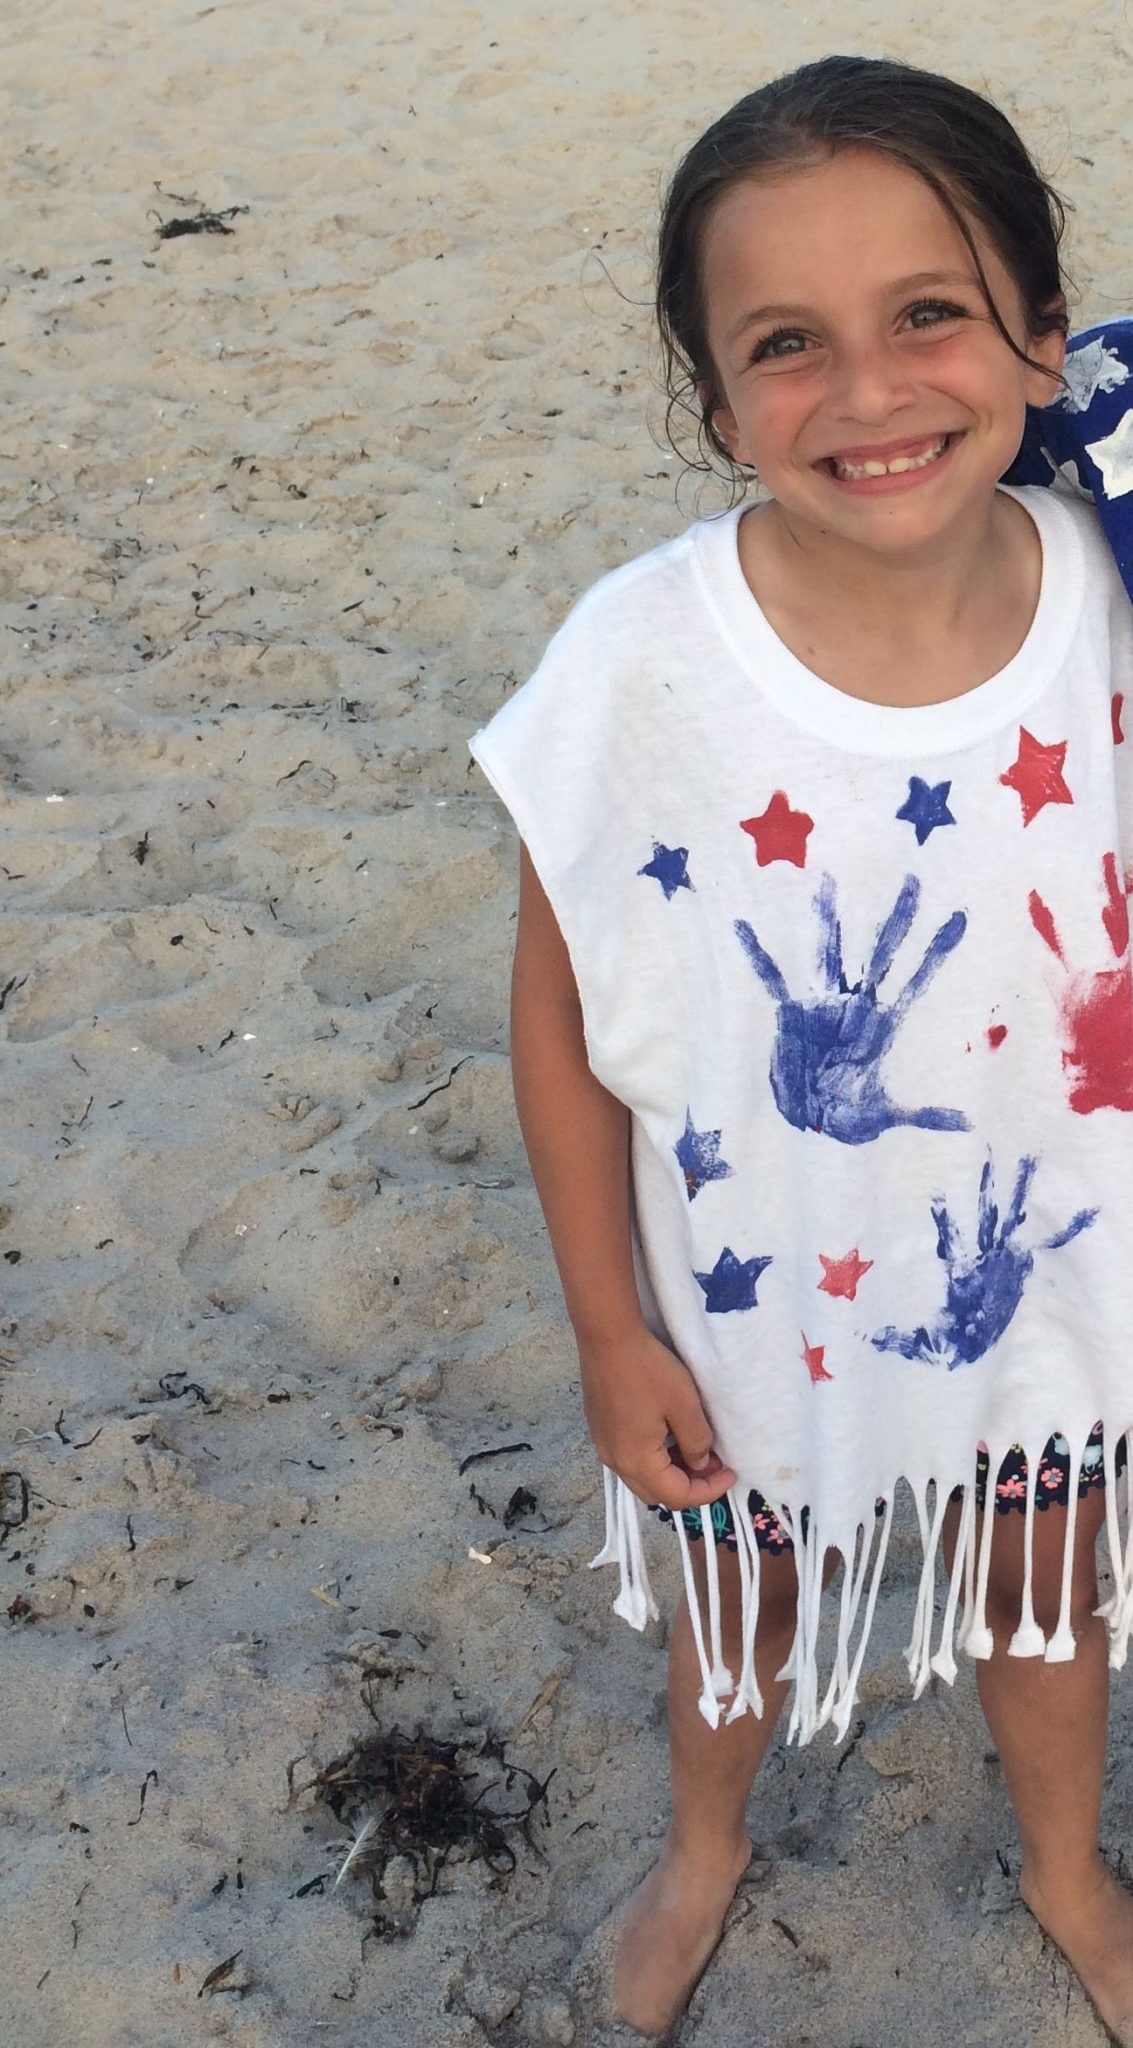
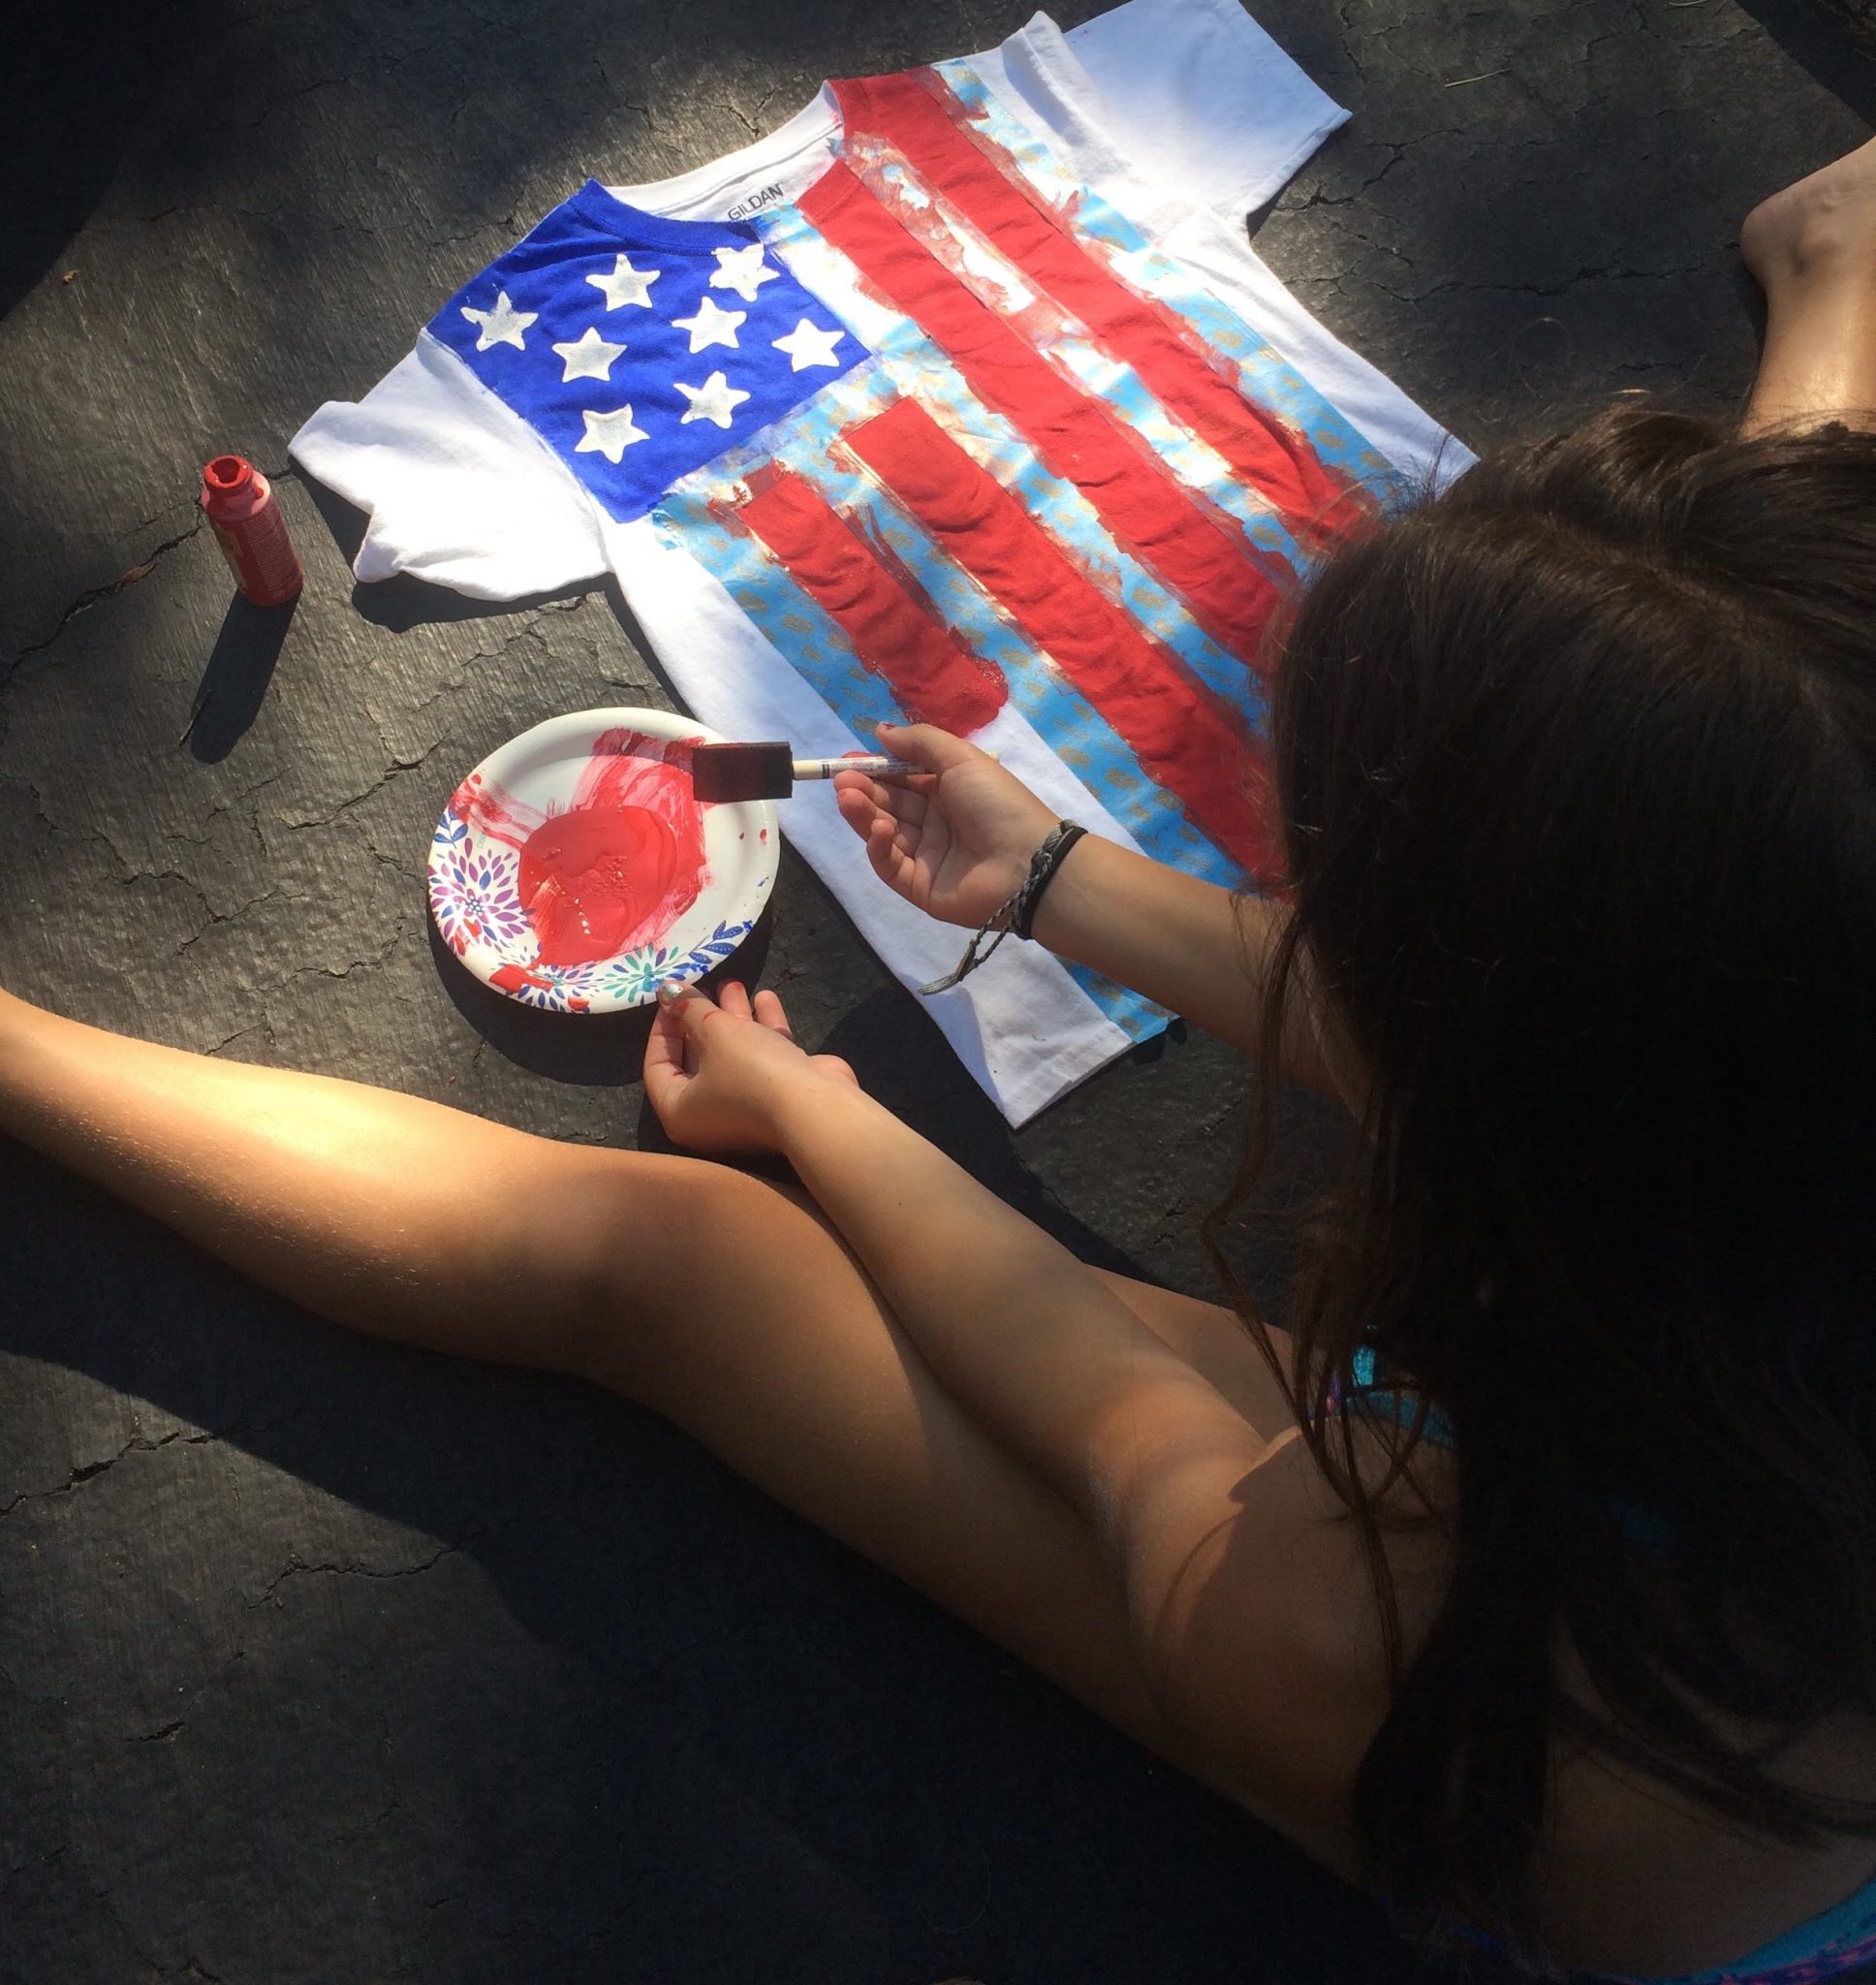
 We celebrated our “baby” , Lias 7th birthday this past June. One of the activities that our young guests got to participate in was making these awesome red, white and blue shirts. These shirts were so easy and so inexpensive to make. I found white shirts at Michaels for $2.99 and picked up some red, white and blue acrylic paint. I also purchased foam stars to use as stamps. I simply hot glued a tooth pick to the flat part of the stars which made it easy to stamp onto the shirts. The kids used blue painters tape to add strips onto the shirts, and some of the kids stamped on red and blue handprints. I laid the shirts out in the hot sun and once they were dried I cut some of the sleeves off and added fringes to all of them. The kids loved the shirts and have been wearing them throughout our summer festivities, including the Fourth of July of course!
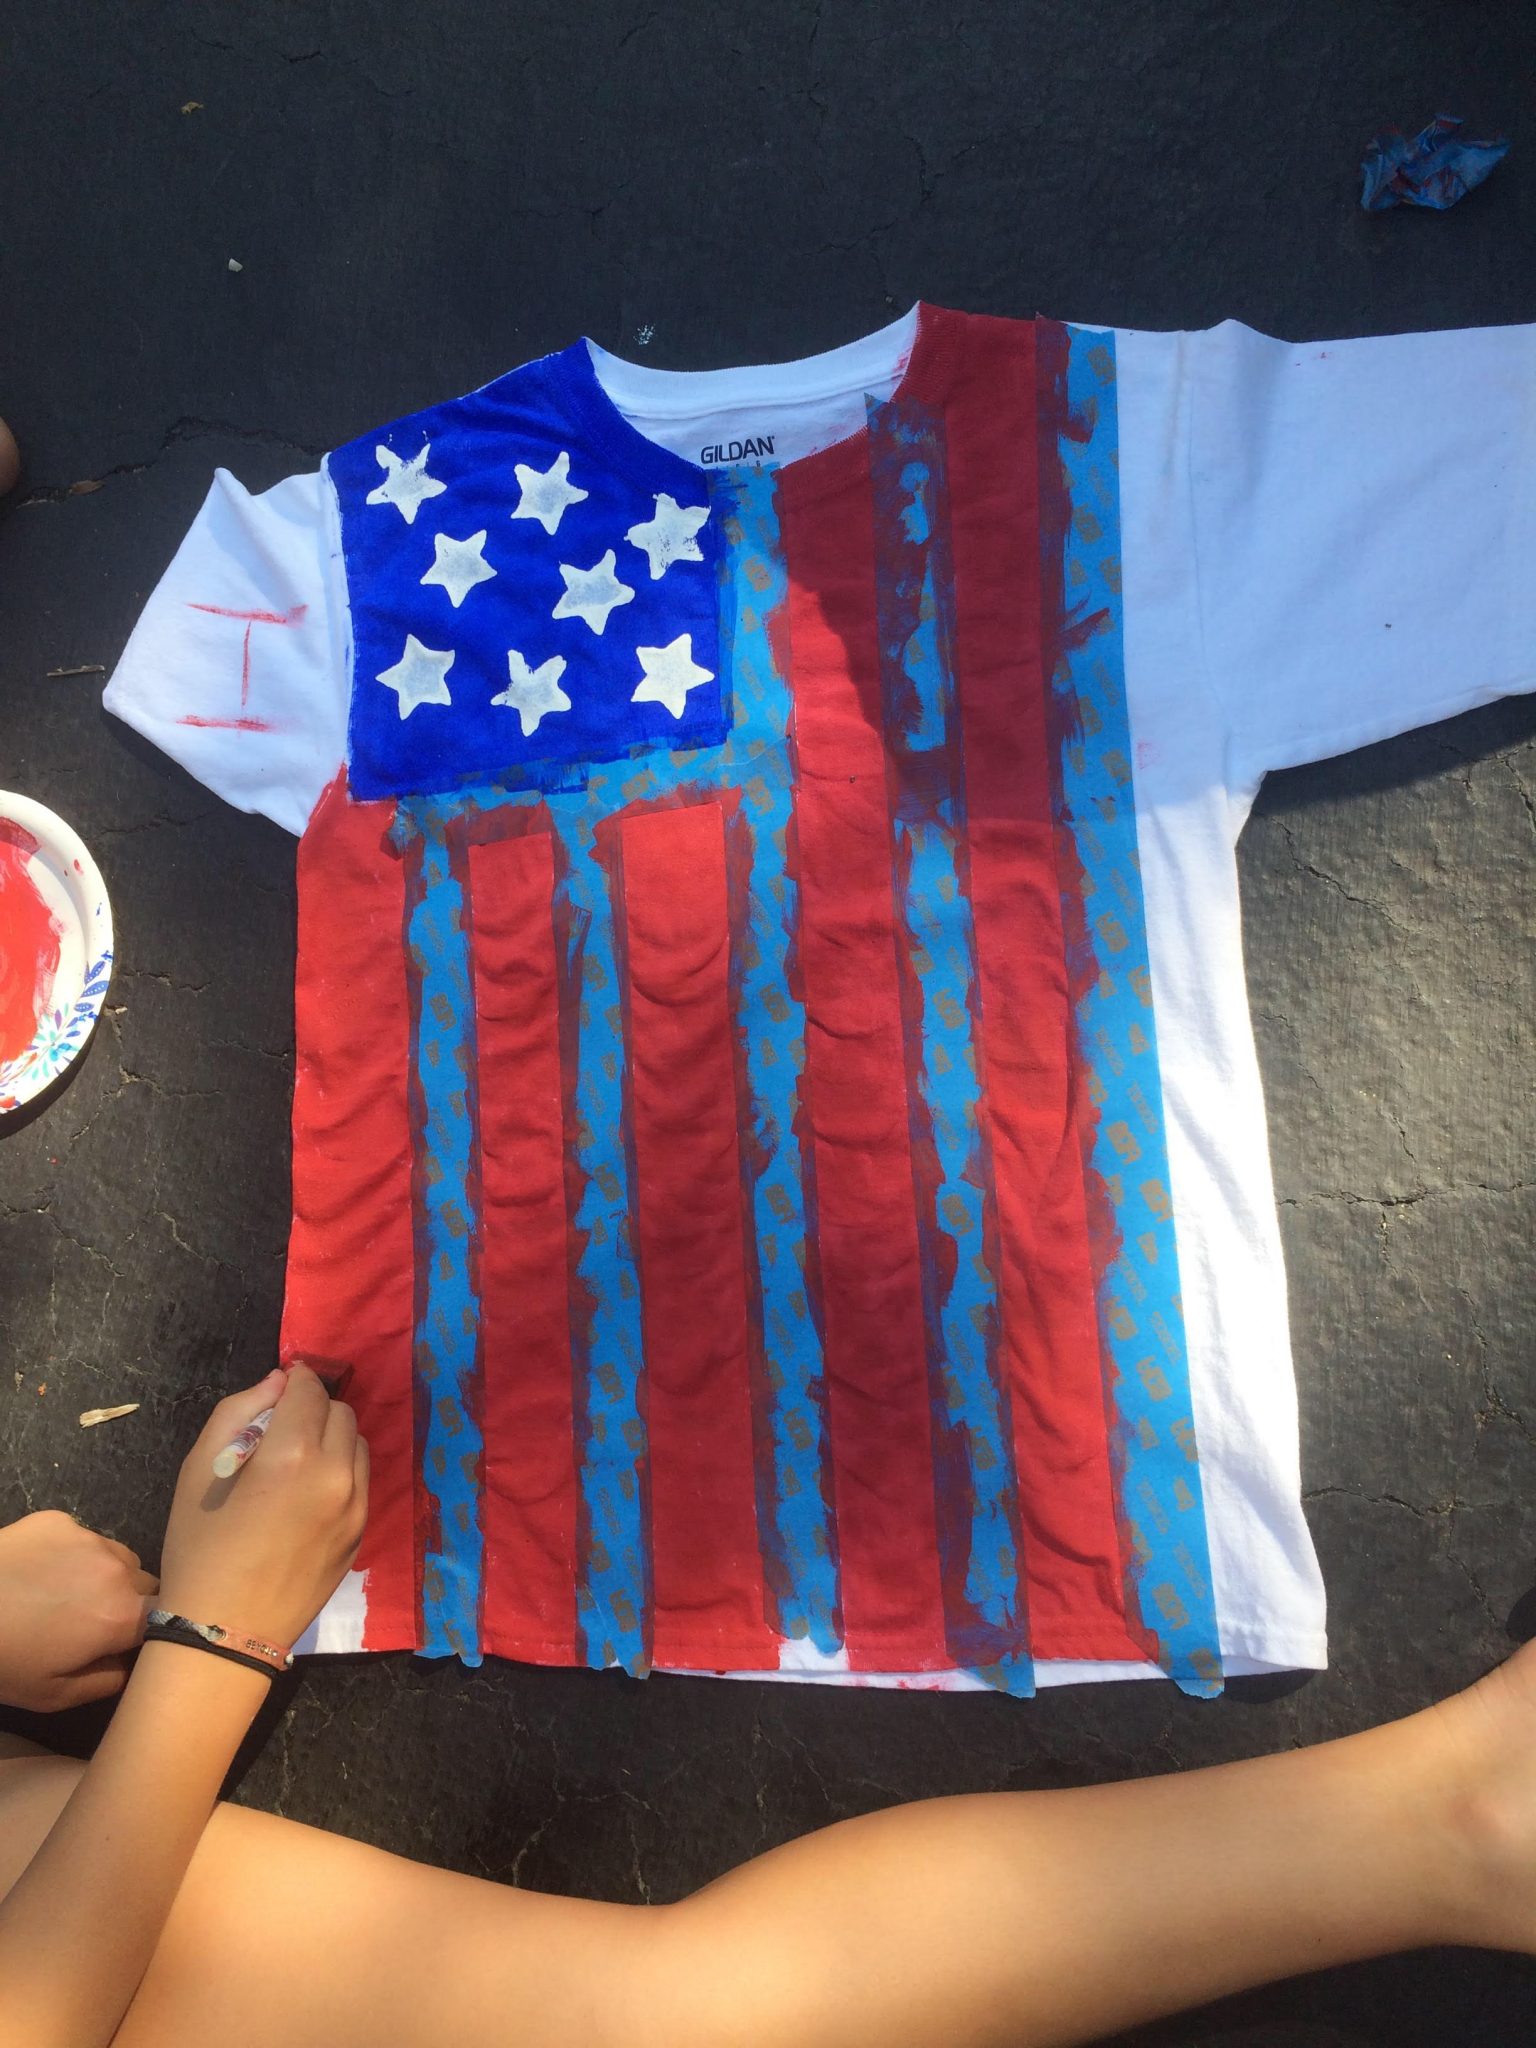
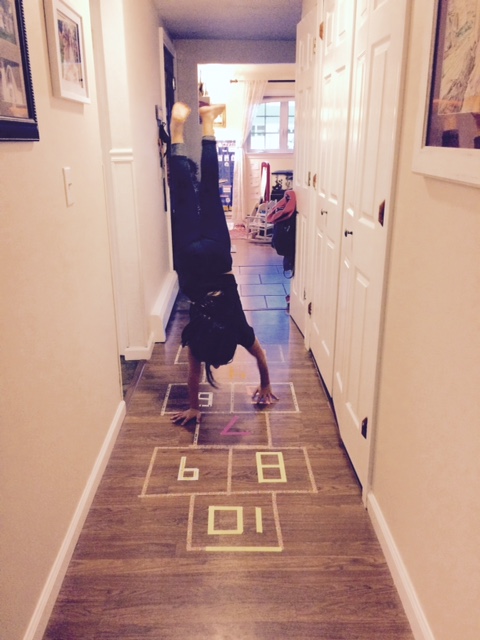
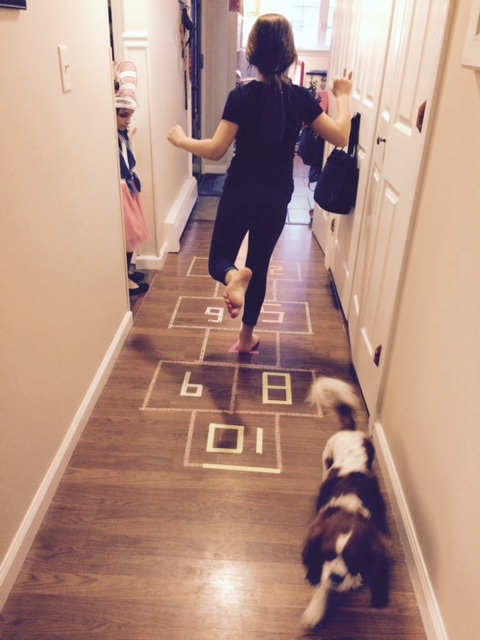
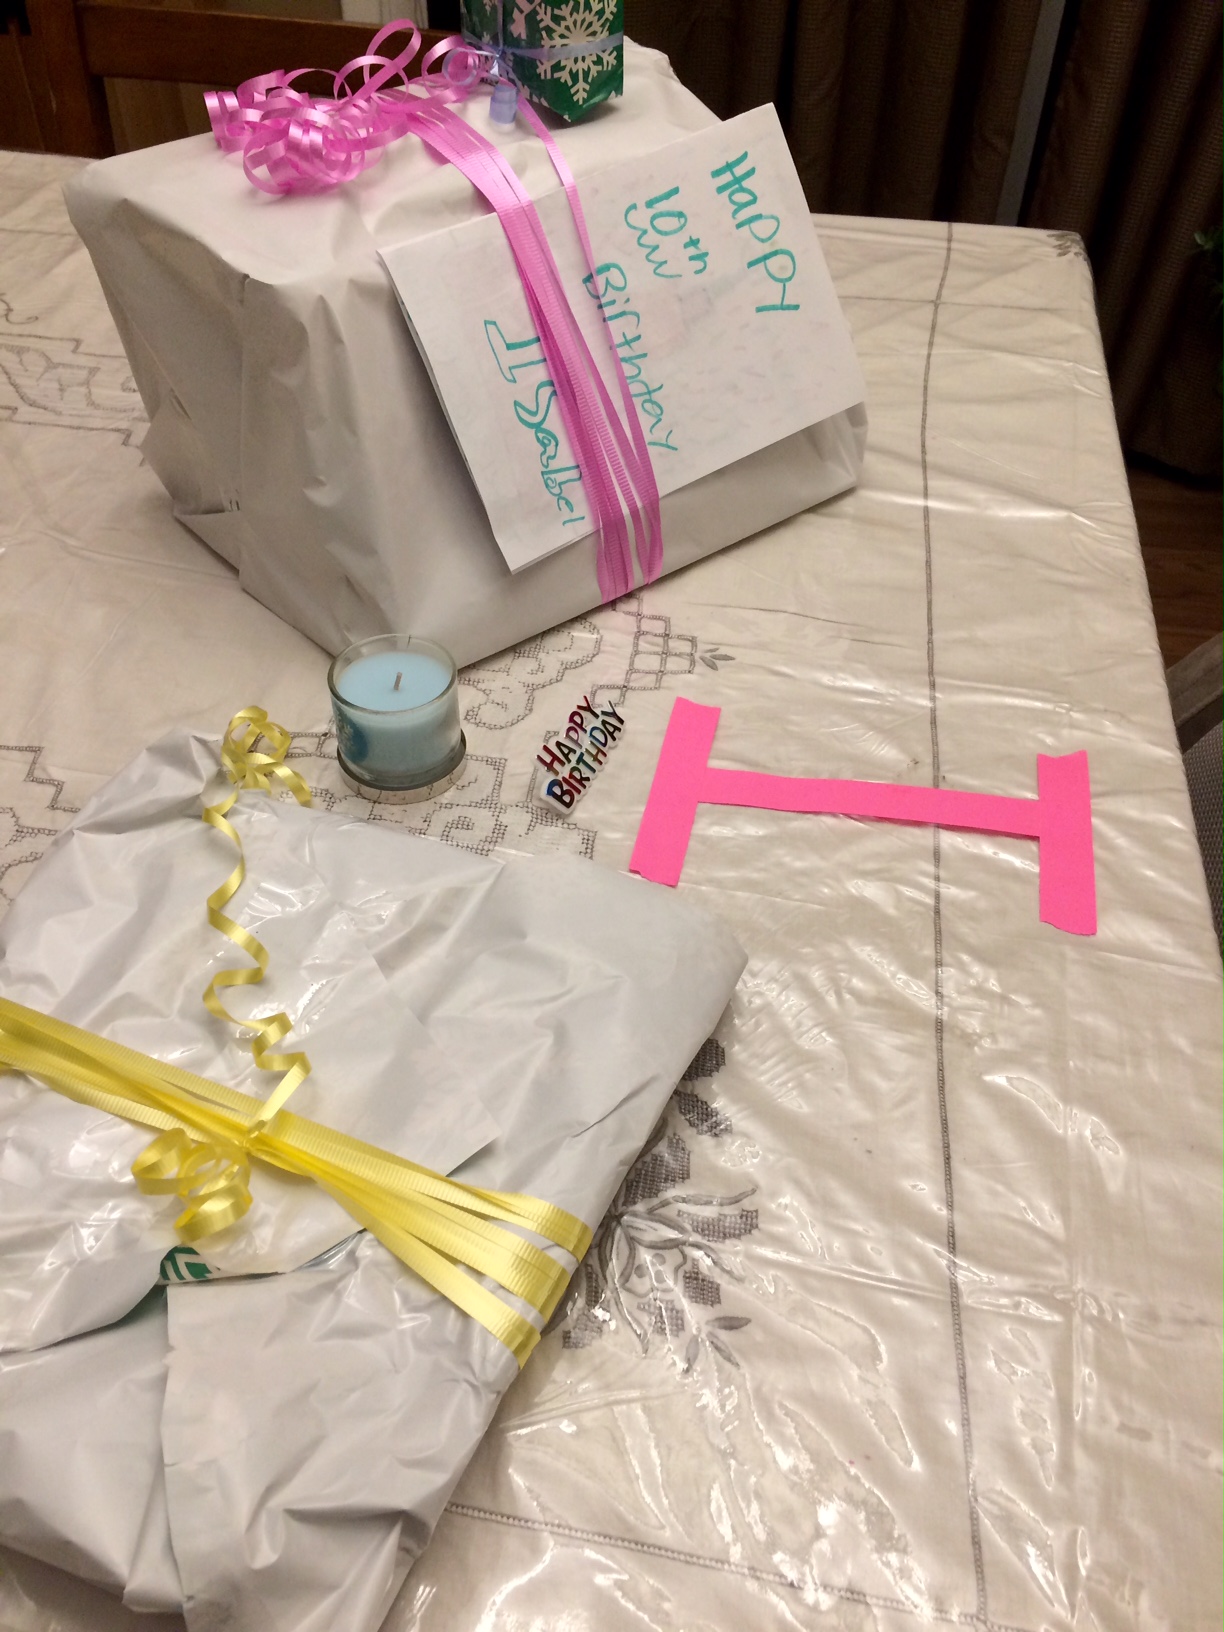
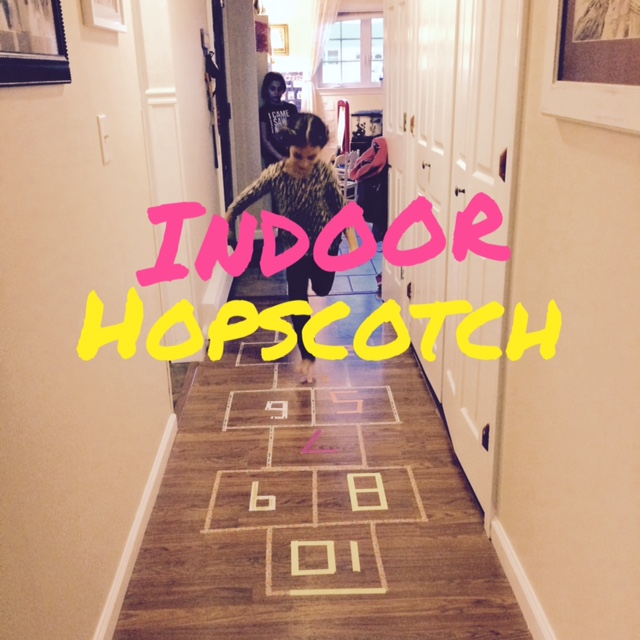 My middle daughter, Melina came home from school the other day and asked me to make an indoor hopscotch for her. Immediately I thought this was an awesome idea and quickly thought of a way to incorporate it into celebrating my oldest daughter, Isabel’s birthday. She was turning ten, so what a perfect way for her to enter the double digit world! We always have a stash of washi tape so I figured that was the best way to make one. I also thought it would be fun to use washi tape to write a big number ten in front of her room so that when she came out in the morning, she’d follow it to the hopscotch in the next hallway. After she got through the hopscotch, her sisters had some gifts waiting for her. It was a perfect way to celebrate her b aefore she headed off to school for the day. I’m letting the girls keep the hopscotch until I get tired of looking at it! It was also a great little addition to her birthday party!
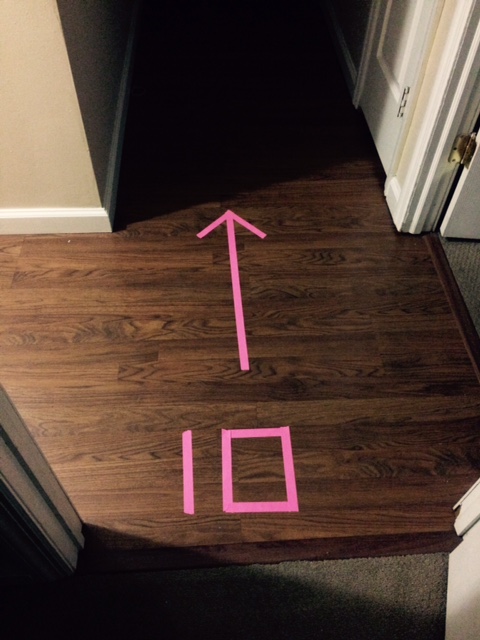
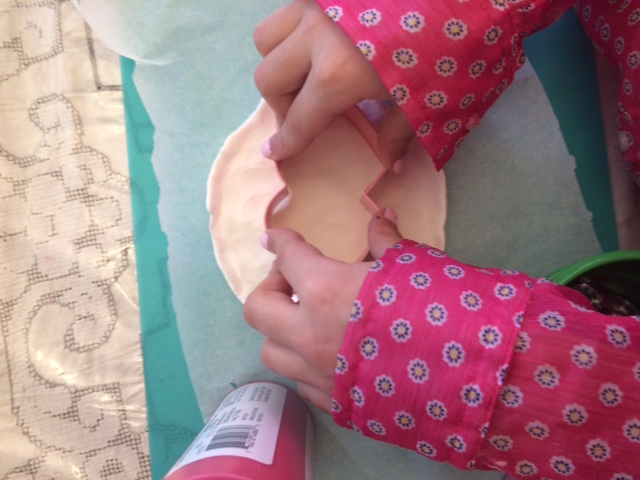
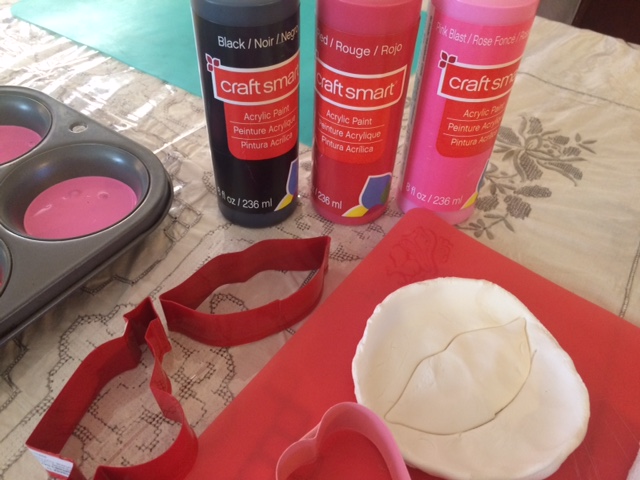
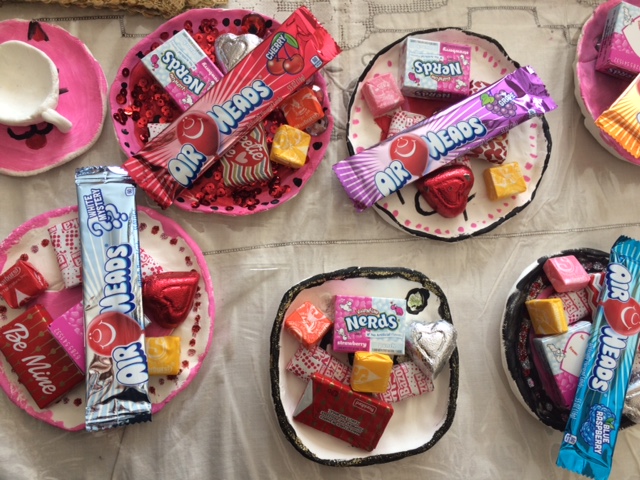 Valentine’s day is right around the corner and I thought it would be fun for the girls to make something for their cousins, who also happen to be their absolute bestest friends! They love using Crayola Model Magic at school, so I thought to use that to make their special gifts. The idea was to hand make some small plates out of modeling clay and then fill them with their favorite treats (chocolate hearts, Conversation hearts, etc). The plates can then be reused on a desk for paperclips or on a dresser for jewelry.
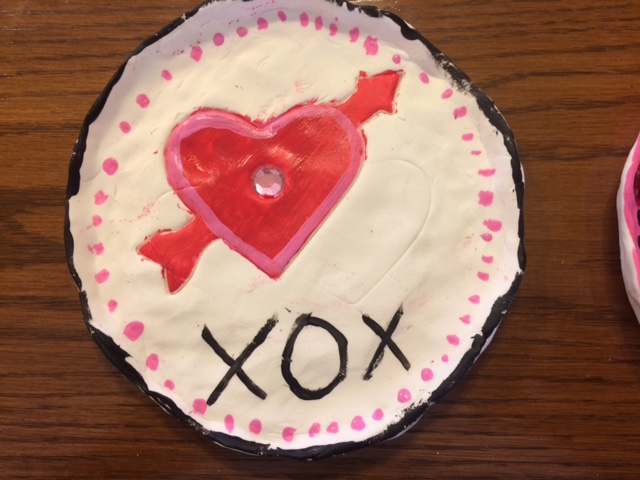


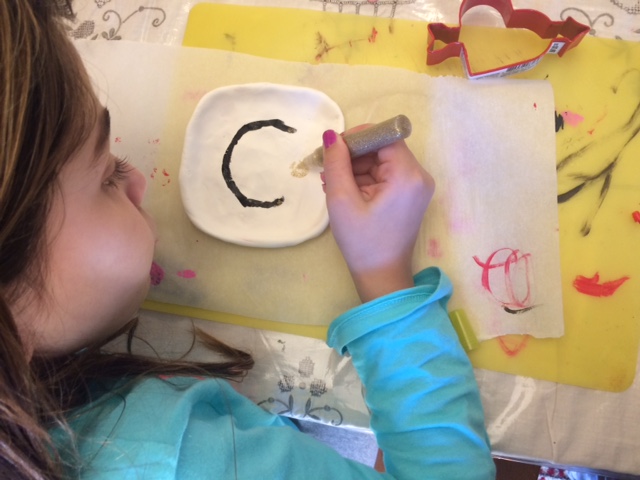
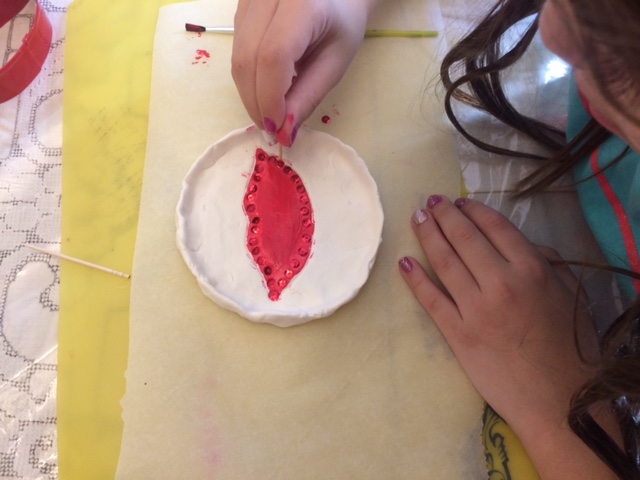
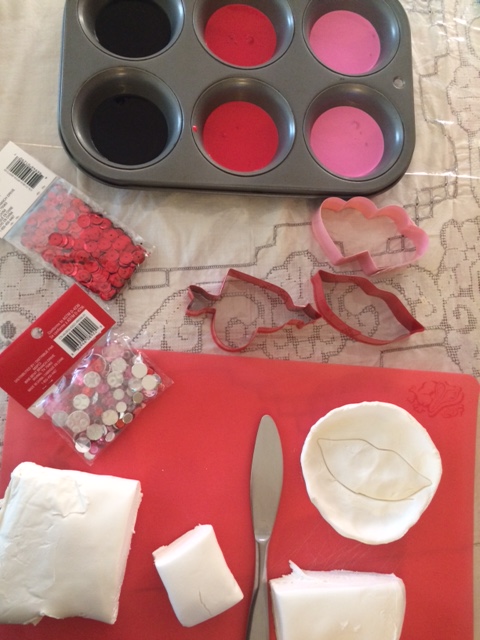
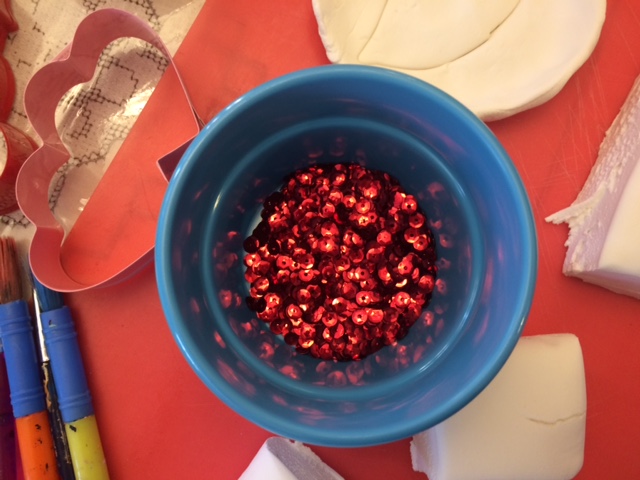
 I simply helped the girls roll out their clay and mold their plate (use parchment paper as a backer to keep the Magic Model clay from sticking). They then either painted a design or used one of the molds to lightly imprint a design onto the plate and then paint it. Using a toothpick, they proceeded to press little red sequins and gems into the plate for added decoration. Lastly, just place the plates somewhere out of the way and allow to fully dry which will take roughly 24 hours.
Materials Used:
Happy Valentines Day!
 Merry Feet & Happy Toes (For Christmas and Chanukah)
With so many amazing people in my life, I can’t help but want to give a gift to each and everyone especially during the holidays! Between teachers, neighbors, friends, and that certain someone who just makes me smile, I like to give a little something that says you’ve left an imprint on my heart.
I love homemade gifts! I love making things from scratch and packing them up with special handmade gift tags! It satisfies the creative bug in me especially during a hectic time of the year.
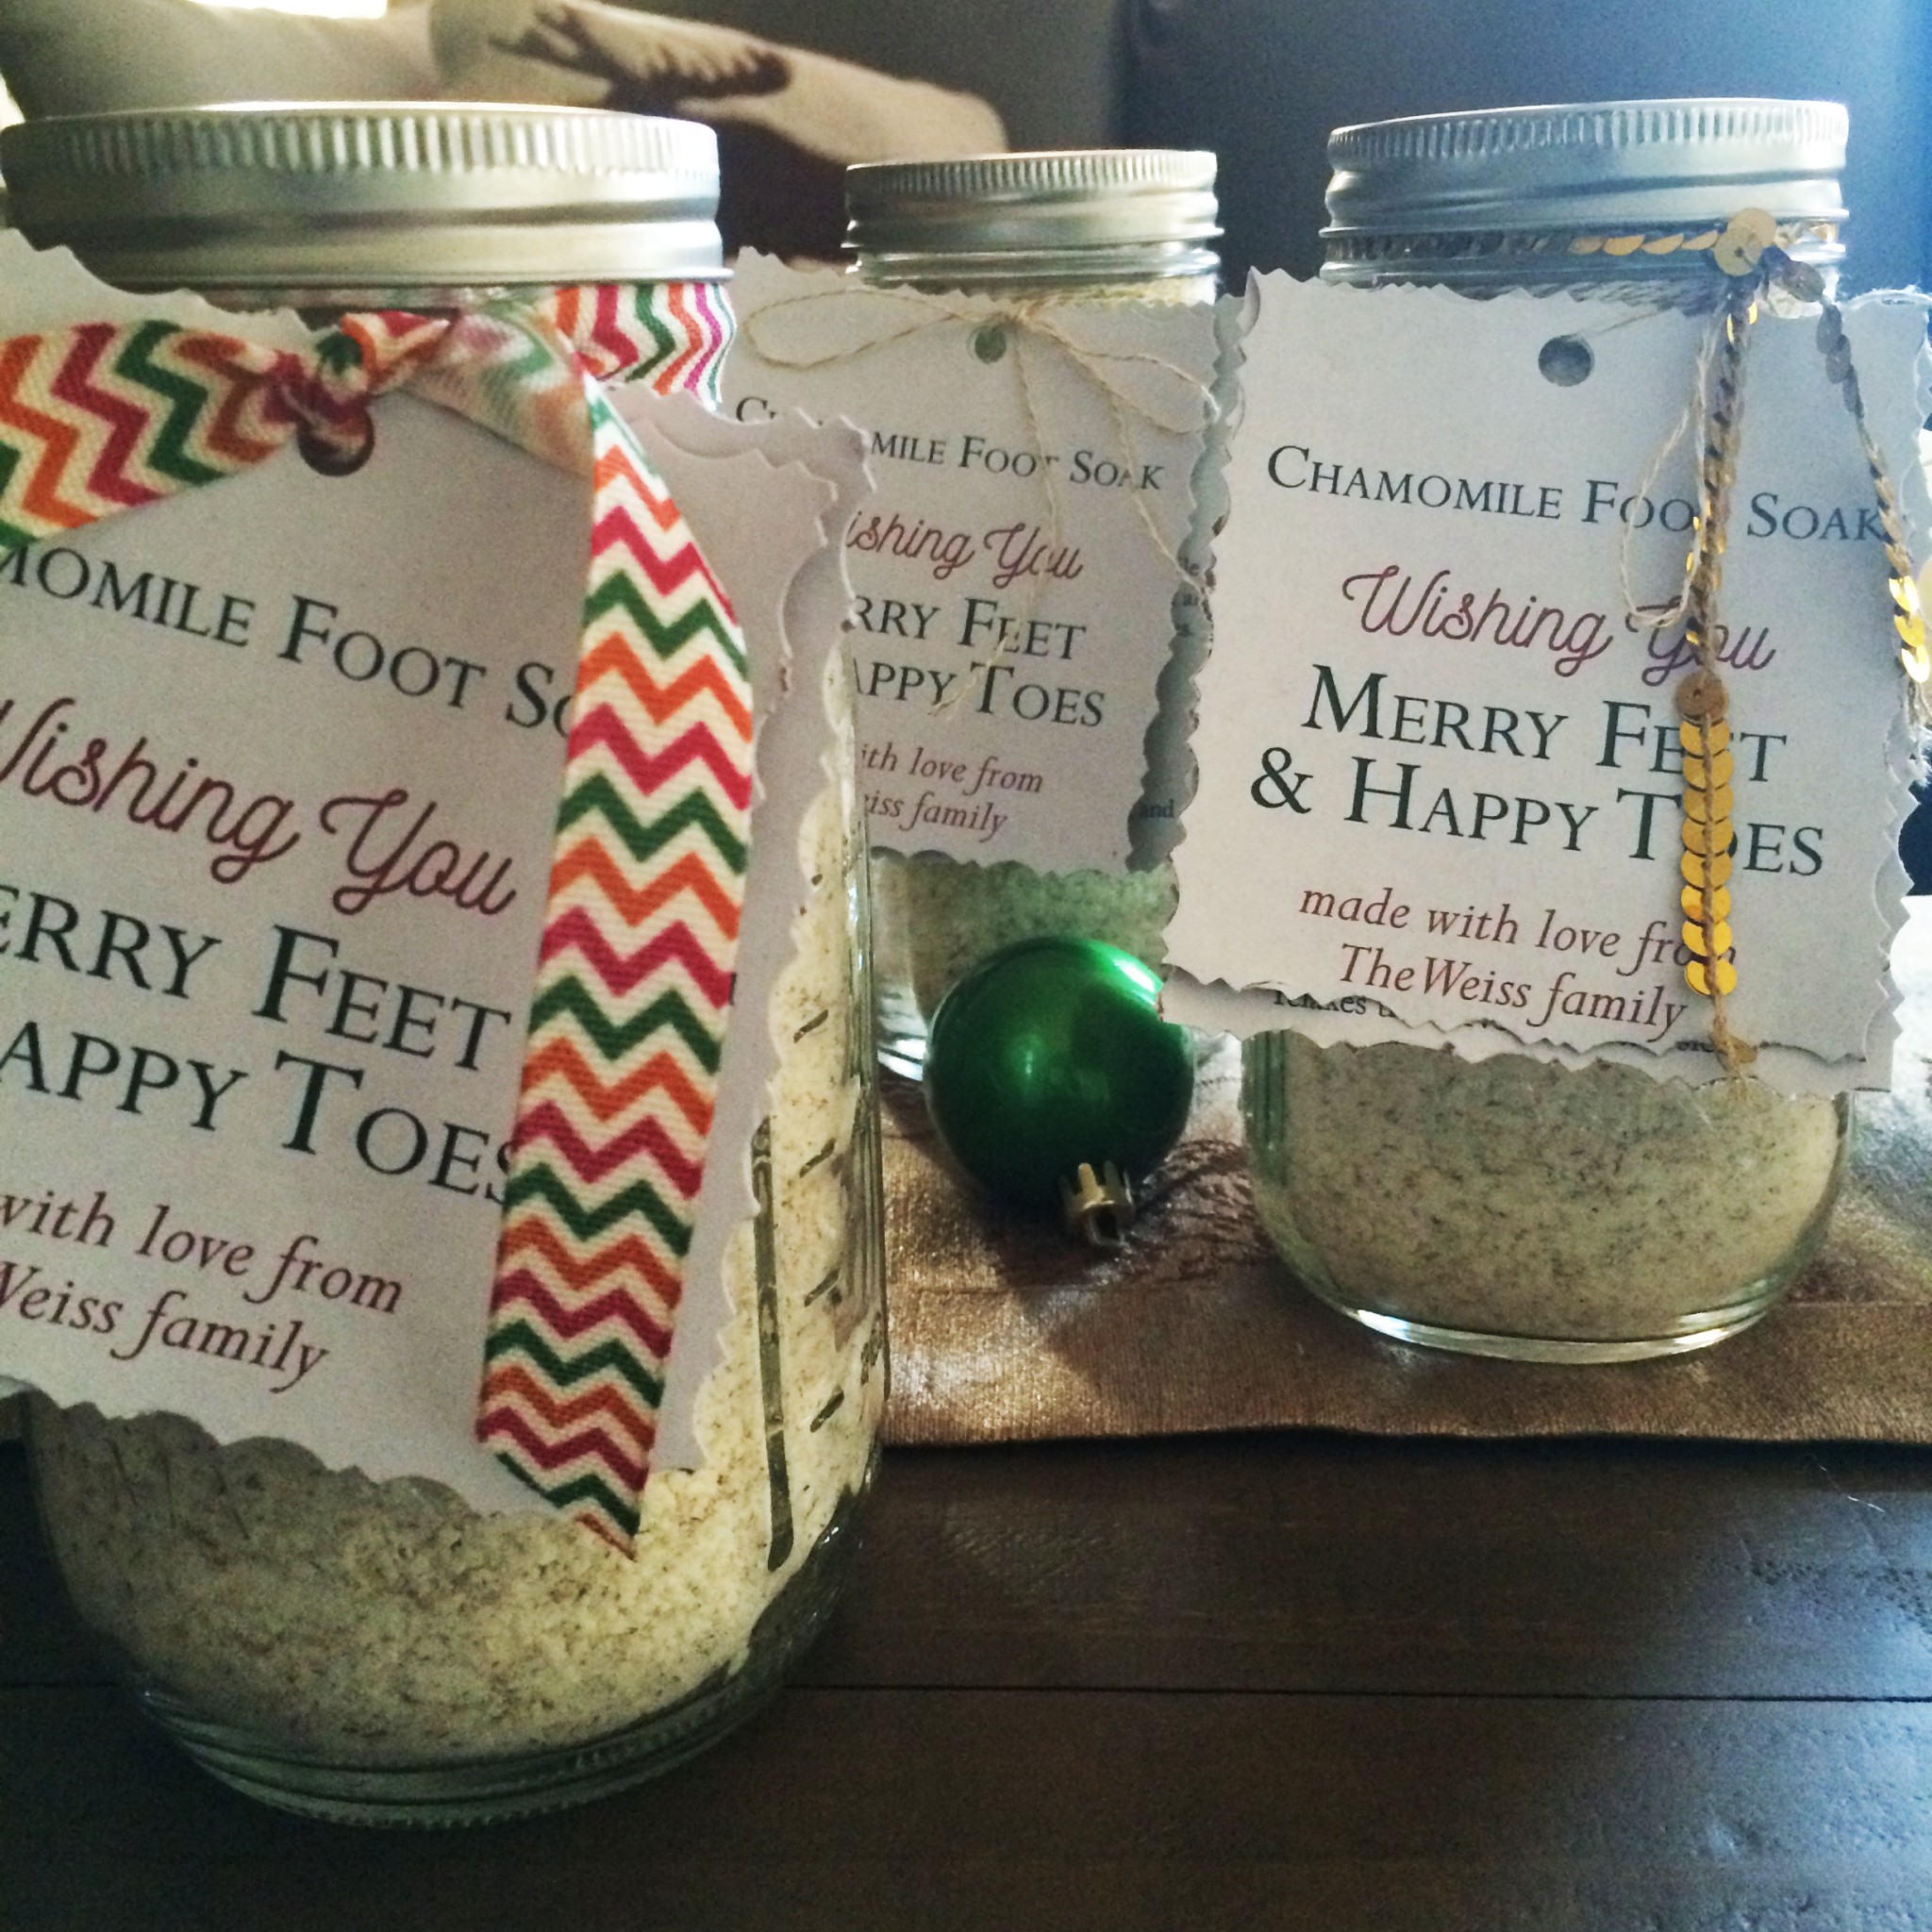
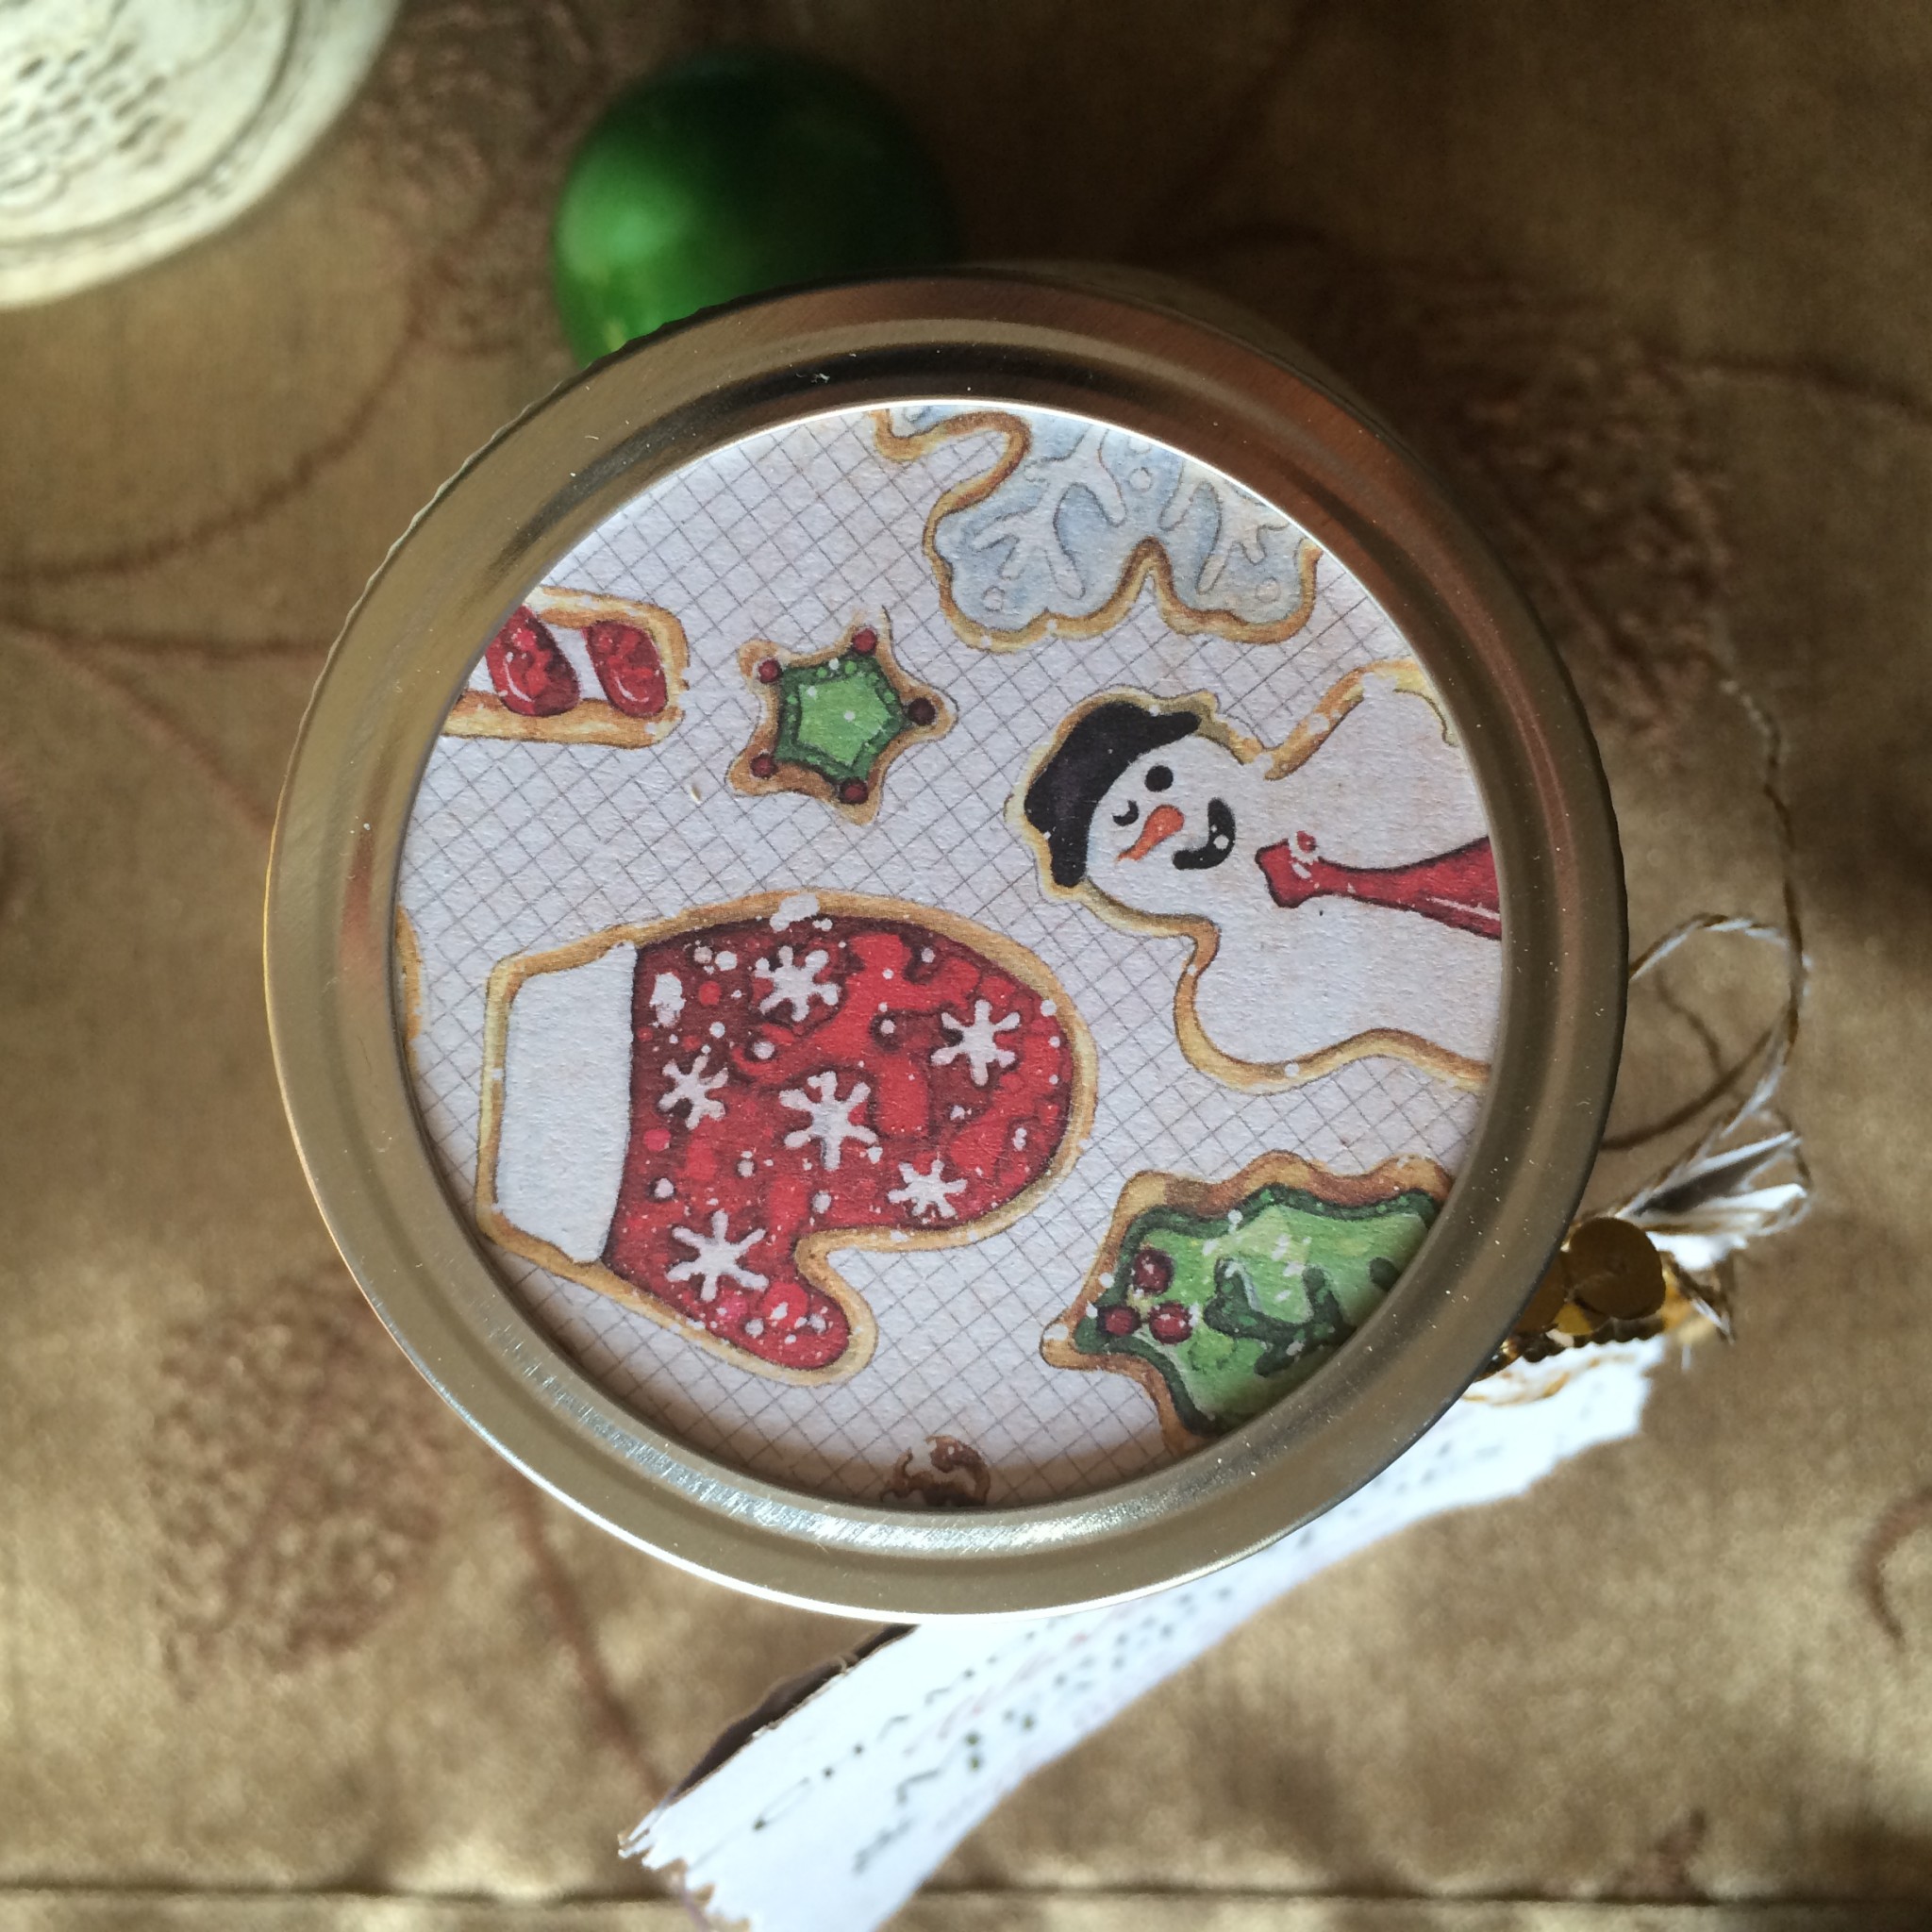
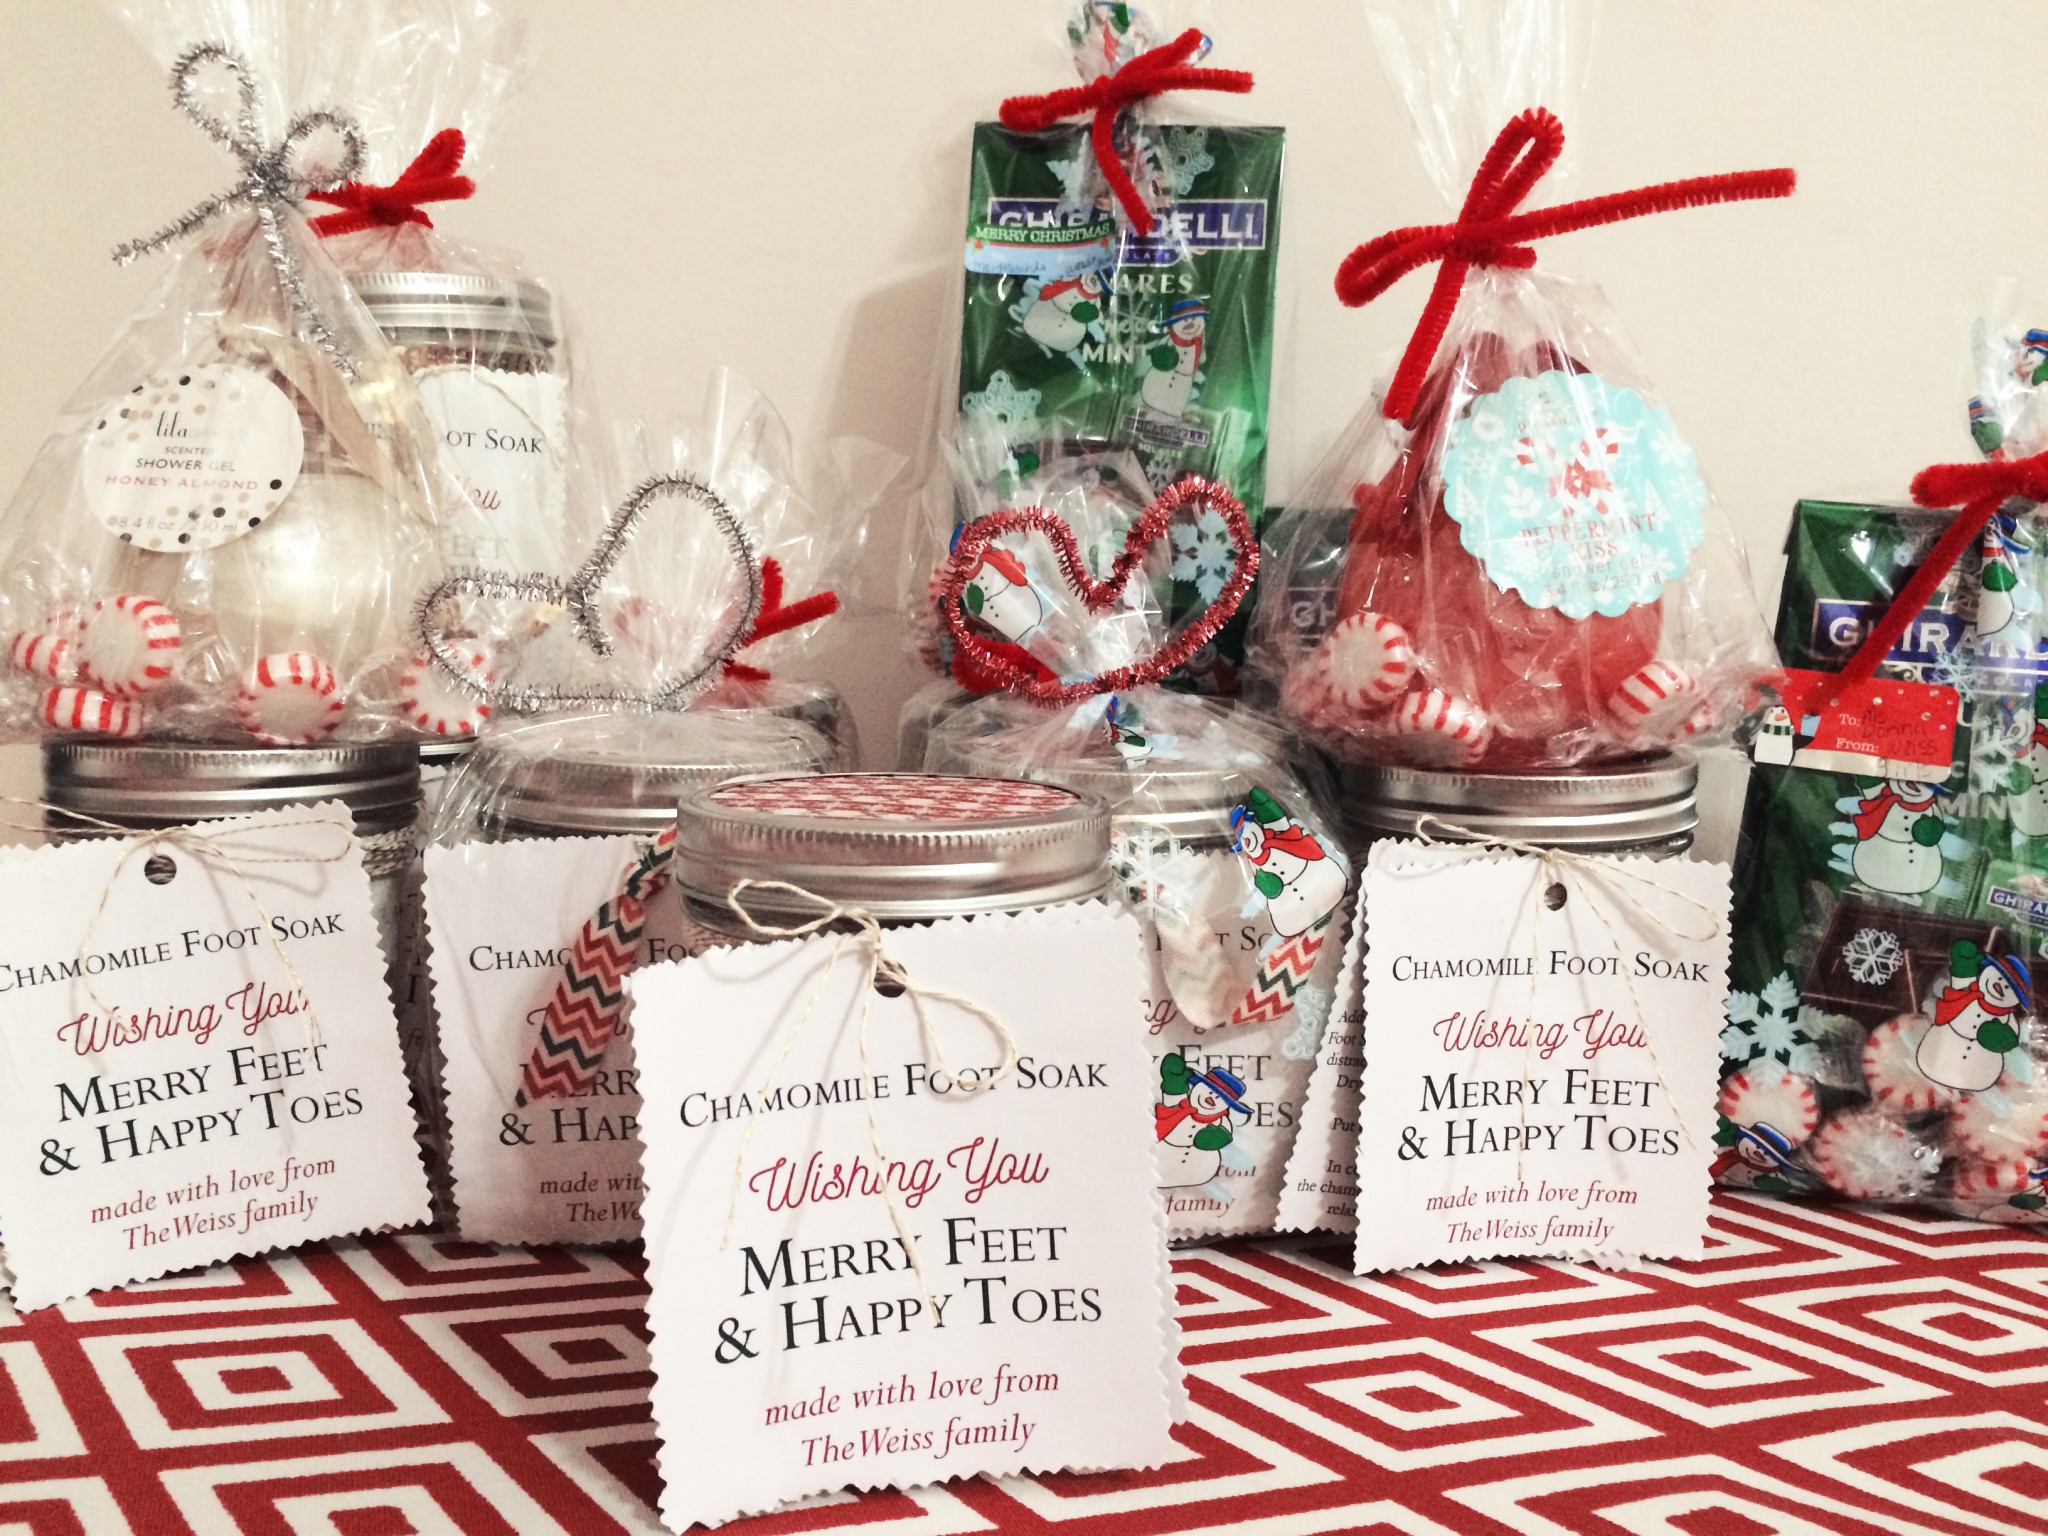
I wanted to give something really special to the teachers this year. With three children now in full day school, the amount of teachers add up and purchasing something really special sometimes can become expensive. So I decided to make something special instead! Teachers are on their feet all day long, so I searched for a homemade foot soak recipe, created my own little tags and wrapped them pretty into a canning jar. We added cozy slip-on socks for the finishing touch! The Recipe for the foot soak is so simple and I altered it a bit but you can find it here.
Here is what you need but first figure out how many jars you’d like to fill and how large the jars will be. So easy to make big batches of this foot soak.
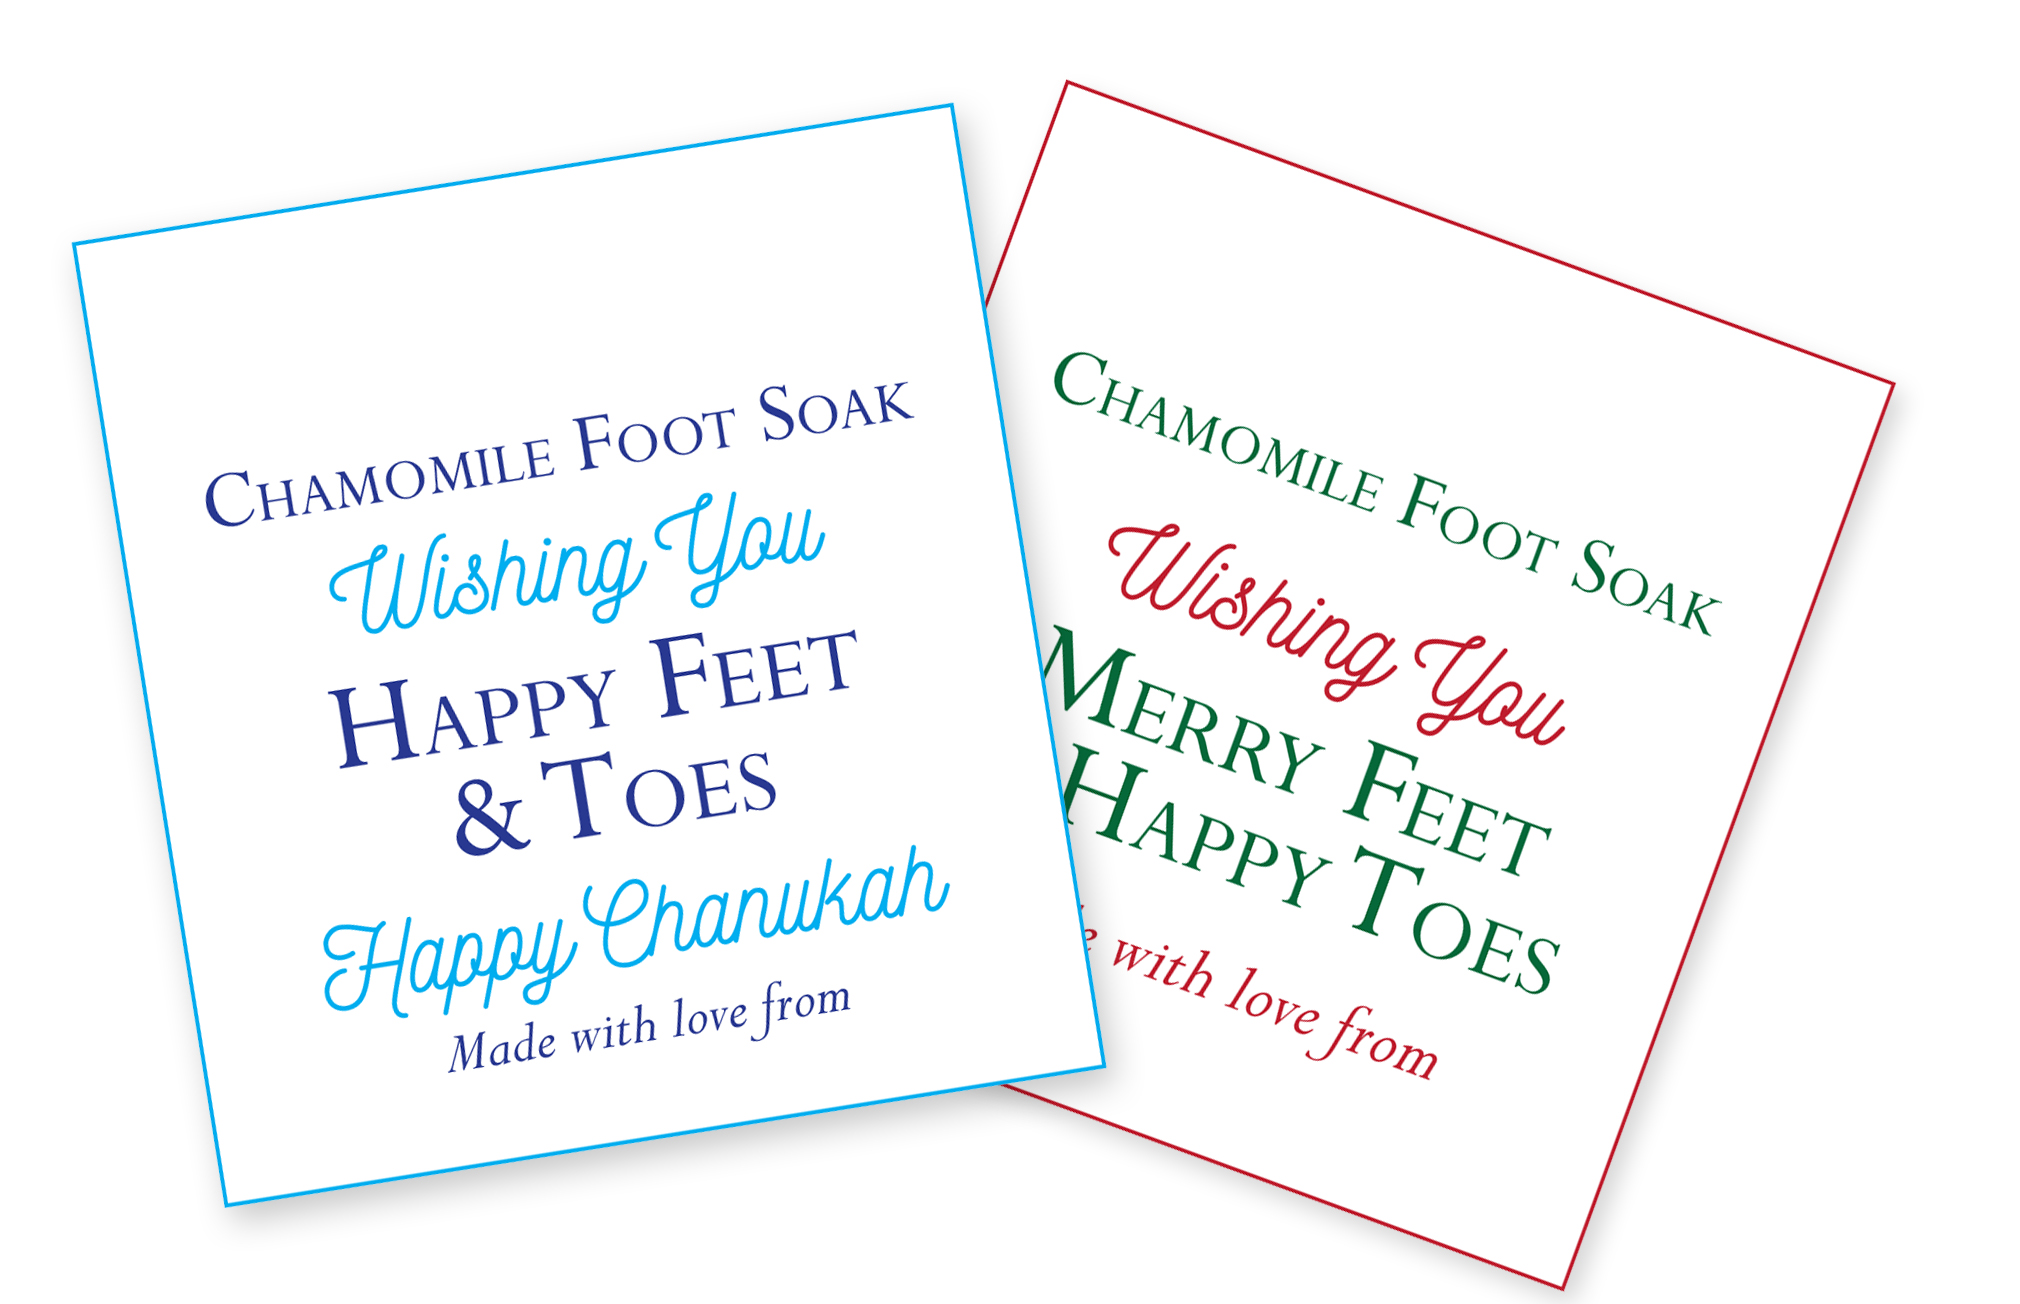
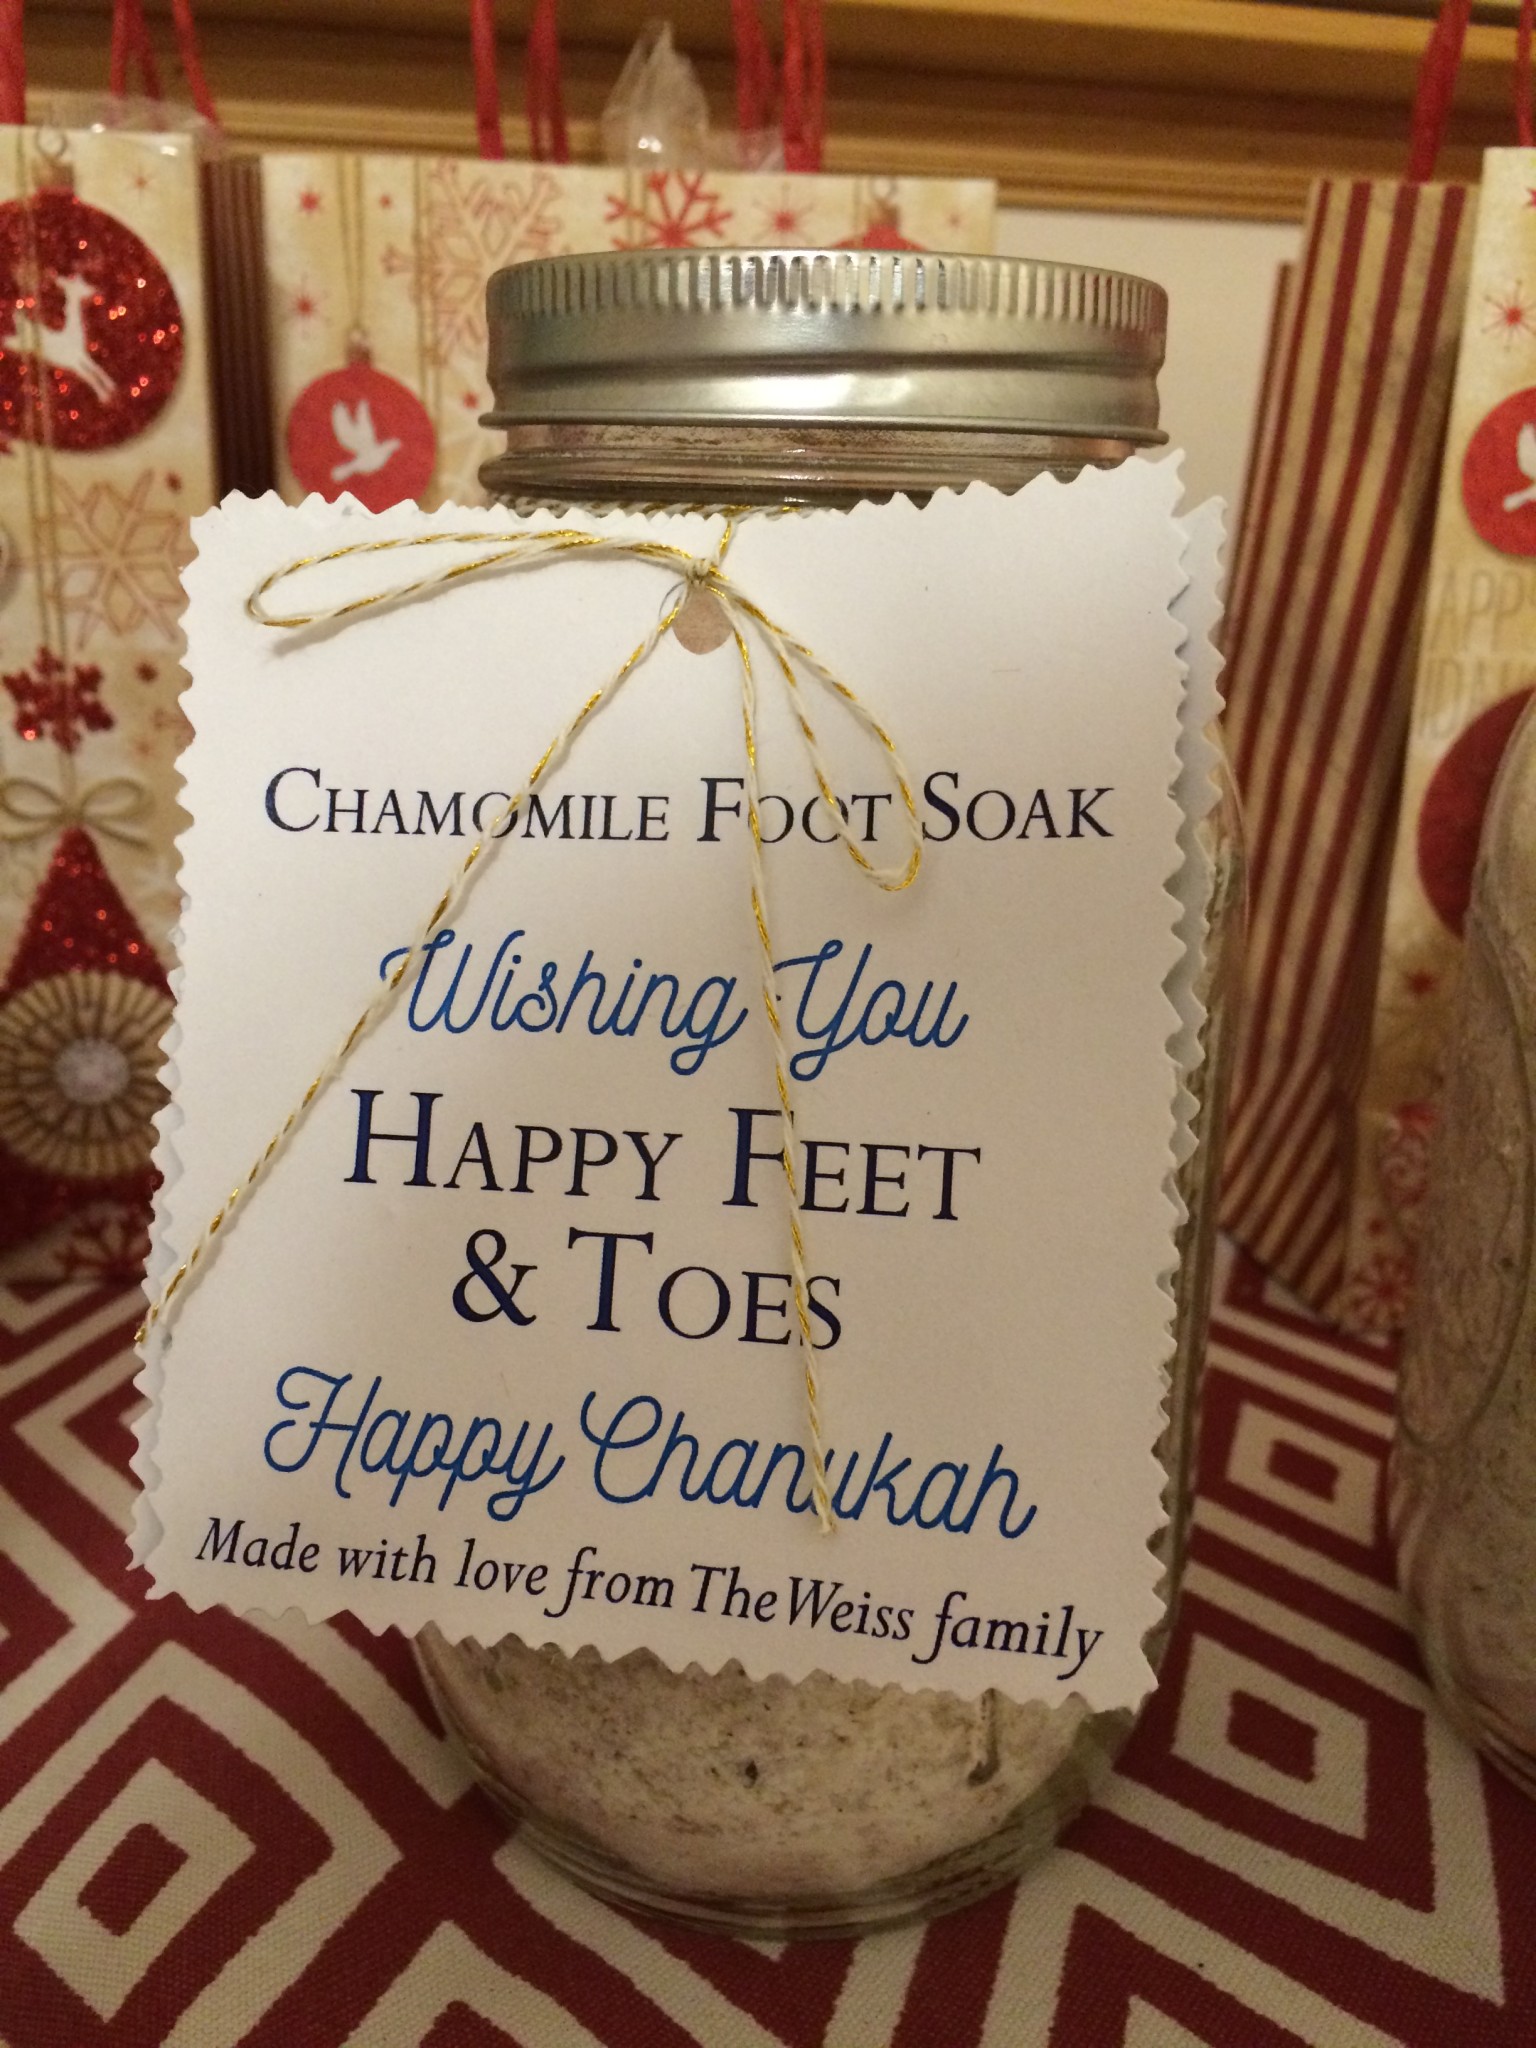
I used equal parts of Epsom salt and Dried Milk. Added about 20 bags of Chamomile tea bags per Box of Dried milk/ bag of Epsom Salt. I used a little less amount of the Lavender oil that was recommended here. Using a large basin or Tupperware, I mixed all ingredients together and using a measuring cup I scooped mixture into the jars filling it to the top. Once they were filled, using the lids as a guide I traced circles onto decorative scrap paper cut them out and placed them onto the top of the lids and sealed jars tightly. You can print the tags straight onto a thick hard stock. I used a decorative scissor to cut out the tags, popped a hole through them and used bakery string/ribbon to tie the tags around the jars and tah-dah! Merry Feet!
These make great gifts all year round! Just create a new gift tag for each season.