DIY Flower Pressed Art

Whether it’s a beautiful bloom from your garden, a special rose or sunflower from a certain someone, or a beautiful flower you found on a nature trail, flower pressing is such a great way to preserve that special flower. They also make great sentimental gifts!
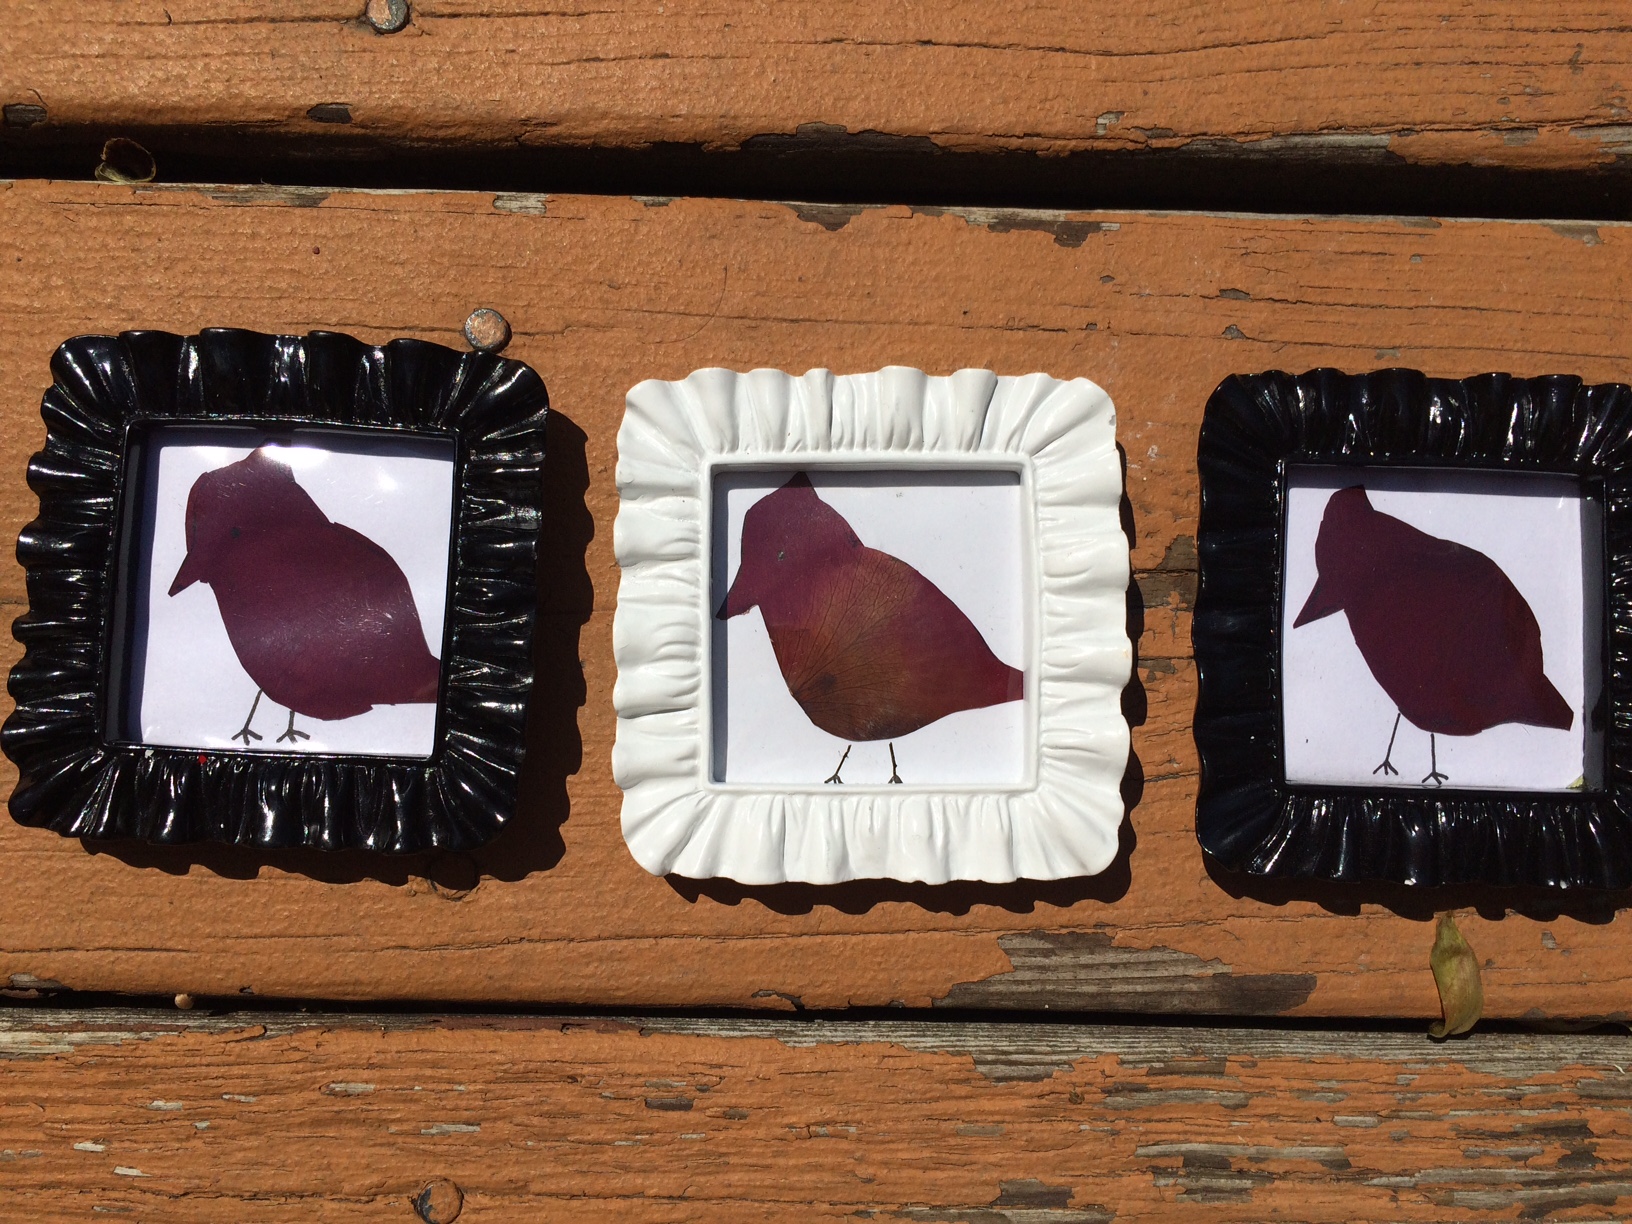
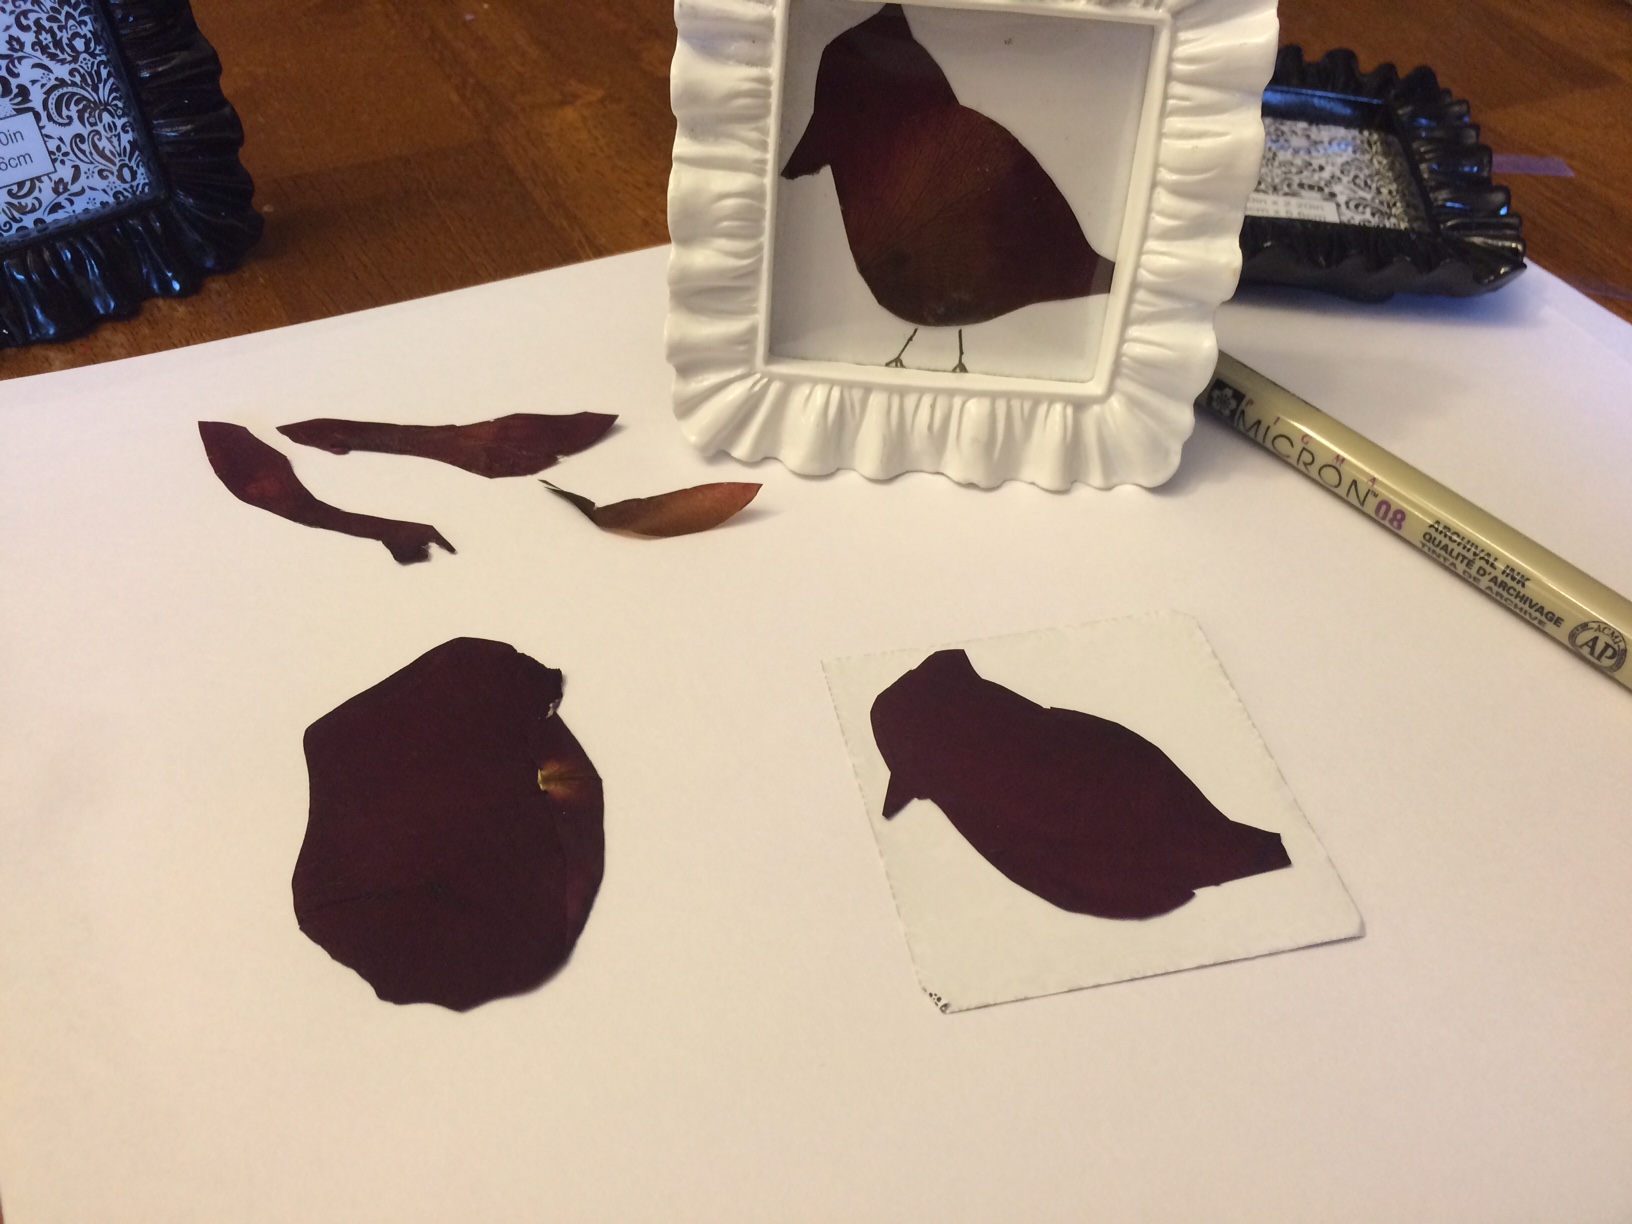
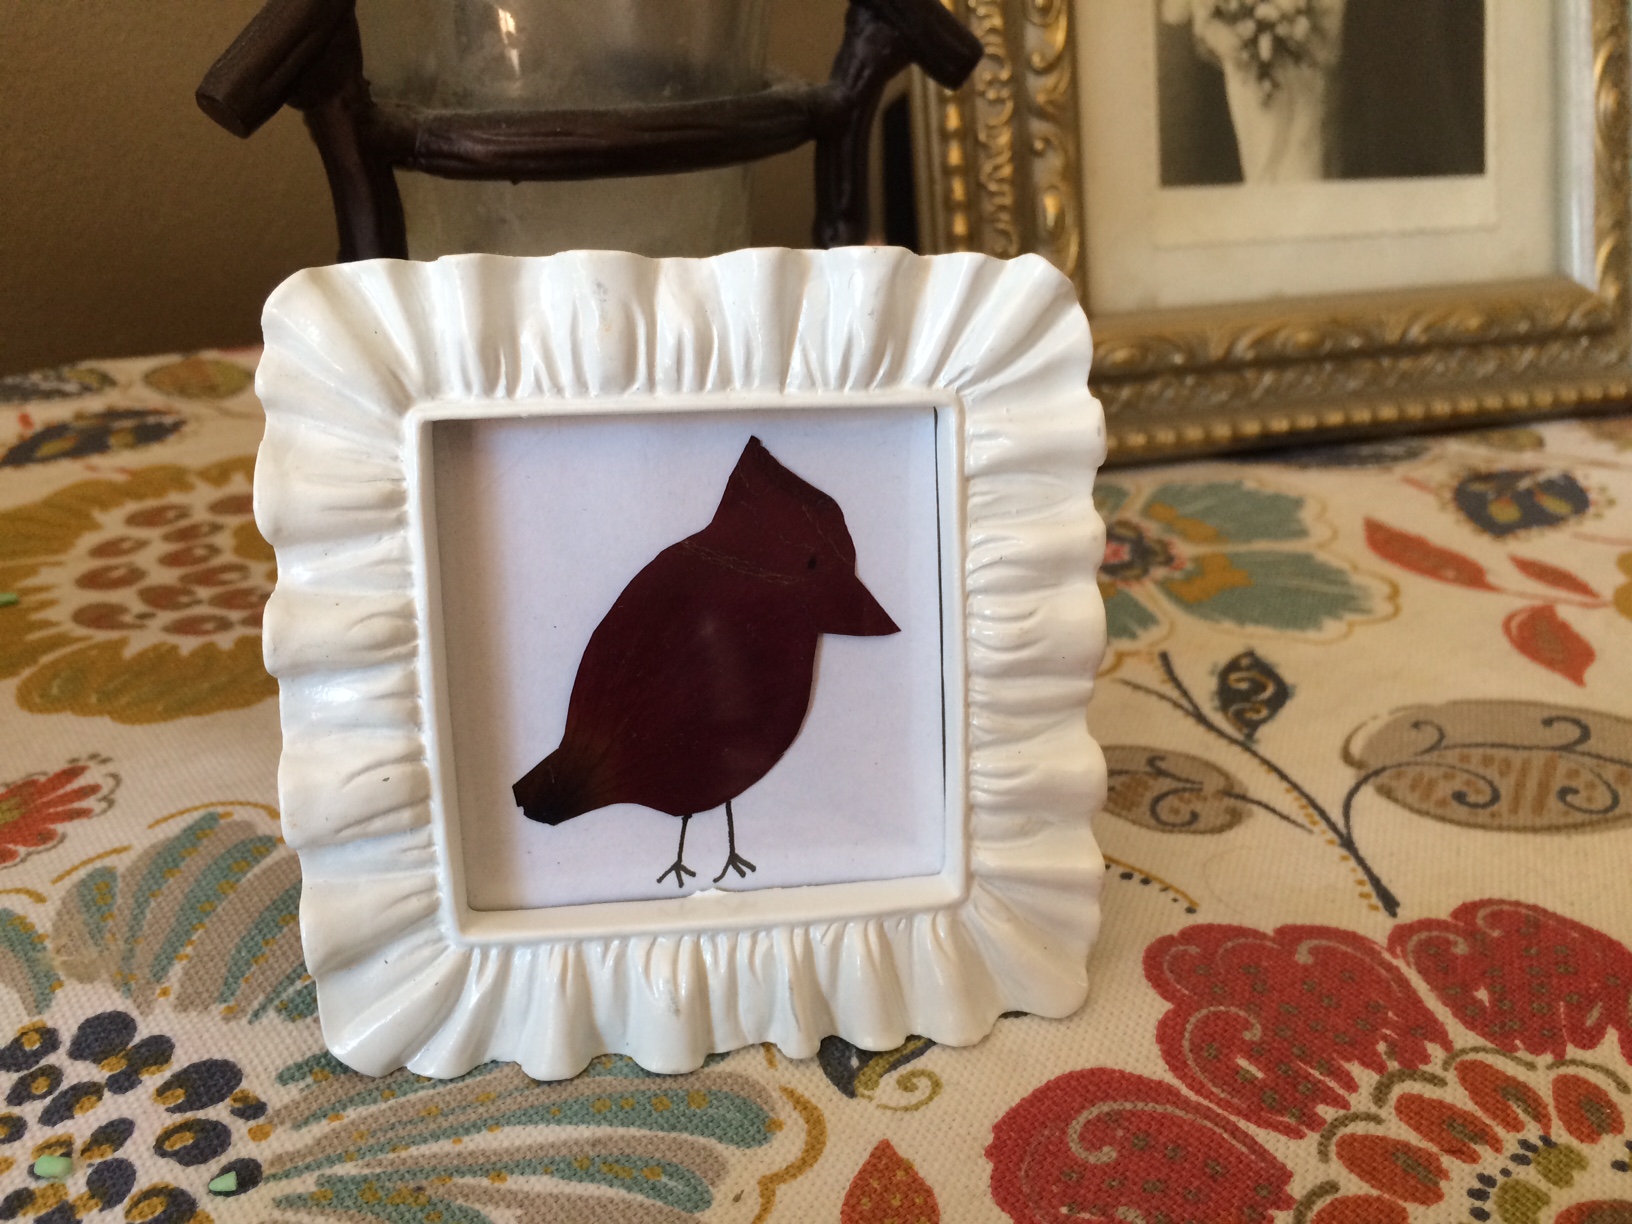
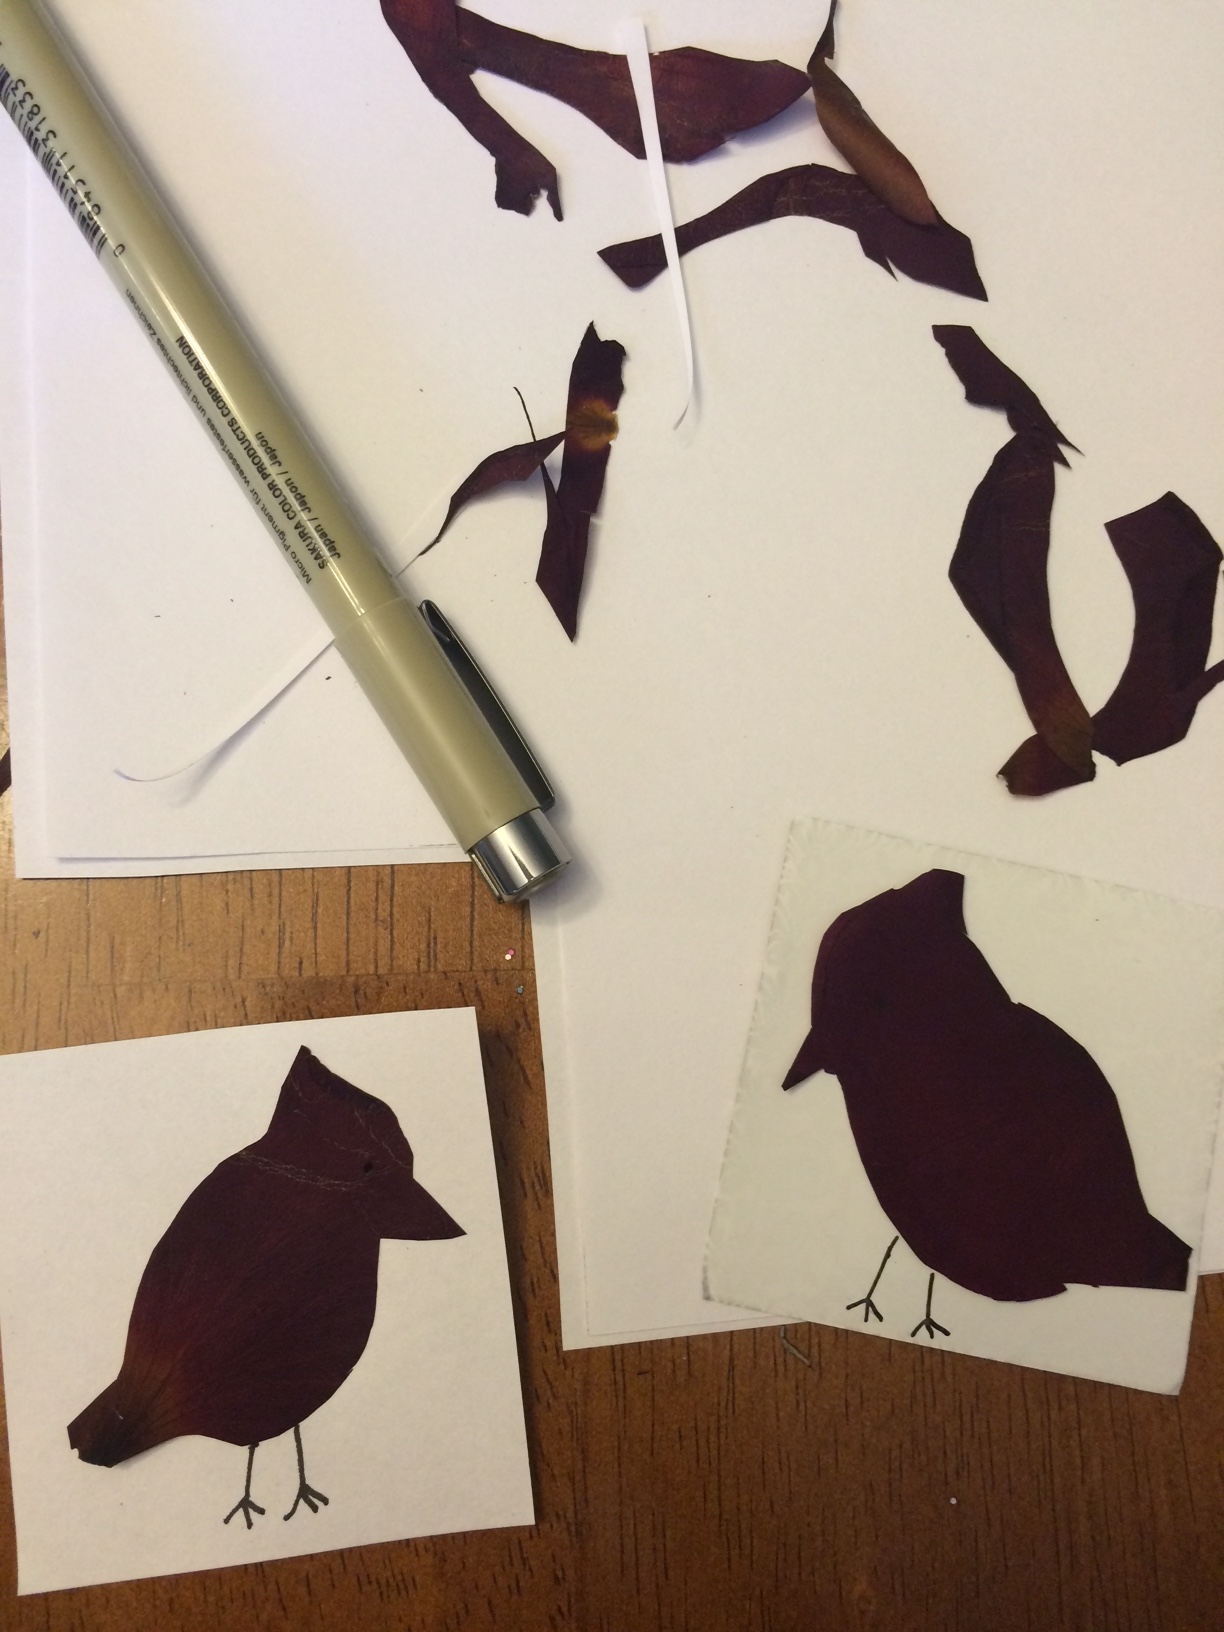
Framed Cardinal RoseArt CardinalDried Flower ArtWe were each given roses to throw onto my fathers casket at his funeral. Something made me take an extra one. When we got home, my husband took the rose, separated the petals and pressed them in between a book, put a piece of wax paper over the petals and closed the book. He then placed a huge change jar over it and left it there for a couple of weeks. You can find exact instructions from here. The days after my fathers funeral I couldn’t help but notice a cardinal coming to visit my feeder every single day! They say that a visit from a Cardinal is a visitor from heaven. So whenever I see the Cardinal I yell out “Hi dad!.”

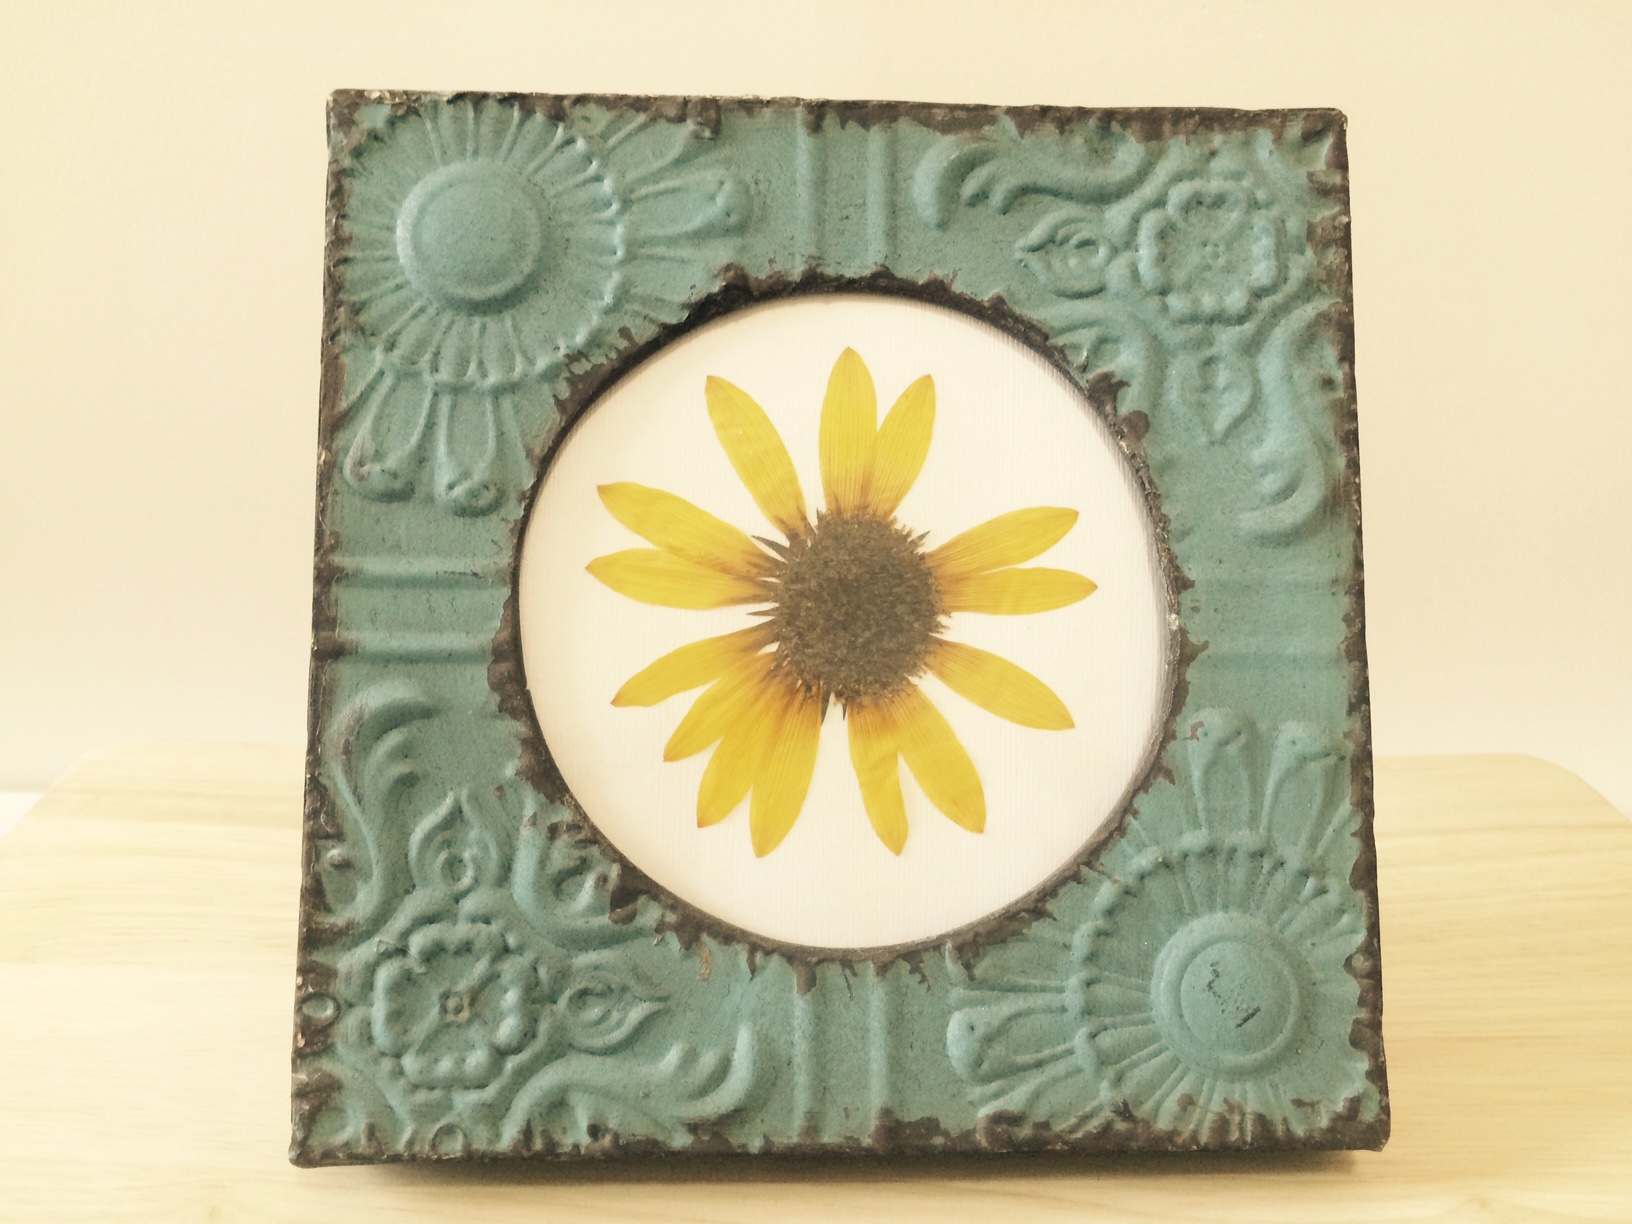
I wanted to make something special with the flower, at first I was just going to frame each petal, but then my daughter Melina said “mom you should cut them!” As soon as she said “cut”, it gave me the idea to cut them into the shape of little cardinals. Since my brother and sister have also experienced a cardinal visit as well, I thought this would be a great little gift to share with them. So, I carefully cut each rose into the shape of a cardinal and used a felt tip black marker to add little bird legs and a beak. I bought small little frames from Michael’s Craft store for like a dollar each and framed each little bird.SunflowerLast year, my husband noticed a sunflower in our garden with 14 petals. That number was his moms favorite number. So we took the flower, pressed it and framed it. It’s a beautiful reminder of his mom. This is also a great idea if you’re moving and you want to have a piece of your garden with you, or a family or friend is moving, this makes a great little gift!

Summer Fun: Shell Art

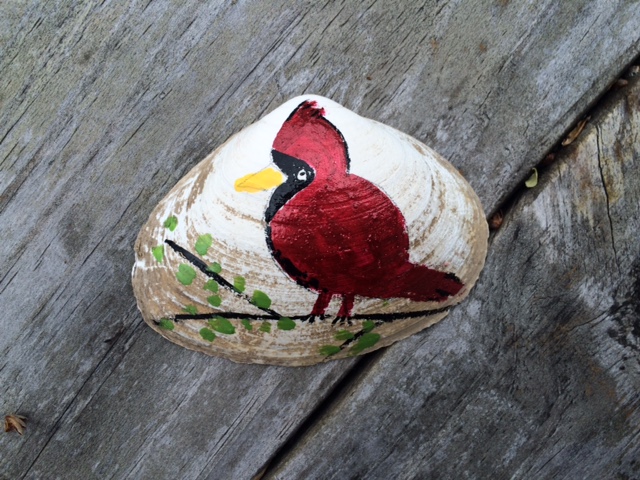
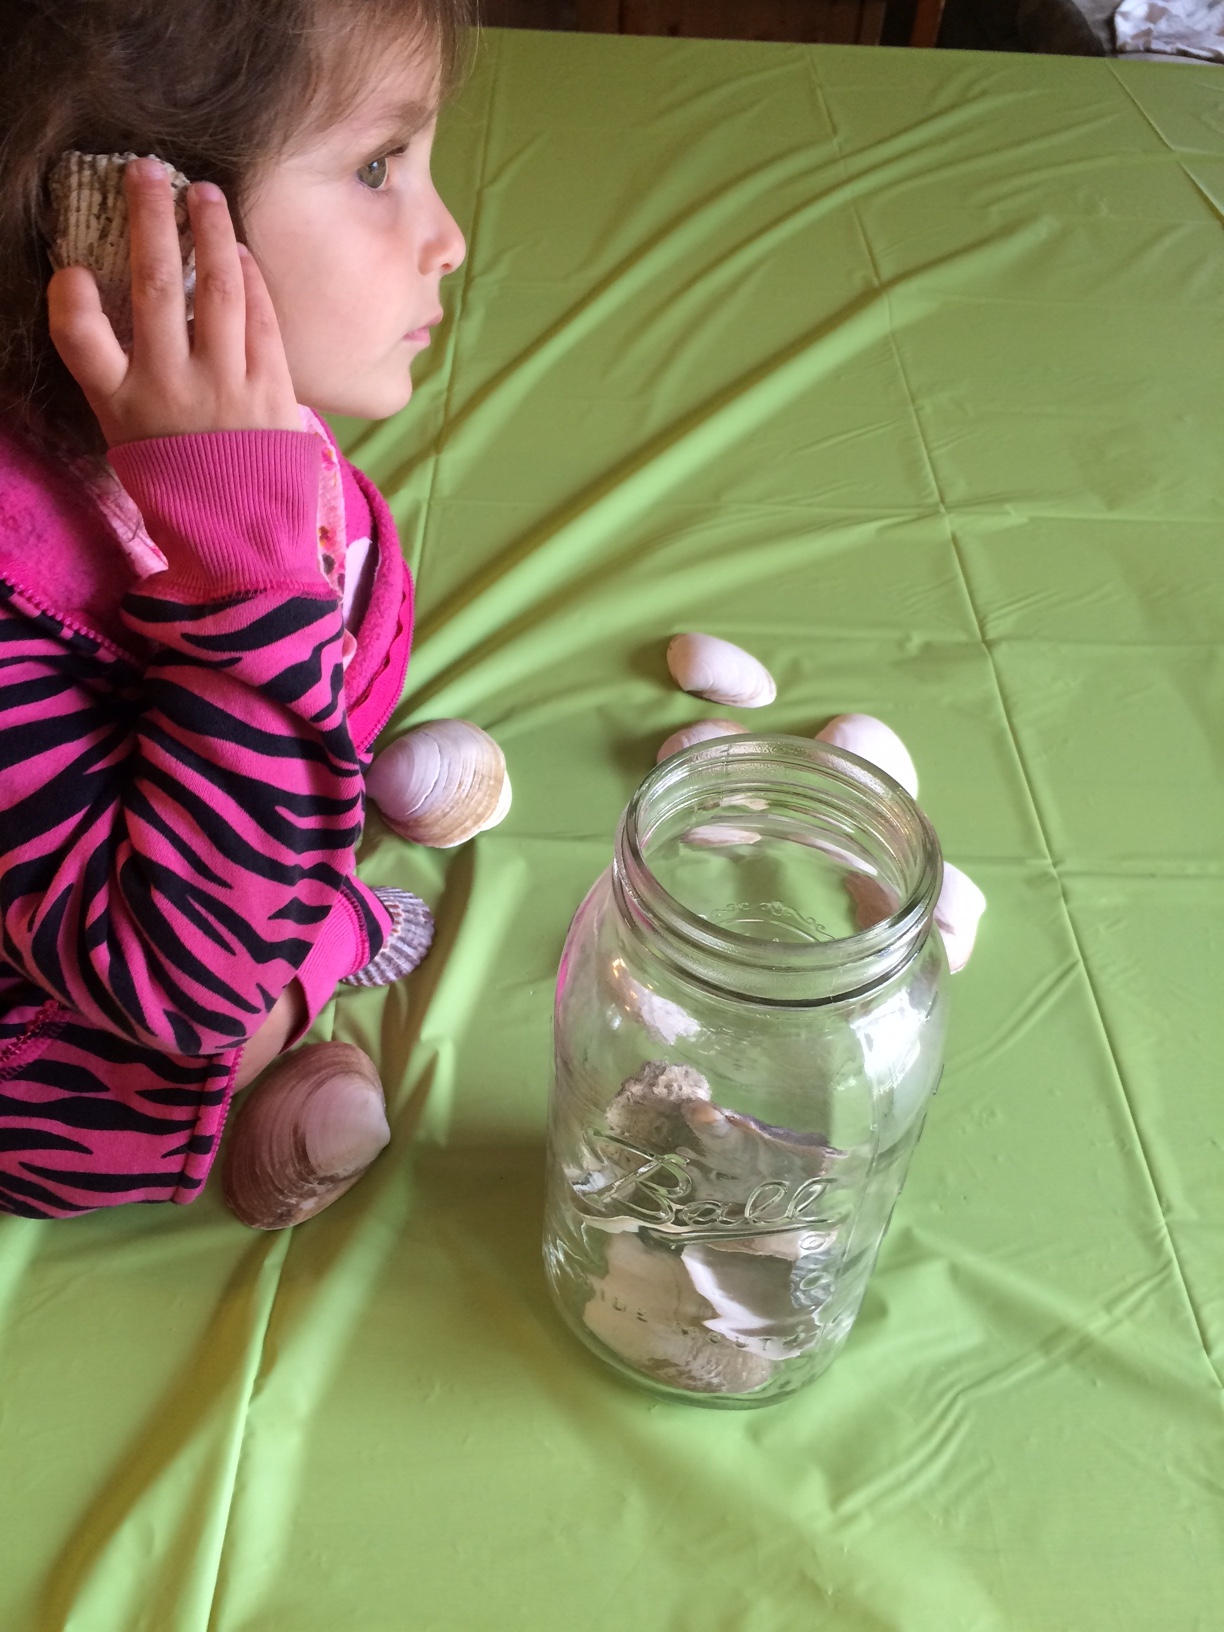
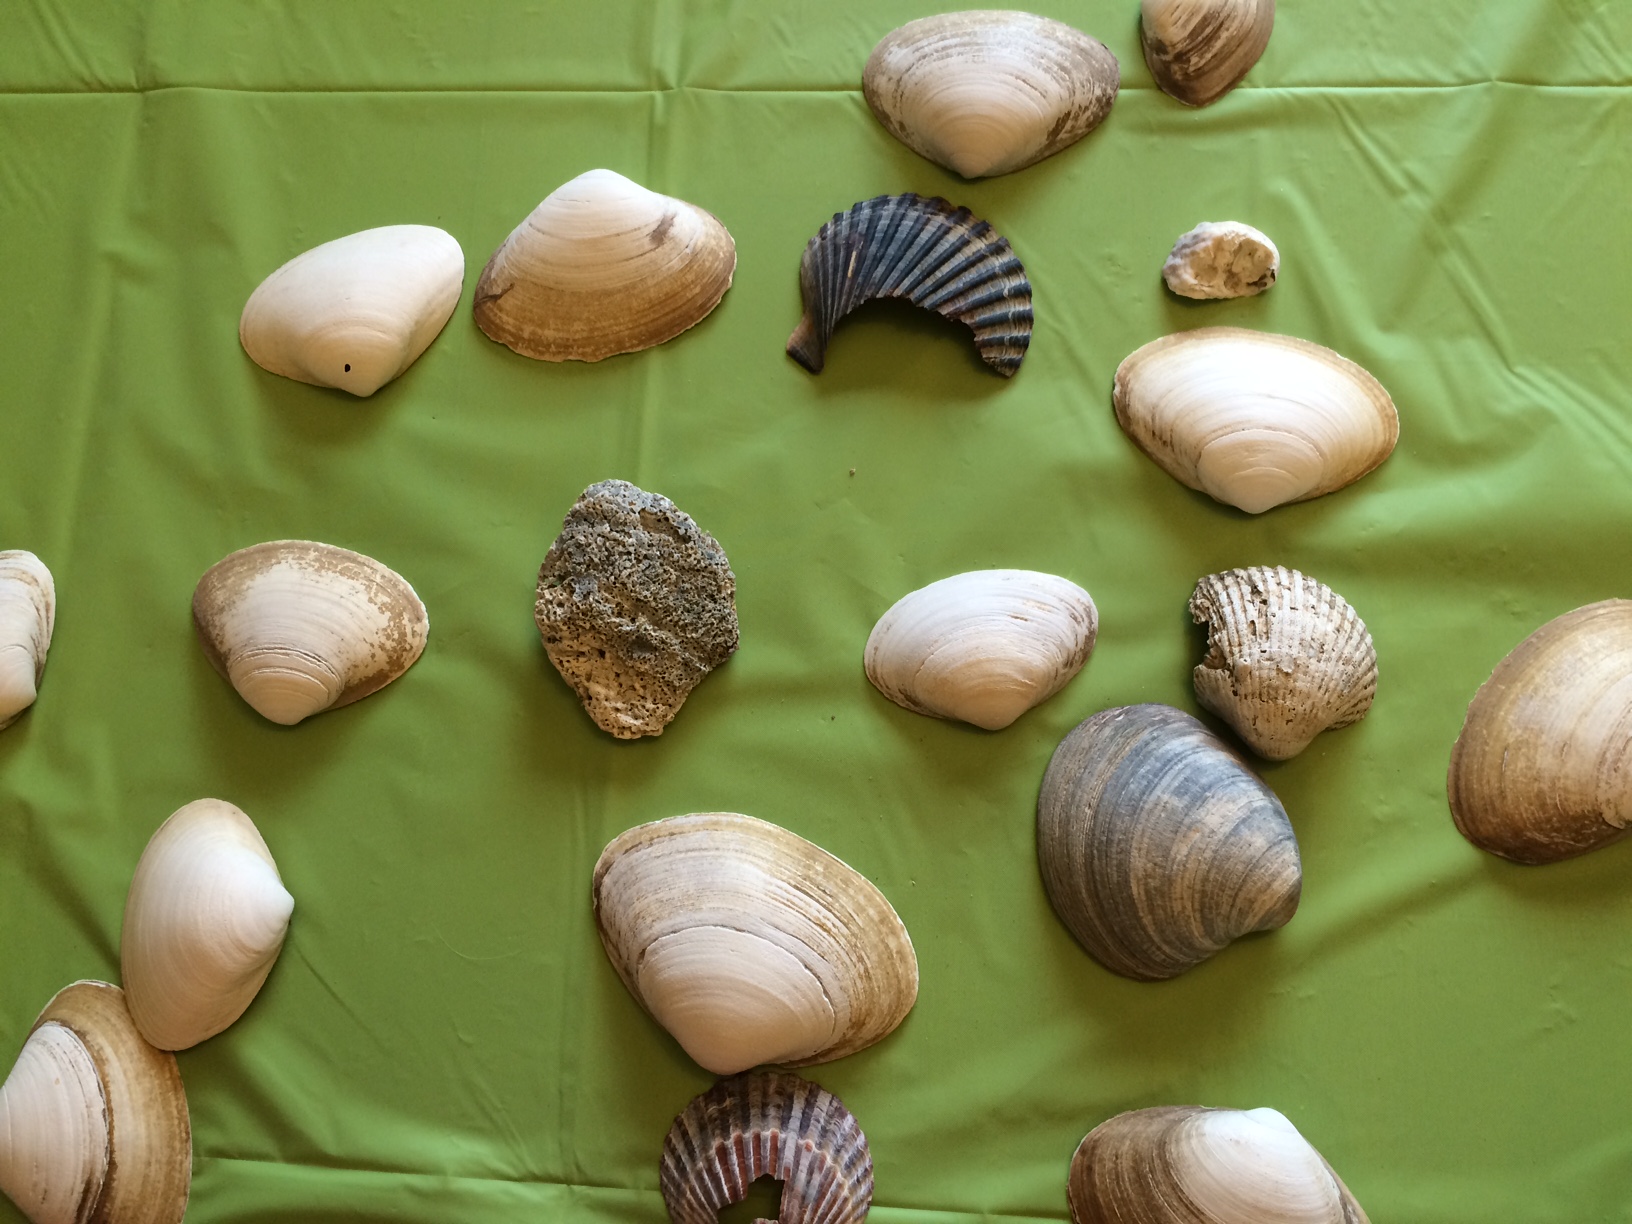
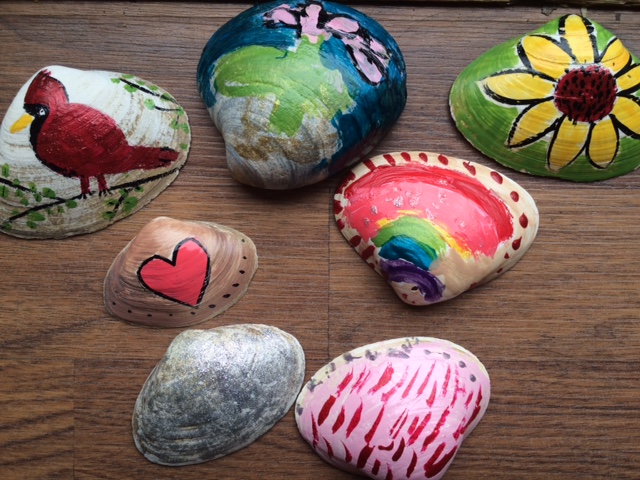
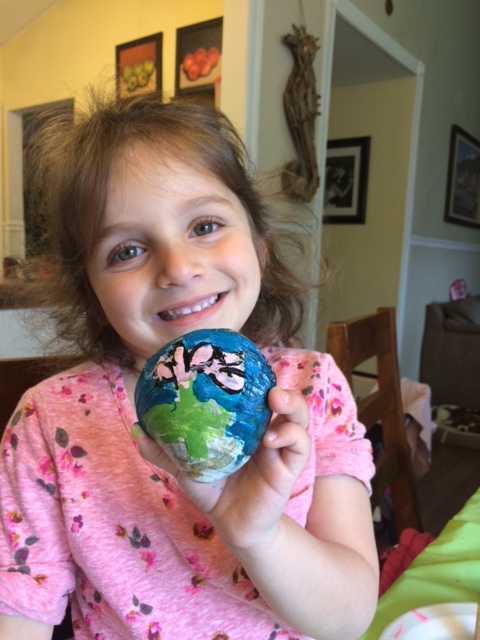
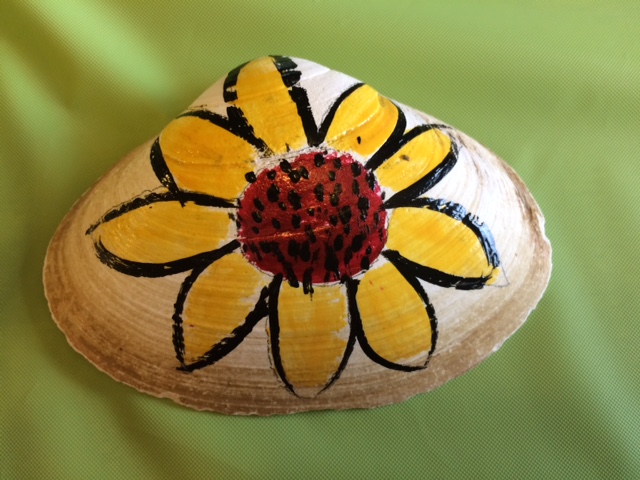
Cardinal SHellWe have about 4 huge Mason jars filled with shells! Living on Long Island it’s impossible to not collect shells! My girls literally collect buckets of them throughout the summer and of course every single one of them is special so how dare I ask them to leave some behind! Well, the other day I was very thankful that we did have many on hand as Mothers day and my fathers birthday was approaching and I wanted to leave something thoughtful on their graves to let them know we were there visiting. Every time we visit my mother- in- law the kids love leaving little rocks so this time they were excited to make something special to leave with her. I of course enjoyed painting some myself! My dad passed away very recently and his birthday was a perfect reason to decorate one for him too. Since his passing, a cardinal family visits us every day! And we know in our hearts that the male one represents my father,  the female represents my mother-in-law and the baby male cardinal represents our little Gabriel. You gotta have some kind of hope that it’s true! And I smile and say hello every day that I see them! Of course you can decorate these shells and place in your garden, or give it away as a gift. You can use them as a paper weight, or display them on a shell or in a jar.

Here’s what I used to make them:

  1. Shells
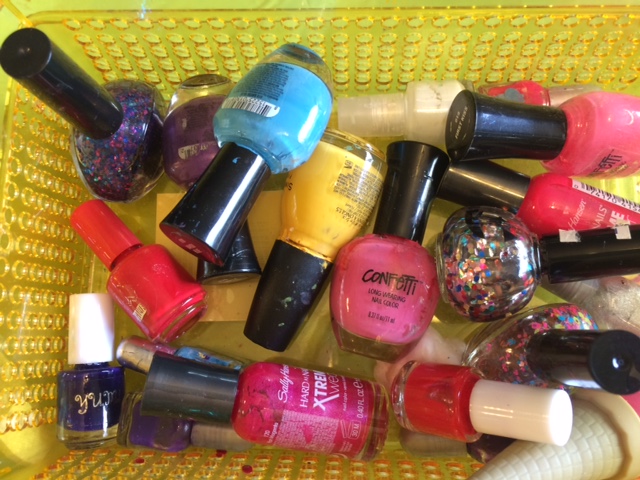
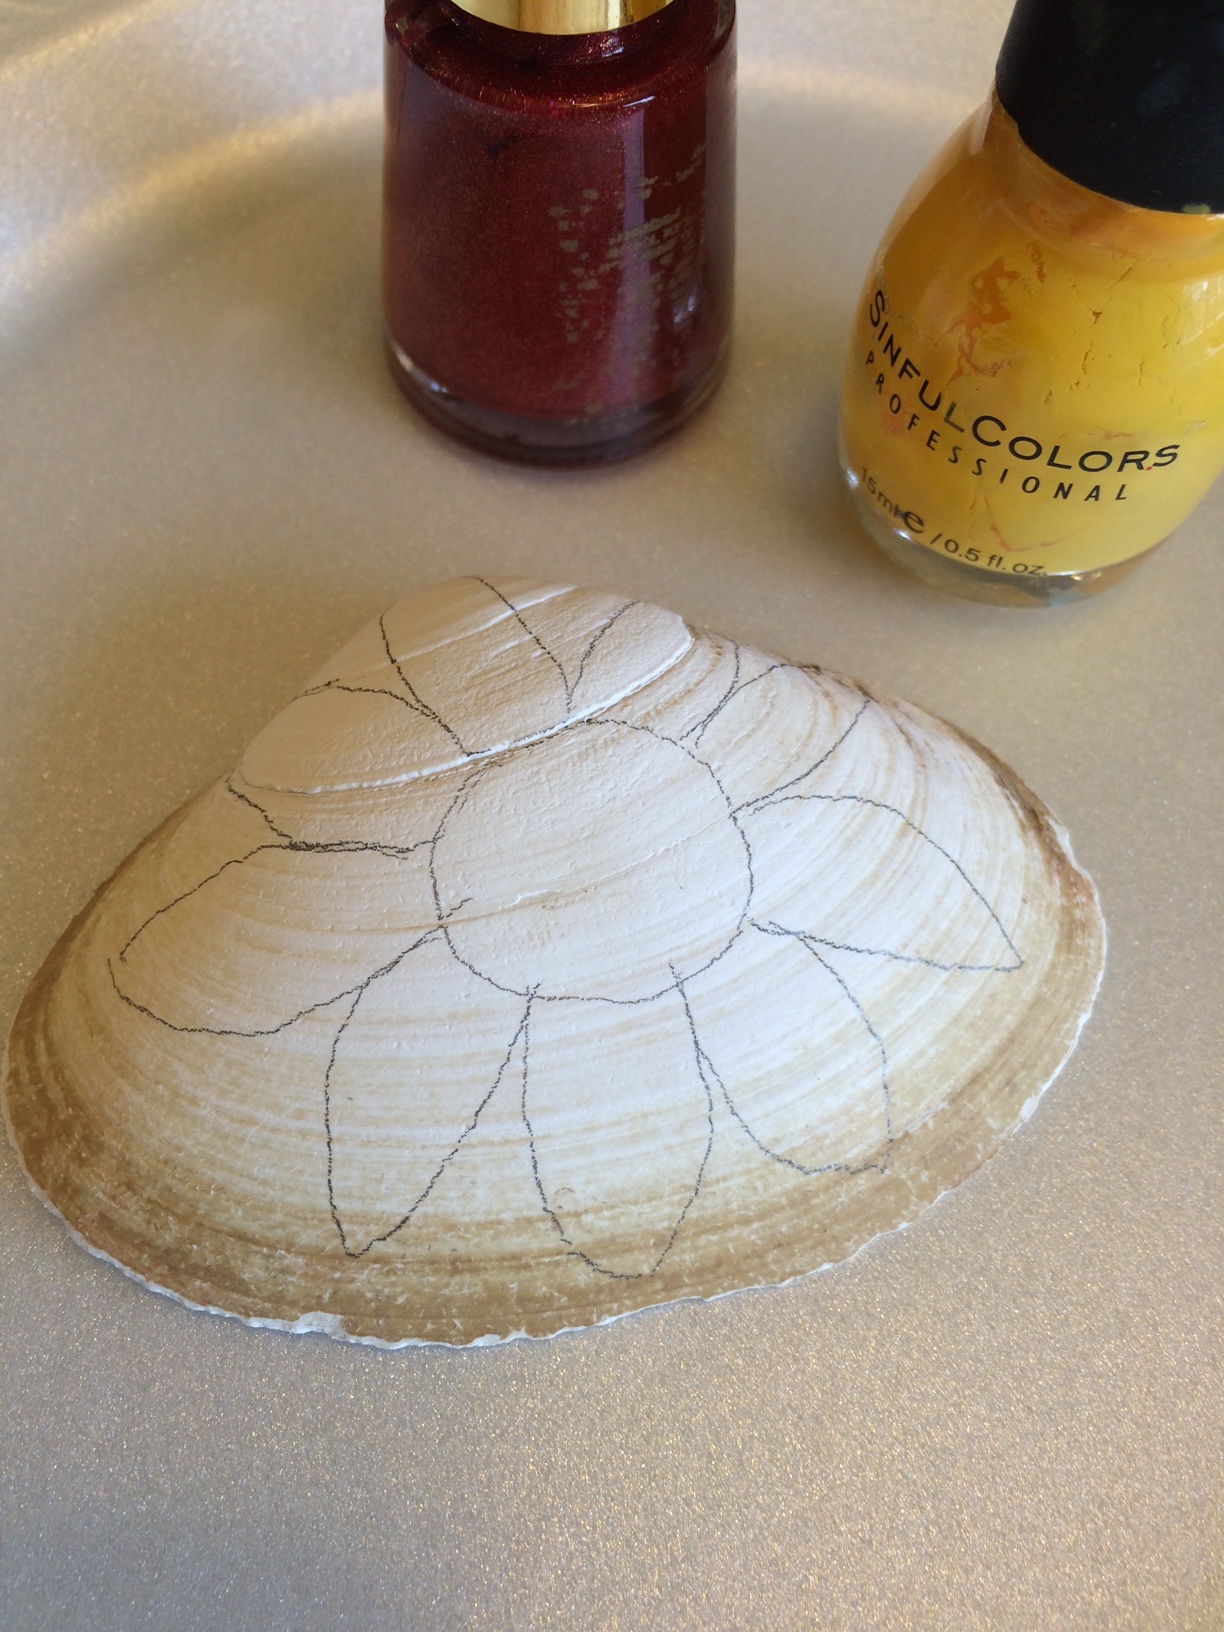
  2. Nail Polish. (I loved using this because it drys very fast and won’t get washed off in the rain, brushes were nice and small and no one fought over the brushes because each color had it’s own). I also had several Nail Art nail polish that I used to outline and add detail. You can also use permanent markers or any type of ink/paint that will not wash off.
  3. Pencil (you can draw on the shell before you paint it
  4. plastic table cloth to protect surfaceListening ShellShellsNail PolishDrawing ShellShell ArtLias ShellSunflower shell

When the shells were all painted, the kids wrote on them with permanent black markers. On the sunflower shell I wrote all of my mother- in- laws 9 grand children! As soon as we got to her grave the clouds opened and the sun stood over us!

Summer Fun: Shaving Cream

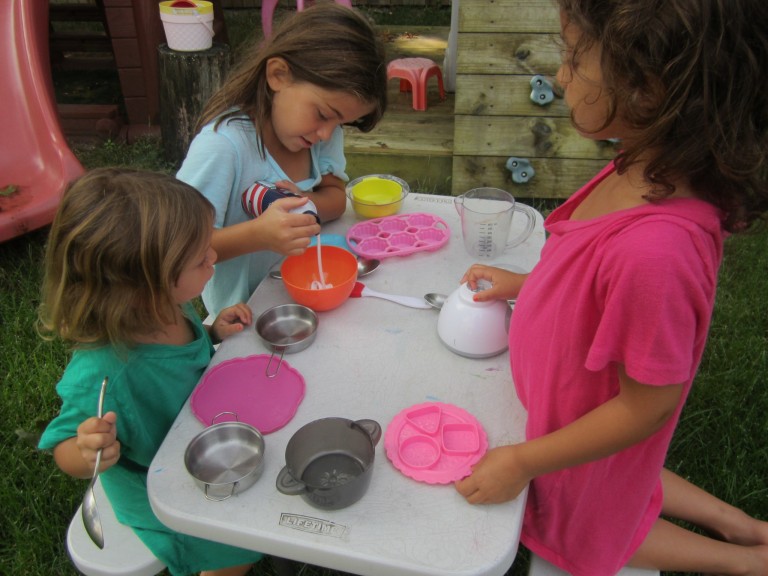
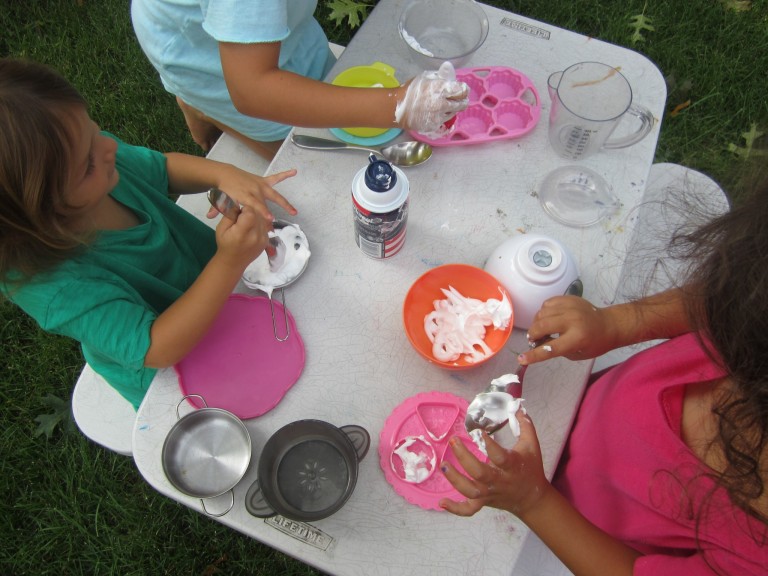
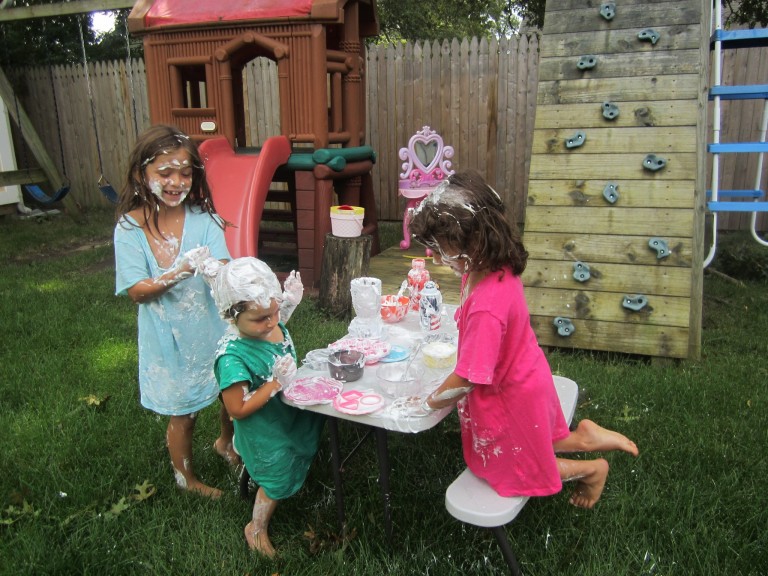
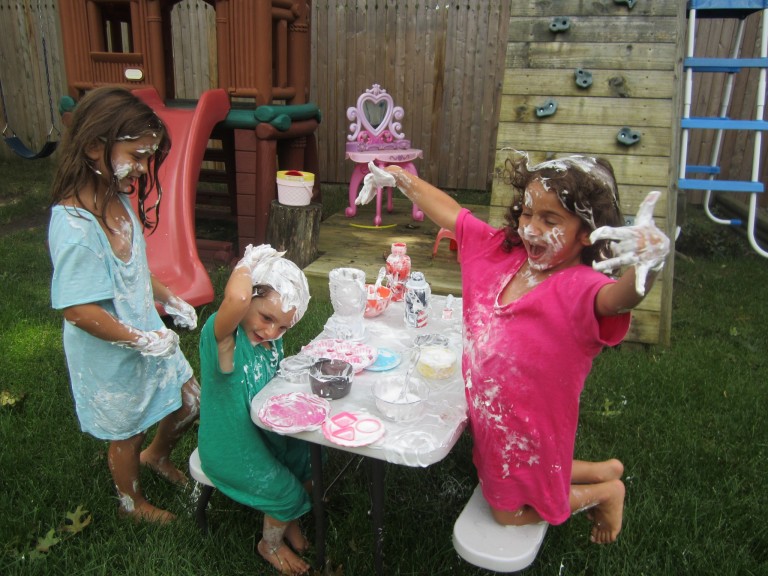
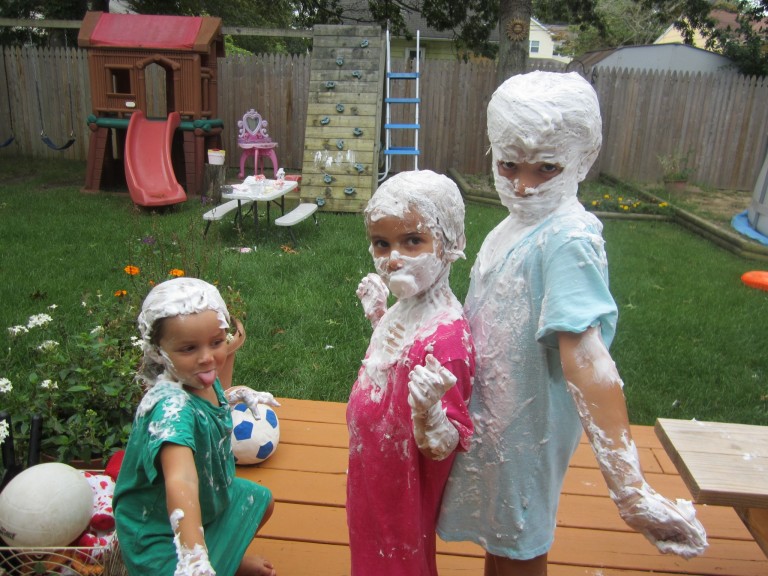
Add this to your list of fun things to do this summer! My kids never get tired of shaving cream! Shaving cream is always a part of our summer activities! I always stock up on a few extra cans so that they can play with it several times throughout the summer. I love how they use all of their little kitchen tools, plates and bowls to pretend that they are cooking. It starts off with a little dab in the bowls and then explodes into their hair and bodies. They just can’t help it! It does make their hair so soft so that’s a treat! They always get rinsed off with the hose and then jump straight into the pool so clean up is always easy. I would just make sure that you test the surface you’ll be using before you begin playing with the shaving cream. This summer I think we’ll add some food coloring and glitter to spice things up! I’m sure they will love that!

shaving creamshaving creamshaving cream IMG_3738 shaving cream

Summer Fun: Shimmering Ice Cubes

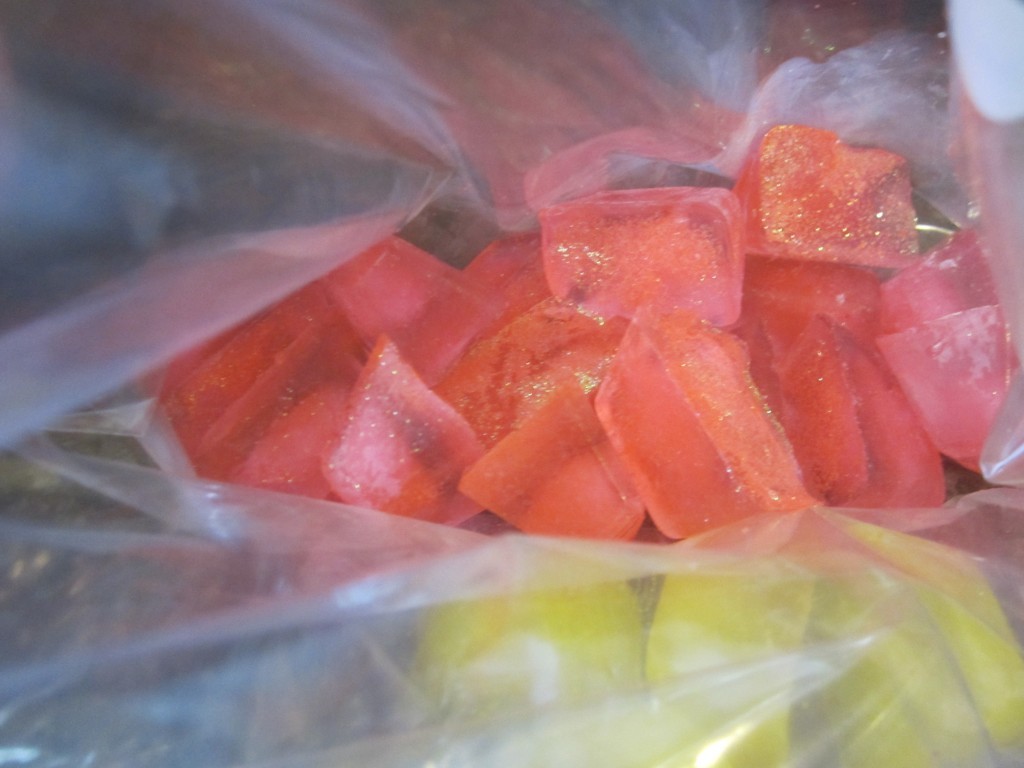
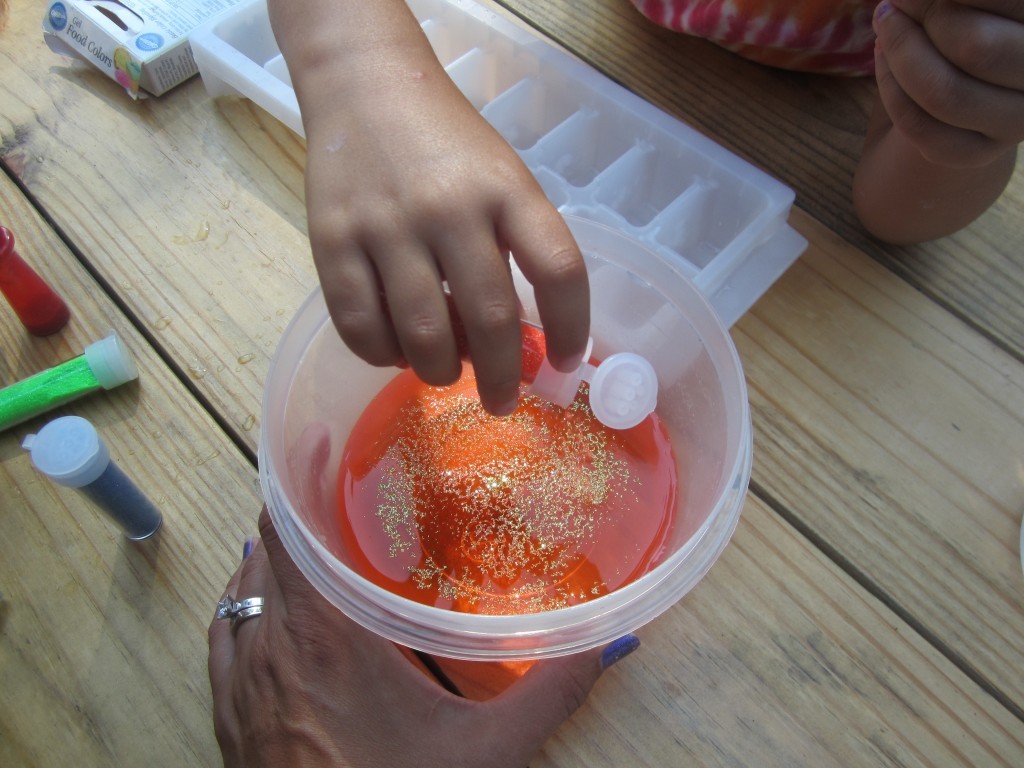
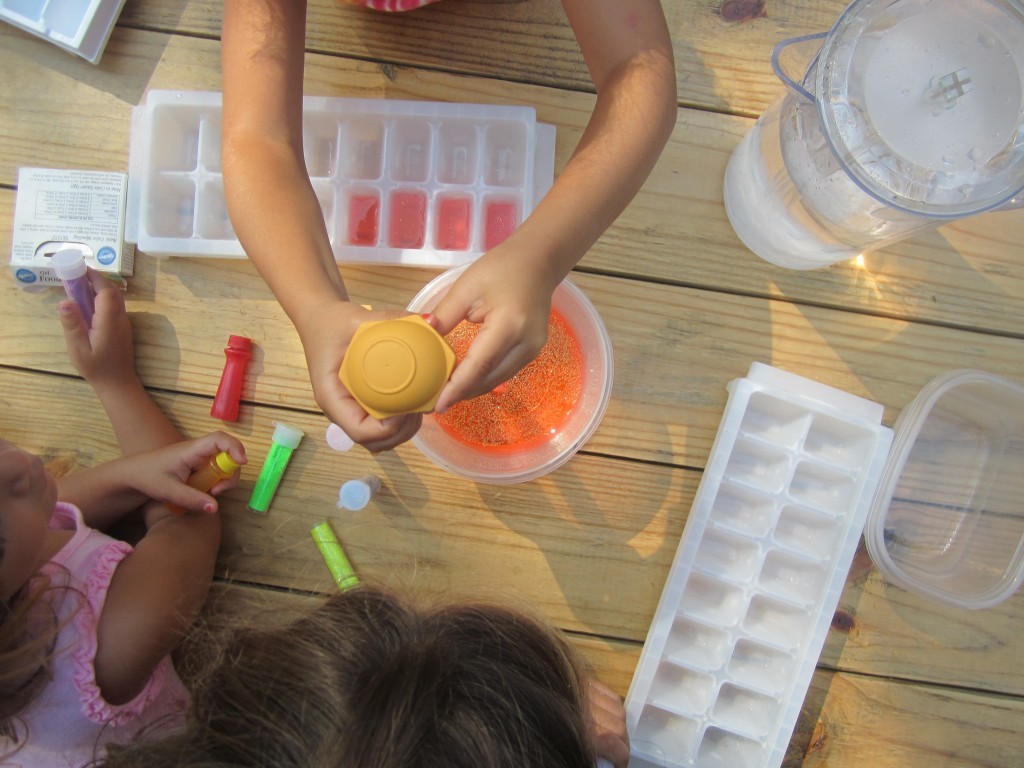
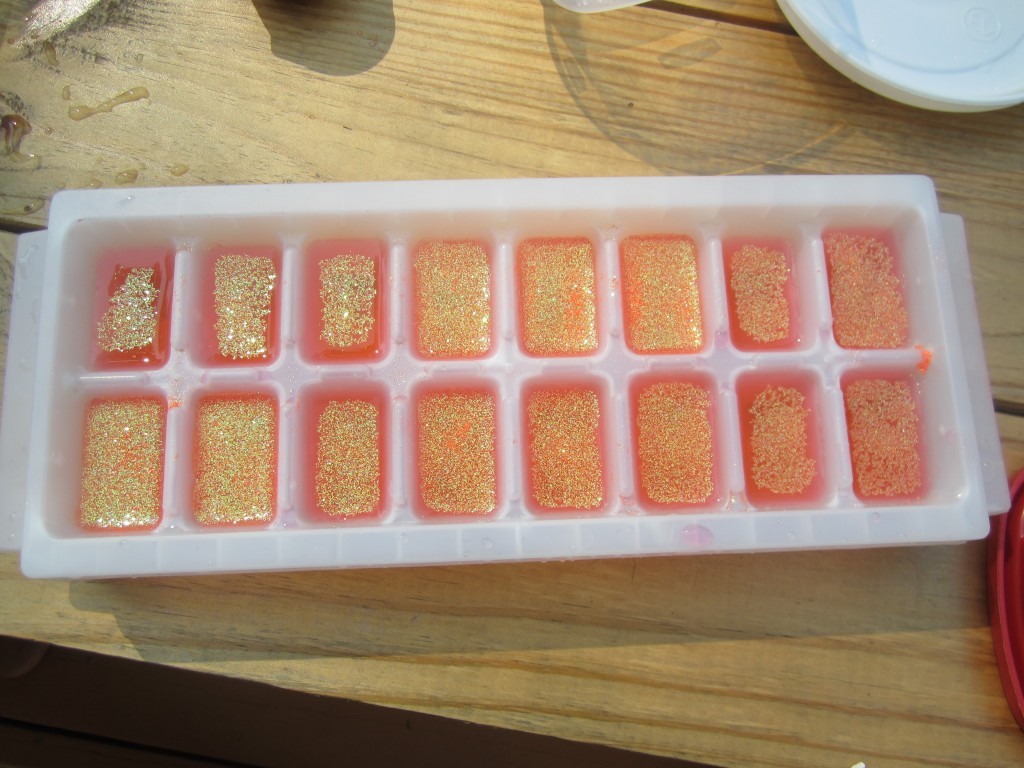
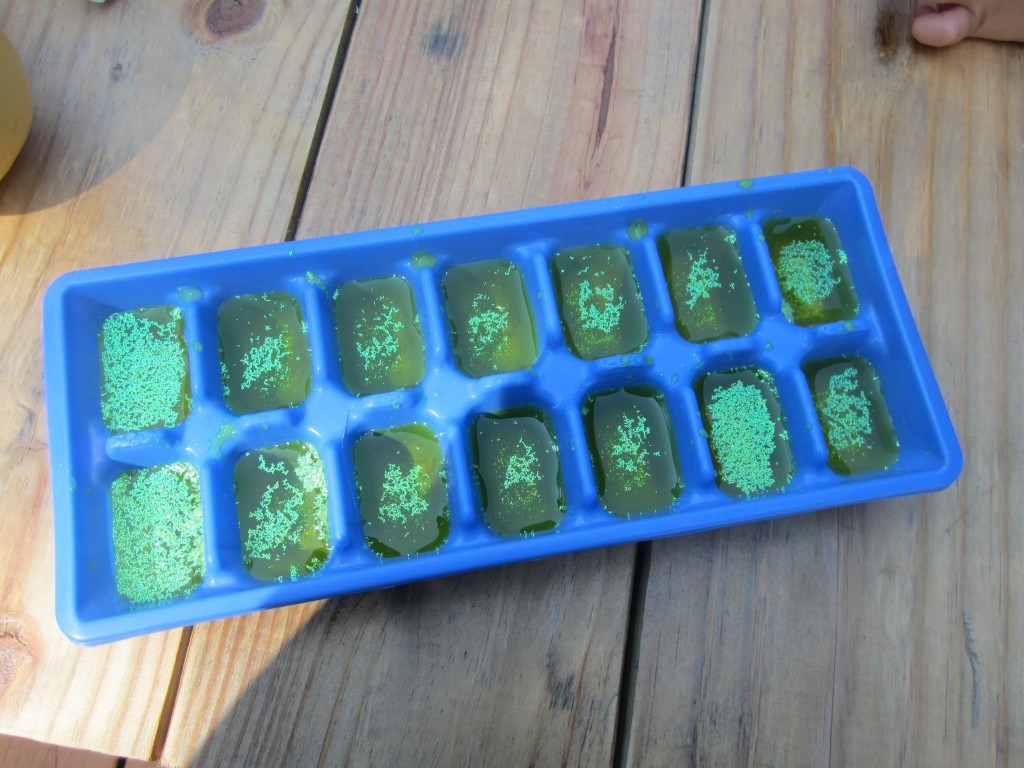
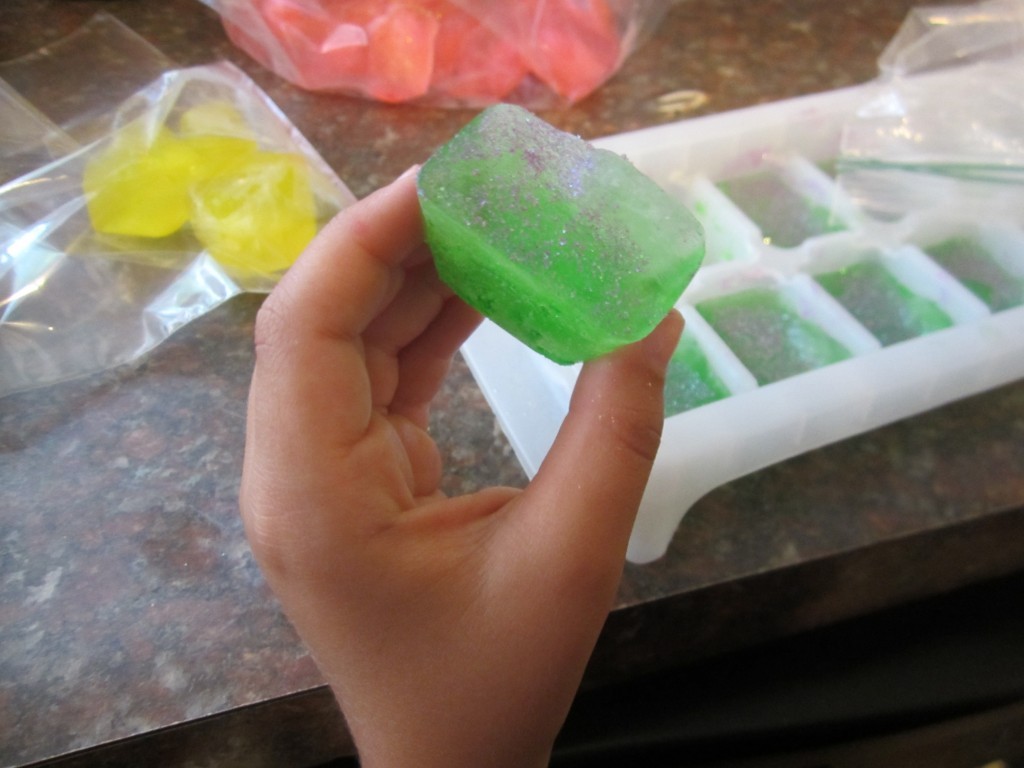
glitter iceSpring is right around the corner, and summer is not too far behind. If you’re like me, you’re starting now to collect some fun spring/summer activities to do with your kids. My kids loved making glittery, shimmery ice. We did this last summer for my daughters’ Frozen birthday party but, it’s fun to do anytime. The girls had just as much fun making the as they did playing with it. After our cubes were finished the kids used shaving cream to play along with the ice cubes. You can even do this in the winter and have the kids play with it in the snow. It will definitely last longer in the cold!

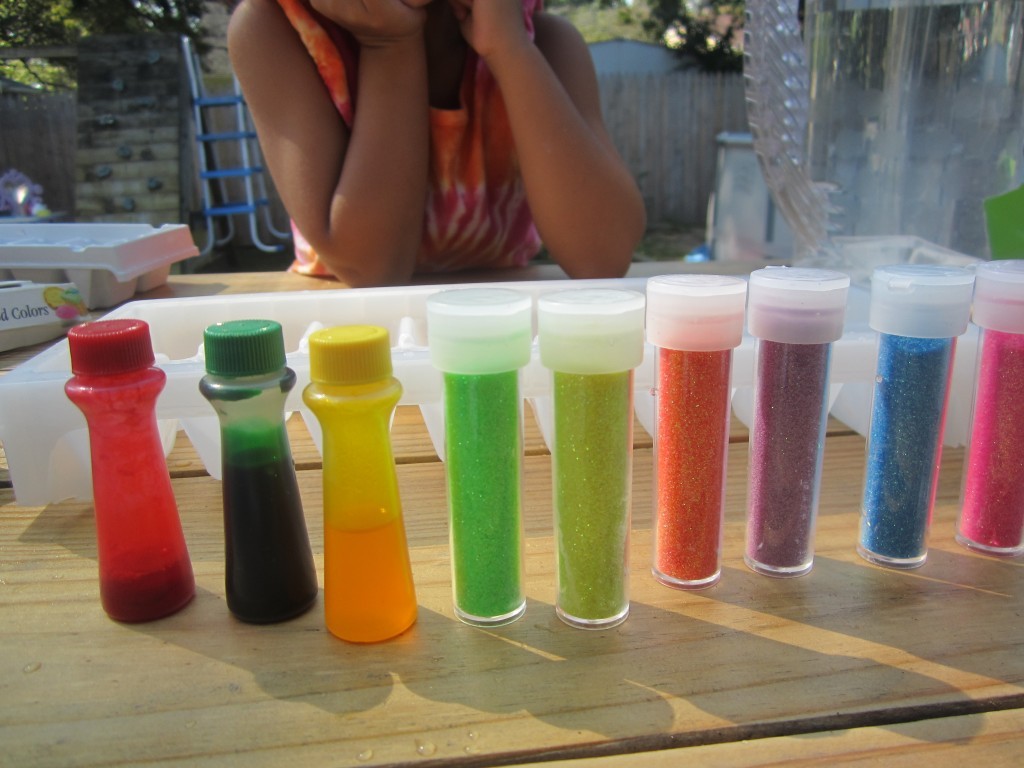
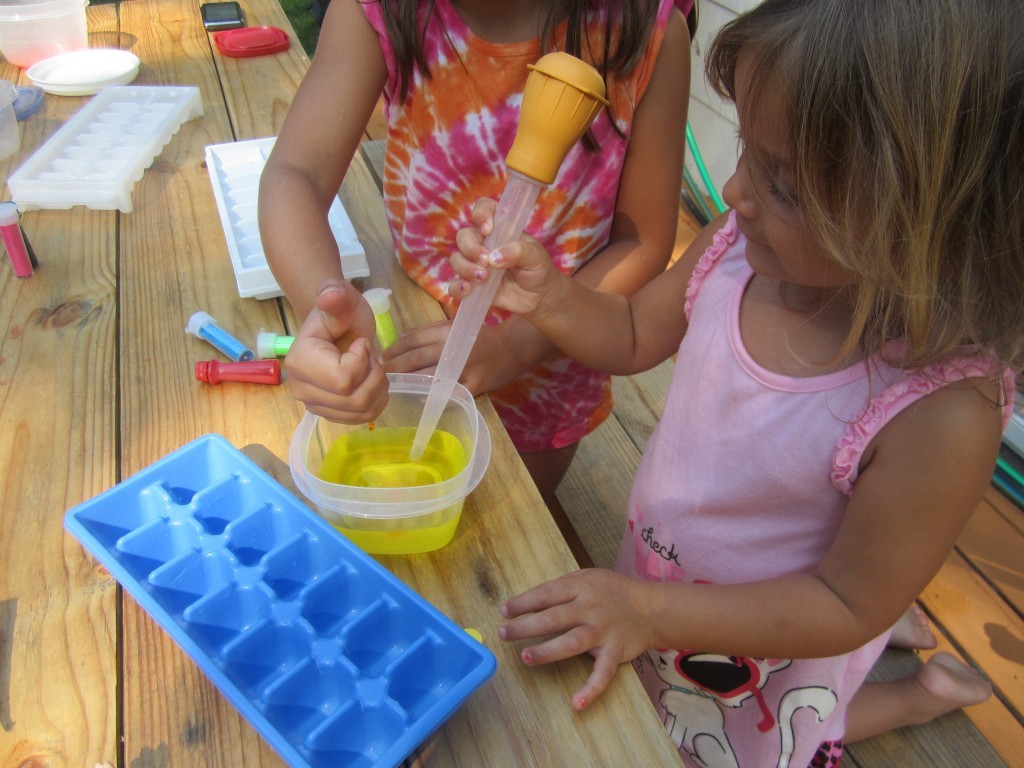
All you need is empty ice trays, the more the better!Several bowls to make different colored water. Food coloring, glitter ( They make edible glitter if you want to use the ice cubes for drinks, but we used regular craft glitter) and Ziploc bags to store the ice that is ready so that you can make more.We filled several bowls with water and added a a few drops of food coloring to each bowl to get the shade that we wanted. Then we sprinkled some glitter into the bowl, mixed it all up and using a turkey baster we filled up the ice trays and popped them into the freezer. That’s it! I let them sit in the freezer over night and ,when they were ready, the kids popped them out and into a ziploc bag and we placed them back into the freezer and used the empty ice trays to make some more.

glitter iceglitter cubesglitter iceglitter cubesglitter iceglitter cubesglitter ice cubes

DIY Table for two

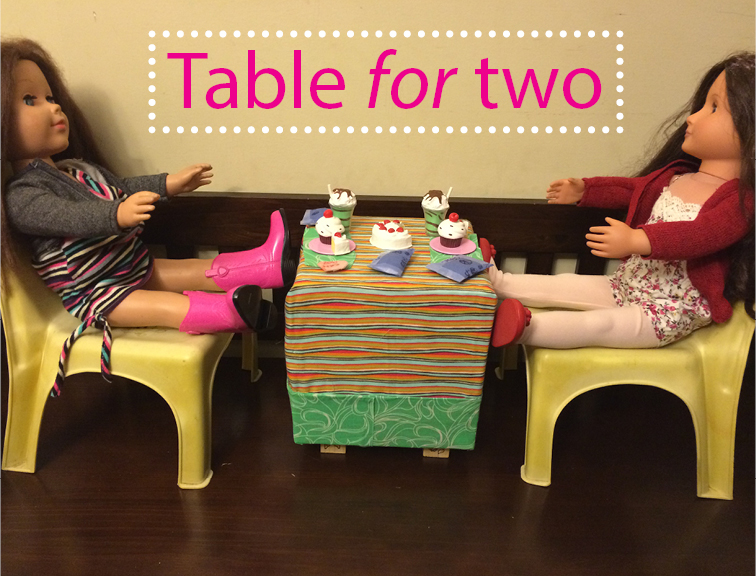
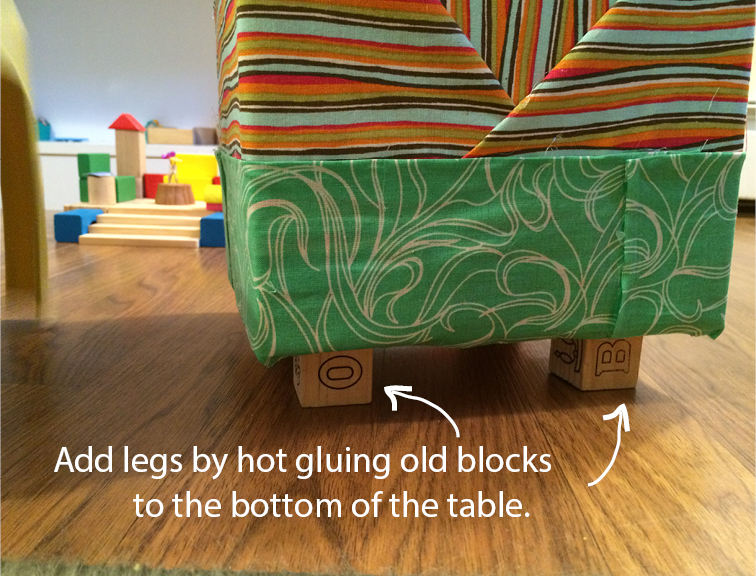
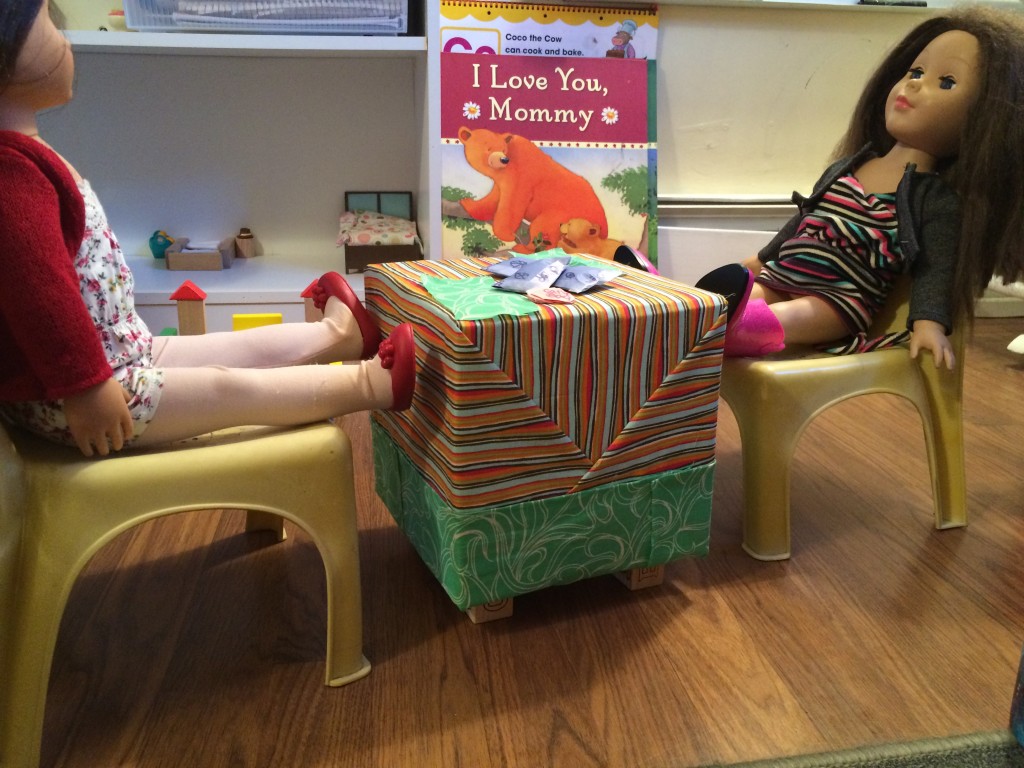
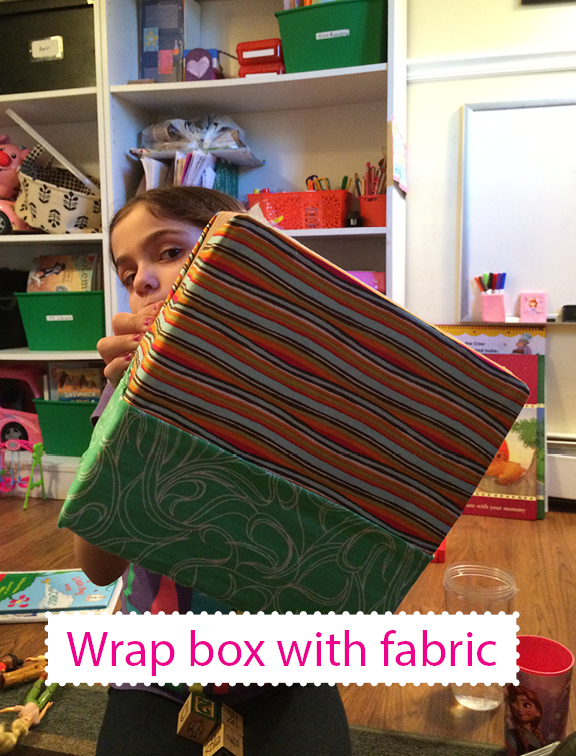
Doll TableMy kids definitely all caught the creative bug from me and building and putting things together bug from my husband. They are constantly creating something and I love it! They are little problem solvers, always thinking of ways to make something out of nothing. The other day, my daughter Melina came to me and expressed that she needed a table for her dolls. She brought me a cardboard box and said “mom can you wrap this in fabric and turn it into a table for me?” I thought it was such a great idea and I honestly wouldn’t have thought of wrapping it with fabric myself. I probably would have suggested painting it or using wrapping paper! But using fabric is definitely going to make the table last much longer. We went through our scraps of fabric and Melina picked out the pattern she liked. I simply took a glue gun and used the fabric like wrapping paper and wrapped up the box, hot gluing as I wrapped. She wanted a trim of green at the bottom so I folded the edges of the fabric in an inch and glued it around the bottom onto the box. My oldest daughter suggested that I use old blocks as legs for the table. What a brilliant idea I thought! So we picked out 4 old blocks and hot glued that to the bottom of the box and wah-la, a table for two!

wrapboxblocks

hotglue Doll TableAll you need is an empty box, I used a cracker box from BJ’s (you can used any size box that’s perfect for your dolls), a glue gun, glue sticks, old wooden blocks and fabric. This was so easy to make and it’s so cute!

DIY So Simple Knit Hair Clips

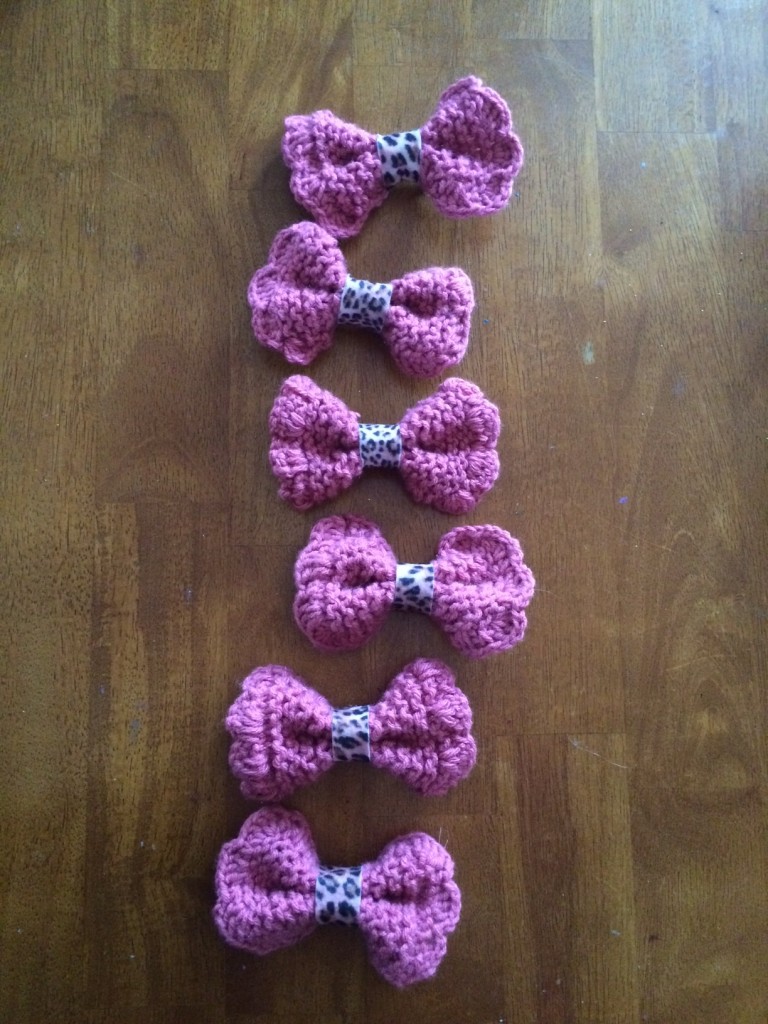
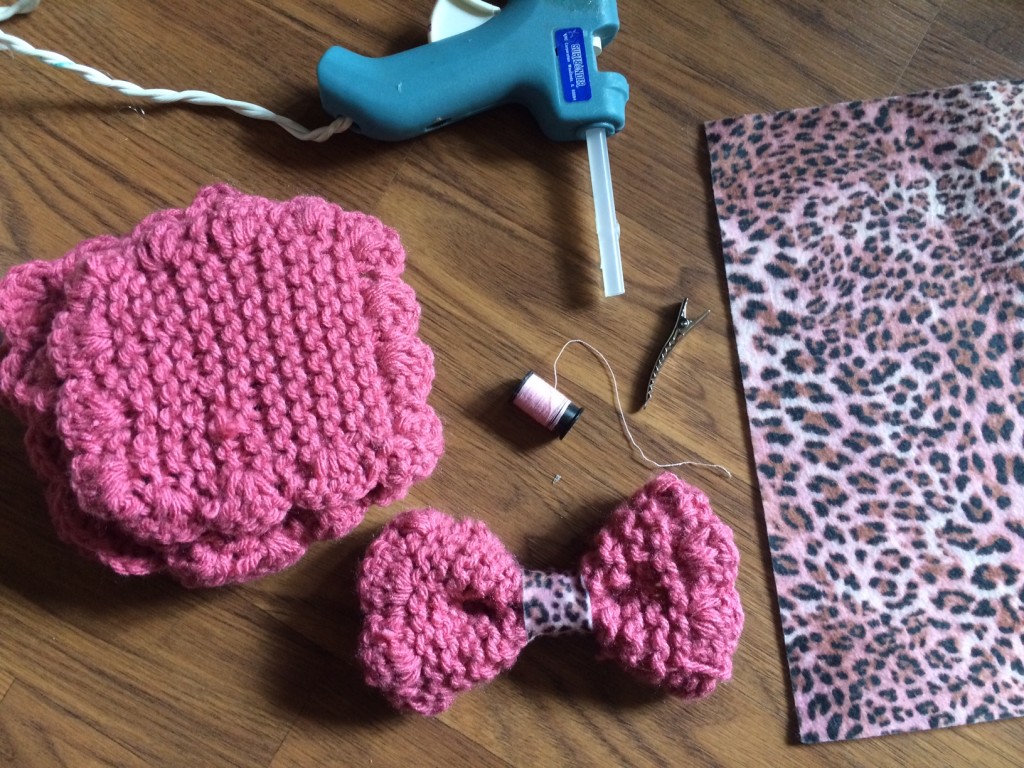
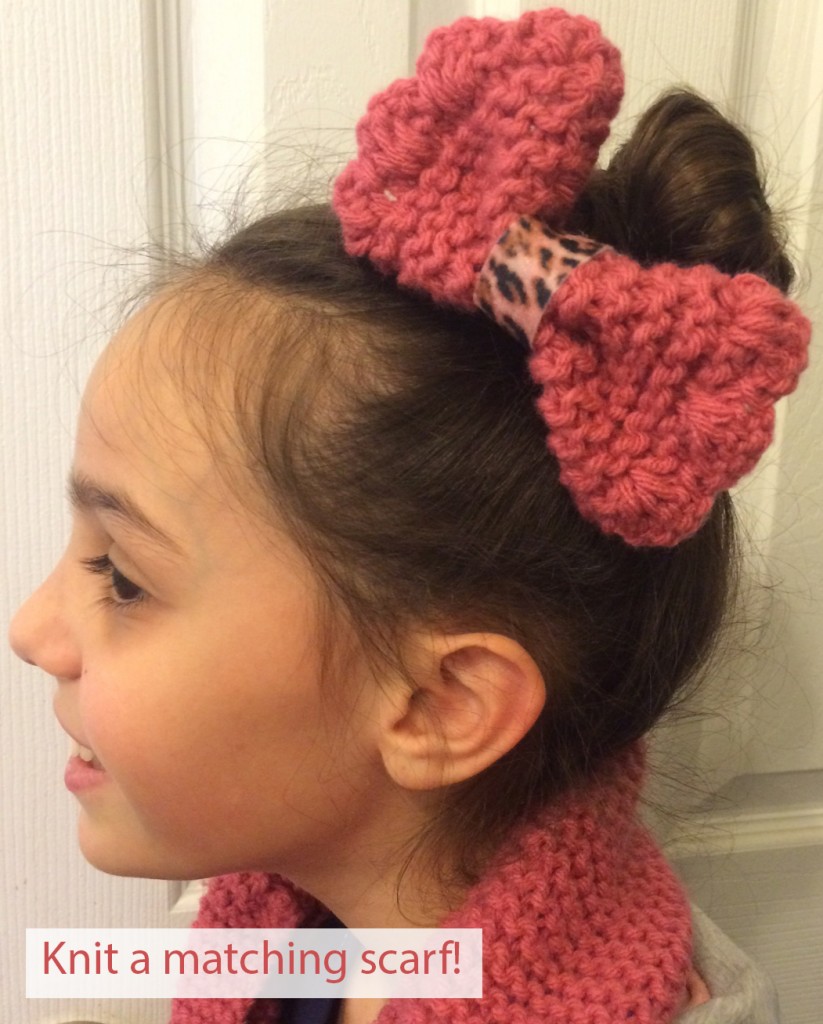
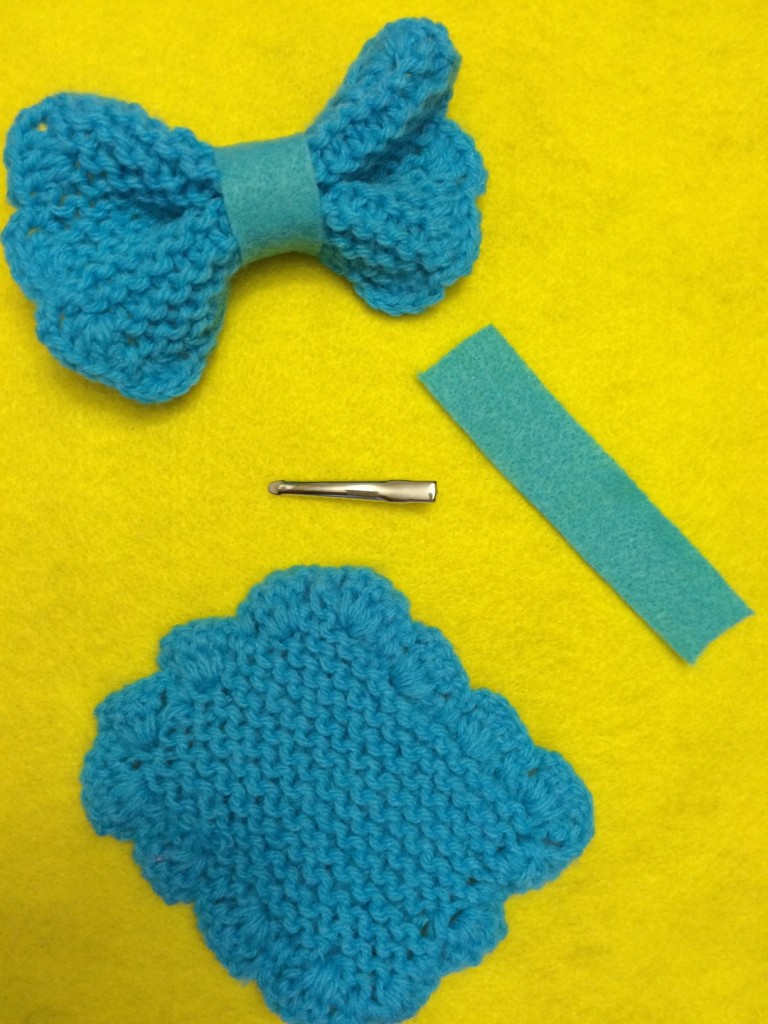
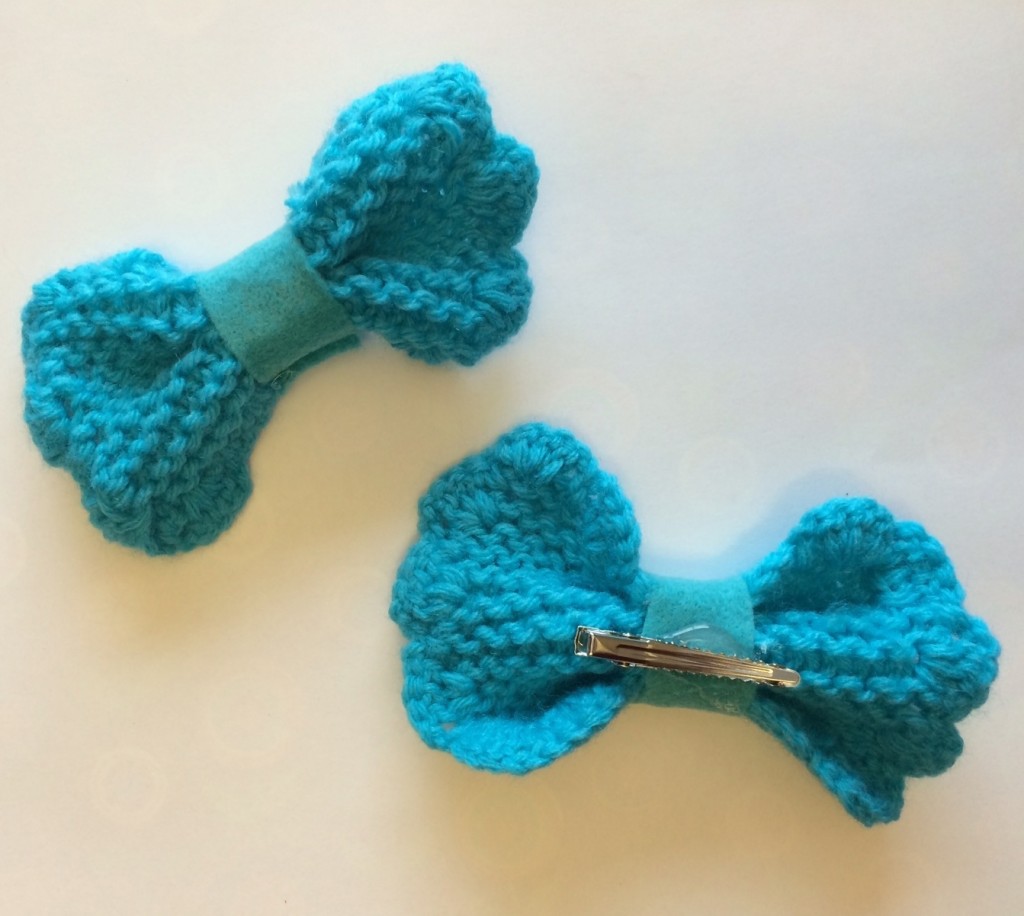
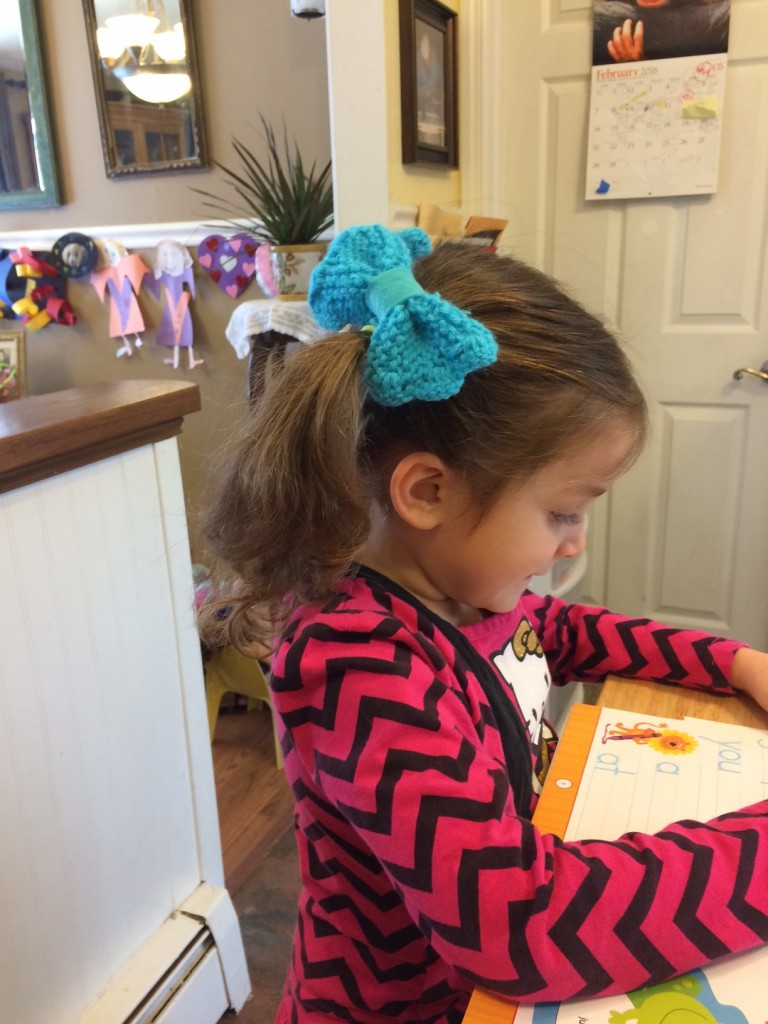
hairclipsHaving three little girls, it’s hard for me not to turn everything into a hair clip! If you know how to knit up little square swatches, then these little bows are so easy to make. My moms a knitter, so I commissioned her to make me several knitted squares. I simply pinched the center to create a bow, cut up a few strips of felt long enough to wrap around the bow and hot glued it to the bow. I took an alligator hair clip and hot glued it to the back of the bow and ta-dah! A lovely little hair clip! If you’re not a knitter you can simply make these with felt. Just cut them into sqaure and assemble with hot glue and clip. Cut big squares for big bow and little sqaures for little bows.

IMG_3743 knithairbowandscarf IMG_3574 knitbows knitted hair clips

Spelling Wall

One challenge I find when having two children in school is keeping track of their spelling words. Yes, it’s their responsibility to study them, but I wanted to find an easy way to really help them access their words anytime during the week without depending on me and without me having to nag them!

spellimg wall

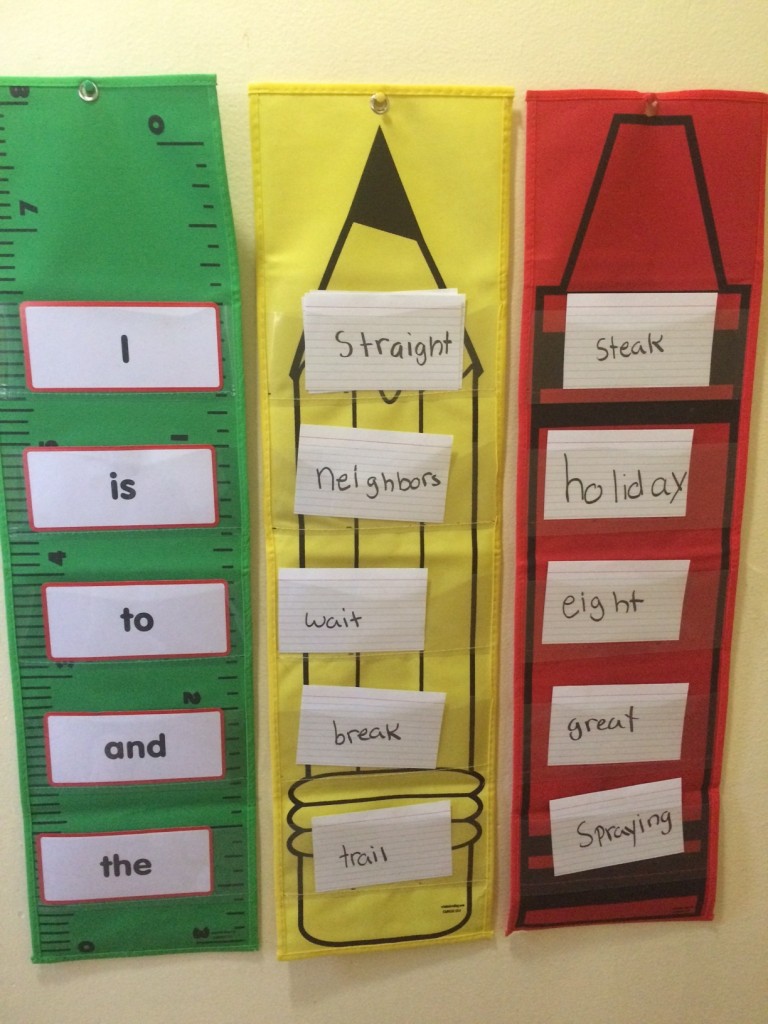
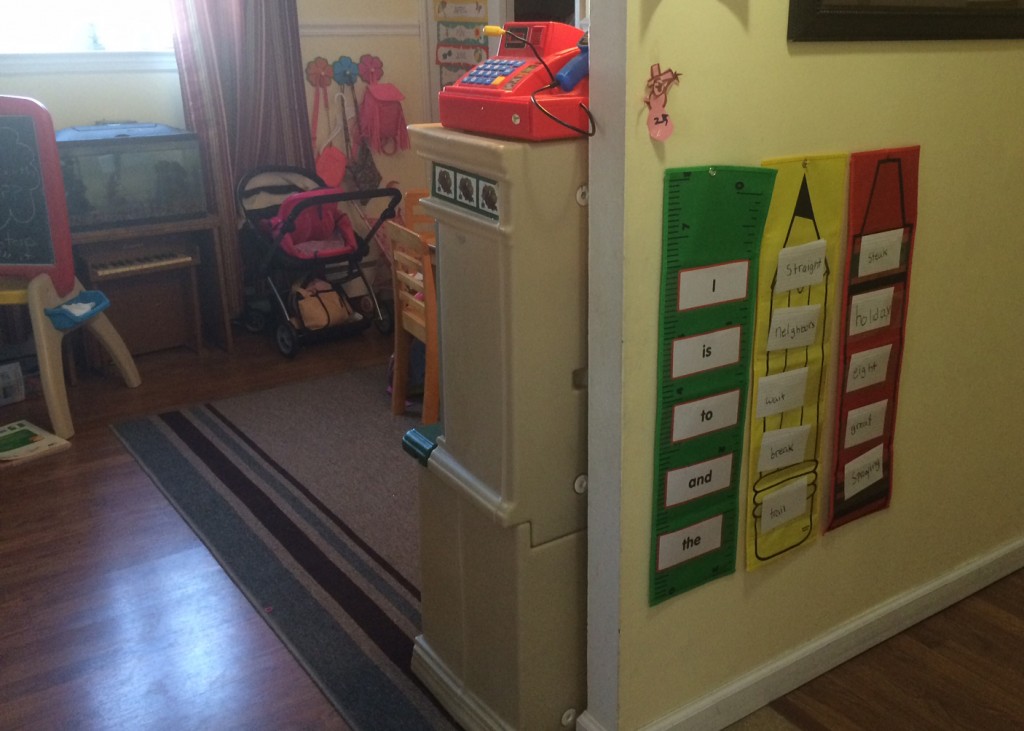
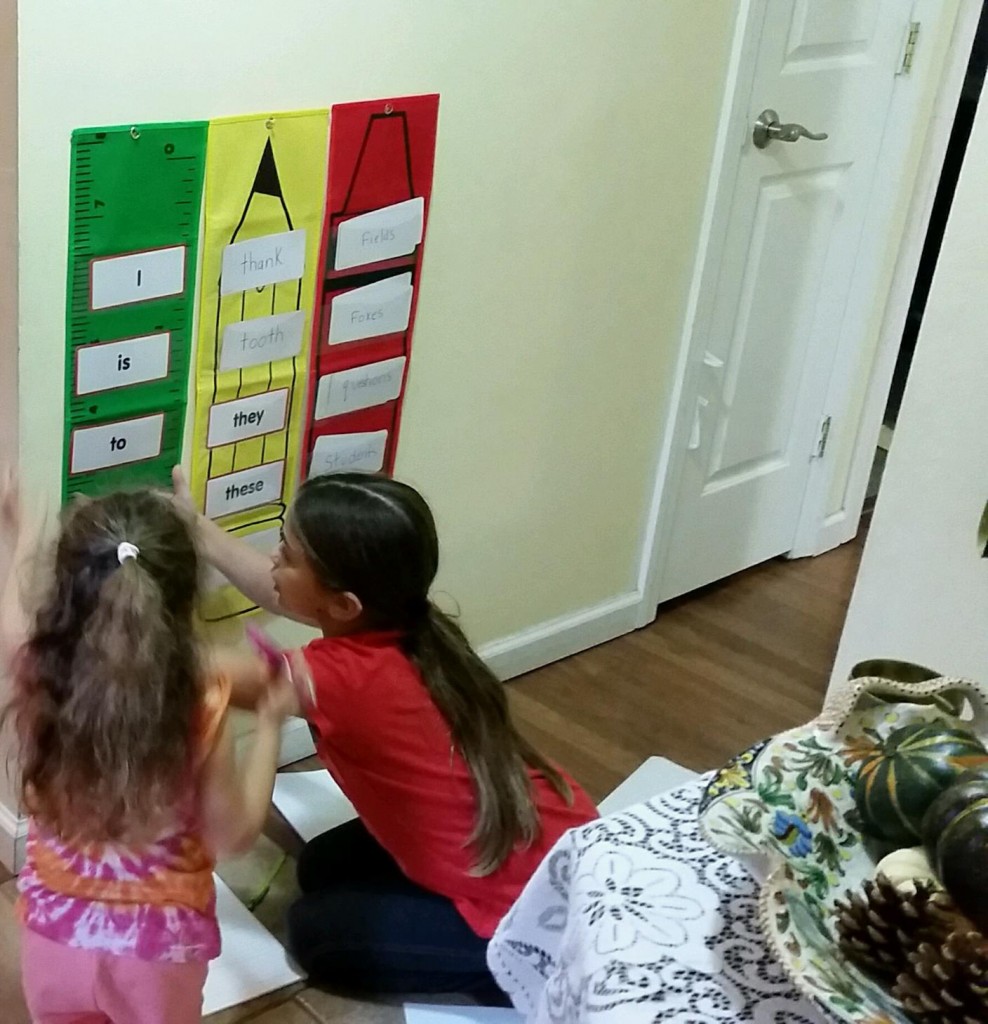
I found these super cute School Tools Pocket Charts at oriental trading. They came in a pack of four.  I’m currently using three of them but need to add the fourth one as my older daughter gets 12 spelling words a week. I use one chart each for the two older girls and one chart for my four year old to learn her site words. I hung the charts in our hallway near our playroom so that the girls can see their words daily. As soon as the girls get their new words, they grab the index cards, write down their words and put them in their charts! Anytime throughout the week, I remind them to study and they go and sit in front of the words and copy them onto their clipboards, which are hanging in their playroom. This has really worked and the girls have been bringing home awesome spelling test grades ever since! Best part of all is that I do not need to nag them to study, and tell them to go into their backpacks and get their words. They are accessible to the girls, making it very simple for them to study a few minutes each night. These are great for homeschooling moms too!

spelling Wall spelling wall


Happy Valentines Day! A bit of this and that.

pastelA lovely pastel picture from Isabel.

heartsjpg A basket of hearts from Melina. My little one said she forgot to make us anything!

flowerspinkpancakespink pancakestoiletryI gave each of the girls a valentine mailbox (purchased from the dollar store) and filled it with little toiletries and candies. They love stuff like that and I like it because it’s something useful. Makes them happy and it makes me happy. They also received a Beanie Boo each to hang off of their backpacks.IMG_3703 valentines Day

IMG_3710  apronThe day before Valentines Day, my mom invited all of the kids to make valentines Day cookies. She made the girls an apron each and had them waiting for them on each of their chairs. It was so cute!  IMG_3667happybakingIMG_3675Valentines Day And last but not least, the girls each made valentine cards from their dolls to each of their sisters dolls!

What to do with a couple of fabric swatches

swatchold pillownew pillow

pillow8 pillow3 pillow1I have finally learned to use a sewing machine! I can’t believe it! All I’ve learned so far is a straight stitch but that’s enough to make me happy! I haven’t had a chance to make anything yet other than fabrics of squares and a little purse for my daughter’s doll ( I wanted to take a picture of it, but I can’t find it!). I am planning on attempting to make the girls some simple clothing for their dolls! I do have lots of fabric swatches that I’ve had stashed away for the day when I do have time to sew something up. My mom is a seamstress and anytime I get an idea of what to do with my swatches I bring the idea straight to her and she executes it right away. I had a couple of old and boring throw pillows laying around and never wanted to spend the money on new ones because they tend to be a bit expensive! So I bought a bundle of fabric swatches at Walmart for about $10 to $13 dollars and had my mom sew up a couple of new pillow cases to cover my old pillows! It was like paying $10 for two new pillows! The swatch bundle usually comes with five, 18×21 inch fabric swatches. Somehow I ended up gravitating towards patterns that the kids would like! Everything I gravitate to these days have something to do with the kids! Now that I know how to sew a straight stitch I’m sure I can sew a new cover myself for the next old pillow laying around the house.

I unfortunately do things the same way my mom does…by eye! Good for me but not for you! I’m terrible at giving directions but If you know how to use a sewing machine I’m sure you know better than I do how to make these  simple pillow cases. Here is a tutorial I found if you’d like step by step instructions!

I asked my four year old if she could hold the pillow for me for a picture and as you will see below, all she wanted to do was throw it at me! As you can see while Lia is throwing the pillow, that I used two different swatches to create one pillow. Thanks Lia!

pleaseLia

throwpillow  pillow toss

Pastels and Usborne Playtime

lionpasteldrawingbook pastel4My kids and I love to draw and paint but sometimes it’s hard to be inspired. I bought these Usborne Playtime books a few years ago and we continue to use them often for inspiration. Today,  the girls wanted to use a new set of Alex Chalk Pastels my friend recently gifted to them and I took the books out and the girls spent a nice amount of time creating beautiful artwork! I think the girls would definitely enjoy I can cut and stick and I can crayon also by Usborne.

owlpastel pastel2 pastel1 pastel6