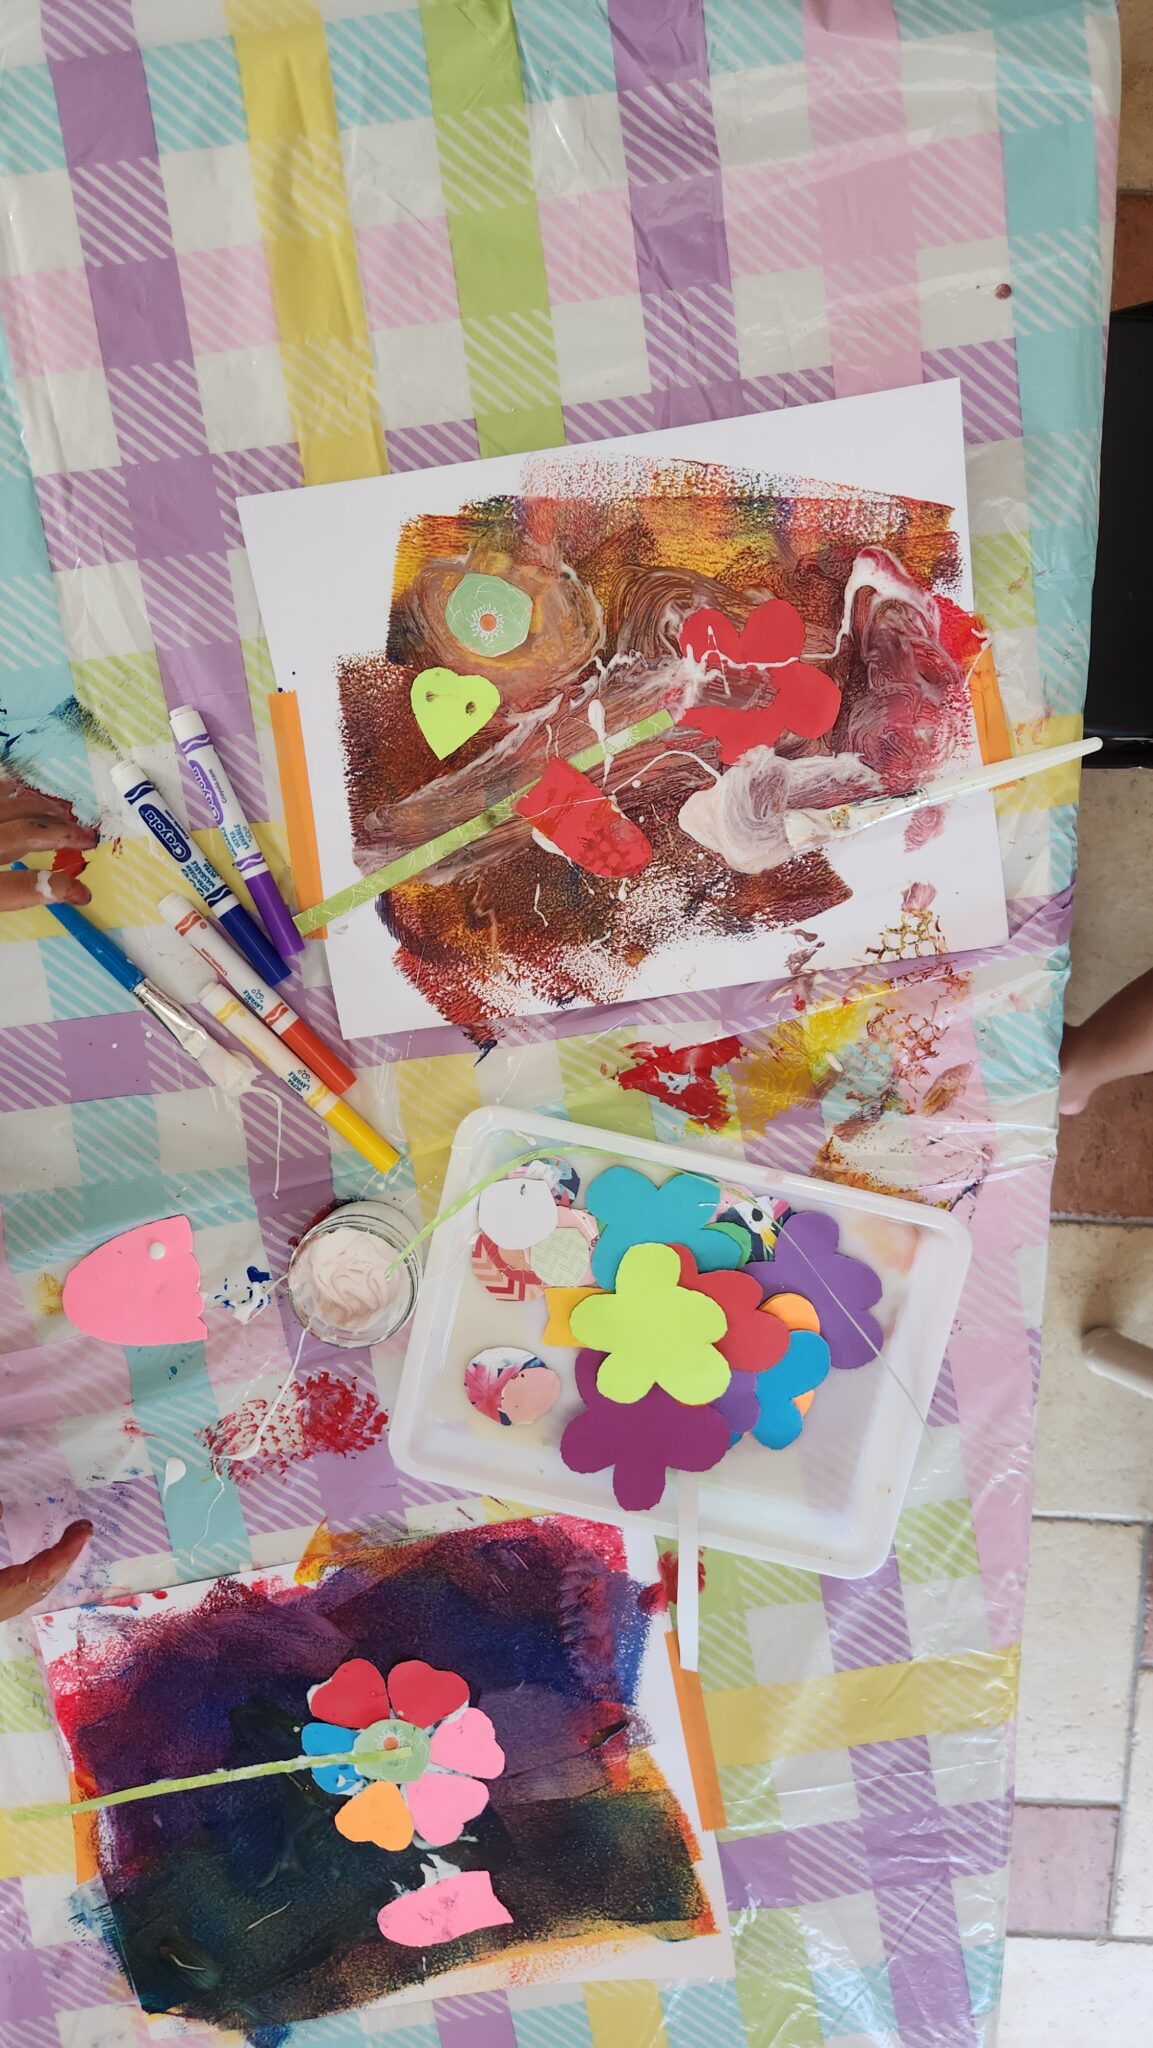
I’ve been meaning to photograph the beginning of my process as proof to me that things go through some ugly stages before they turn beautiful. Some pieces I’ve been working on I had thought of throwing away and they became my favorite. And I wish I had take a picture of it when I didnt like it so much.
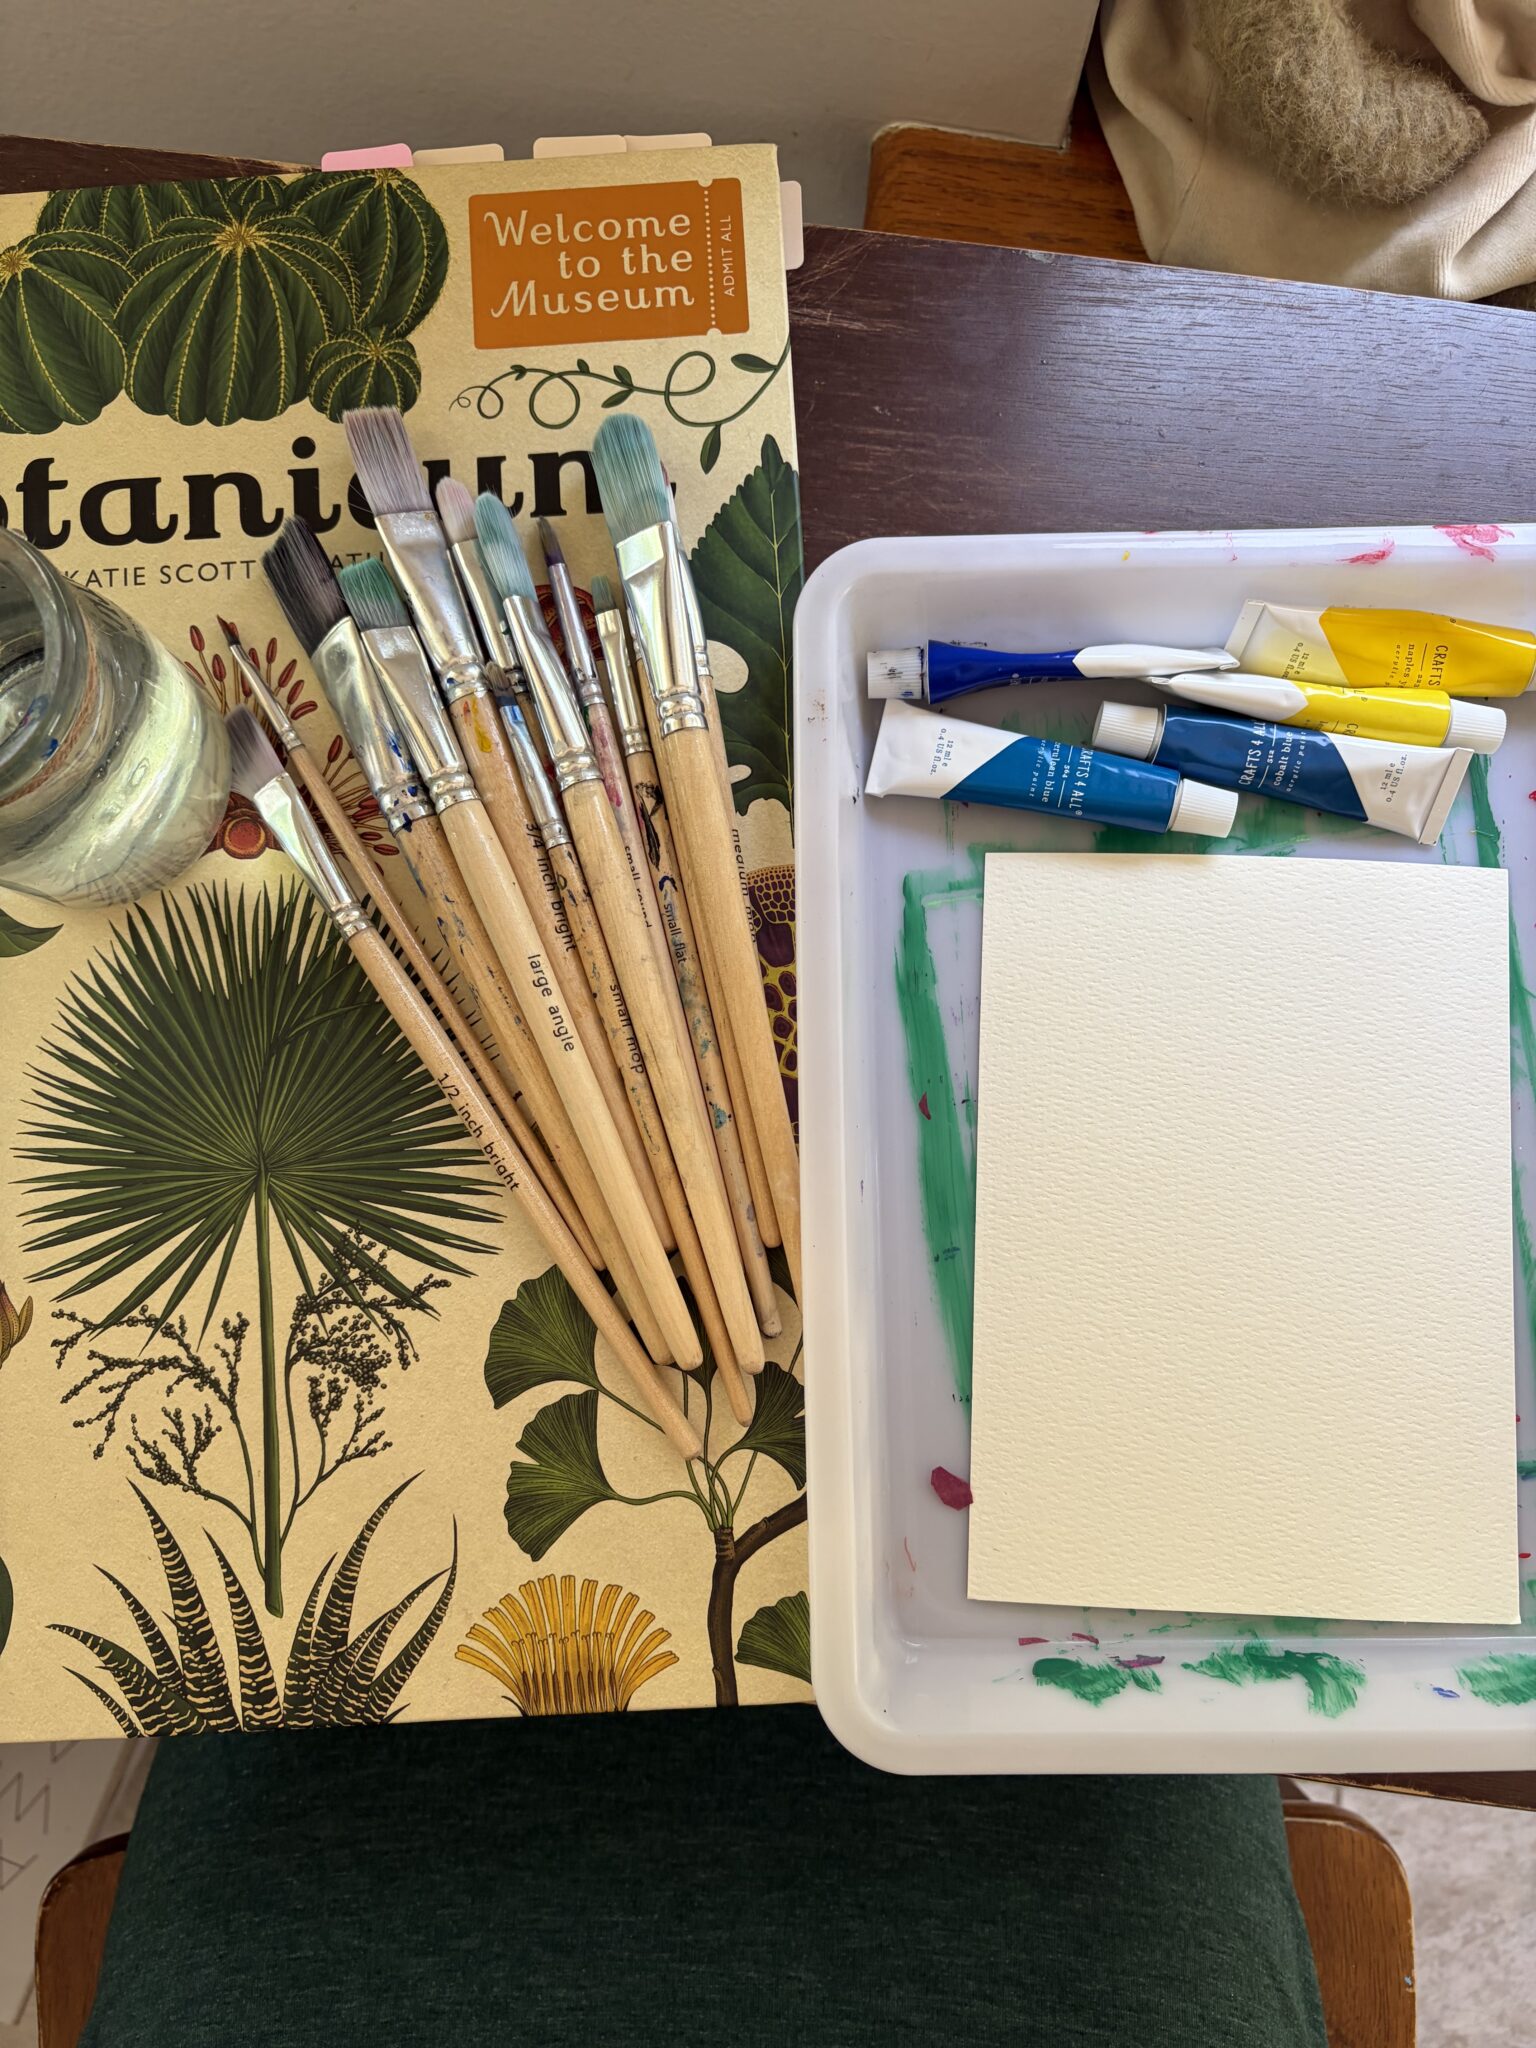
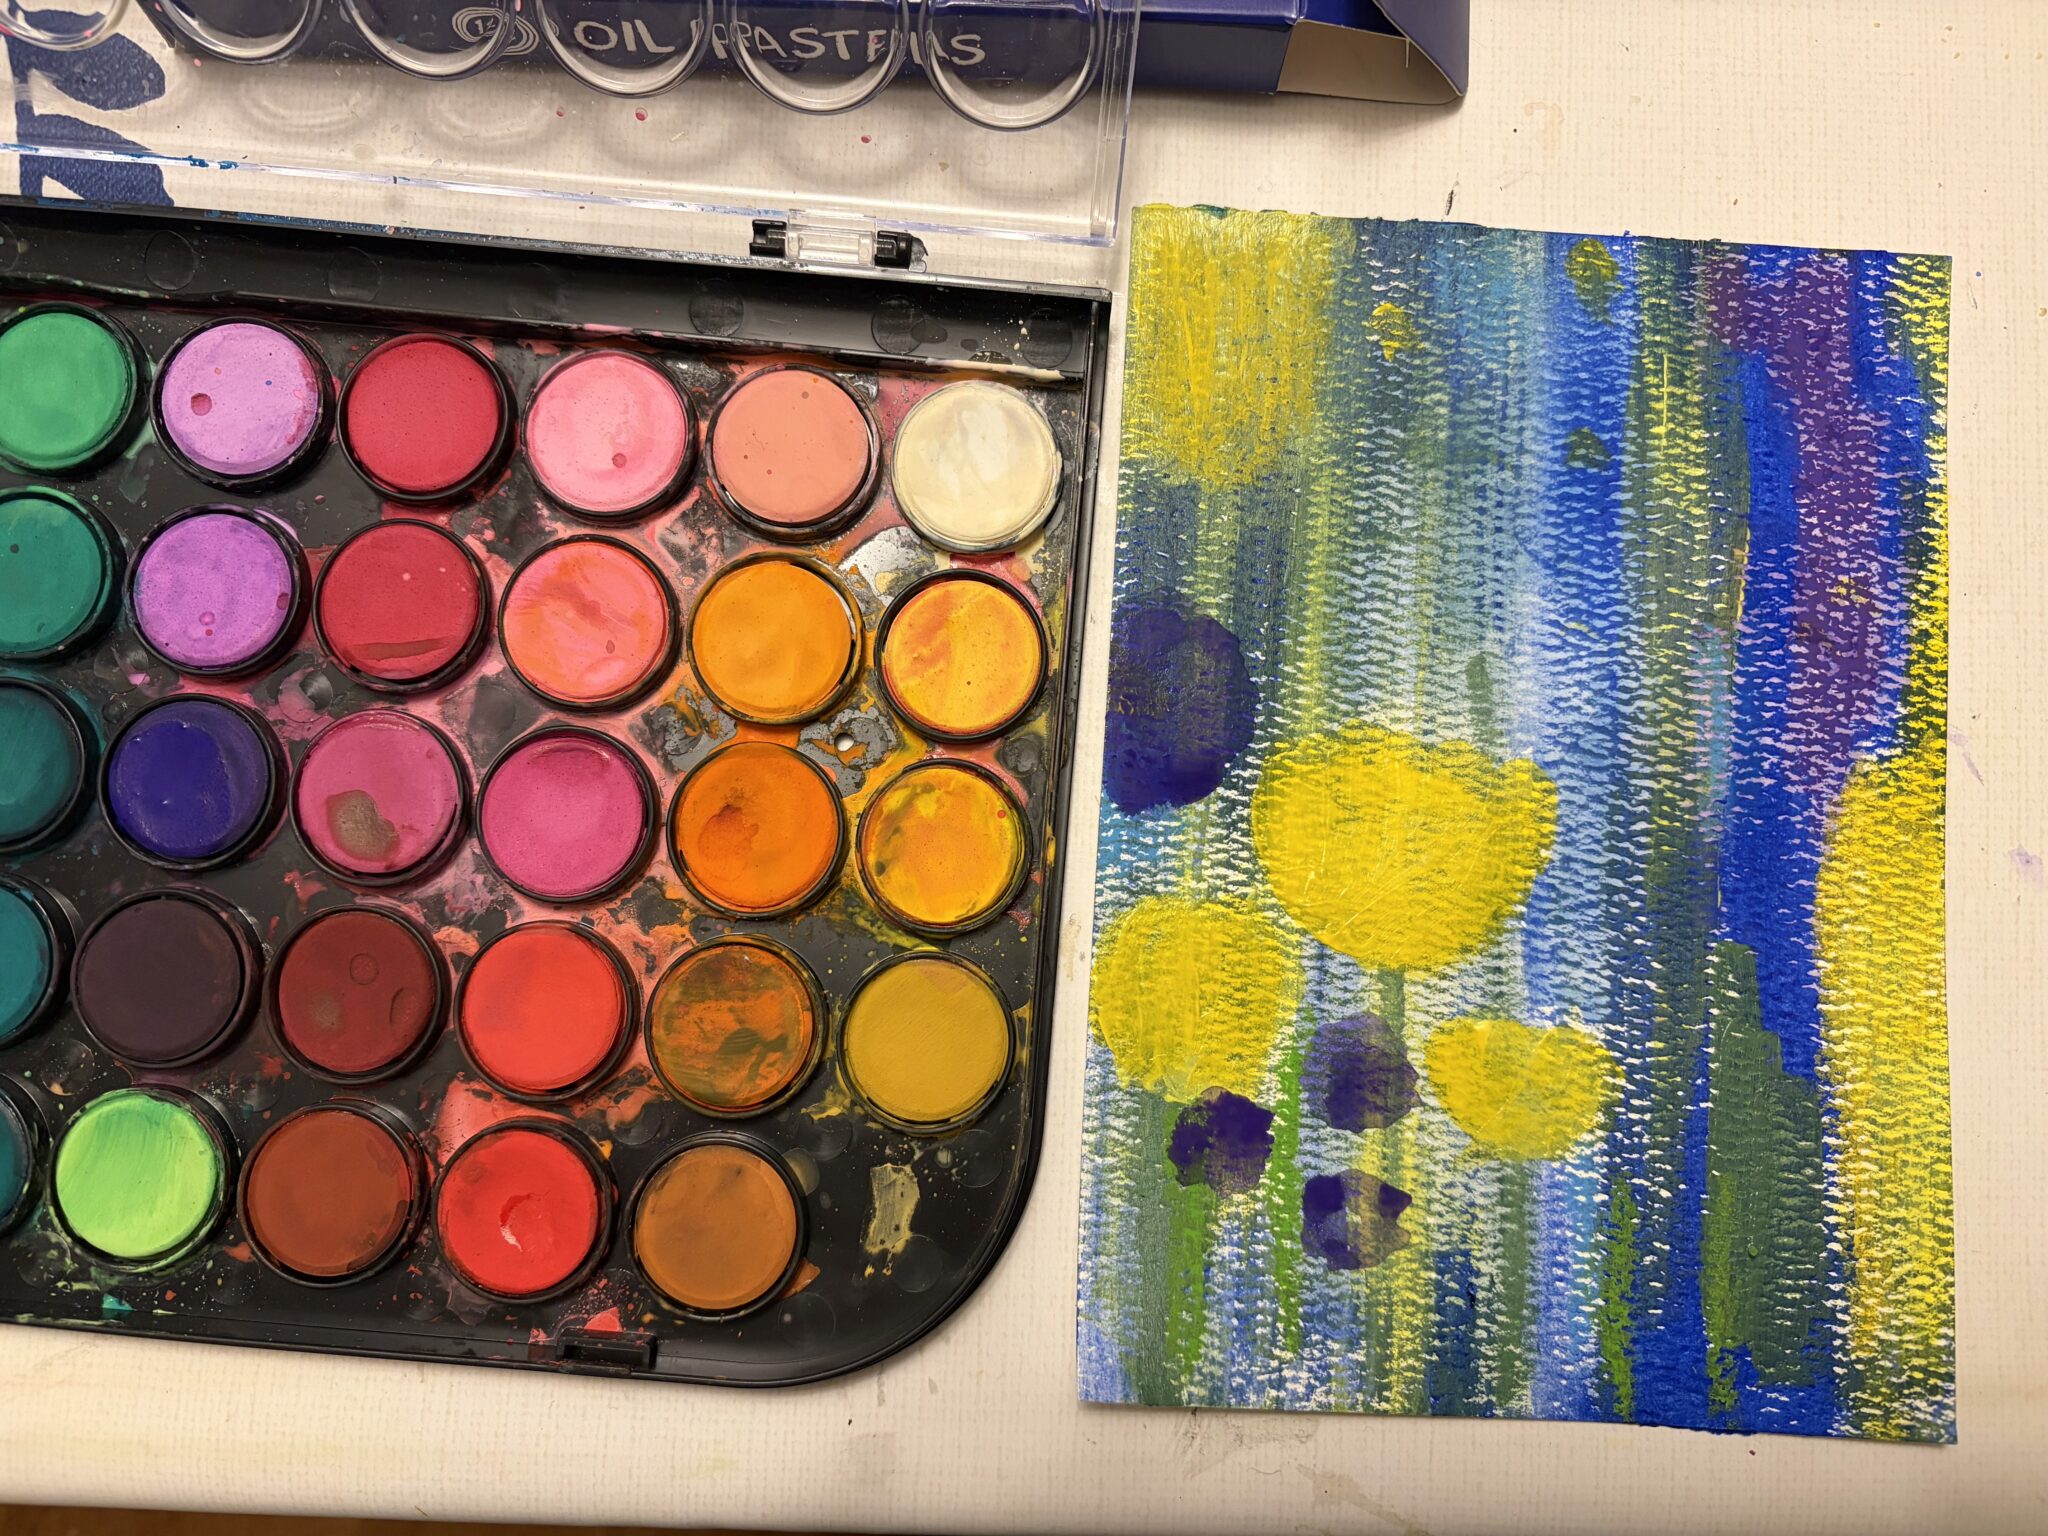
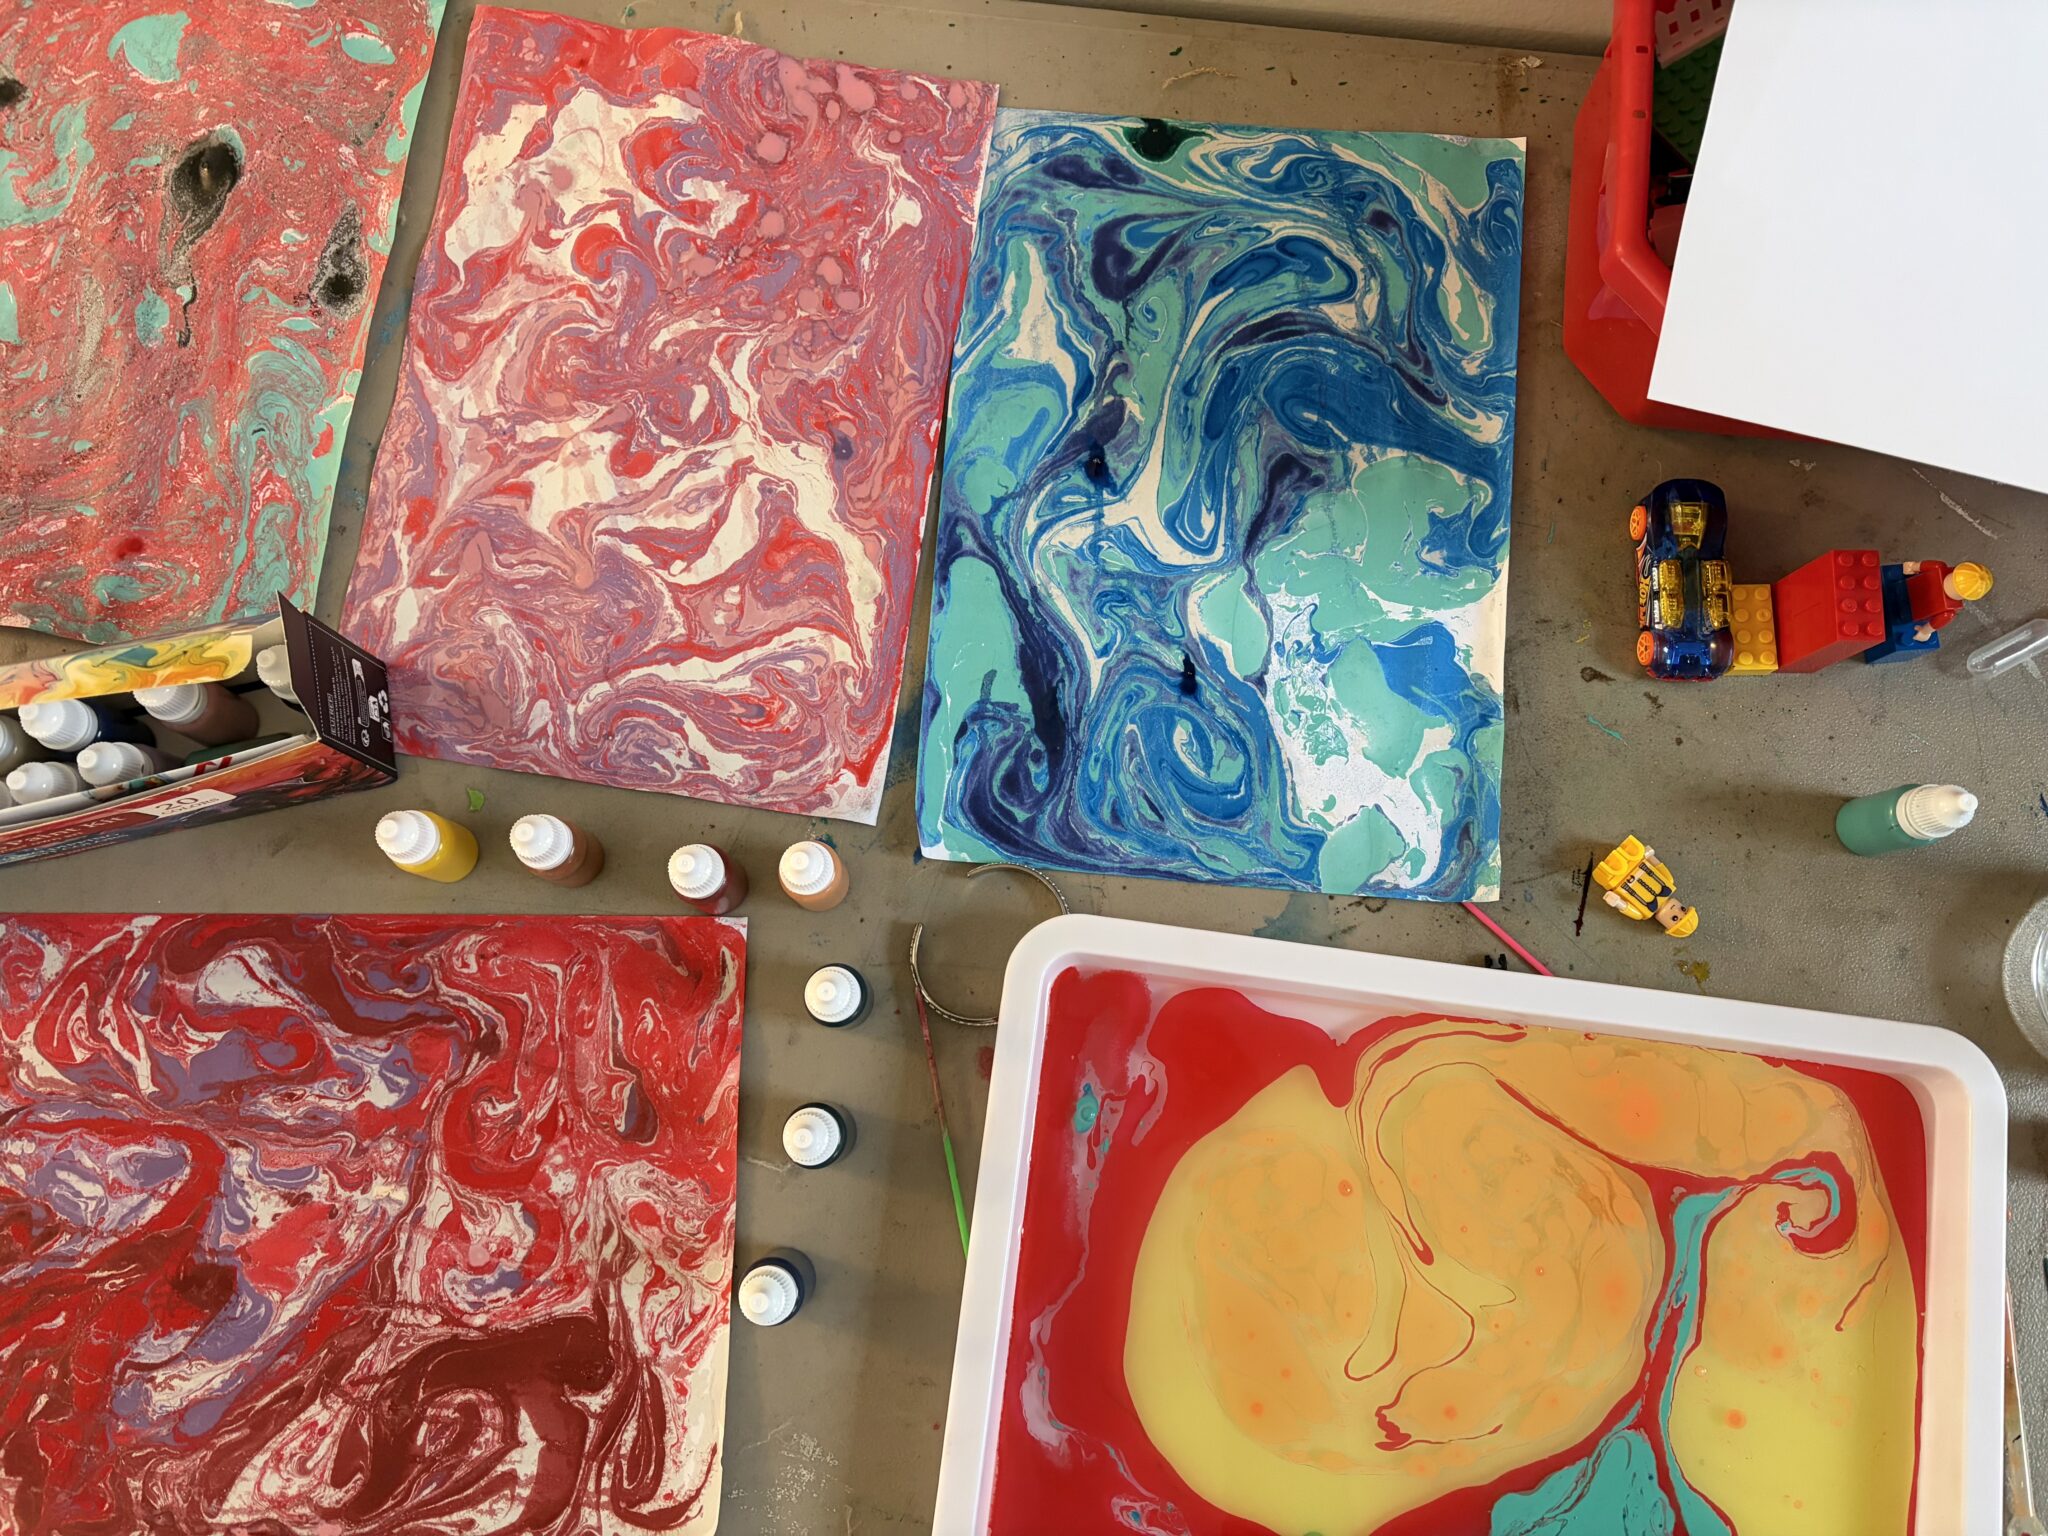
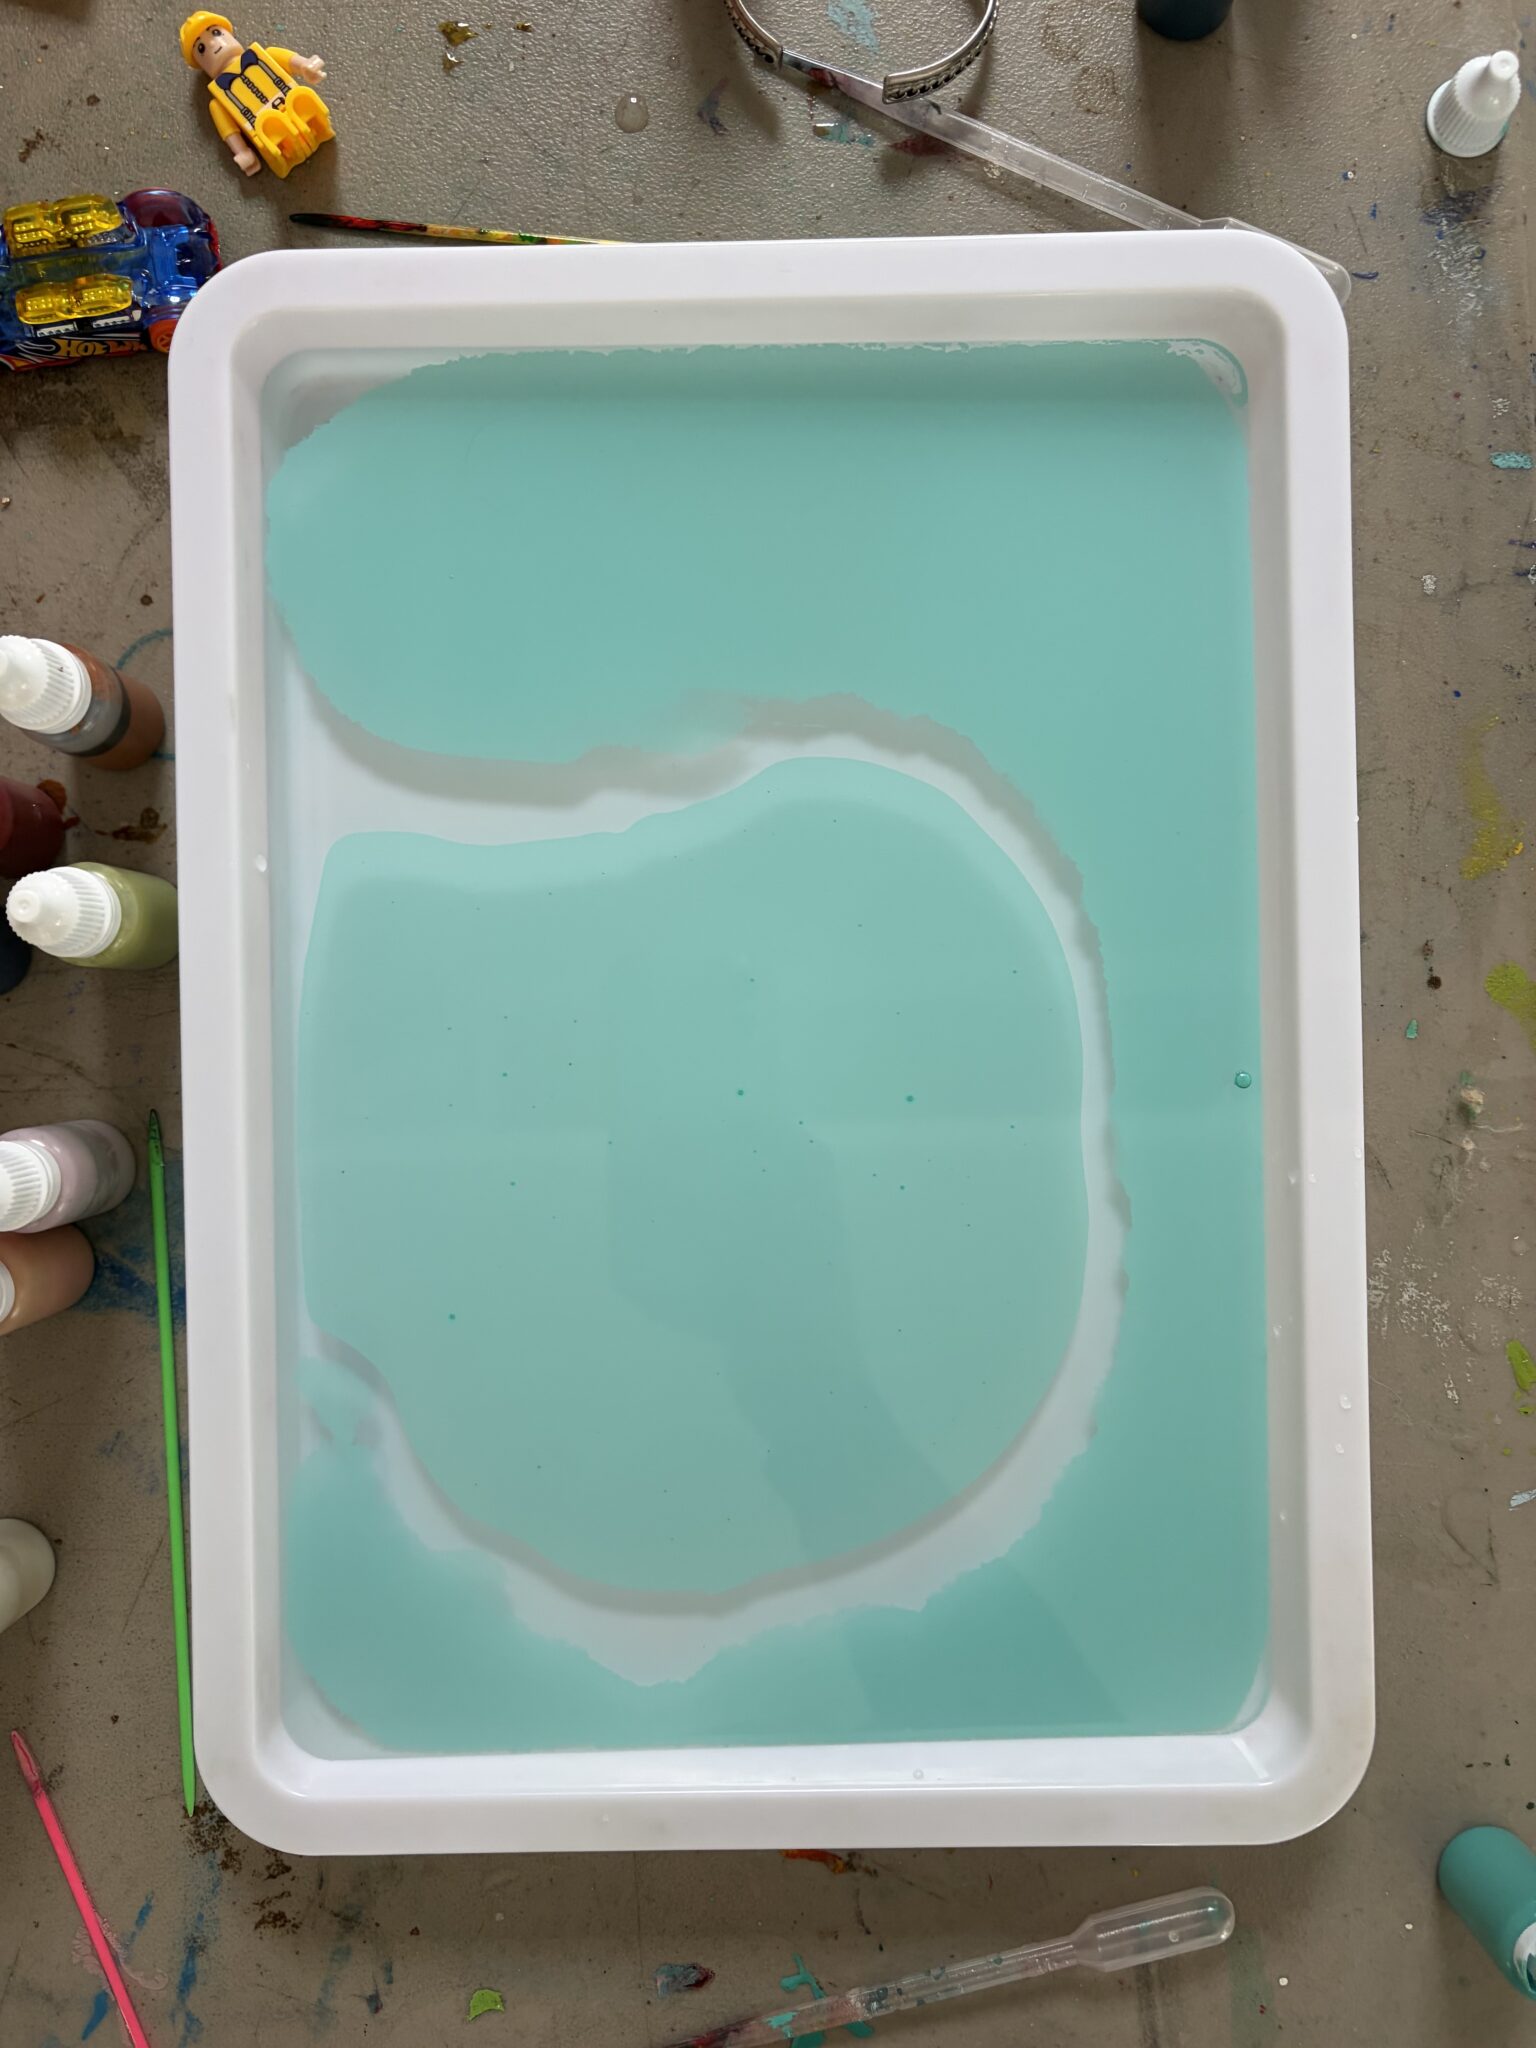
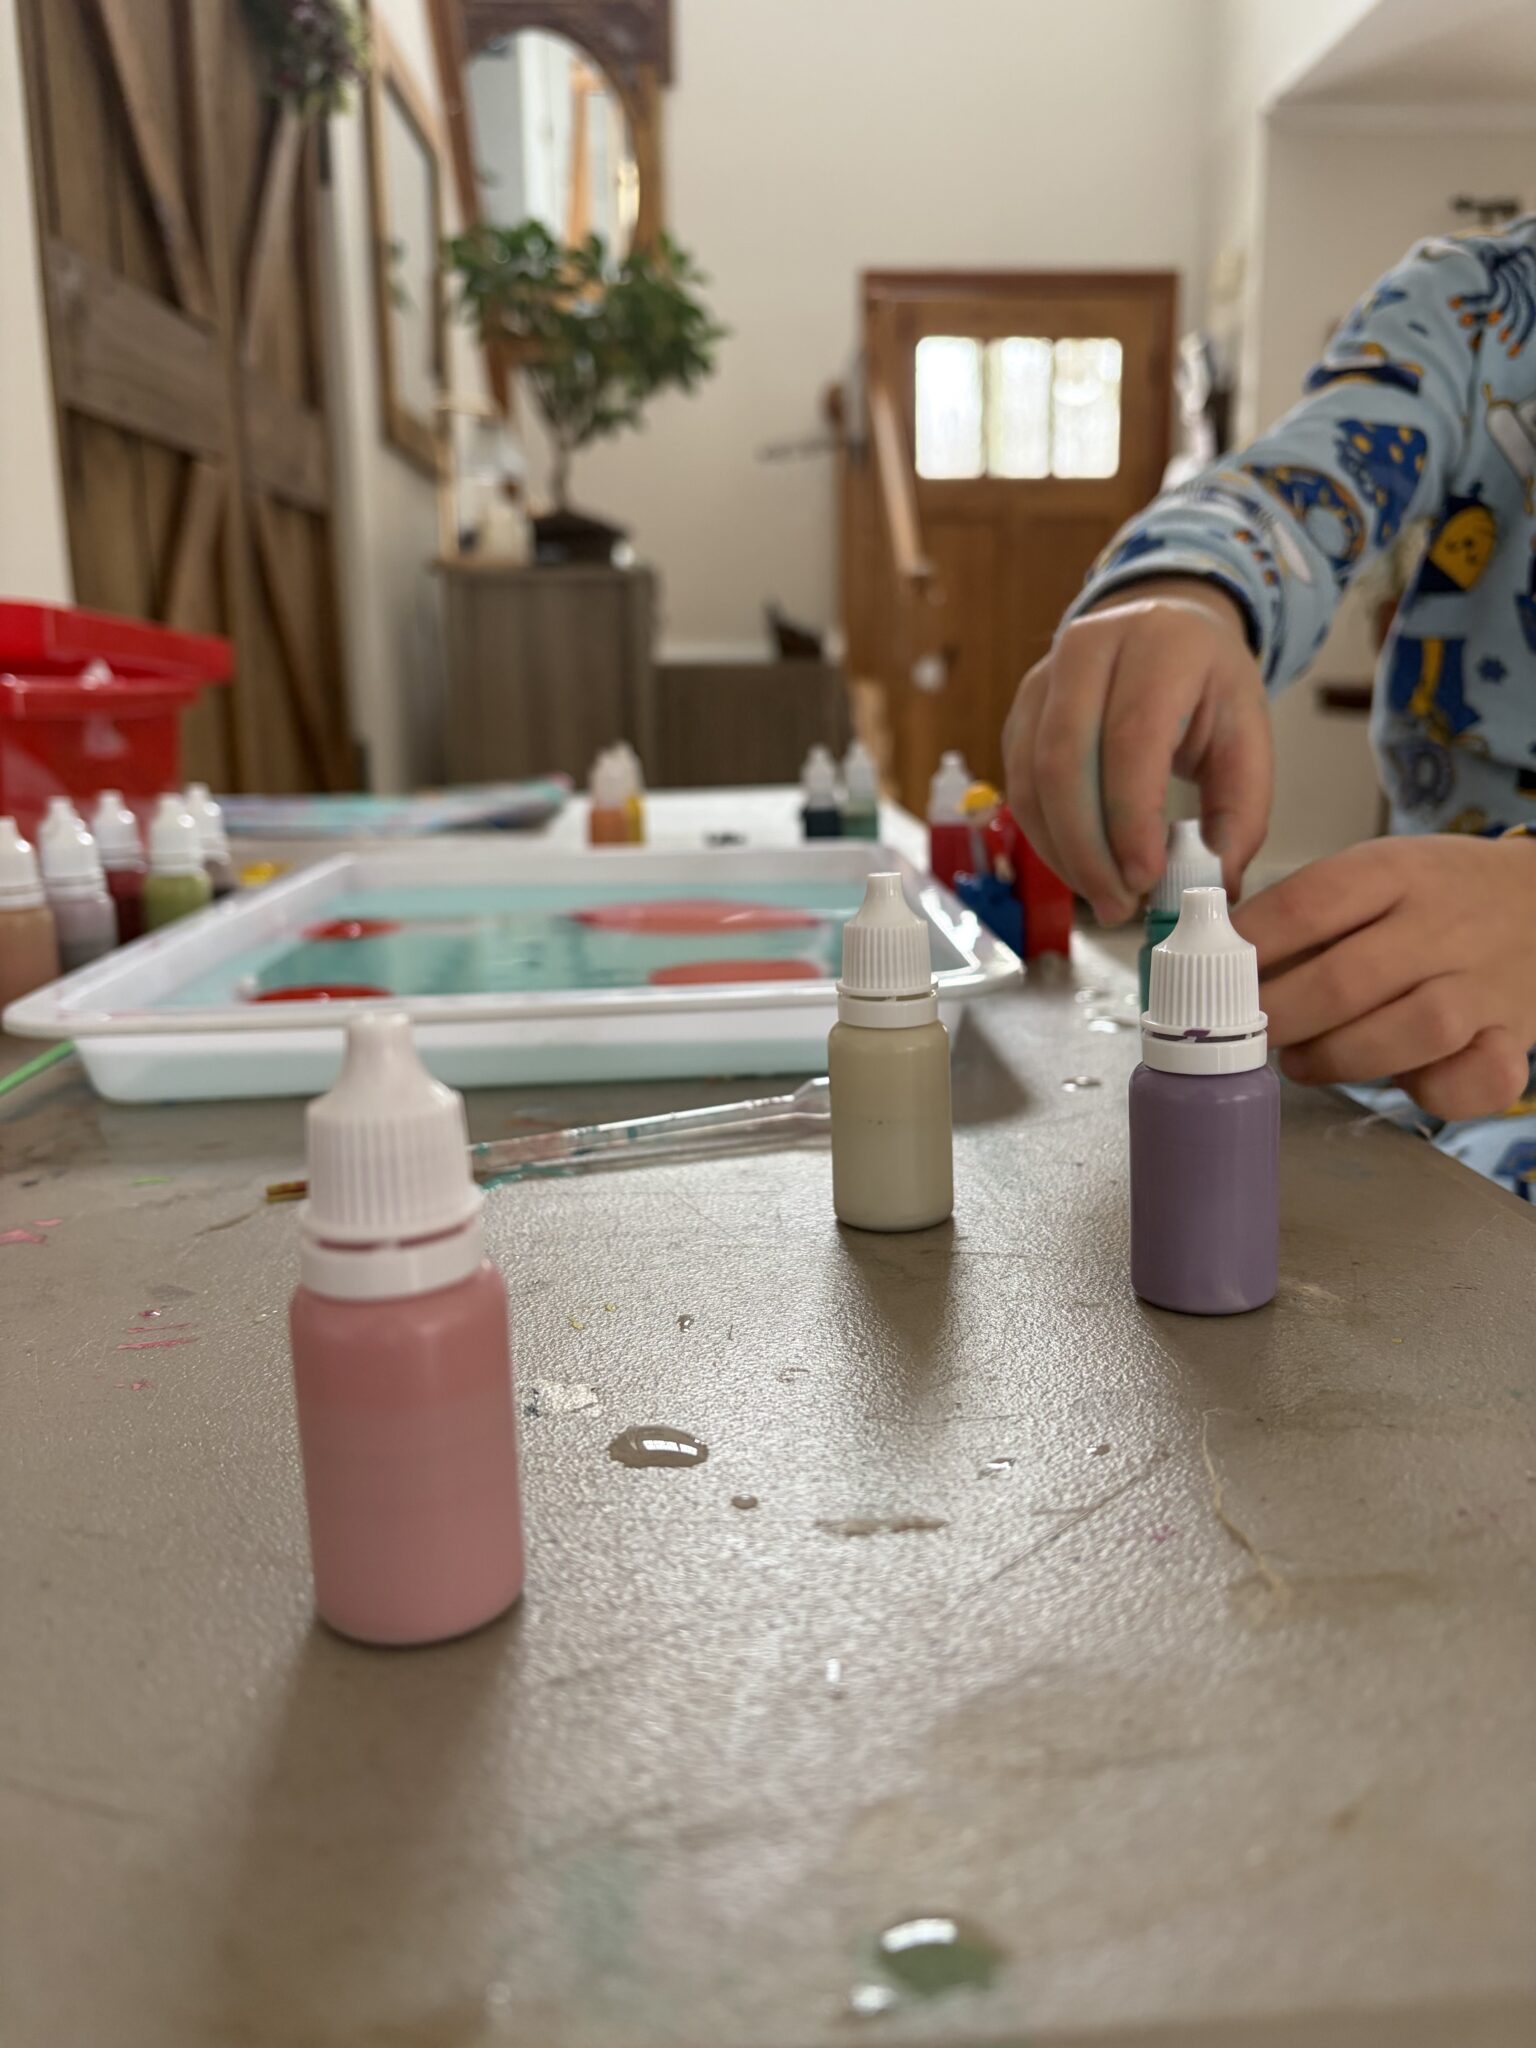
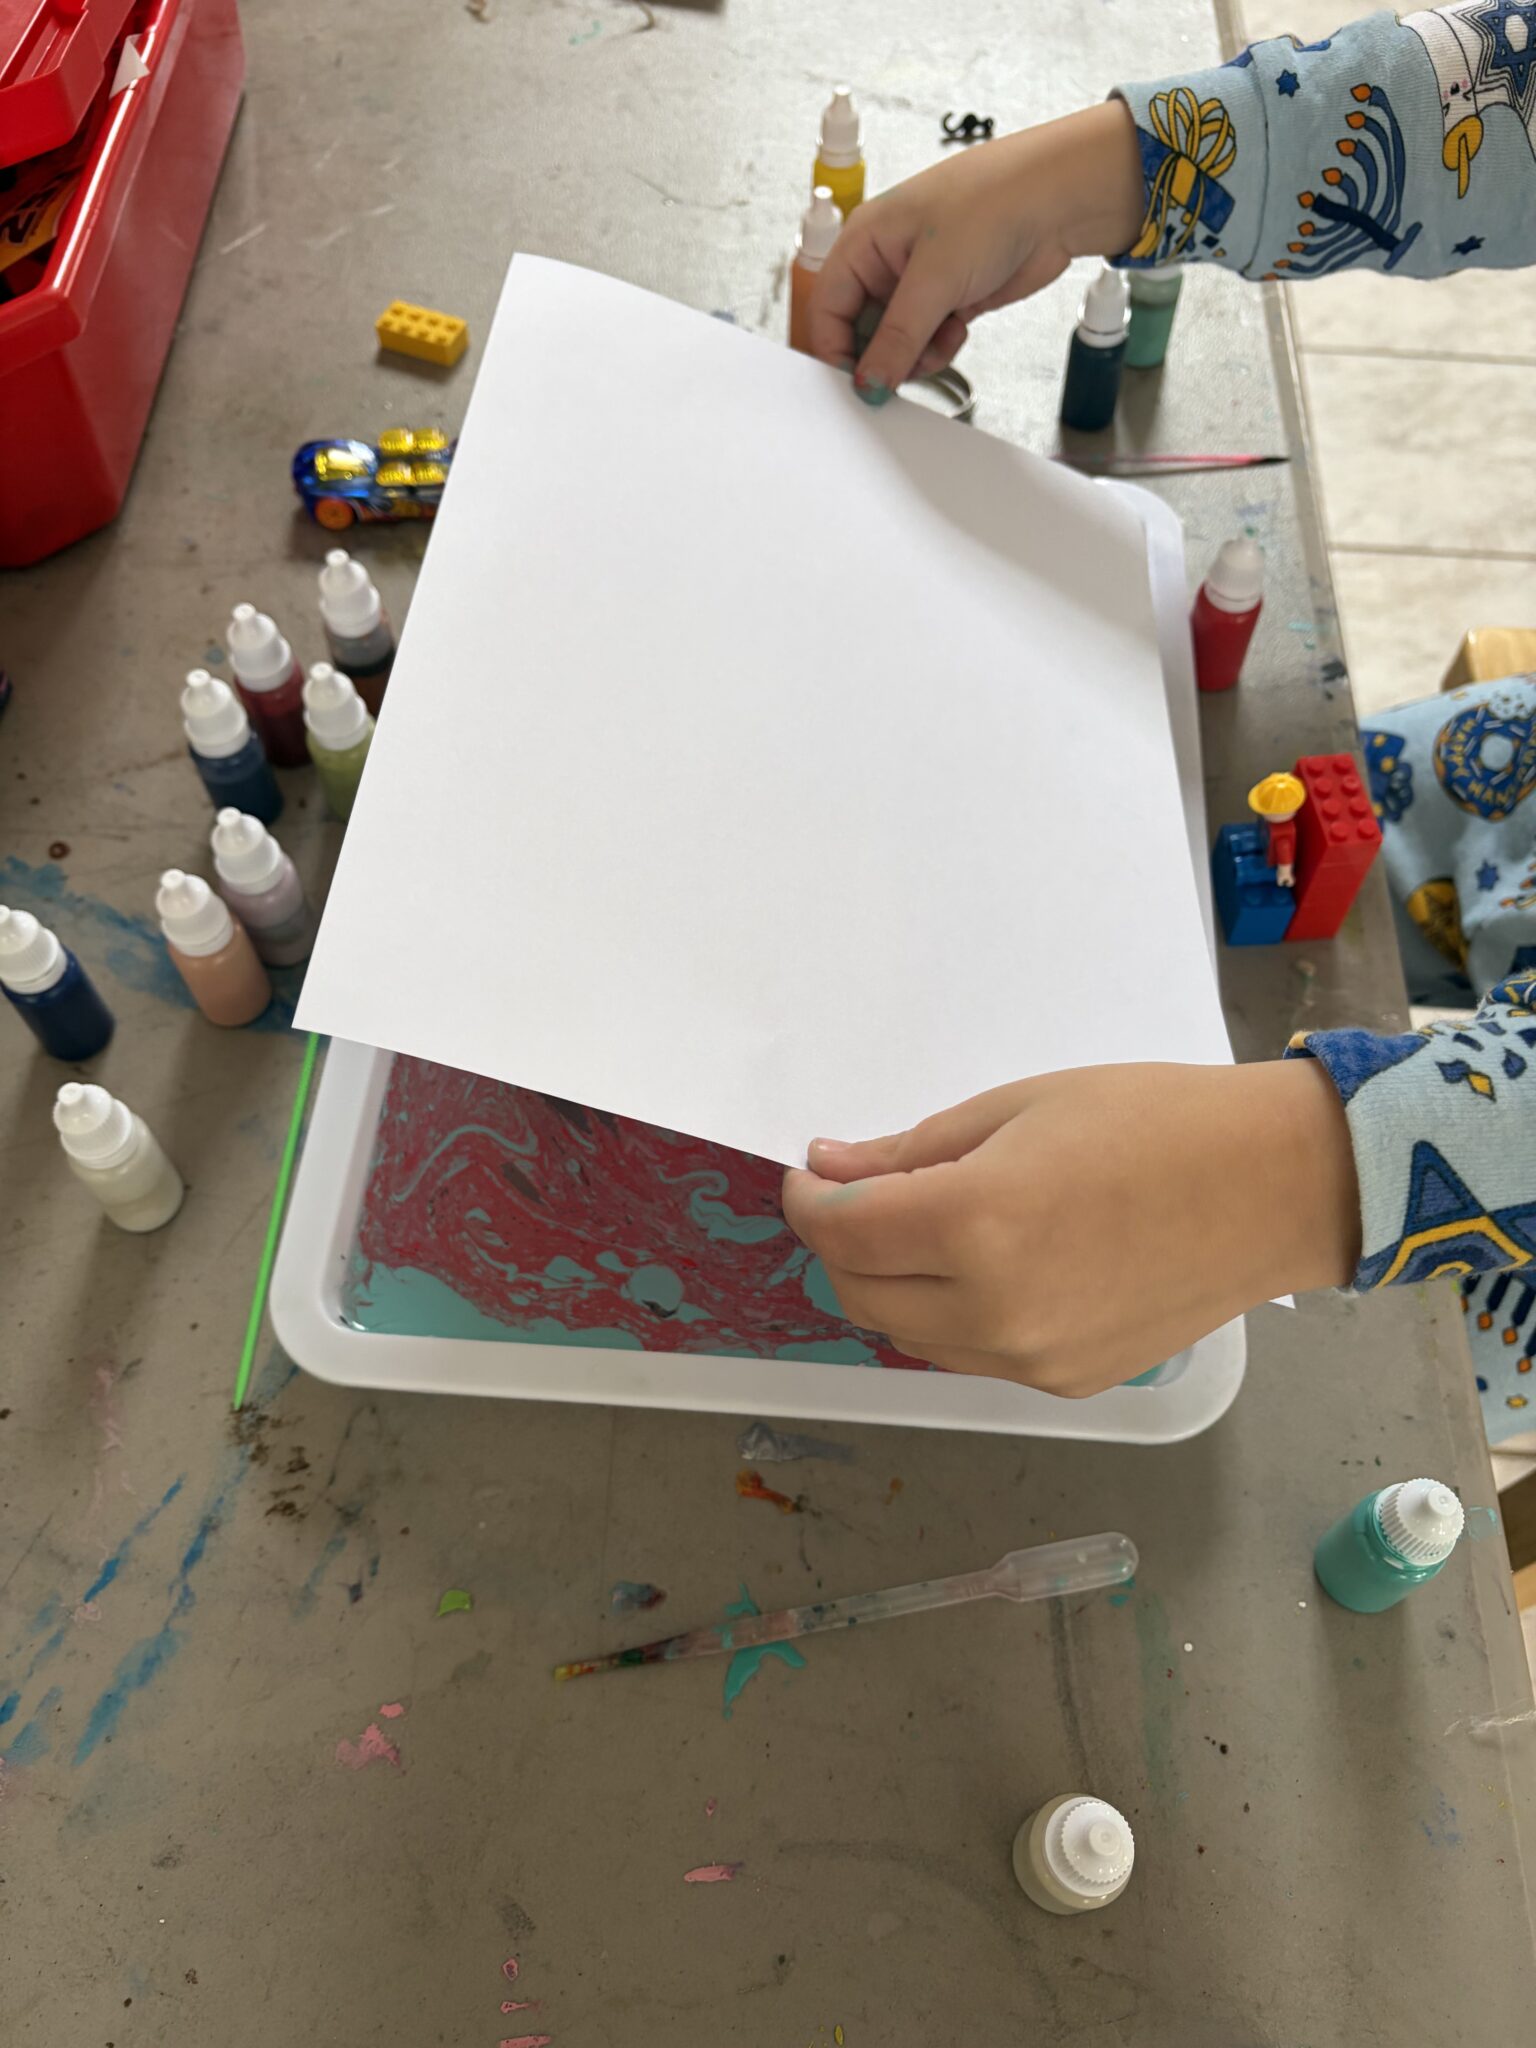
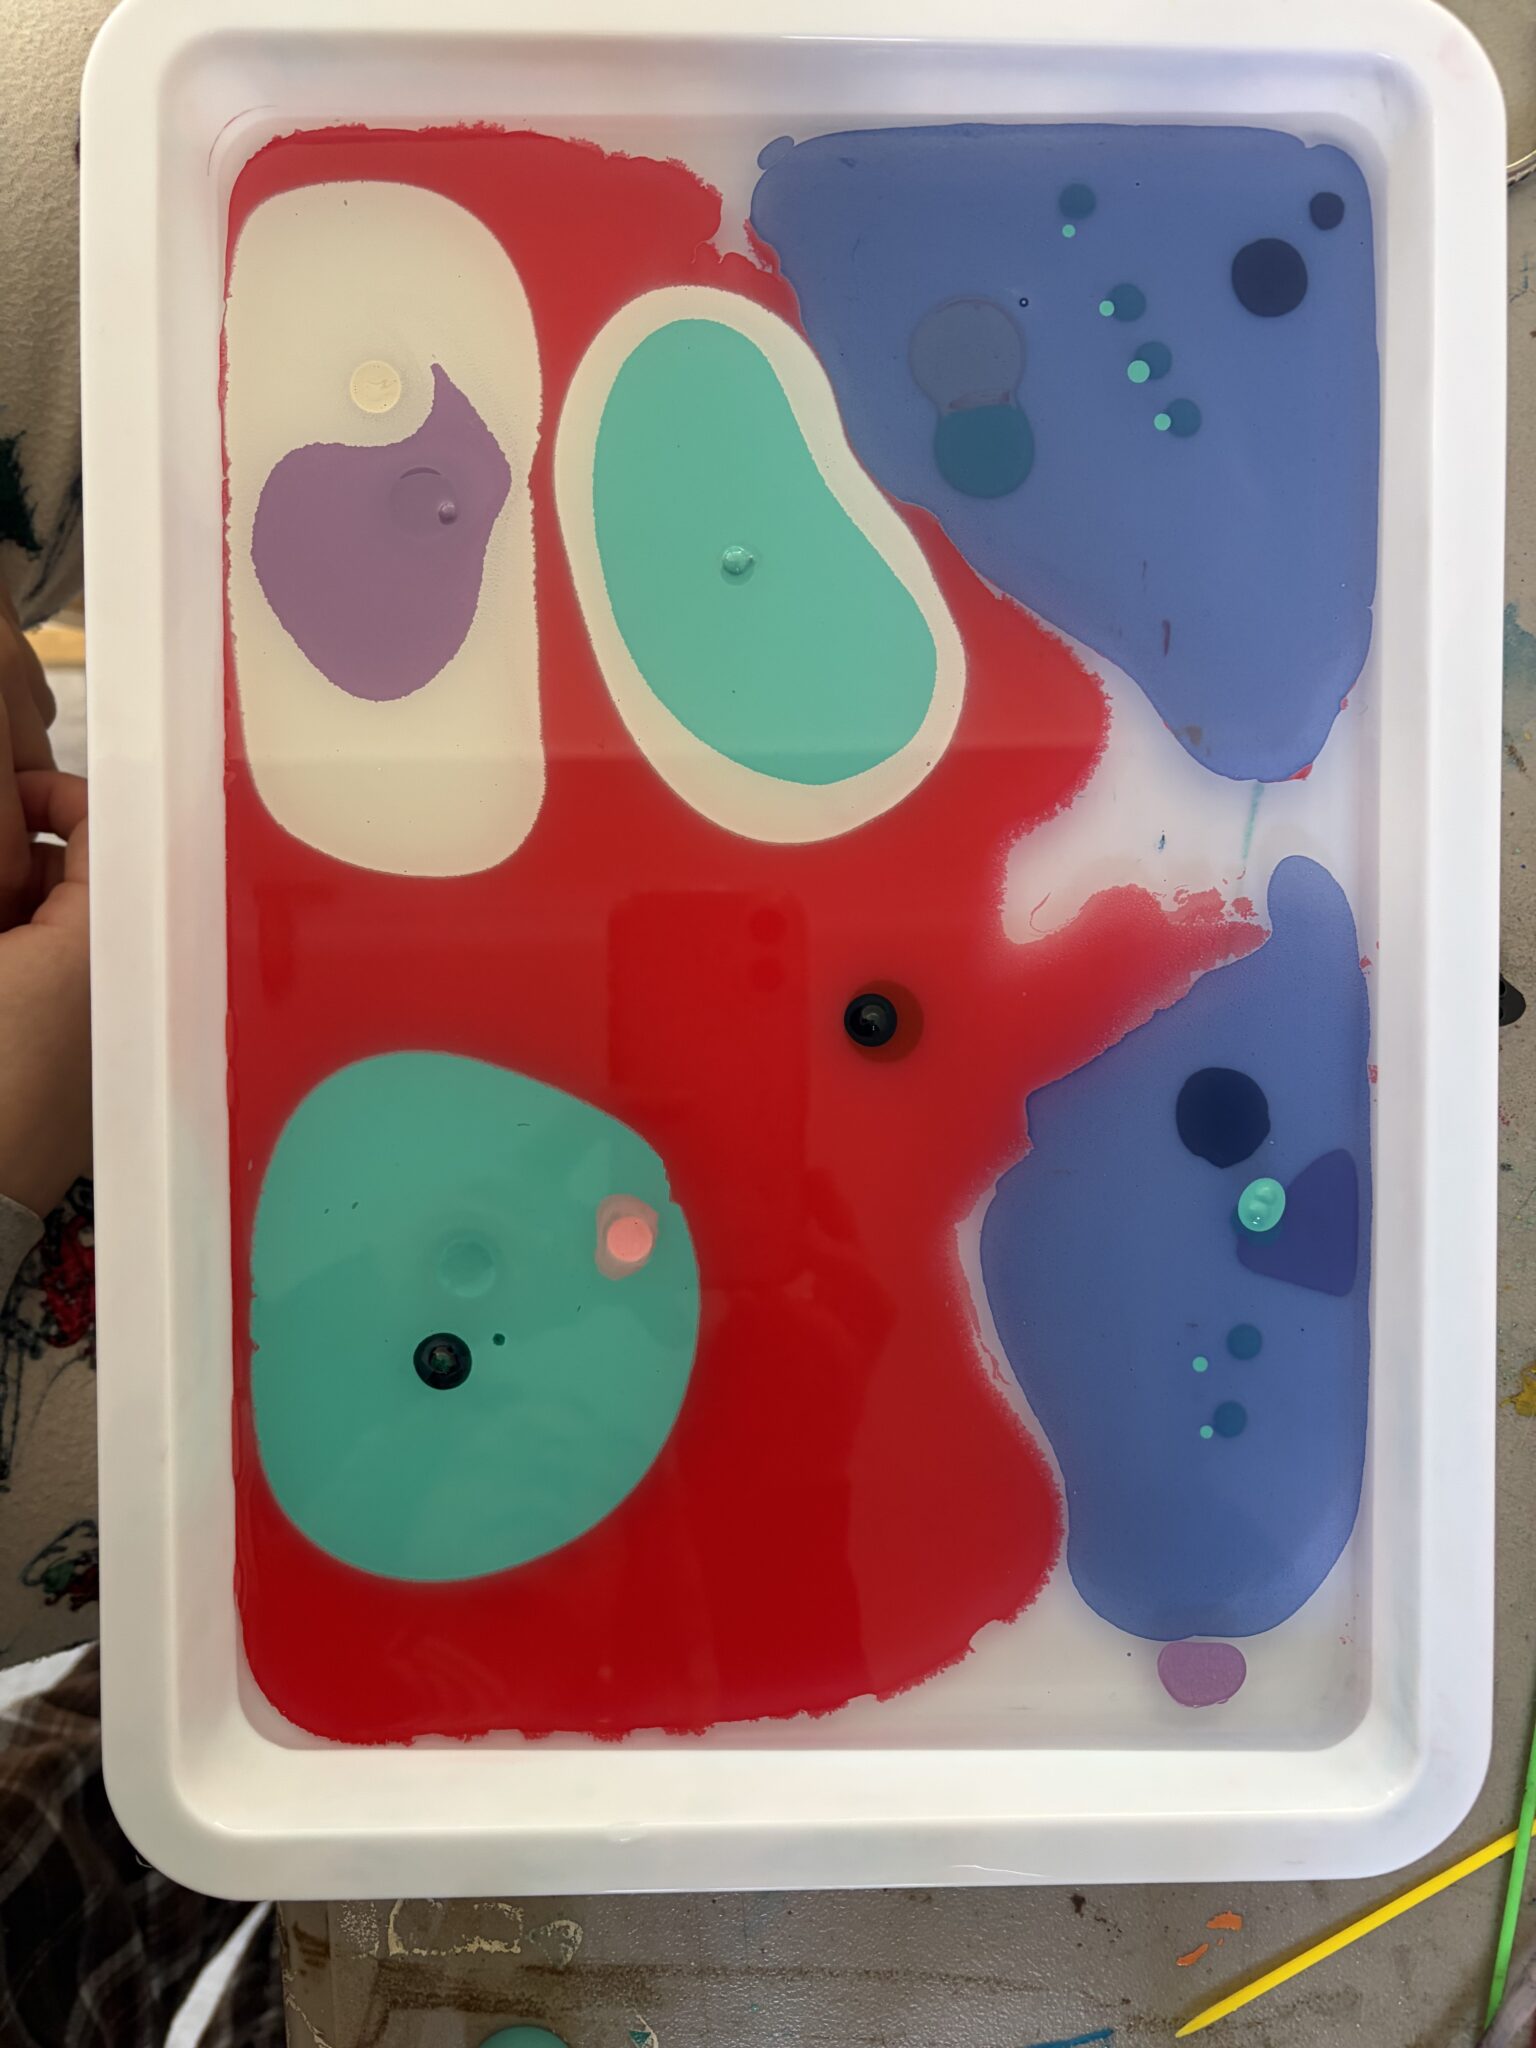
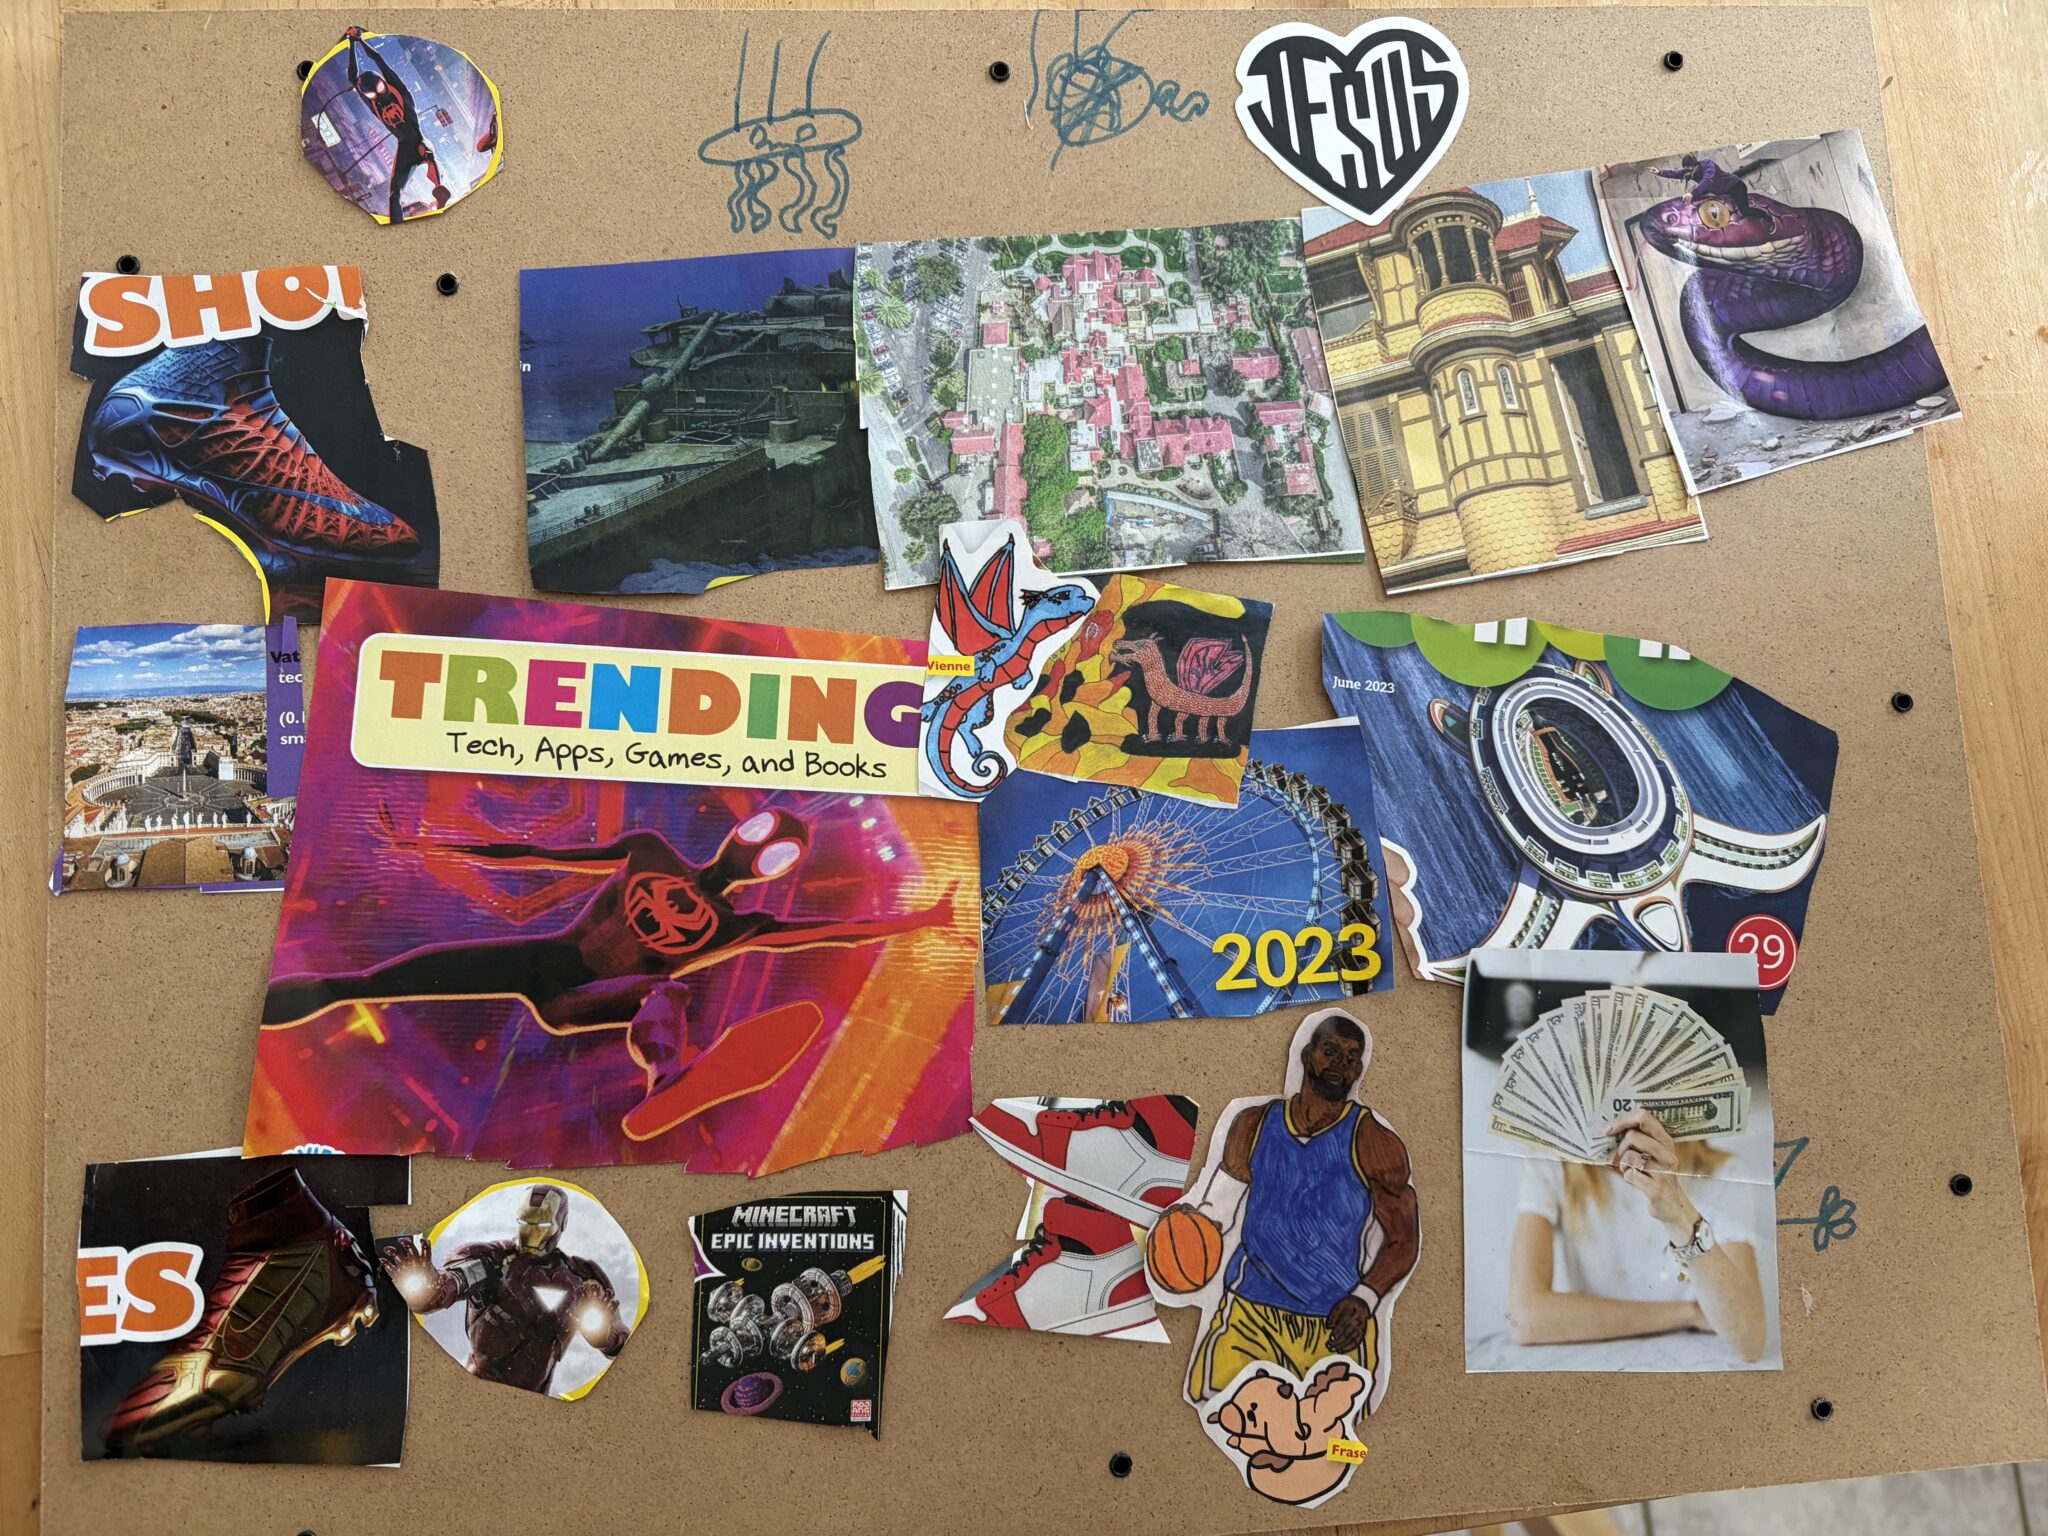
Every project begins with a clean slate. Prepping the work surface and testing the first drops of pigment. I like keeping some reference materials close by.
Why do we do that? Take pictures of something when it’s in its final stage? Or when we are happy with it and ready to show it. There’s such beauty in that growing part of it.
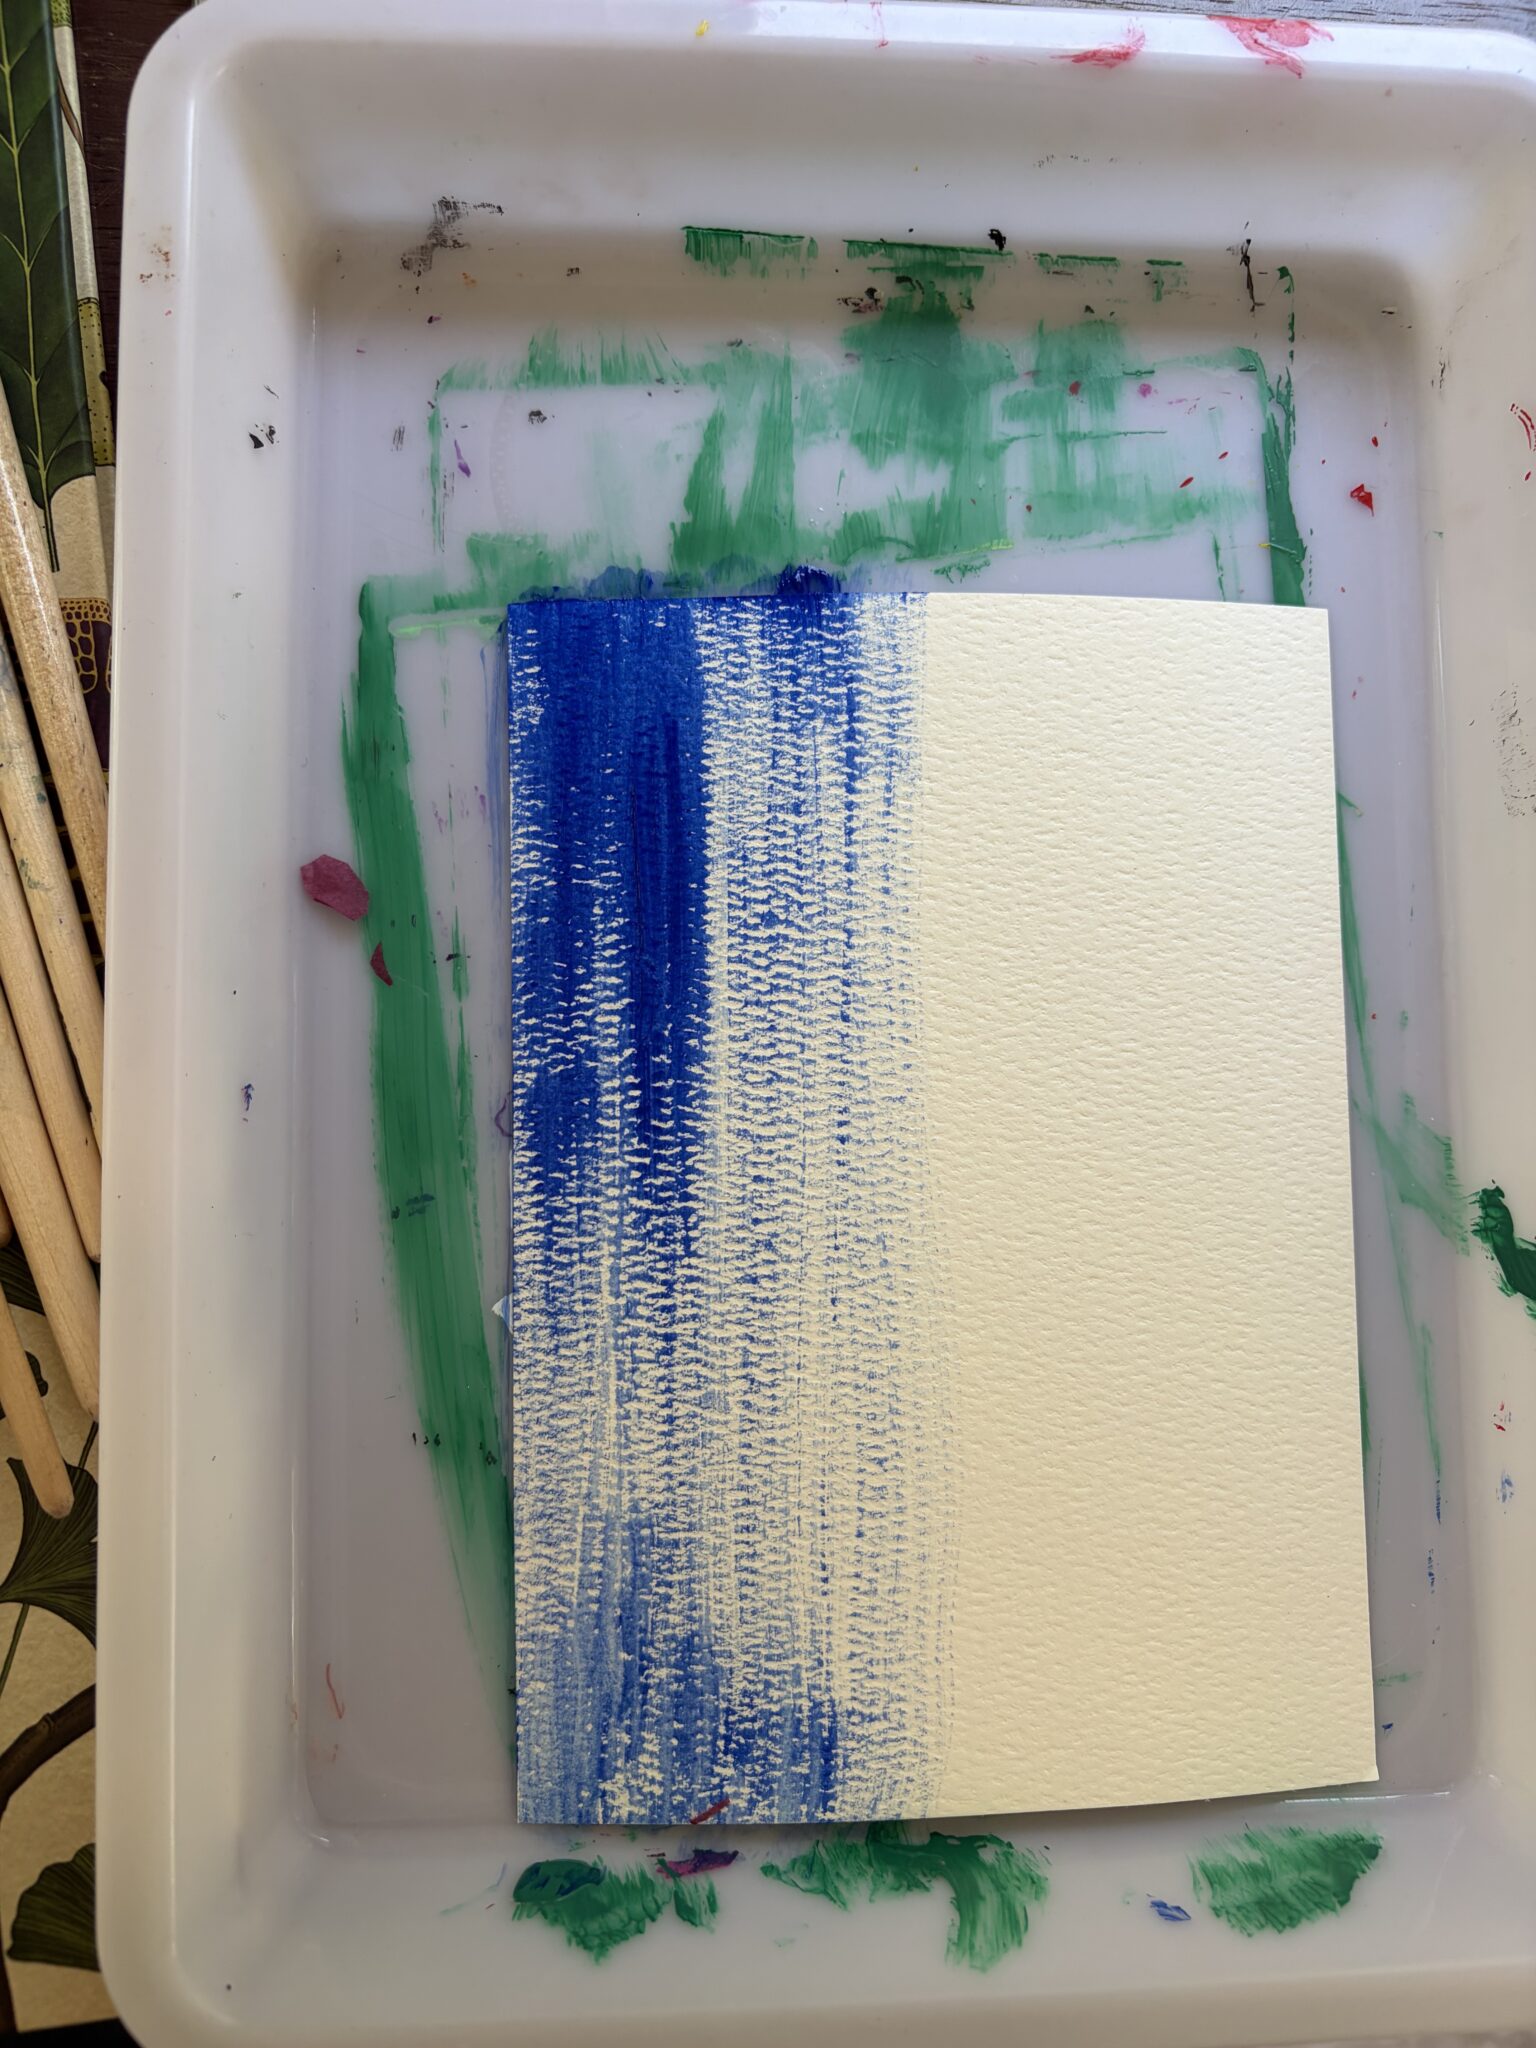
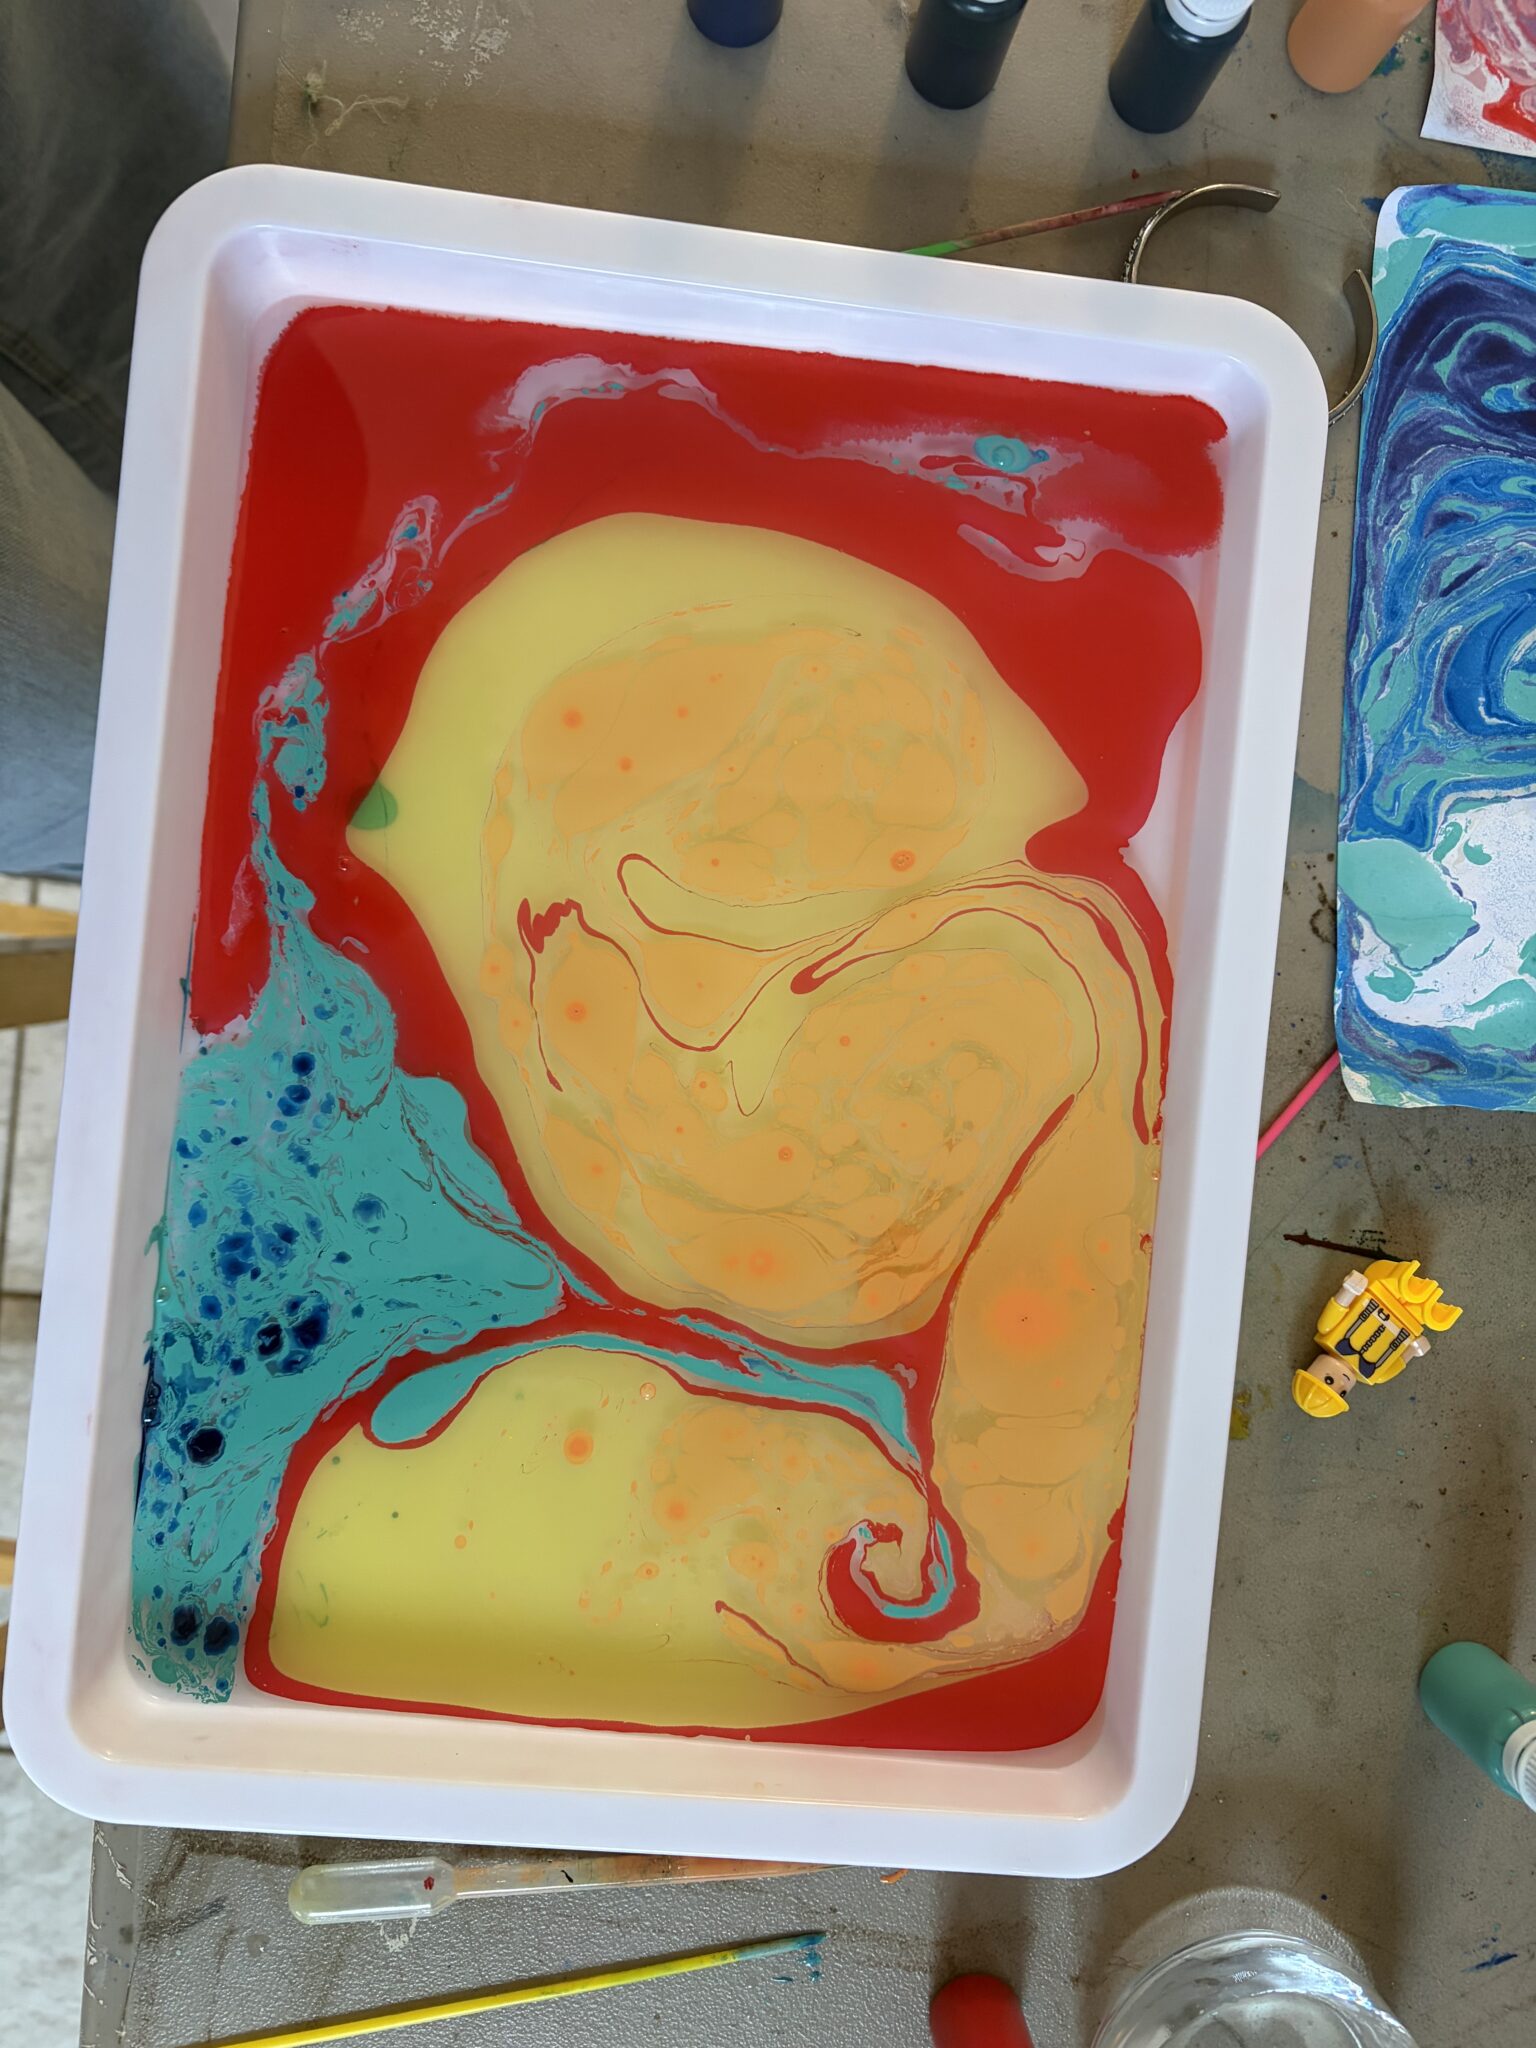
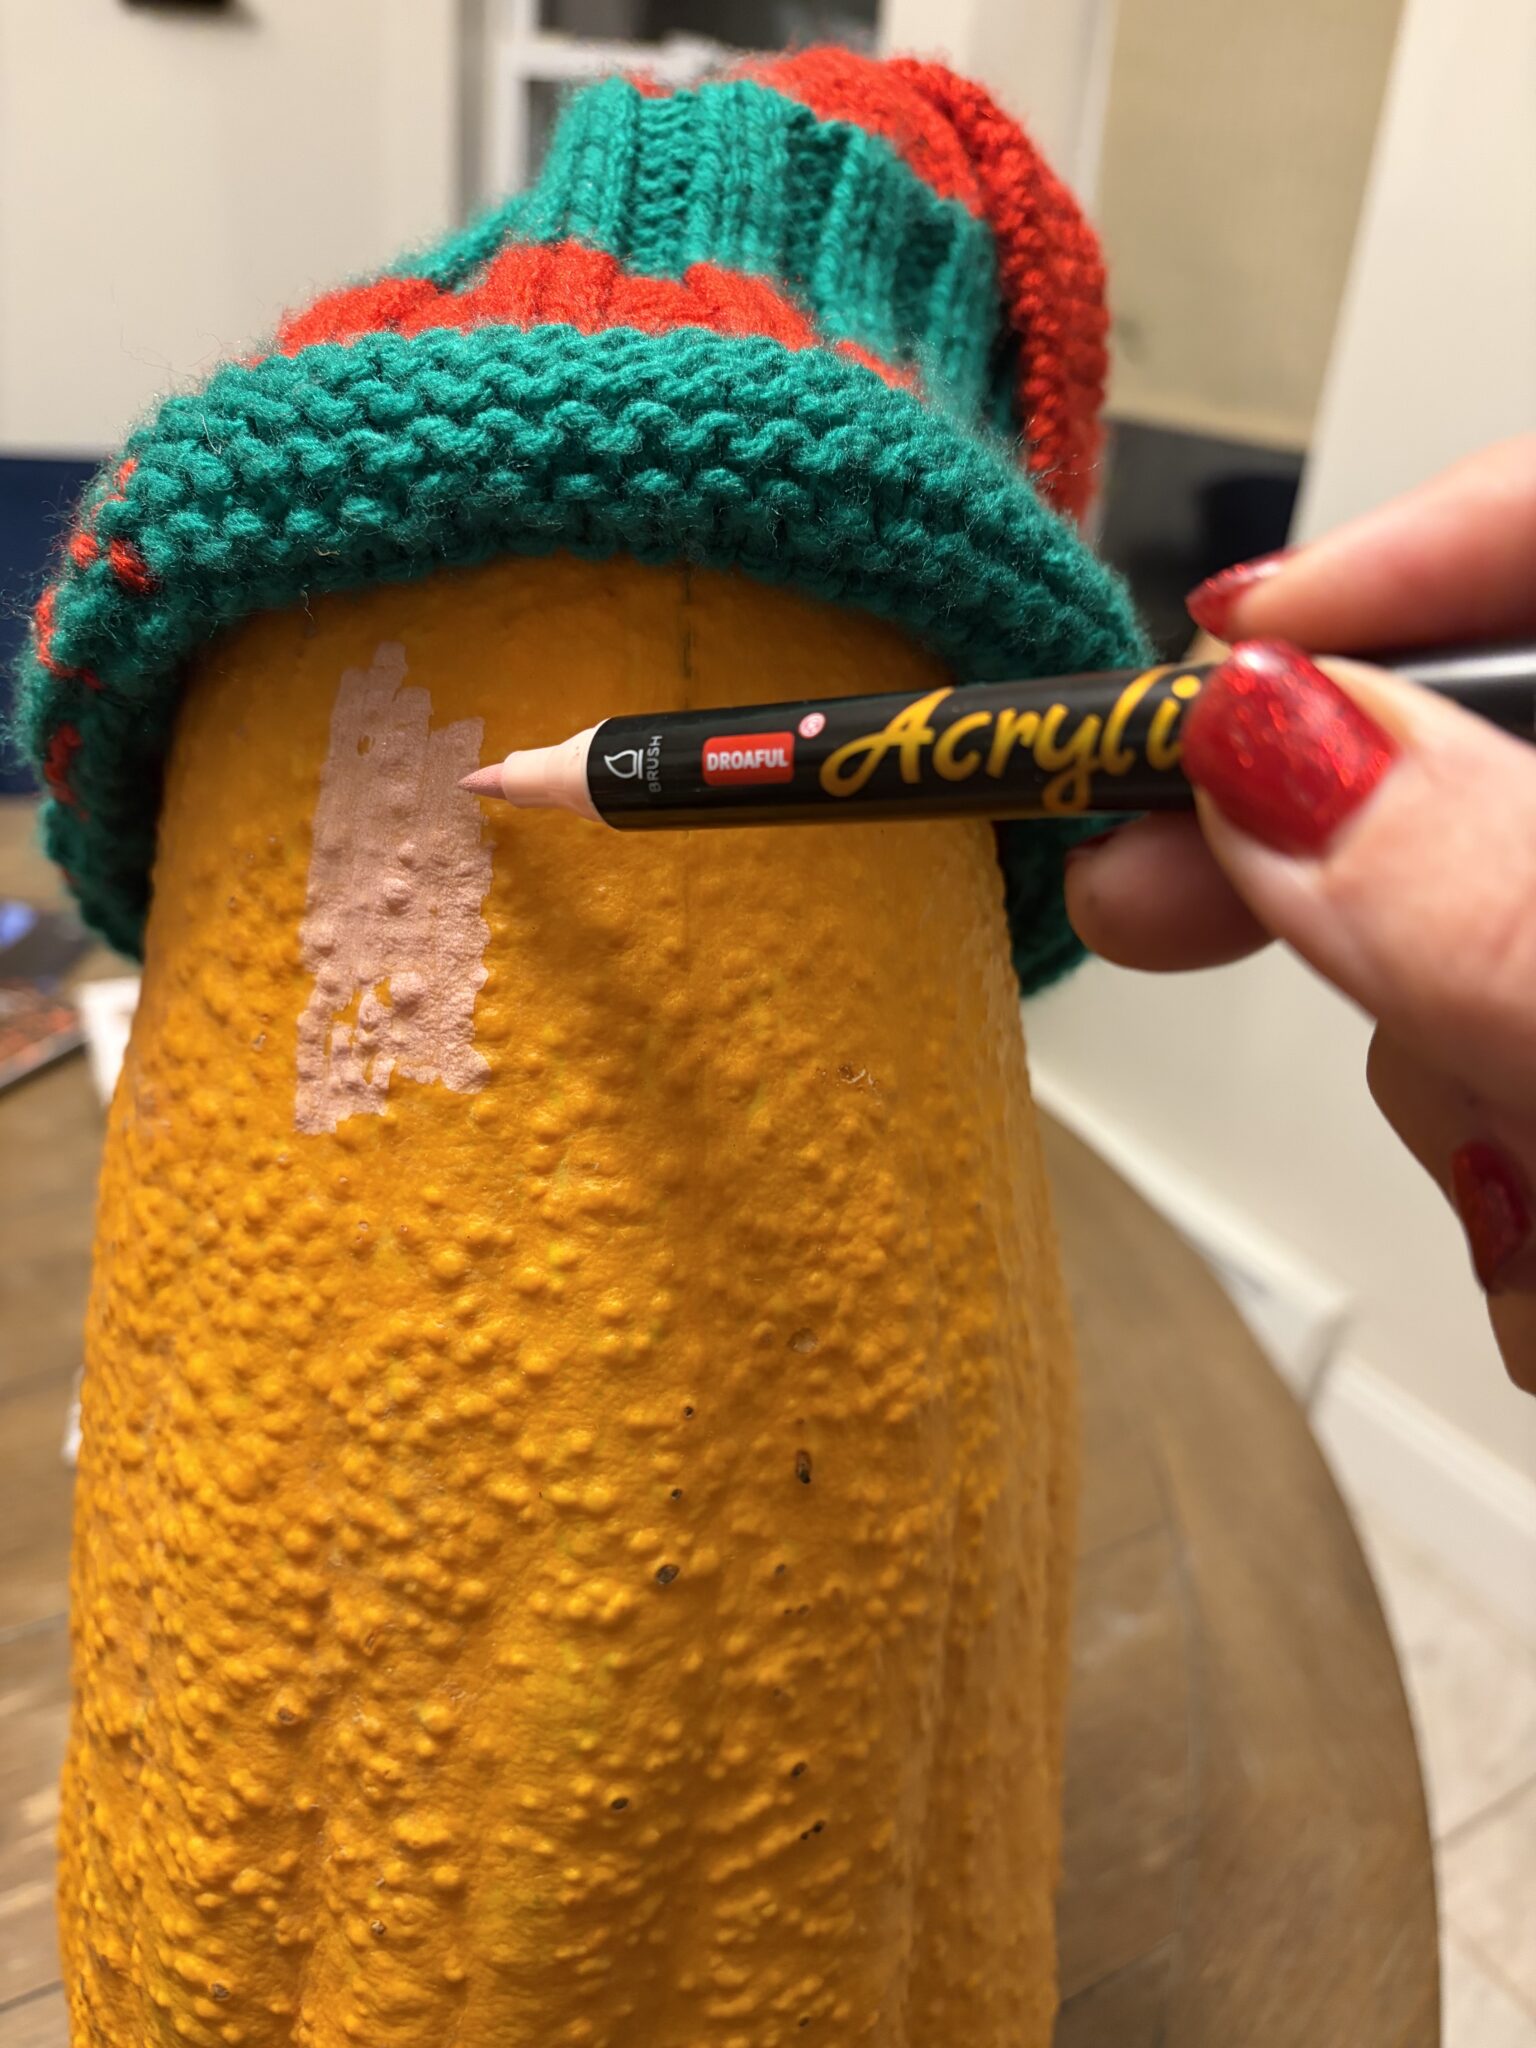
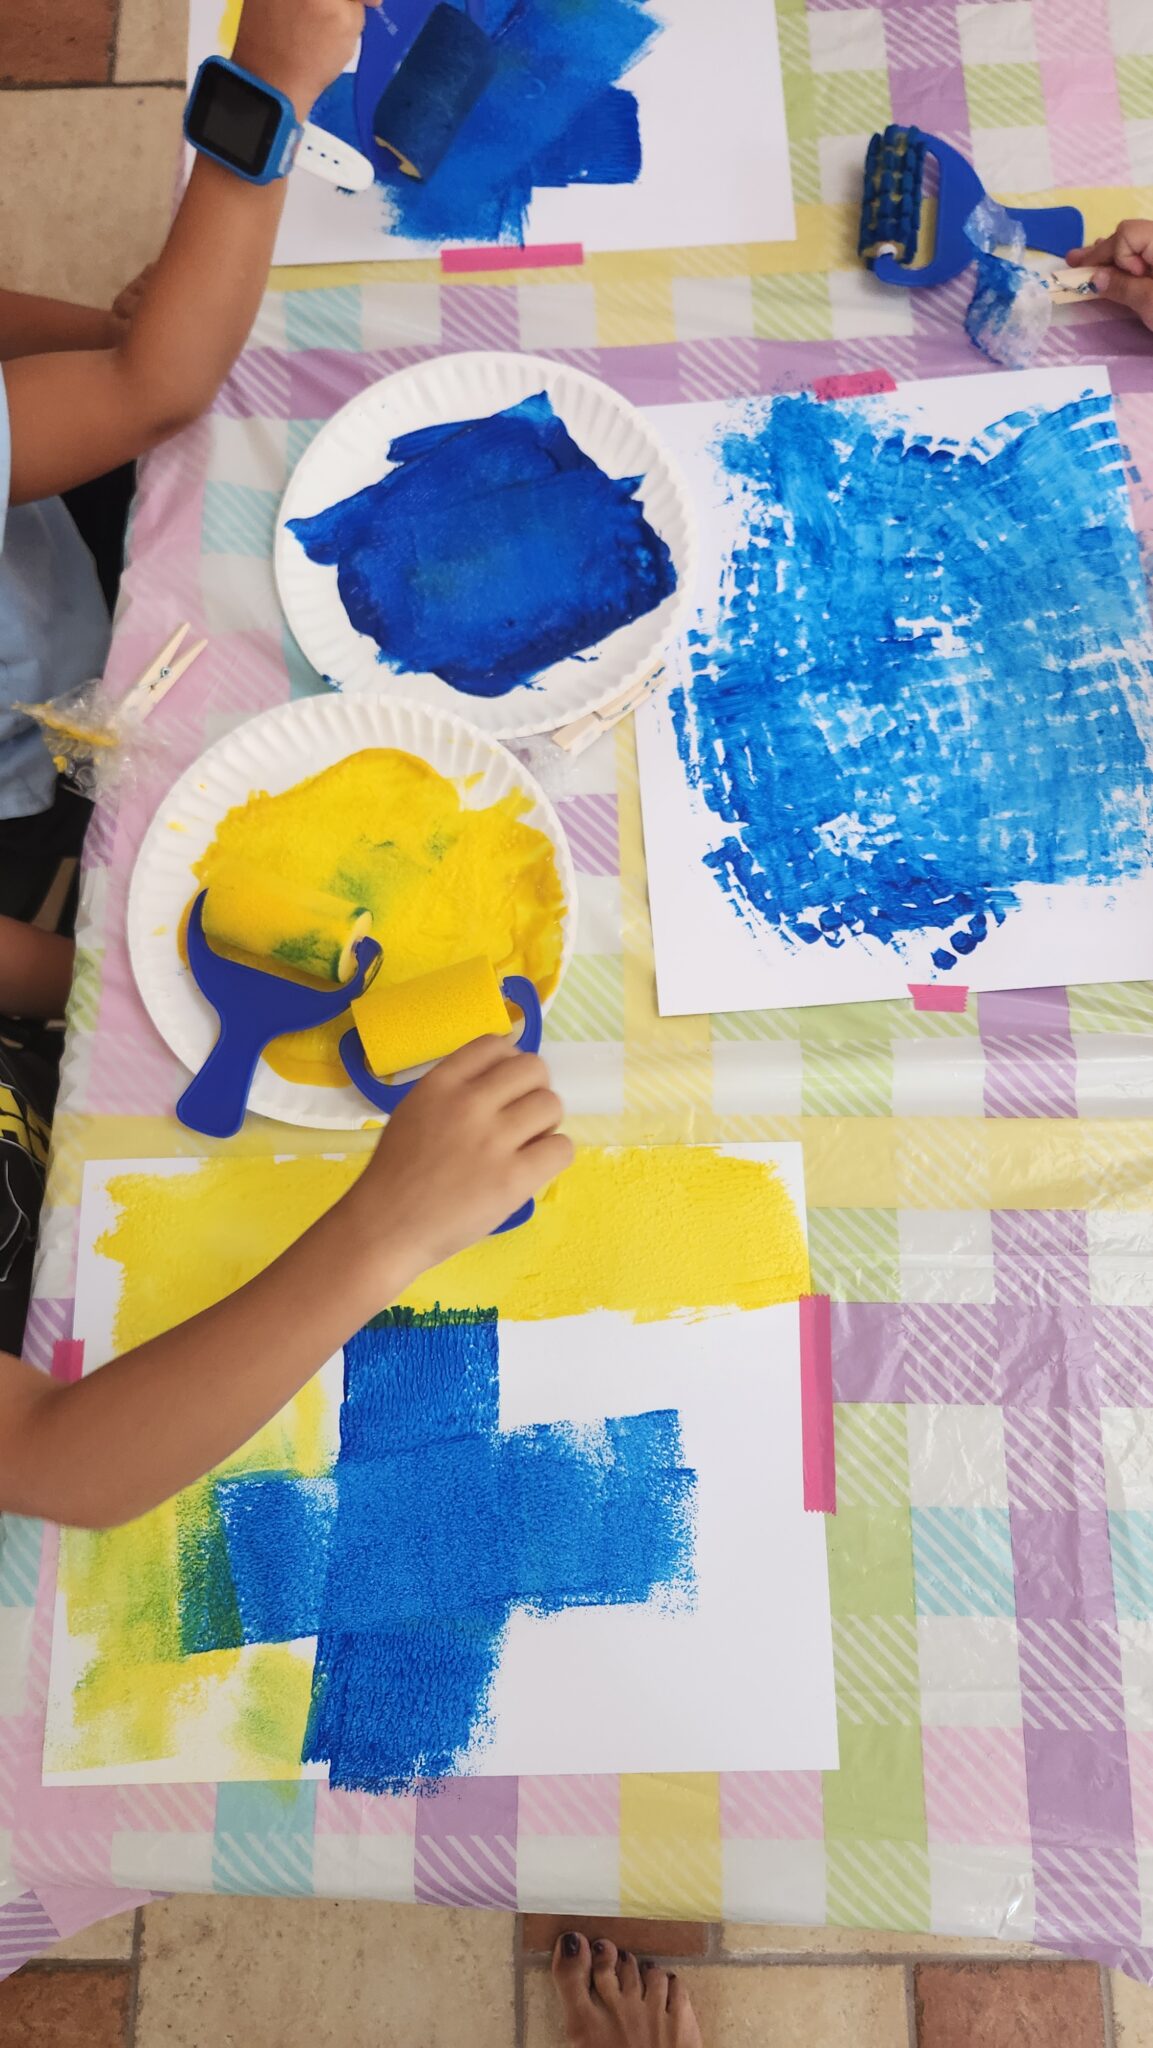
Laying down the primary composition lanes using blue washes. I start with acrylic paint and sometimes I wash over some watercolors.
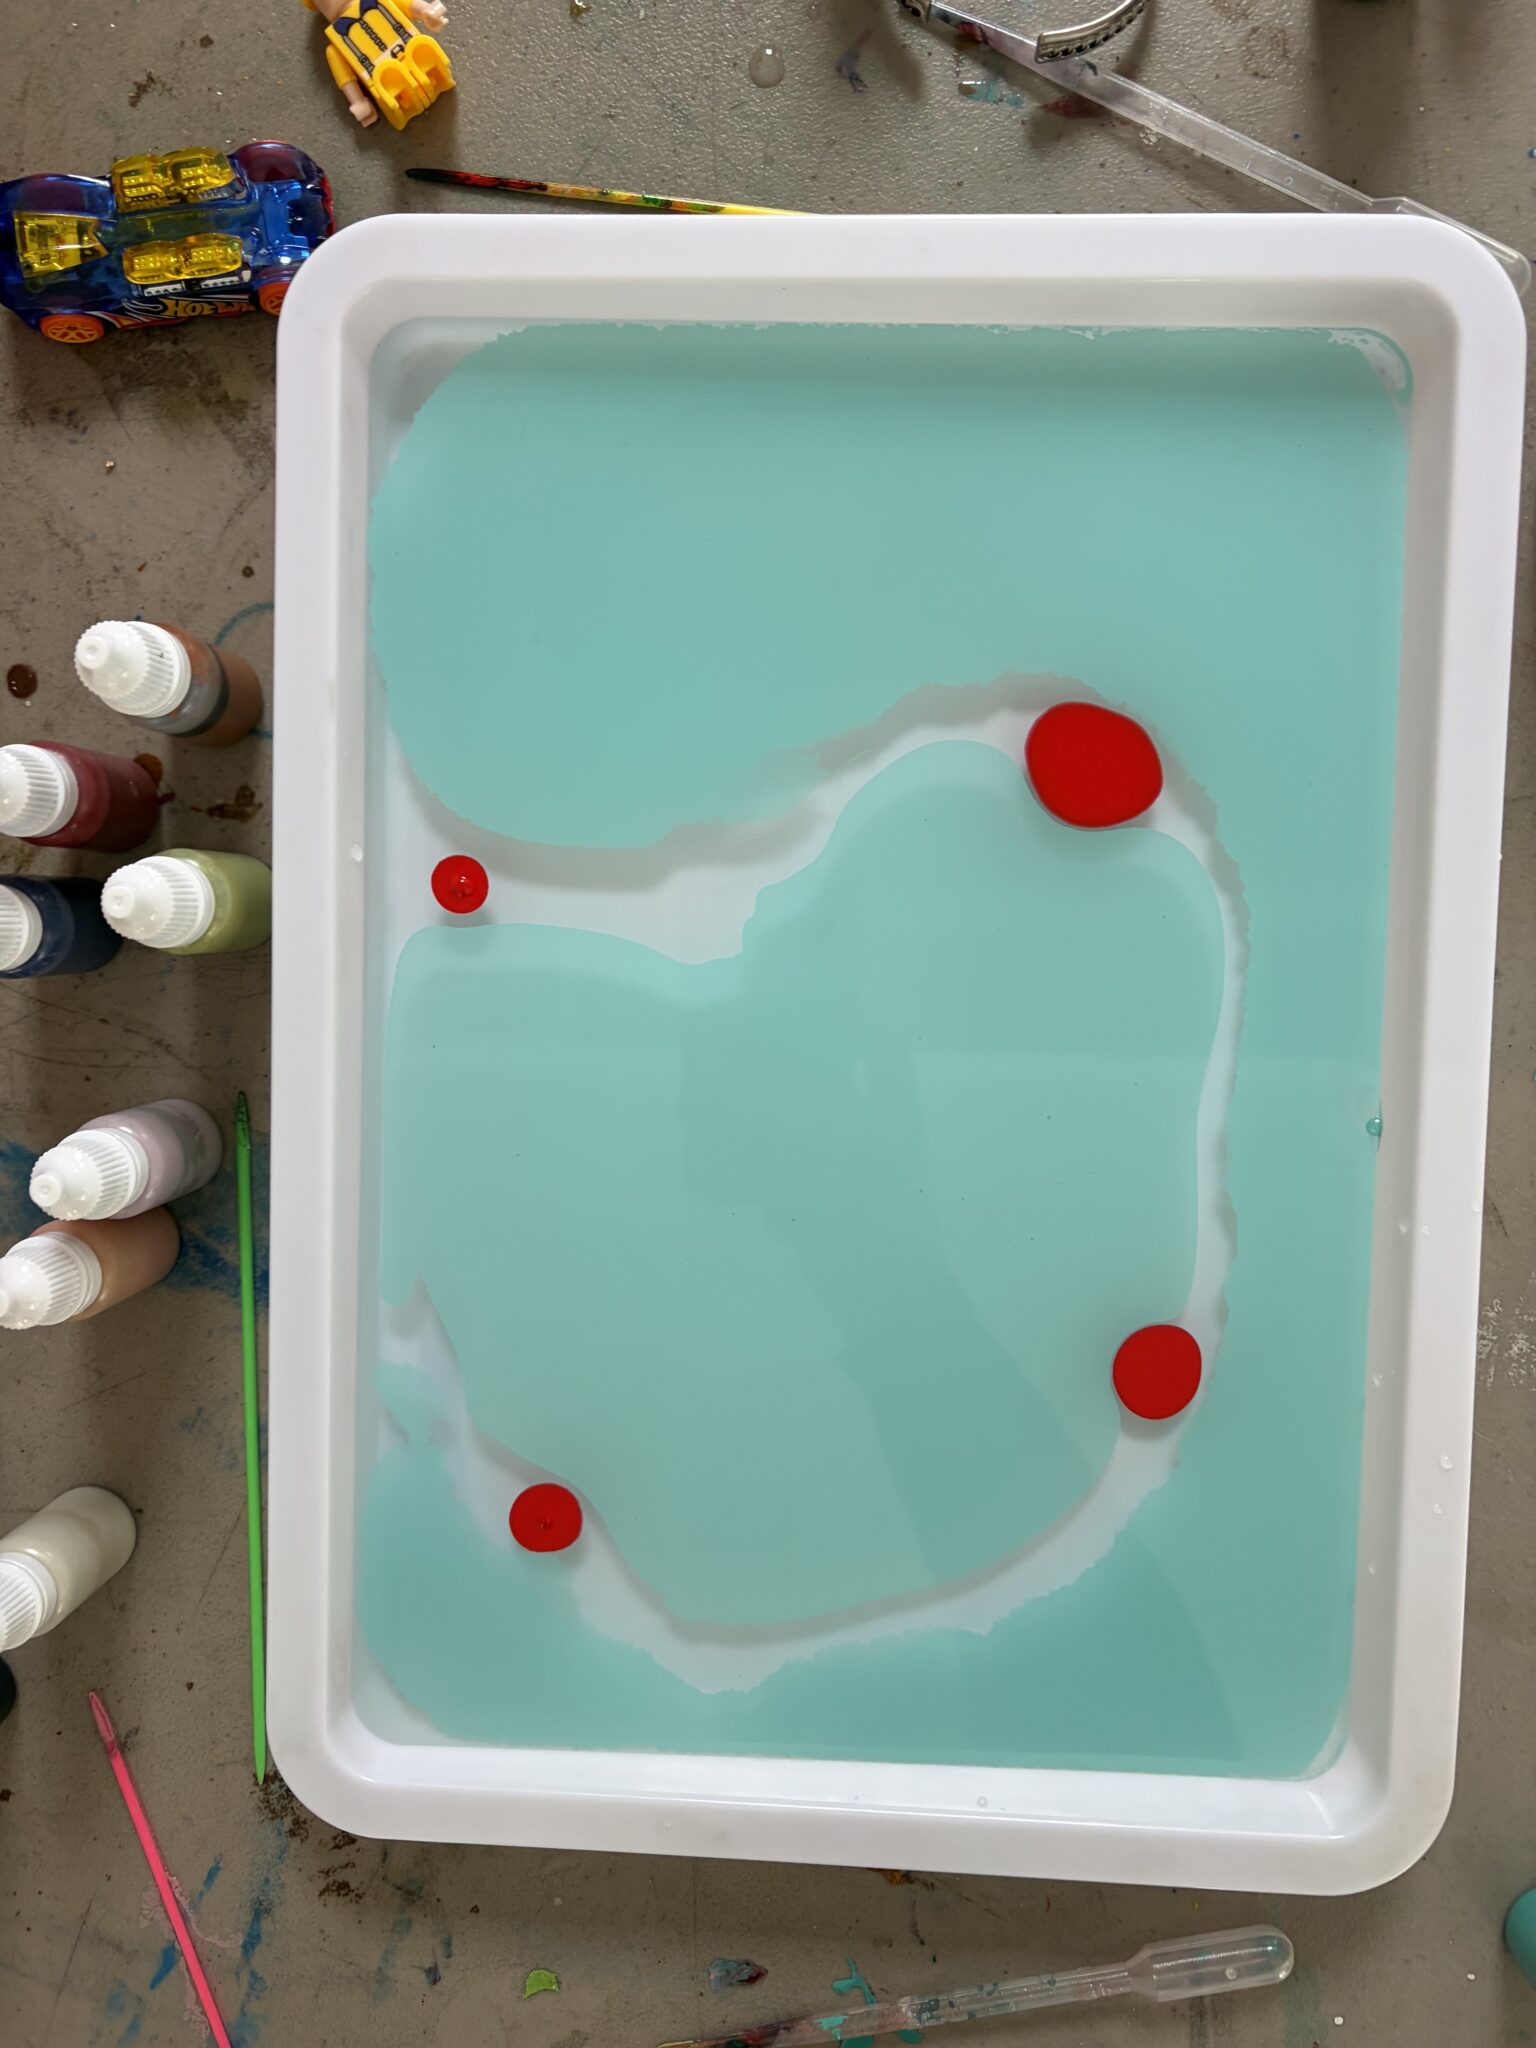
The awkward and the uncertain part. The part where I’m like “where is this going to go?”.
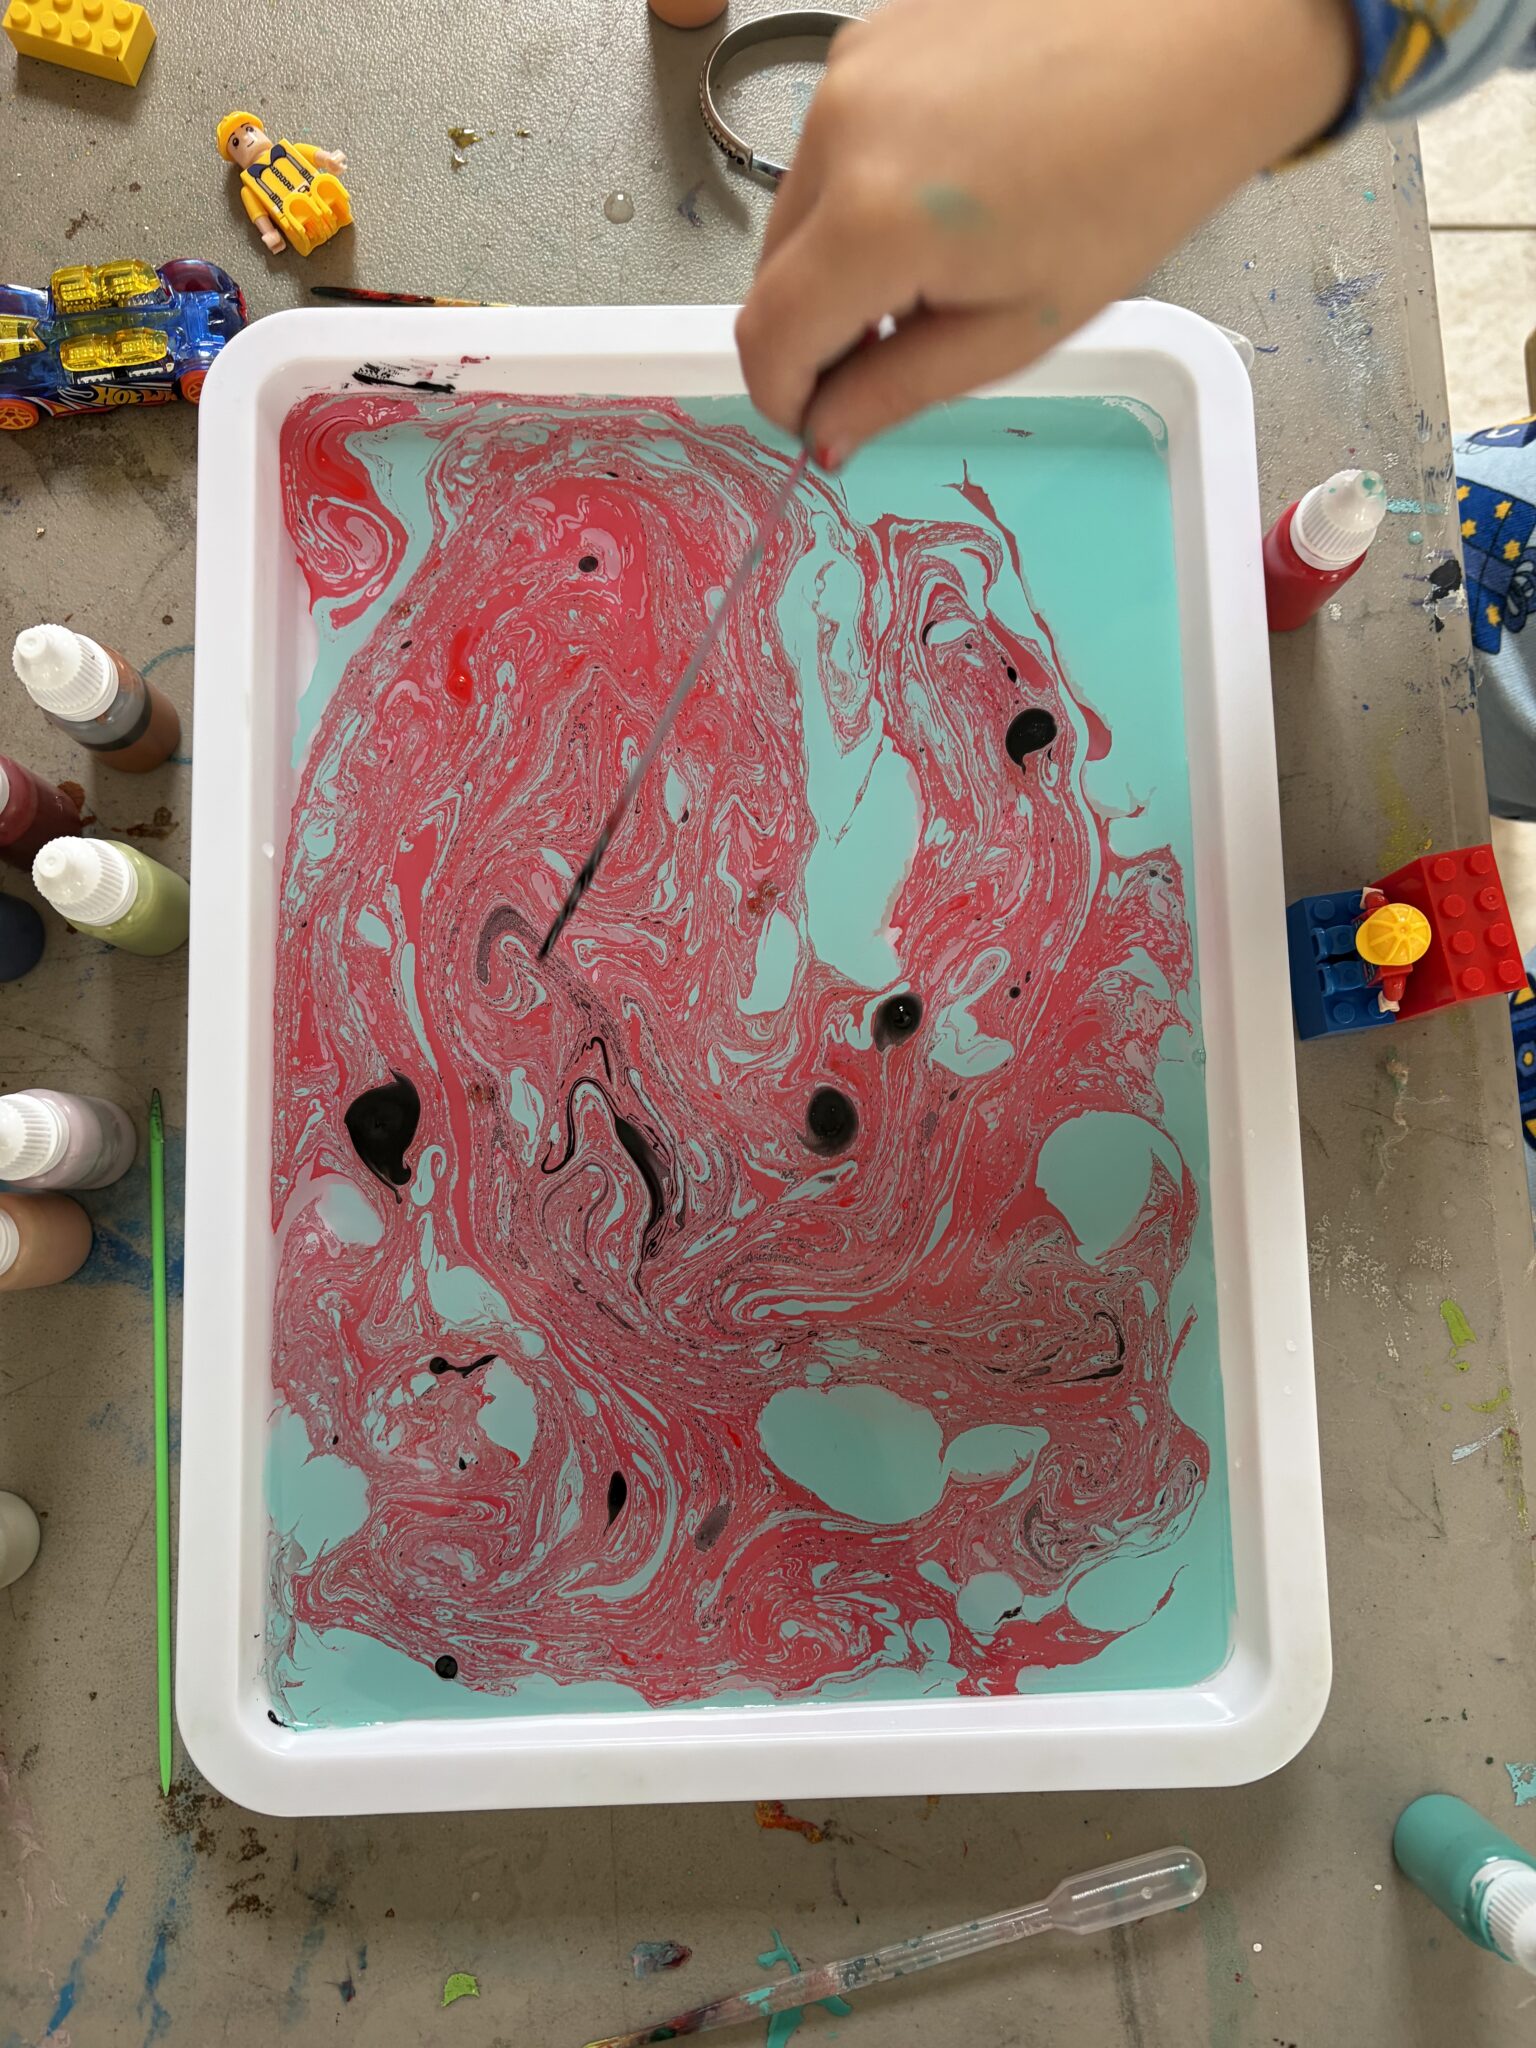
So today I said, I want to be a witness to my own process so I can prove to myself that things can always be tweaked and changed and sometimes need to get ugly before they can transform into something beautiful!
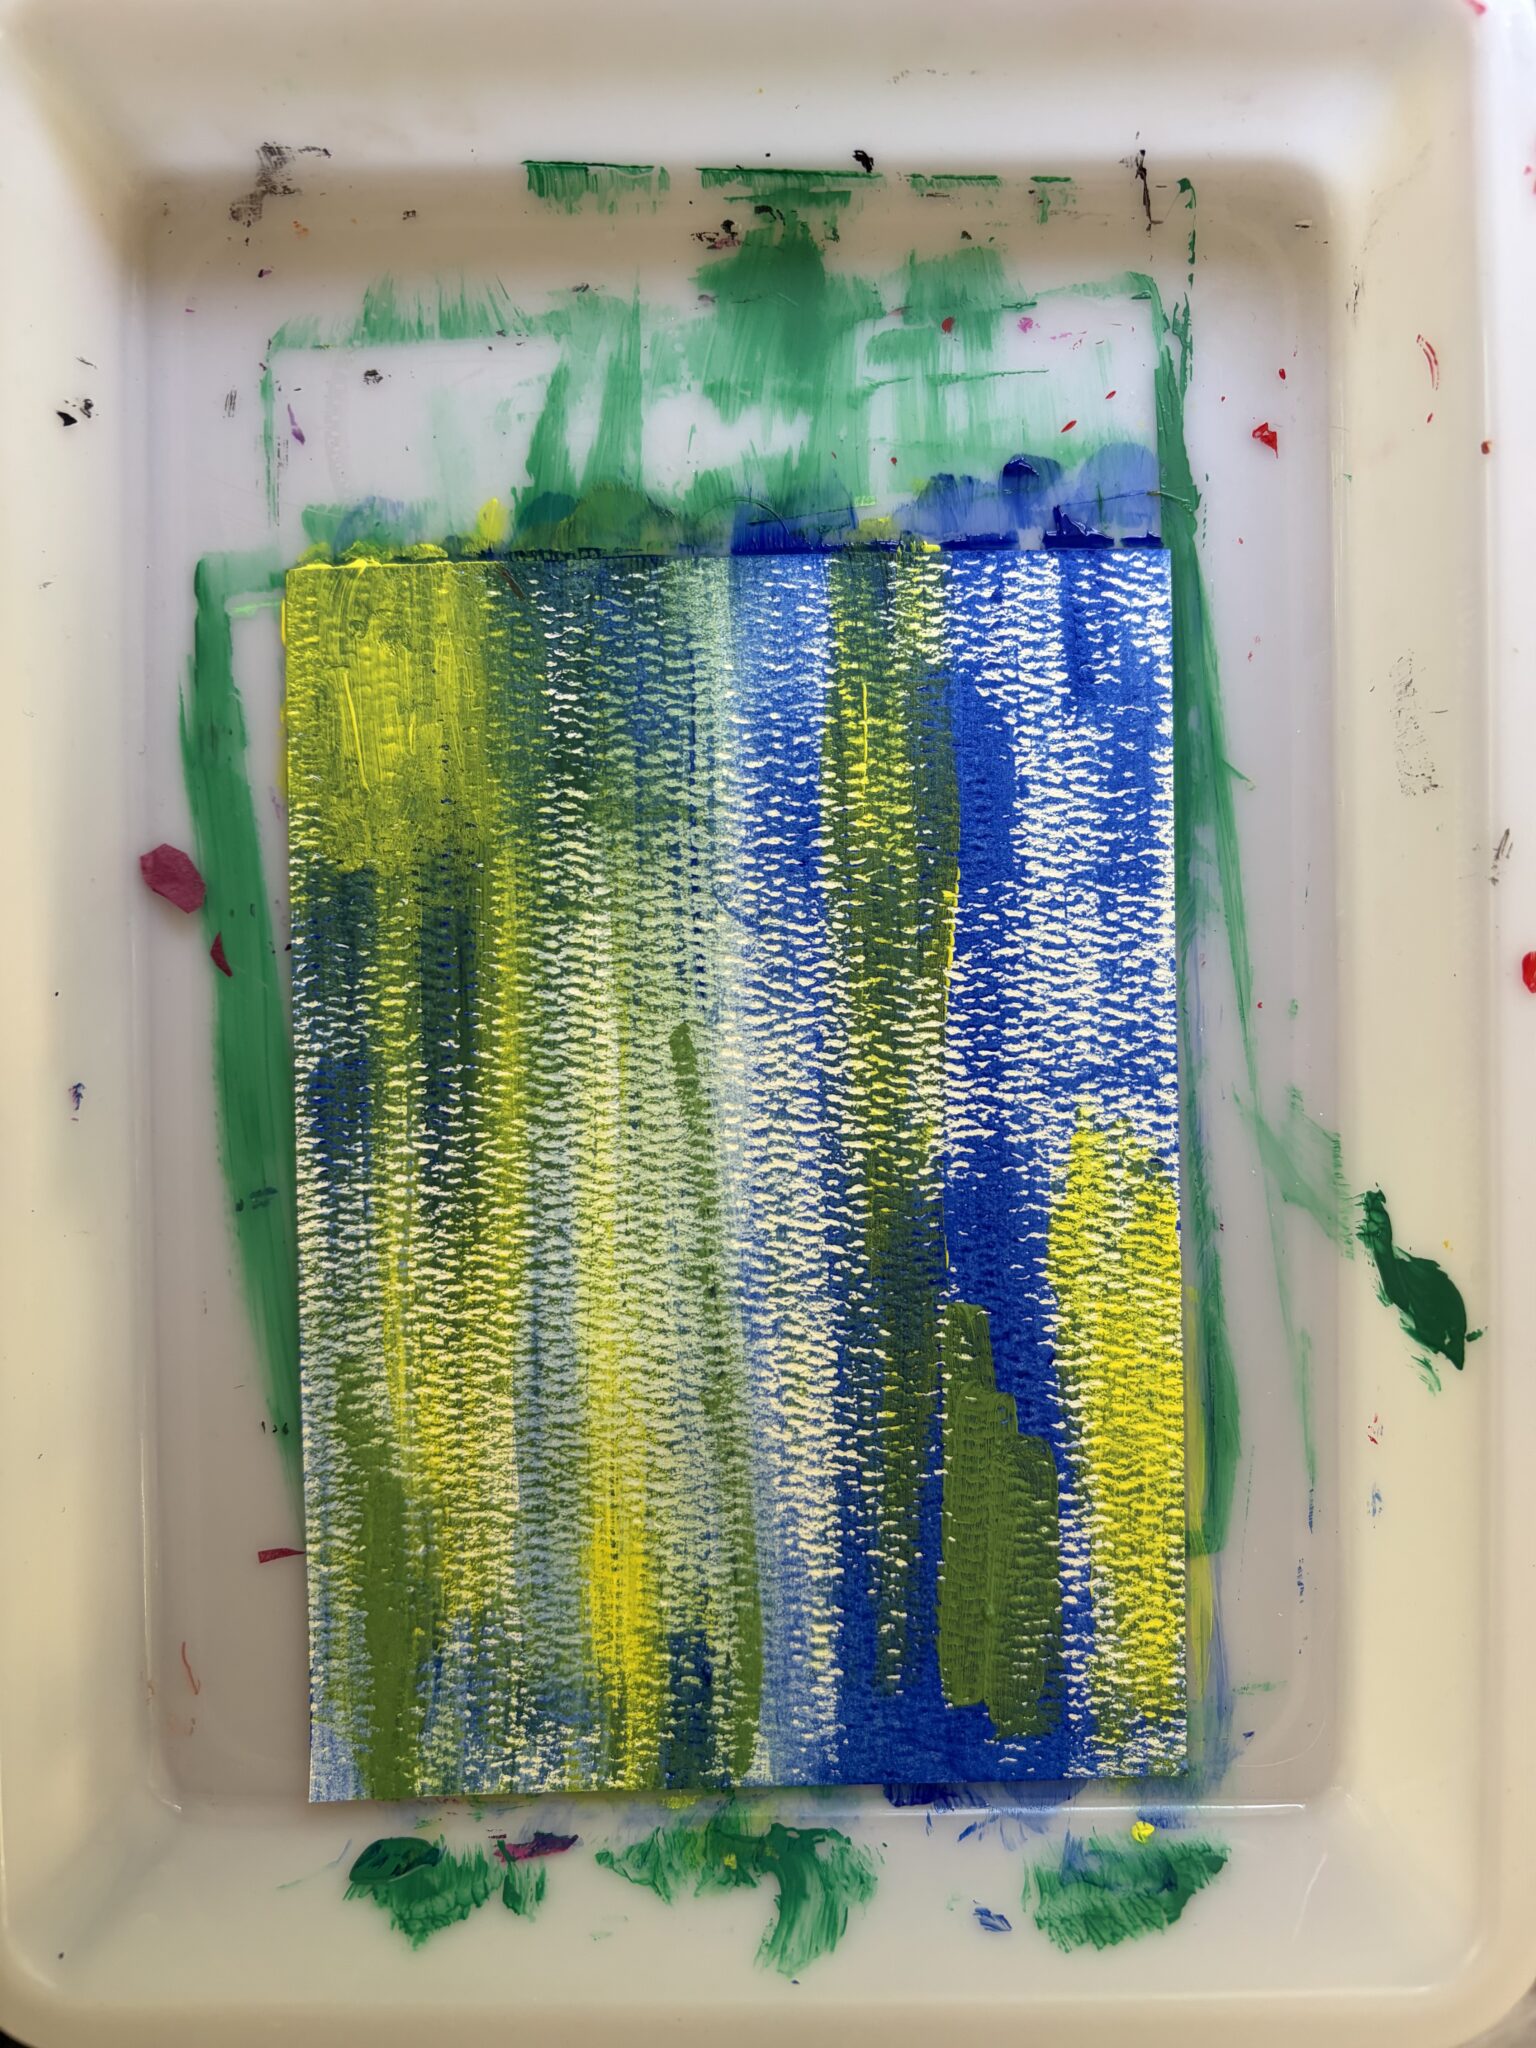
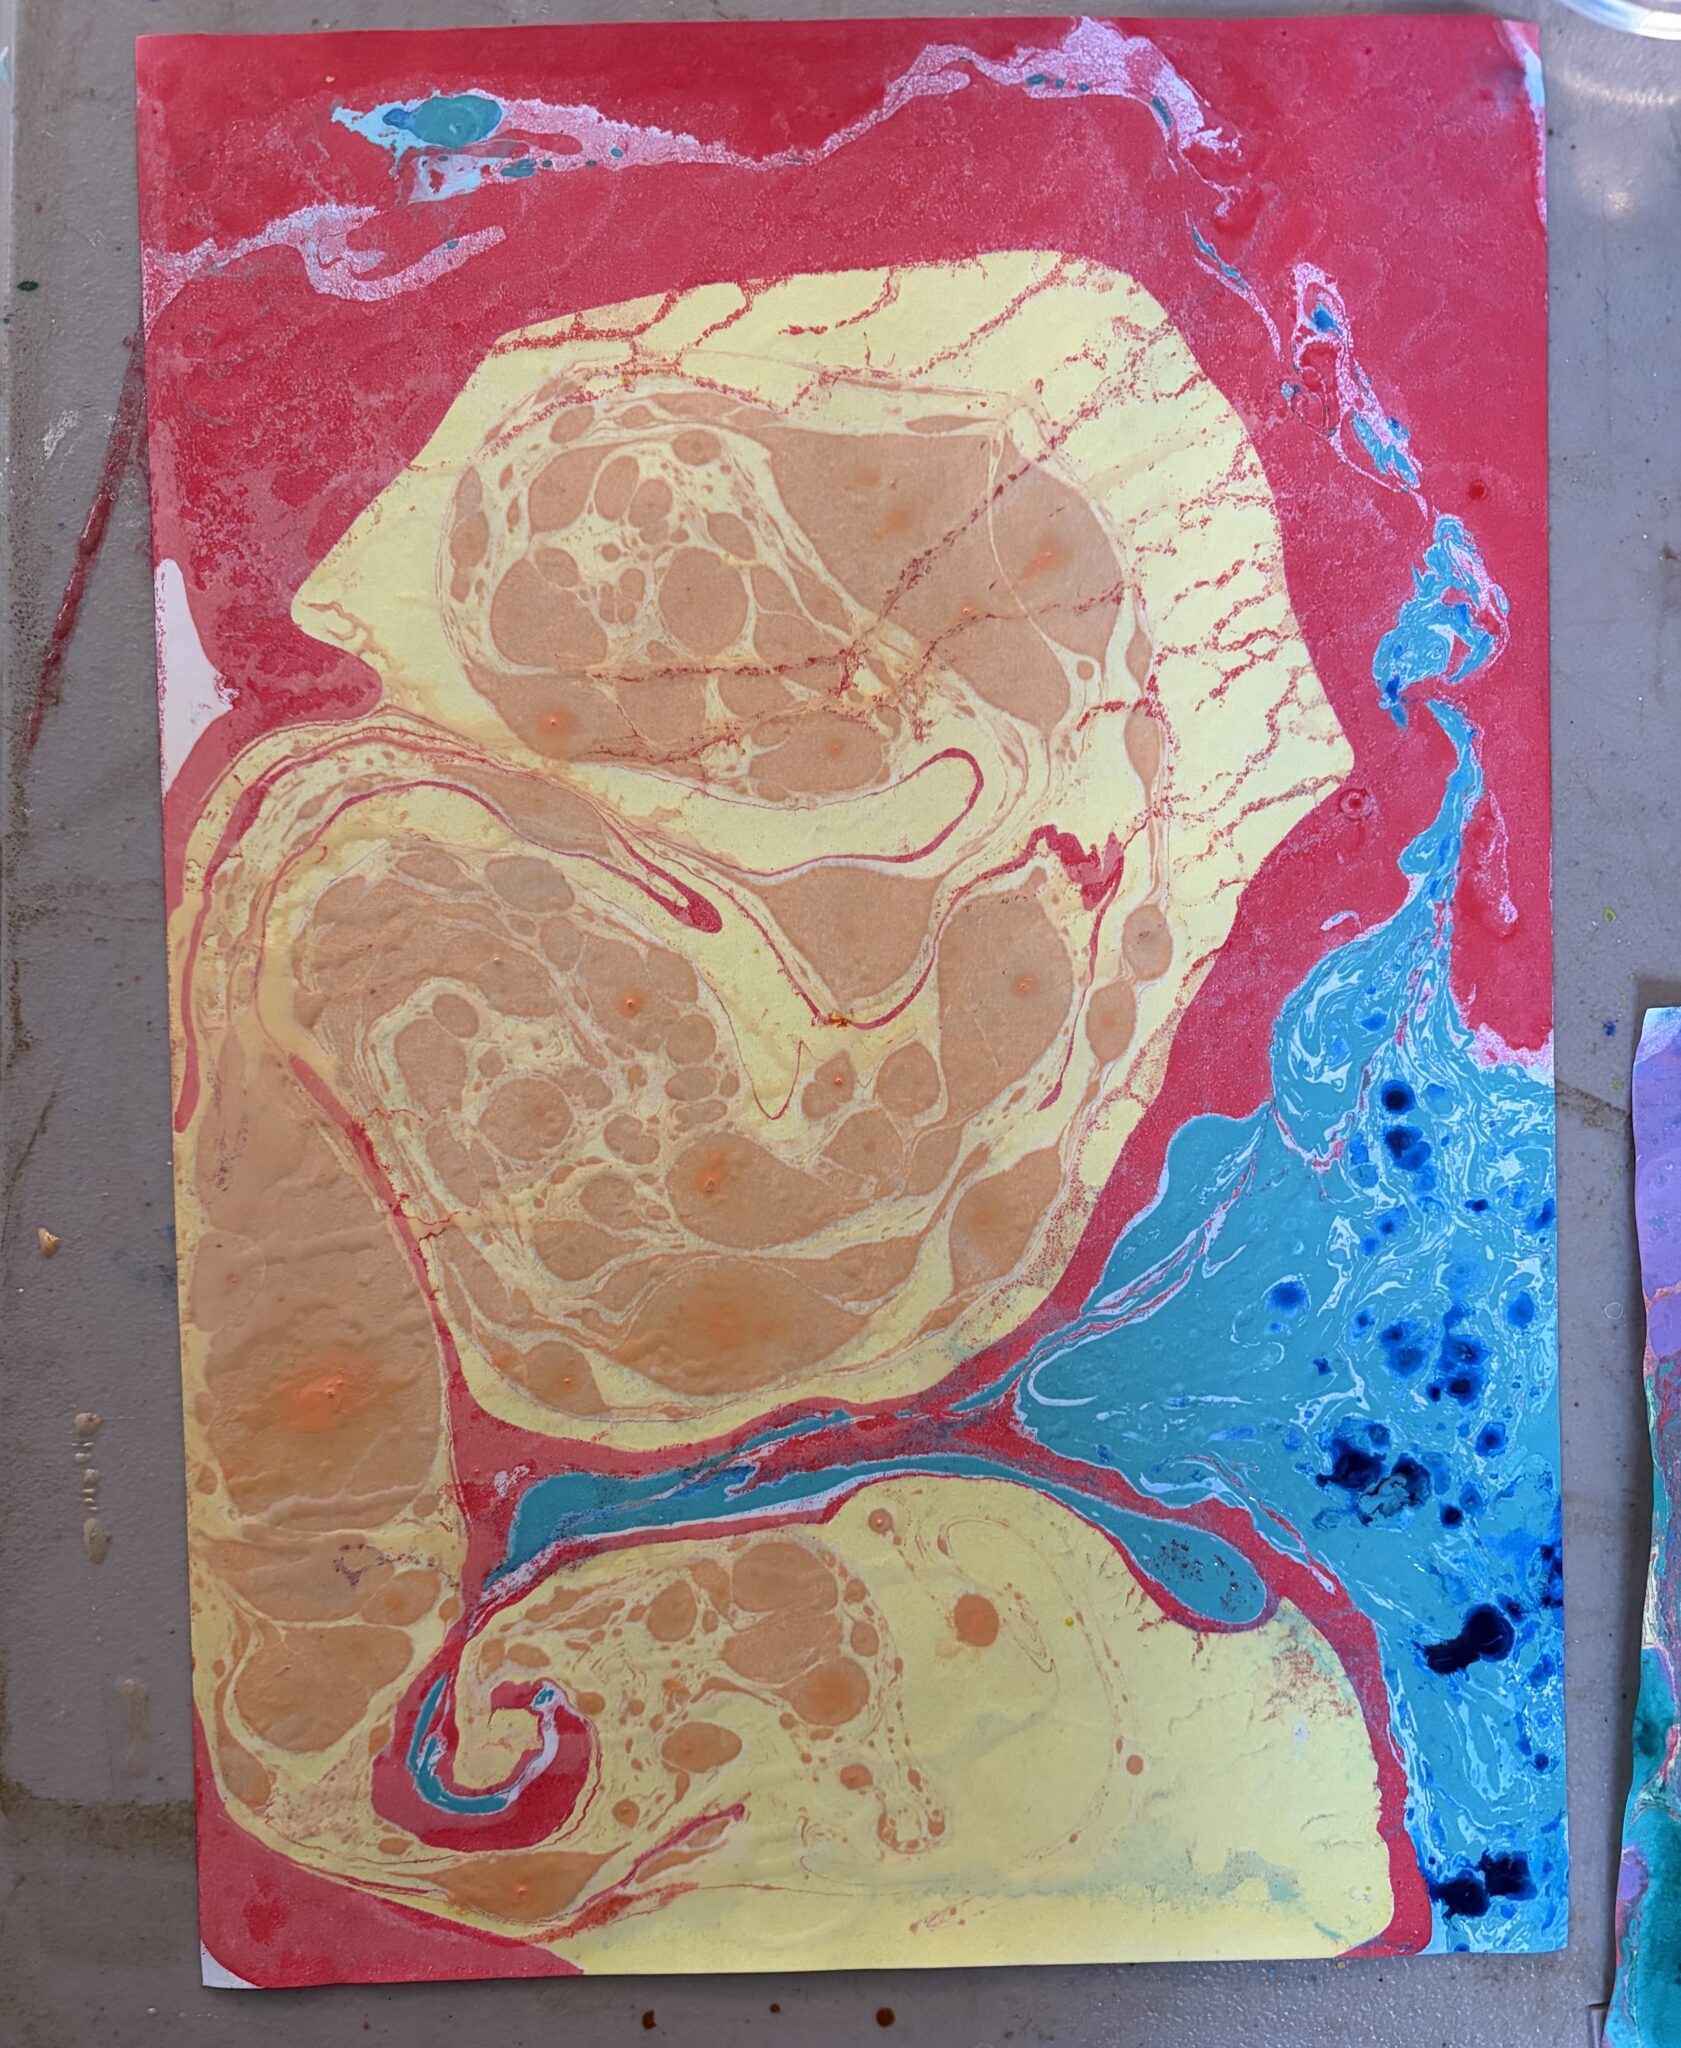
Adding depth through deep green and teal washes to create an organic, atmospheric feel.
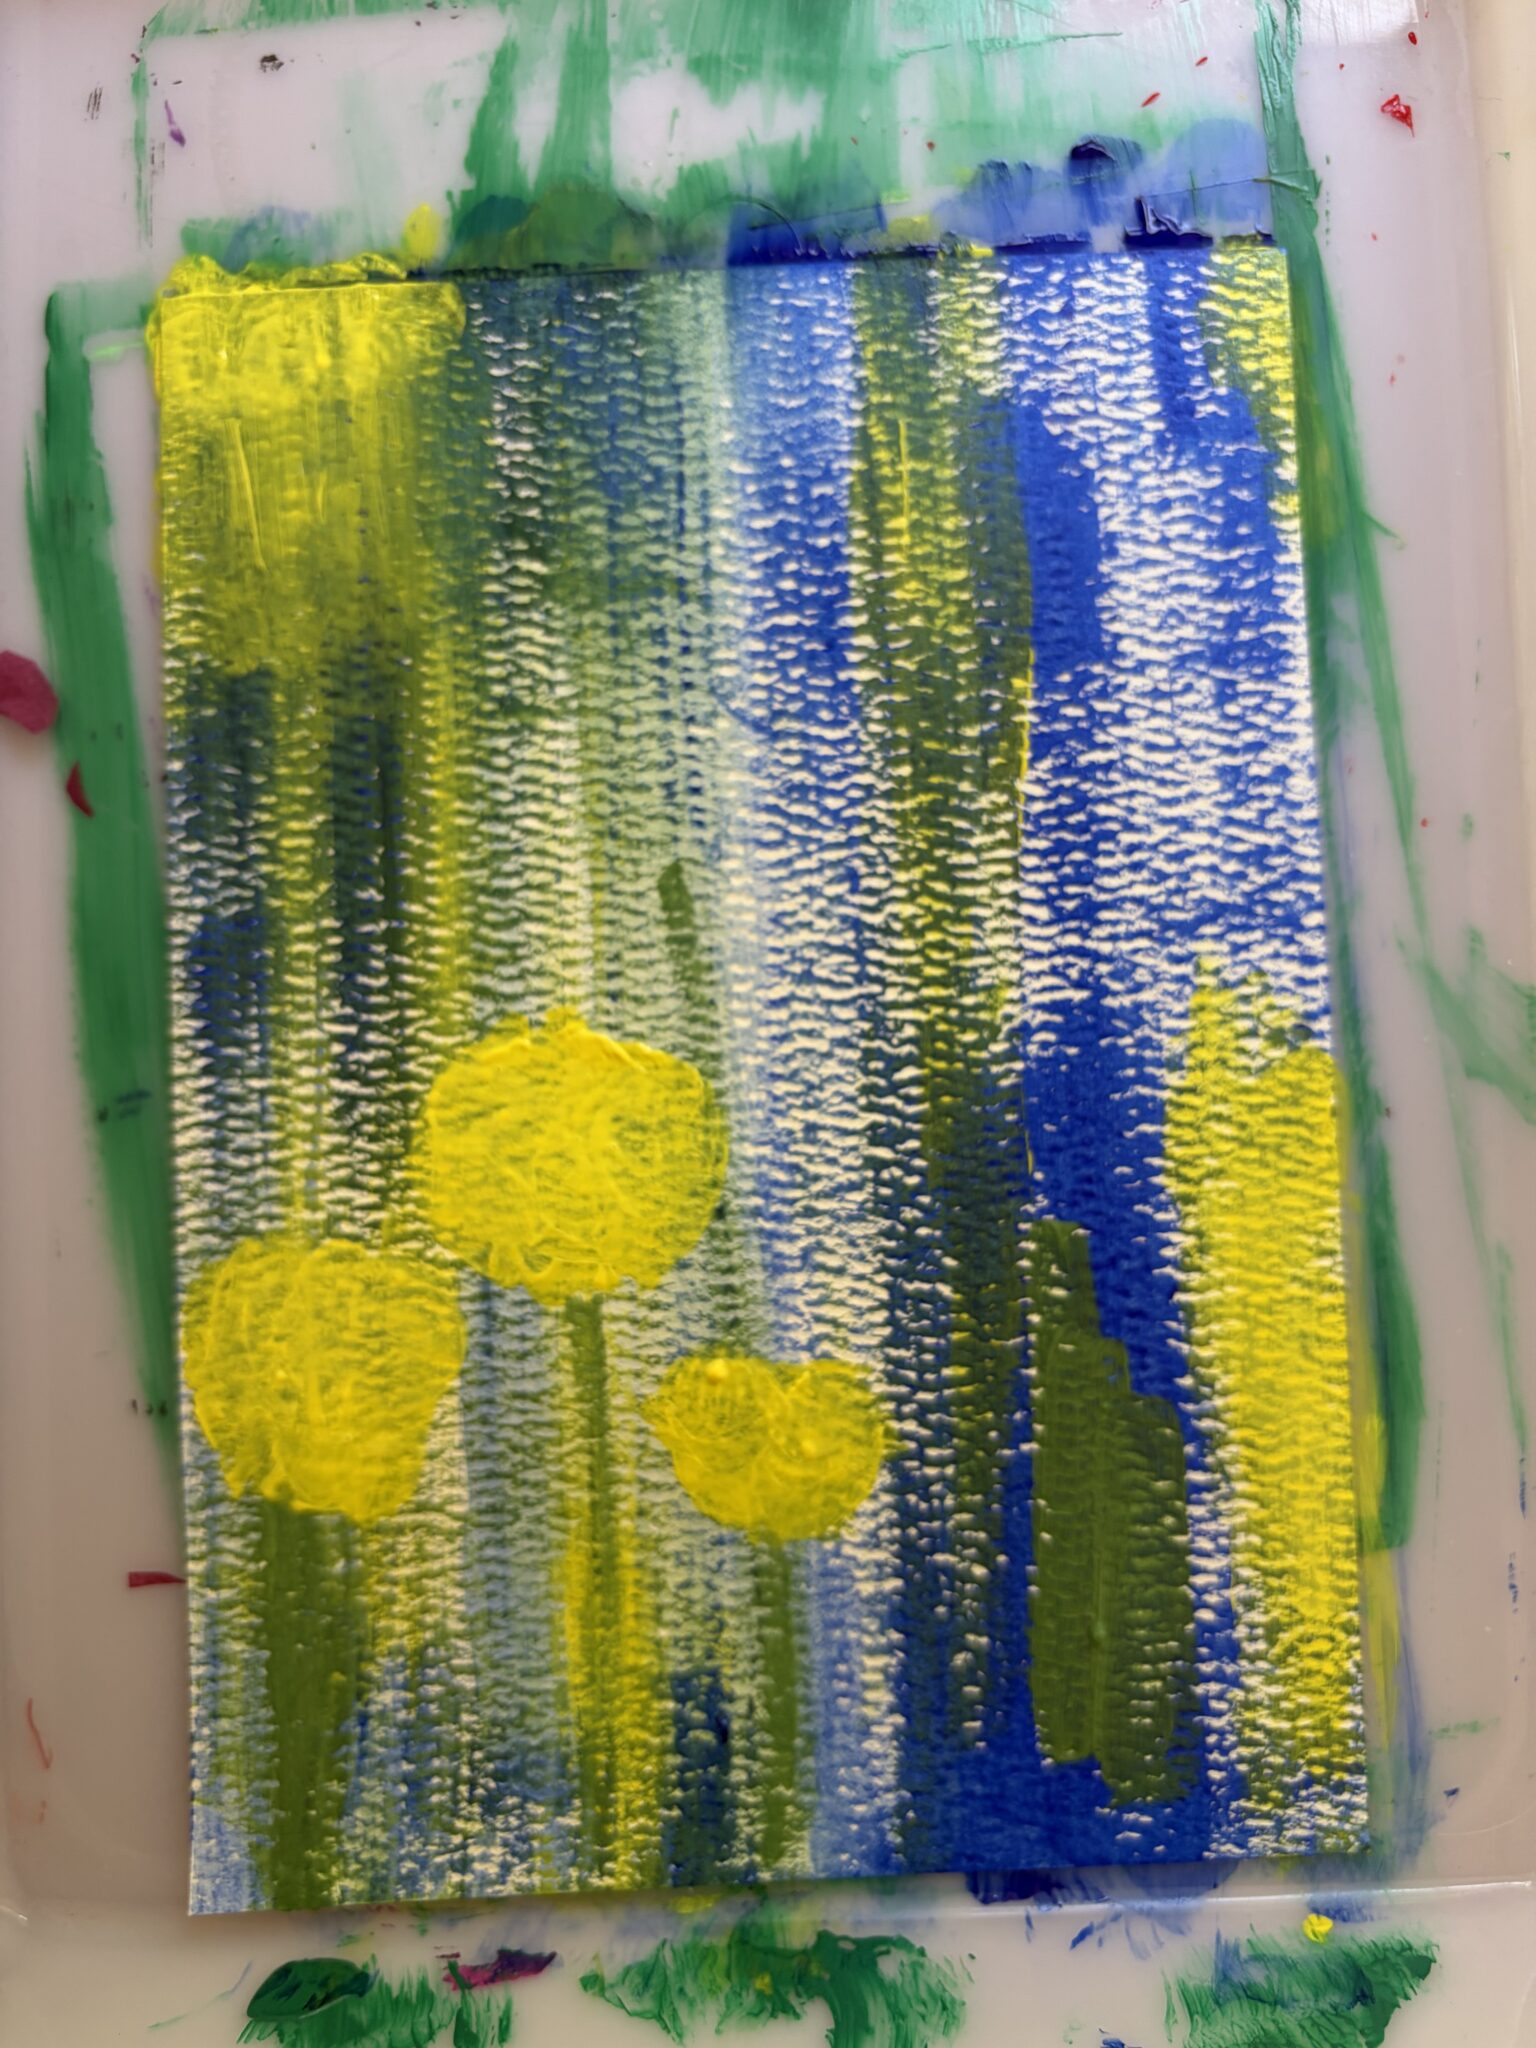
Building up vertical texture layers, letting bright yellows ground the base of the piece.
Life often feels like a process, doesn’t it? We tend to rush through the difficult parts, eager to reach the enjoyable moments. We can’t wait for our kids to grow up, for renovations to be completed, or for our vegetables to be ready for harvest. We look forward to dinner being served and laundry being done, constantly hurrying through these stages. Yet, it’s important to remember that the process itself is what truly matters. That’s where the true beauty and magic can be found. These are the most important aspects to witness, allowing you to see how far you’ve come and how much you or something has grown.
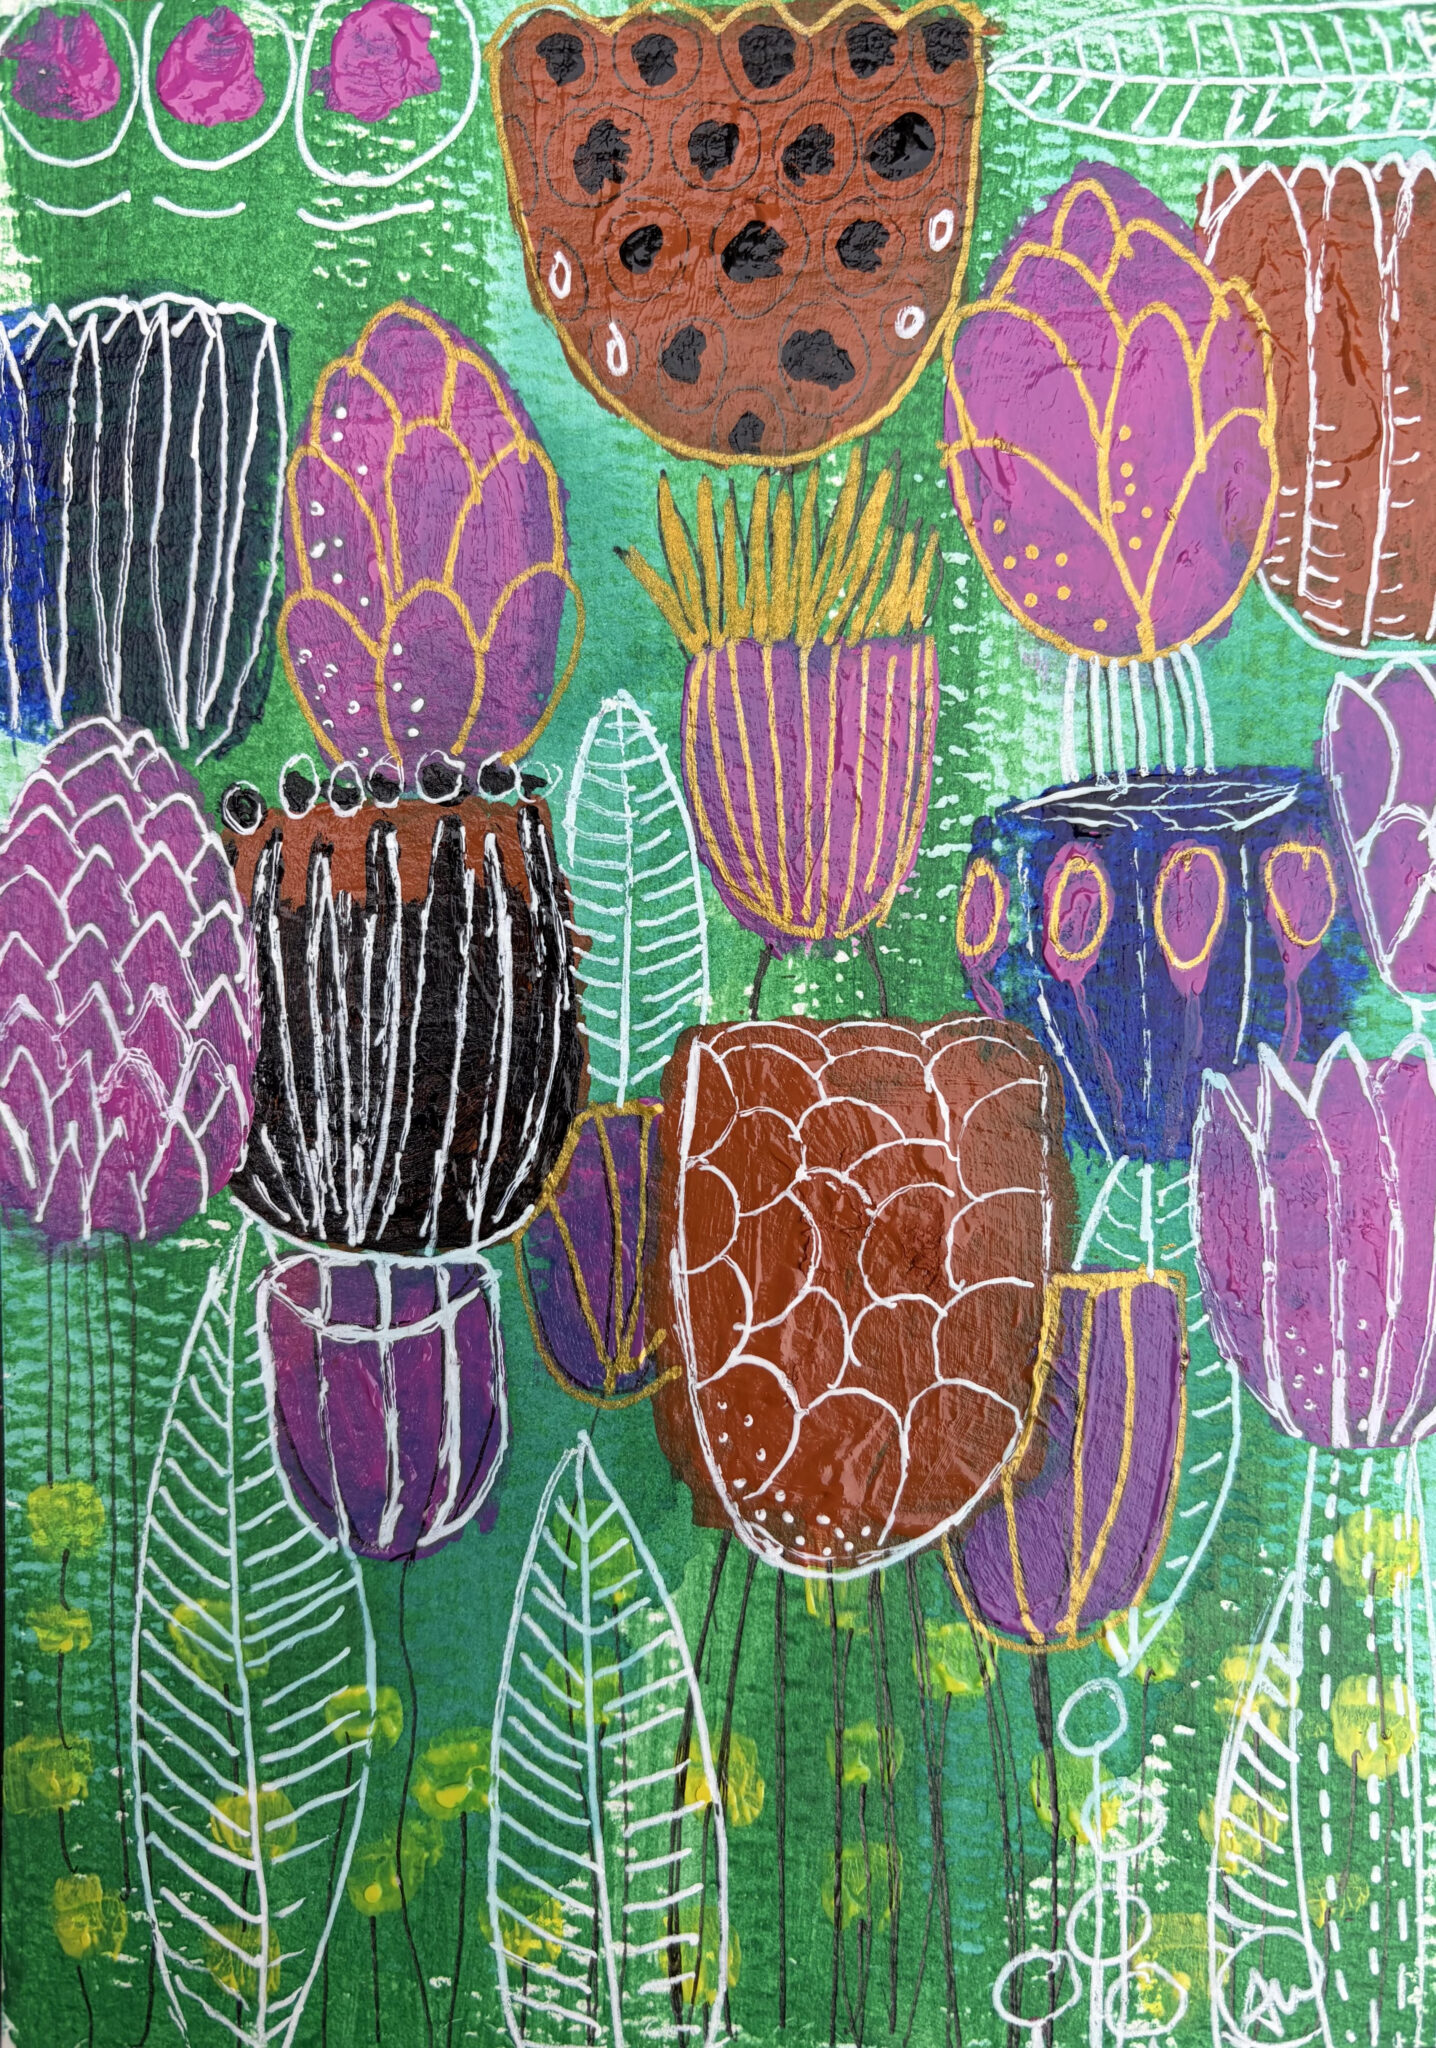
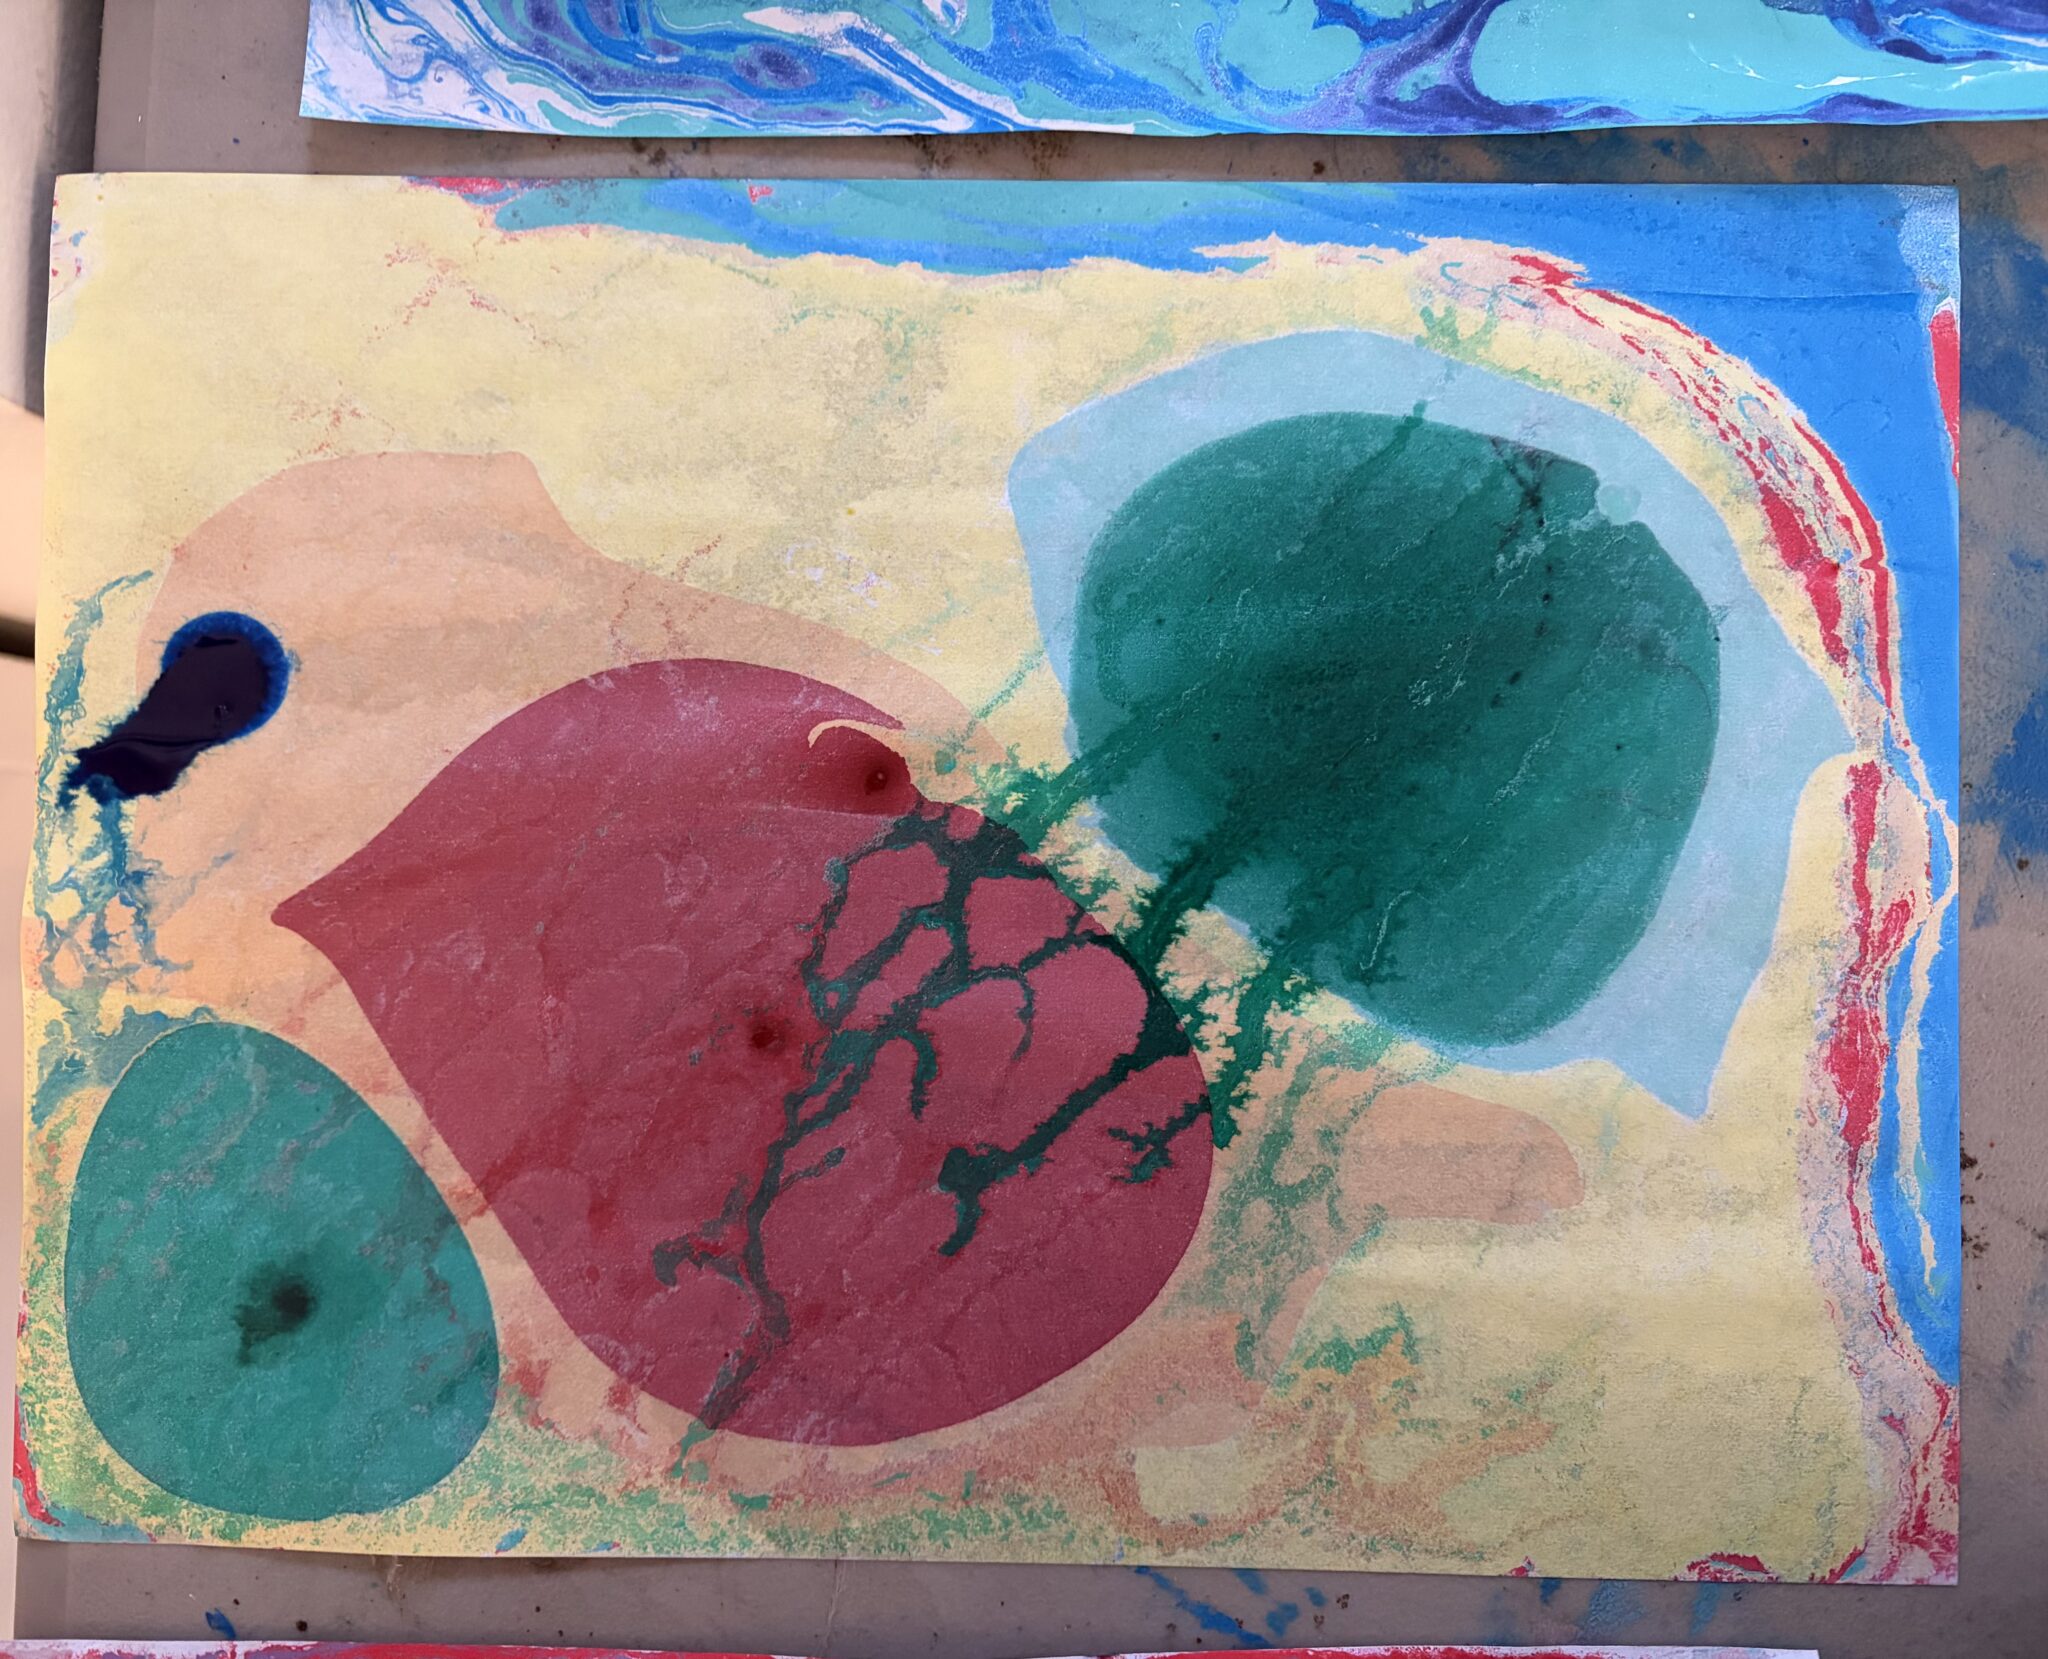
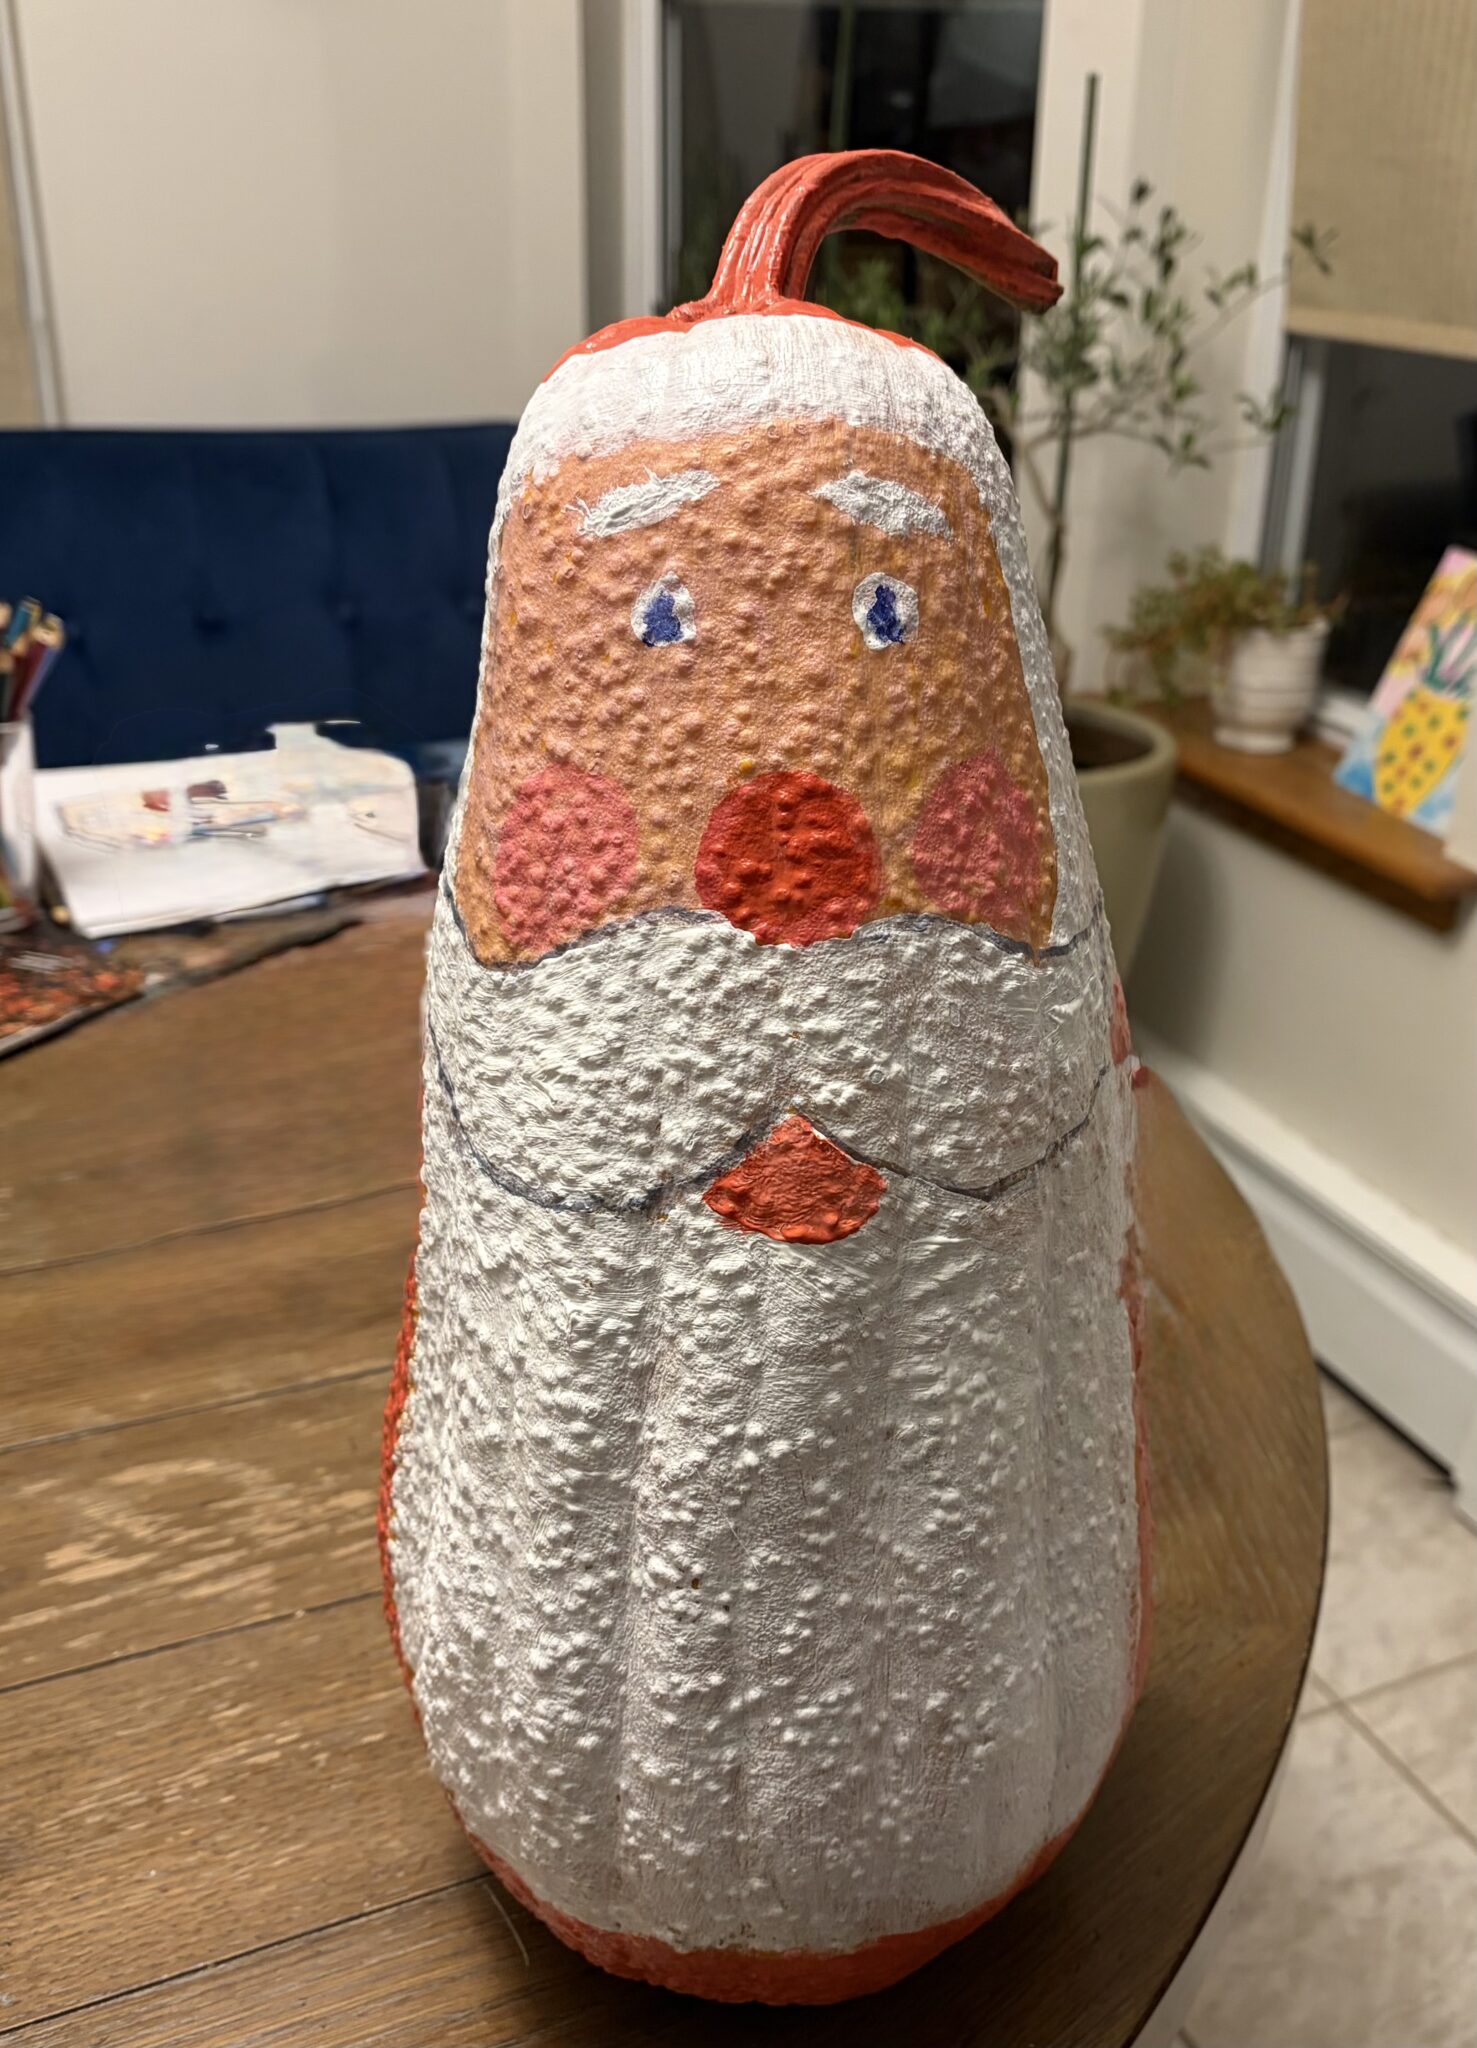
Added a light watercolor wash over the acrylic paintMixed Media Acrylic painting of a whimsical floral meadow featuring yellow tulips and purple blossoms against a textured blue and gold night sky.
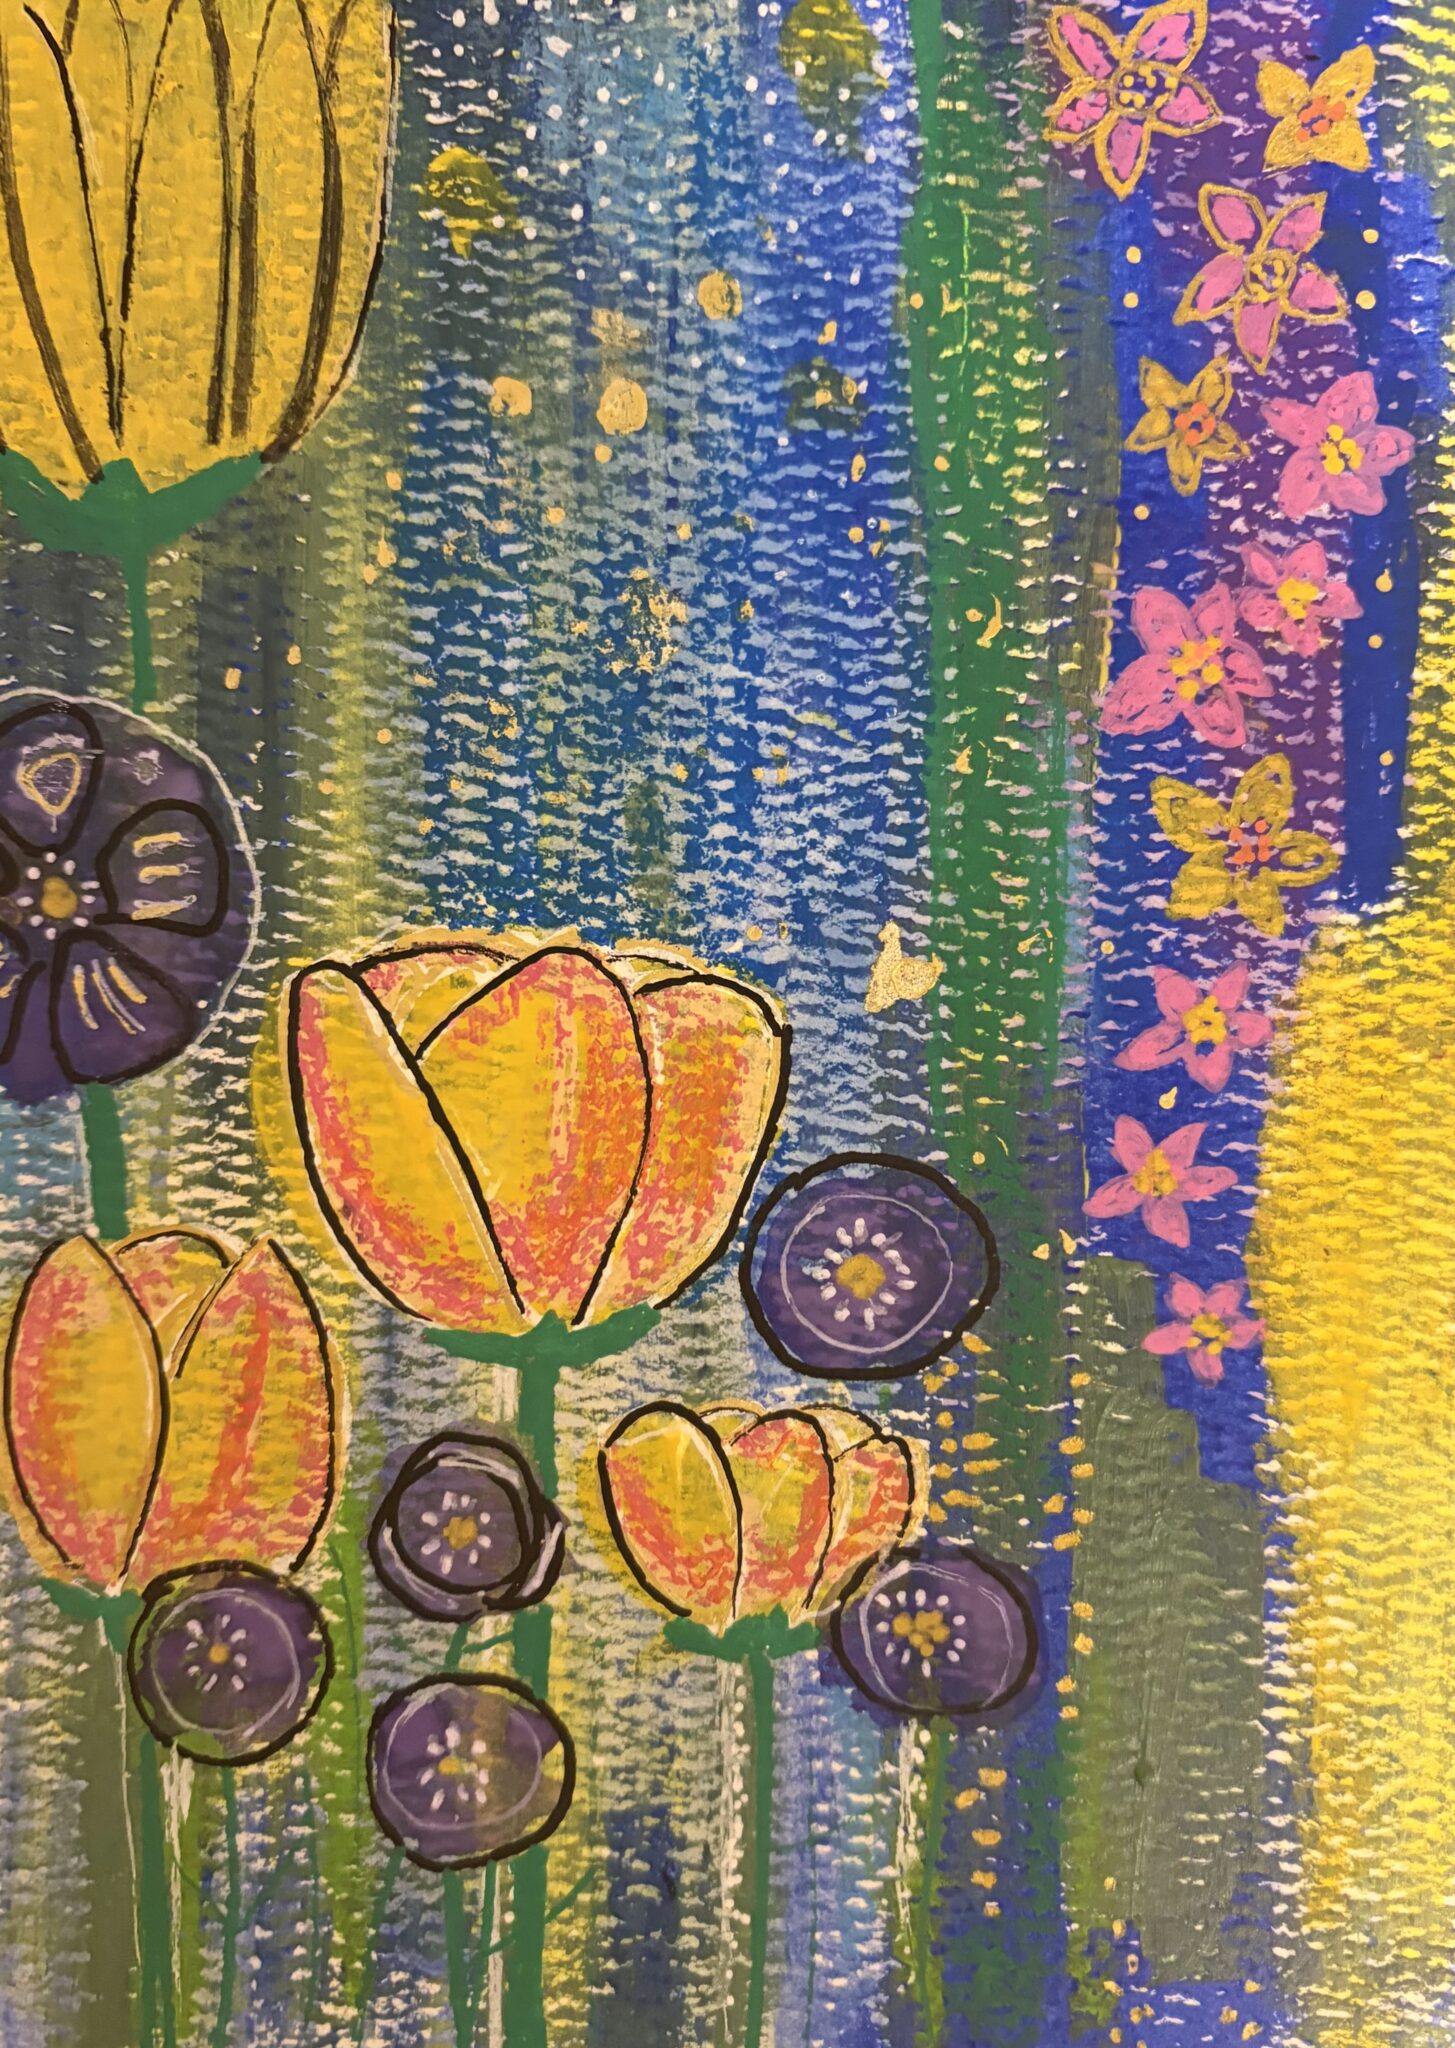
Mixed Media Acrylic painting of a whimsical floral meadow featuring yellow tulips. This is still unfinished to me, and I’m sure it might change completely once Im really done with it. We shall see.
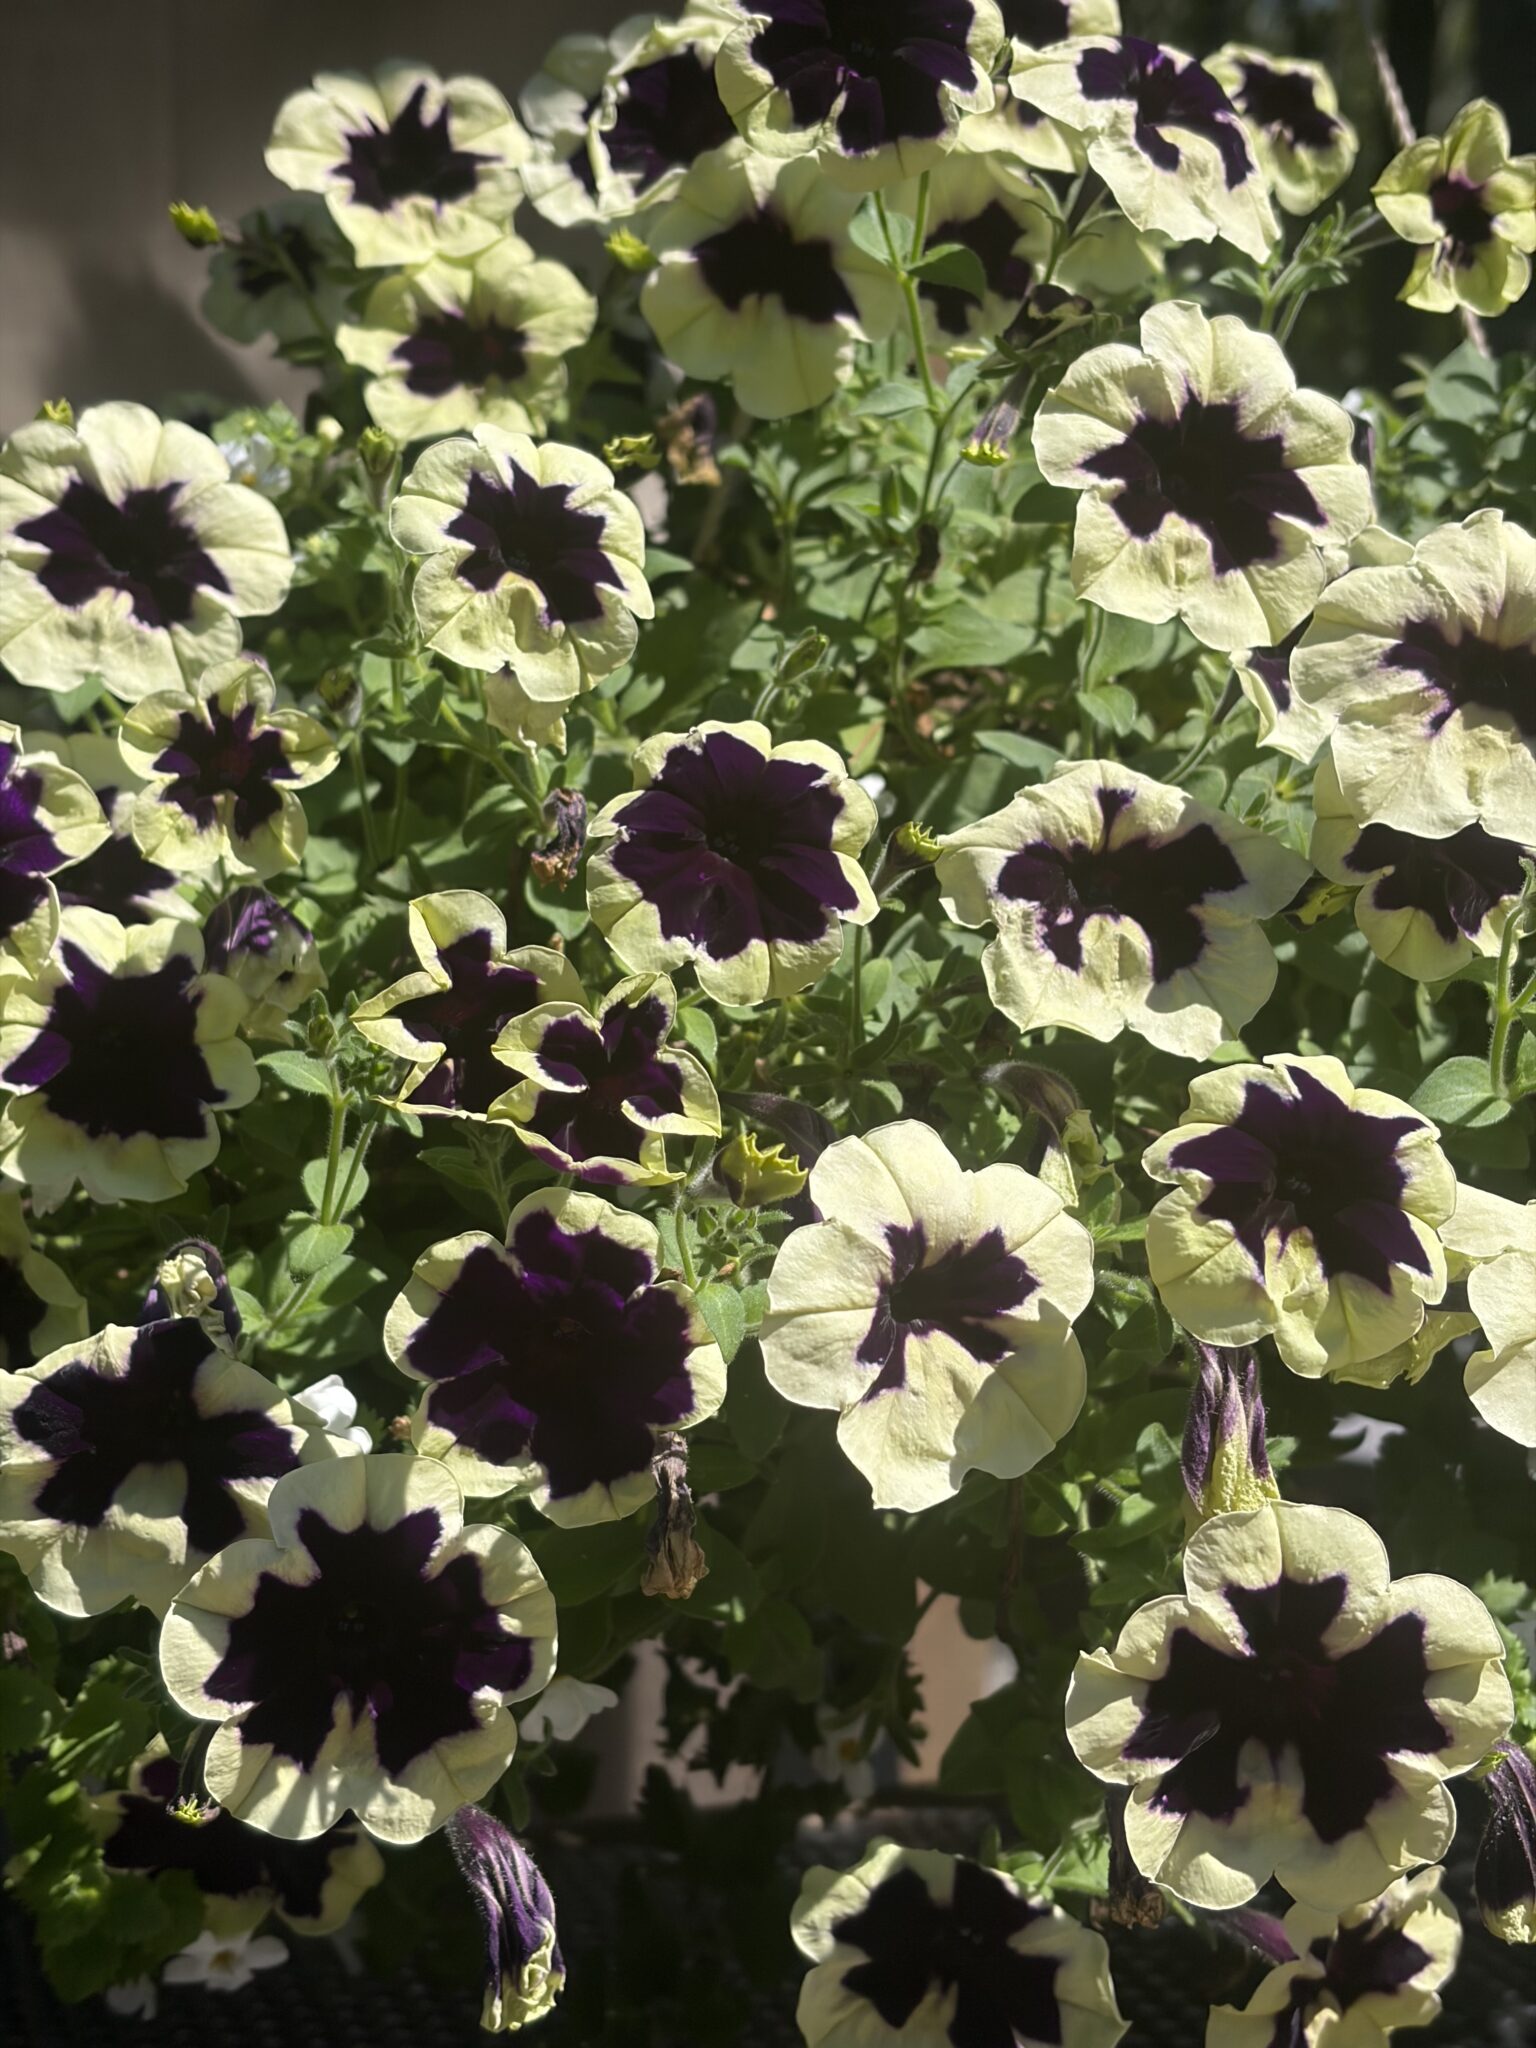
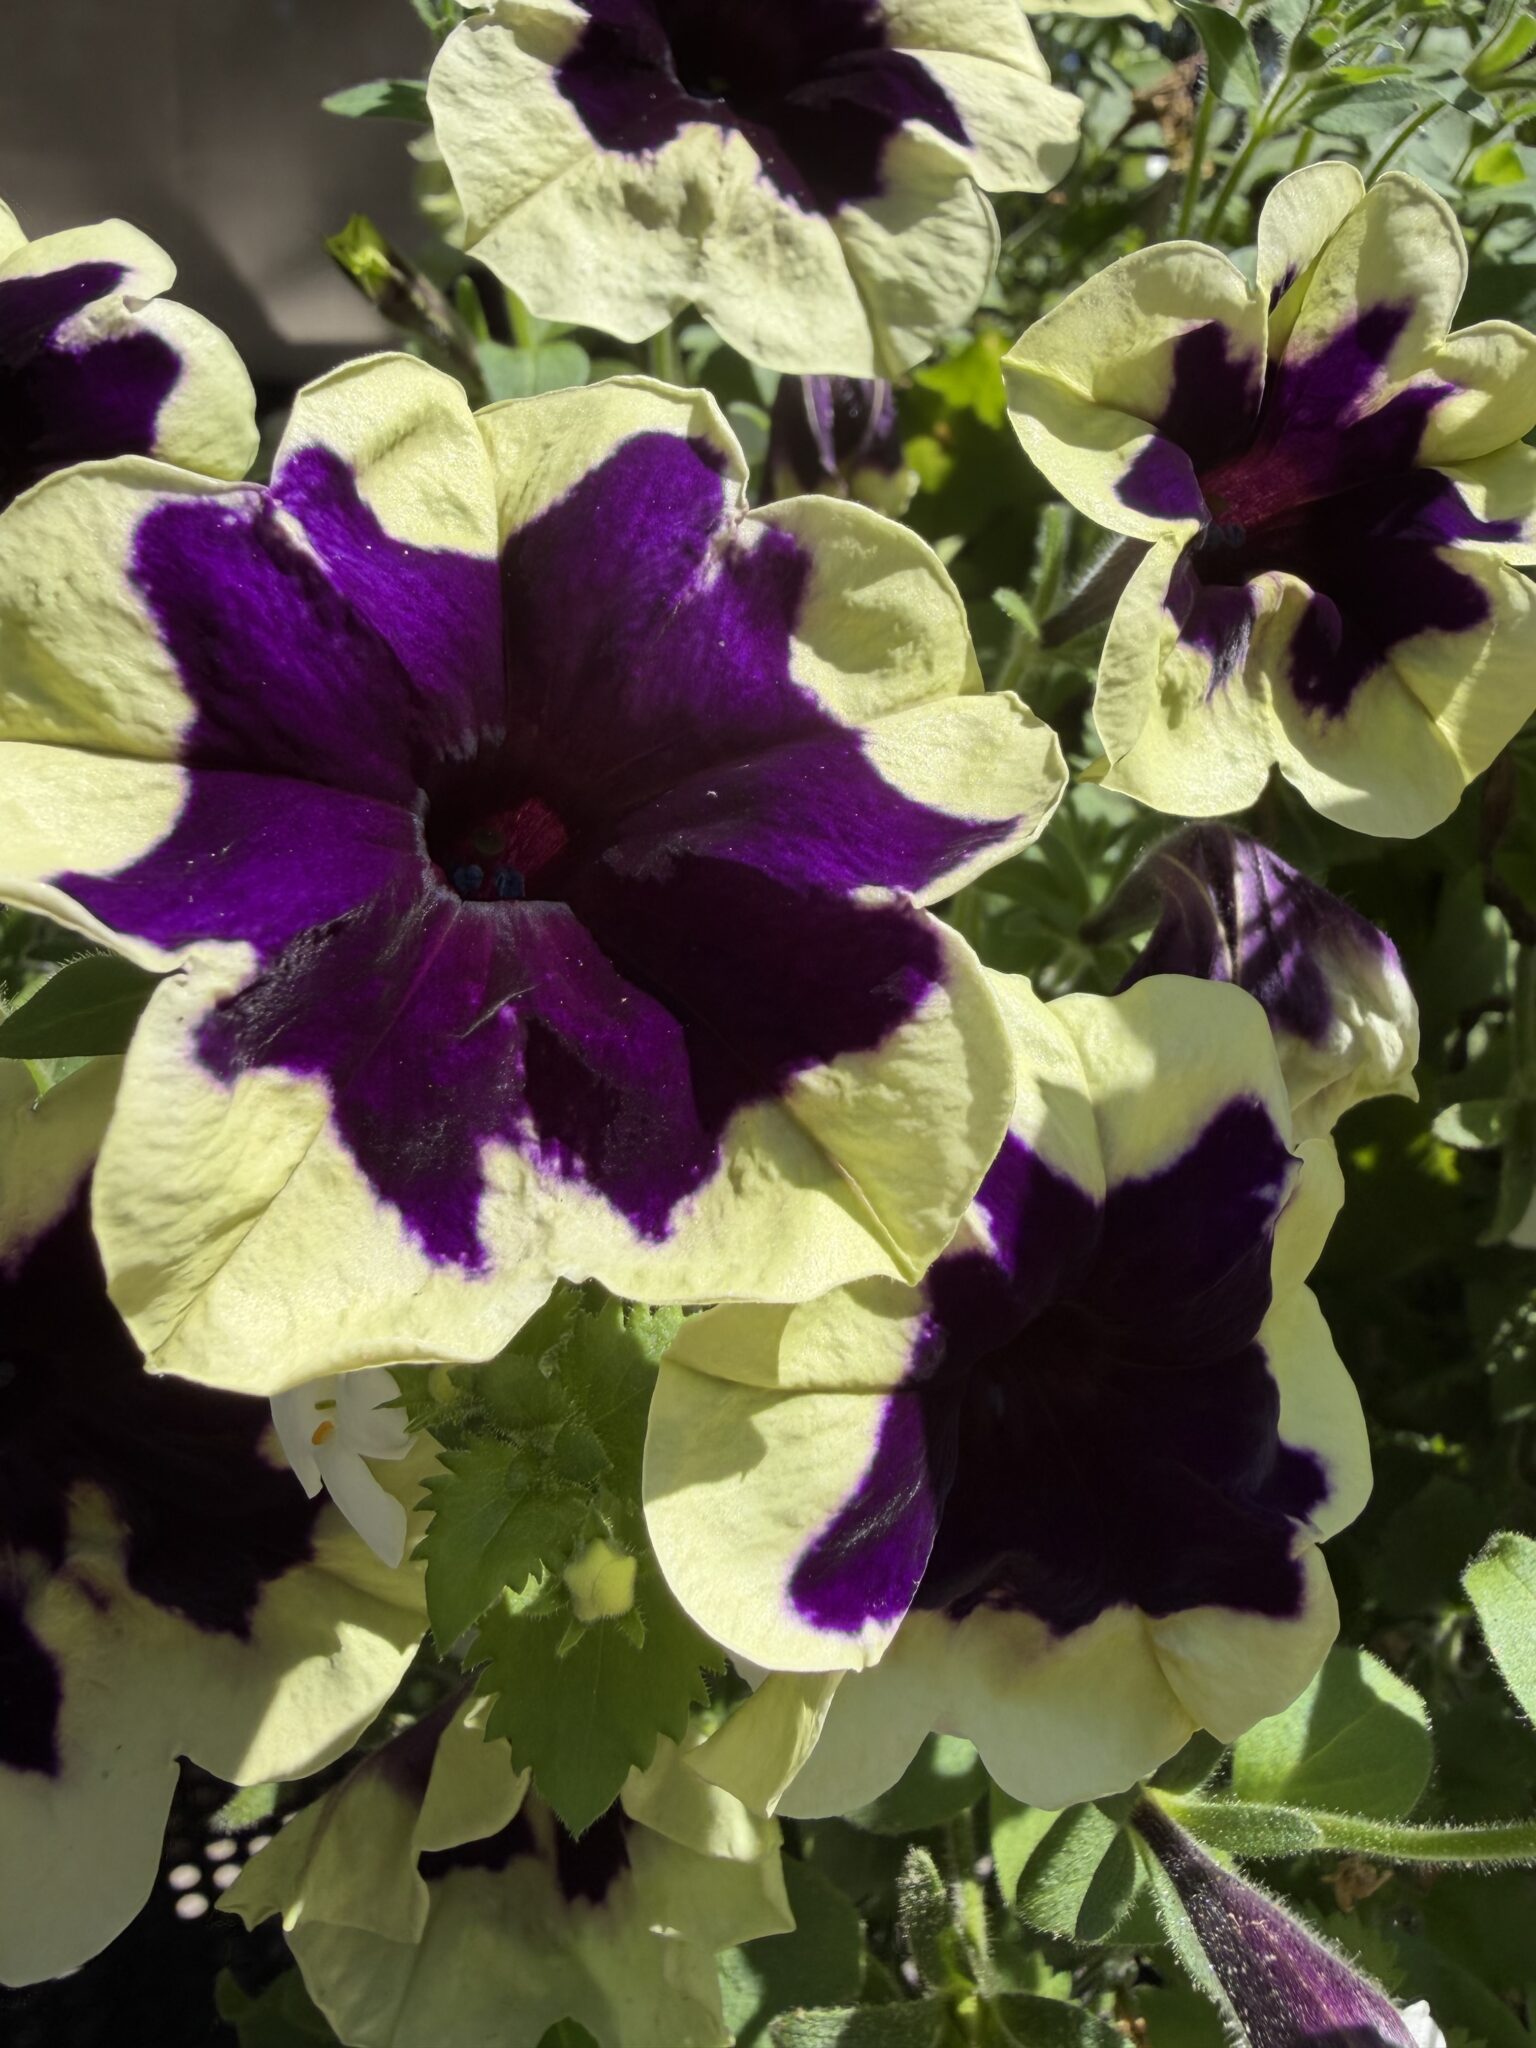
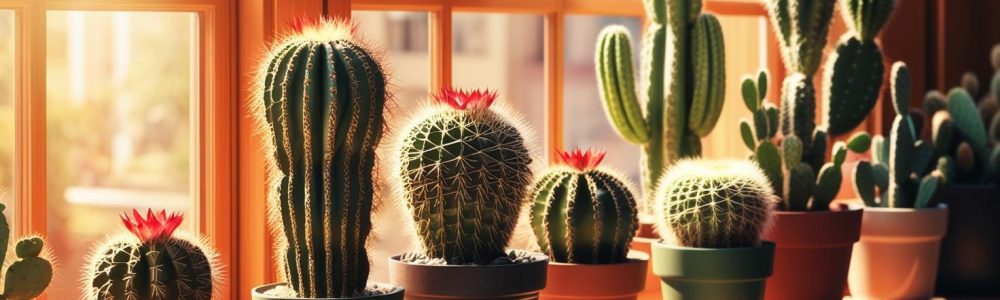
 Spring and summer are such inspiring seasons for me. I don’t have to go far, the blooms and beauty that surrounds my home is breathtaking.
 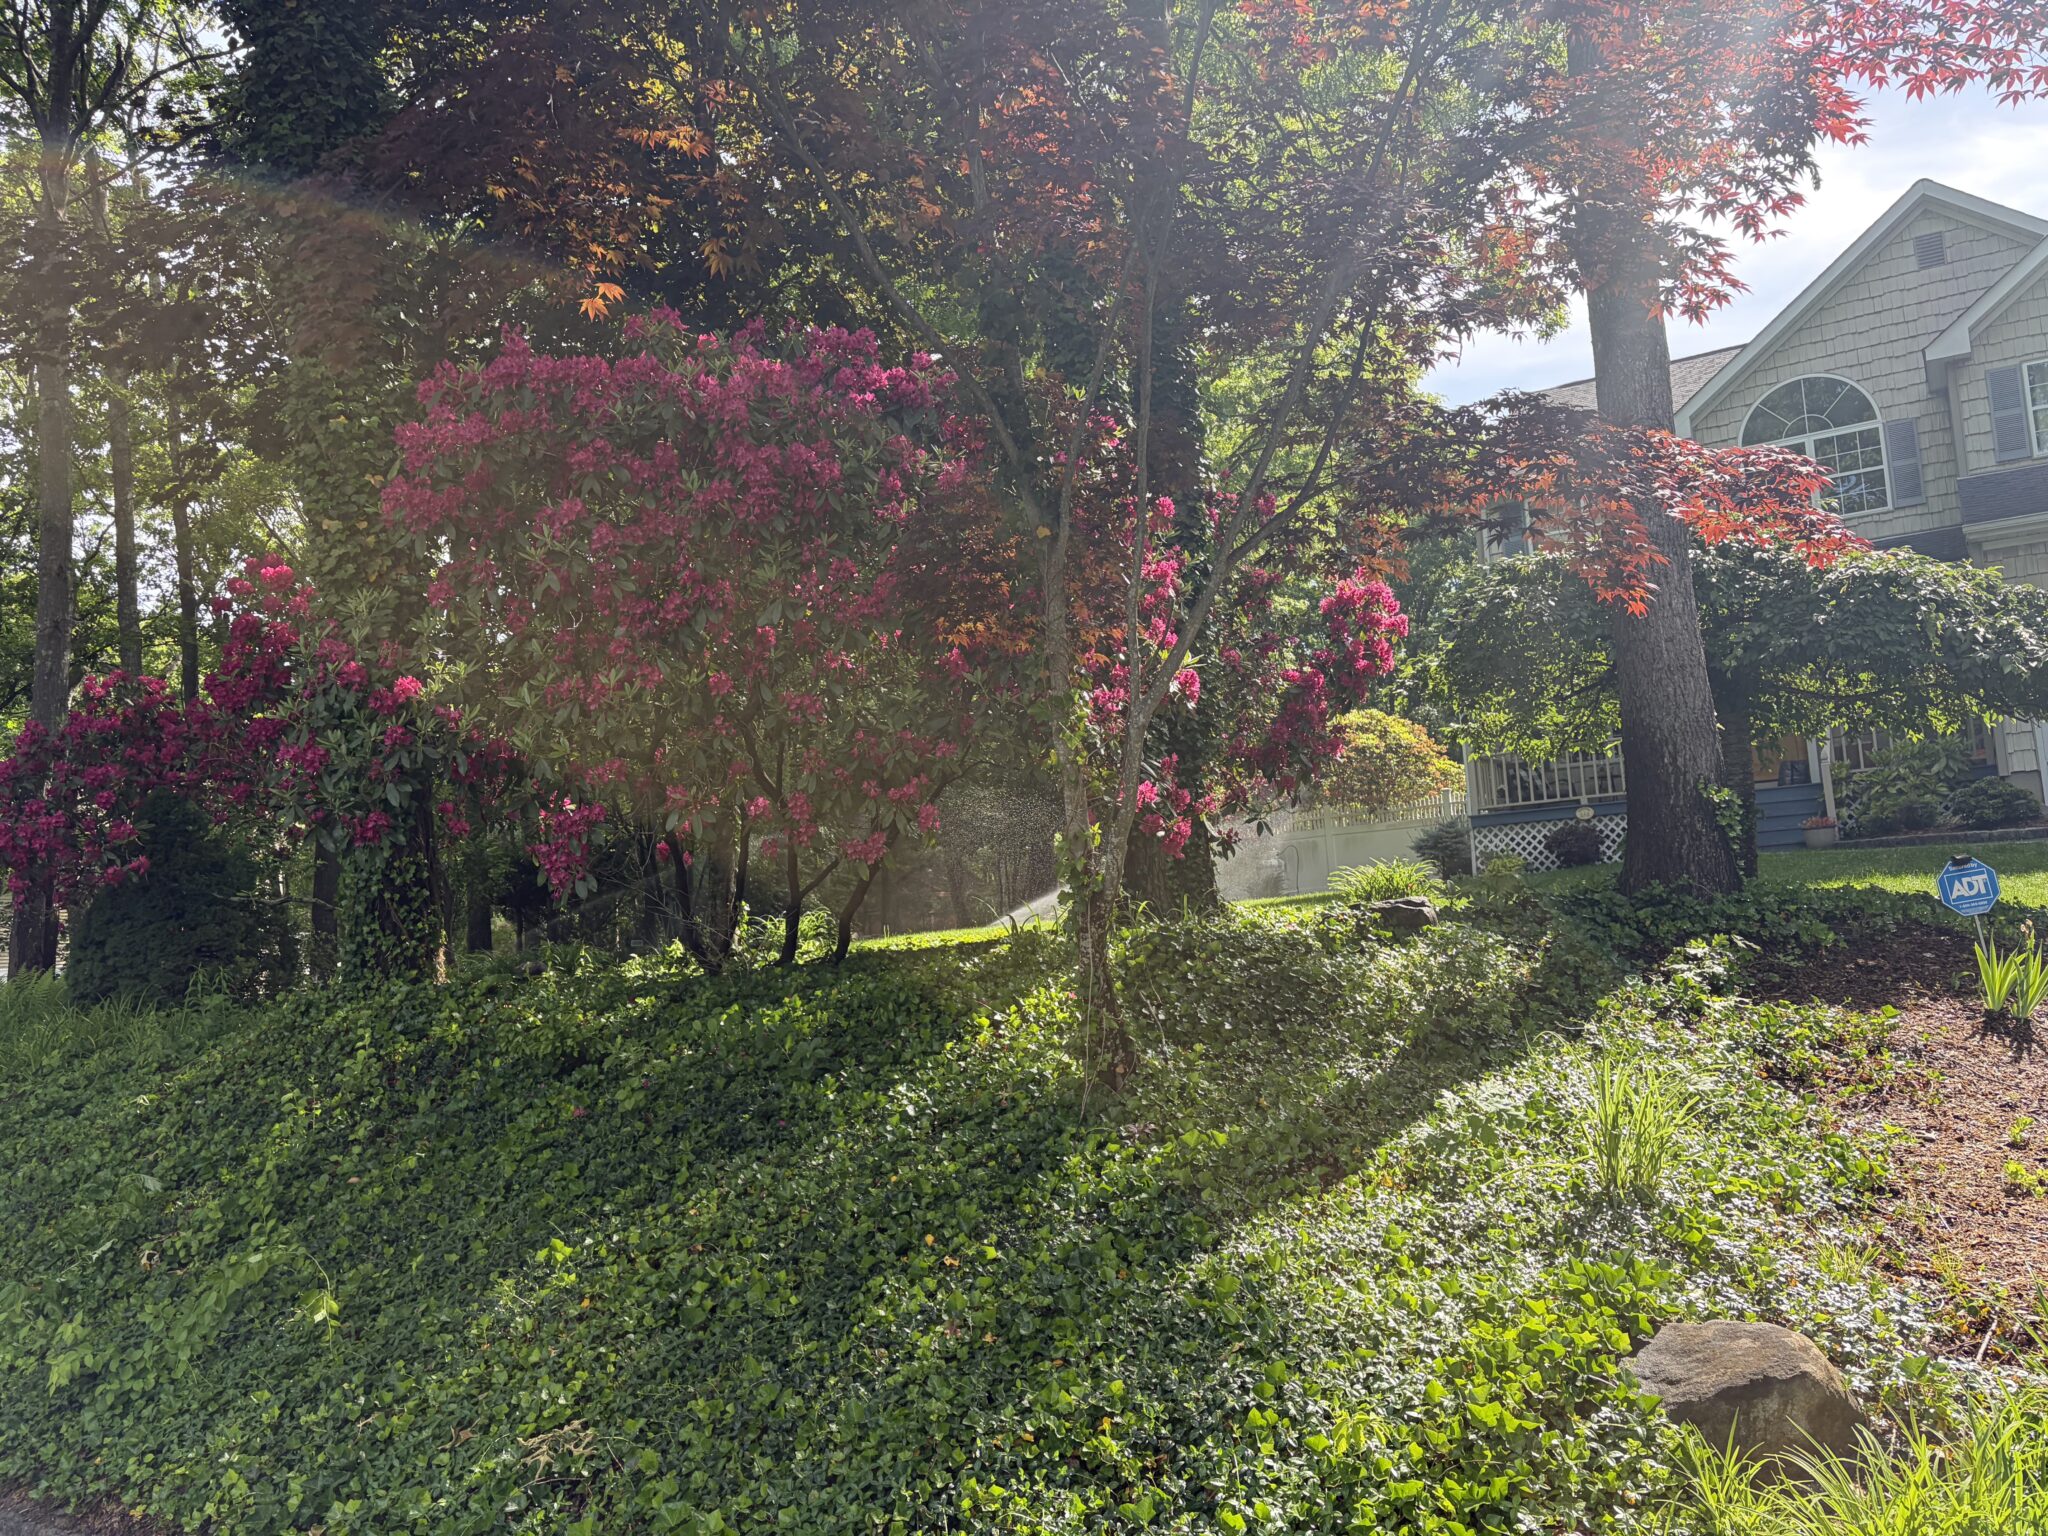 I tell my son “ god is an artist” and he says “how do you know?” And I say “ look around. Look at all of these colors, who else could create such beautiful things!”
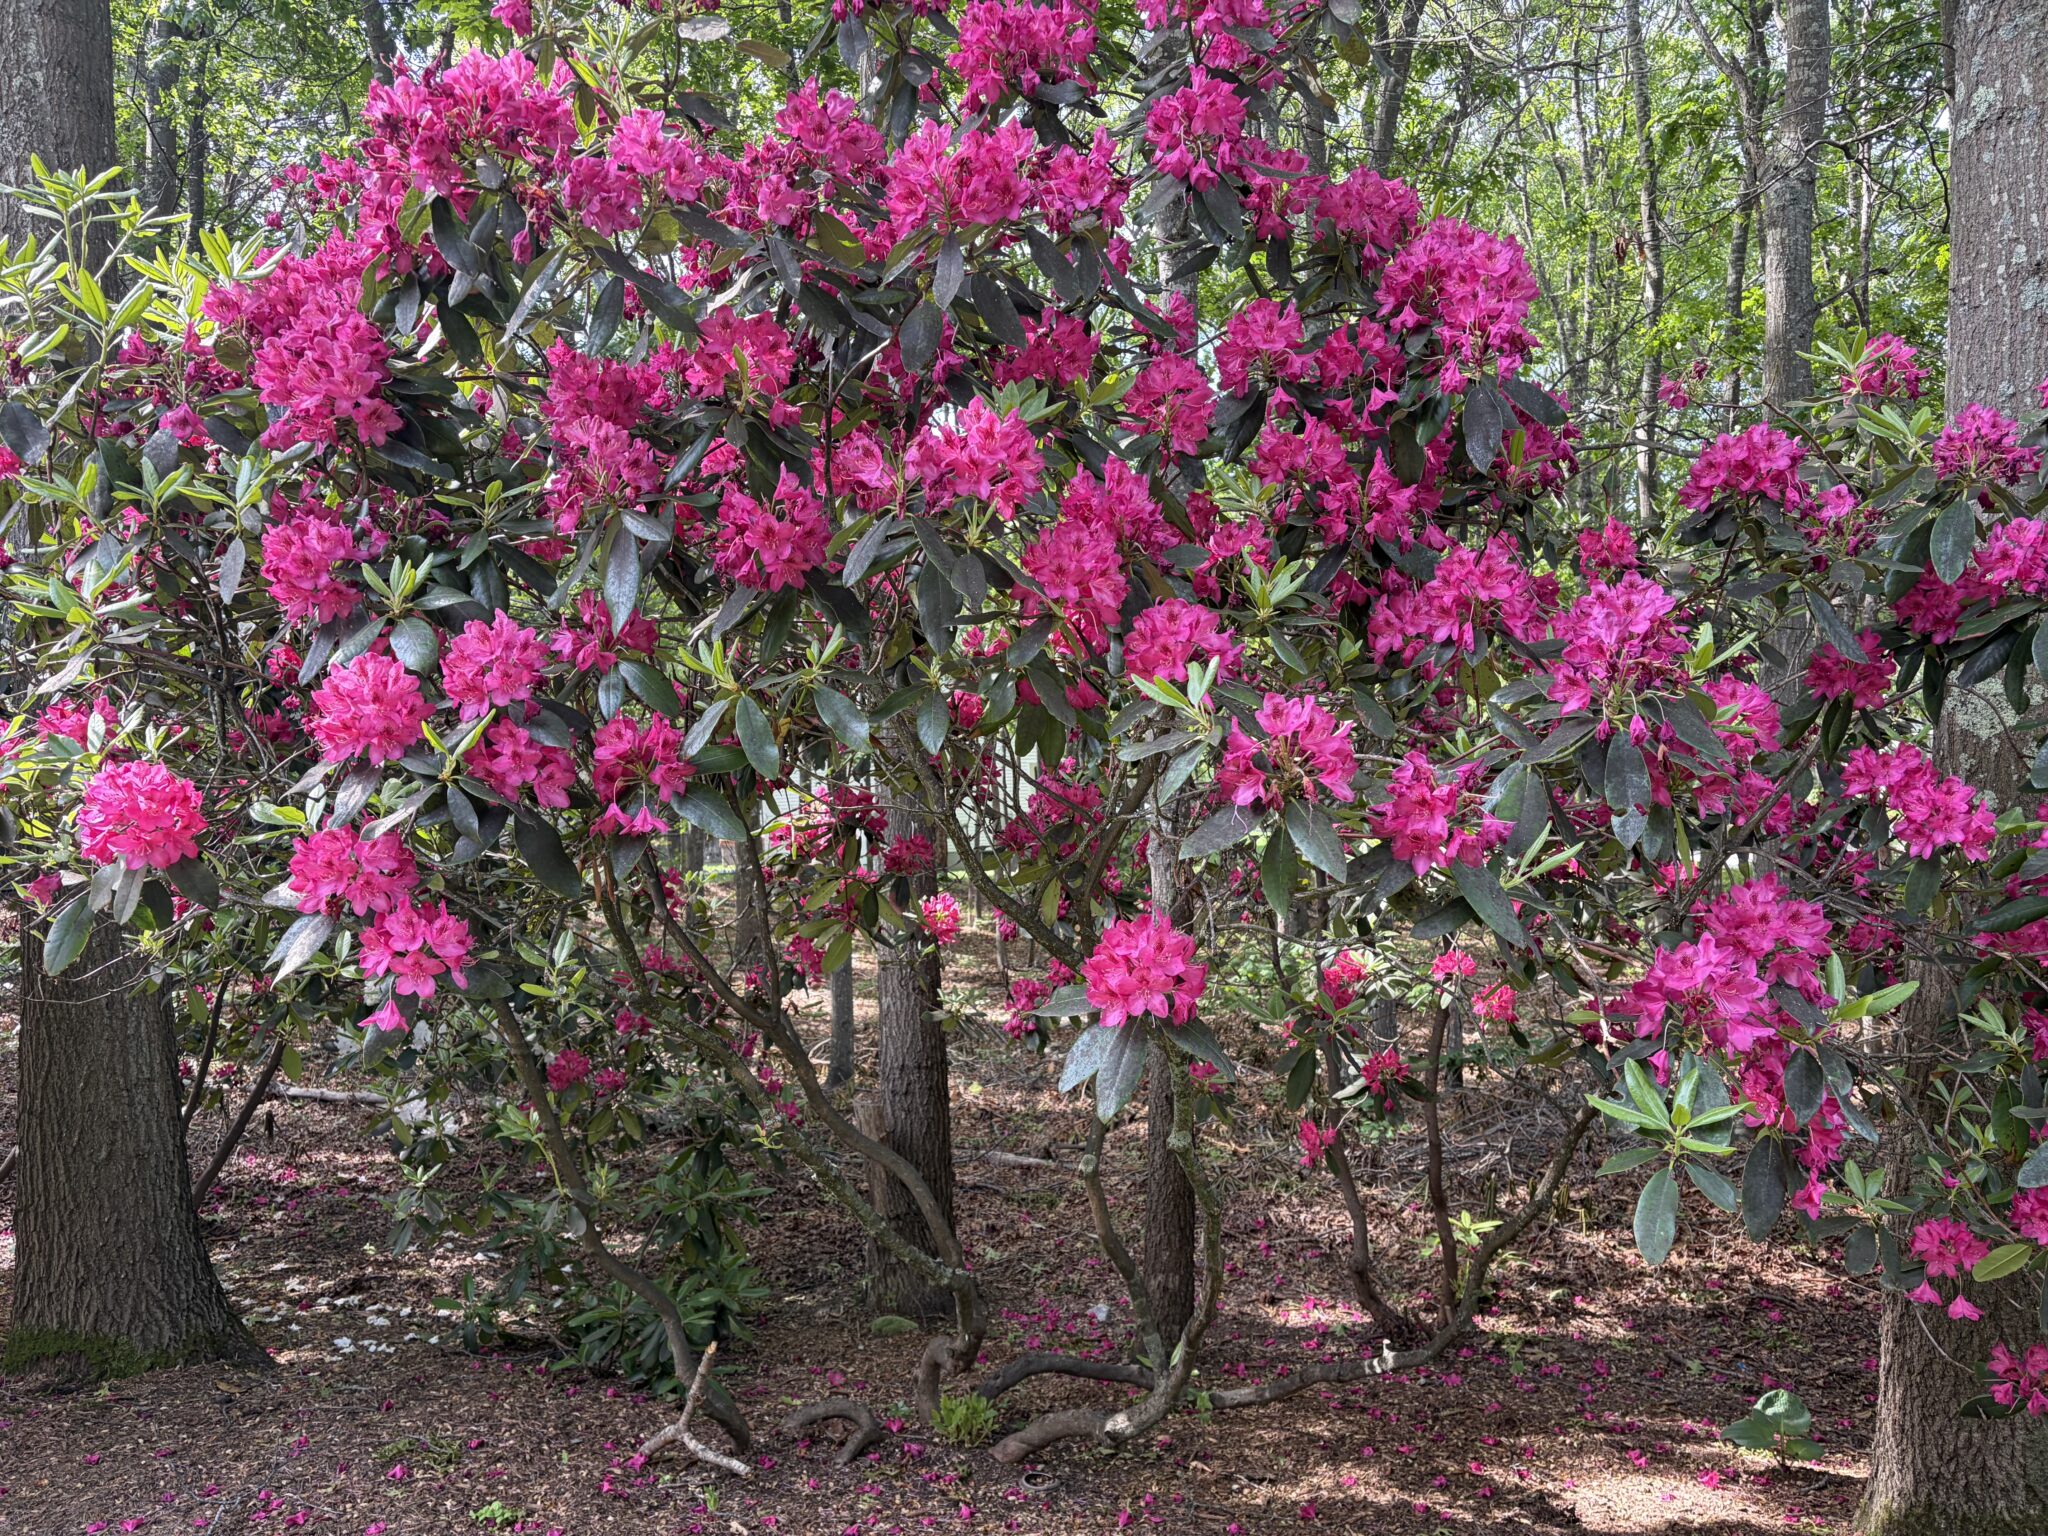 Some times it’s all so overwhelming! I want to capture each and every shape and color and I have to pause and remind myself that it’s already in front of me and there’s nothing to capture, I just need to sit back and enjoy it!
 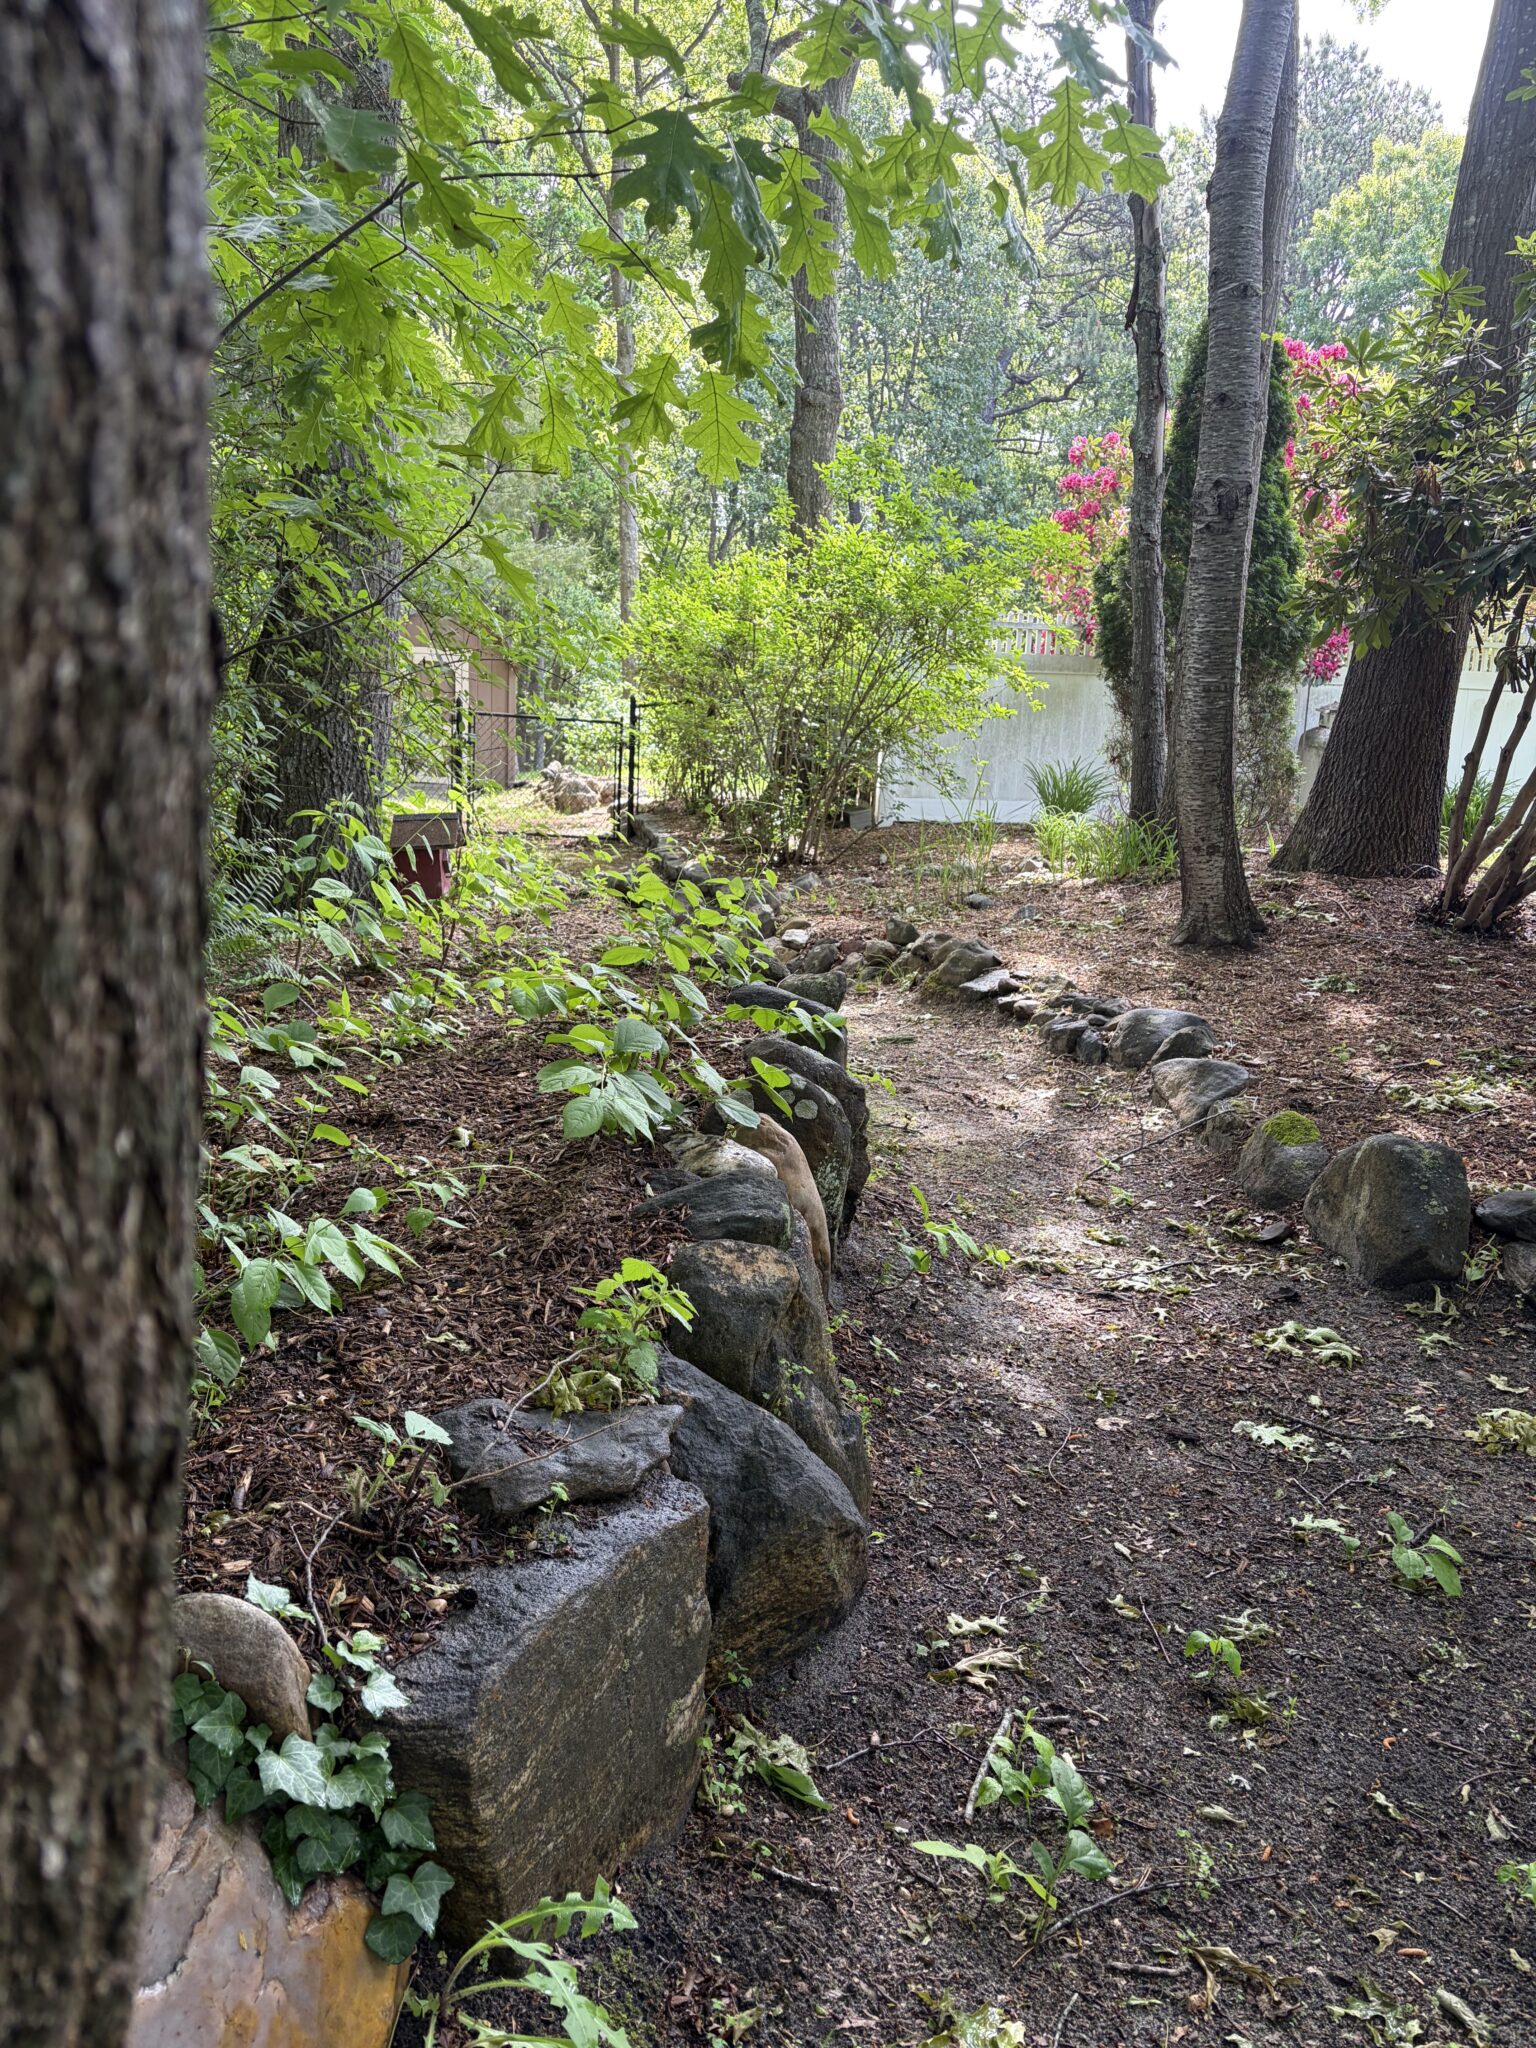 So many nooks and crannies to discover and get lost in! This to me is the best childhood playground! Greens so vibrant and breathtaking! It’s like standing in a library of books and wanting to read each and every book. I stand here and I want to look at every growing thing, up close and personal and there’s just not enough time. Or is there, and we just don’t make enough time for it? Sitting down and using what’s around me for inspiration has allowed me to slow down a little and make more time for observations and appreciation for the beauty that nature provides.
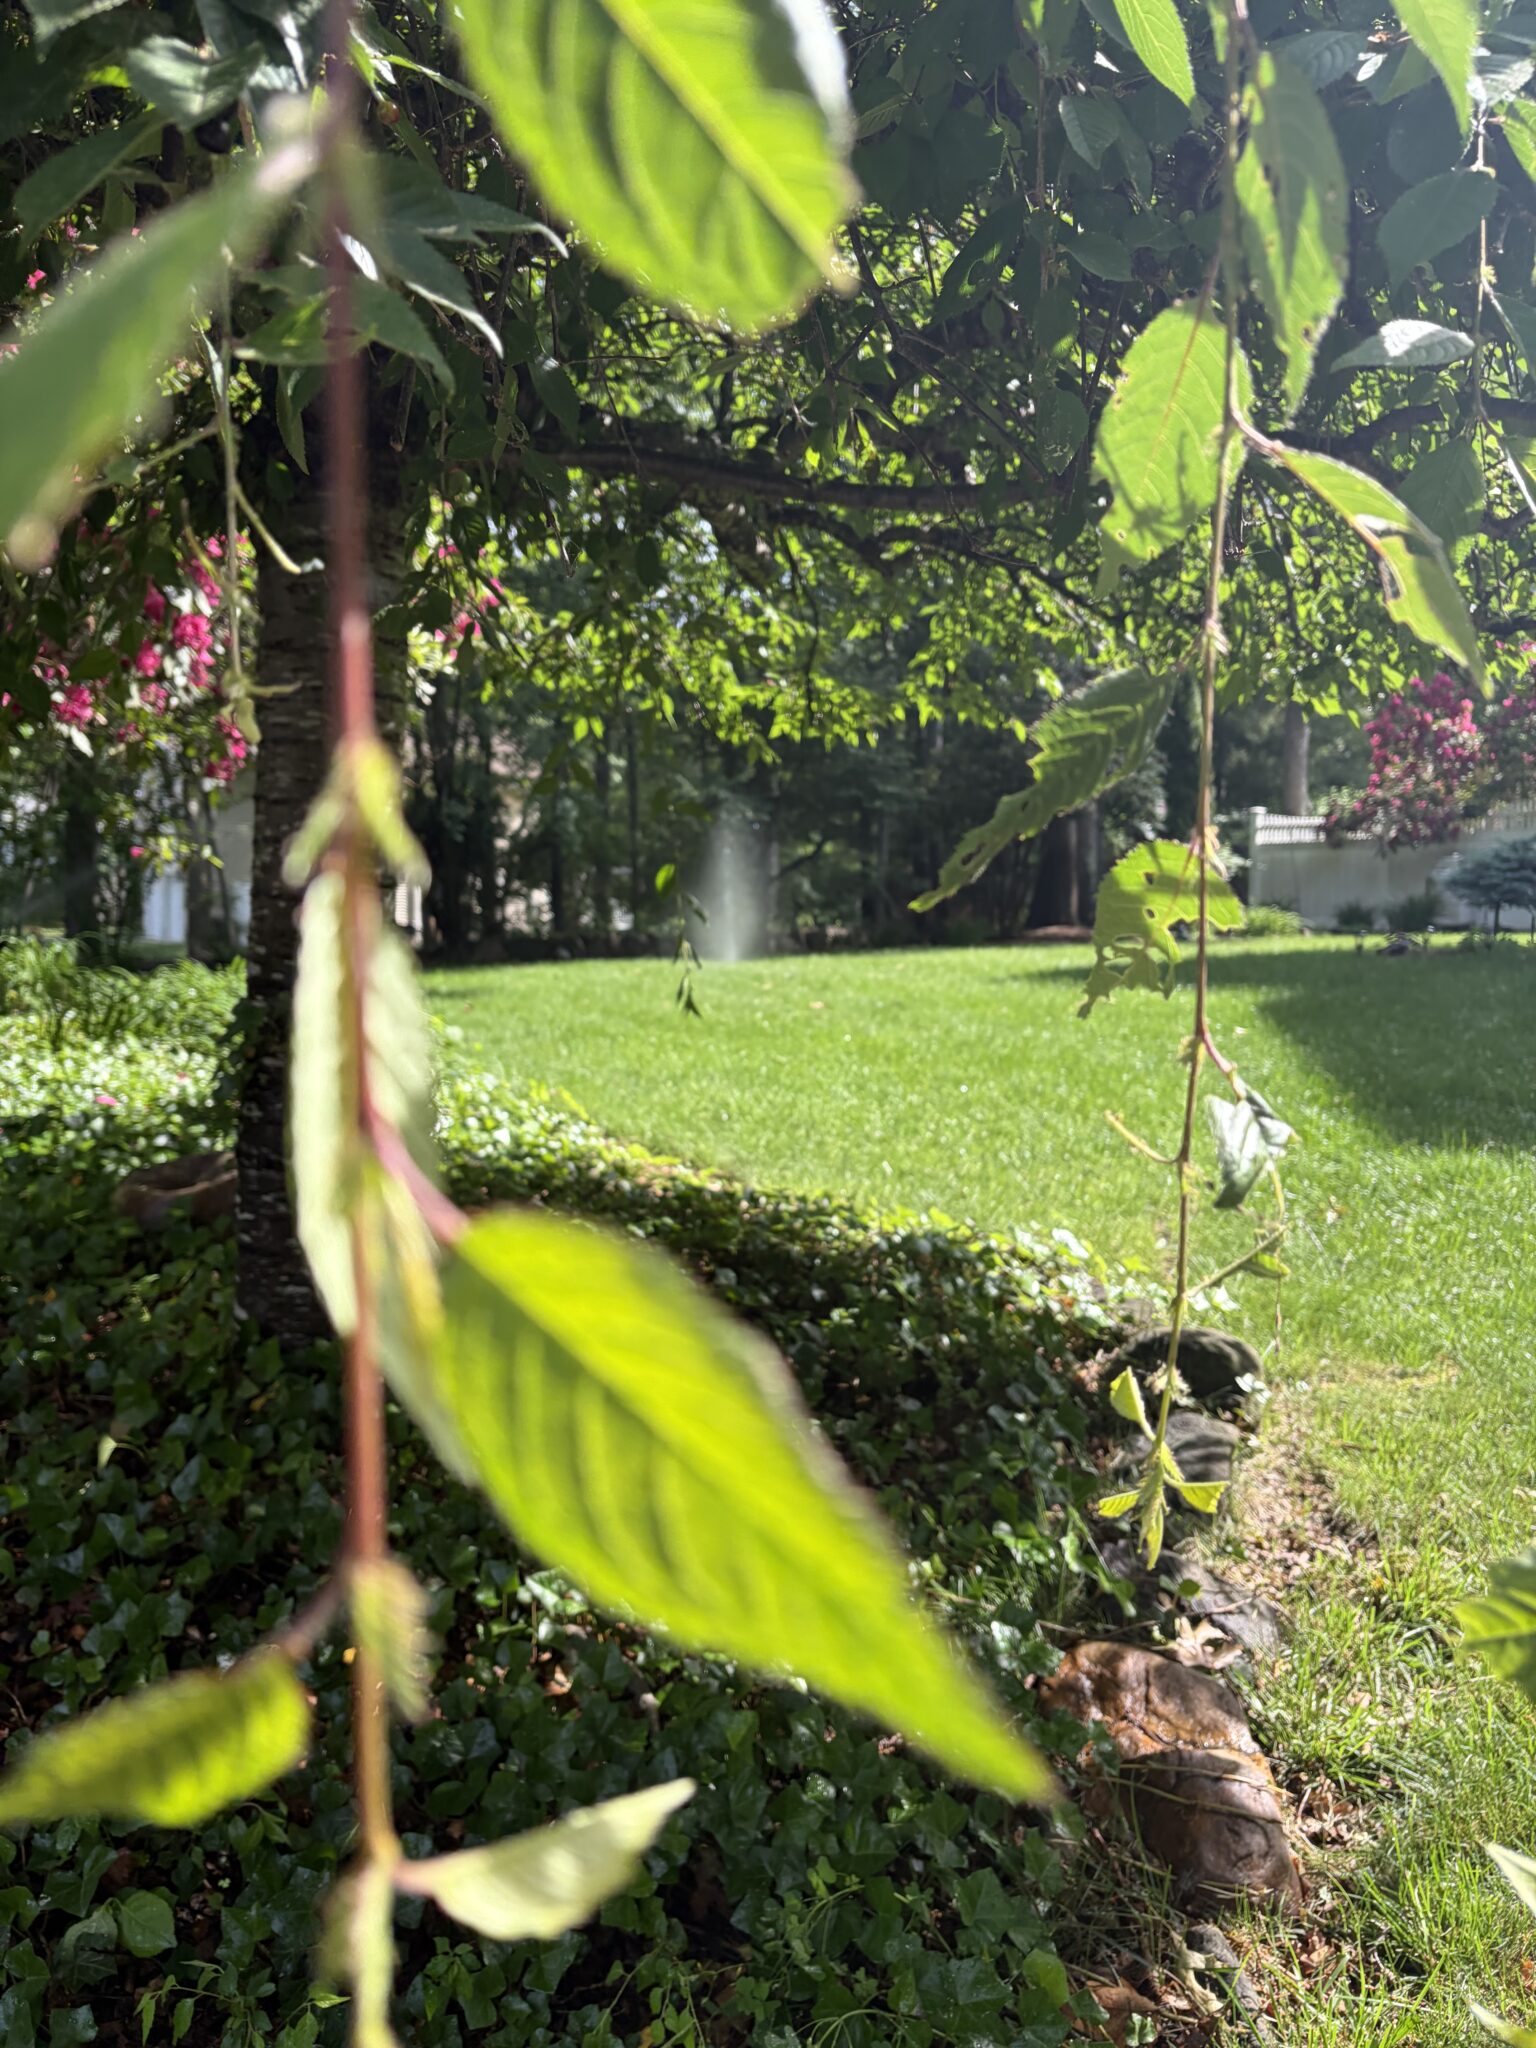

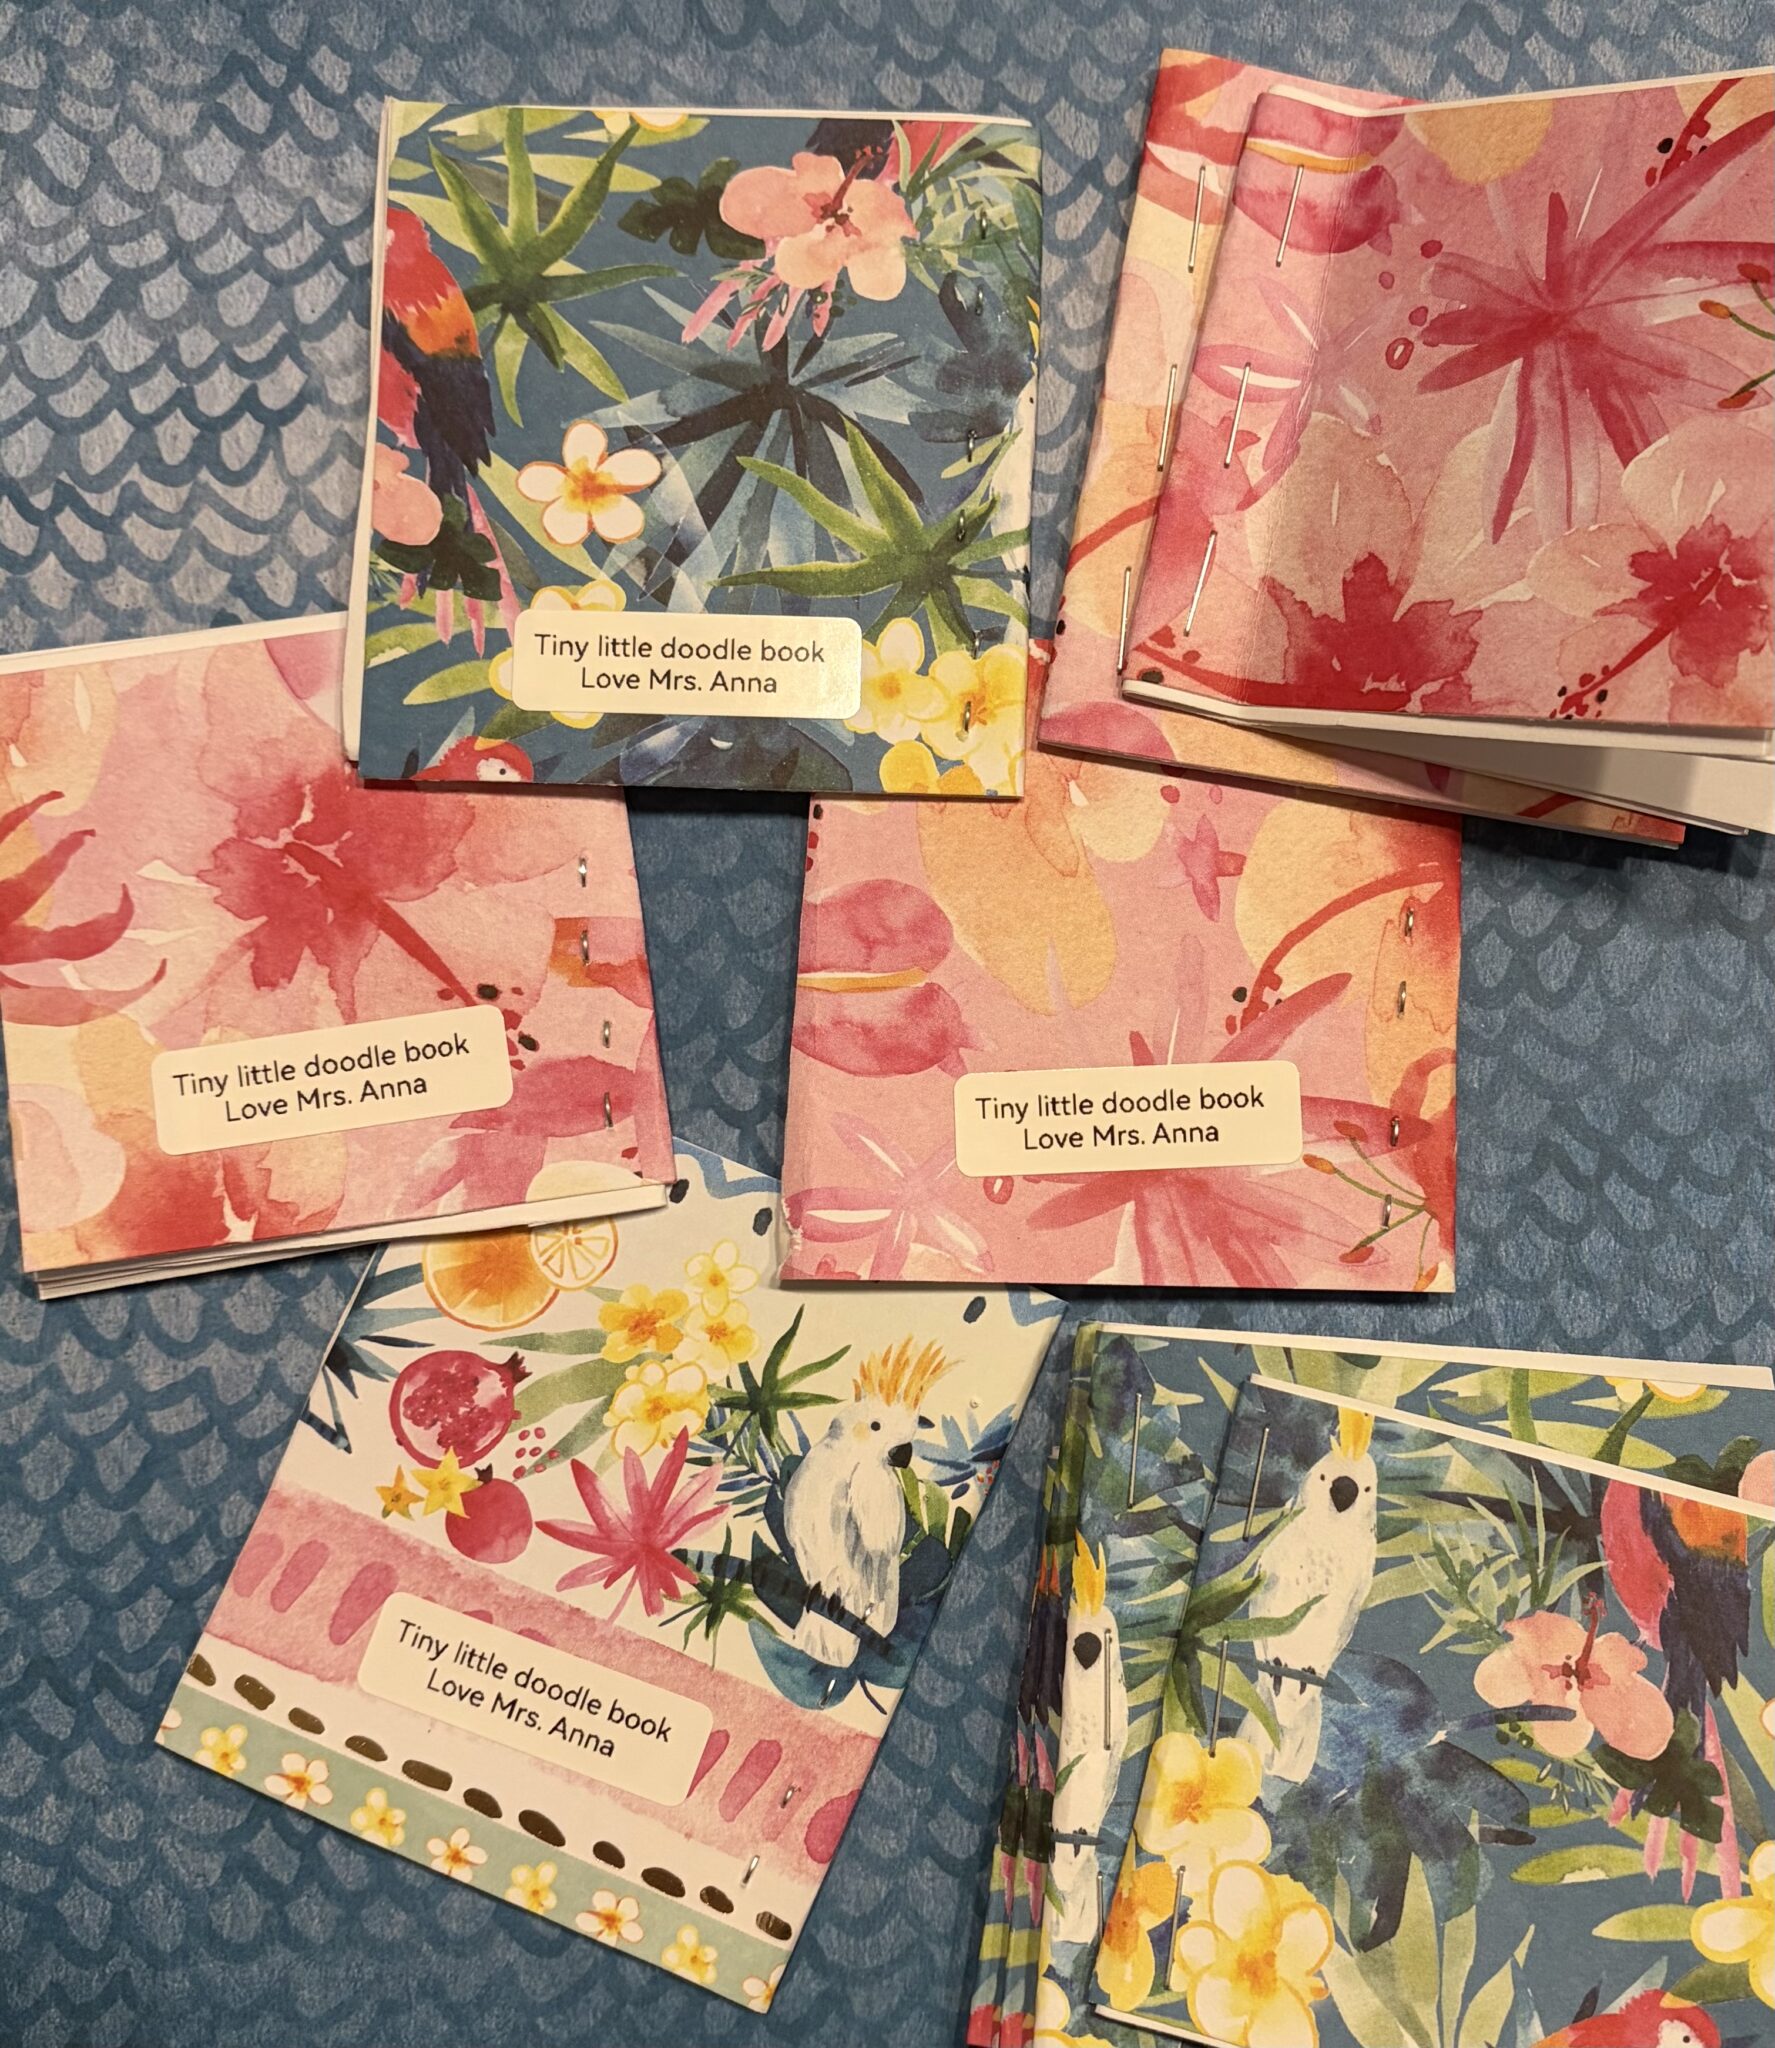


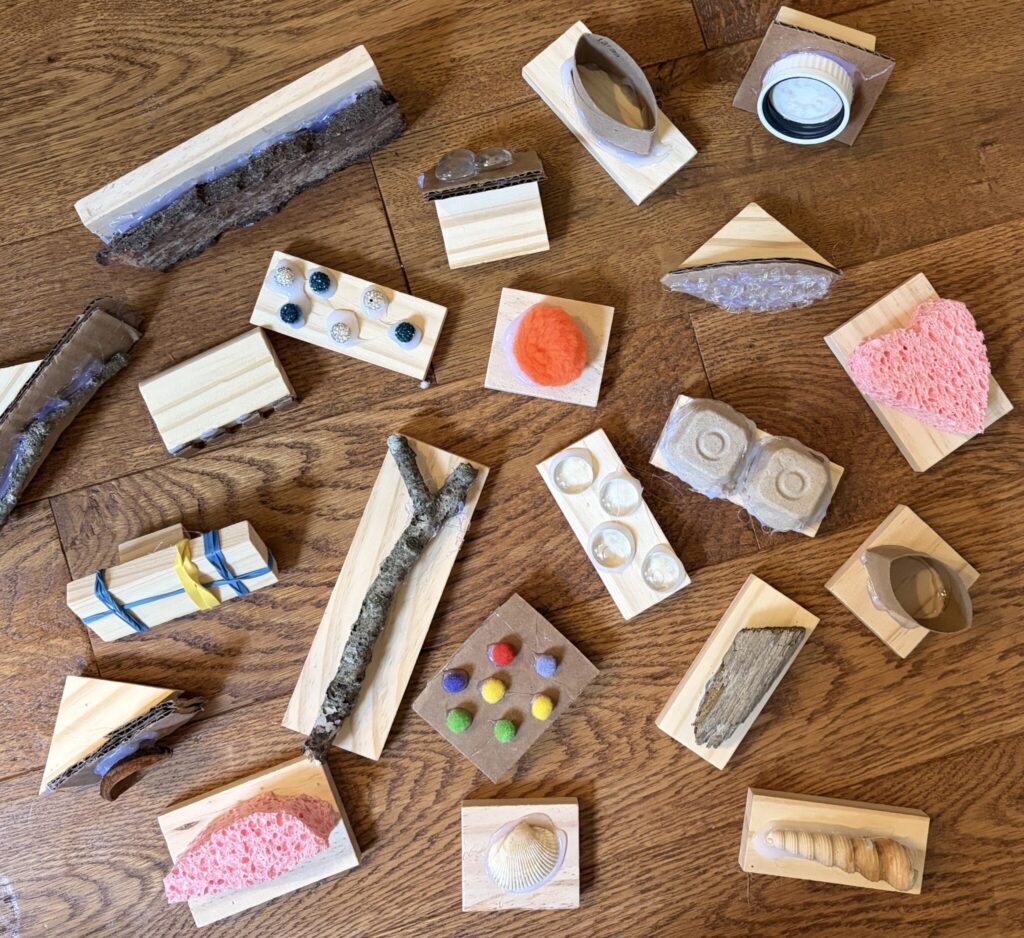
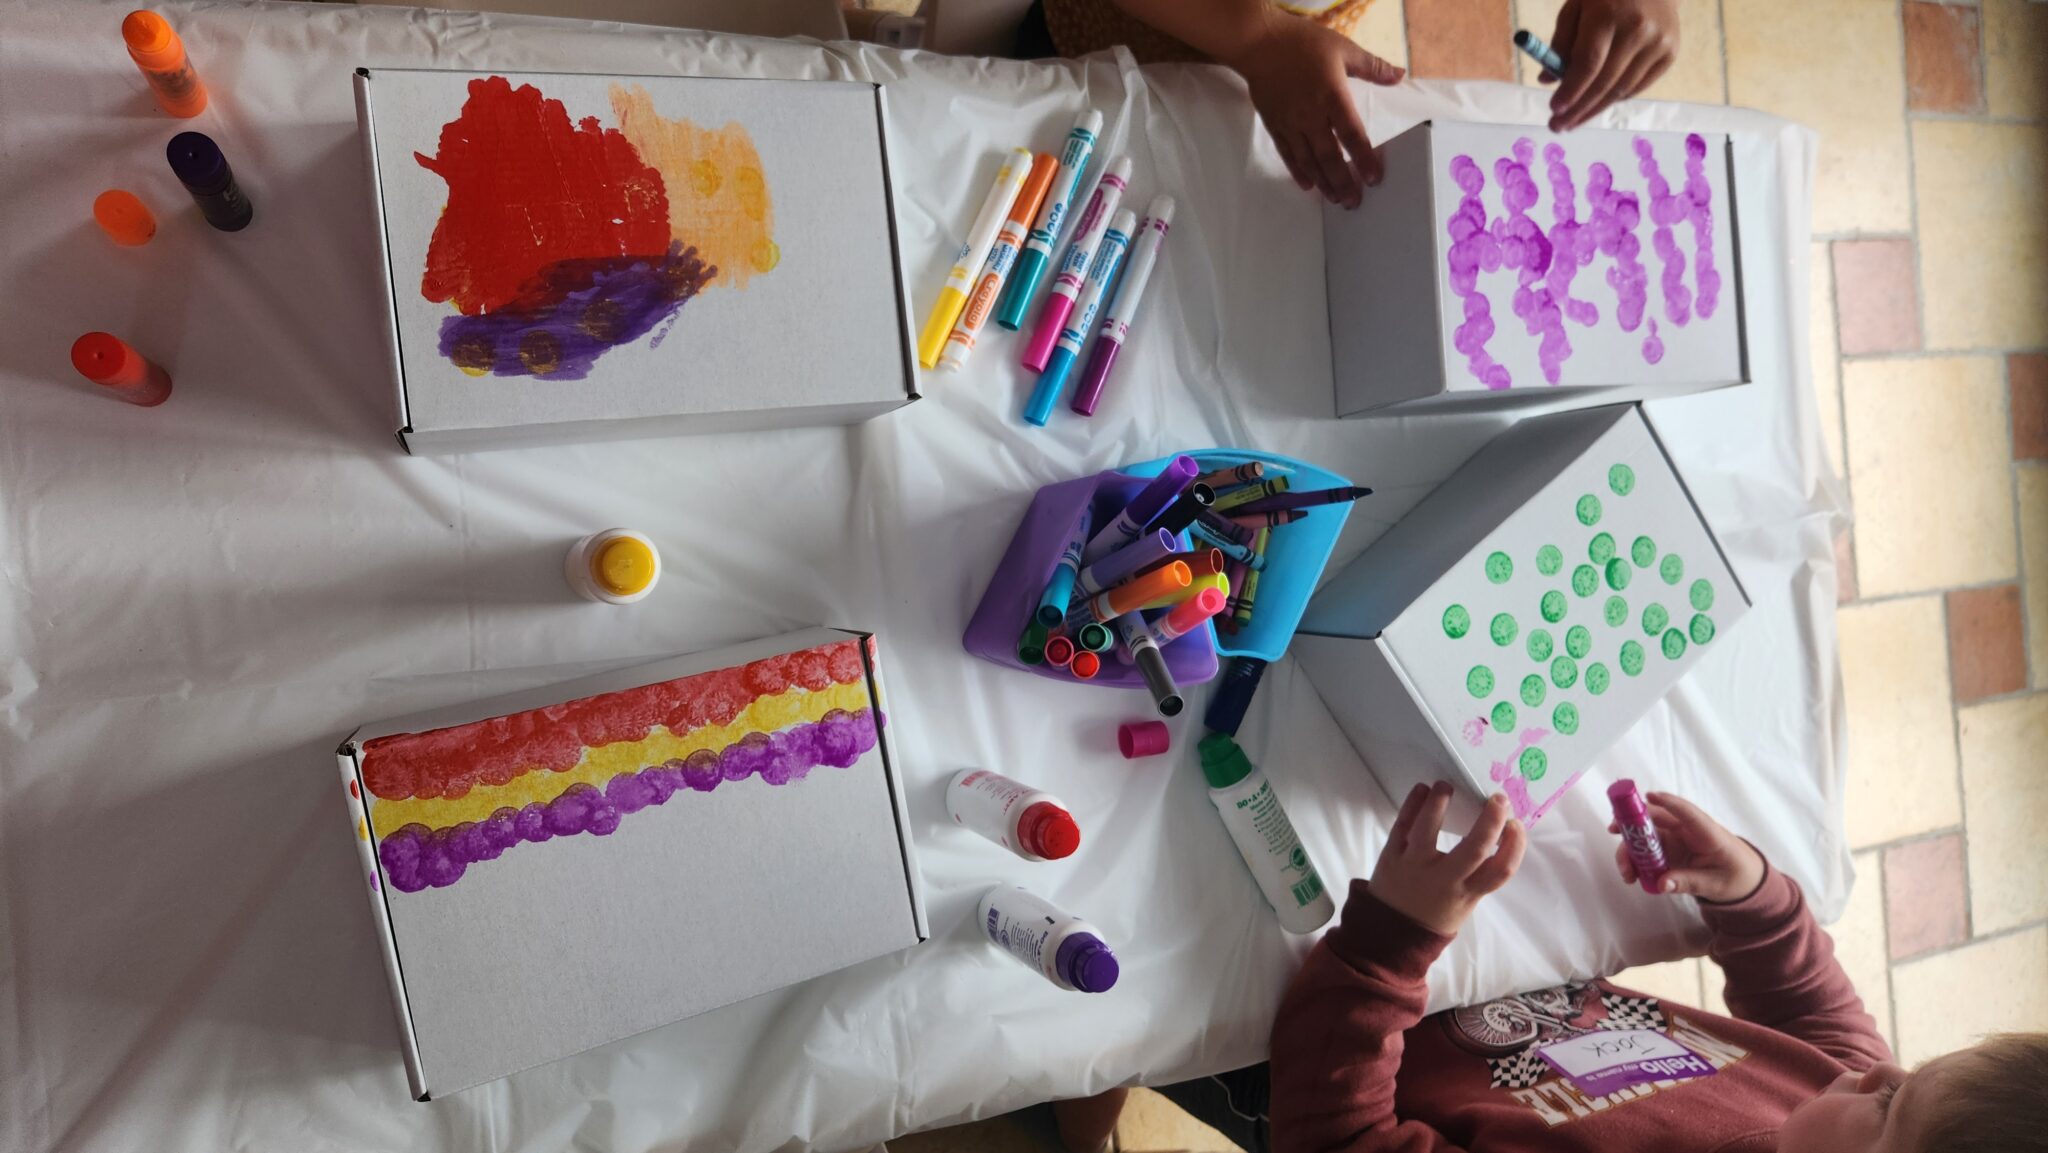
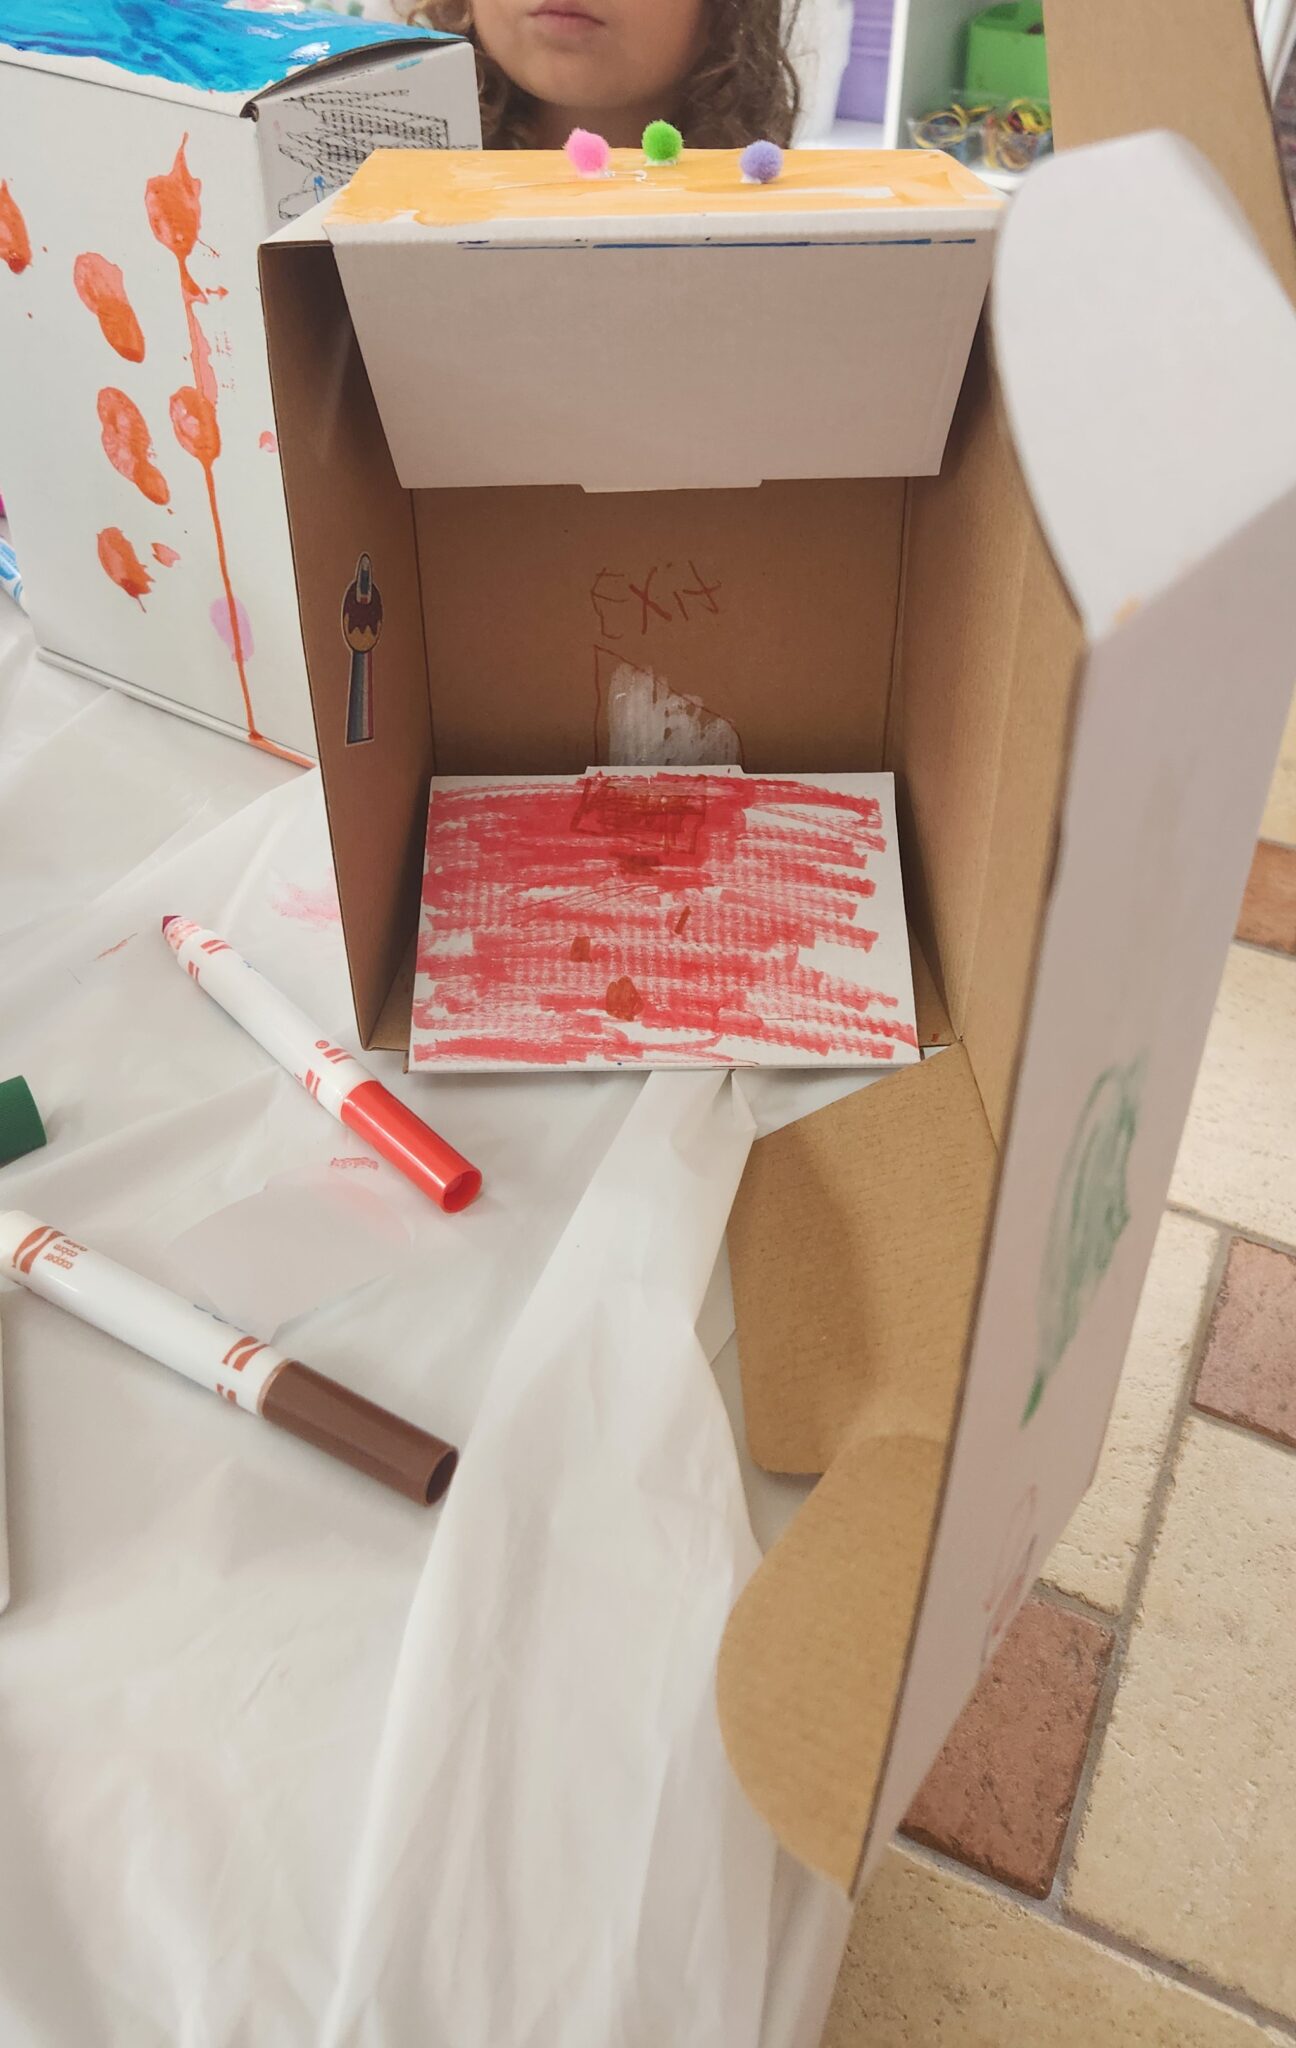
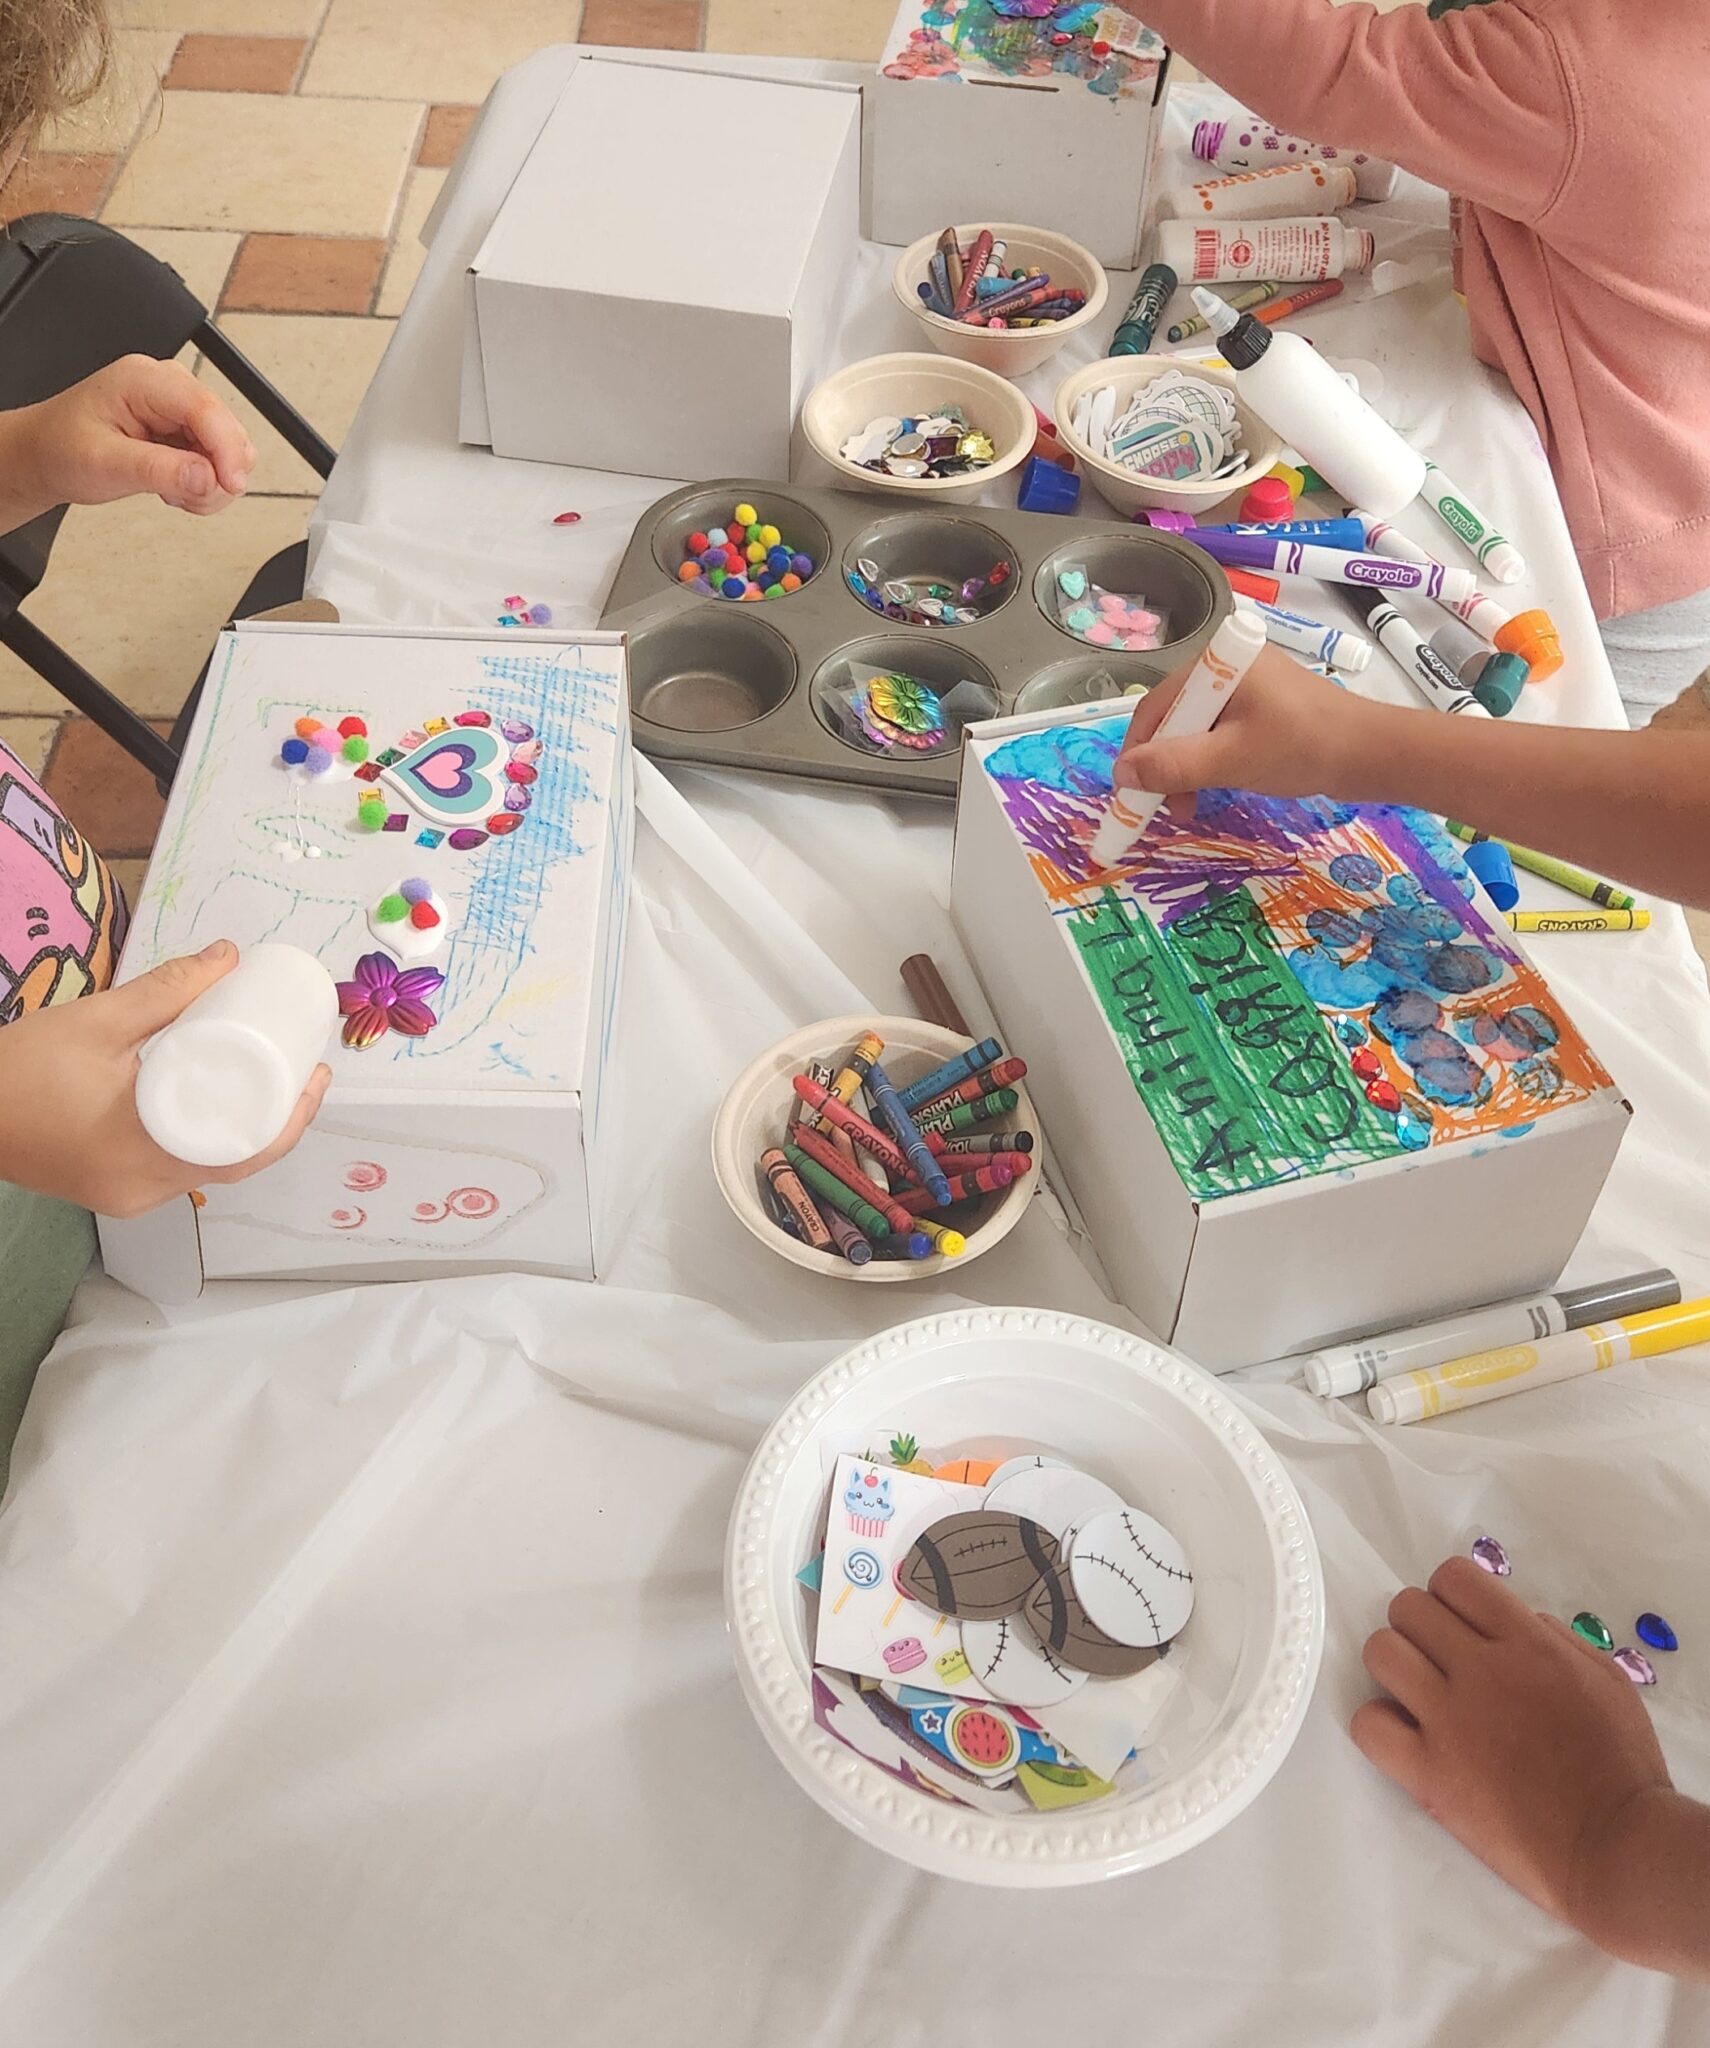
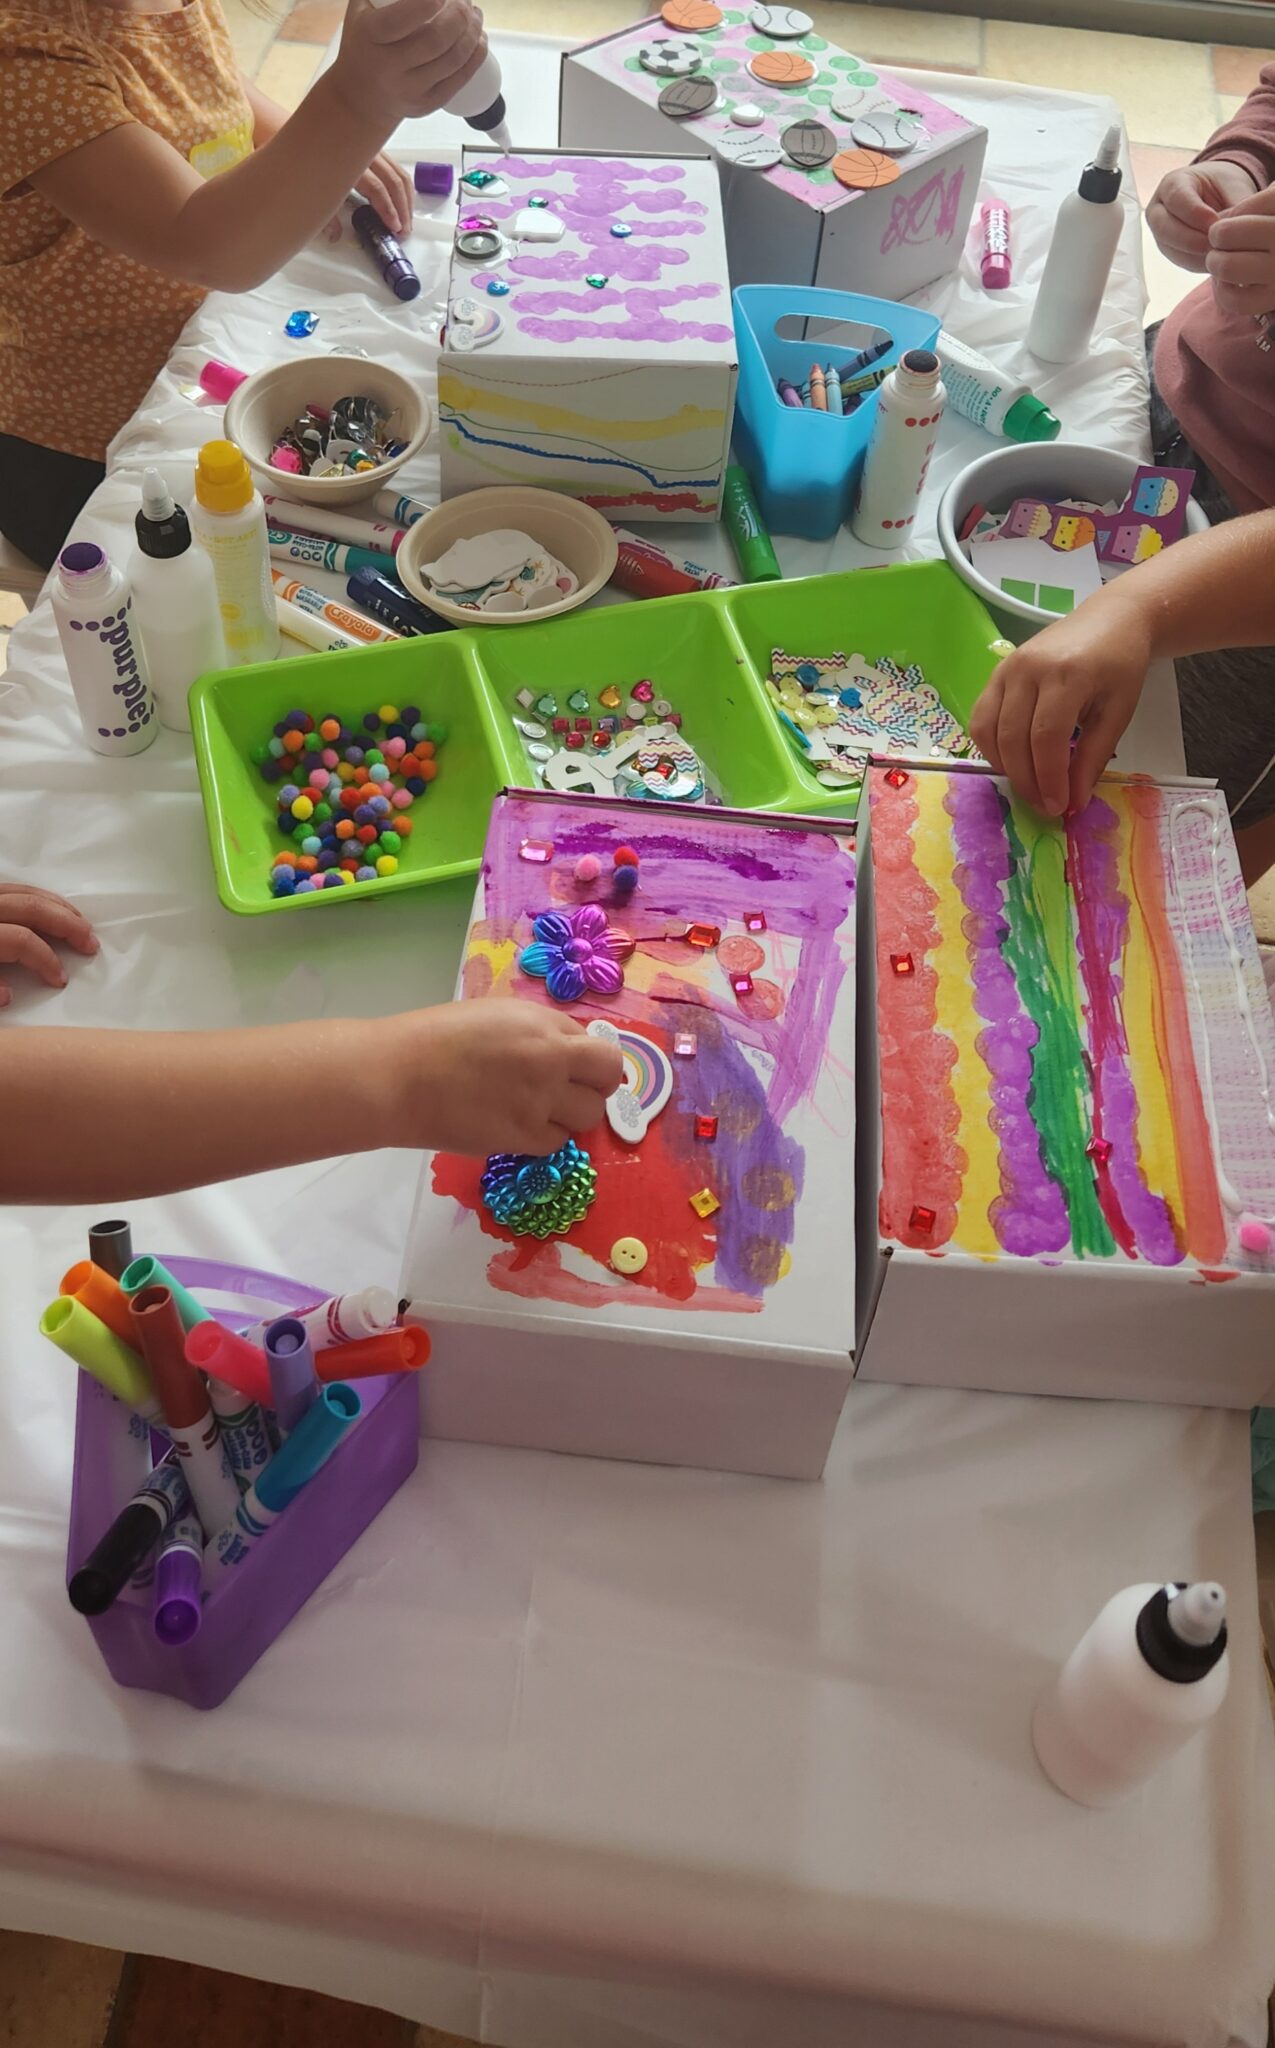
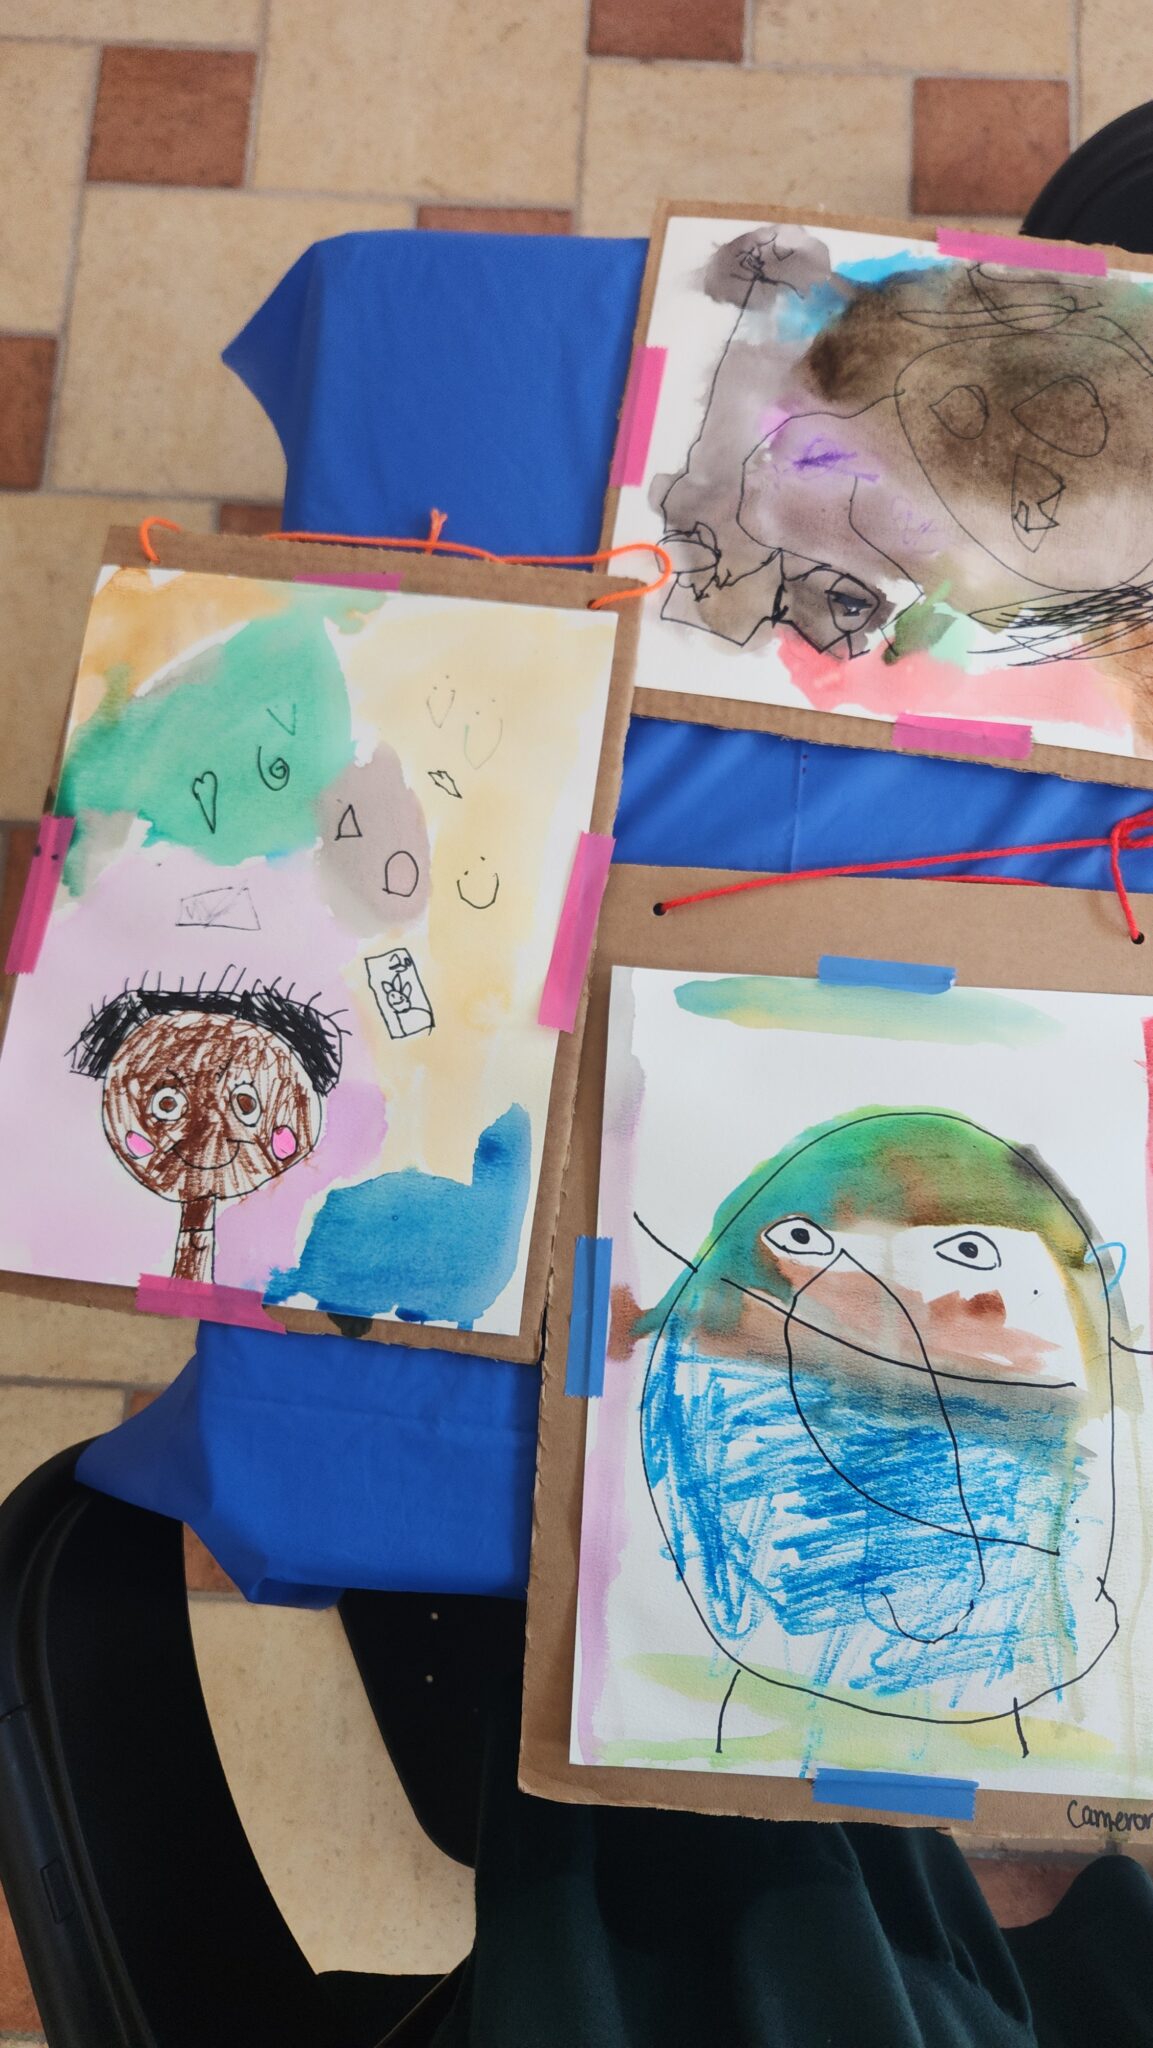
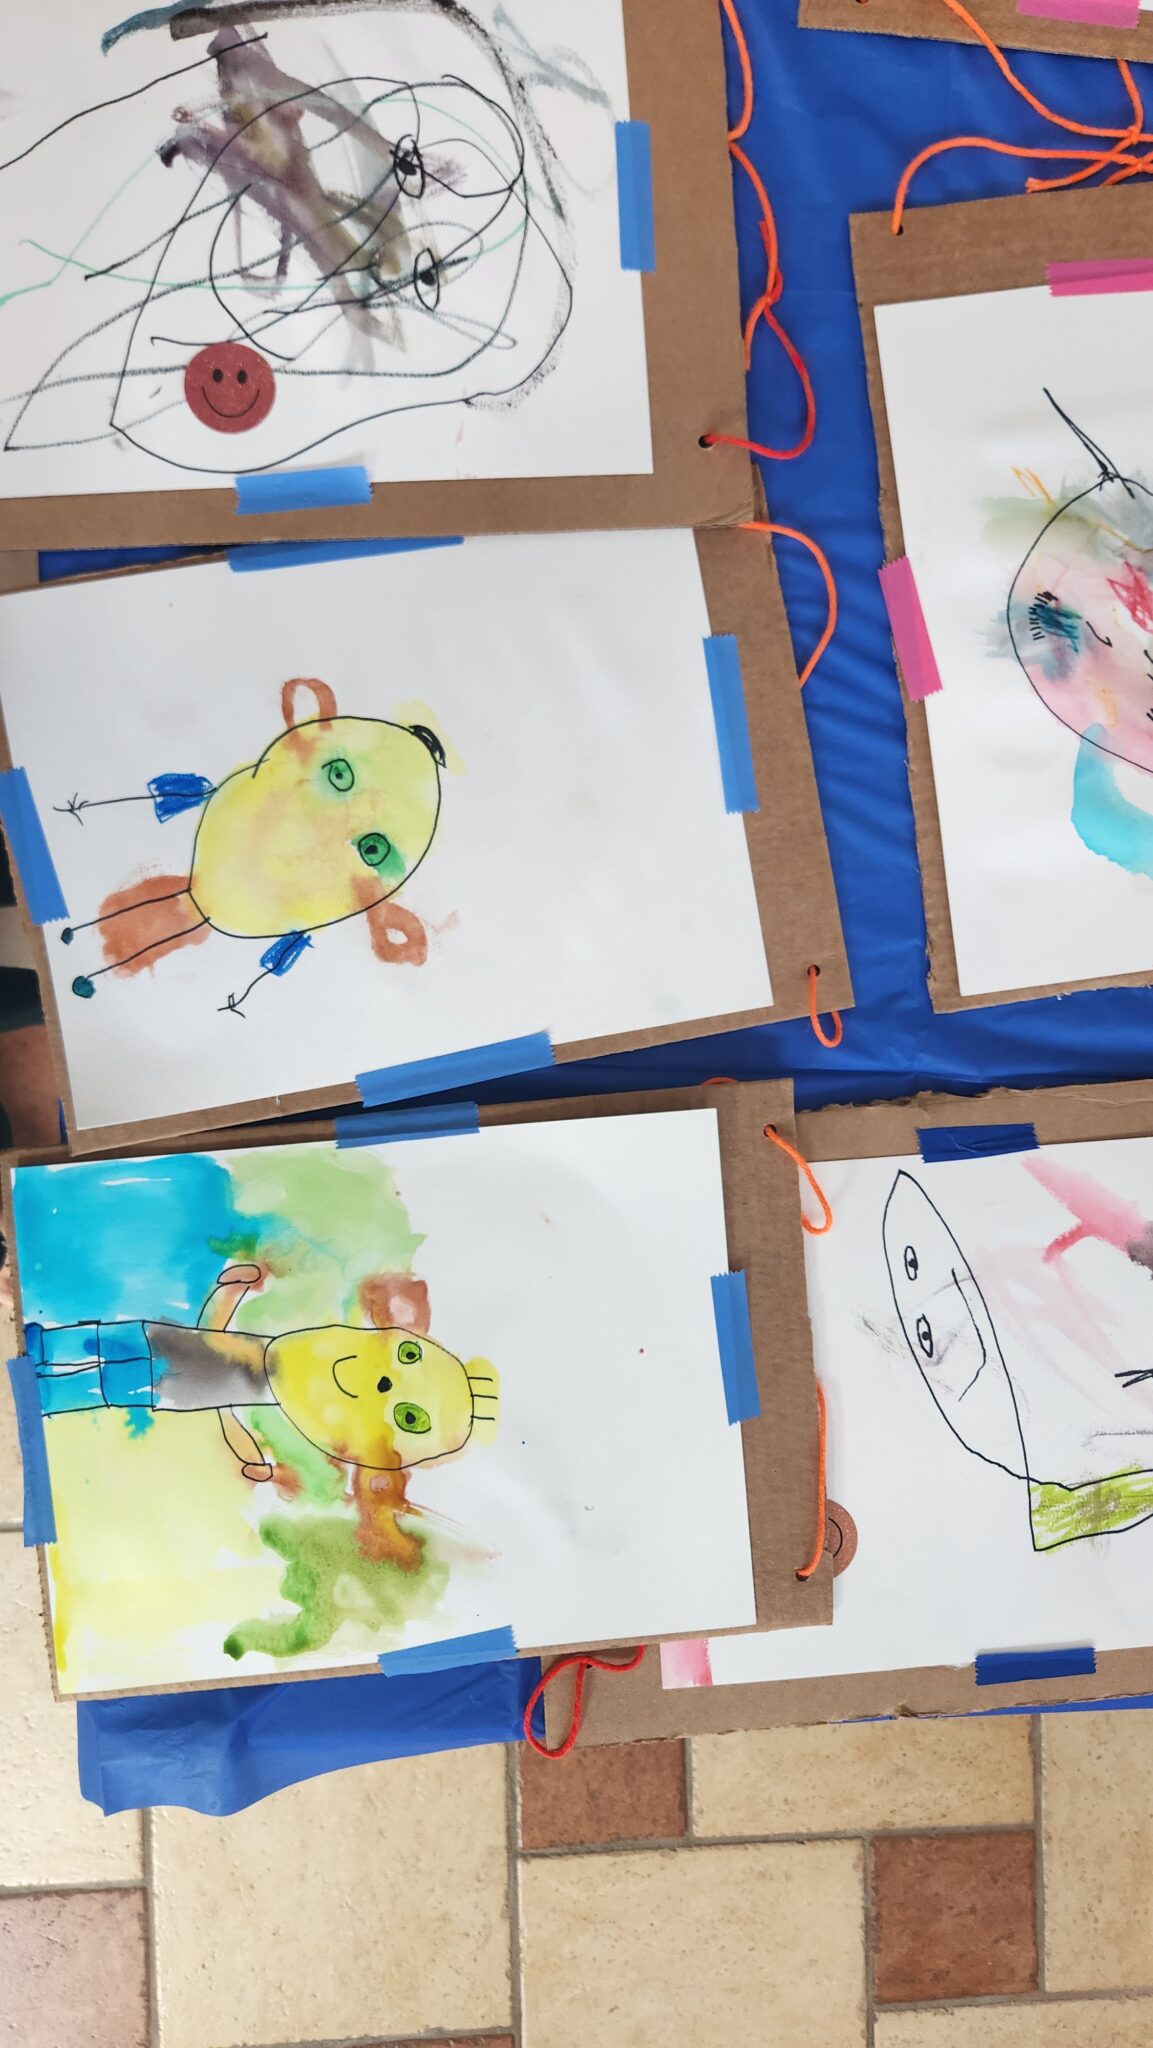
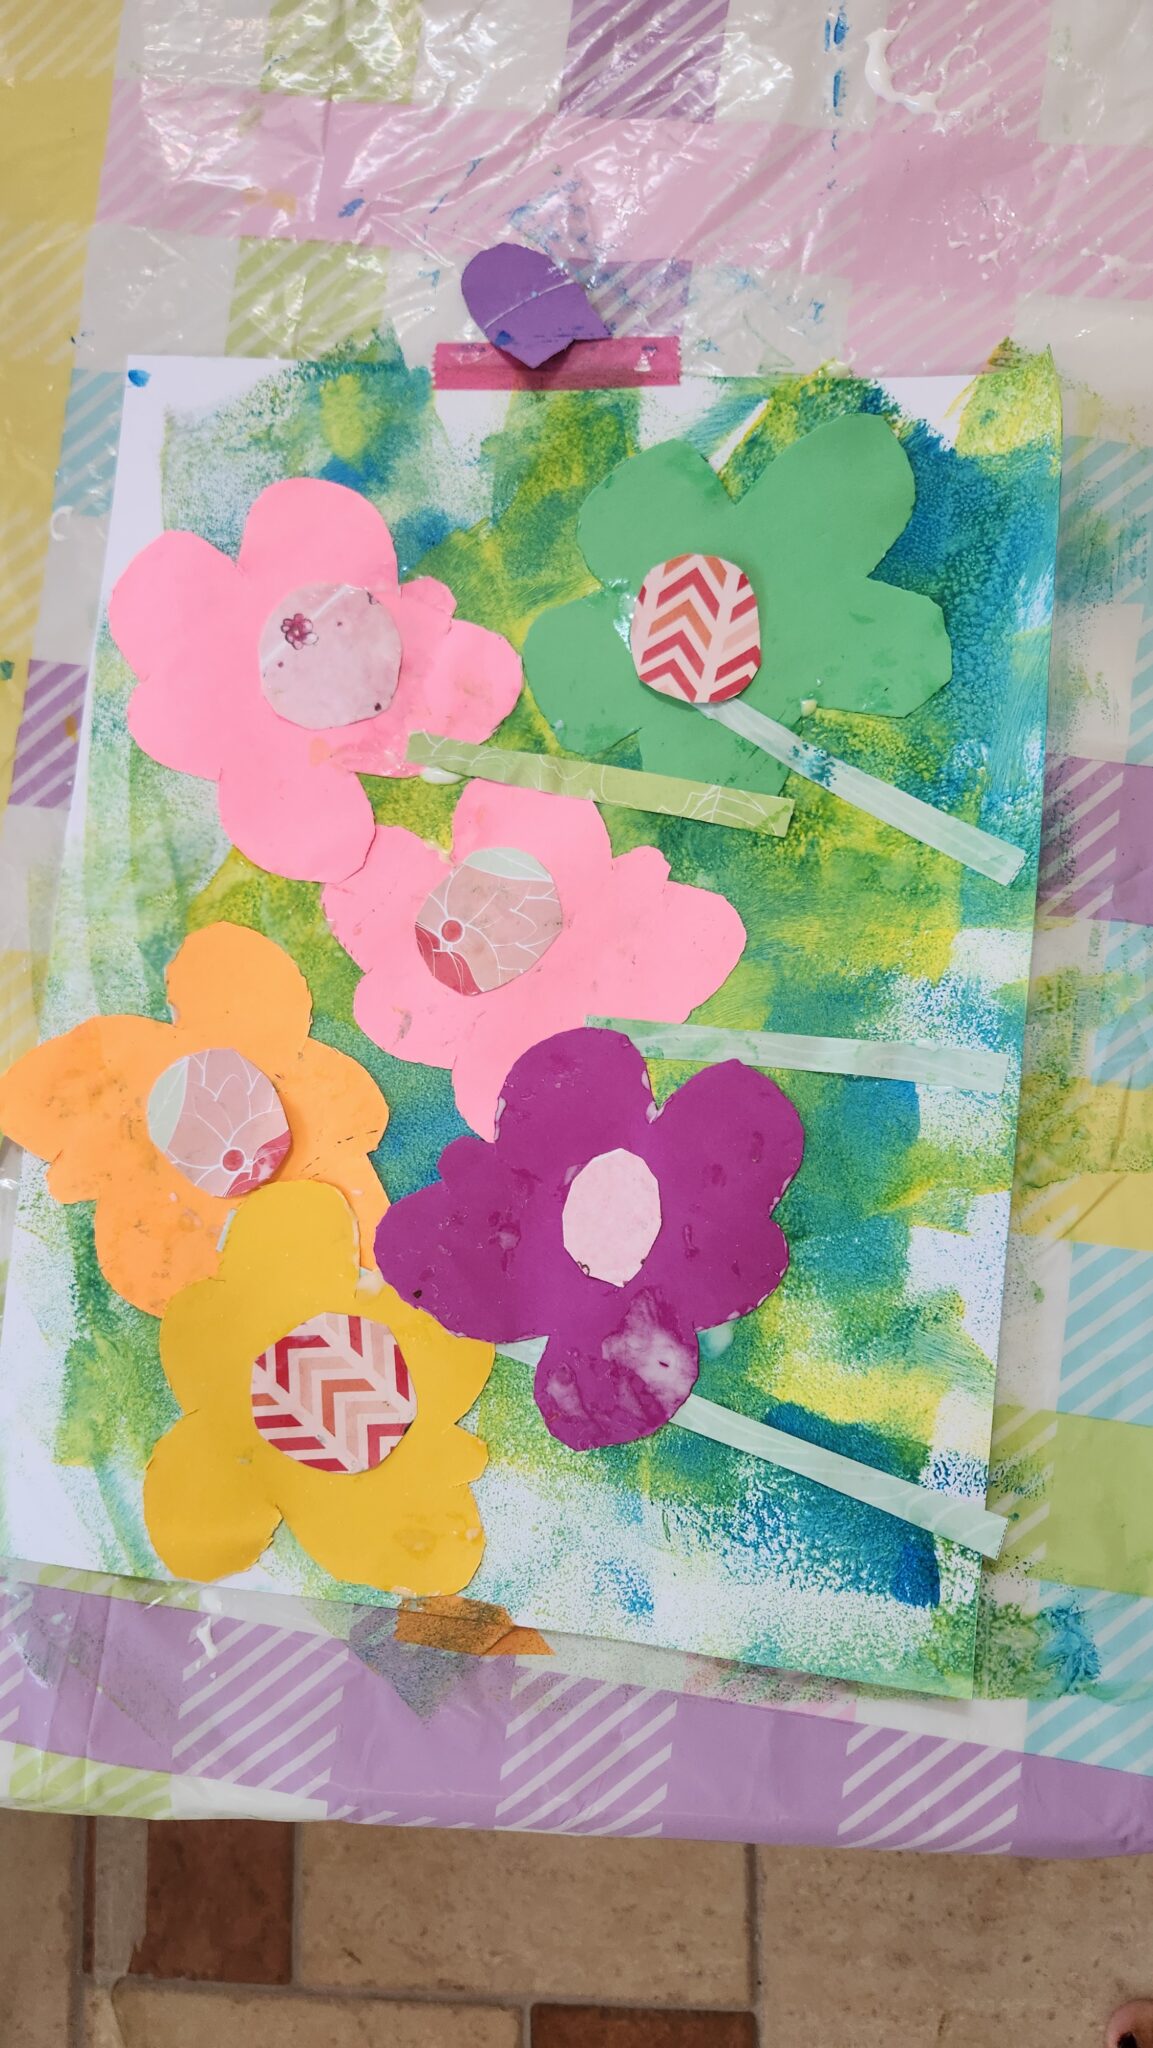

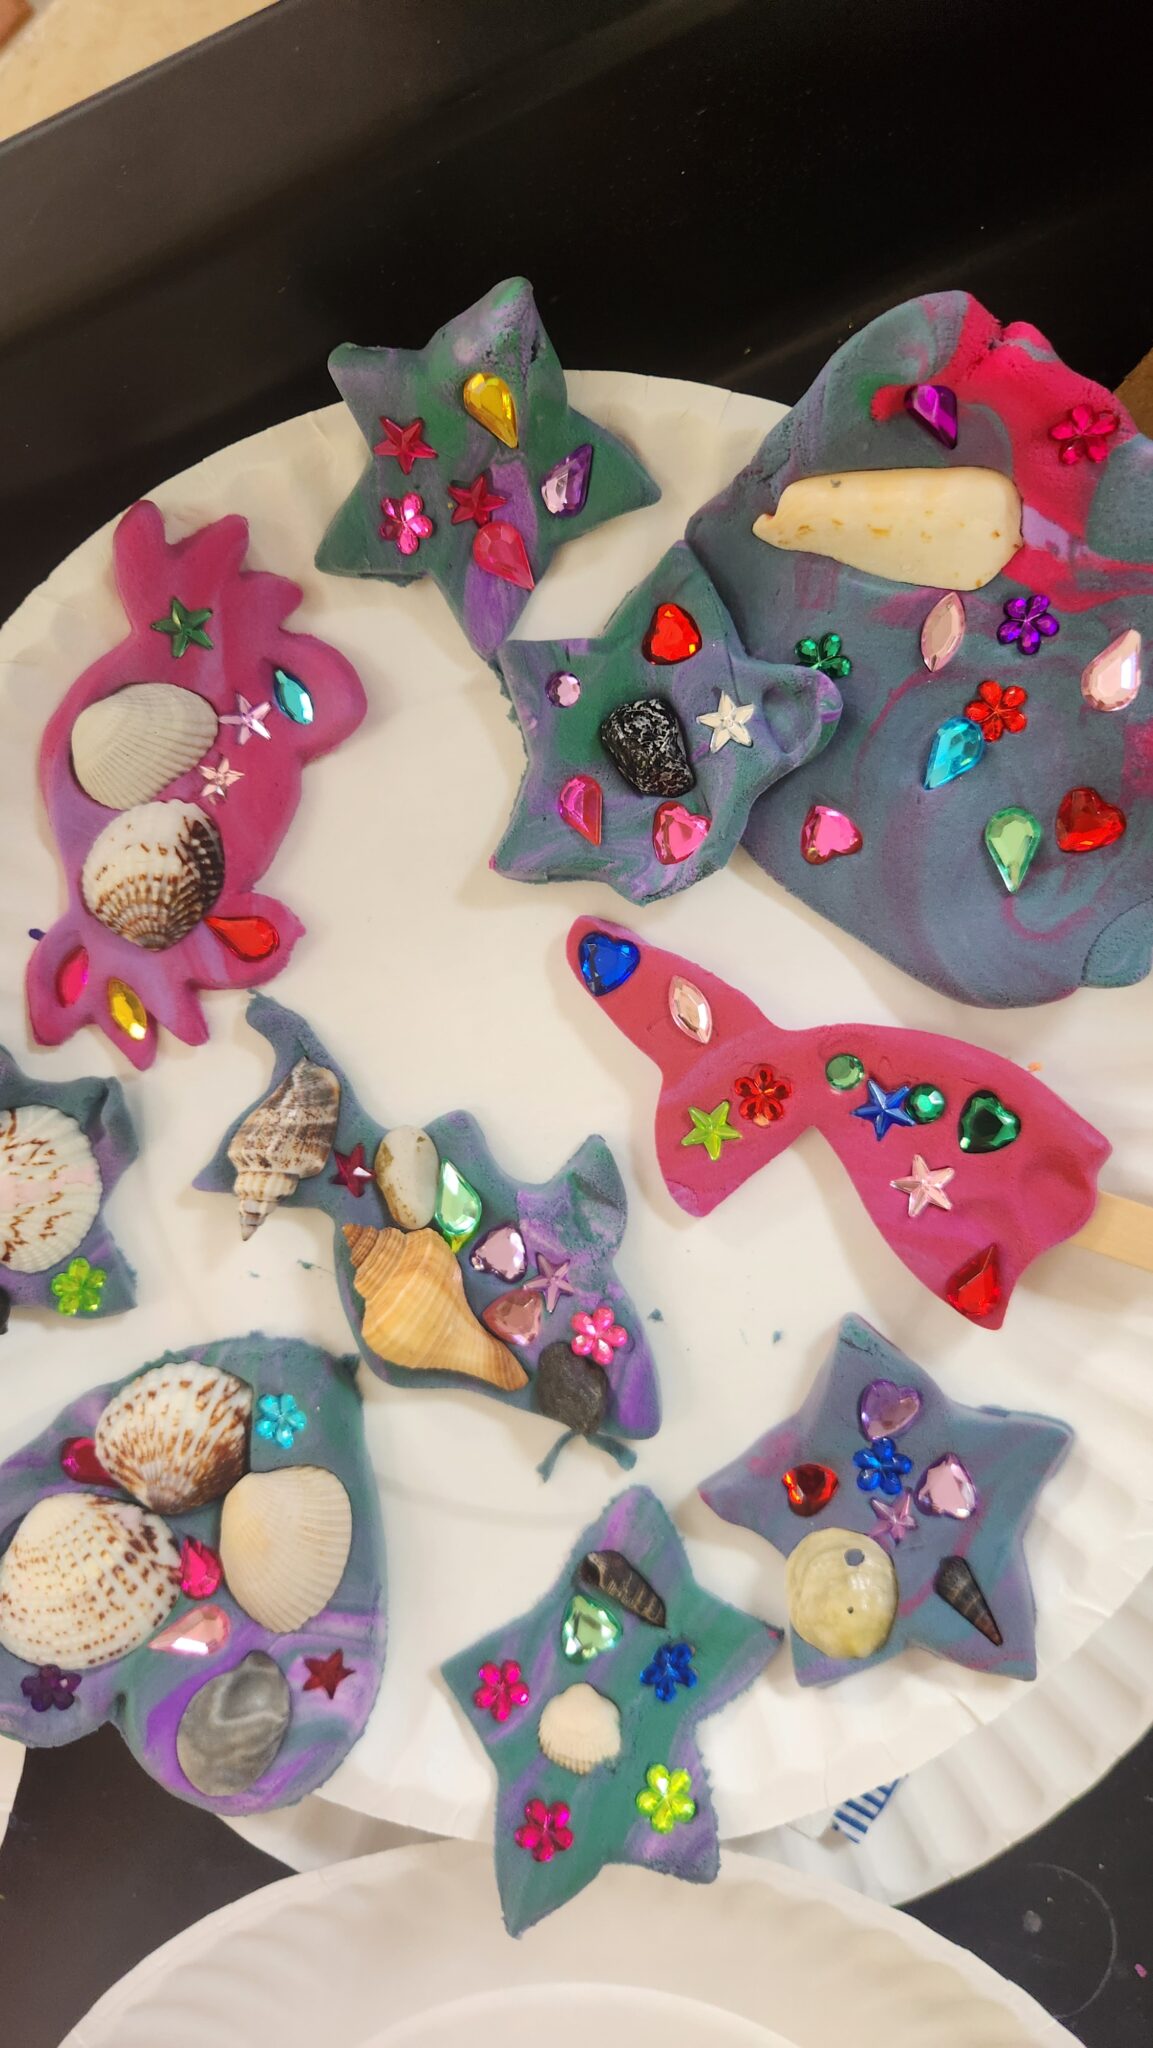
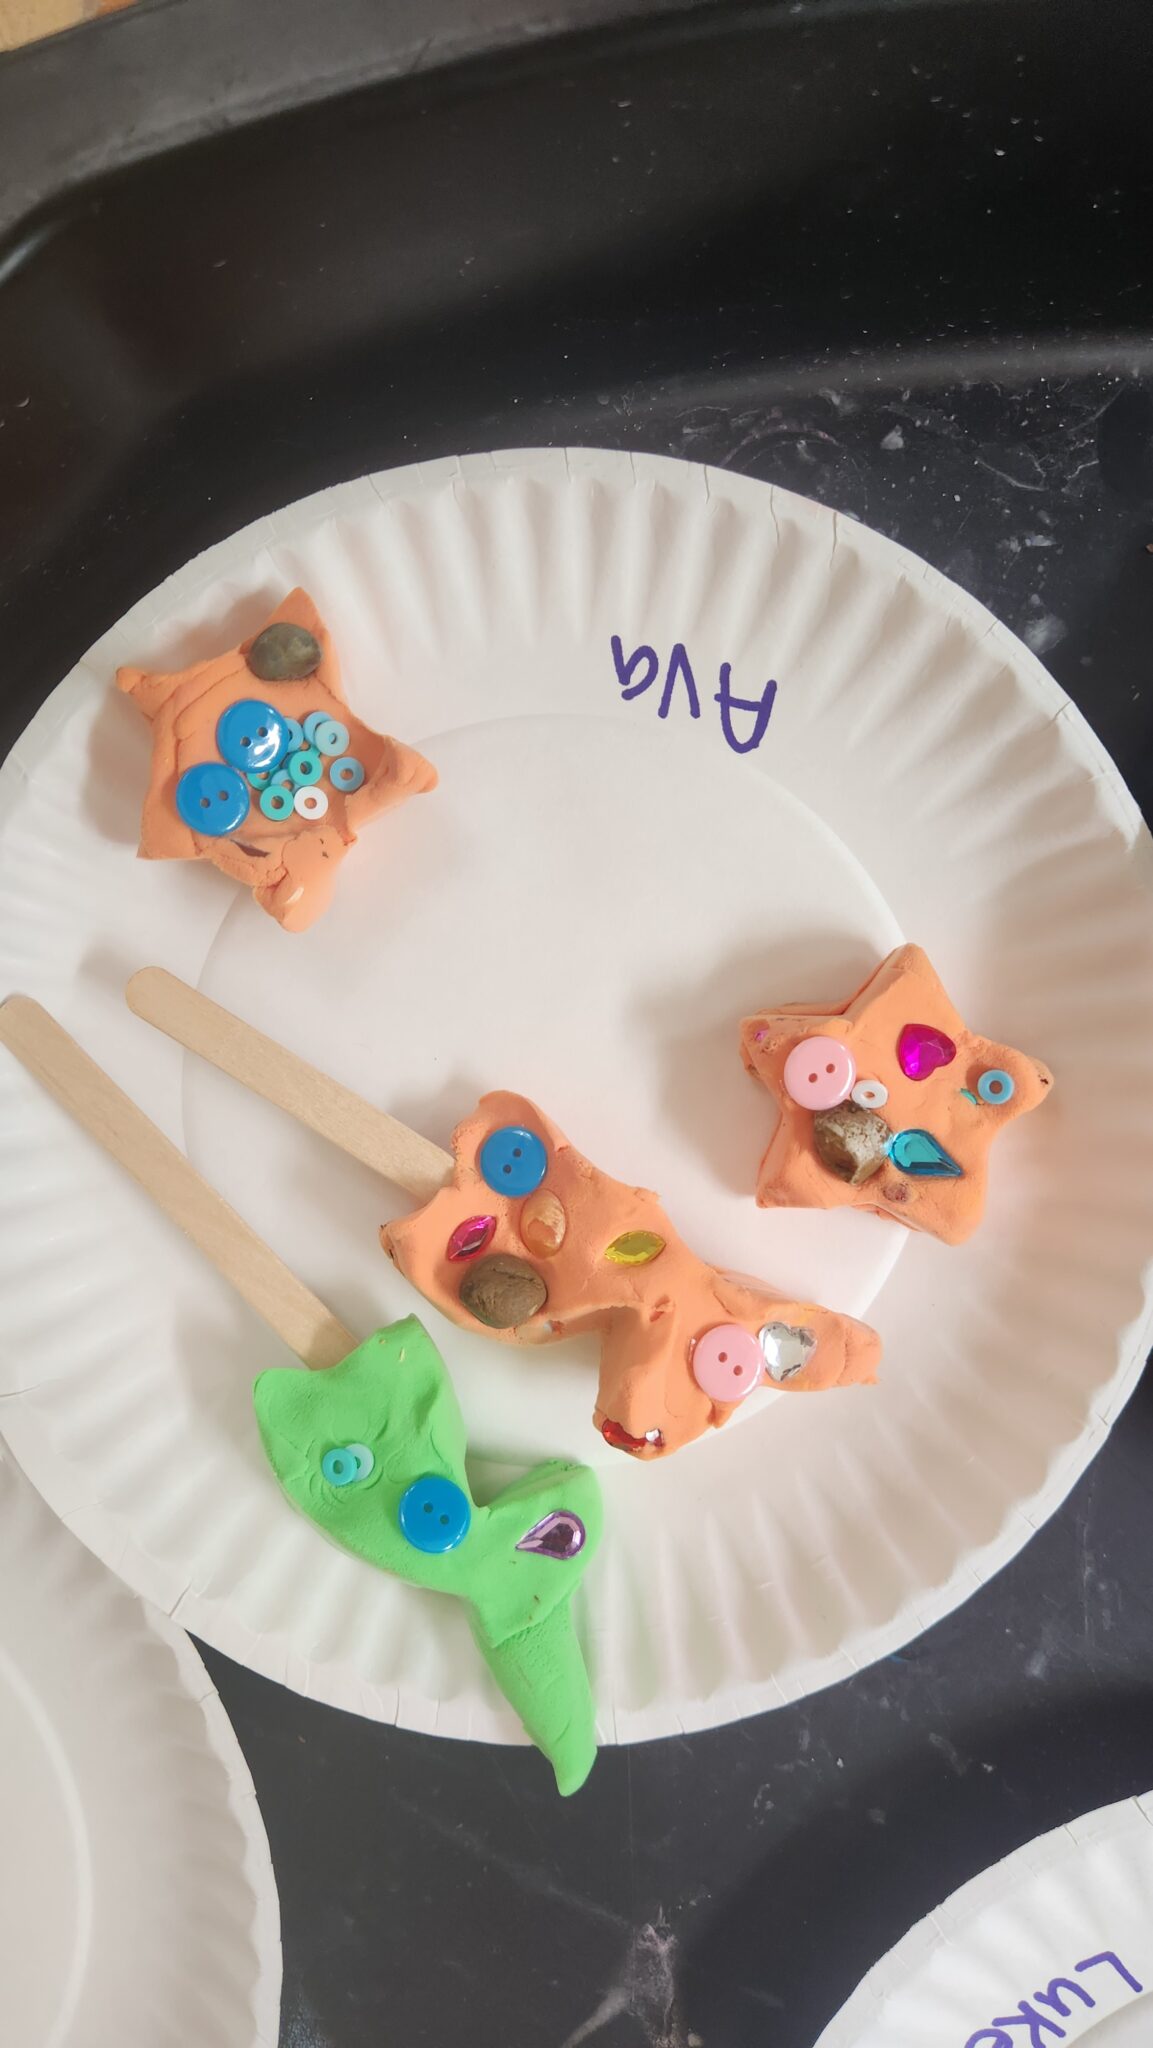
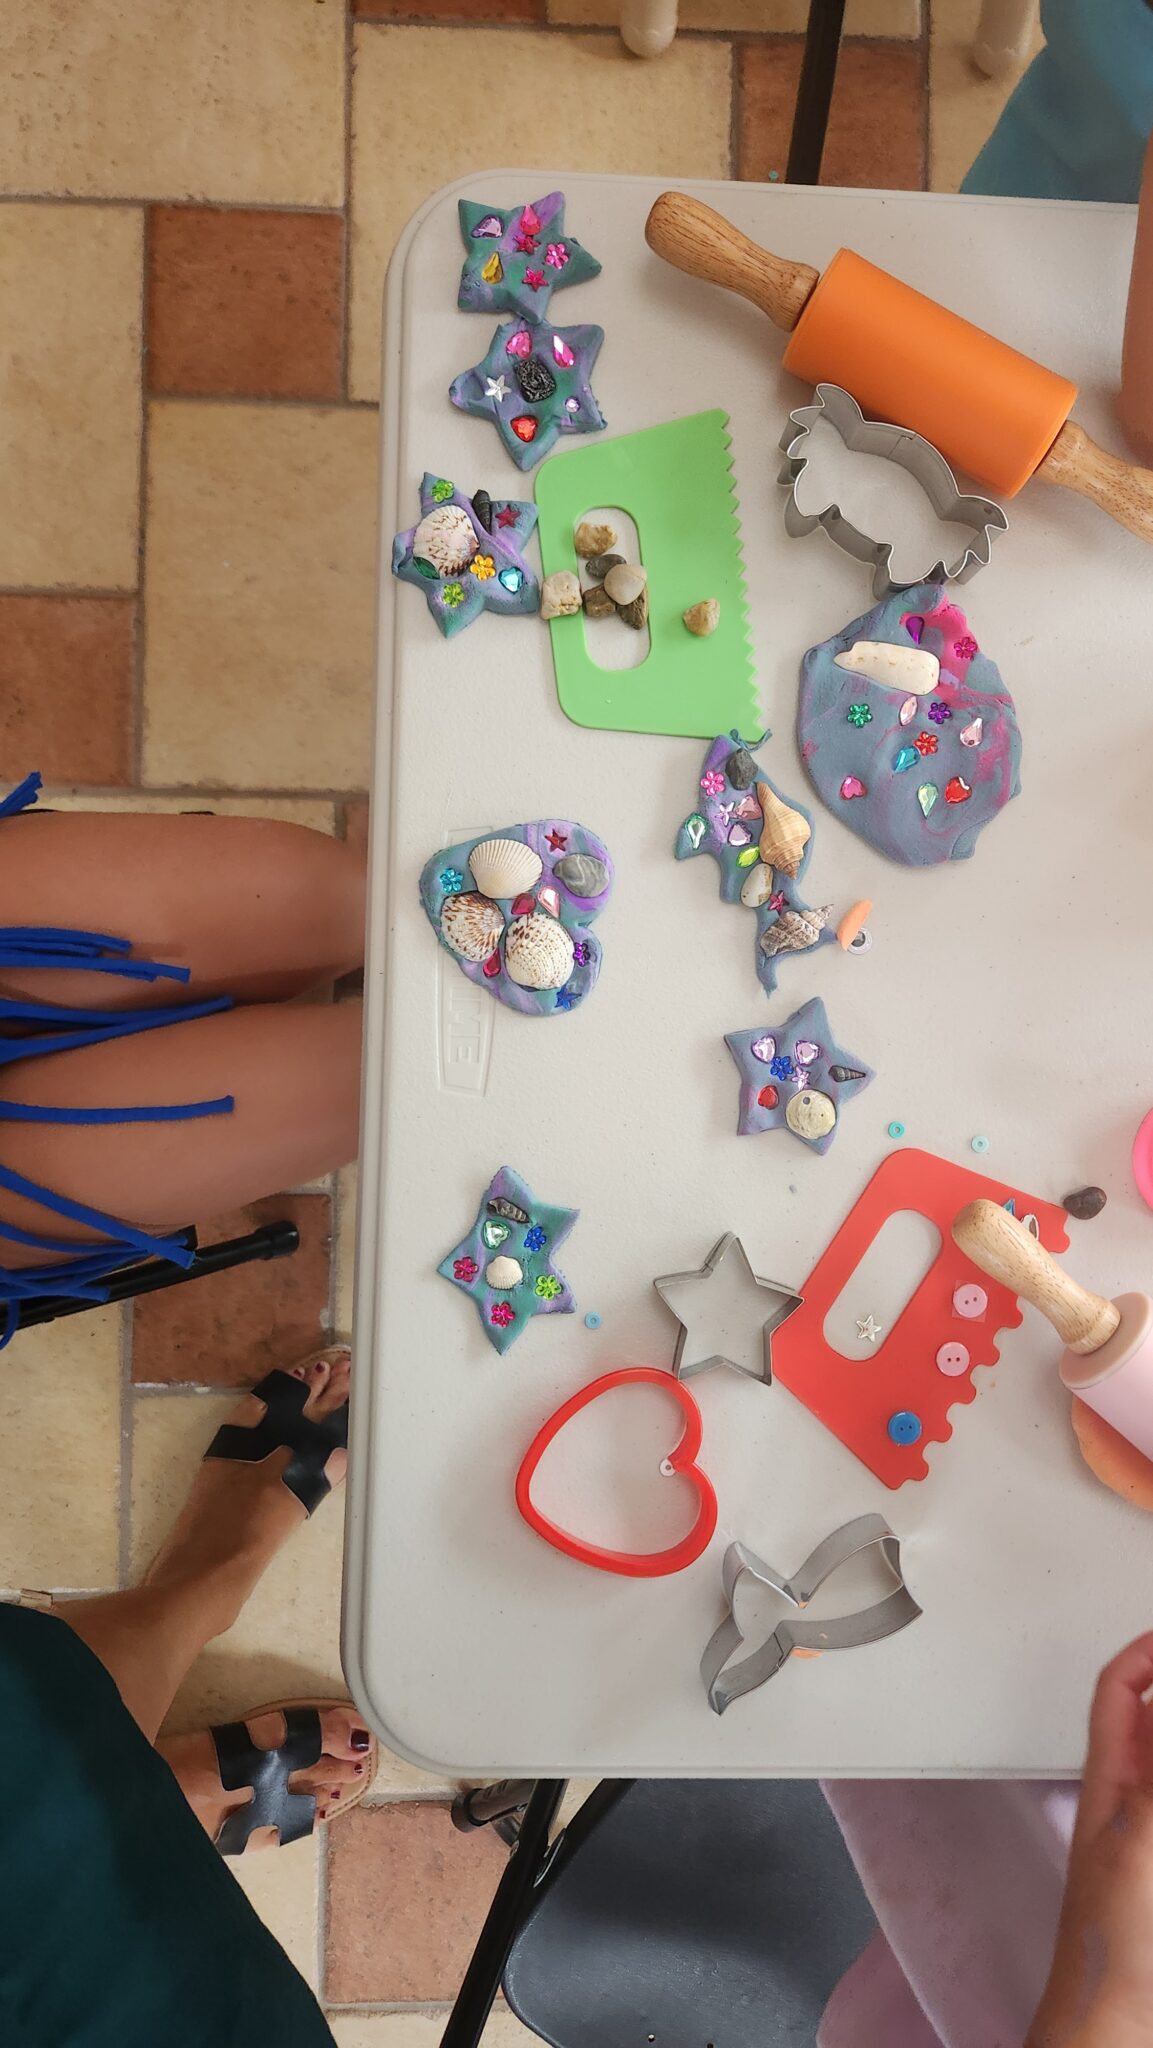
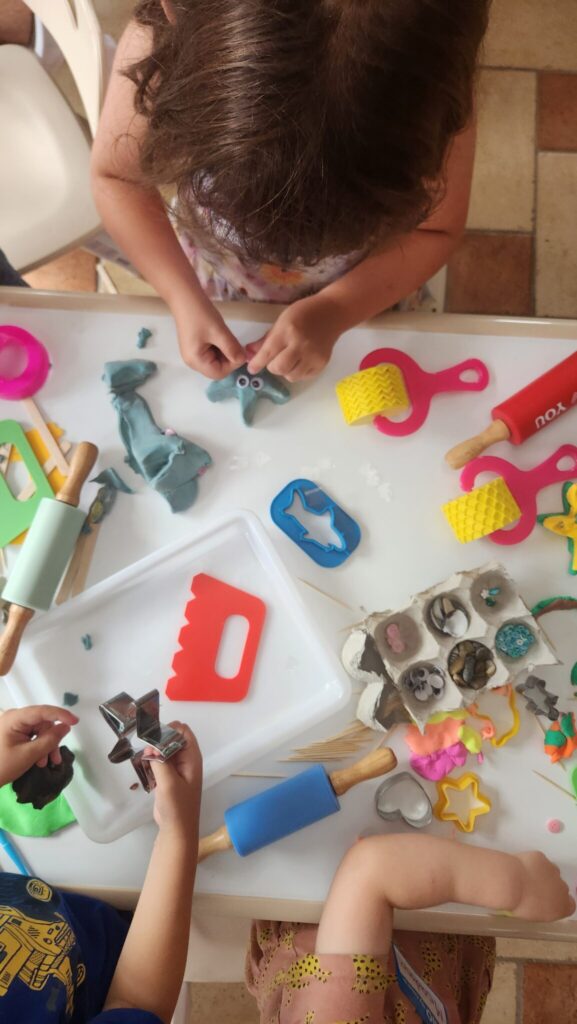 It was such a treat working with these kids and I could never have taught them what they’ve taught me because each and everyone of them is a true artist. None of these kids need to be taught art, they just needed to be lead.