 We were on a hunt for a couple of quilts for the girls’ beds so we figured we’d head down to Barntique Village and see if we could find something there before paying full price at a department store. Well, it must have been my lucky day because one of the shops had just gotten a couple of quilts in which were pretty much in brand new condition and half the original price. We bought two sets! The woman at the shop was so sweet and of course we started talking. She was enjoying the girls and shared with them a bunch of bottle caps made by her grand daughter. The girls loved them! Not only did we walk out of there with two beautiful quilts but we were also inspired to go home and learn how to make our own bottle caps!
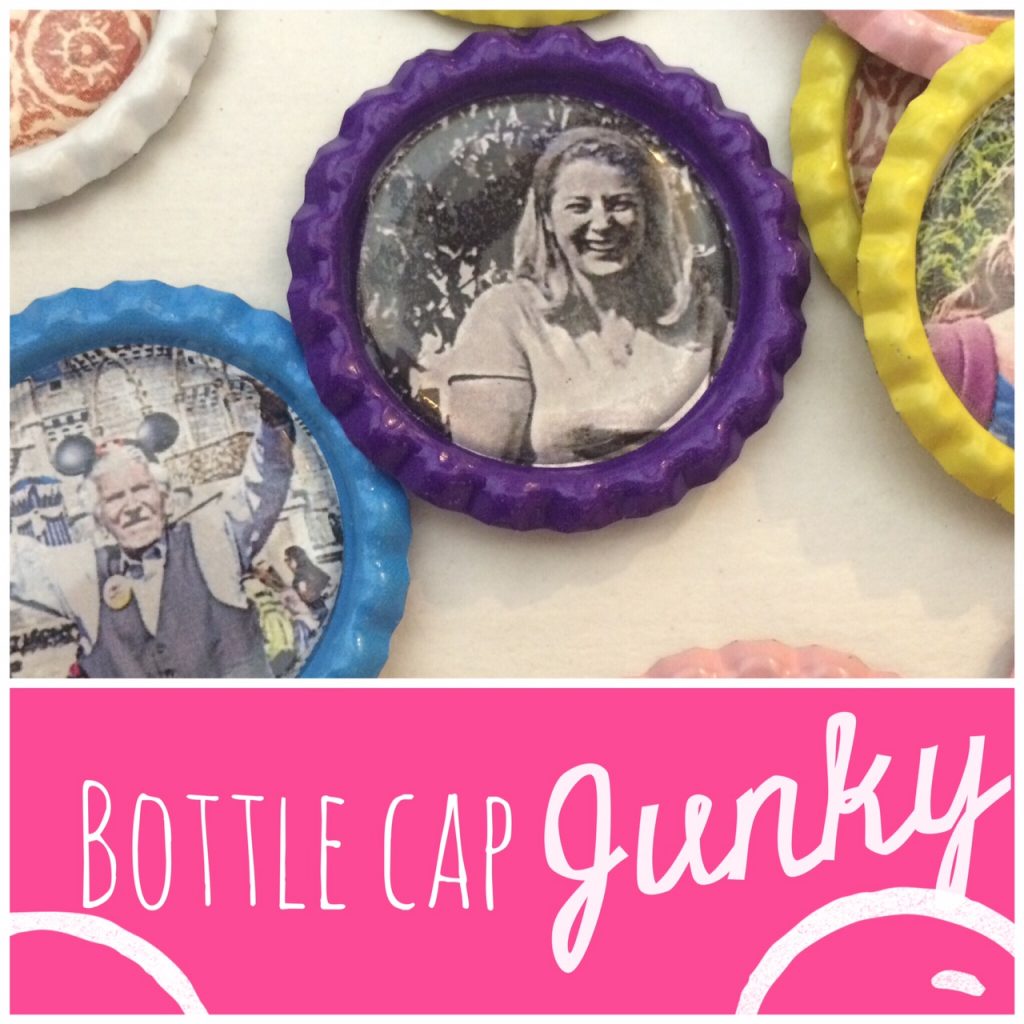
These little caps are so much fun! You can turn your crafty bottle caps into magnets, earrings, hairclips, pushpins,the possibilities are endless. But let me warn you, once you start it’s really hard to stop! We literally made about 50 bottle caps in like one day! There’s four of us so I guess that’s not as crazy as it sounds!
Along with some pretty scrap paper I also chose a couple of family pictures that I love and printed those to use as well. These also make cute little gifts!
Here’s what you’ll need
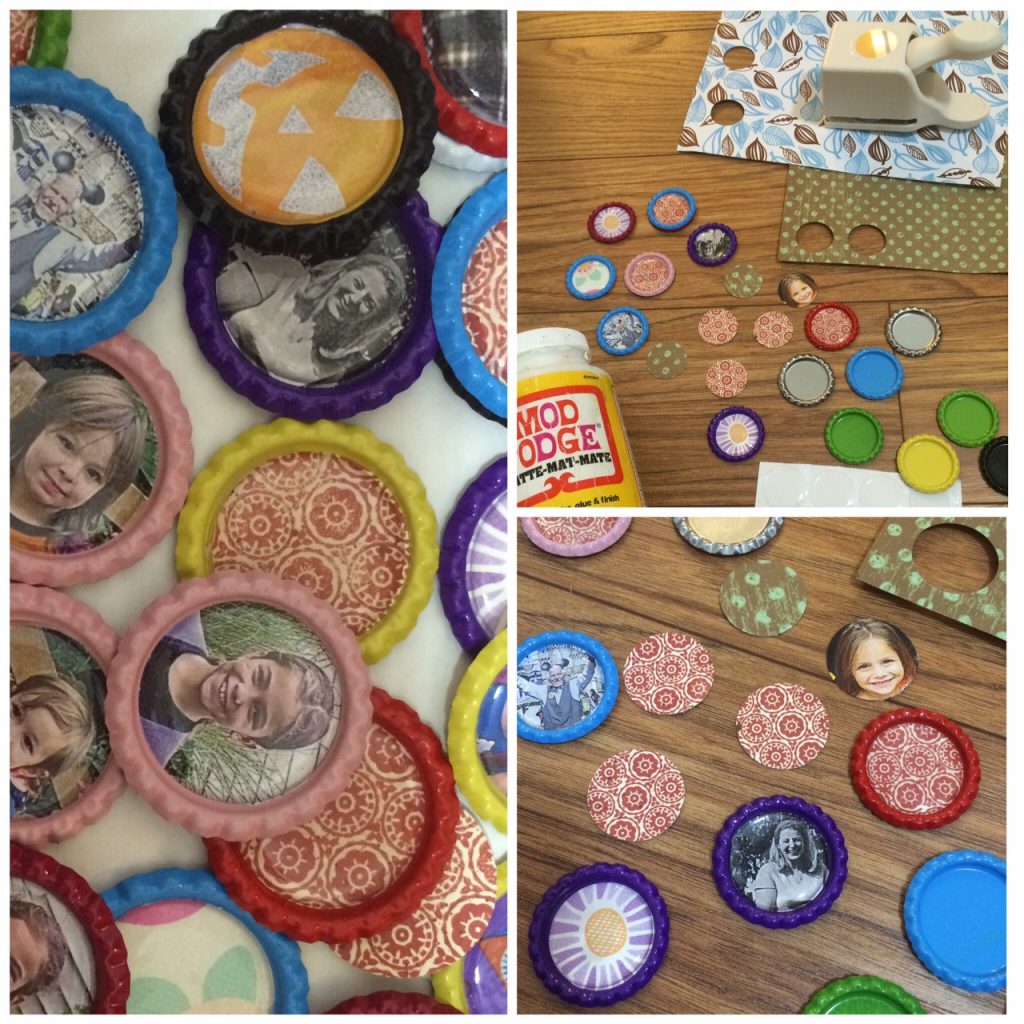
Magazine clippings, scrapbook paper, photographs, newspaper, cereal box, or you can even create your own computerized images and print them out
Basic Elmer’s or Tacky glue
Epoxy Stickers for Bottle Cap Pendants, 1-Inch, Clear
Bottle Cap 50 Multi-Pack Bottle Caps
Martha Stewart Crafts Punch, 1-Inch Circle I wasn’t so crazy about this hole punch. But it was good for the price.
3/4 Inch Diameter Adhesive Magnets 54 count or backing of your choice: Clasp, hairclip, push pin etc.
Step 1:
Use your 1” hole punch to cut out circles to fit inside your bottle cap
Step 2:
Use a paintbrush to paint on Elmer’s or Tacky glue on the inside of the bottle caps. Place your circle cut out on top of the glue and press down.
Step 3:
I Placed a 1” Epoxy Sticker over the cutout to protect the image placed inside of the bottle cap. I liked the Epoxy sticker because its so quick and easy and I didn’t have to wait for it to dry. This was also easier for the kids to handle. You can also fill the inside of the cap to cover the photo or paper with Modge Podge Dimensional Magic. Simply fill the cap with the Dimensional glue and let dry for at least 24 hours.
Once your bottle caps are complete, using Gorilla glue or Tacky glue you can attach a little magnet, clasp or hair clip. You can even glue them onto a pushpin!
These make great little gifts!
.

