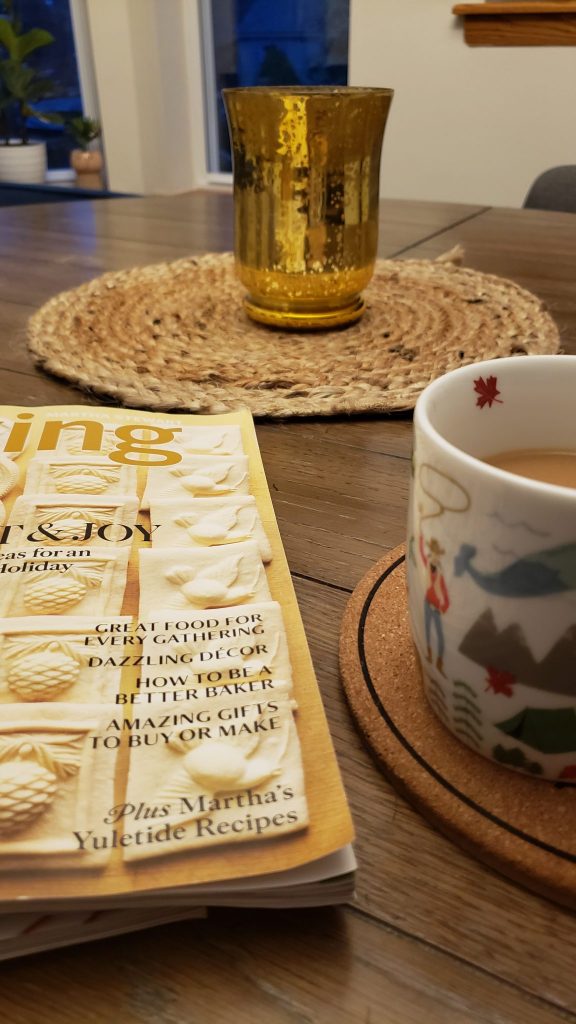
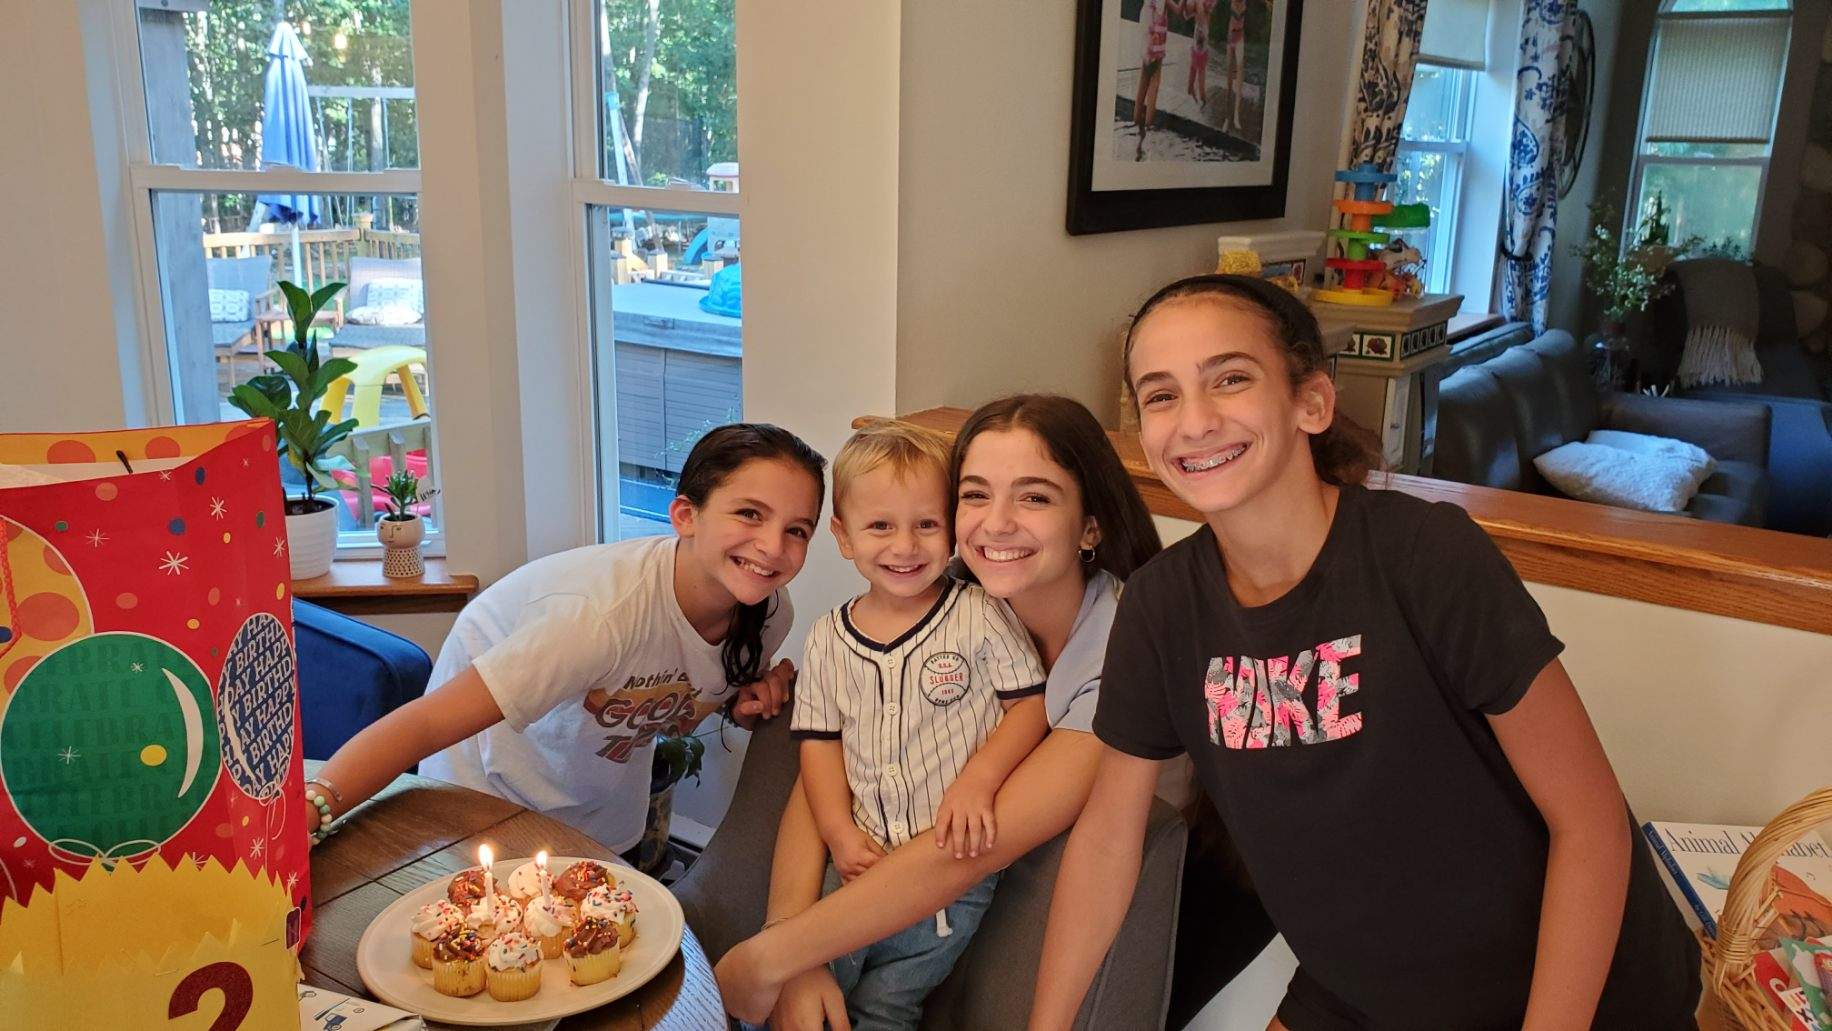
 I love thanksgiving. I love the foods and the cooking. I have a print out of all my recipes that I glance over as the holiday approaches. Studying each recipe to make sure I get it right for the big day. Almost like getting ready for a test. Anxiety creeps in but excitement overpowers. I love gathering with my family, years past we’ve been close to thirty something people, so 20 this year felt like a breeze. Although I missed those who weren’t here terribly! The weeks leading up to Thanksgiving are spent at the supermarket and the days just before the big event are spent in the kitchen, getting by mainly on adrenaline and bagels. I think I lost about 3 pounds which takes away any guilt of over eating on the big day. Between going to work, keeping up with a home and four kids, the 3 days before Thanksgiving my family is left to fend for themselves eating weekly leftovers and bagels! It gets stressful taking care of the daily things while trying to make sure everything is close to perfect. I told oldest, “if you can all just leave the house for the day and show up when the guests arrive I’d be happy”. Somehow it all gets done, tired body and aching feet, the idea of relaxing starts soon after all of the food is warmed up out of the oven, the turkey is carved and everyone is eating. You know you’ve done what you could and everyone is eating and compliments are thrown around the table, a sigh of relief and a feeling of success fills your heart. Some time to rest before some of the cleaning begins and space is made for dessert. Alot of work is still up ahead. But the mental work is all behind me, the worrying, the anxiety and the stress. As tired as I am I can enjoy myself and the company around me. Dessert brings delight and also full tummys and fear of not getting rid of it. I make sure to announce many times “guys take home dessert, make some plates of food” I tell them “please, this helps me clean up quicker”. Oh the clean up, I think the clean up is always the worst part. Sometimes I just wish I can sell the house and start over, run away and leave it all behind. But somehow with the help of my guests taking a doggie bag, my husband putting away the tables and my mom washing the dishes, me putting away things and washing g the floors, somehow the house returns back to a home. I stand back and look at all of the clean rooms that were filled with people, chatter, spills and crumbs and it looks like nothing ever happened. Midnight approaches and my bed is calling me, when I arrive I feel like my body can’t sink enough into the mattress. My mind is clear, all of the hard work behind me. I smile, and speed off to dream land. I’m so Thankful for the morning after, everyone still asleep, just me, a cup of coffee, a magazine. Next comes Hanukkah.


 Tonight is officially the last night of Hanukkah, even though the holiday lasts for 8 days it never seems like enough time. I’m going to miss lighting the menorah with the family. Every night I say that I’d like to just sit and watch the candles flicker but that never happens as life is so hectic and filled with so much busy work. Growing up catholic I never had the pleasure and joy of lightning a menorah. It is truly a wonderful and beautiful event to experience. In learning and growing more in the Jewish faith I’ve realized that this is an event that Jesus had once celebrated and that brings comfort to my heart as I celebrate Hanukkah as a catholic mom with my Jewish husband and children. Next on our list are the Christmas lights! For the past 13 years, one of favorite holiday books, has been titled Light the lights. It describes exactly how our family experiences both holidays. I can’t wait to read it tonight.


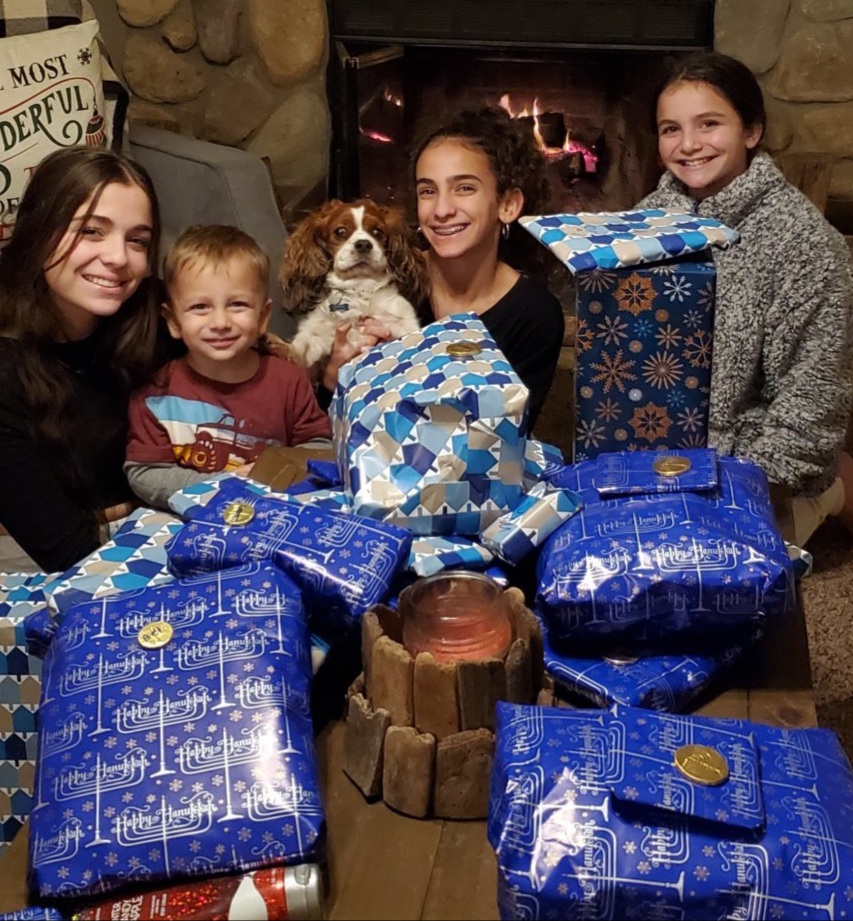 Happy Hanukkah to the ones who light up my life everyday.


 Seventeen years of a beautiful marriage and