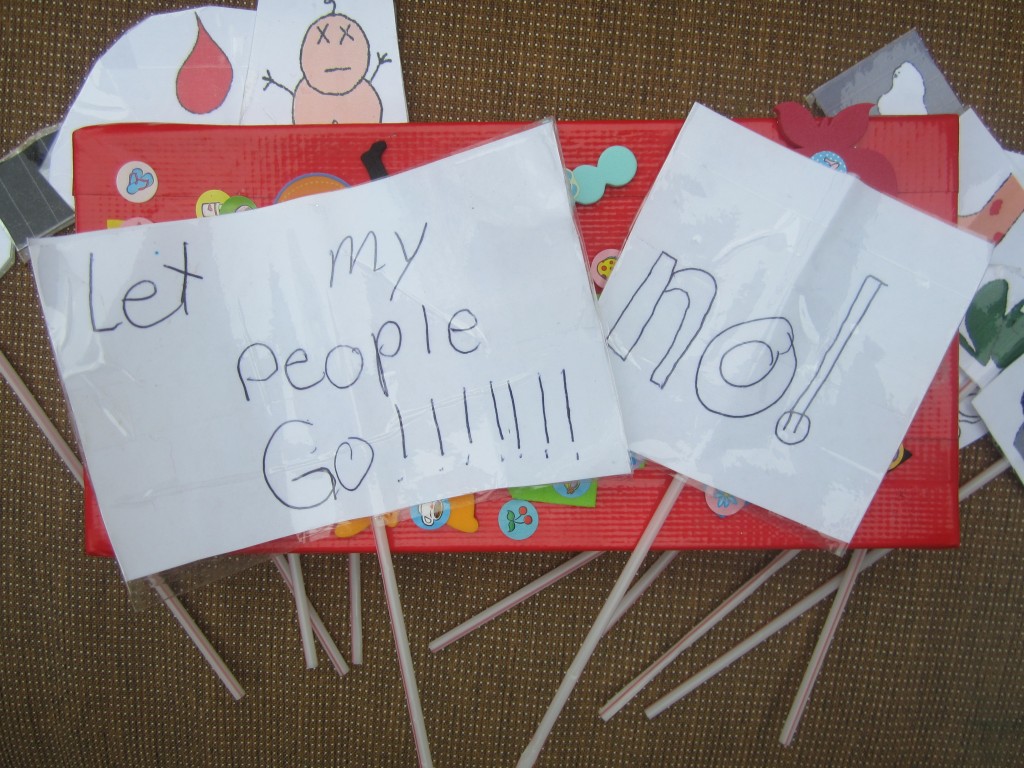
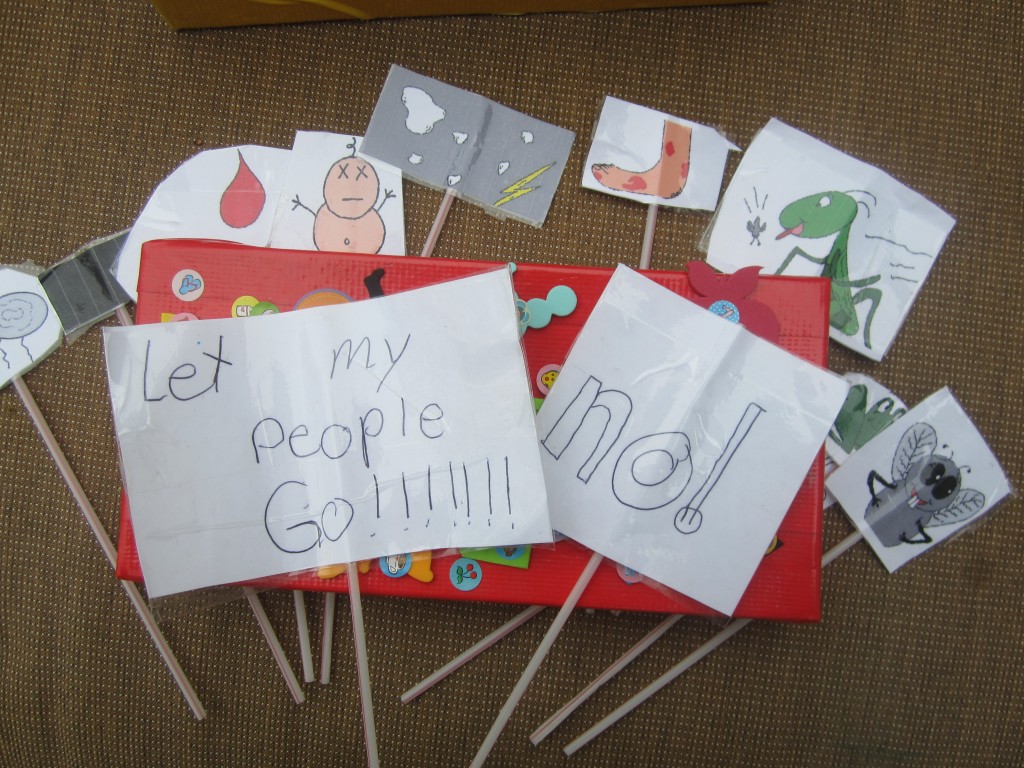
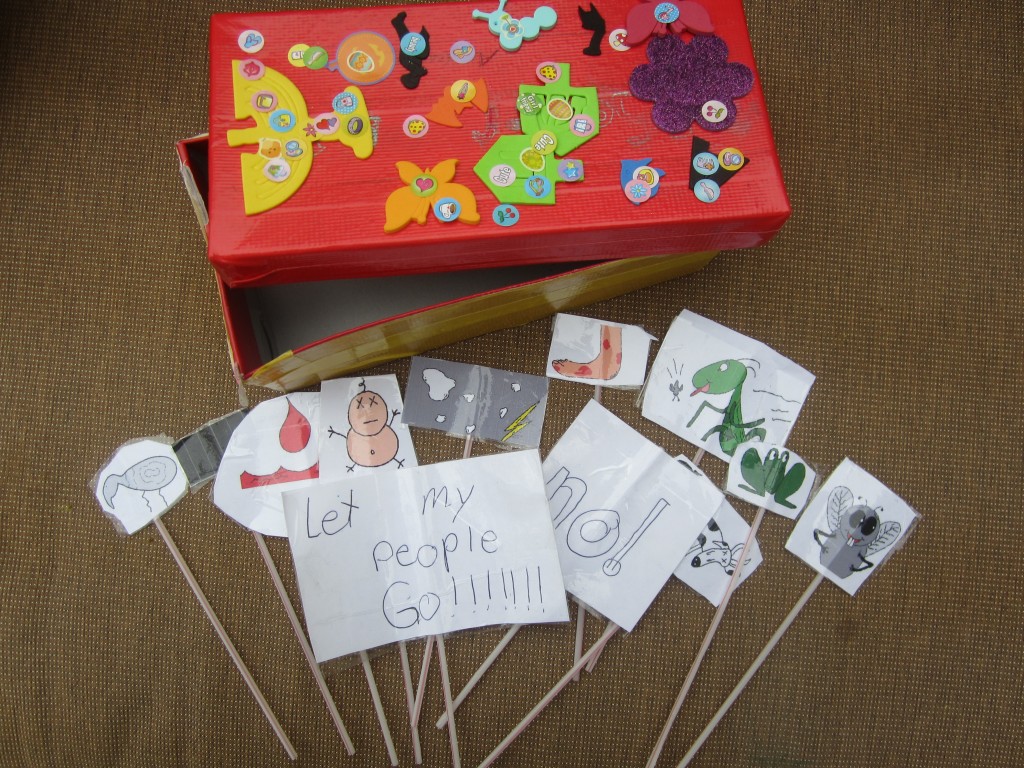
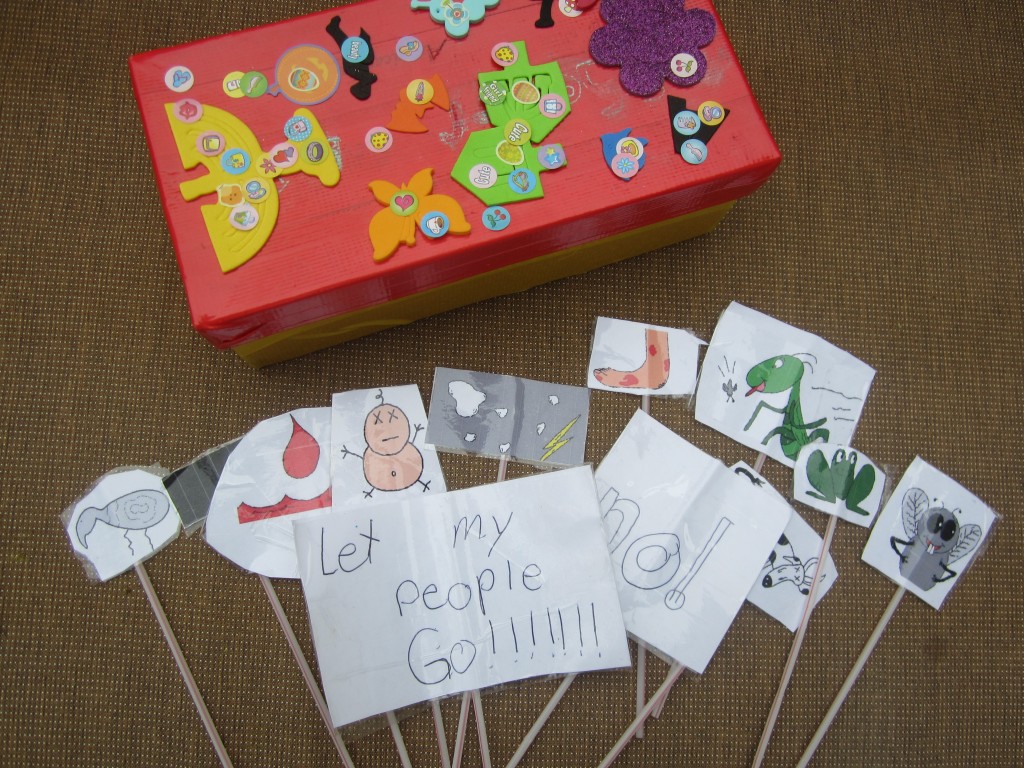
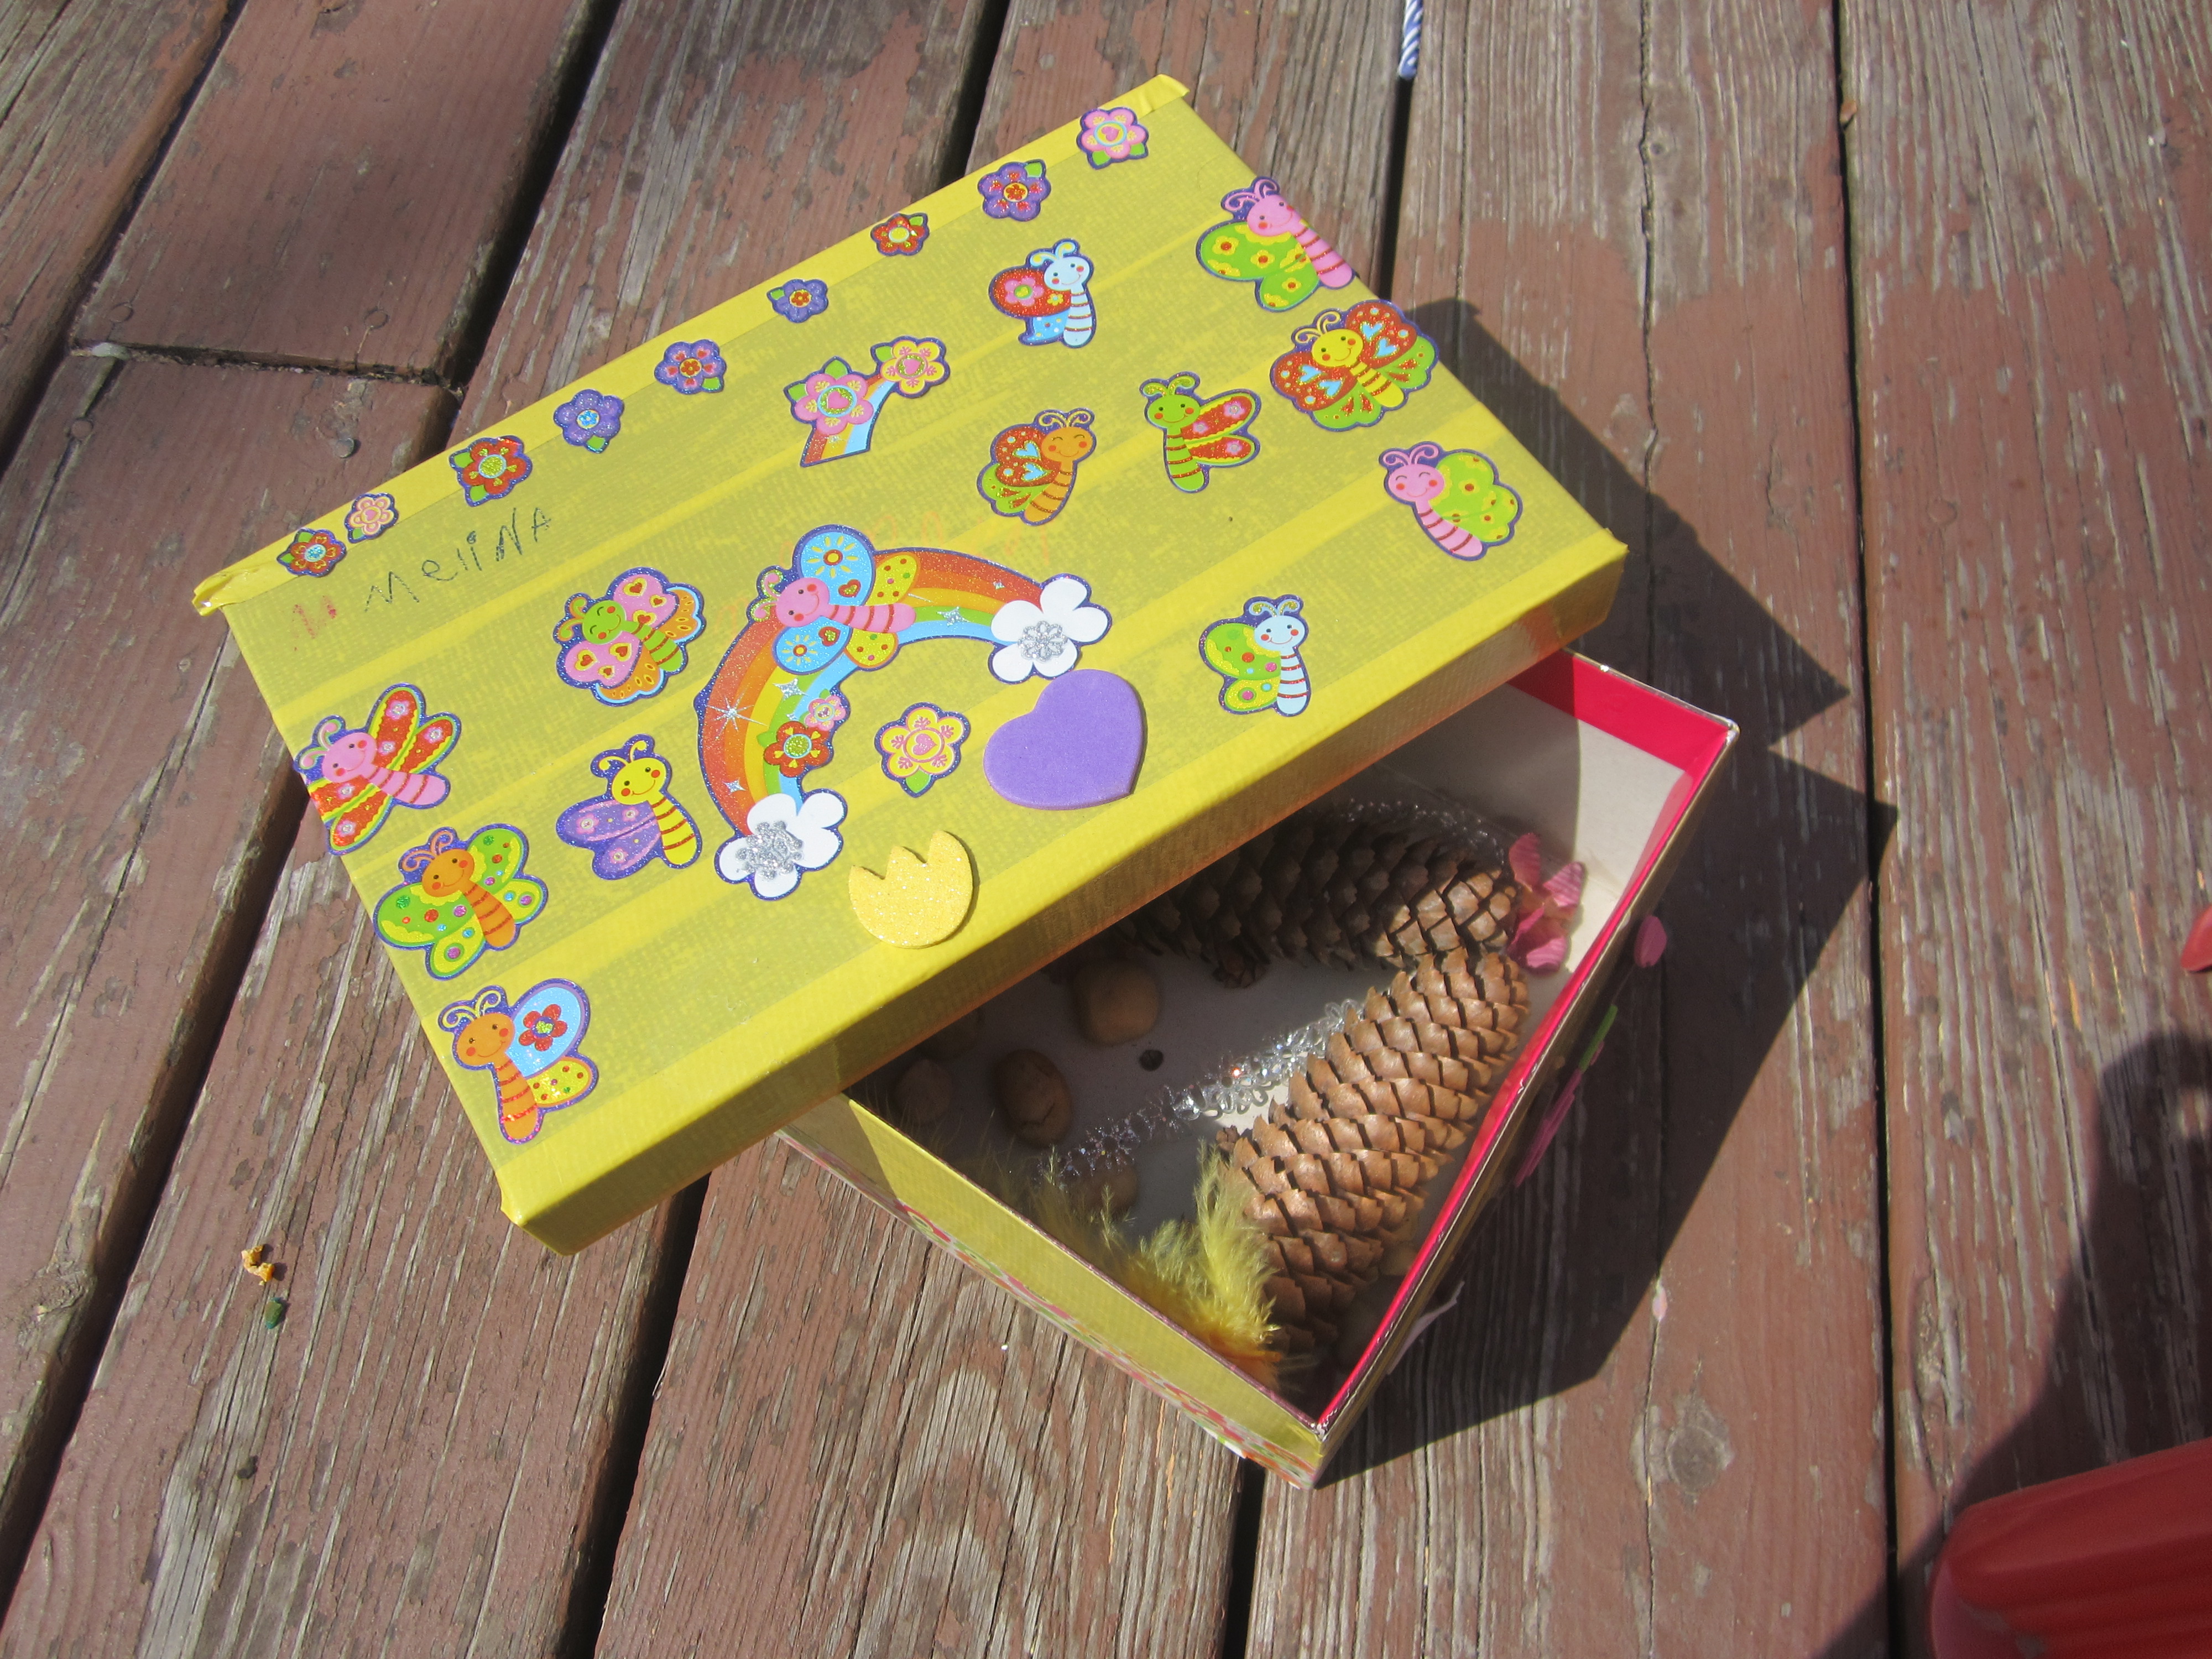
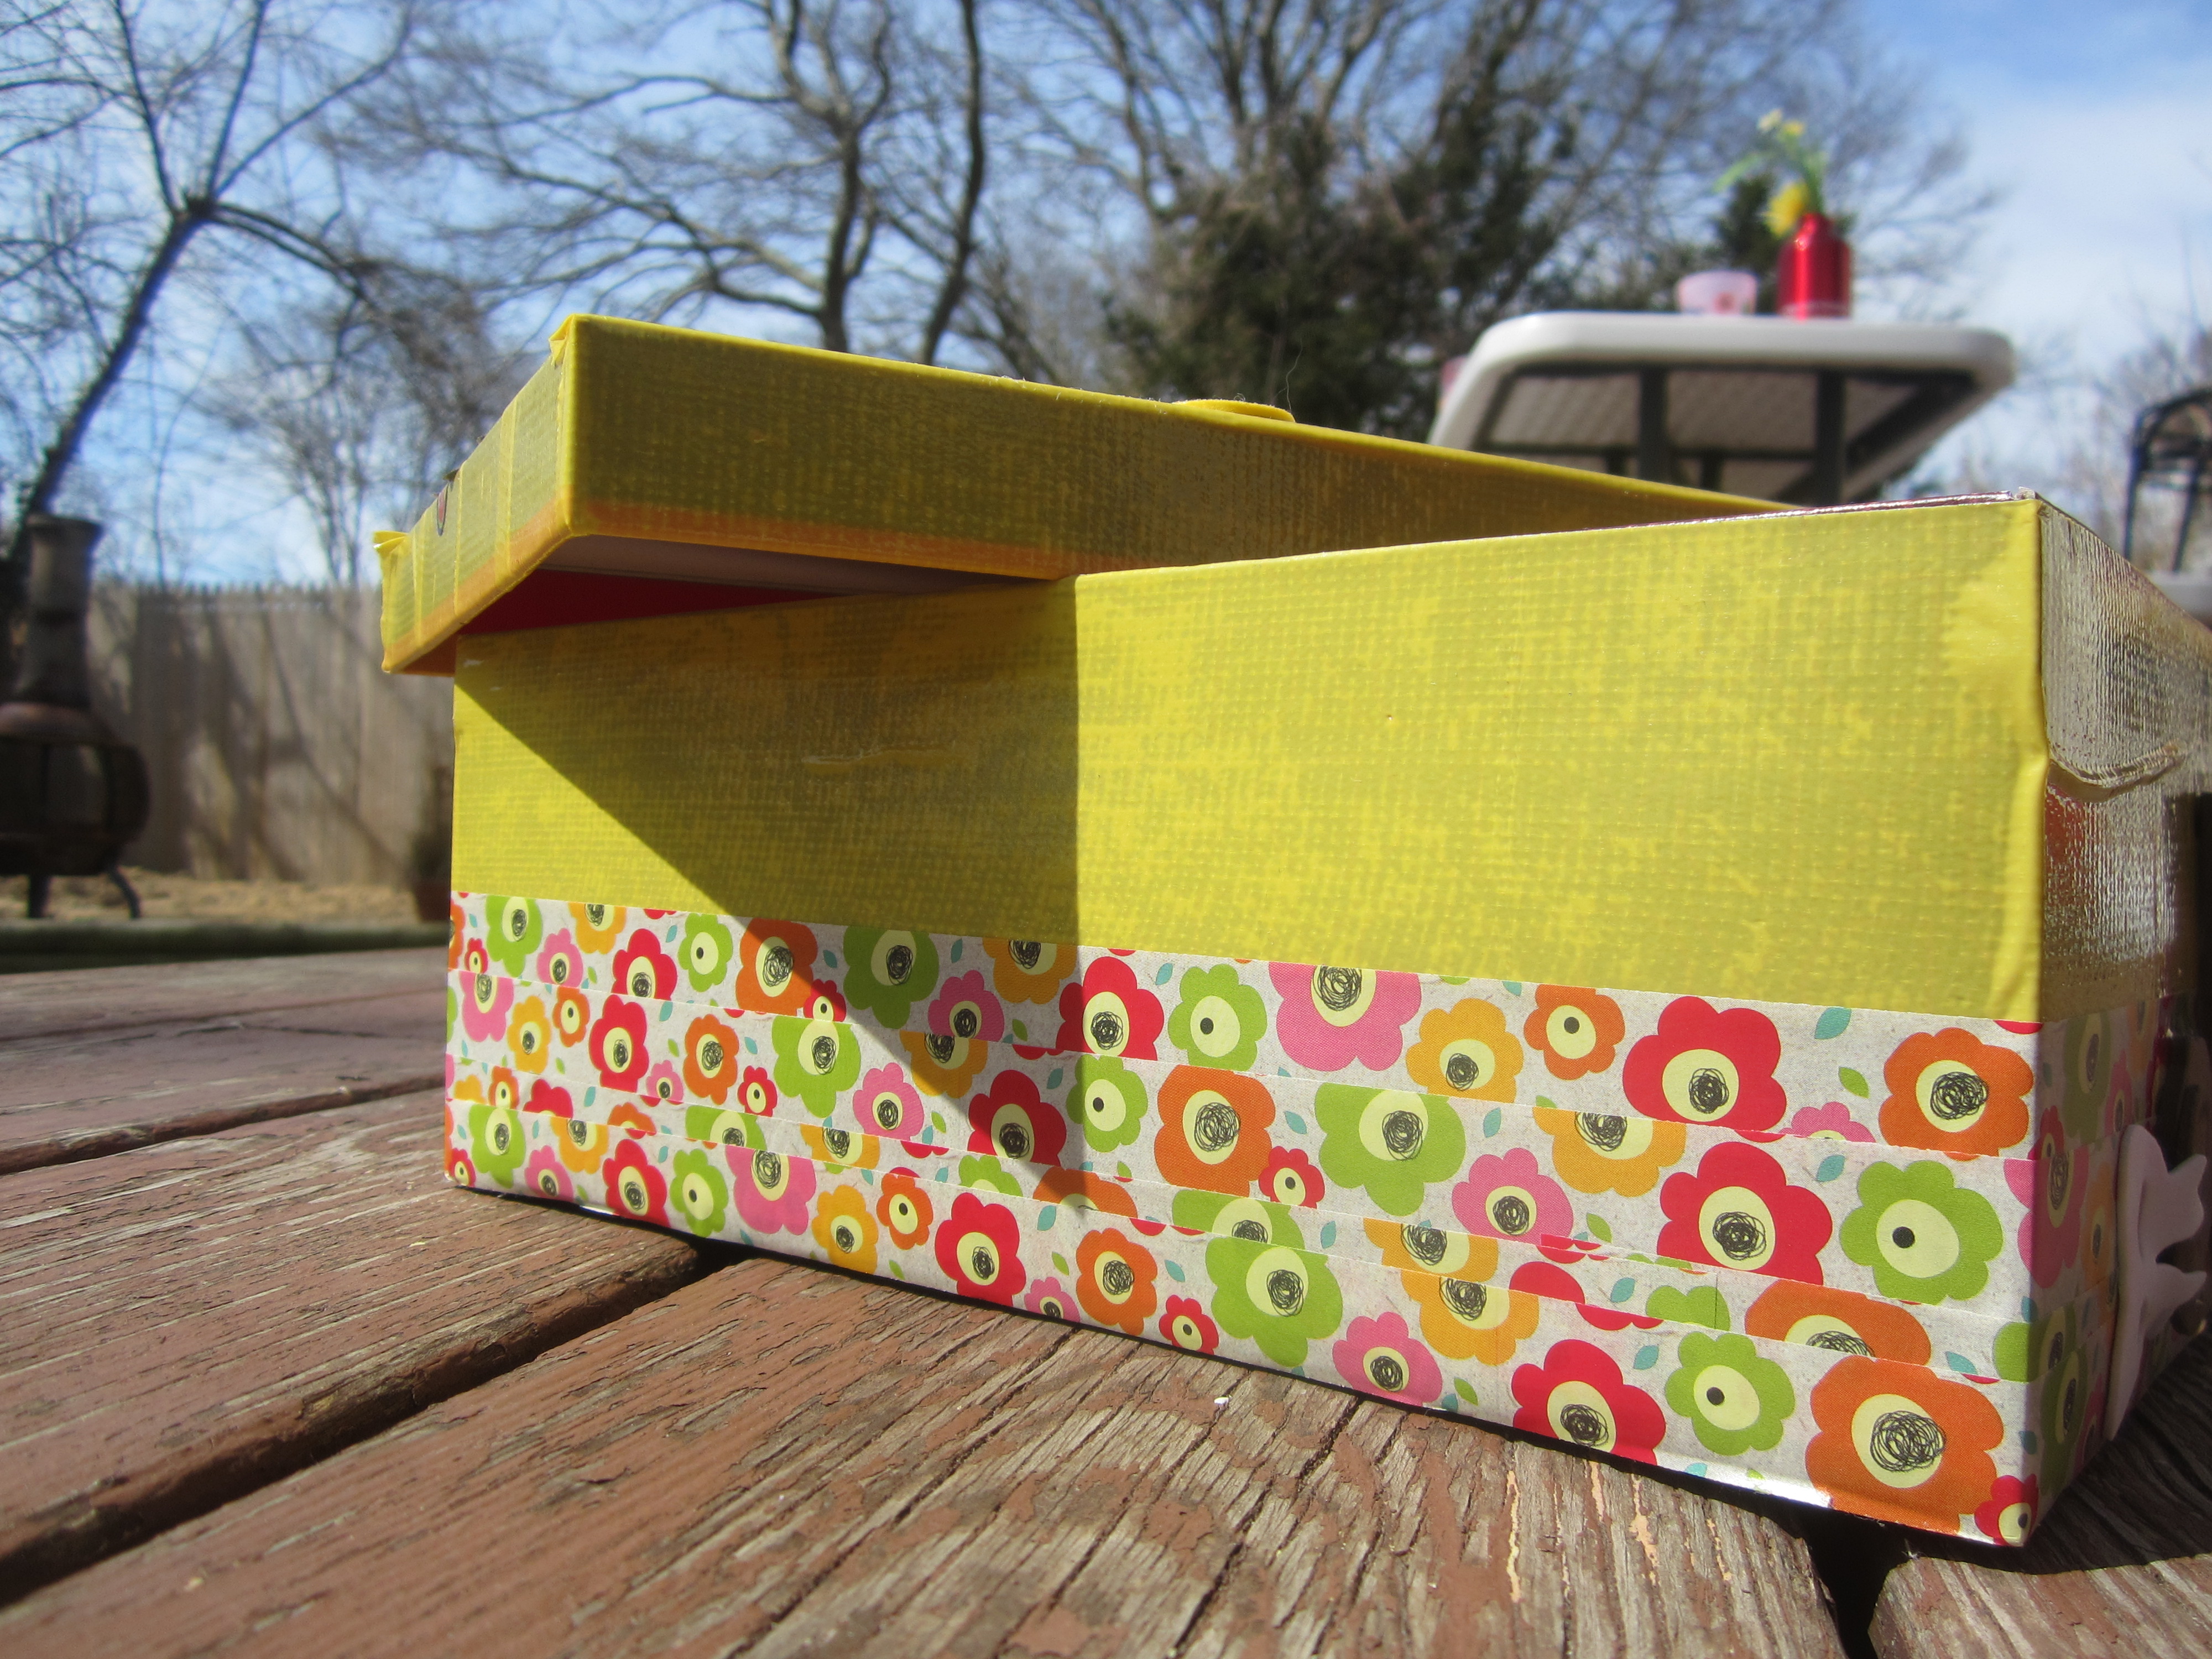
The Ten Plagues is one of the most fun parts of the Passover Seder for me and the kids! My kids love acting out the plagues, and these quick and easy to assemble plague puppets are perfect to get them involved and help them (and myself) learn more about the Passover story. Last year we made these cute plague puppets for the kids to use during our Passover Seder. I had bought a set at Party City years ago and when I went to take it out I found that some pieces were missing (my youngest had gotten into the bag and well not sure what happened next but some pieces were torn and chewed up). Instead of buying a new set I decided to quickly make one. I found a cute printable set here and here. We printed them out, laminated them ( I actually used large clear tape to laminate them because I don’t have a laminator!) , and cut each one out and glued them to a straw (didn’t have Popsicle sticks!). I found a cute little shoe box and had the girls decorate it and we use it to store our plagues. I was so excited to find it in one piece and can’t wait to use it tonight! Happy Passover!
Category Archives: Art and Crafts
Cutest Reindeer Family
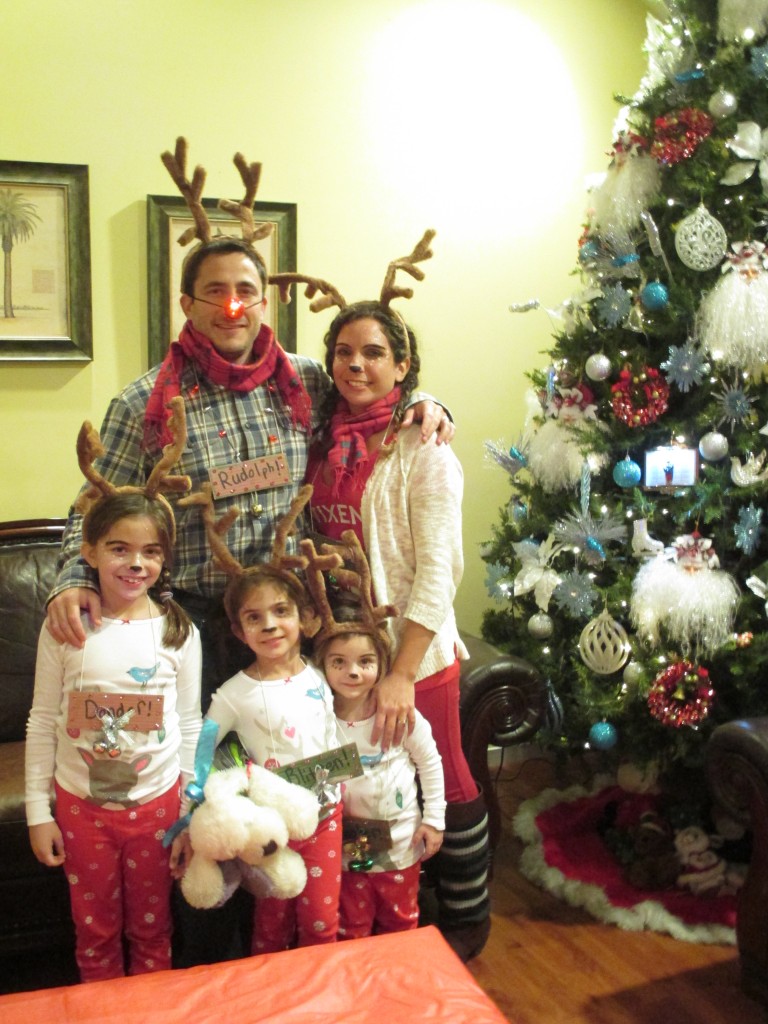
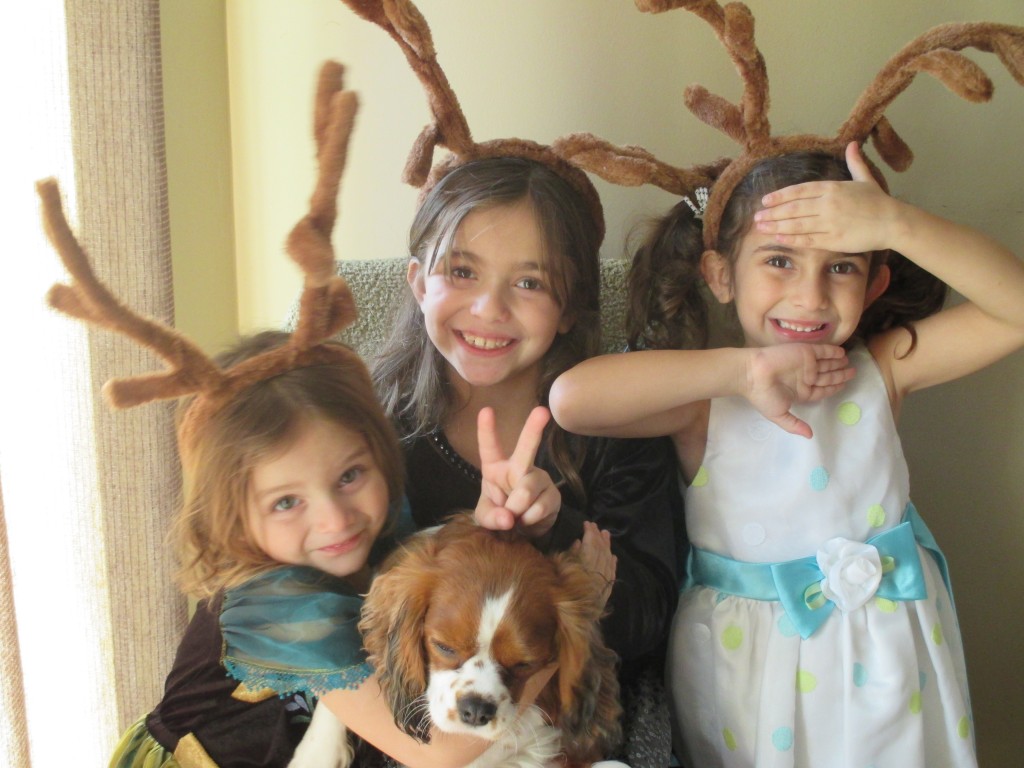
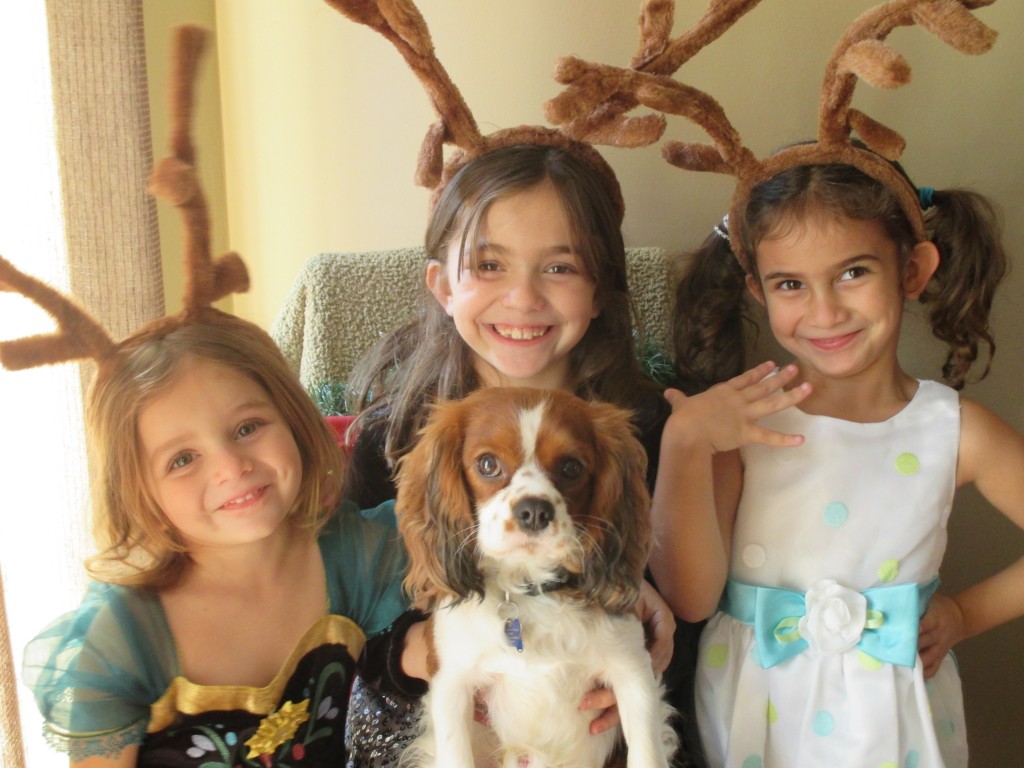
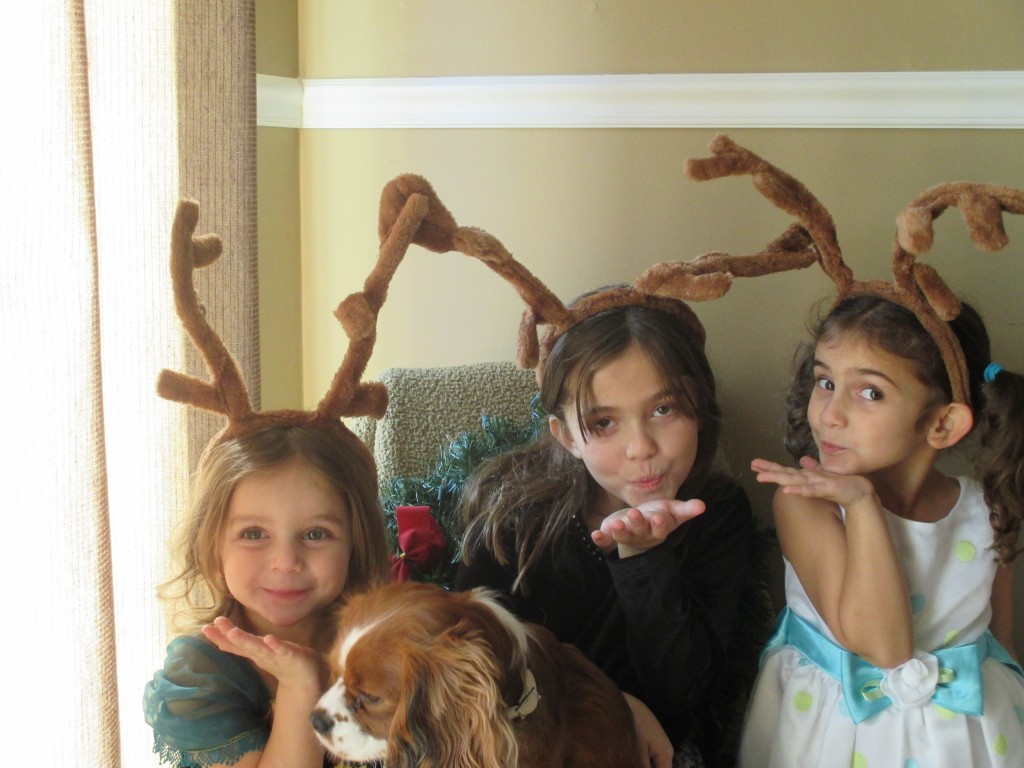
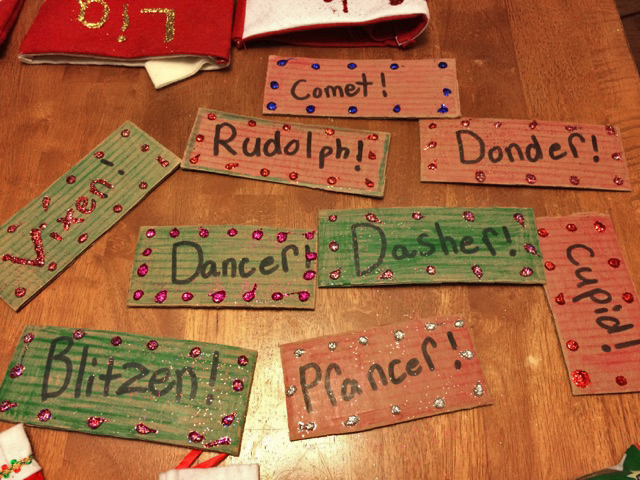
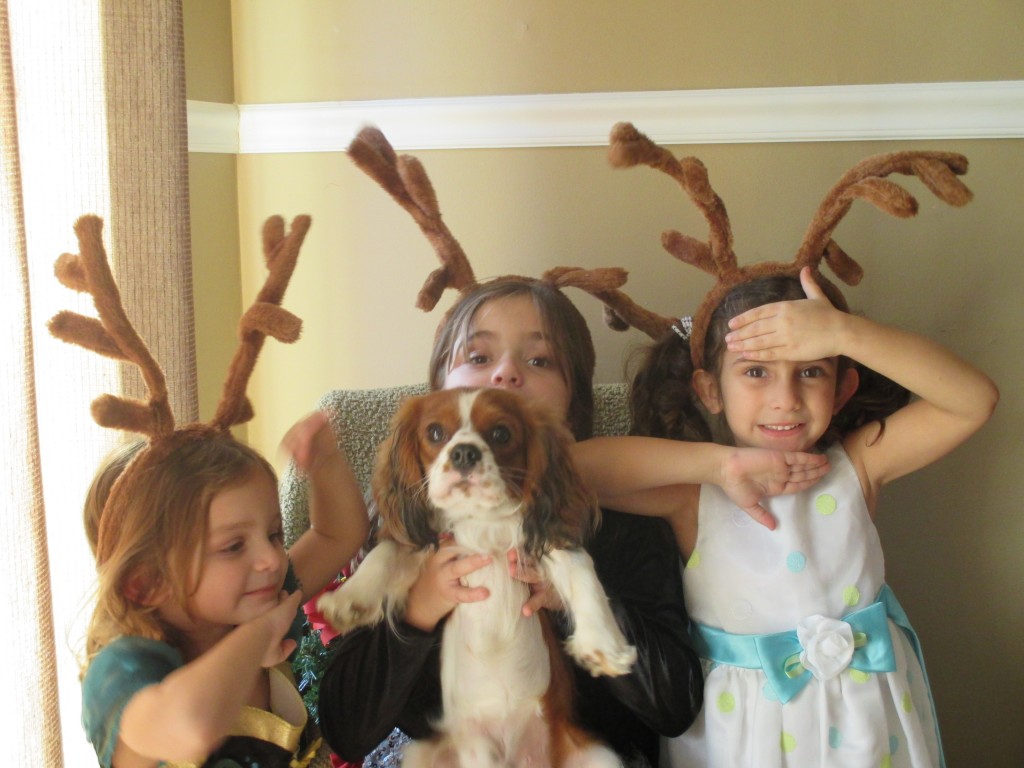
The holidays are gone and I’m finally getting around to posting the results of our holiday party! I can’t believe I didn’t get many pictures of my little reindeer family! We had so much fun dressing up though, and the party was lots of fun! I did my best with the makeup! Some thought we looked like little mice but definitely very cute little mice! The girls loved the reindeer ears and wore them throughout the holiday! We definitely celebrated the holidays for the entire month of December. Between 5 birthdays, Chanukah and Christmas by the time January came we were pooped and ready to start a new year!
Recycled Reindeer Tags
We are invited to a holiday party at my sisters house and were asked to dress up for the occasion. Our family is going as santa’s reindeer. To keep things at a low cost, I bought the kids these cute pajamas from kohls instead of buying costumes.
and these cute antlers from Oriental Trading. They came in a pack of 12 which was cheaper than buying them separately. I keep the extras in a basket and whoever comes during the holiday season can wear them! I even brought one to my dads. He wore it for the entire evening! So cute!
To complete the reindeer outfits I made these tags from the extra cardboard sitting in our garage. I used permanent markers to write the name of each reindeer and used glue and glitter to embellish the tags. I bought the cute little bells from the dollar store and hot glued them at the bottom. Then I hot glued some thick string I found in my craft box and ta da! Reindeer Tags!!! Now everyone will know who is who! I cannot wait to see my little reindeer all dressed up!
Tis the season for boxes!
This year I did a lot of my holiday shopping online and because of that we have so many boxes in our garage! I always like creating stuff from our empty boxes. We’ve made tons of treasure boxes, spaceships, beds for dolls and puppy dogs but I have never made a house! I guess since we have a huge doll house I never thought of making one until I stumbled upon one here. I thought it was so cute and thought it would be so fun to make one with my little Lia. Ruby from mycakies has specific instructions you can follow. I kinda winged it with mine so it’s not as fancy as hers but we definitely had so much fun creating it and theres still more decorating we’d like to do. I’m proud to say that I let Lia do a lot of the decorating herself without trying to take over the entire project! This was a great way for the two of us to spend time together.
A Little Love Grows A Long Way


It seems as the school year comes to an end, my girls realize how much they love and will miss their teachers. My daughter Melina asked me the other night, “Mom?, can I take Miss. Christine and all my teachers to Kindergarten with me?” The fact that they get so close to these teachers only to have to say goodbye to them breaks their hearts and mine too! My girls take a while to warm up to someone, so by the time they have warmed up it’s time to say goodbye! They both really love their teachers and are very sad about the change that will come. I told them, “In life, there are going to be lots of wonderful people that will come into your lives, sometimes they stay for a while and sometimes they leave sooner than we are prepared for, so treasure them while they are in your life and know that they will always have a special place in your heart.”
I will never forget the wonderful teachers who taught me. Miss Ladhie, Miss Murphy, Miss Lane, Miss Thornton and so many more. I loved them all so much. Everyone of them helped to create the person I have become. I wish I could say thank you to them today!
Now that school is about to end I wanted my girls to have a special way to thank their own teachers. I couldn’t think of anything special enough so I asked a friend who happens to be a teacher and she said she loves getting a plant especially a plant that’s in a pot decorated by the child. I instantly loved the idea and so did the girls!! I went out the next day and bought some inexpensive pots from Target and Family Dollar and had the girls pick out flowers at a local nursery. I was going to have them paint the pots but instead decided to have them use permanent markers. This made decorating them much easier and allowed them to work on the pots throughout the week without making a big mess and I don’t have to worry about their drawings getting washed off by the rain! They had a good 2 weeks to work on the pots before we planted the flowers. This also makes a great Get Well gift, Mothers Day gift or any kind of occasion gift!

Presentation
As the kids are growing I realize there are more and more things they can help me with. This time it was wrapping birthday presents. They were so excited when I asked them and honestly I wasn’t expecting a perfect job. But they wrapped these presents more beautifully than I ever could. I don’t know why but my kids turn everything into a project (I’m sure my constant project prompting has something to do with it). After they were done with wrapping the gifts they asked me if they could decorate over the wrapping paper and I said sure why not. I actually have a bin where I put all of the trinkets they collect from parties, Easter baskets, Halloween, and school prizes such as, stickers, tattoos, balloons, play necklaces, bracelets and many other little things. I gave them the bin and told them they could put whatever they were willing to get rid of onto the presents. My kids have a hard time giving anything away, but they found such joy in adding these trinkets onto their little cousins presents. After they were done they wanted more presents to wrap. They are officially my present wrappers and I love how they got rid of some stuff at the same time.
Treasured Treasure Box
No matter where we go, my daughters are always finding treasures. They love looking for someones lost trinkets at the park, or cool rocks and bottle caps. My daughter Isabel is my biggest treasure hunter! She loves her cool finds and is never willing to part with them. One day we went to a near by working farm (Yaphank Farm) and they found marbles, pine cones, shells and rocks and several little trinkets. I couldn’t bare the thought of where all of these little things would end up so as soon as we came home I looked to see if we had shoe boxes and to my surprise we had three! I got out my craft bin, some colorful duct tape (I love duct tape and make sure I always have some in stock) and helped the girls to create a Treasure Box. I covered the boxes with colorful duct tape and I had them do the rest. The Boxes are stored in their closet and every time they find something they add it to their collection.
Can We Paint?
Can We Paint? I hear this question at least 10 times a week if not more! My kids love to paint, they are natural born creators and I make sure to keep them equipped with the tools to quench their desires. Sometimes I’m just not in the mood for the mess (like I mentioned in my previous post), but when we have the time I remind myself that once they are done the mess gets cleaned up and I am left with such beautiful art work. My home is their gallery, their pieces hang throughout it. It brings me such joy when I see them.
For this painting session I gave the girls large drawing paper from the dollar store. I use whatever I have available. You can use a paper bag, even news paper or card board. The kids don’t care as long as they are painting. I brought out our bin filled with paint. I have all different types of paint, Finger paint, Acrylic and Tempera paint. I keep all of our paints and brushes in a large bin so it makes it easy to have everything ready when the kids ask to paint. It also makes it easy to bring the paints outside when weather permits. We have these fun foam cube stamps the kids love to use them with paint. You can find them at any craft store or online. They had fun experimenting with each shape and mixing them to create their own personal piece. They are so easy for little hands to use! Oh and I always make sure to play classical music. It’s relaxing and the girls enjoy it!


Planting Fun
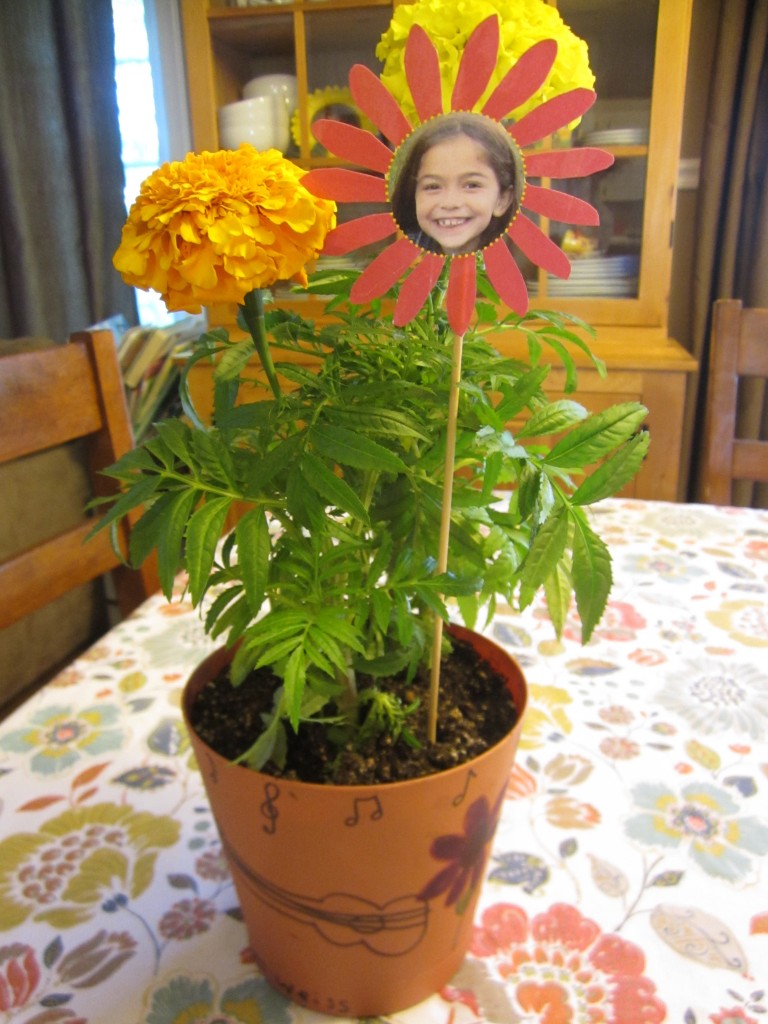
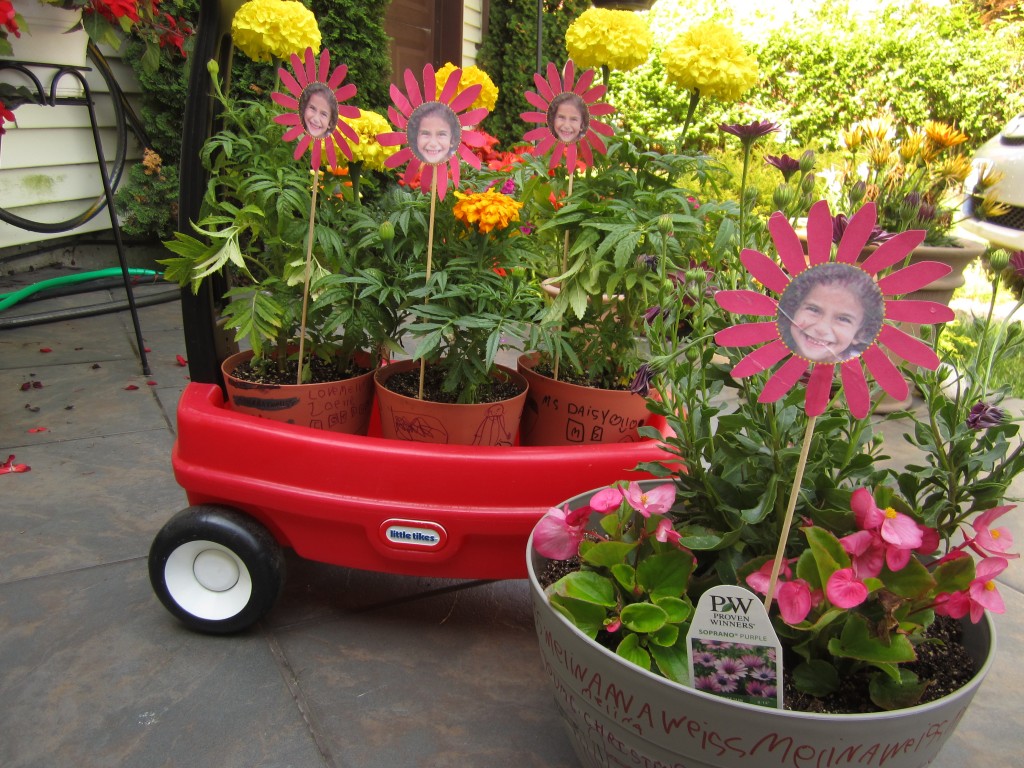
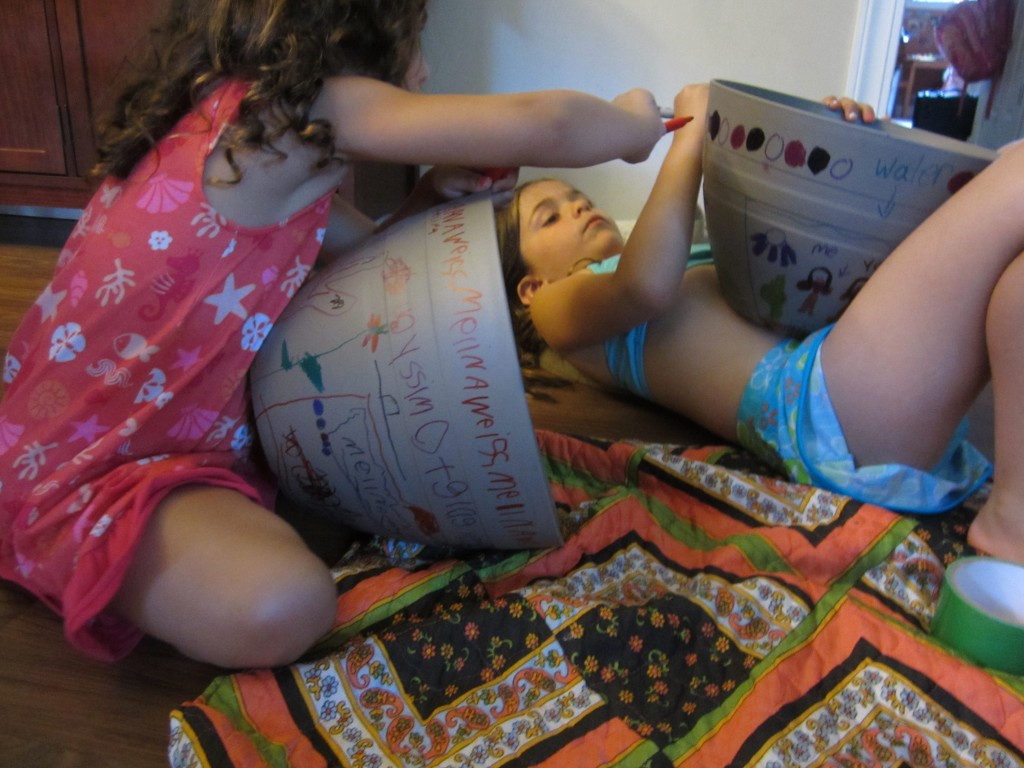
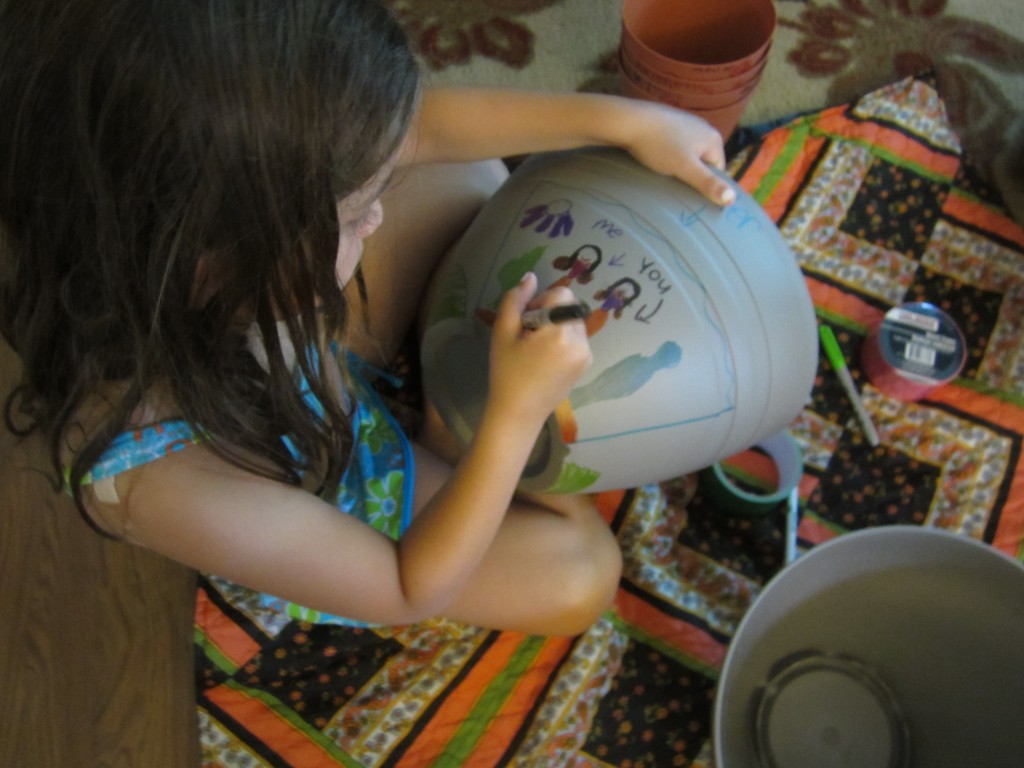
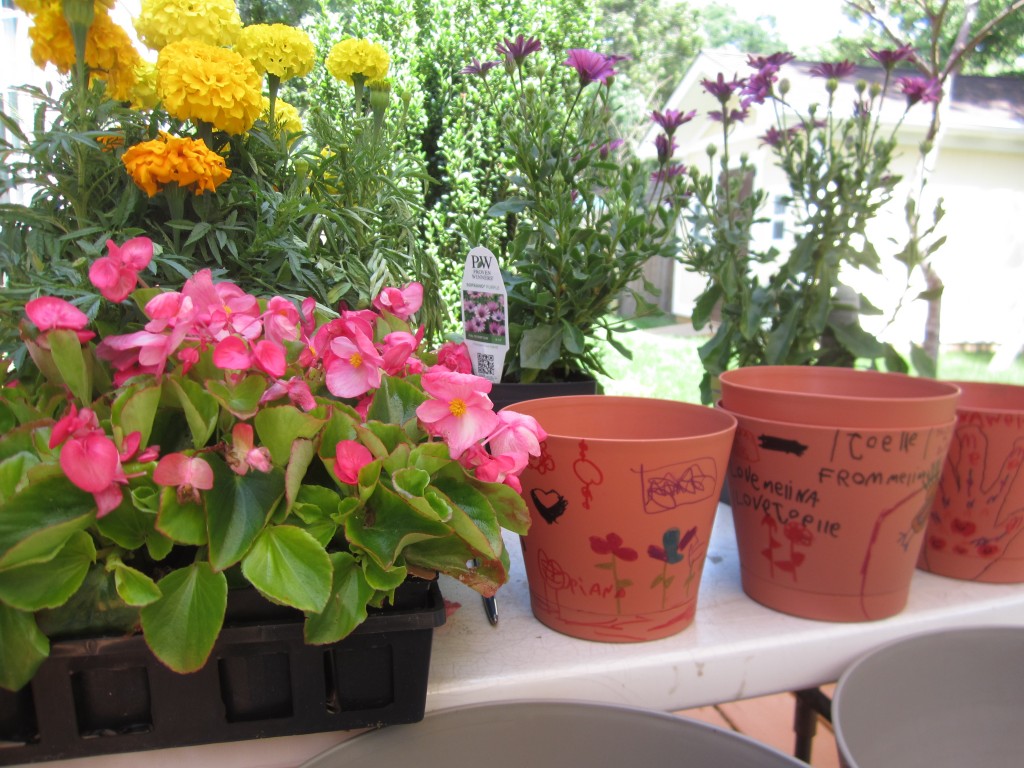
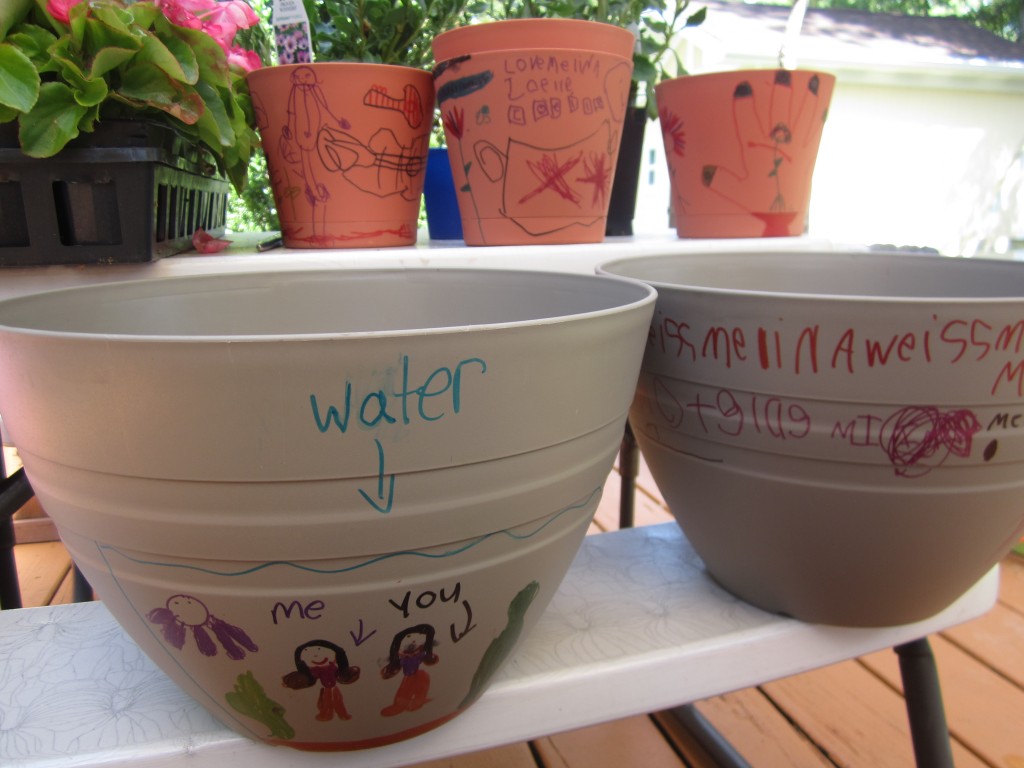
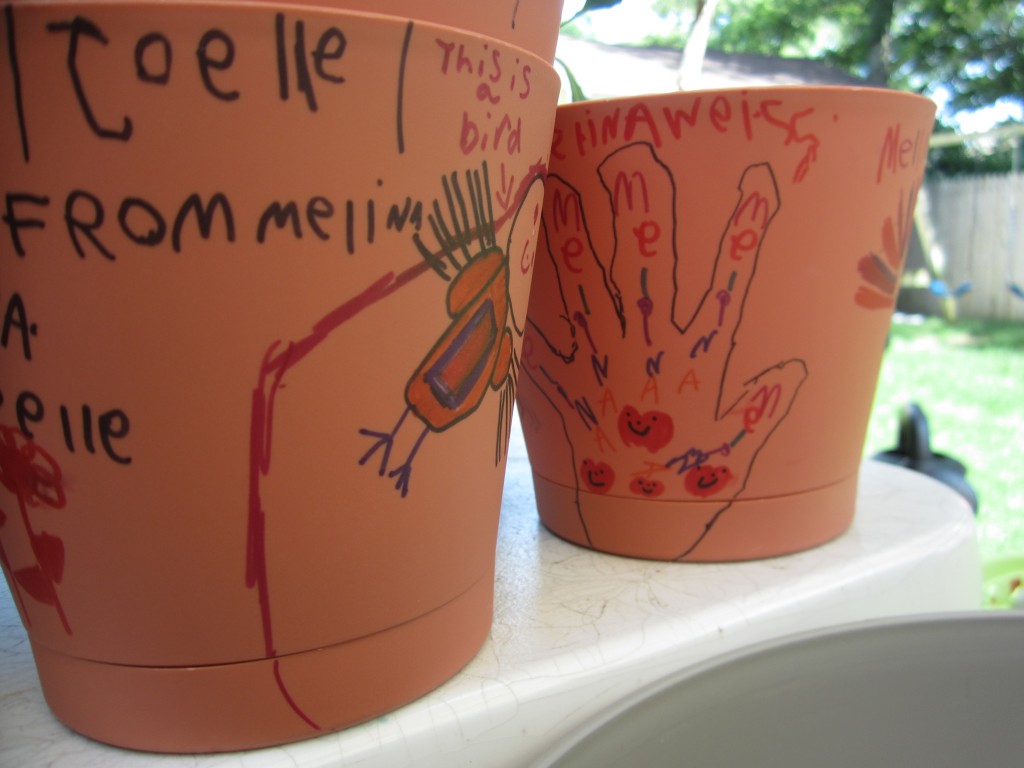
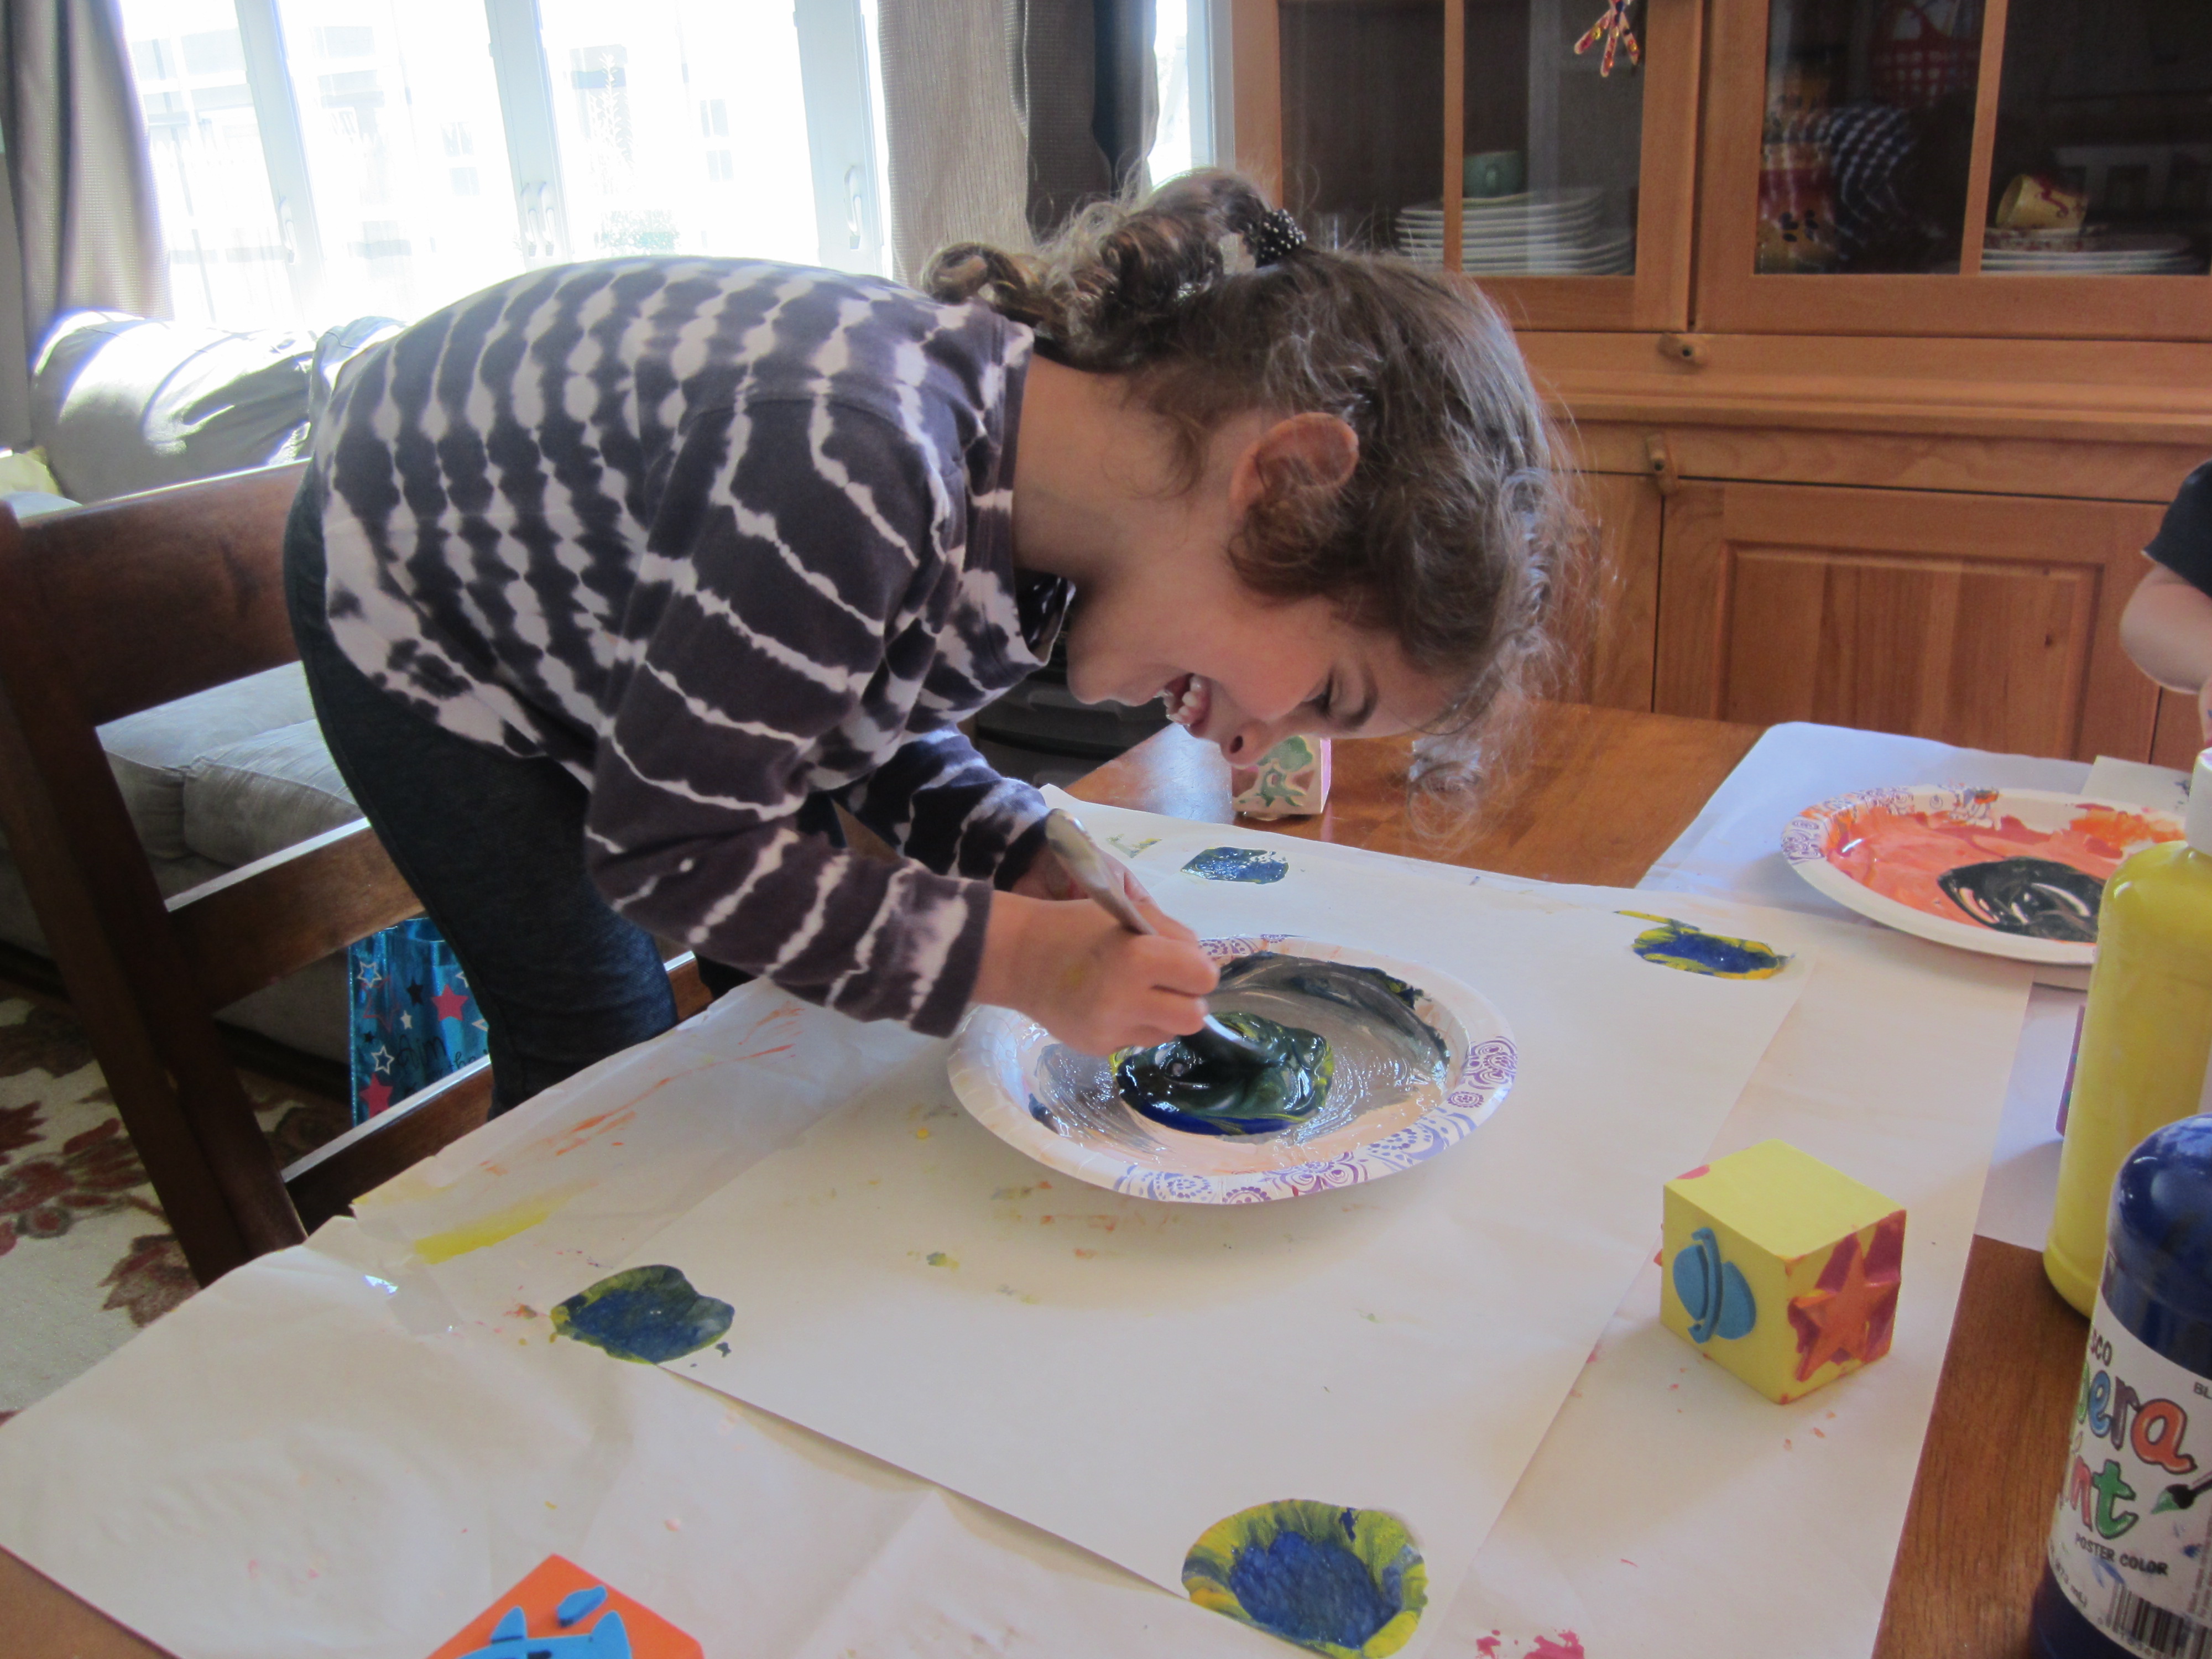
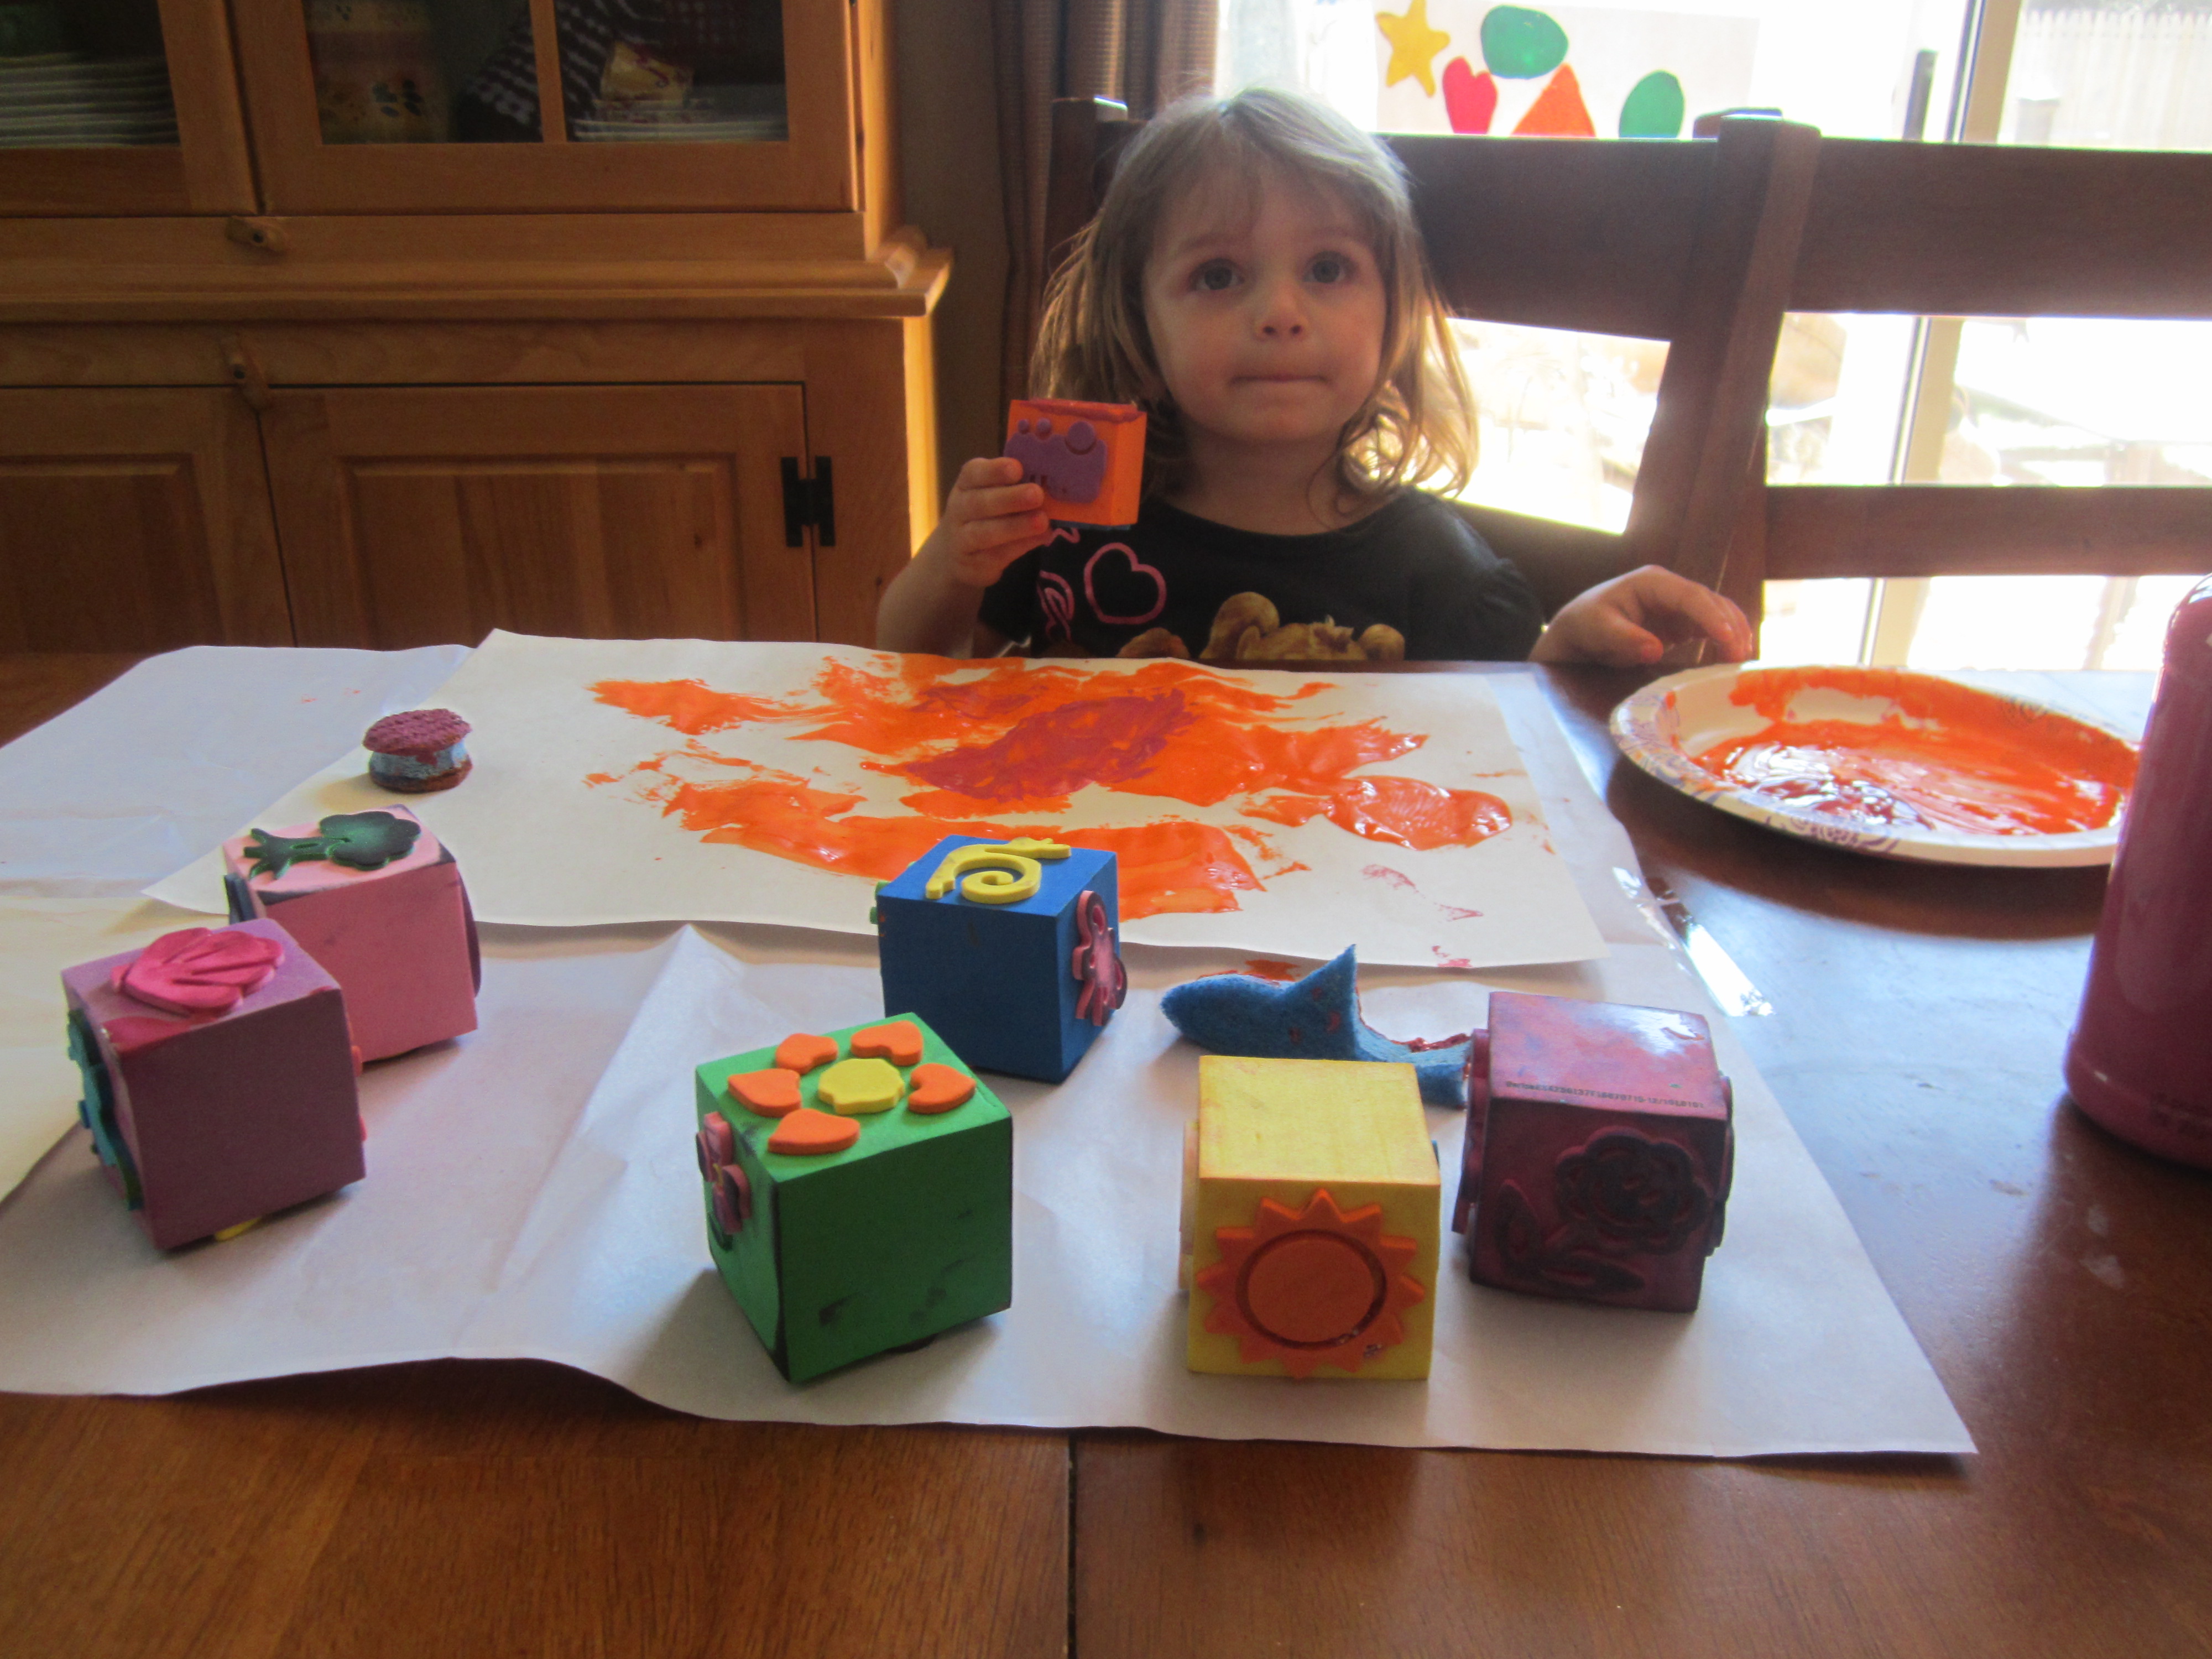
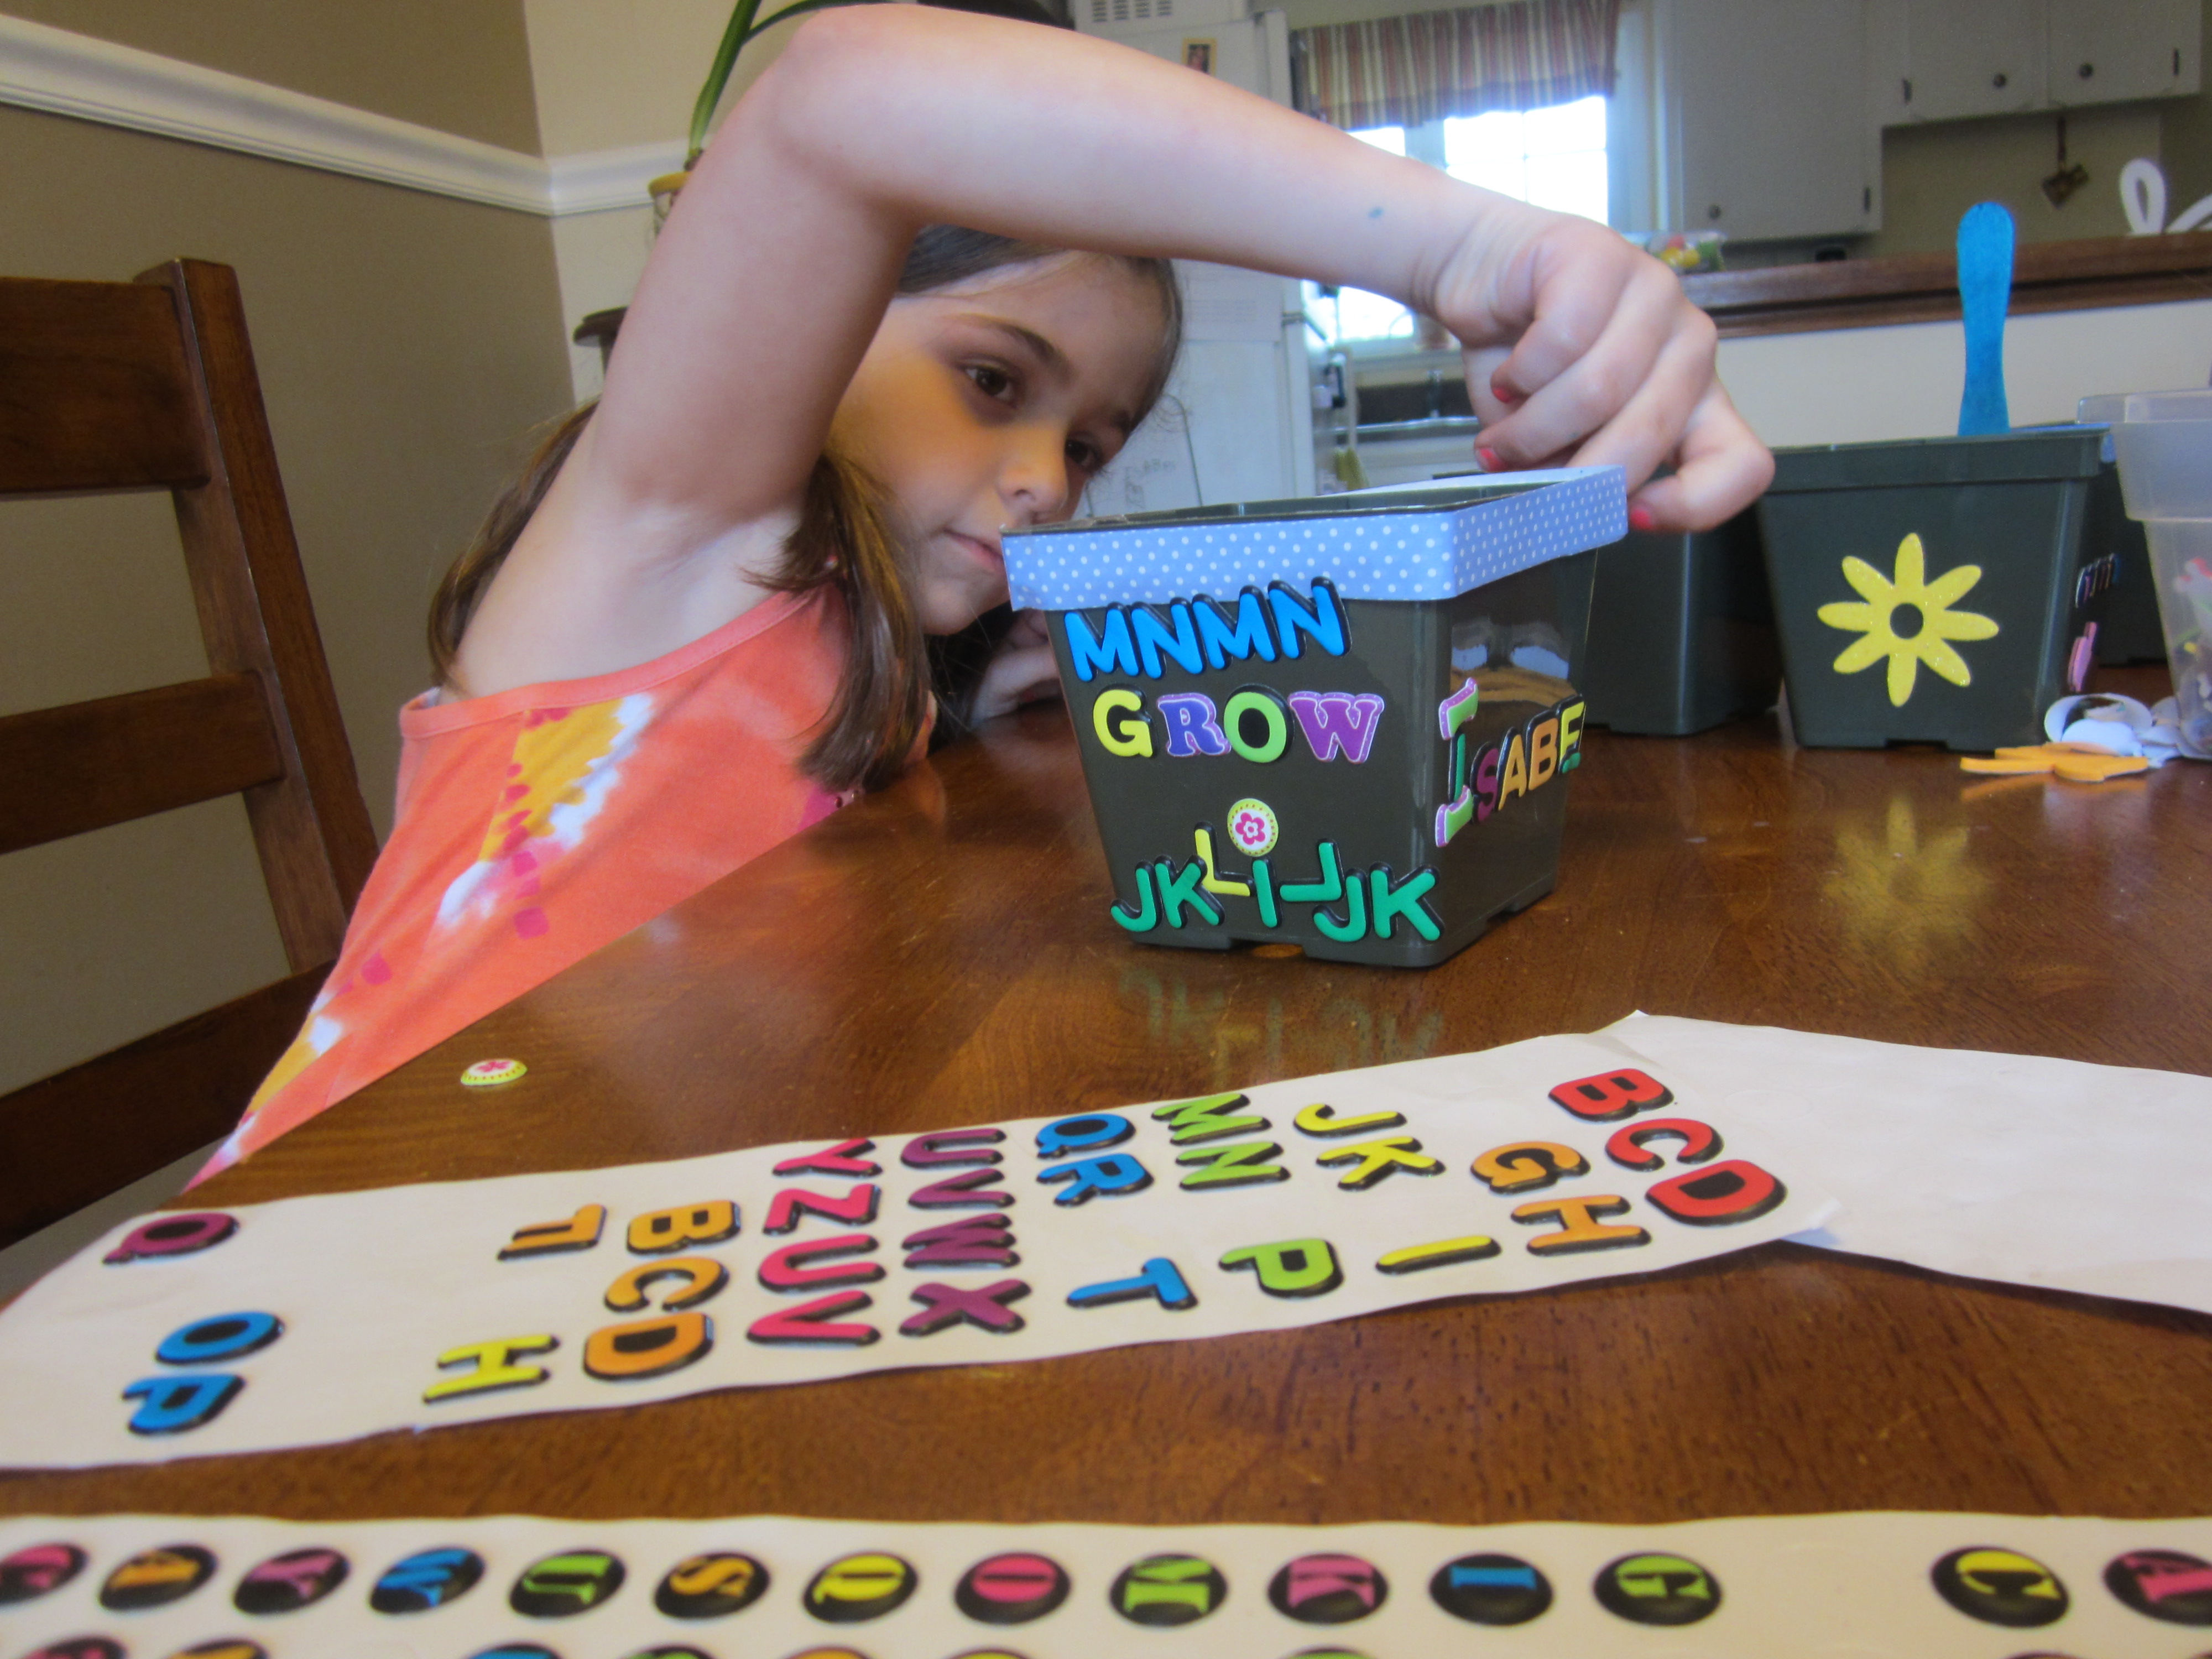
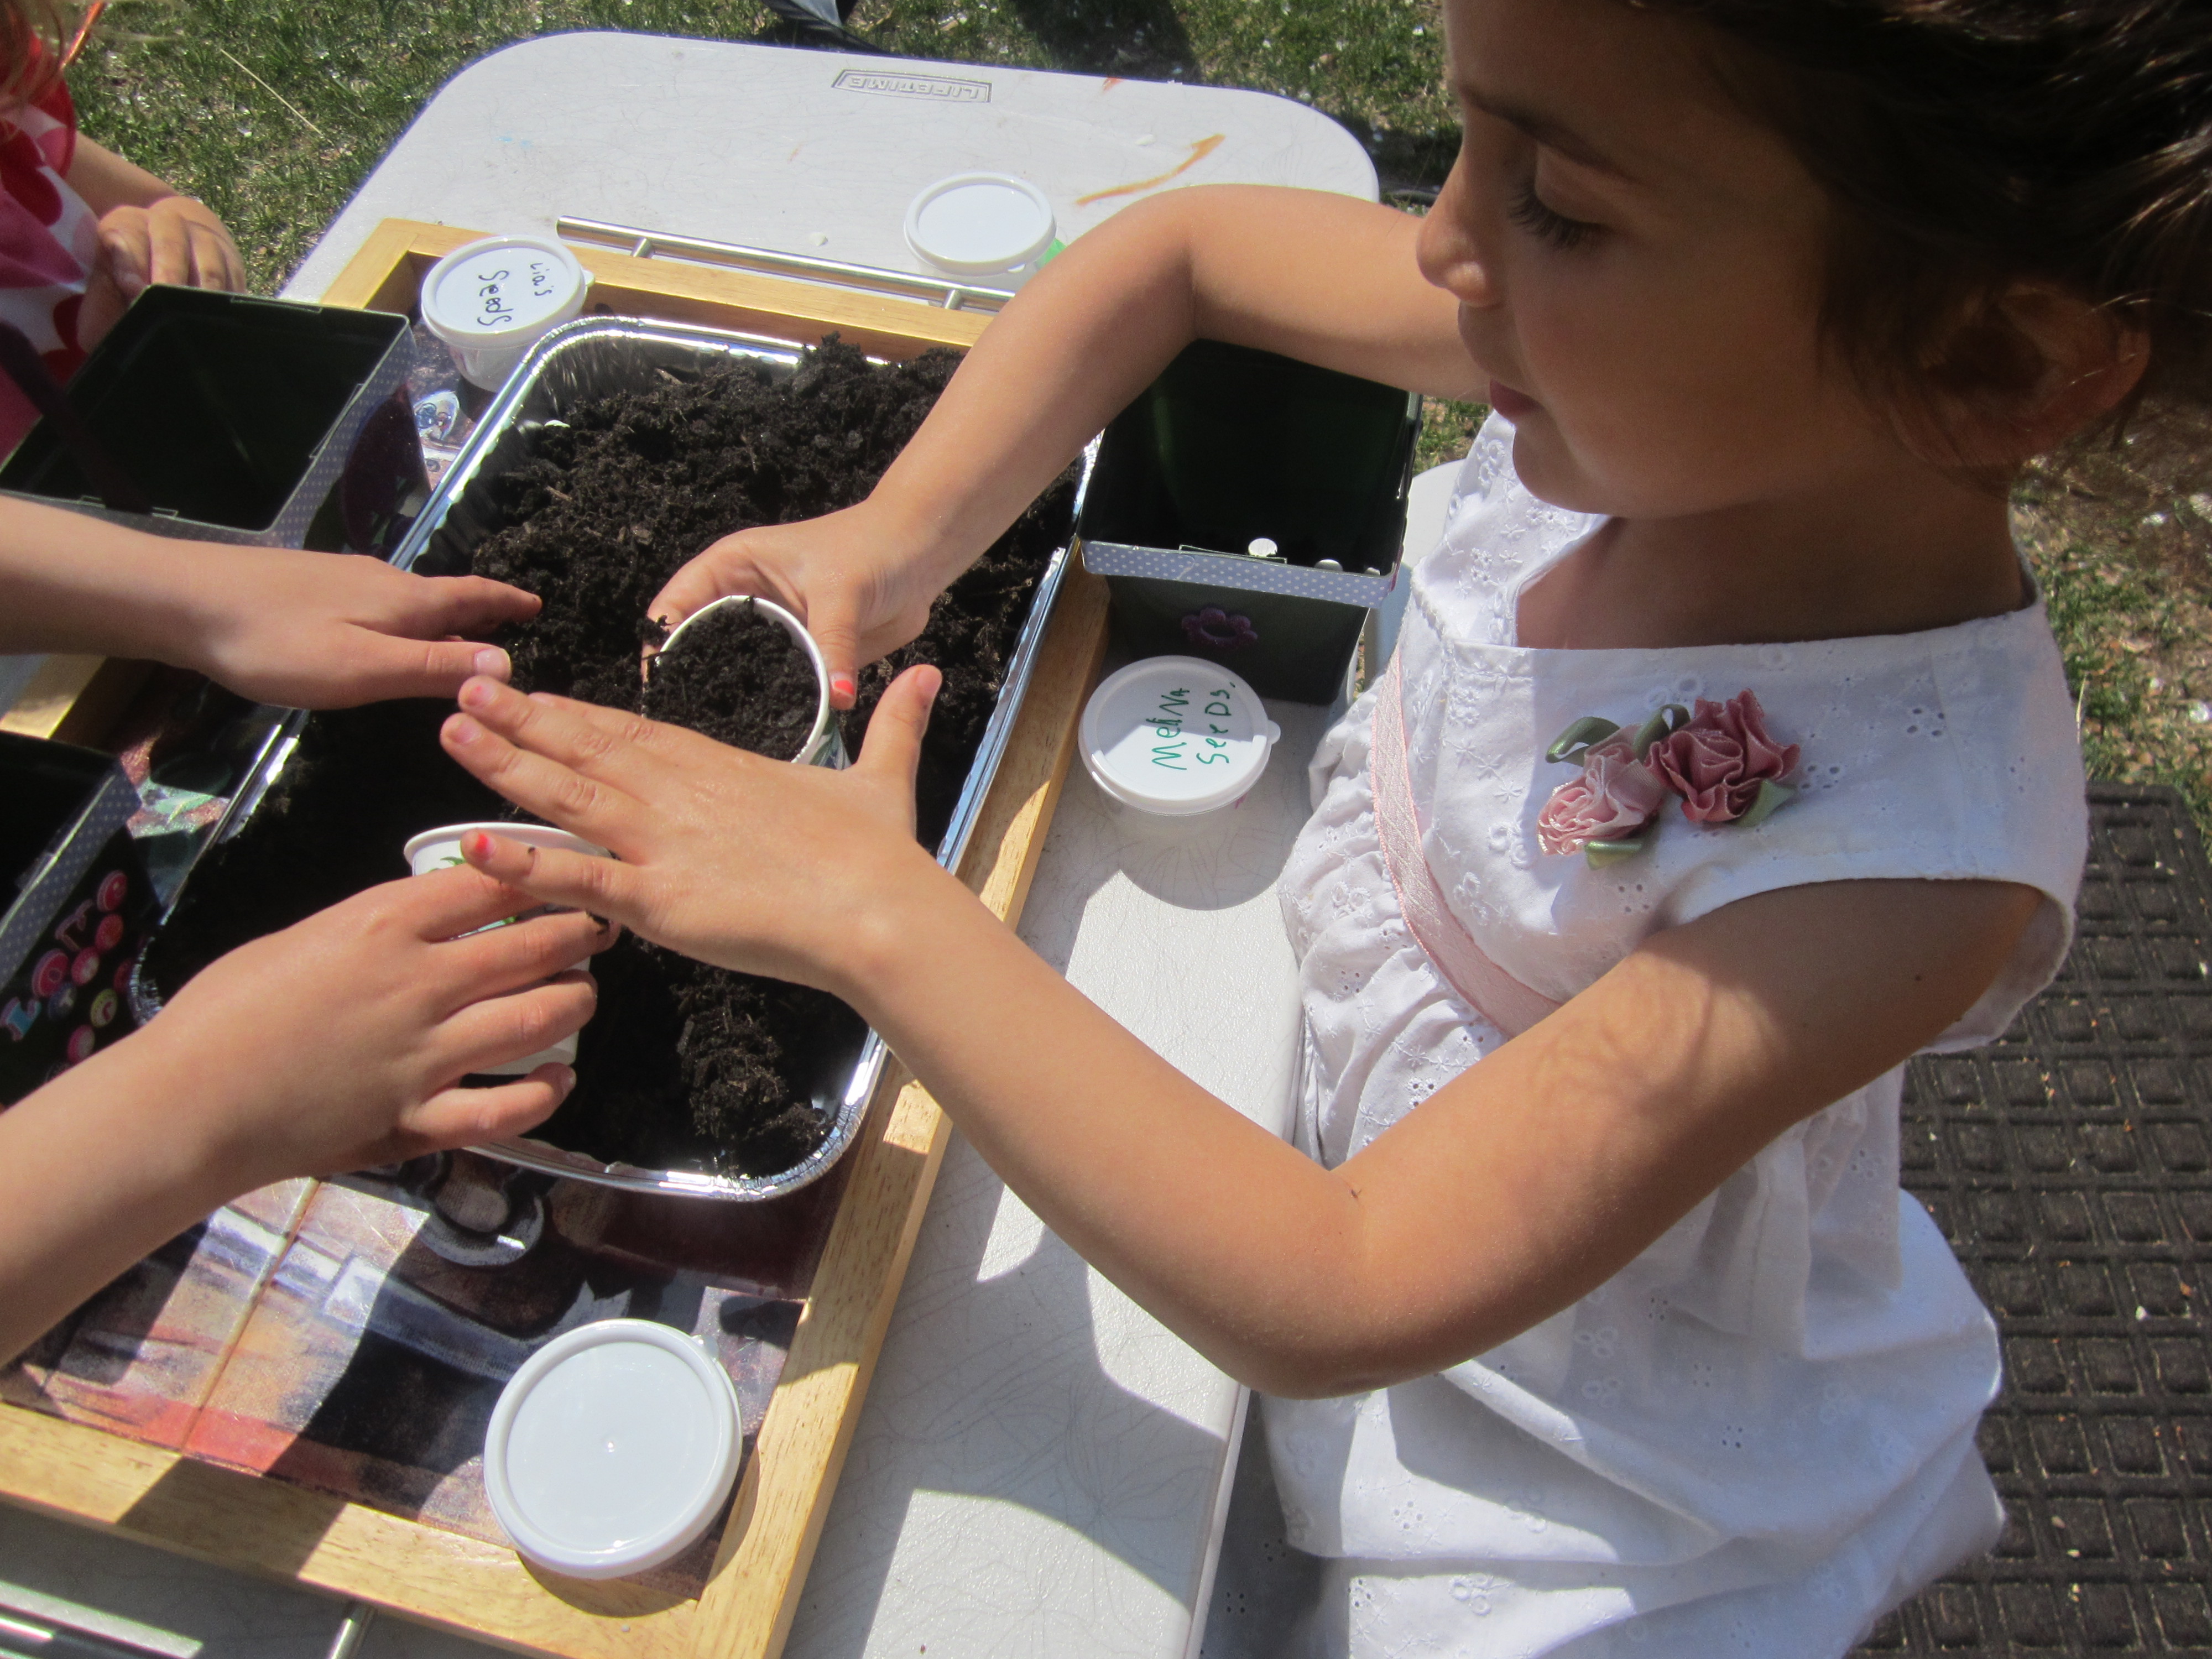
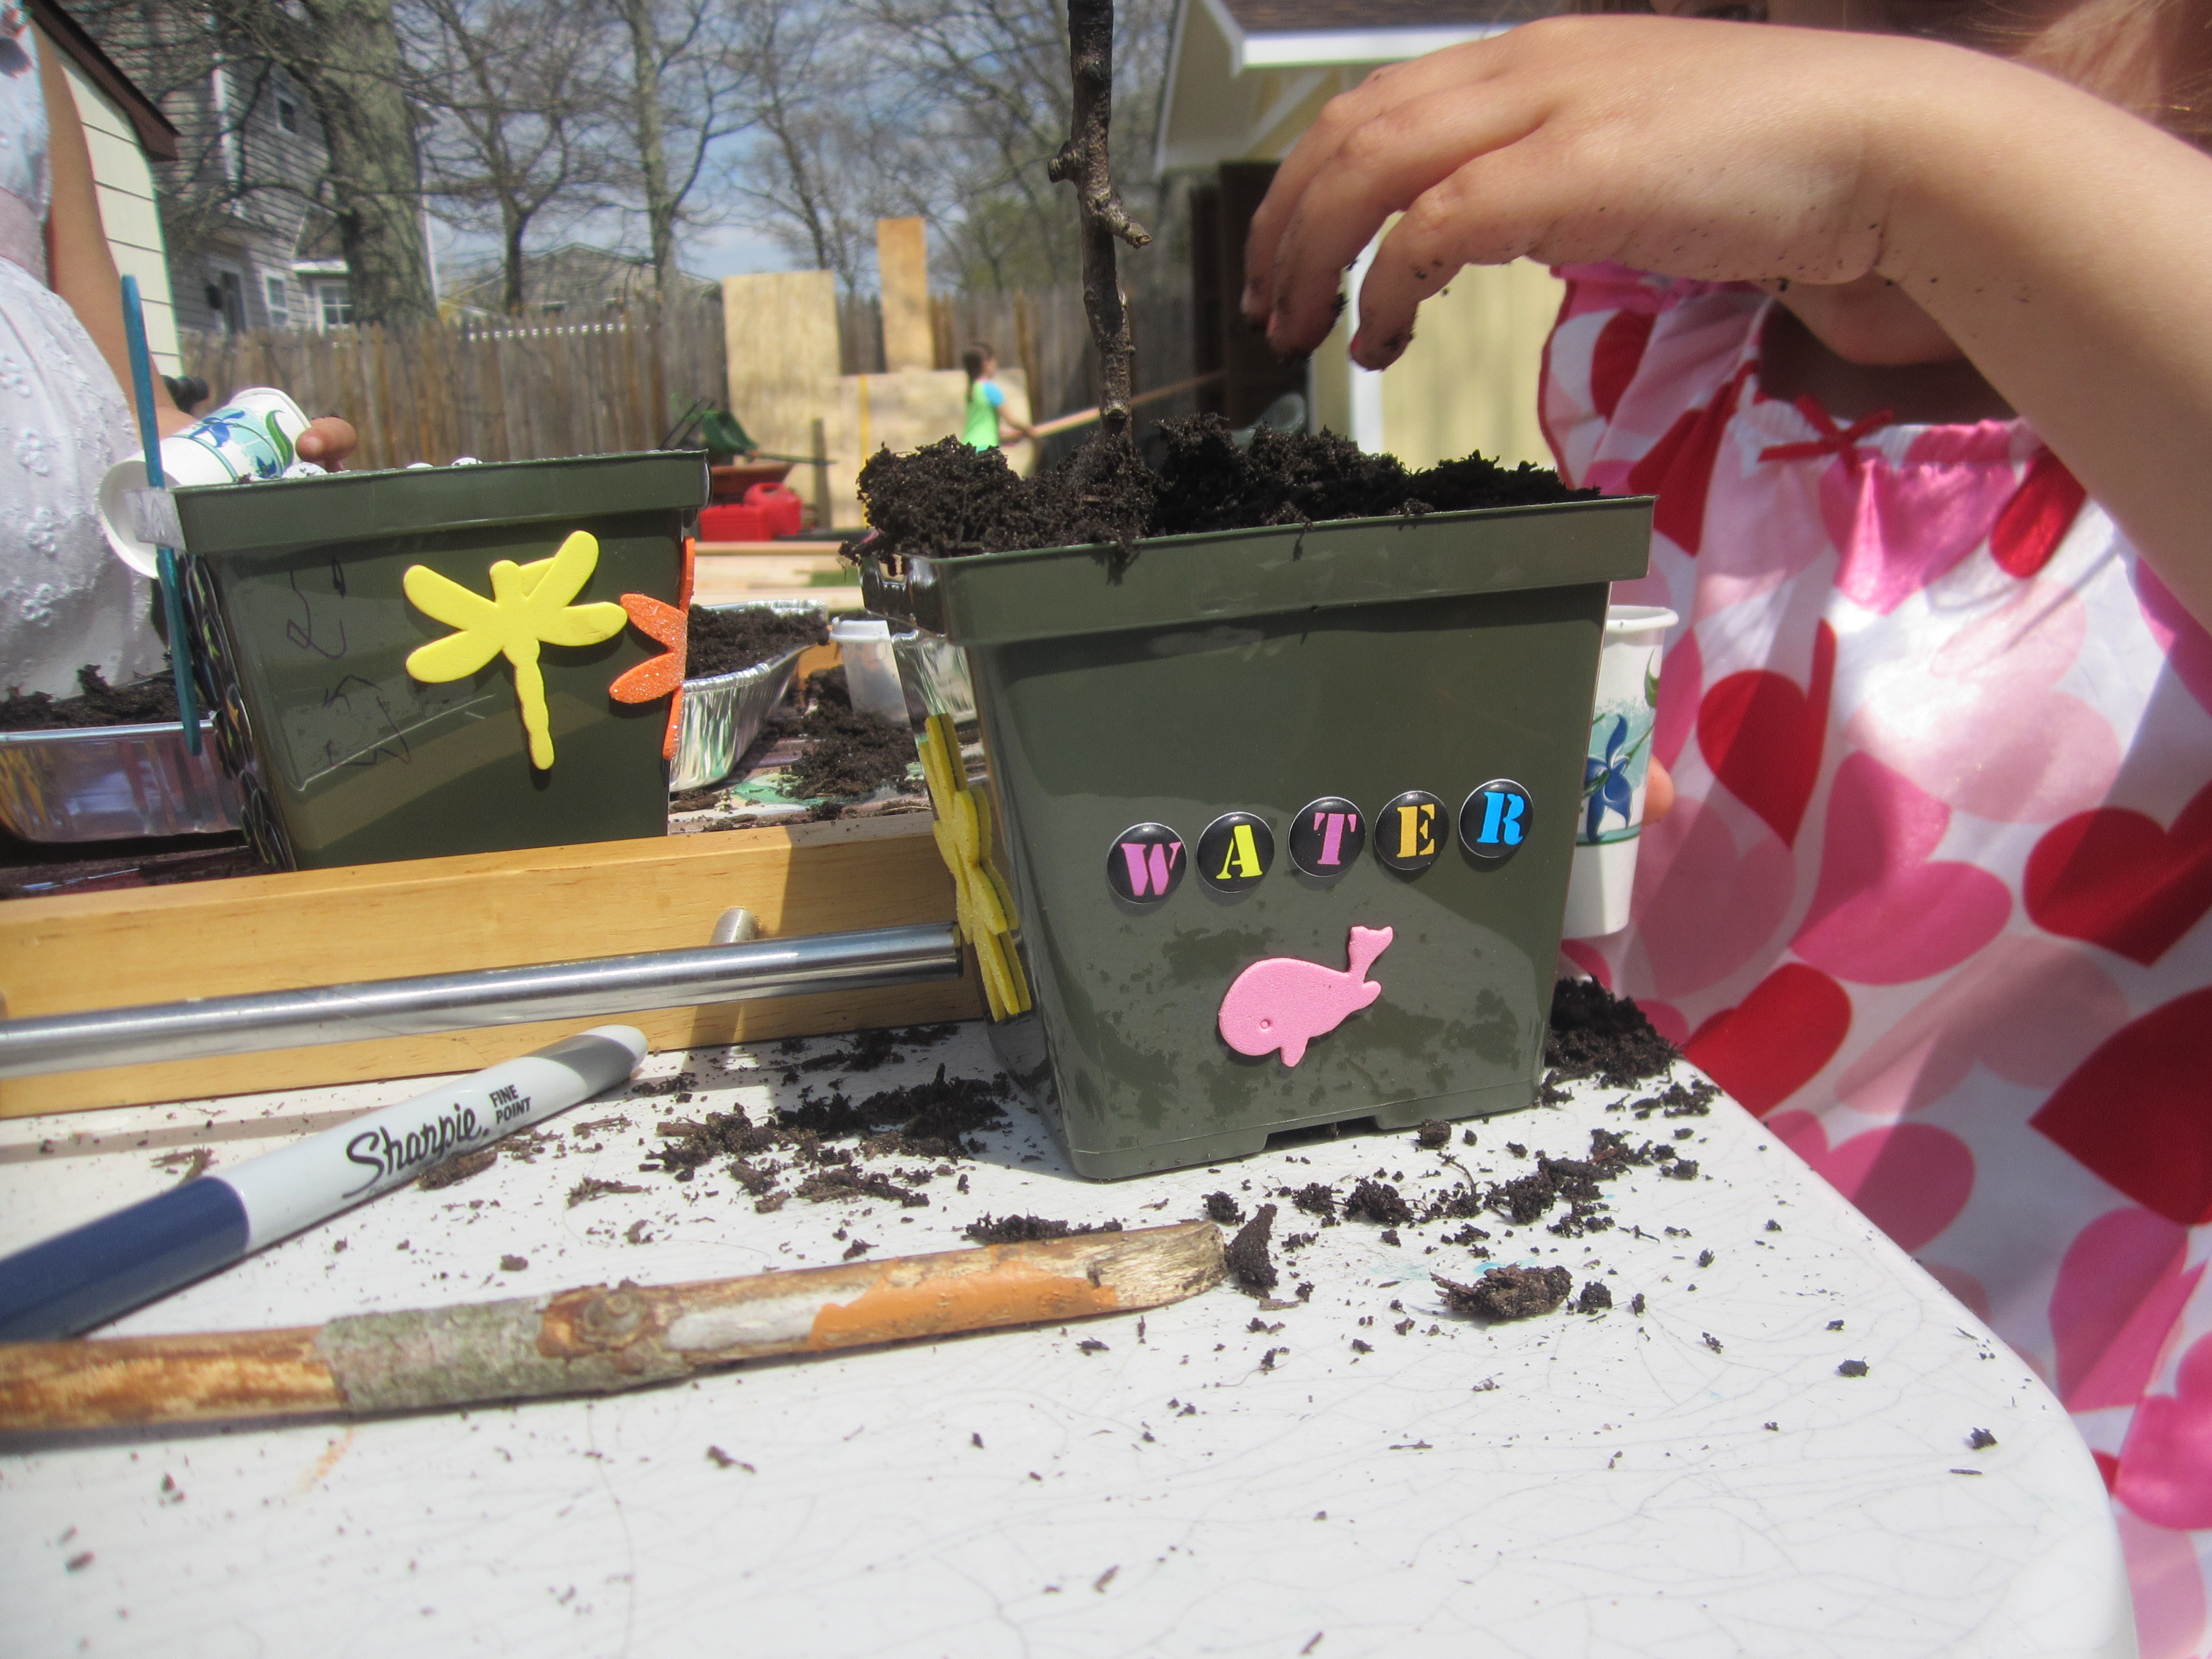
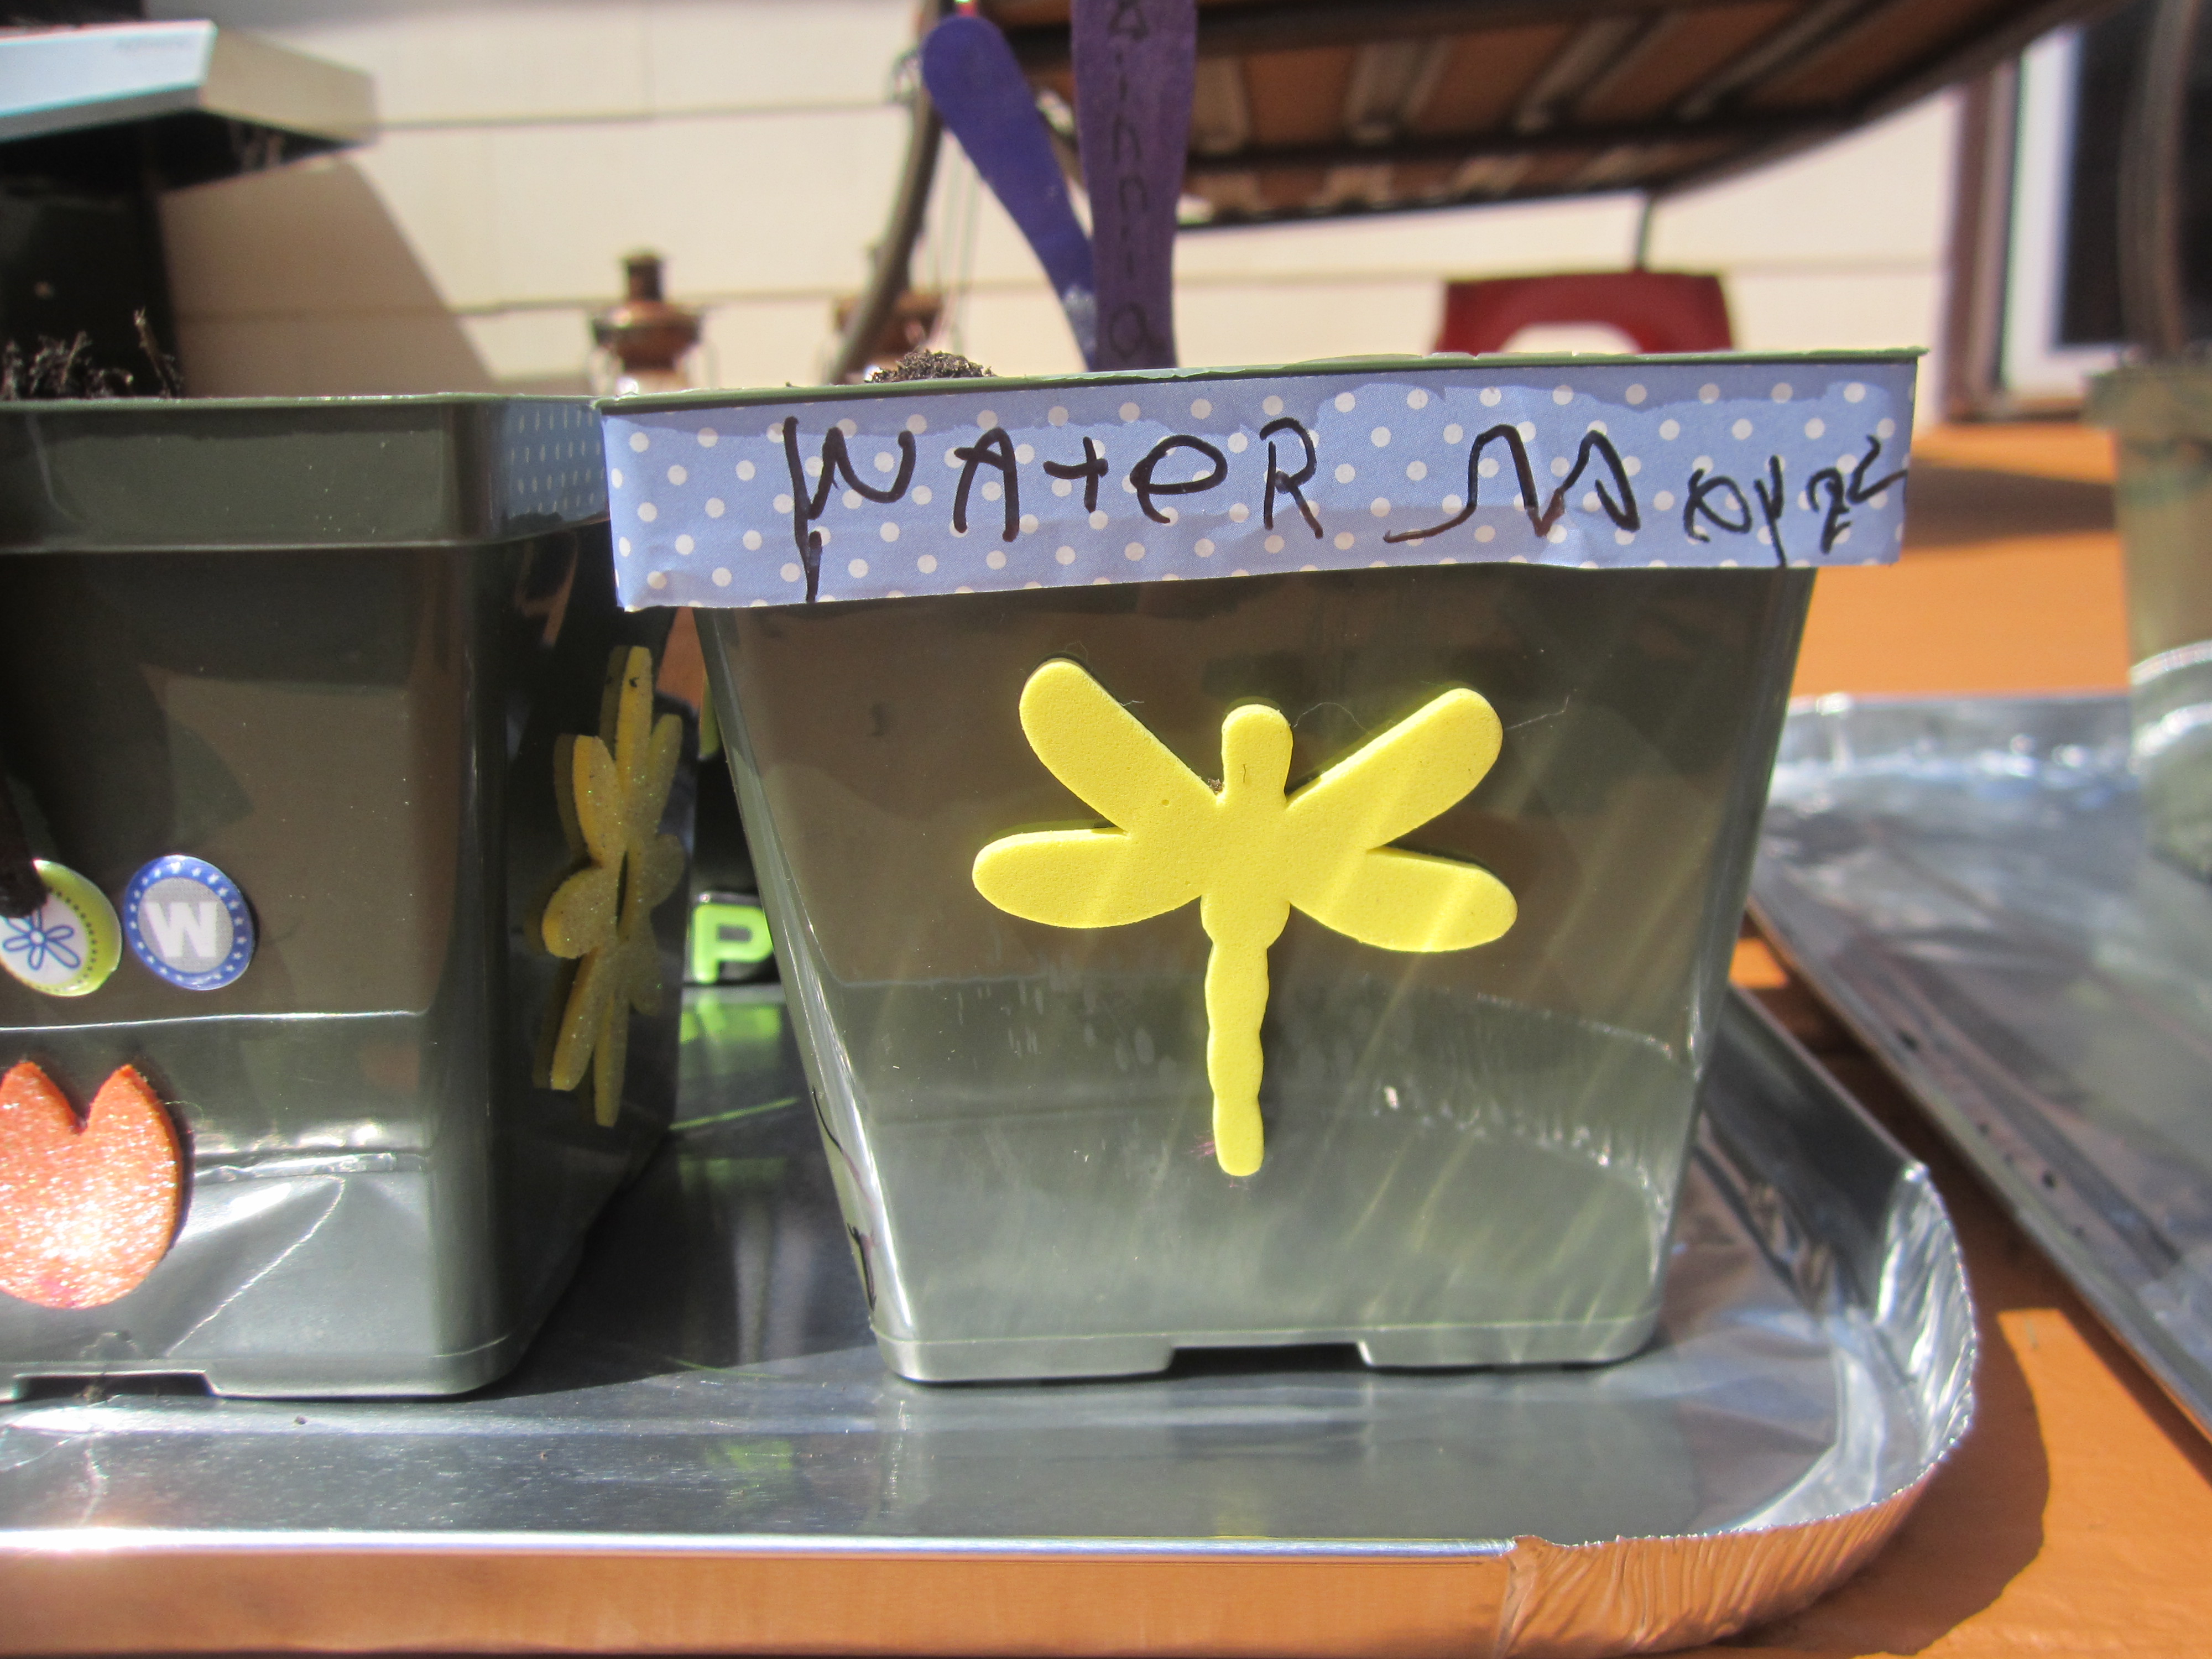
This was a fun way to celebrate Earth Day especially after a long winter of snow. I could not wait to start doing some planting and Earth Day was the perfect excuse. I went to our local nursery and bought these cute little plastic planting pots. The girls and I picked out some seeds we wanted to grow. My daughter Melina loves watermelon and picked watermelon seeds to plant. I honestly do not think I have enough space to grow one but I made her happy and we bought a pack of watermelon seeds. We will see what happens! After we got home I took out our craft box which always has some sort of foam stickers and they decorated 3 pots each.
After we finished decorating the pots we put them aside and waited for a sunny day to plant them so that we can make the mess outside. I provided the girls with a tray of dirt, little Dixie cups so they can scoop the dirt and tiny little containers to put their seeds in so that if we had any left over we could just save them in the containers. We made sure to label each container and each pot so that we could keep track of the seeds and what we were planting. The girls really had a great time with this project and they can’t wait to see what sprouts!


Don’t forget to water your seeds and plant your new sprouts into your garden! We can’t wait to see what grows!
Site Word Fun
I love teaching the girls! I always wanted to be a teacher and now I get to teach my own children and prepare them for school.
Here is a very simple and fun way to help your child get familiar with site words. First I created a list of site words I wanted my child to learn. There are pre-primer, primer, first, second and third words. You choose the appropriate level for your child. Melina is working on the pre-primer words. I have a paid membership with http://www.education.com (this site is so awesome and so worth the membership) which is where I printed the site word flashcards you see in the photo, but you can search for a list anywhere online. I found one at www.createdbyteachers.com. Just click on the Site Word List tab once you access the site. You can simply print and copy the list onto index cards and make your own flashcards. To have her practice the words I bought an individual Dry Erase Board at the dollar store and I have her go through the words and write them onto her board. She loves this so much and at the same time she is learning!
I also created a site word practice book for her using a composition book I bought from the dollar store. I made copies of the site words and glued each word onto the top of a page ( you can simply write the word at the top of the page with a marker ). Every week she practices writing a different word. Sometimes I let her look through magazines to find the letter she needs to make the word and I have her glue it down onto the page. This allows her to practice the words in different ways, which keeps it exciting and the repetition helps her to remember the words.


