 One of my guilty pleasures is antiquing! Actually, I can’t say I feel guilty about it since most of the time I’m just browsing and admiring. However my most favorite and treasured finds have been from antique and consignment shops.
 I love looking through old items once used and cherished by another human being. A human being that once walked this earth and may not even be here any more. The items become like orphans, waiting for a new home. Imagine how many orphaned items there are in this world. Sitting on a shelf, waiting to find a new home. (Of course an even sadder thought is how many orphaned children there are in this world.)
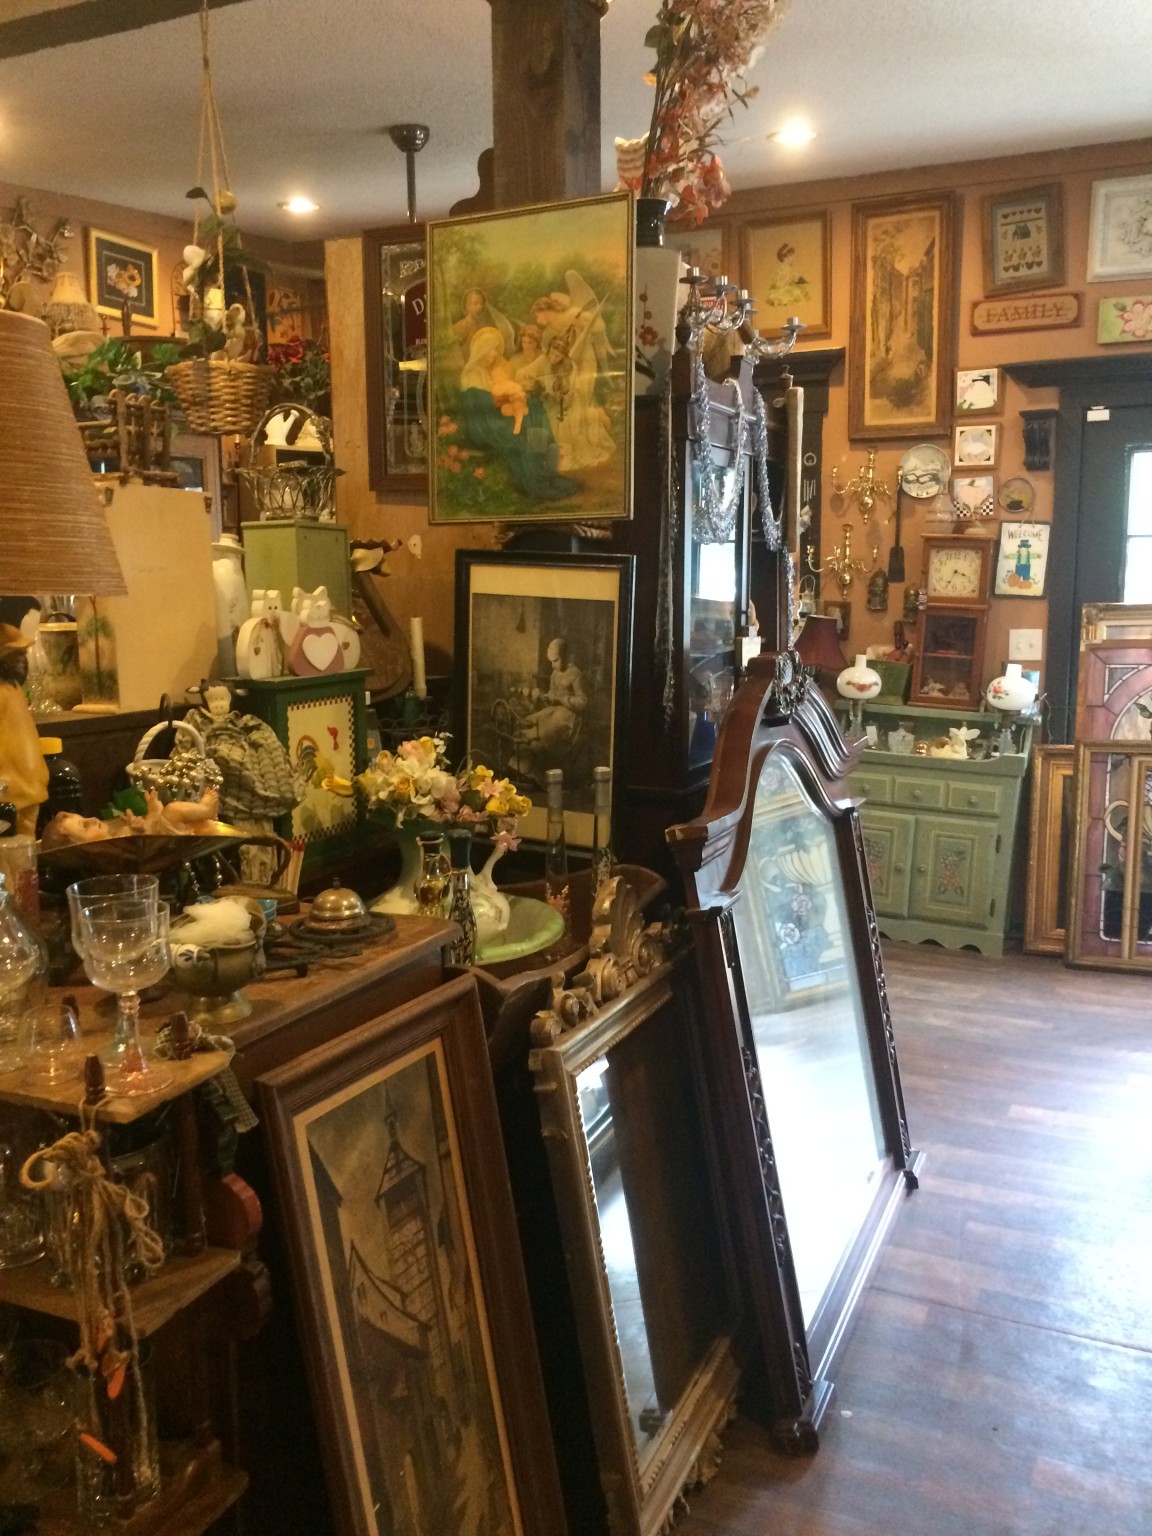
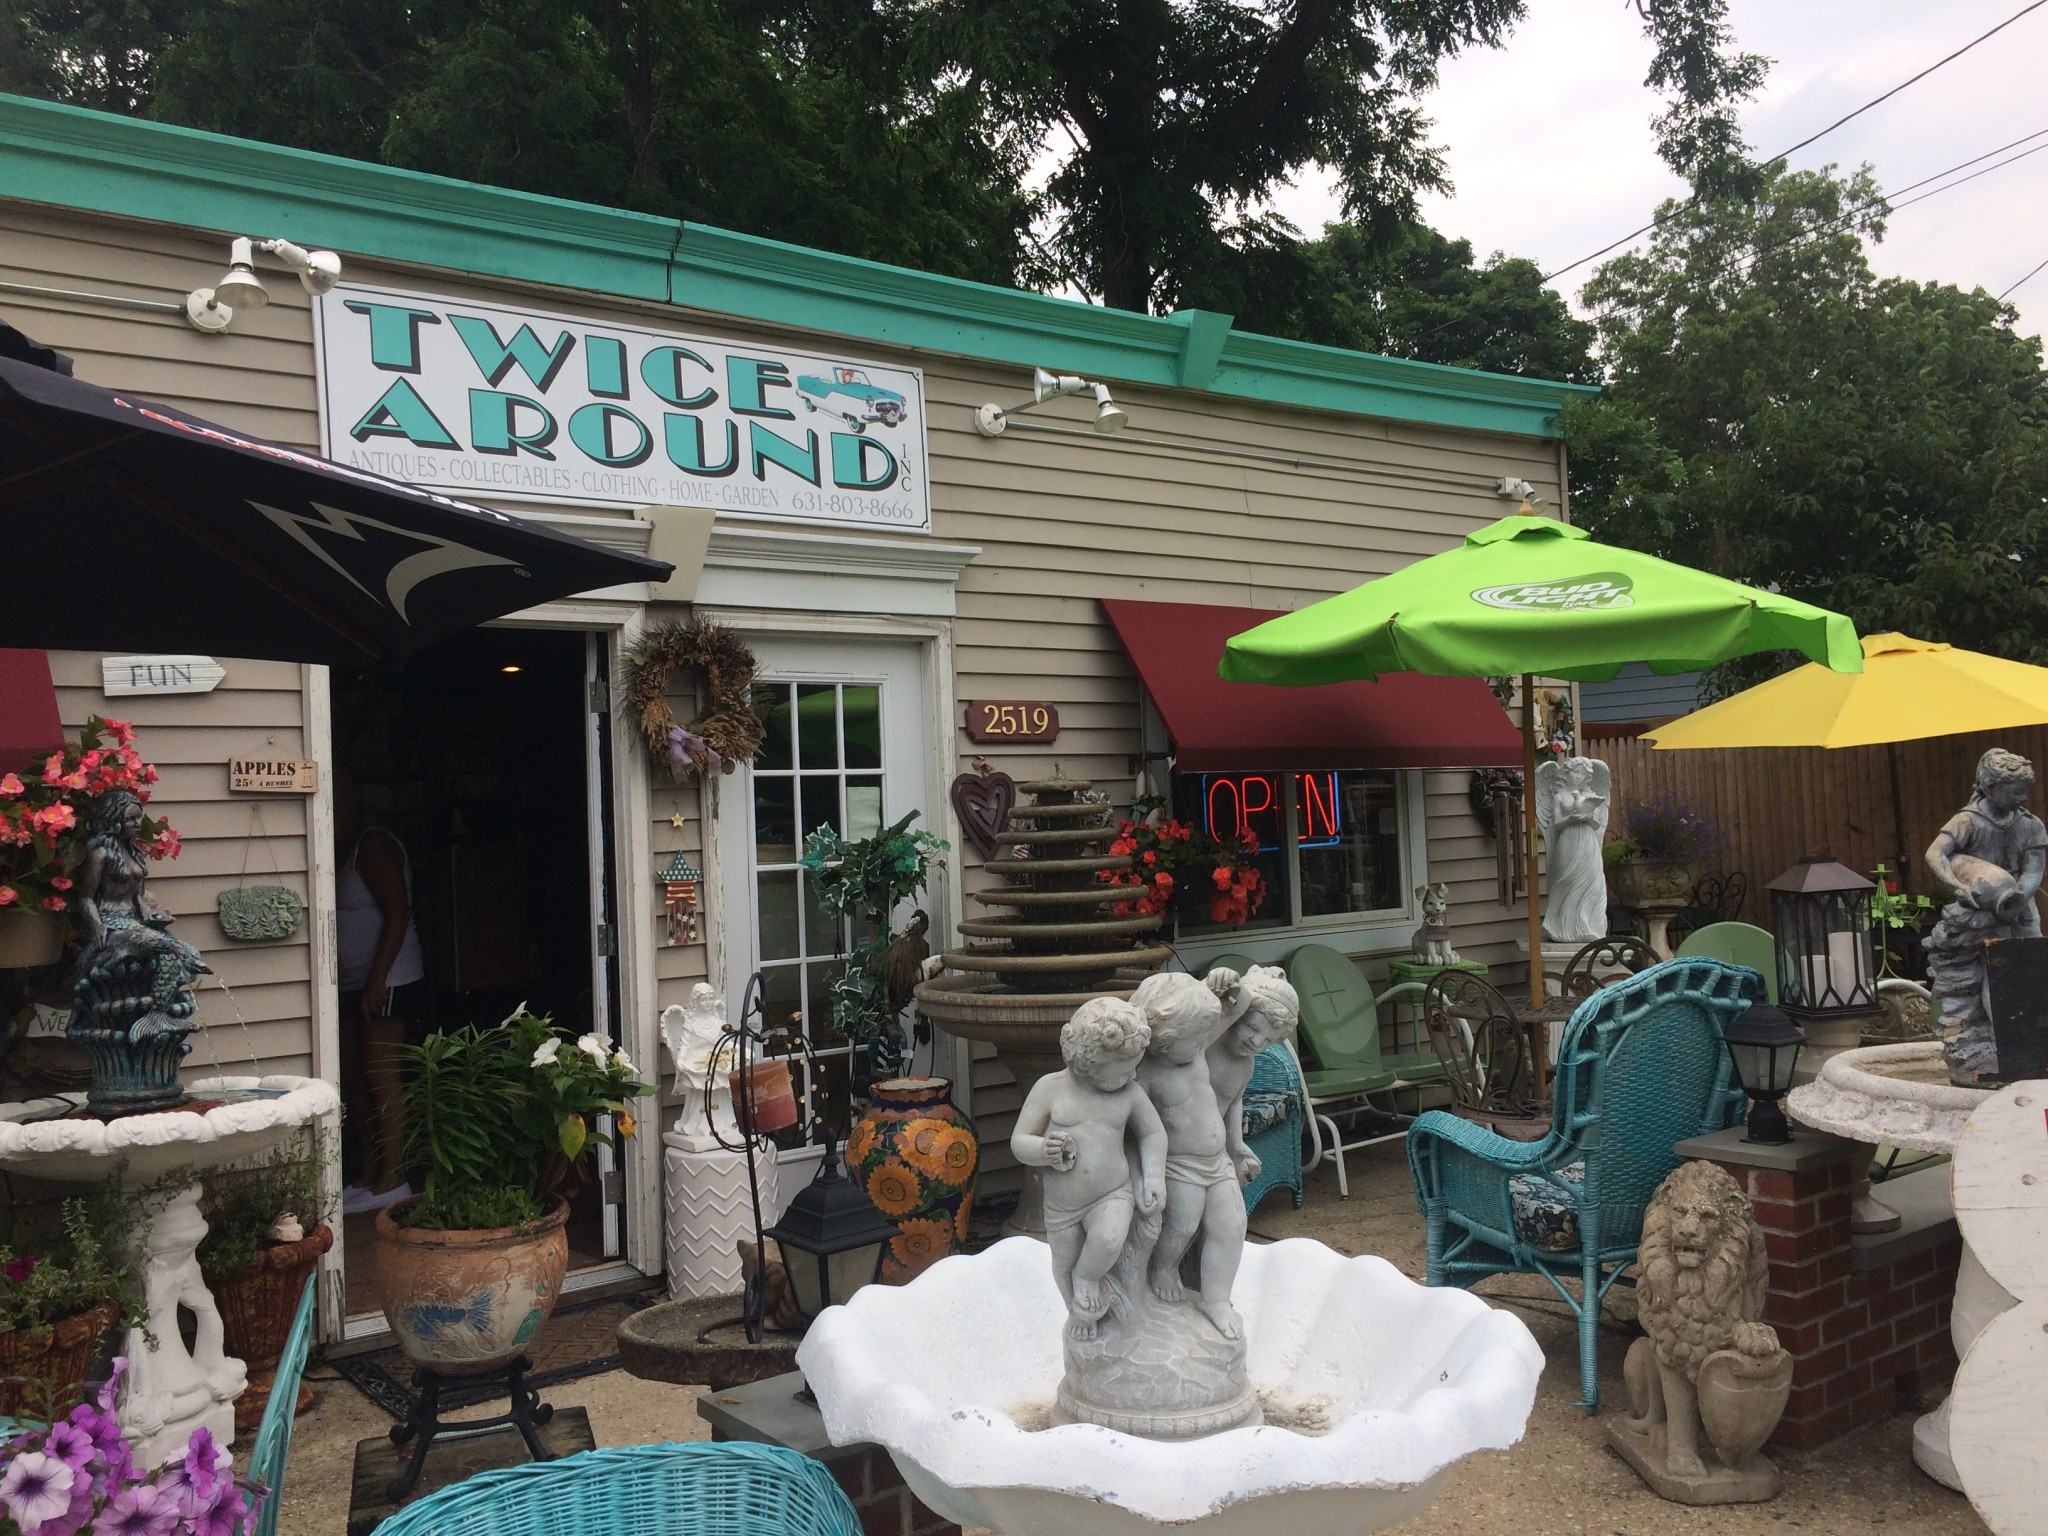
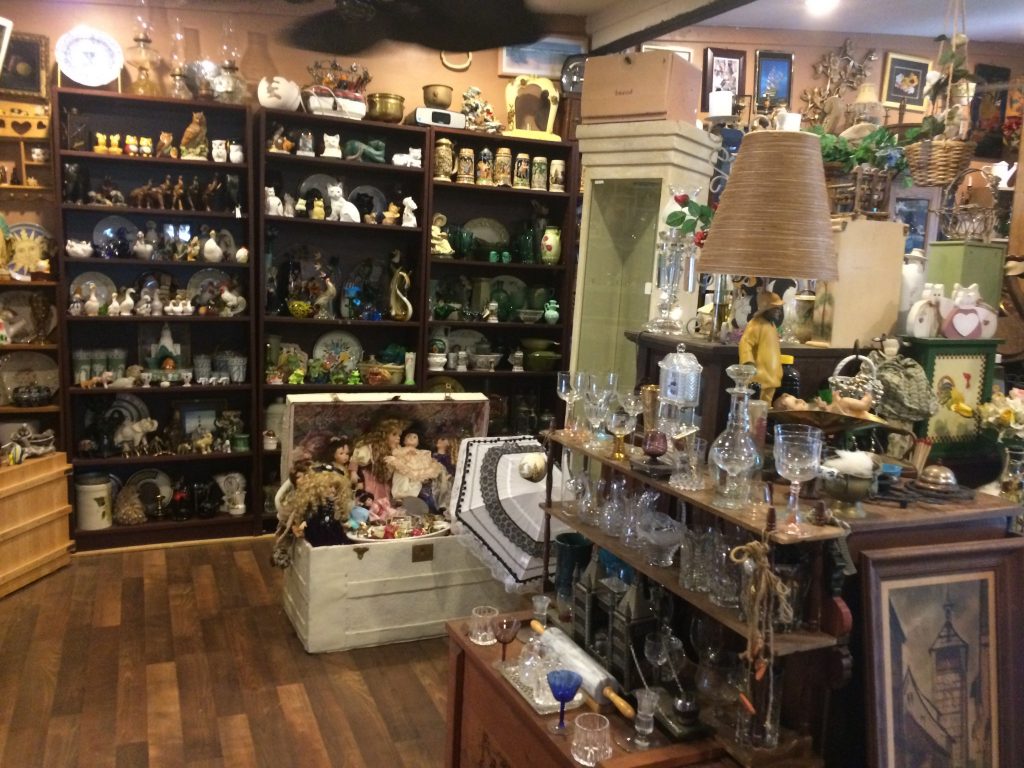
 What actually does make me feel guilty is shopping in major department stores purchasing new items when I know if I took the time I could find something used and less expensive in a consignment or antique shop! Walking around one also brings back memories of items that I would have found in my grandmothers home or in one of my aunts home as a child. Most of these people are gone from my life, but when I enter an antique shop, I’ll spot plates and bowls or curtains that bring me right back to long forgotten days spent with loved ones. It’s similar to how a certain smell can bring you back to a long lost memory. Items too can spark up old cherished memories. Or perhaps I gravitate towards items that maybe I owned in a previous life, hmmmm. Who knows right? How interesting is that? Makes me just want to walk through an antique shop right now and wonder about each object. Who owned it? Did I own it once before, is that why I feel so connected to it? My newest discovery is a sweet little shop called Twice Around. I’m absolutely in love with this little gem. The place is neatly filled with used home furnishings and decor for the inside and outside of your home. Everything is set up delicately throughout the store. You can find current items and vintage items.
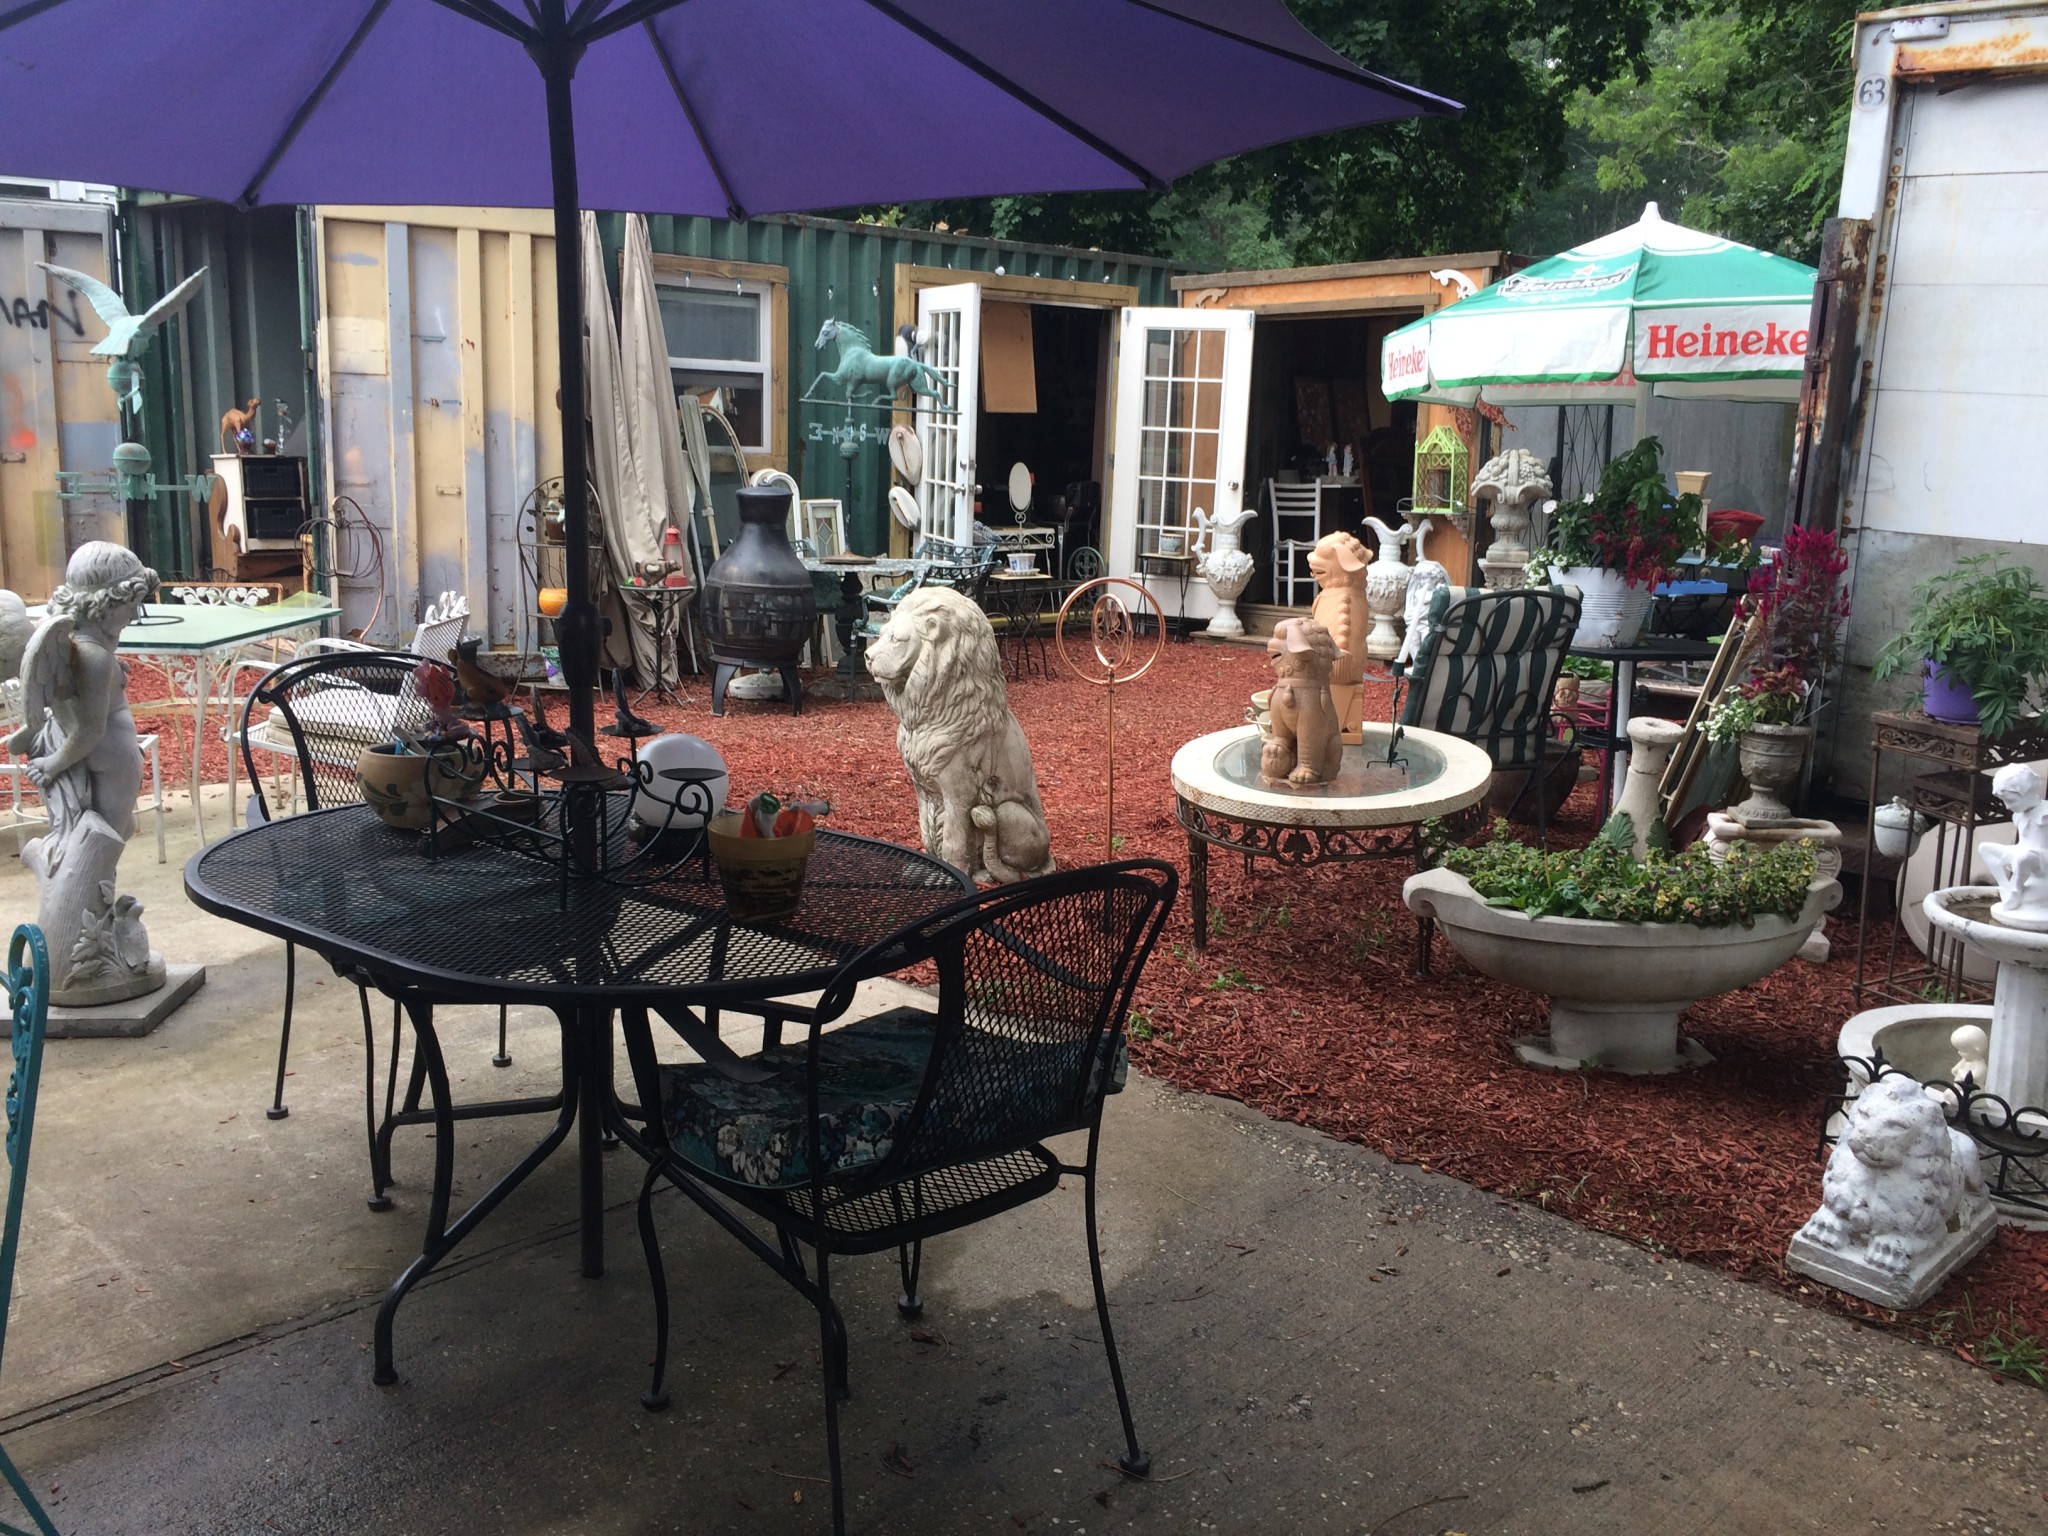
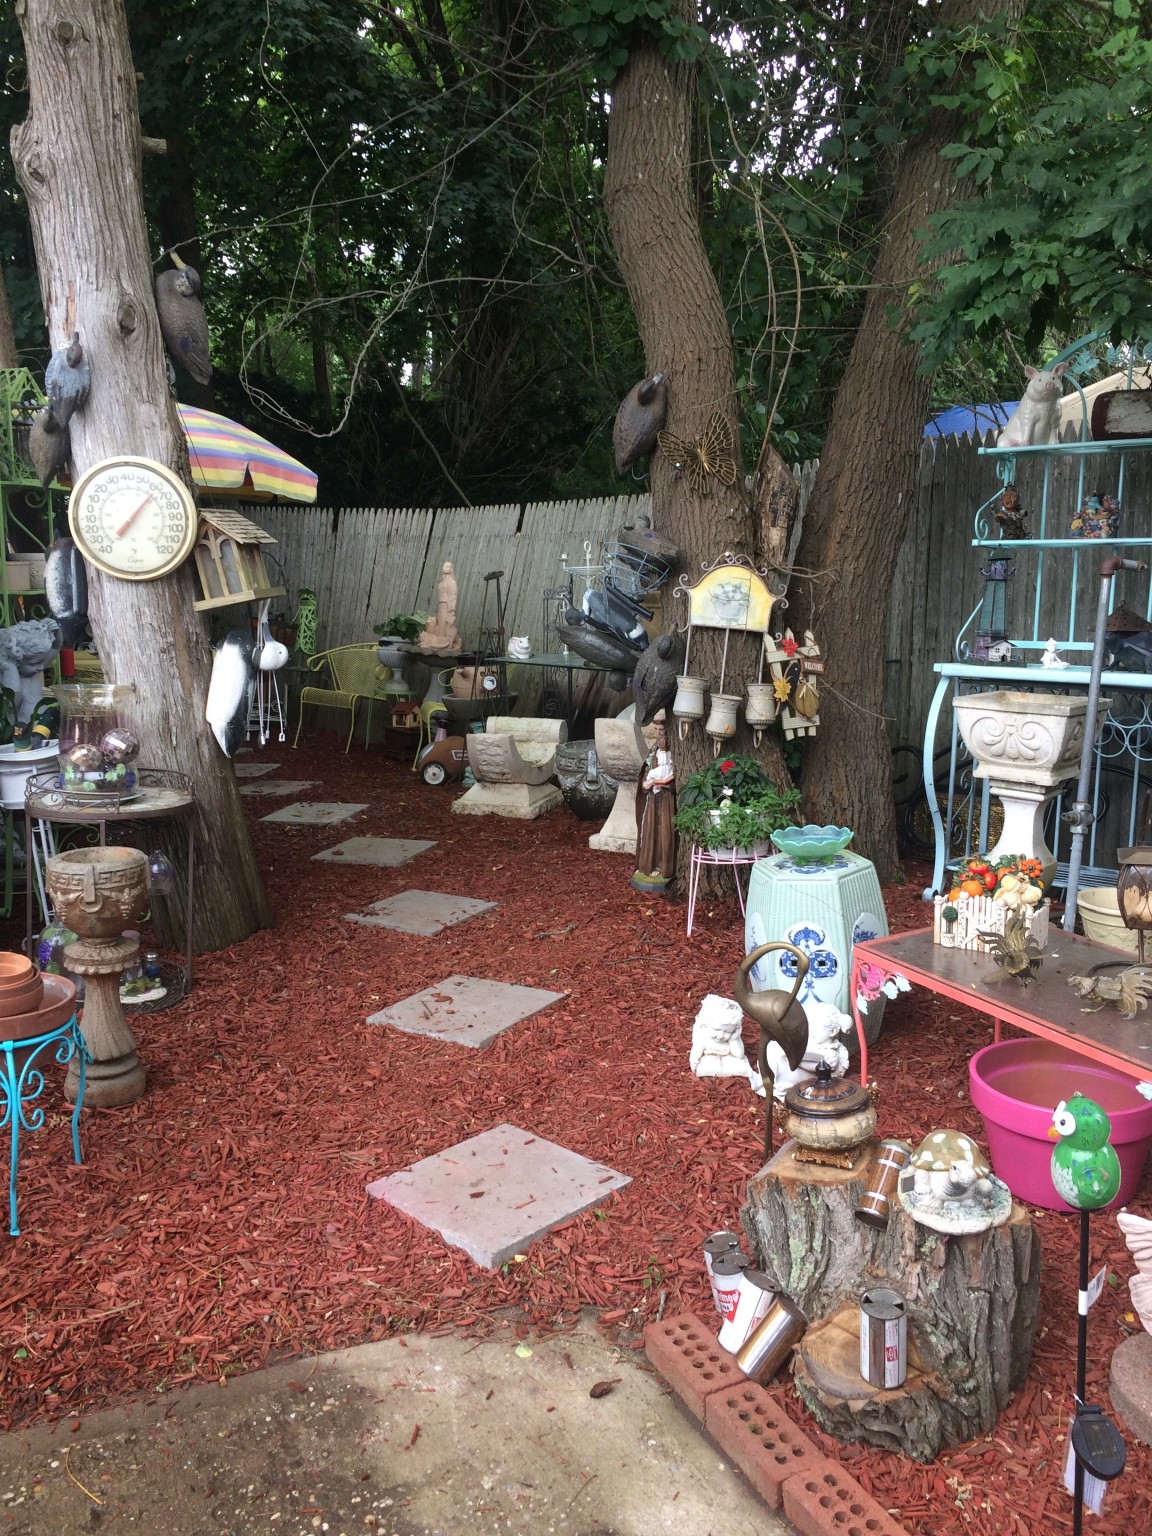
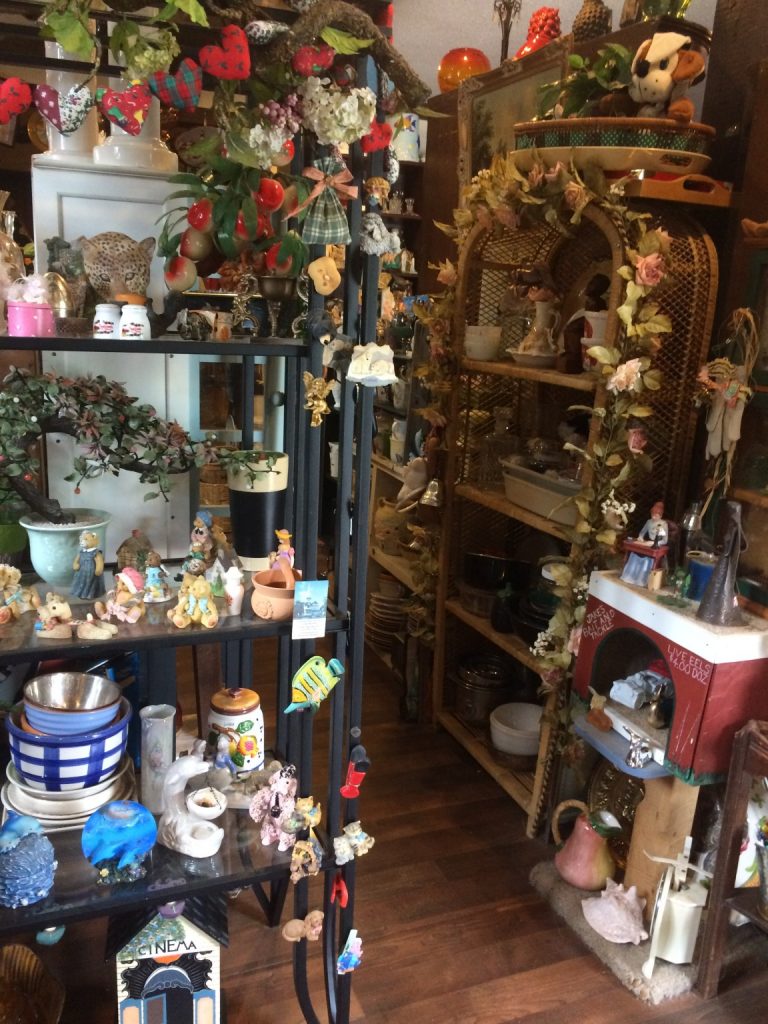
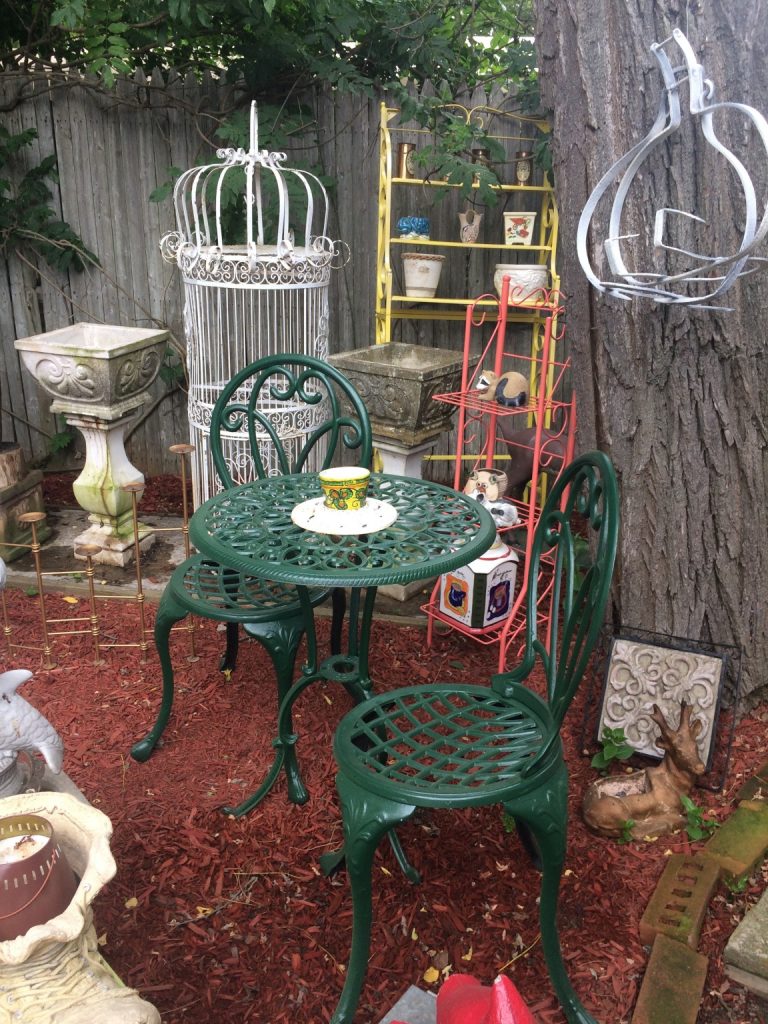
 It’s a real treat to walk through the organized space inside and out. I found several pieces for our new home. I’m just not sure where to place them just yet. It’s funny but I wait for things to truly speak to me, I don’t always know exactly where I’m going to put them. All I know is that they belong in my home and I will find the perfect spot for them in time! Upon entering the store, I fell in love with this beautiful basket!
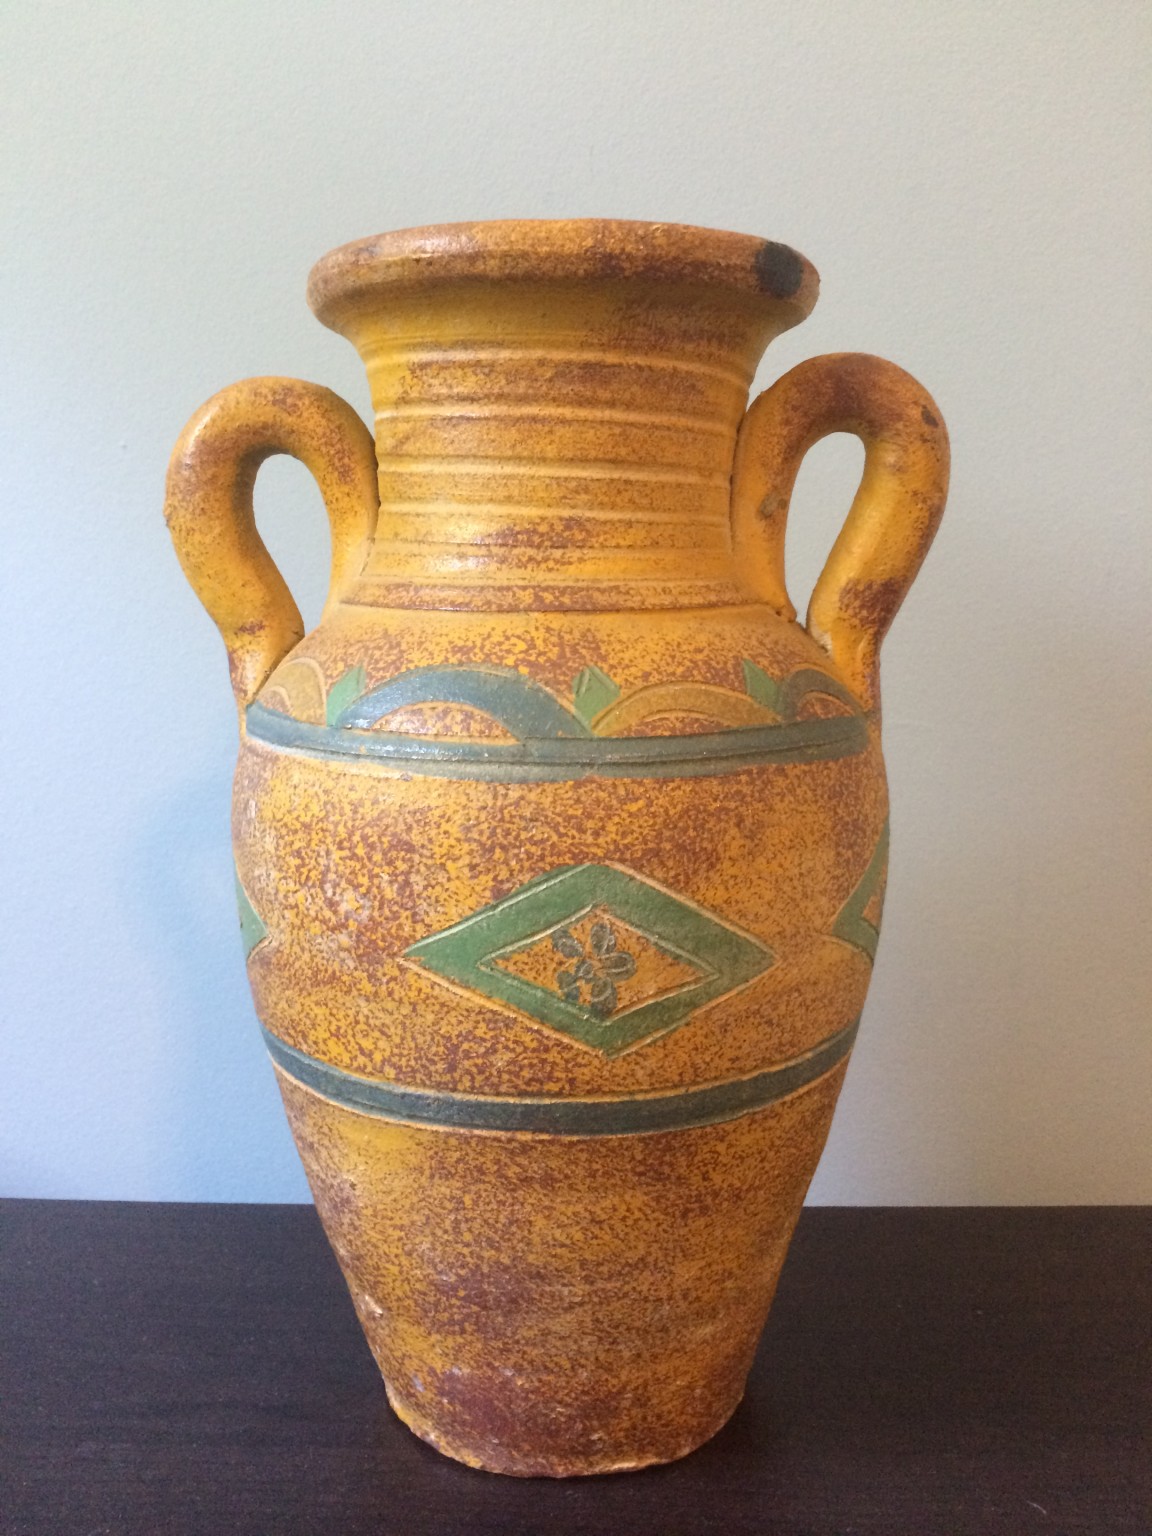
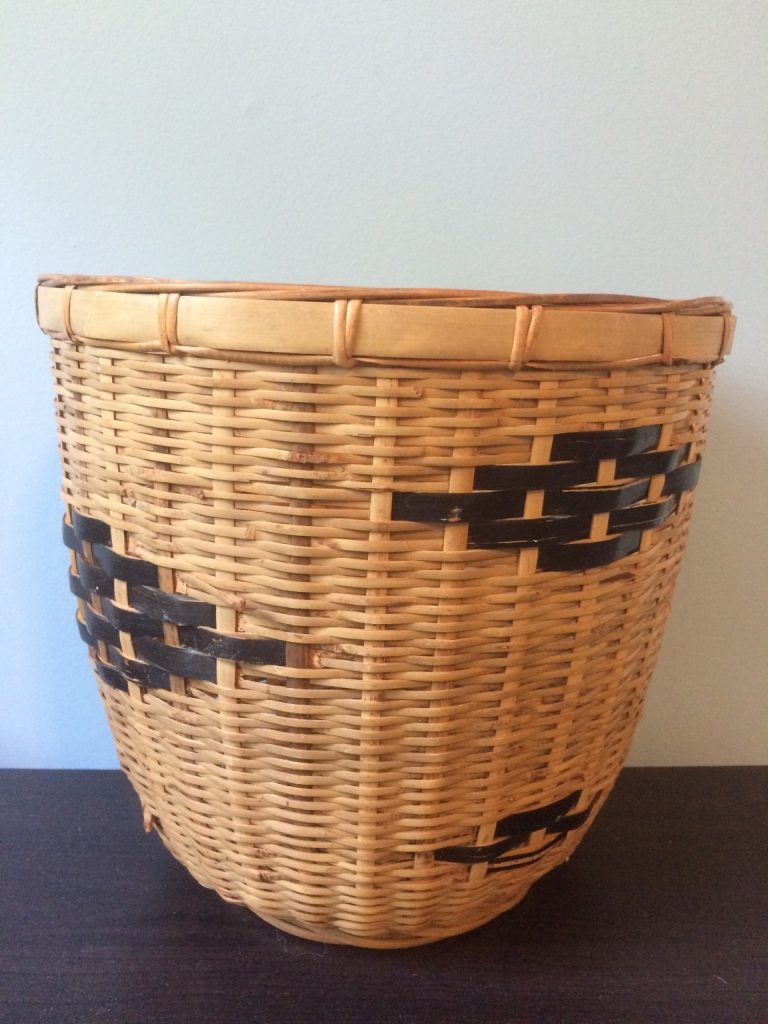 One can never have too many! I might either use this to store my potatoes in my kitchen, maybe as a little trash can under my desk. Not sure yet, but all I know is that it’s a great addition to my home! I also immediately fell in love with this double handled vase.
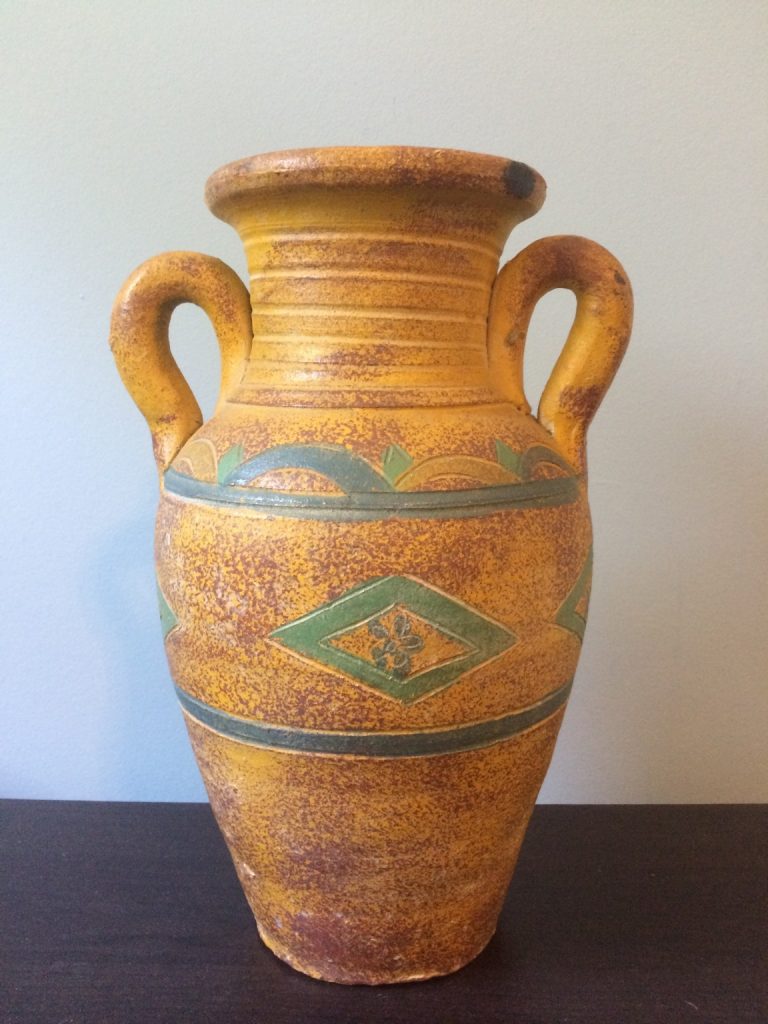 I don’t have many display pieces in my new home and thought this would fit lovely on any surface. Perhaps on the fireplace mantle, or on a kitchen shelf. Maybe on my night stand. I don’t know yet, but all I know is that I loved it and had to have it.
 Twice Around is conveniently located at 2519 montauk highway, Brookhaven NY 11719. Call 631-803-8666 or visit their website at twicearoundinc.com for hours of operations.

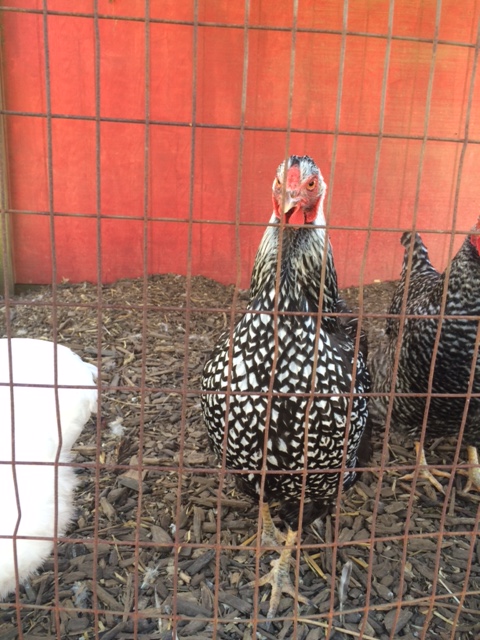
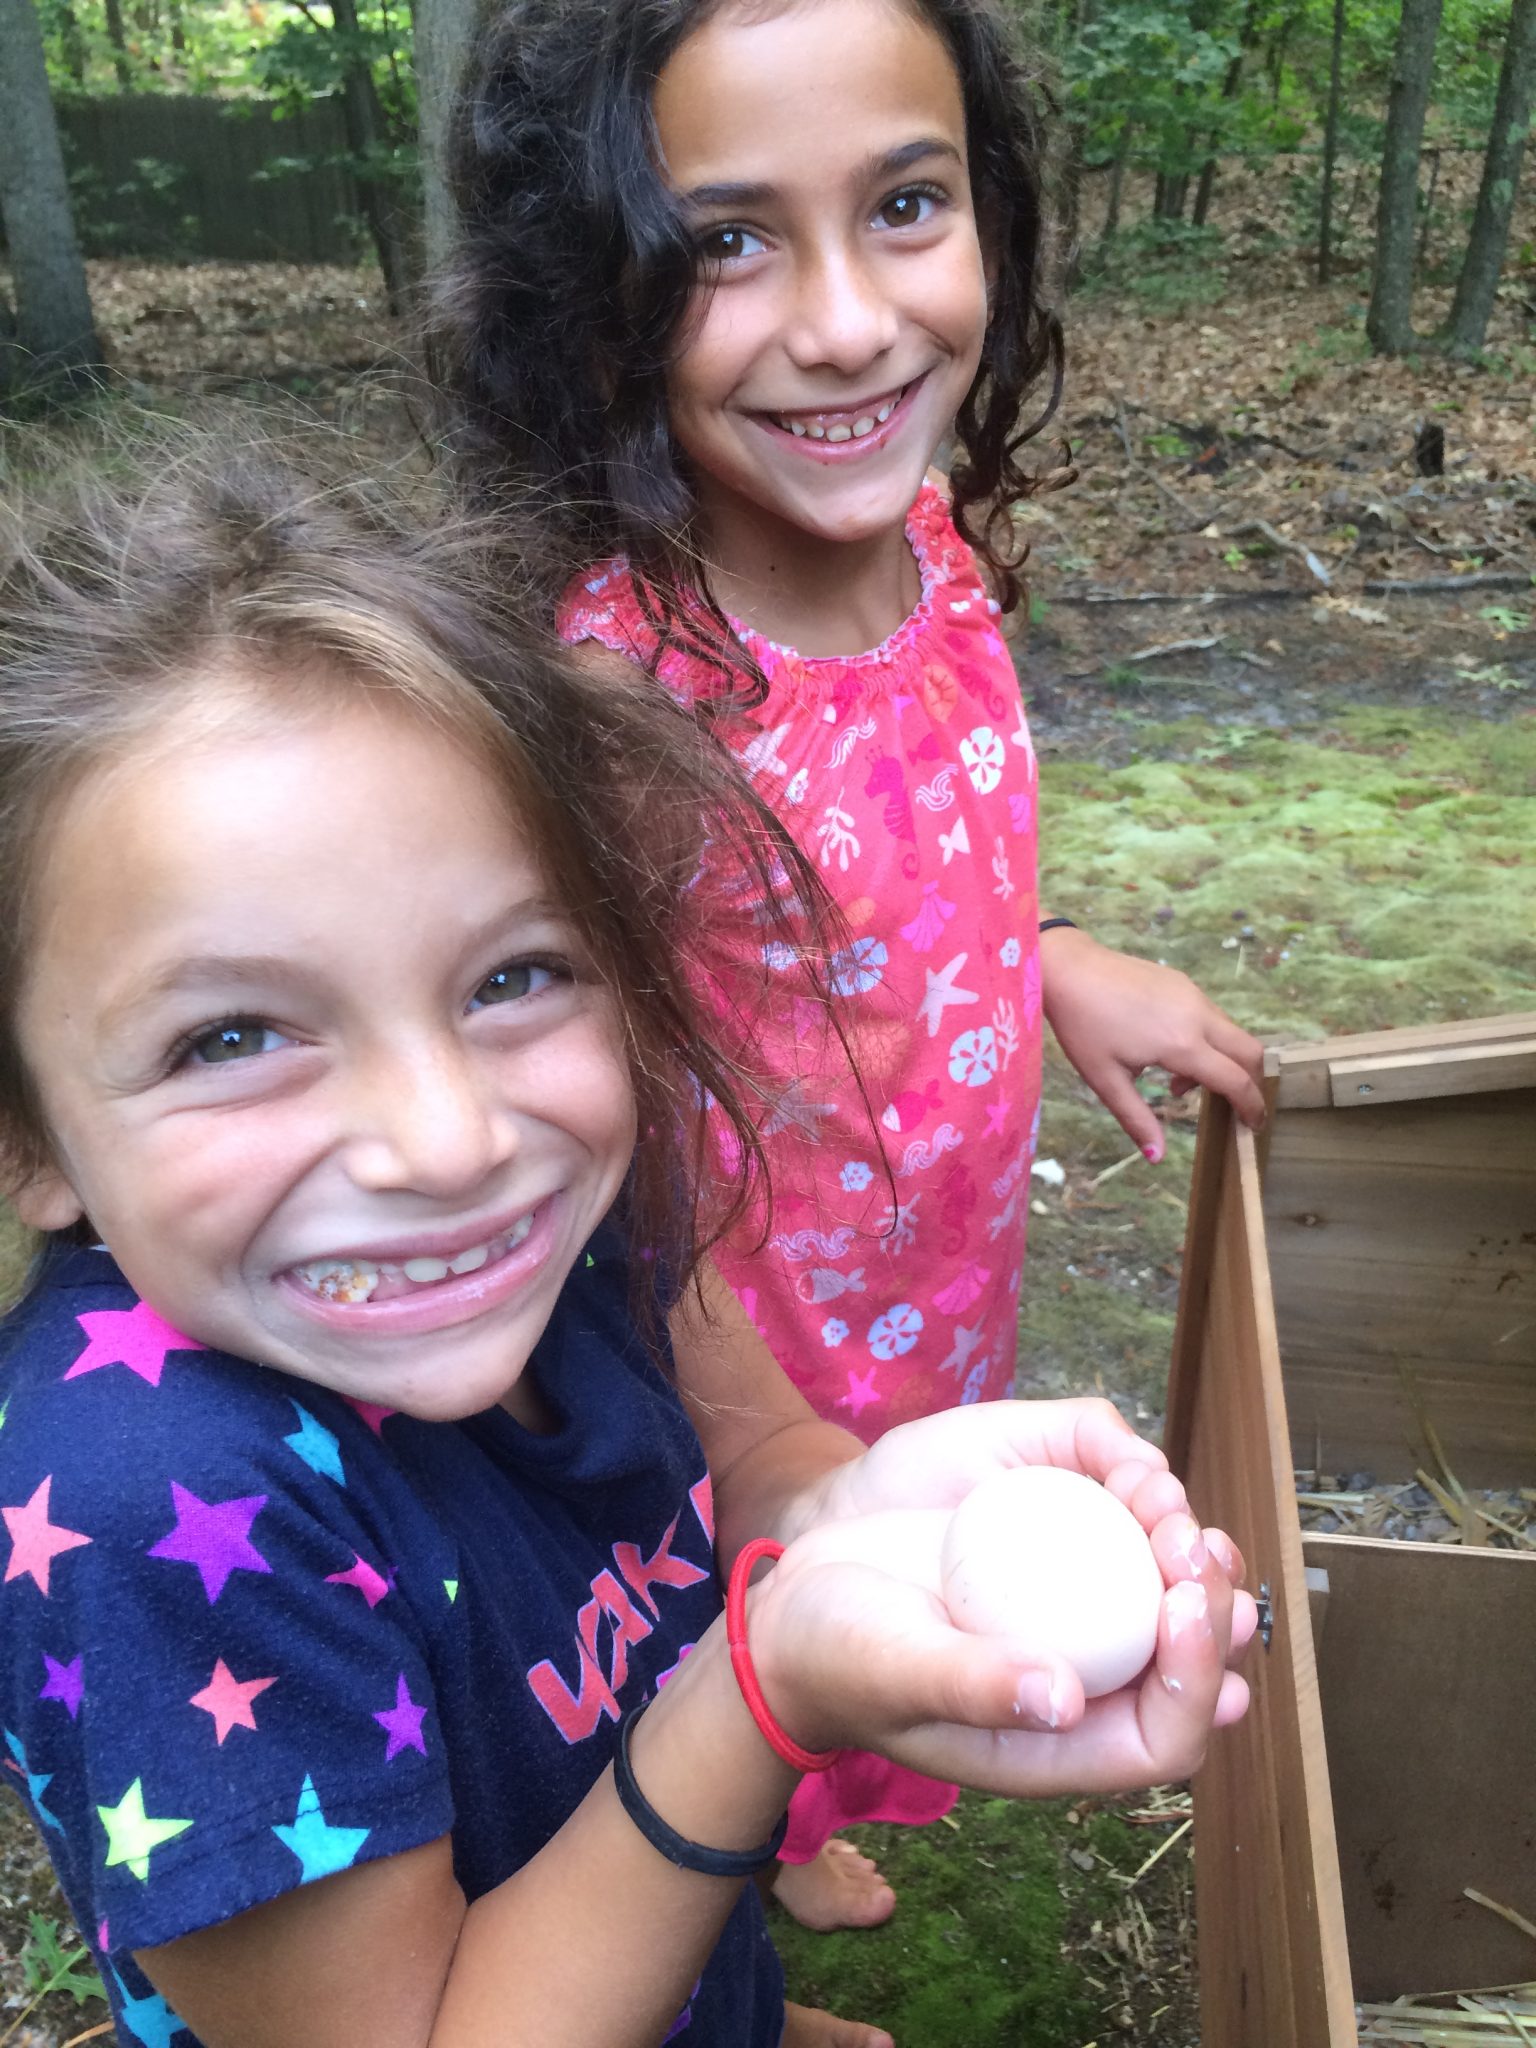
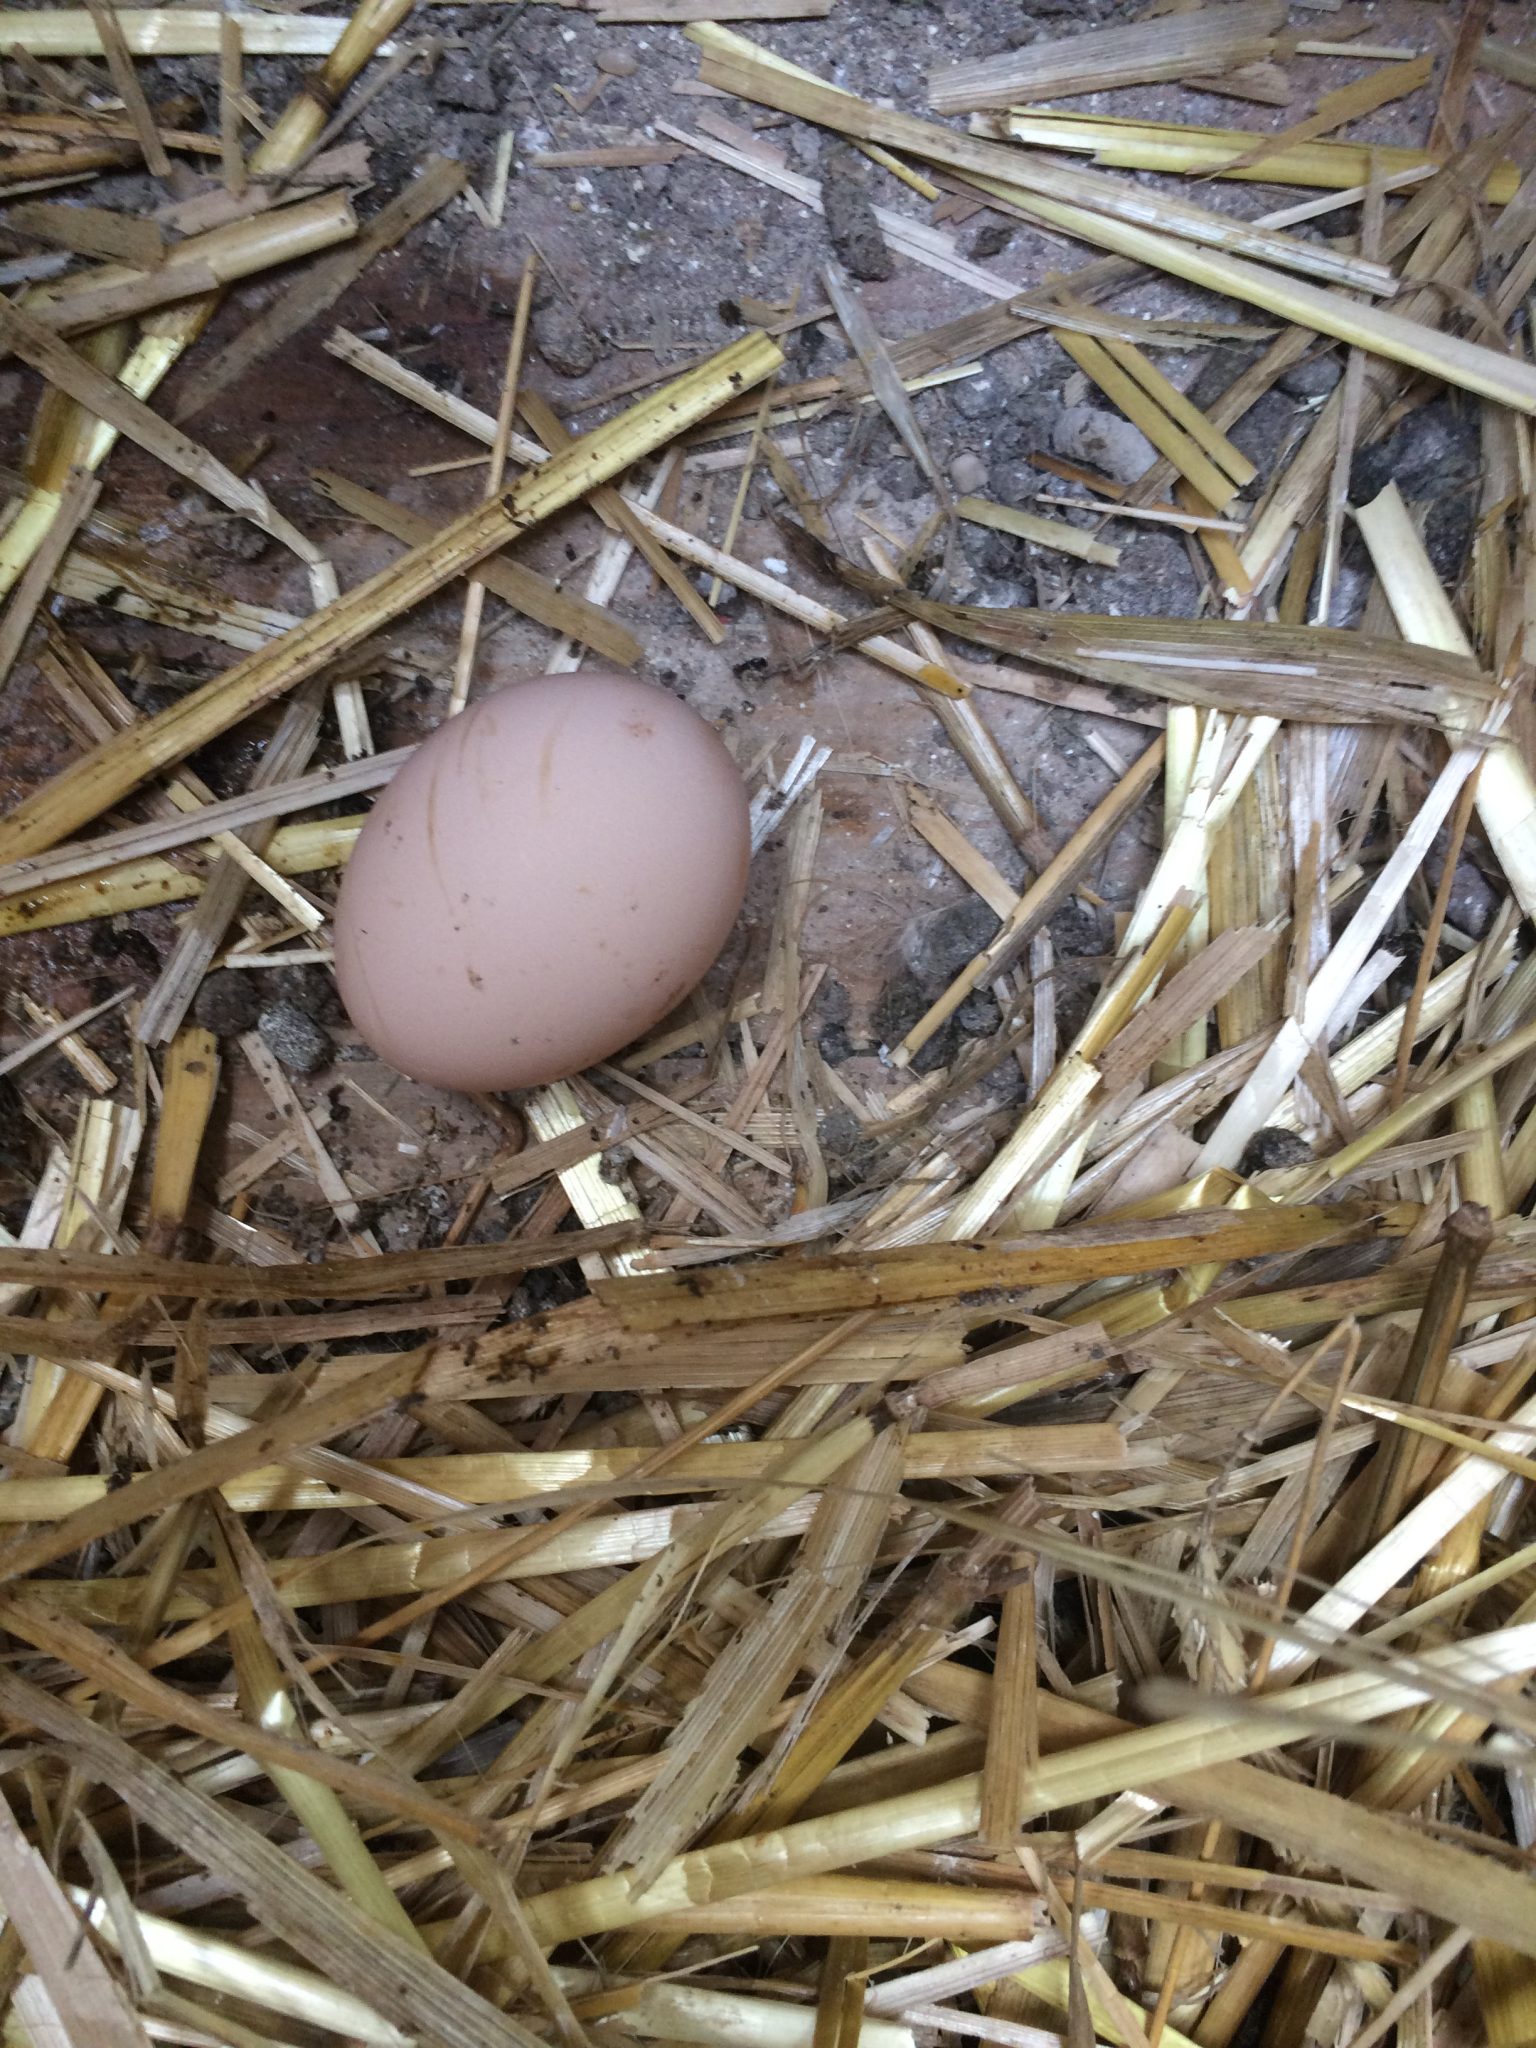 Our little ladies have begun to lay eggs (an egg)! Not these little ladies!
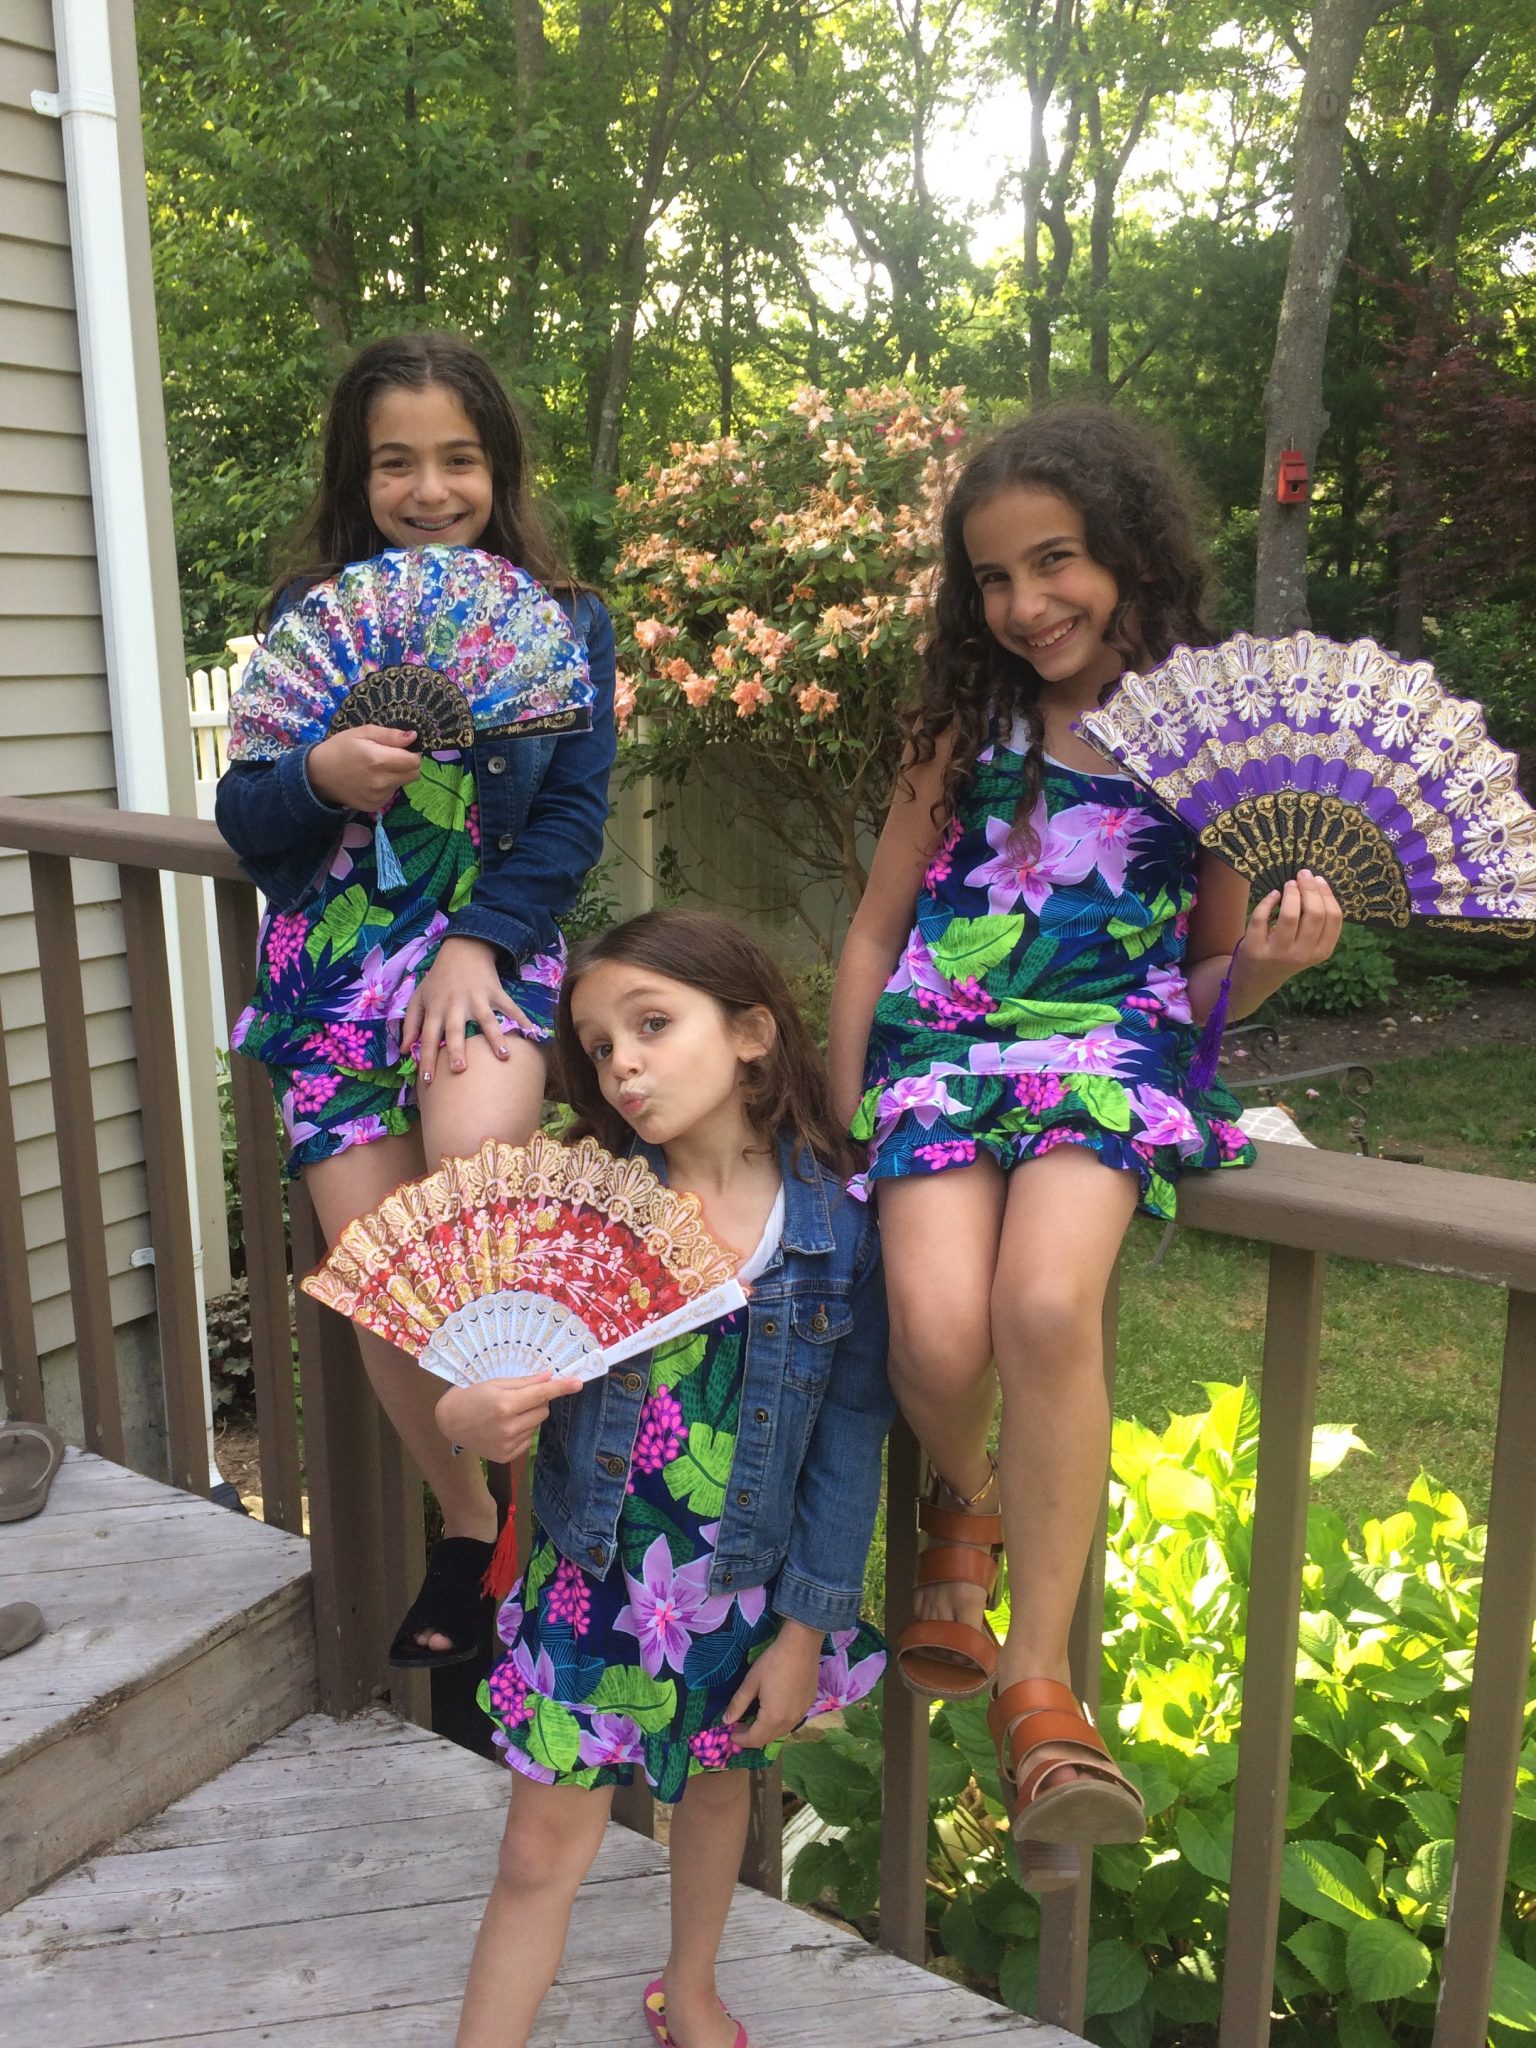 These little ladies!
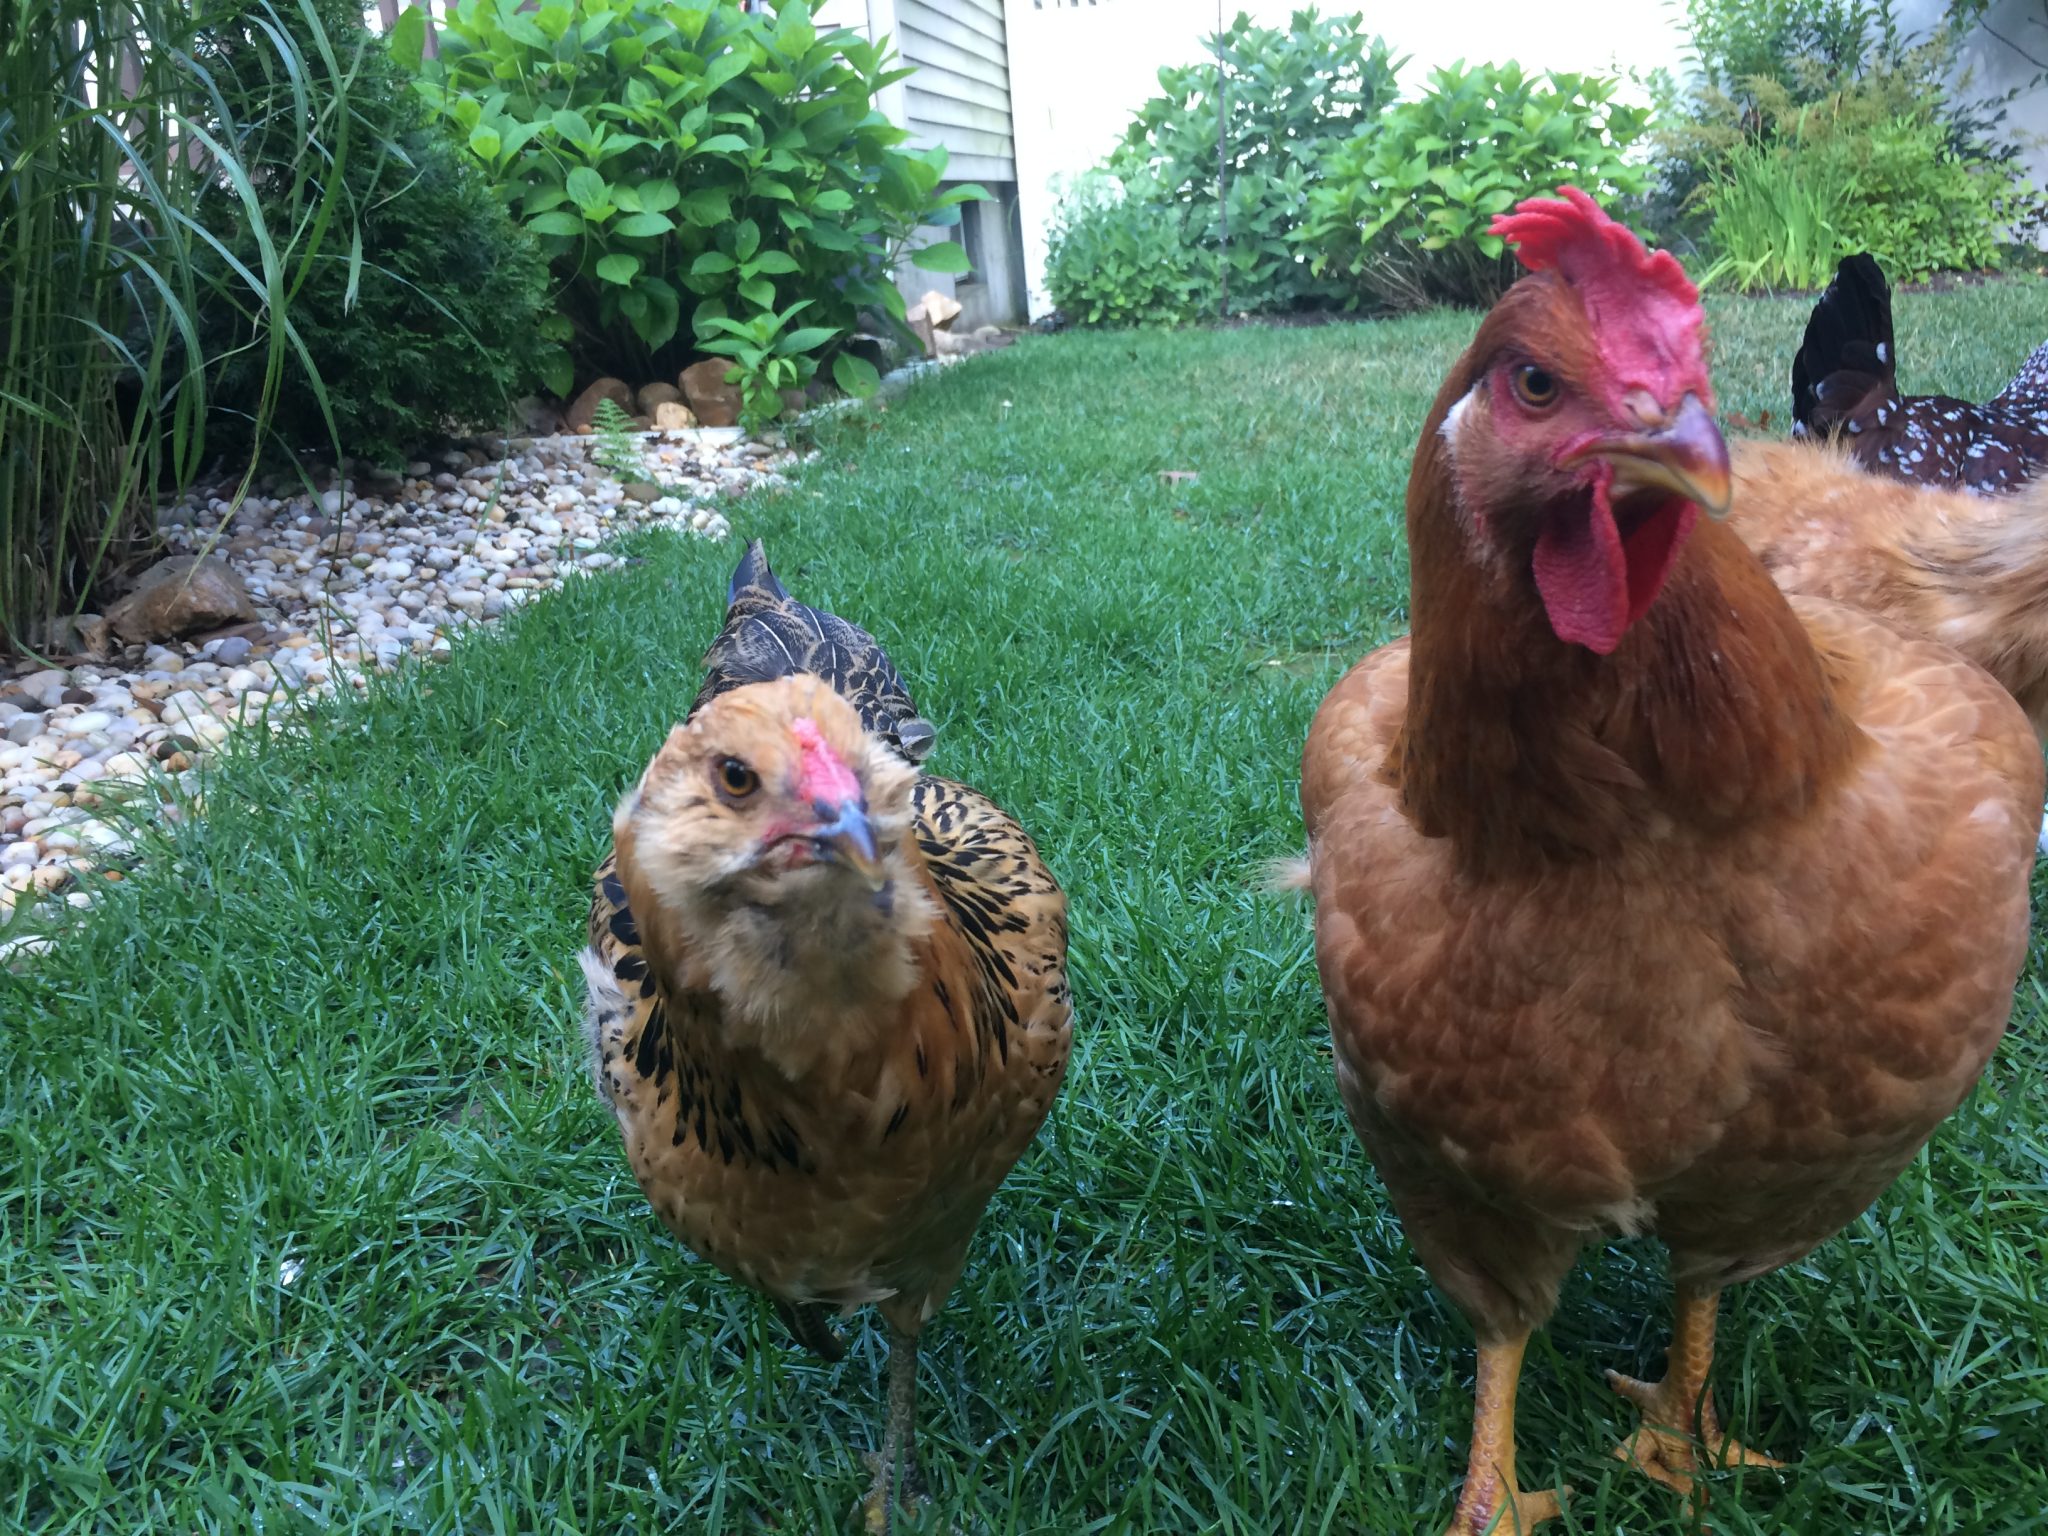 We think it was Minnie, lias chicken, the biggest of all four girls. She’s been acting strange after she roosts herself for the evening, sitting at the edge of the front door of the coop. Usually she’s tucked all the way in the corner, but these past three days she’s been sitting with her body half in the coop and her head out almost like she’s on the lookout for something. My husband said that he thought she was getting ready to lay her first egg and he was right.
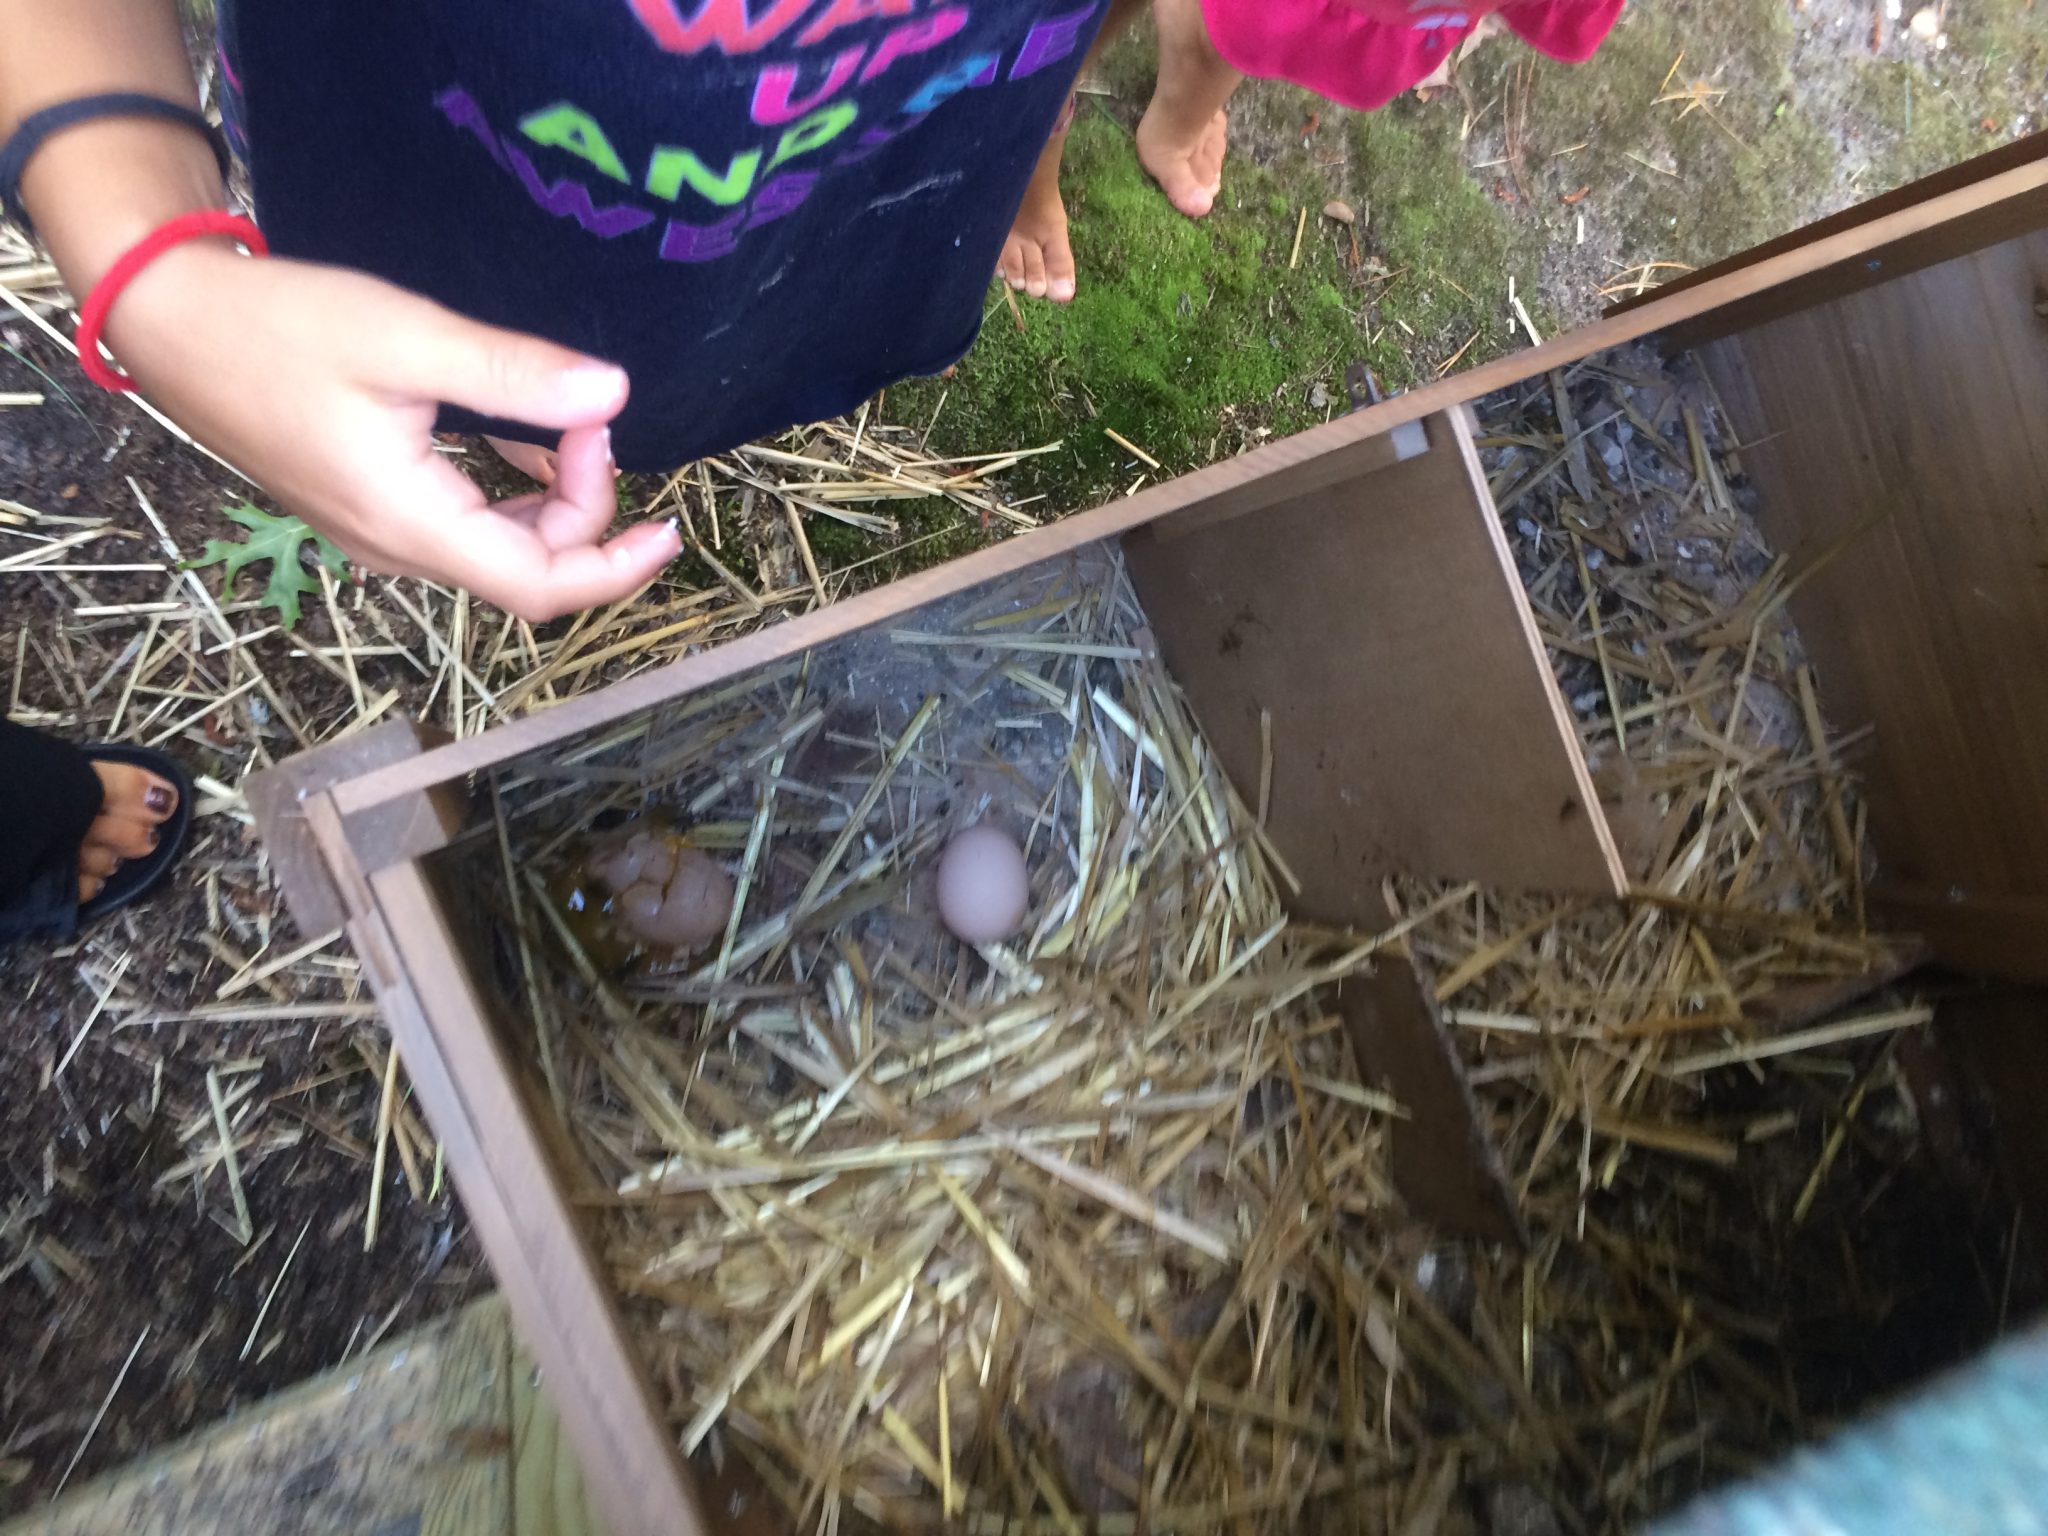


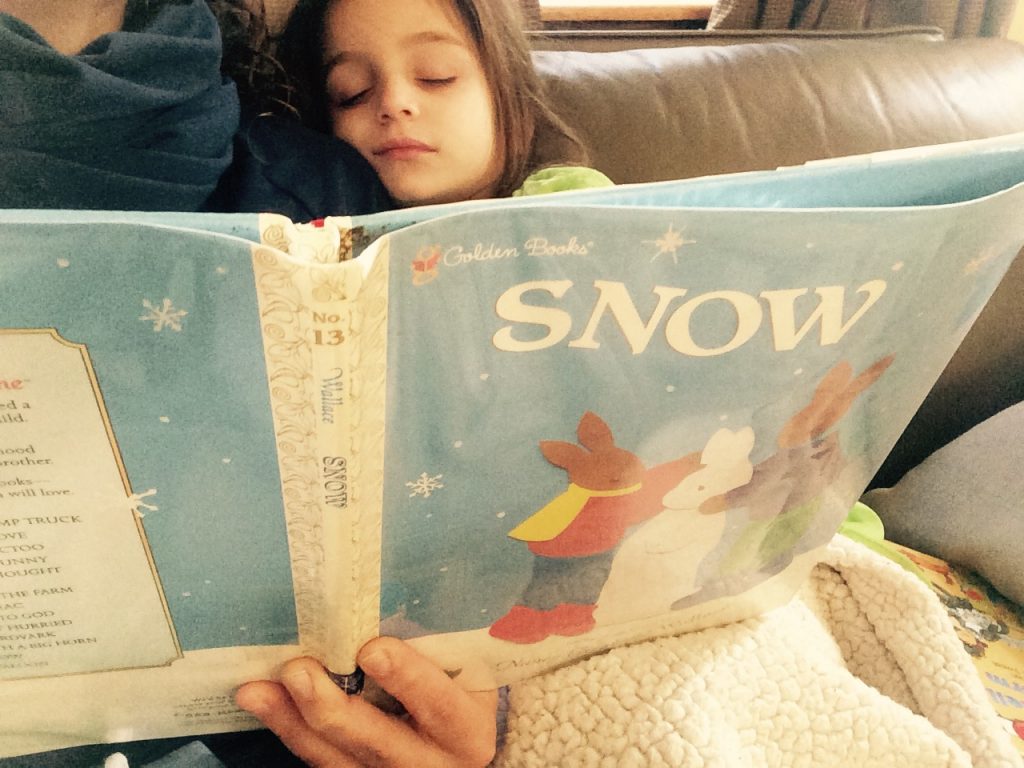

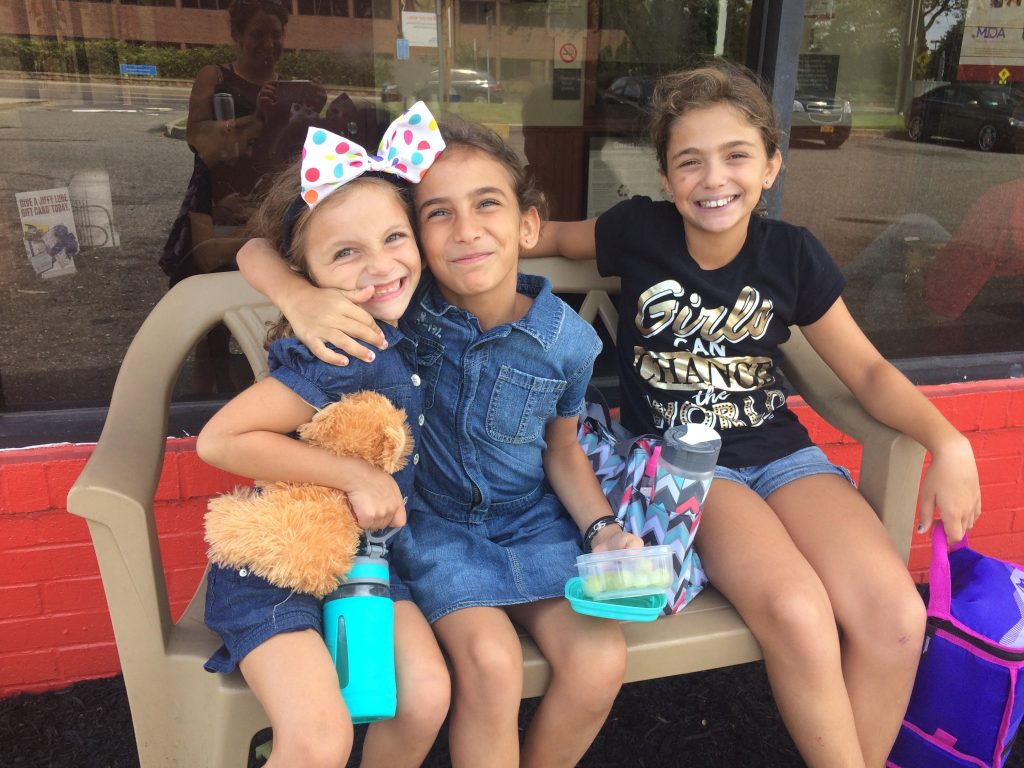
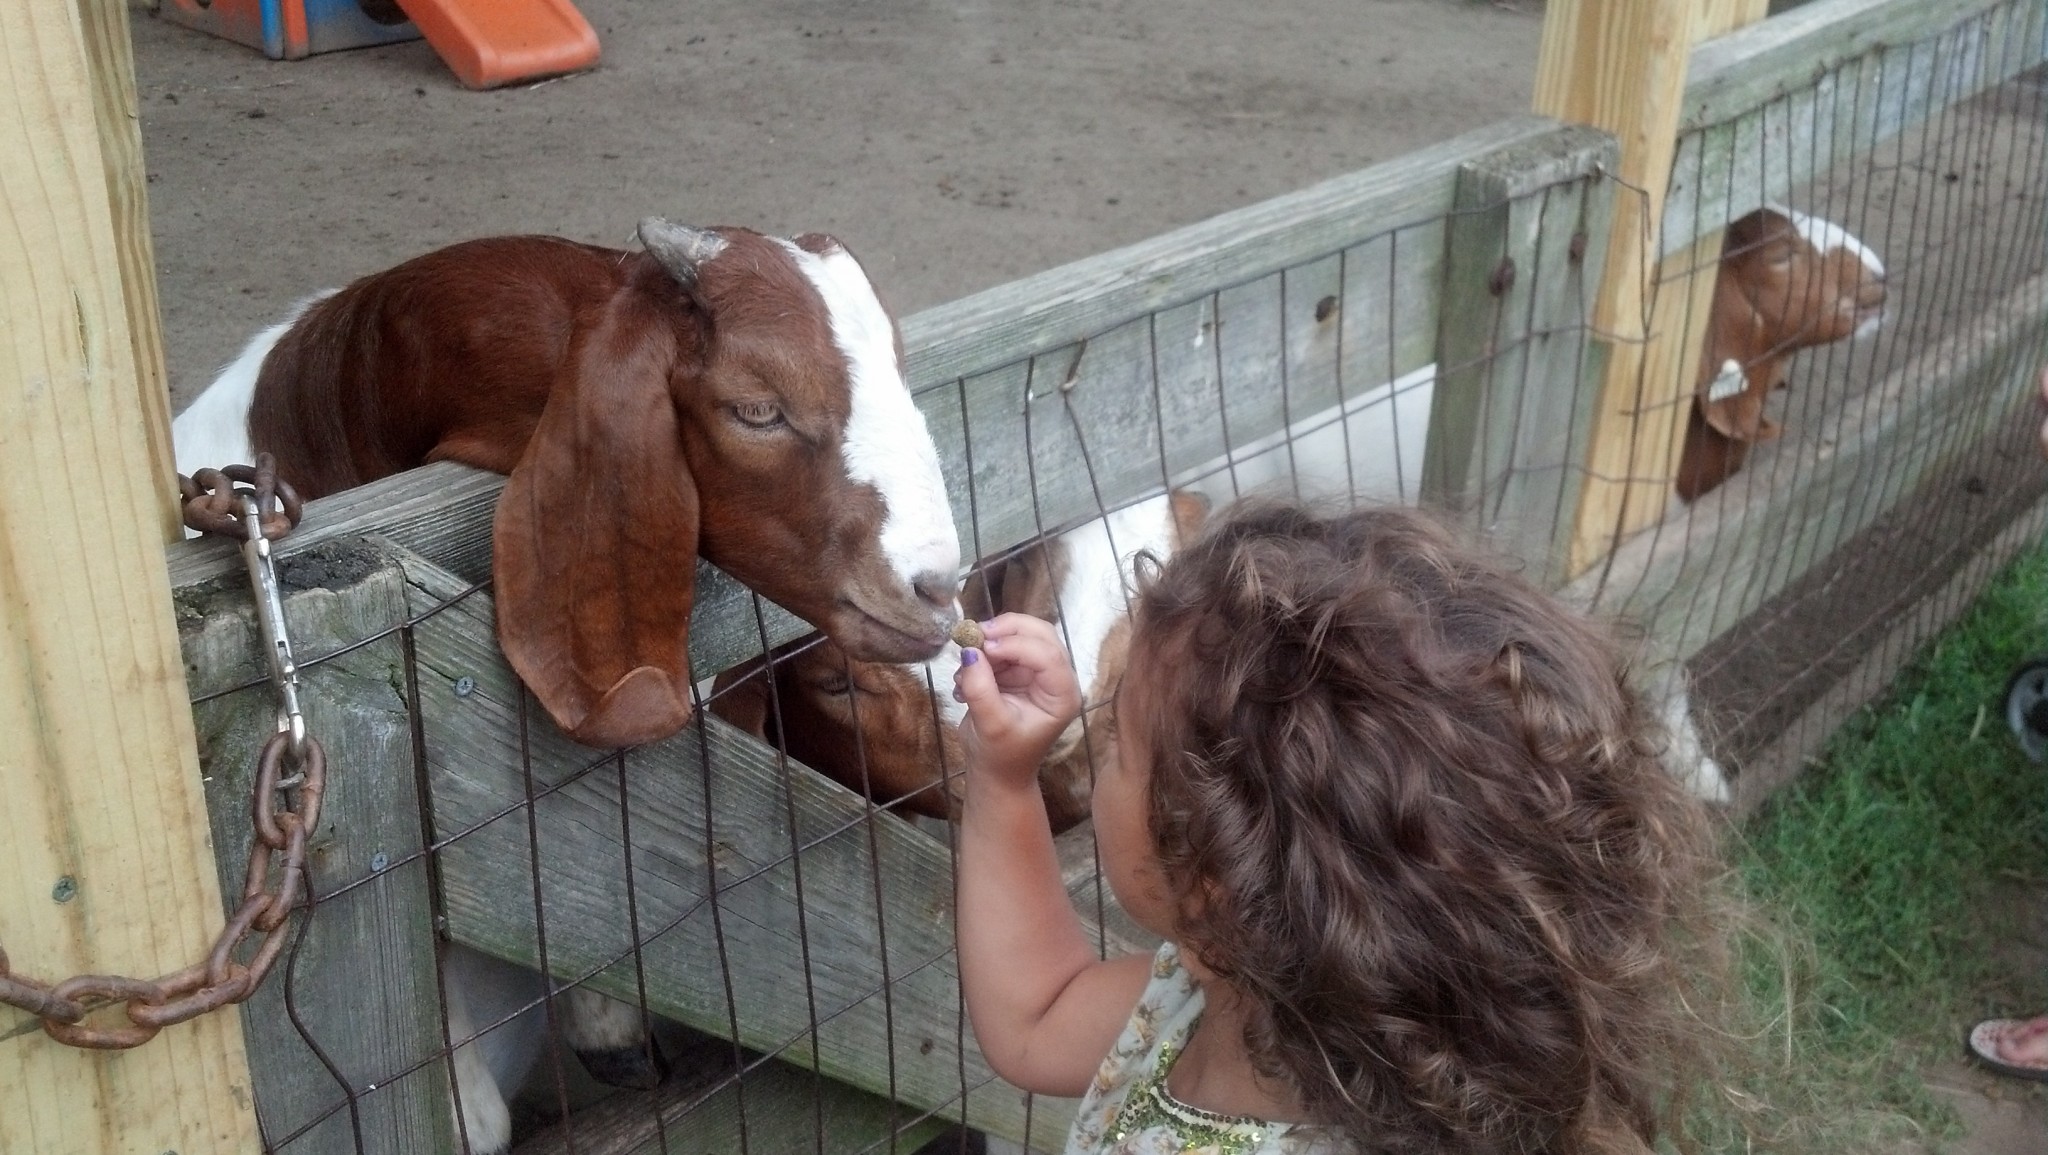
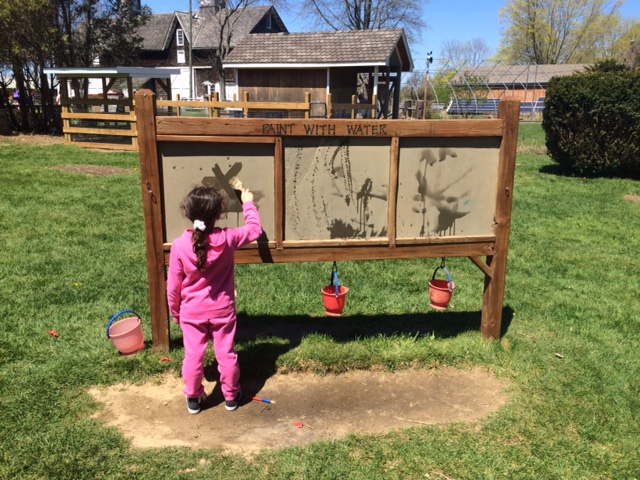
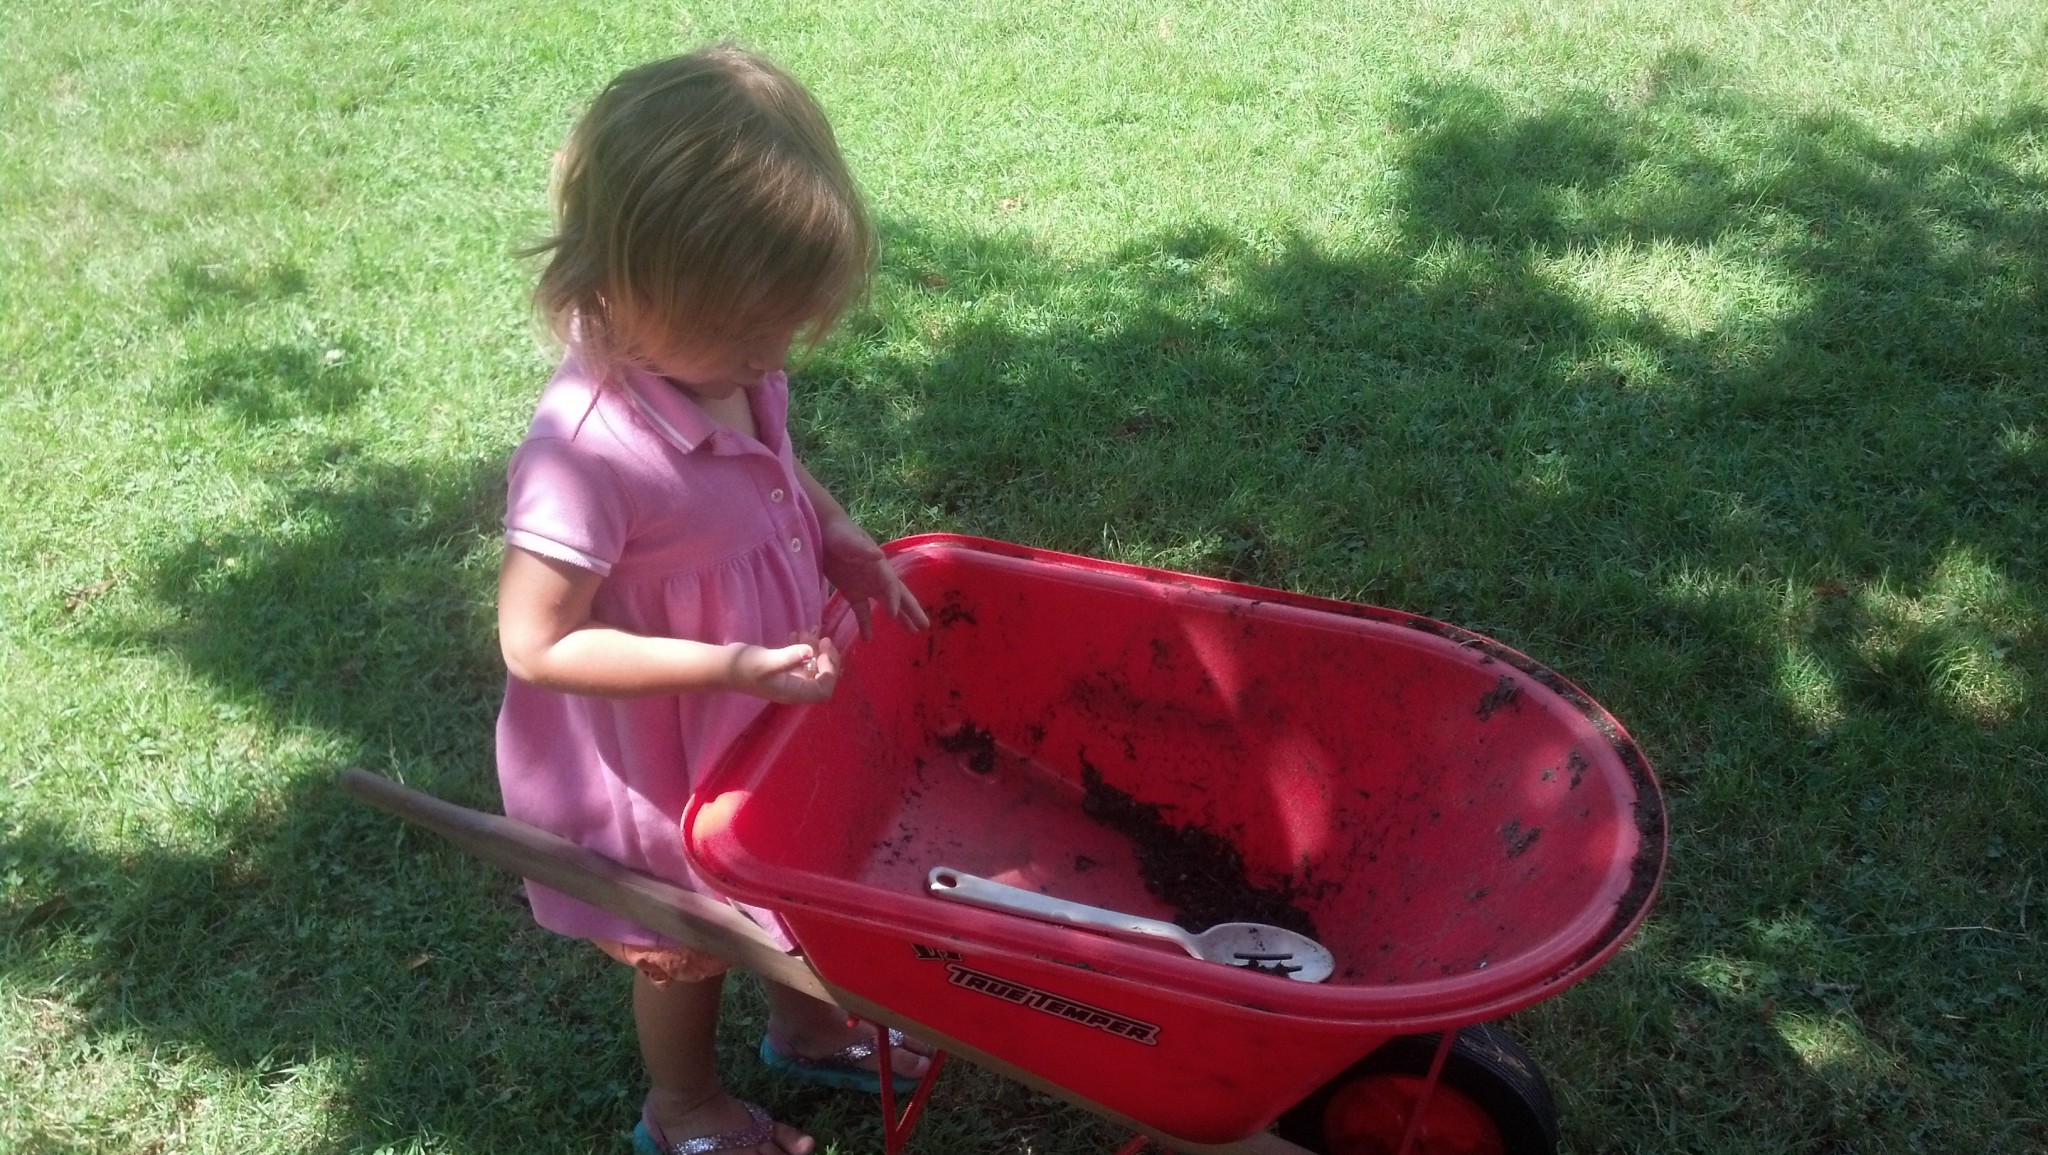
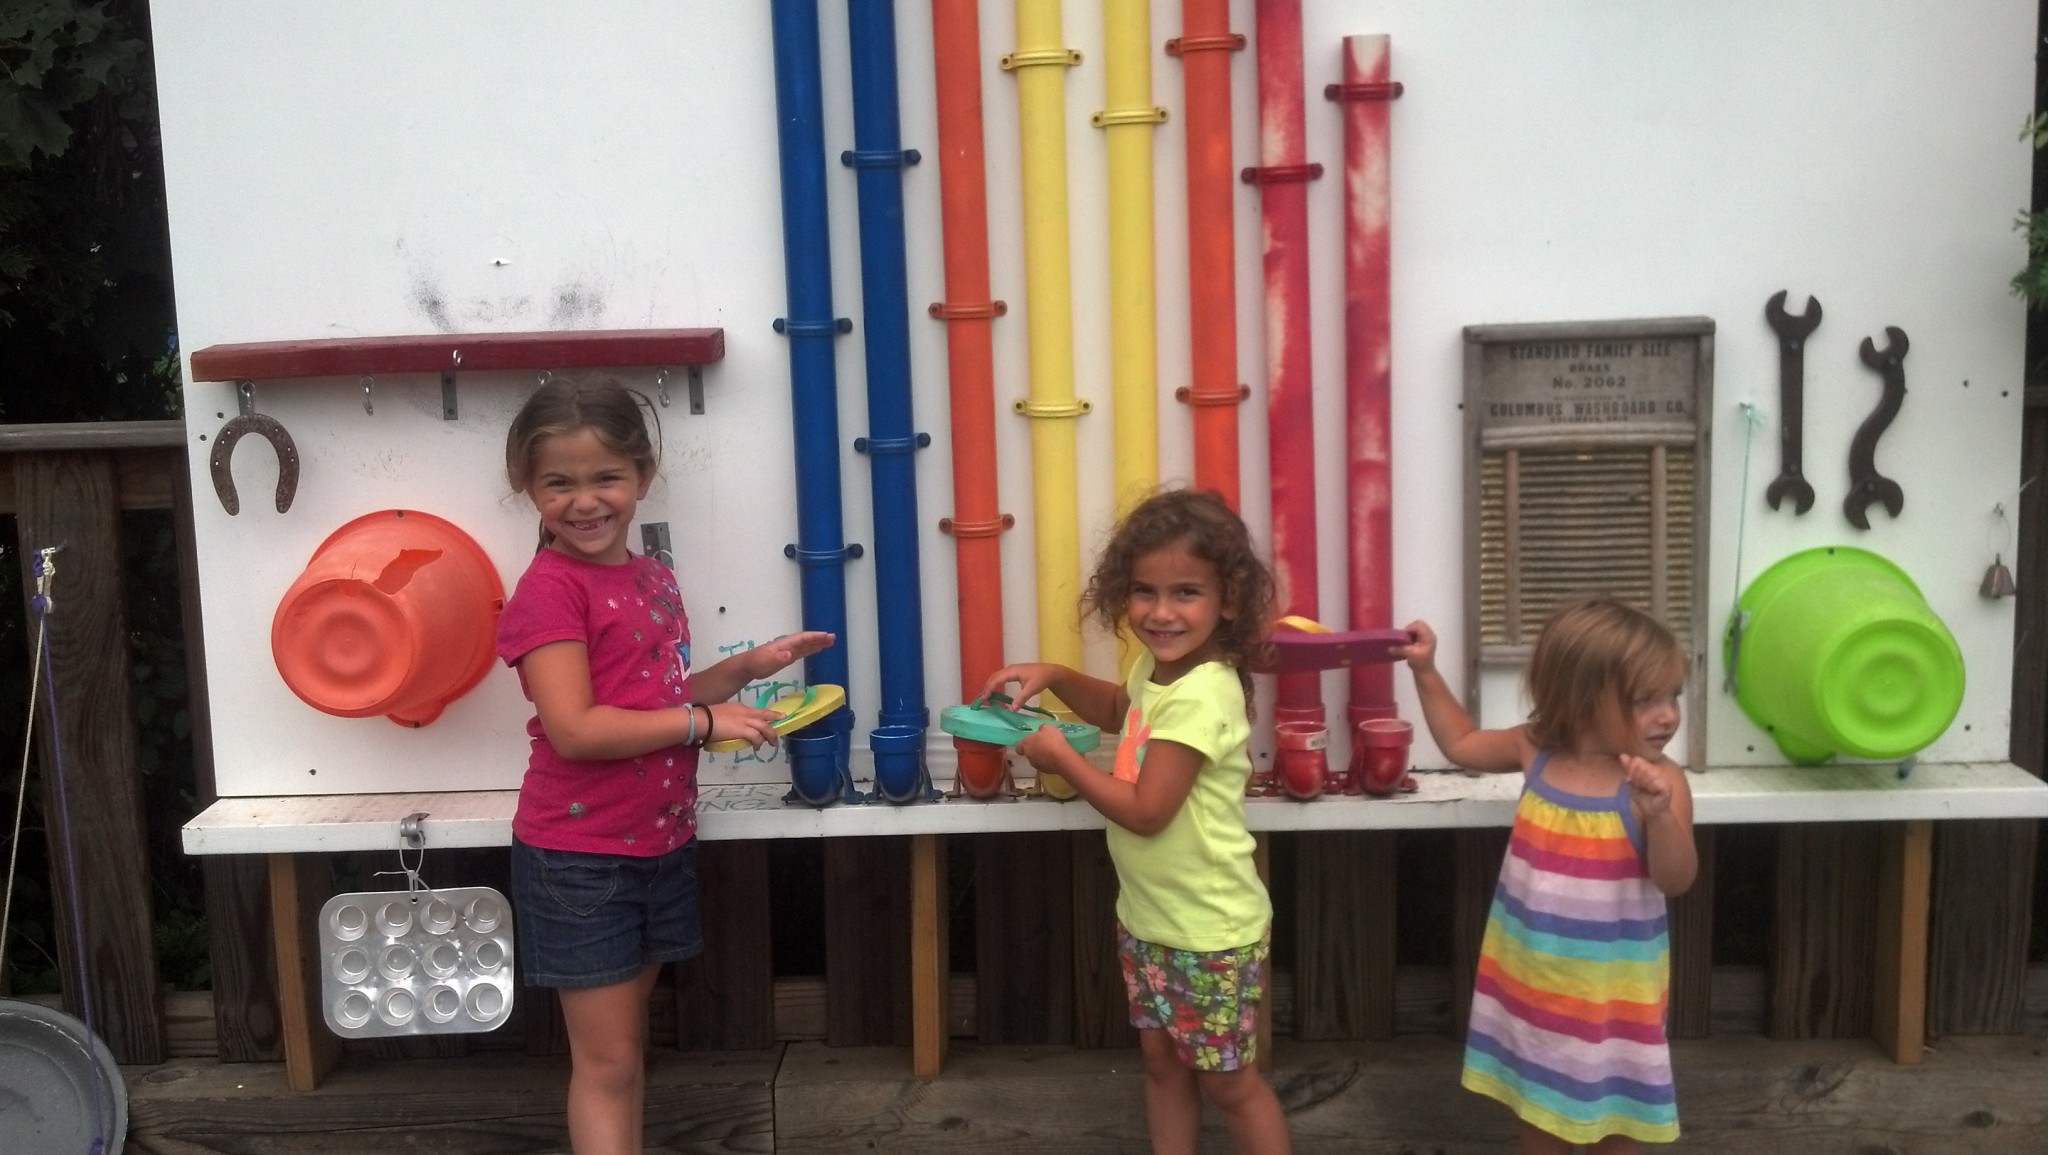
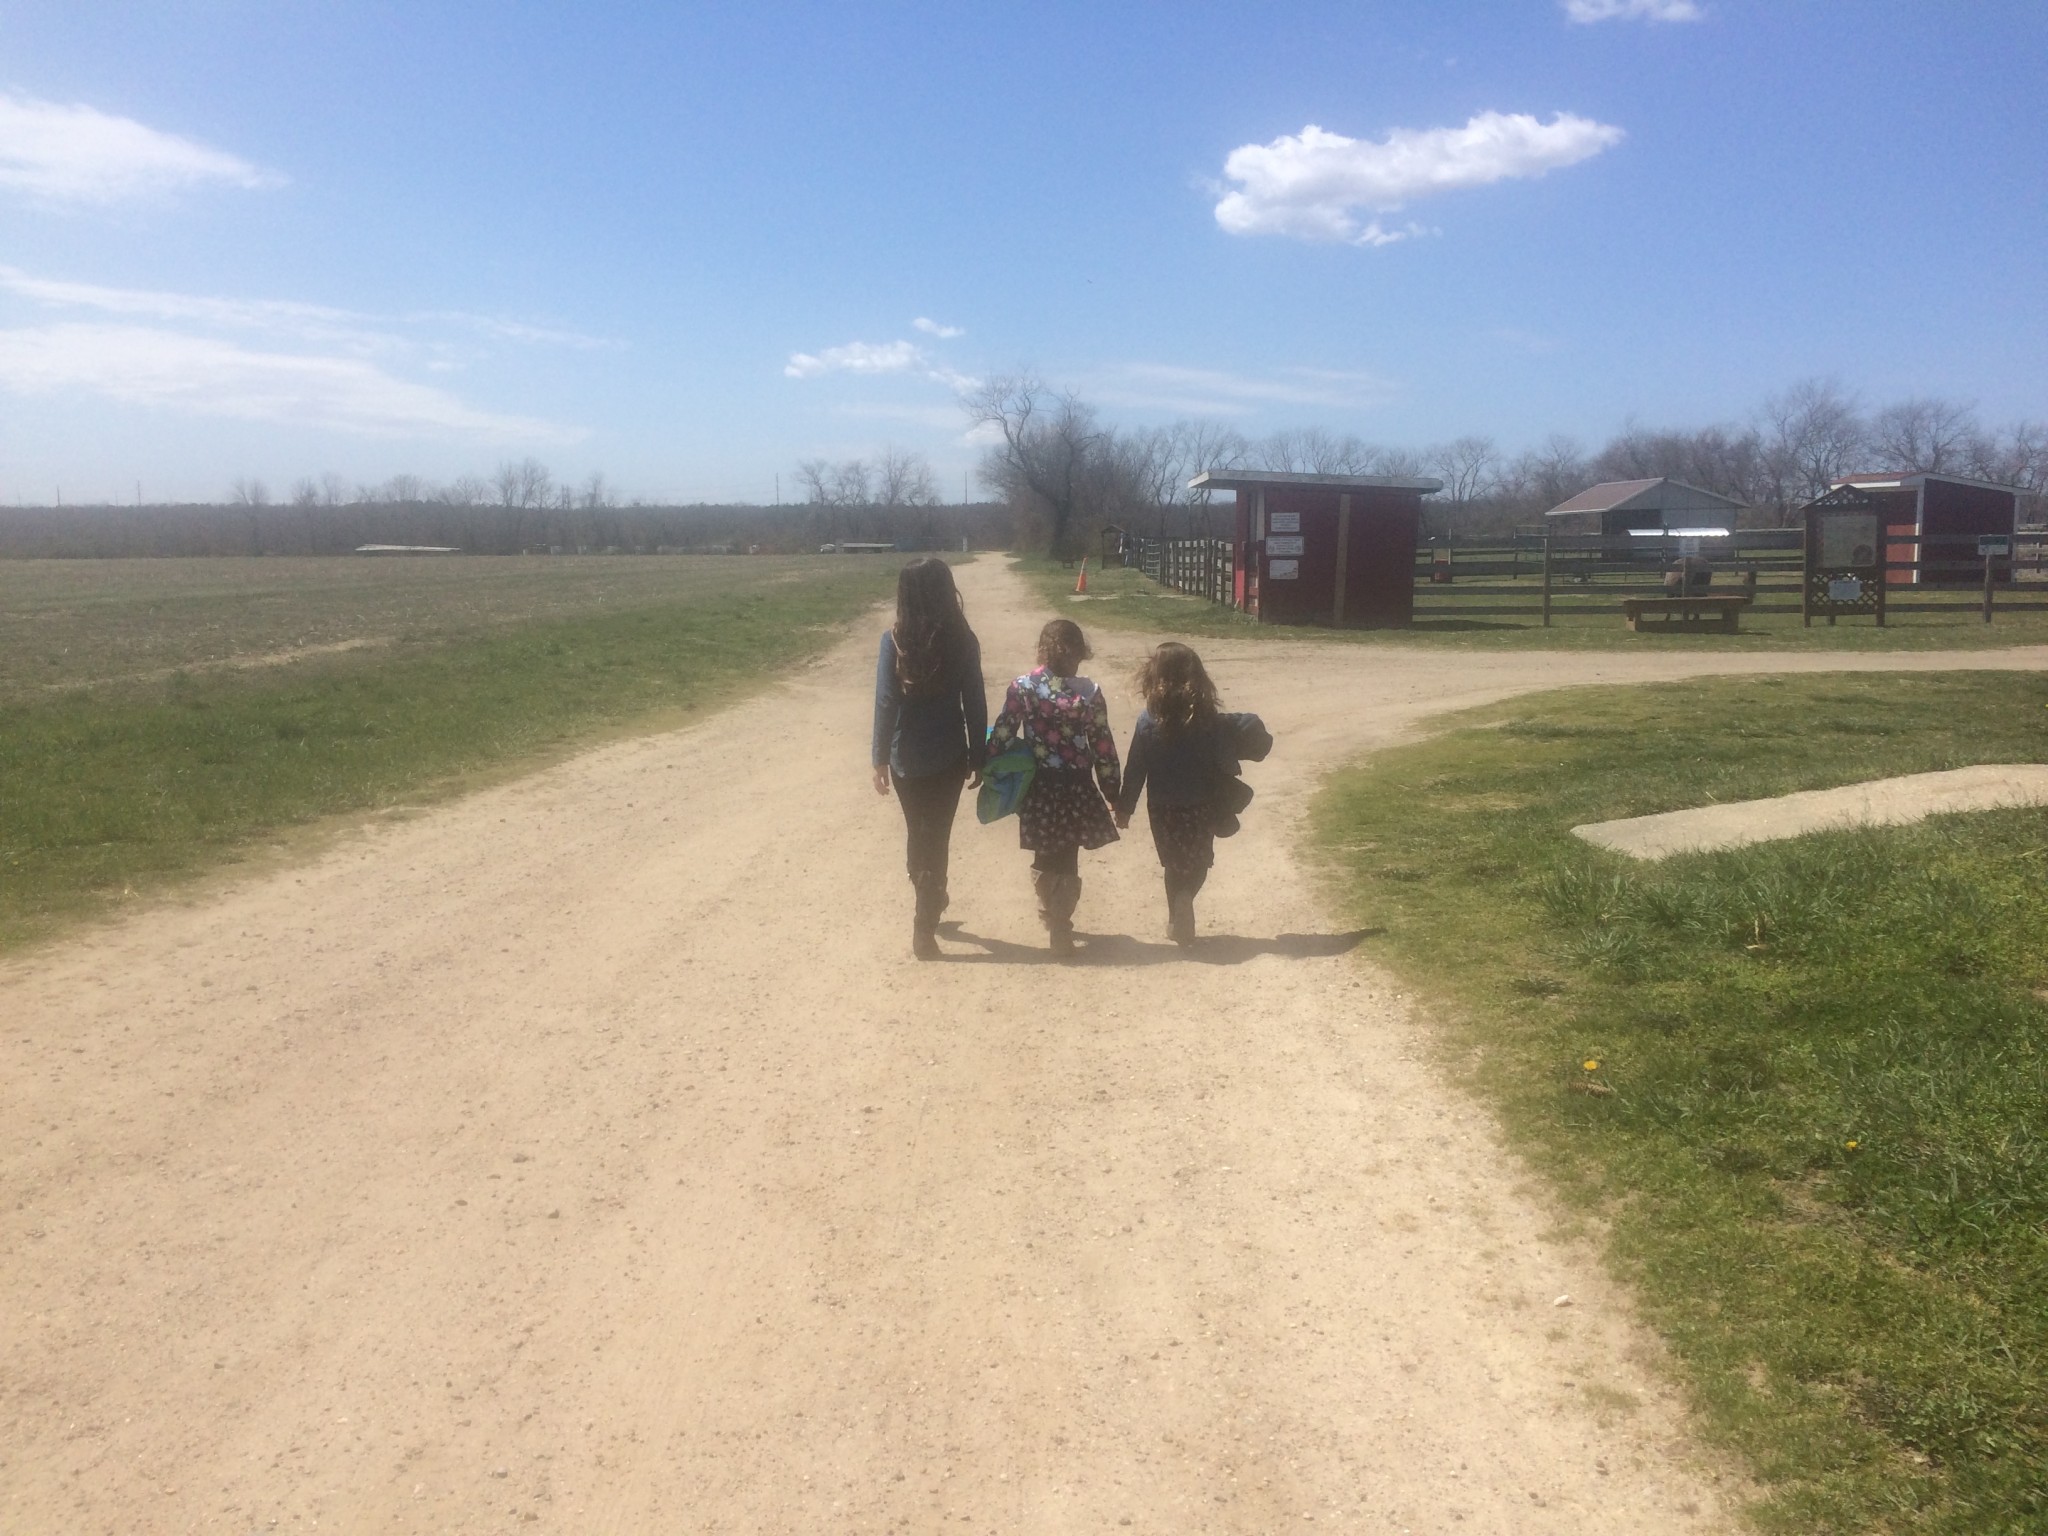
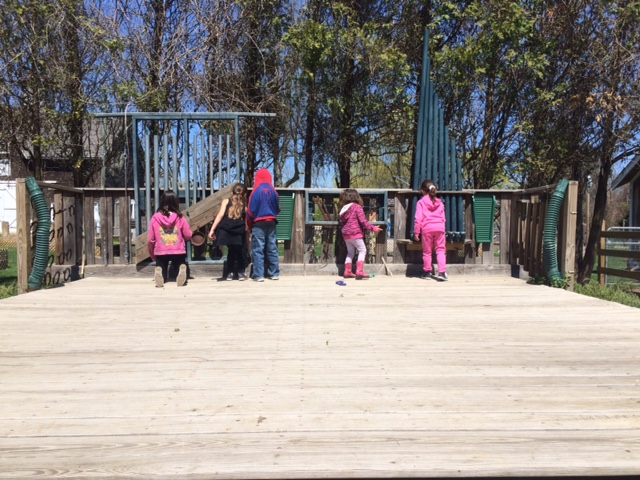
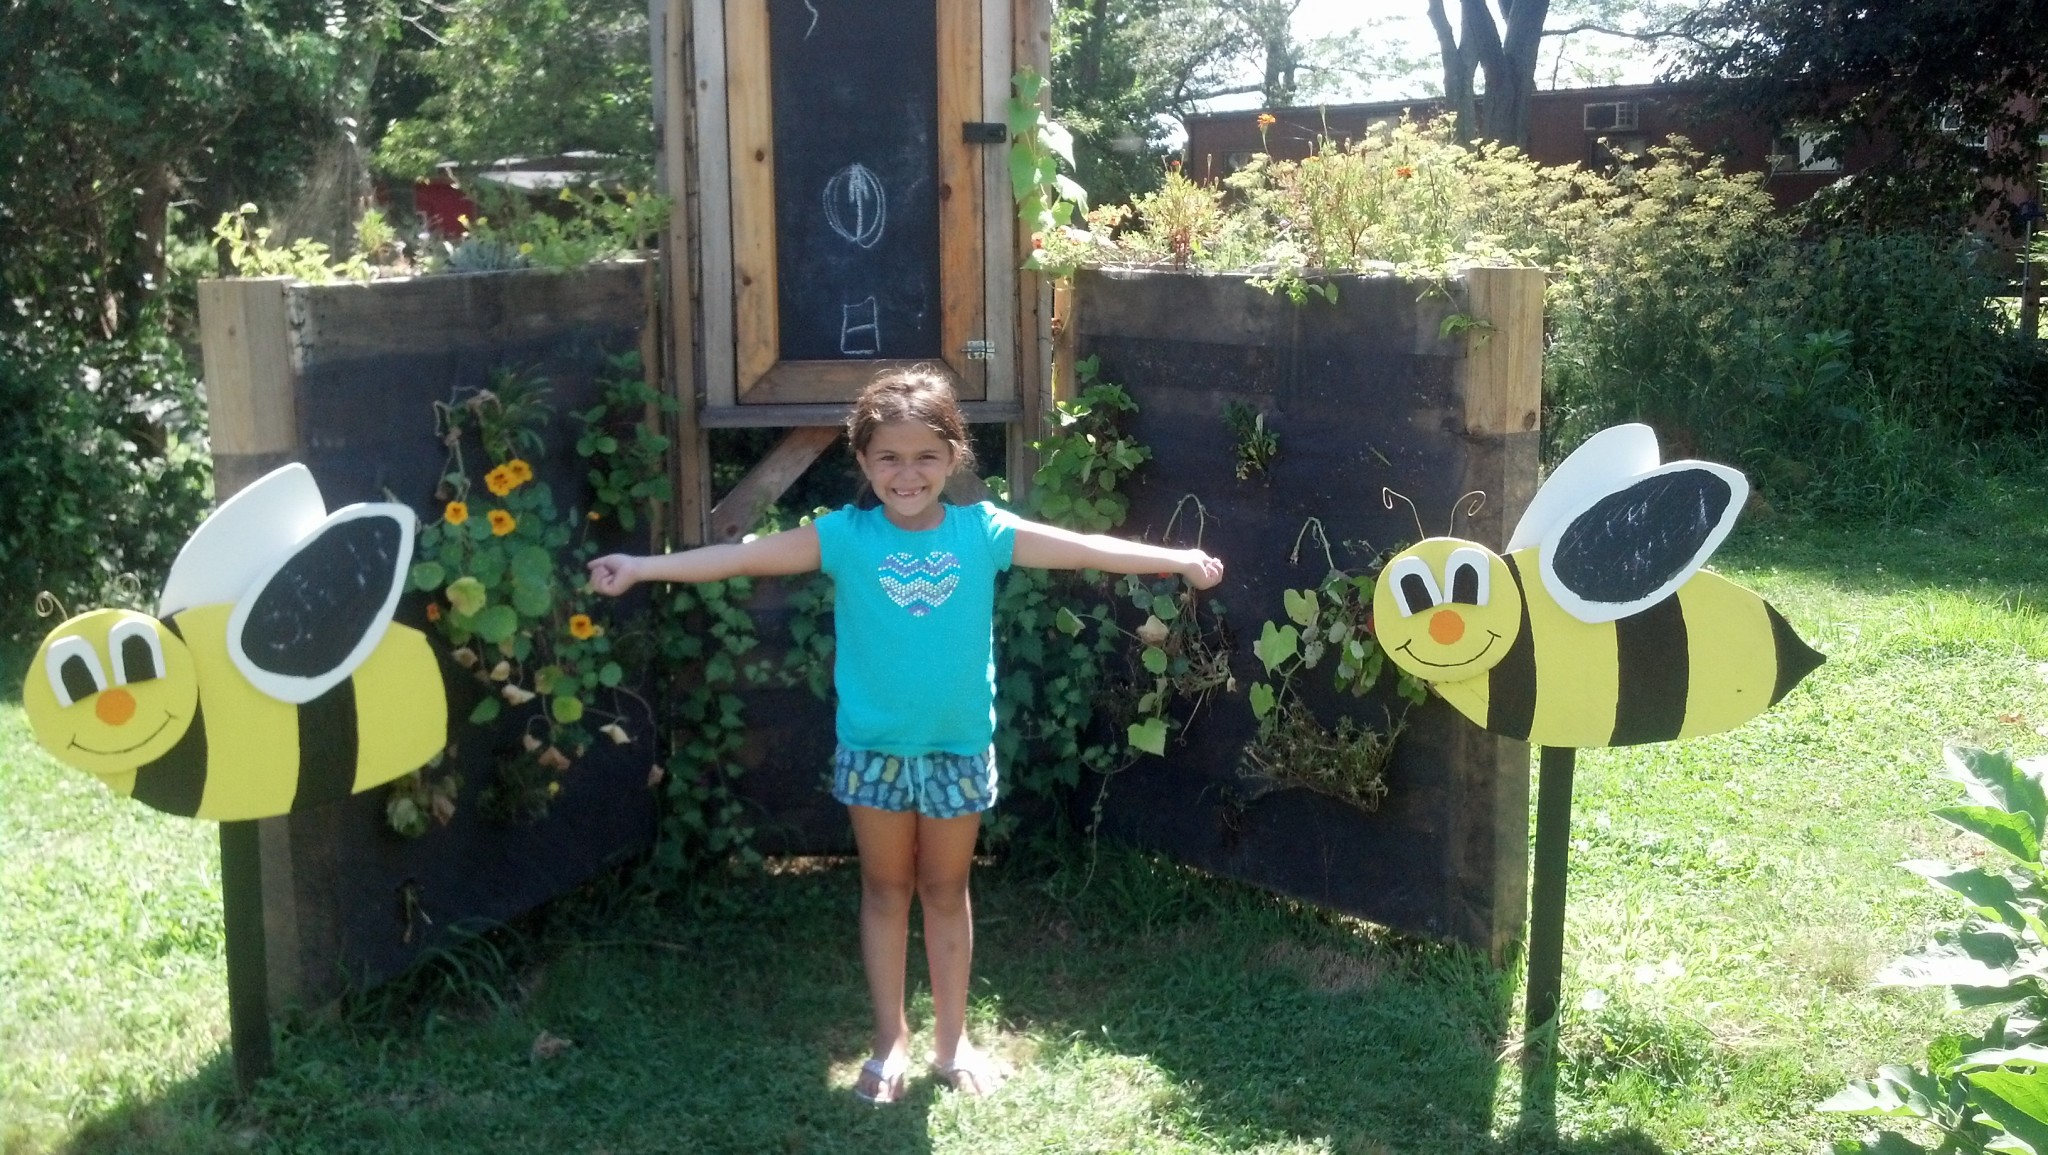
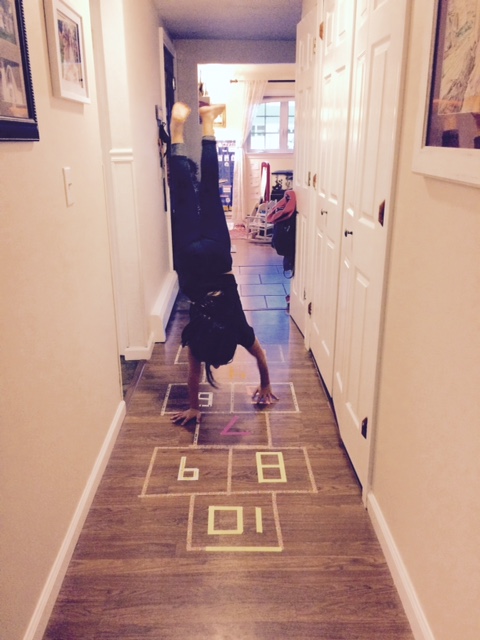
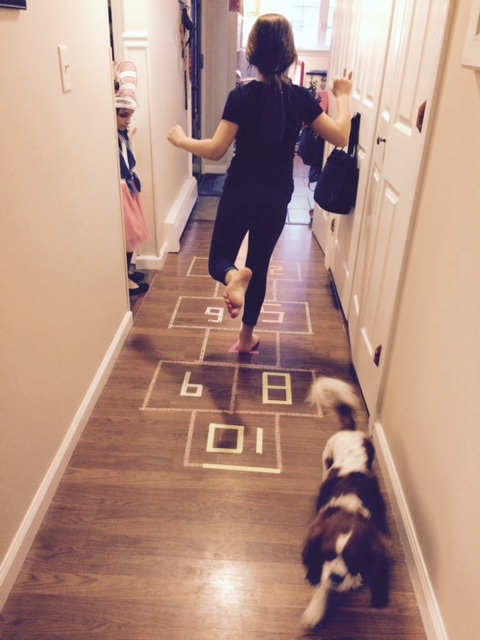
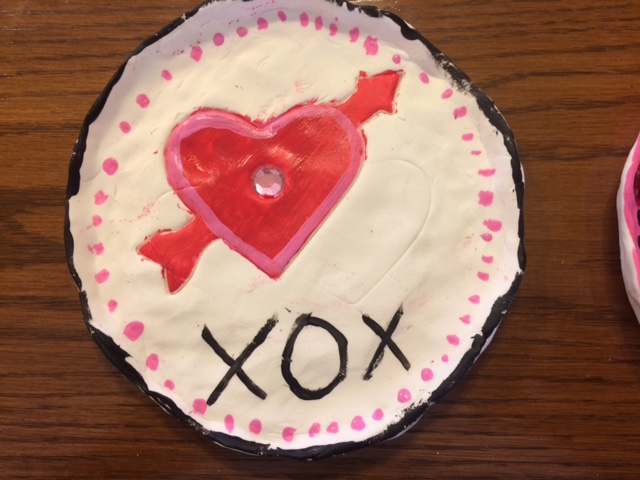
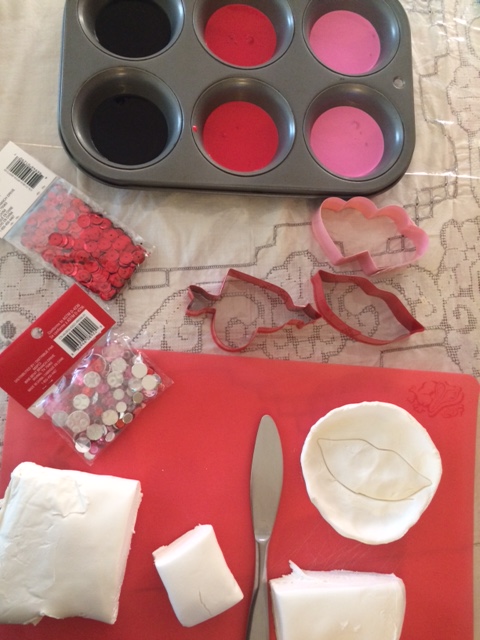
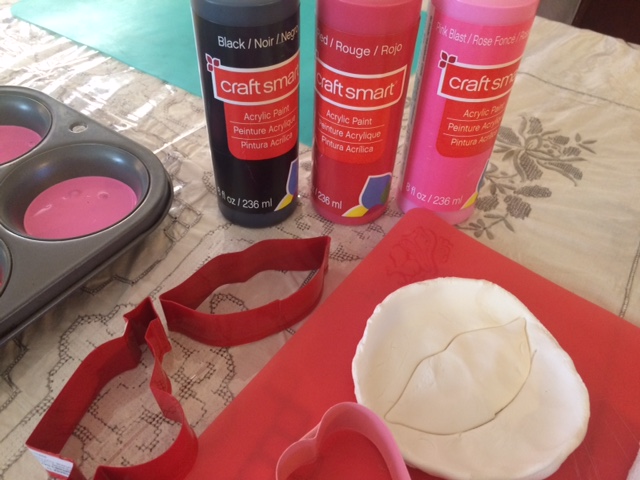
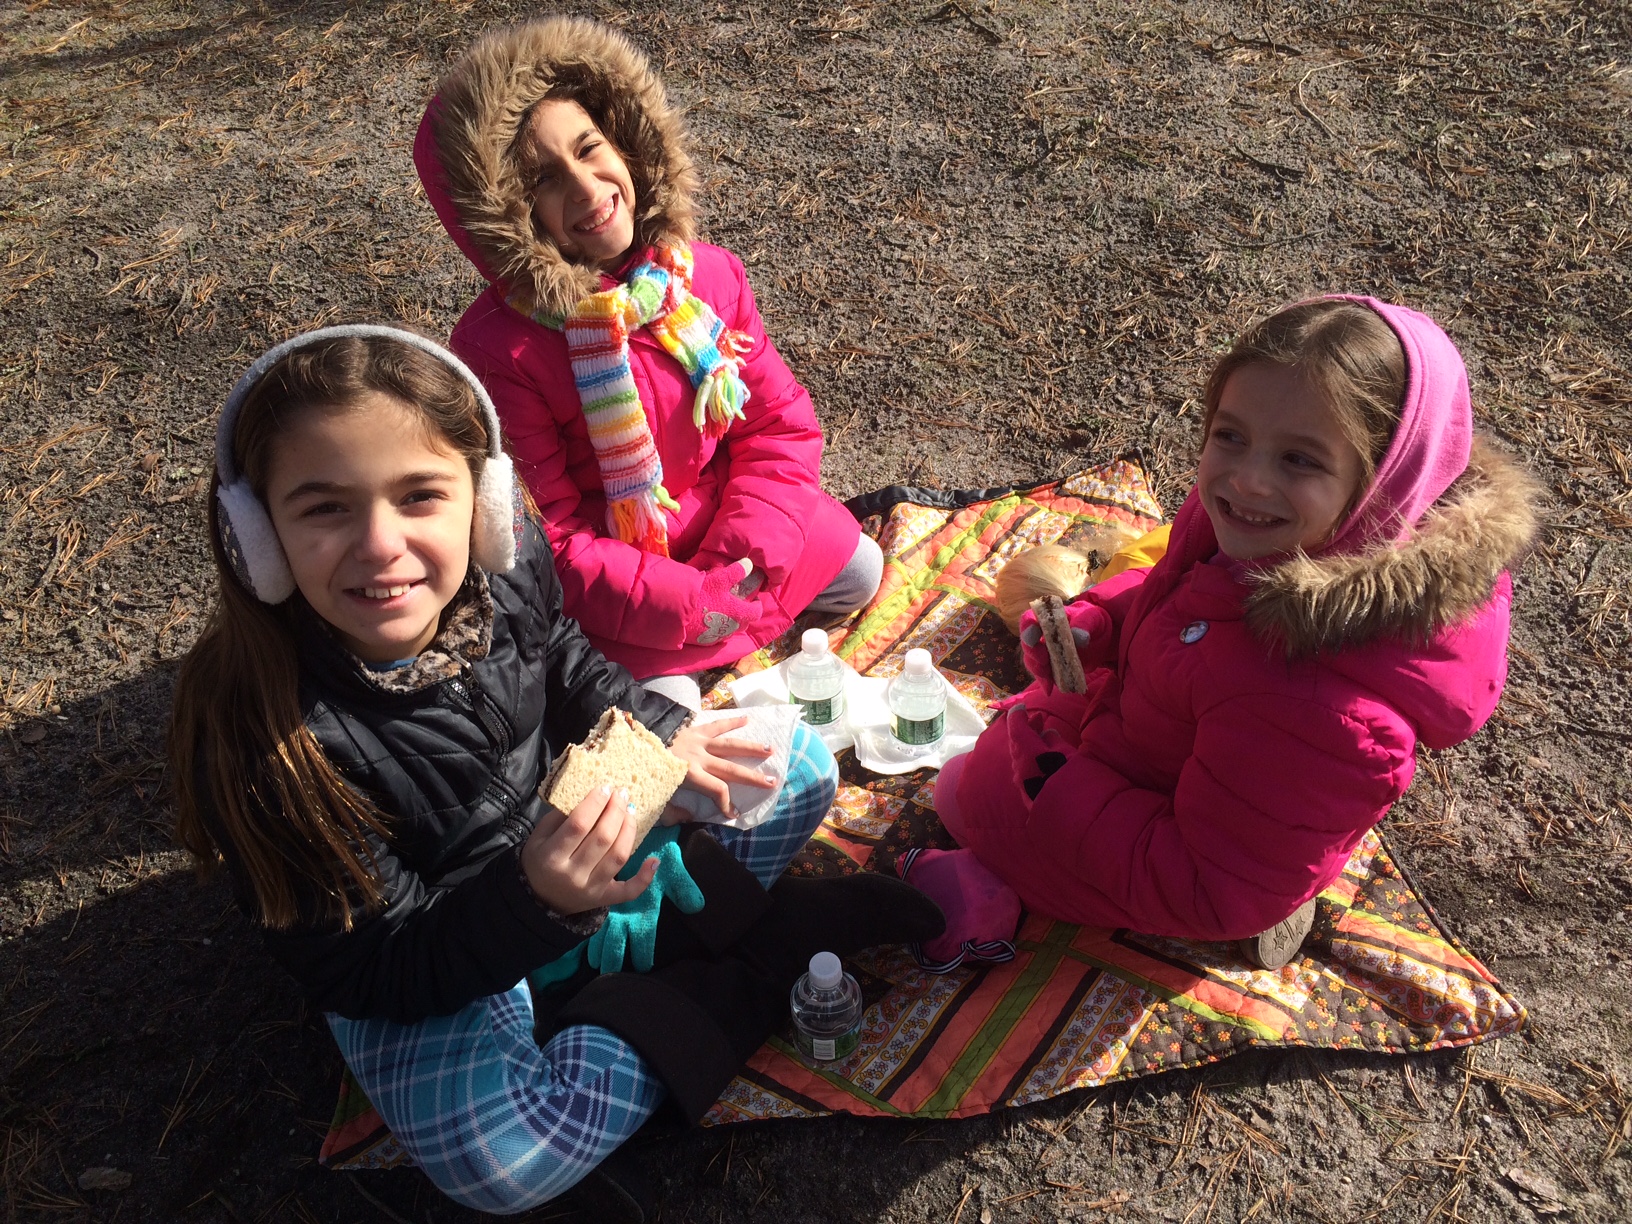
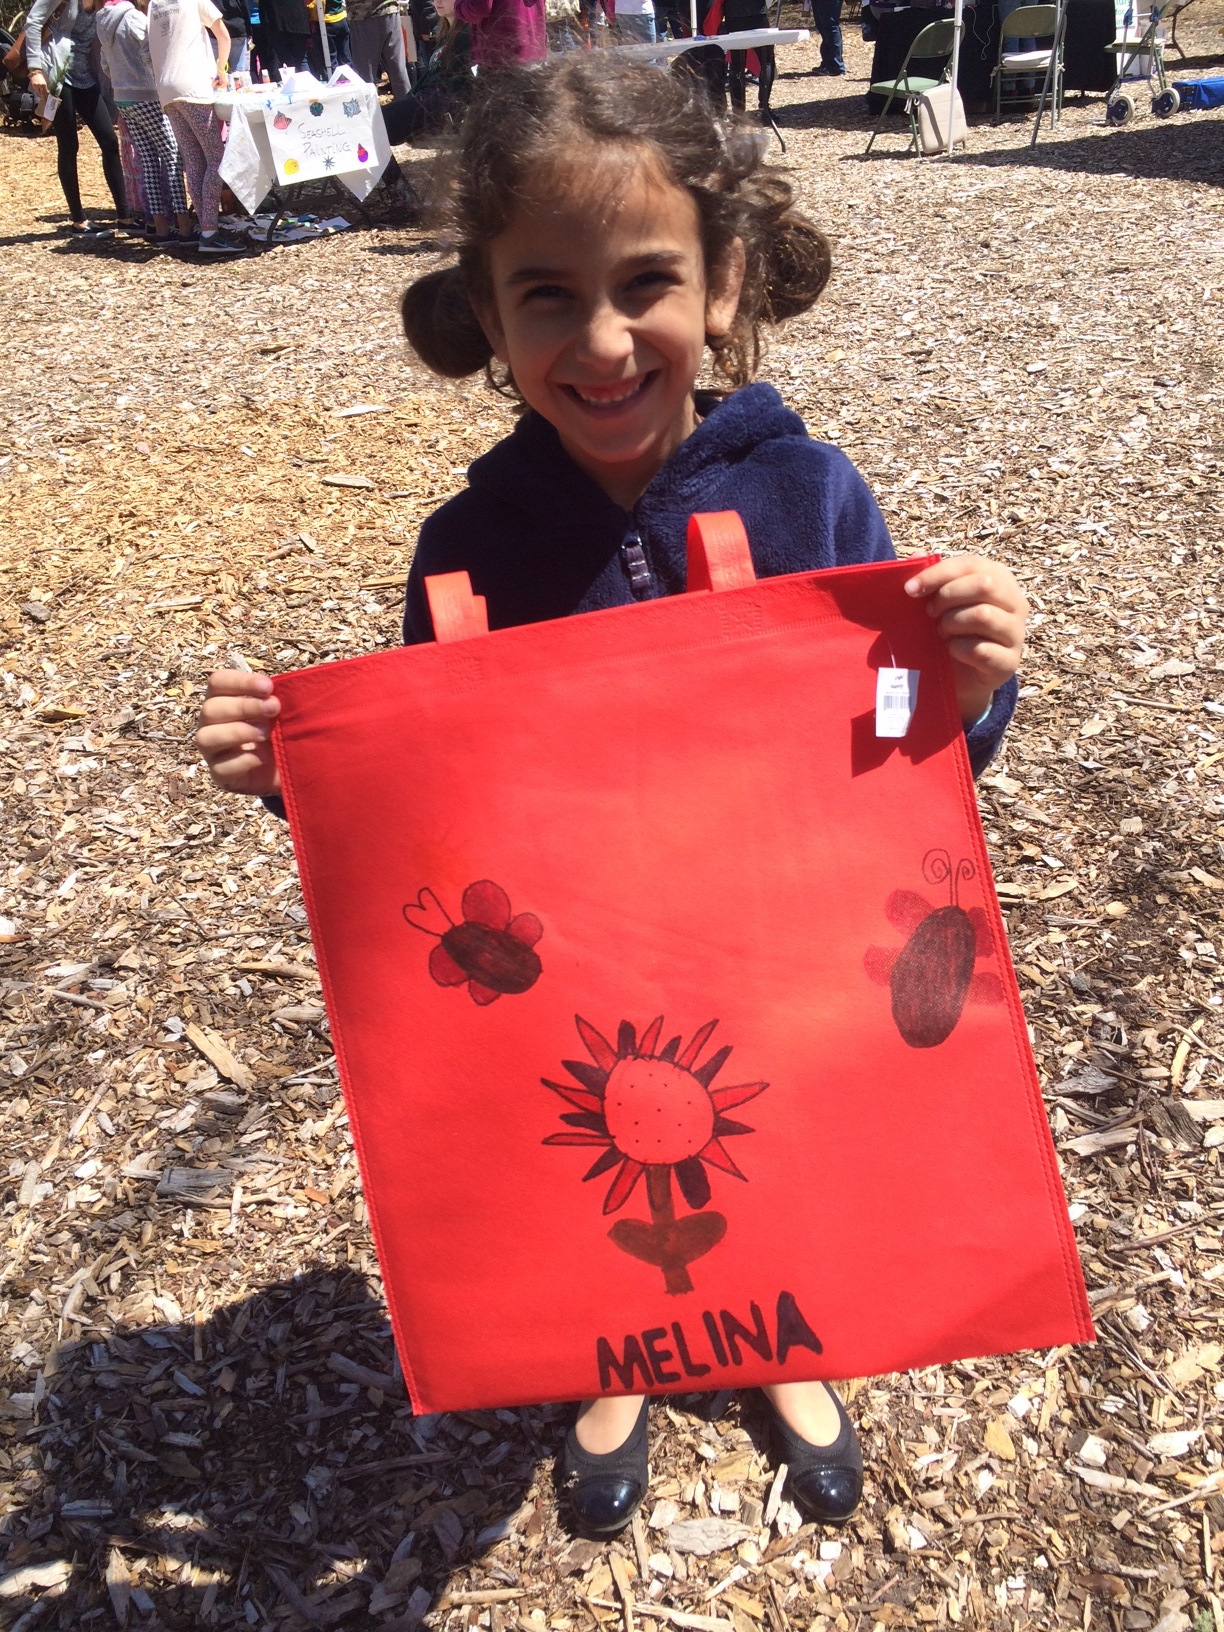
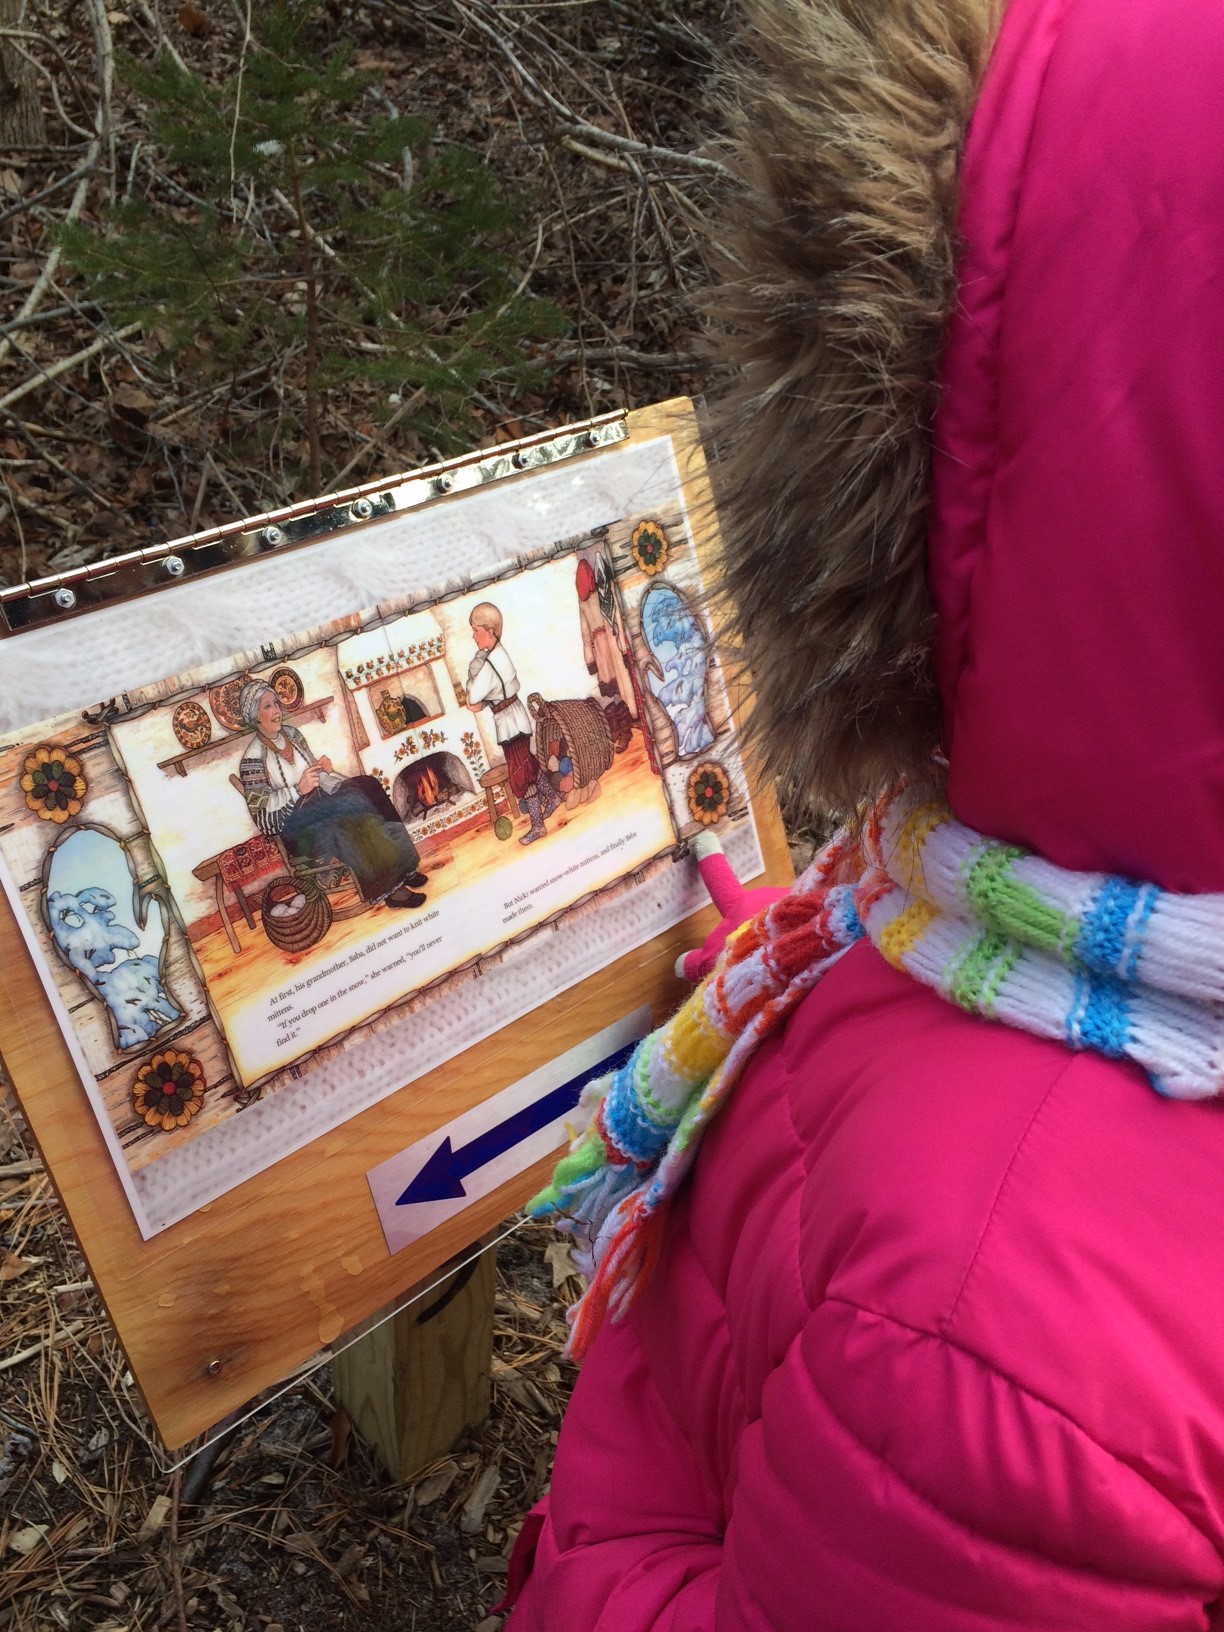
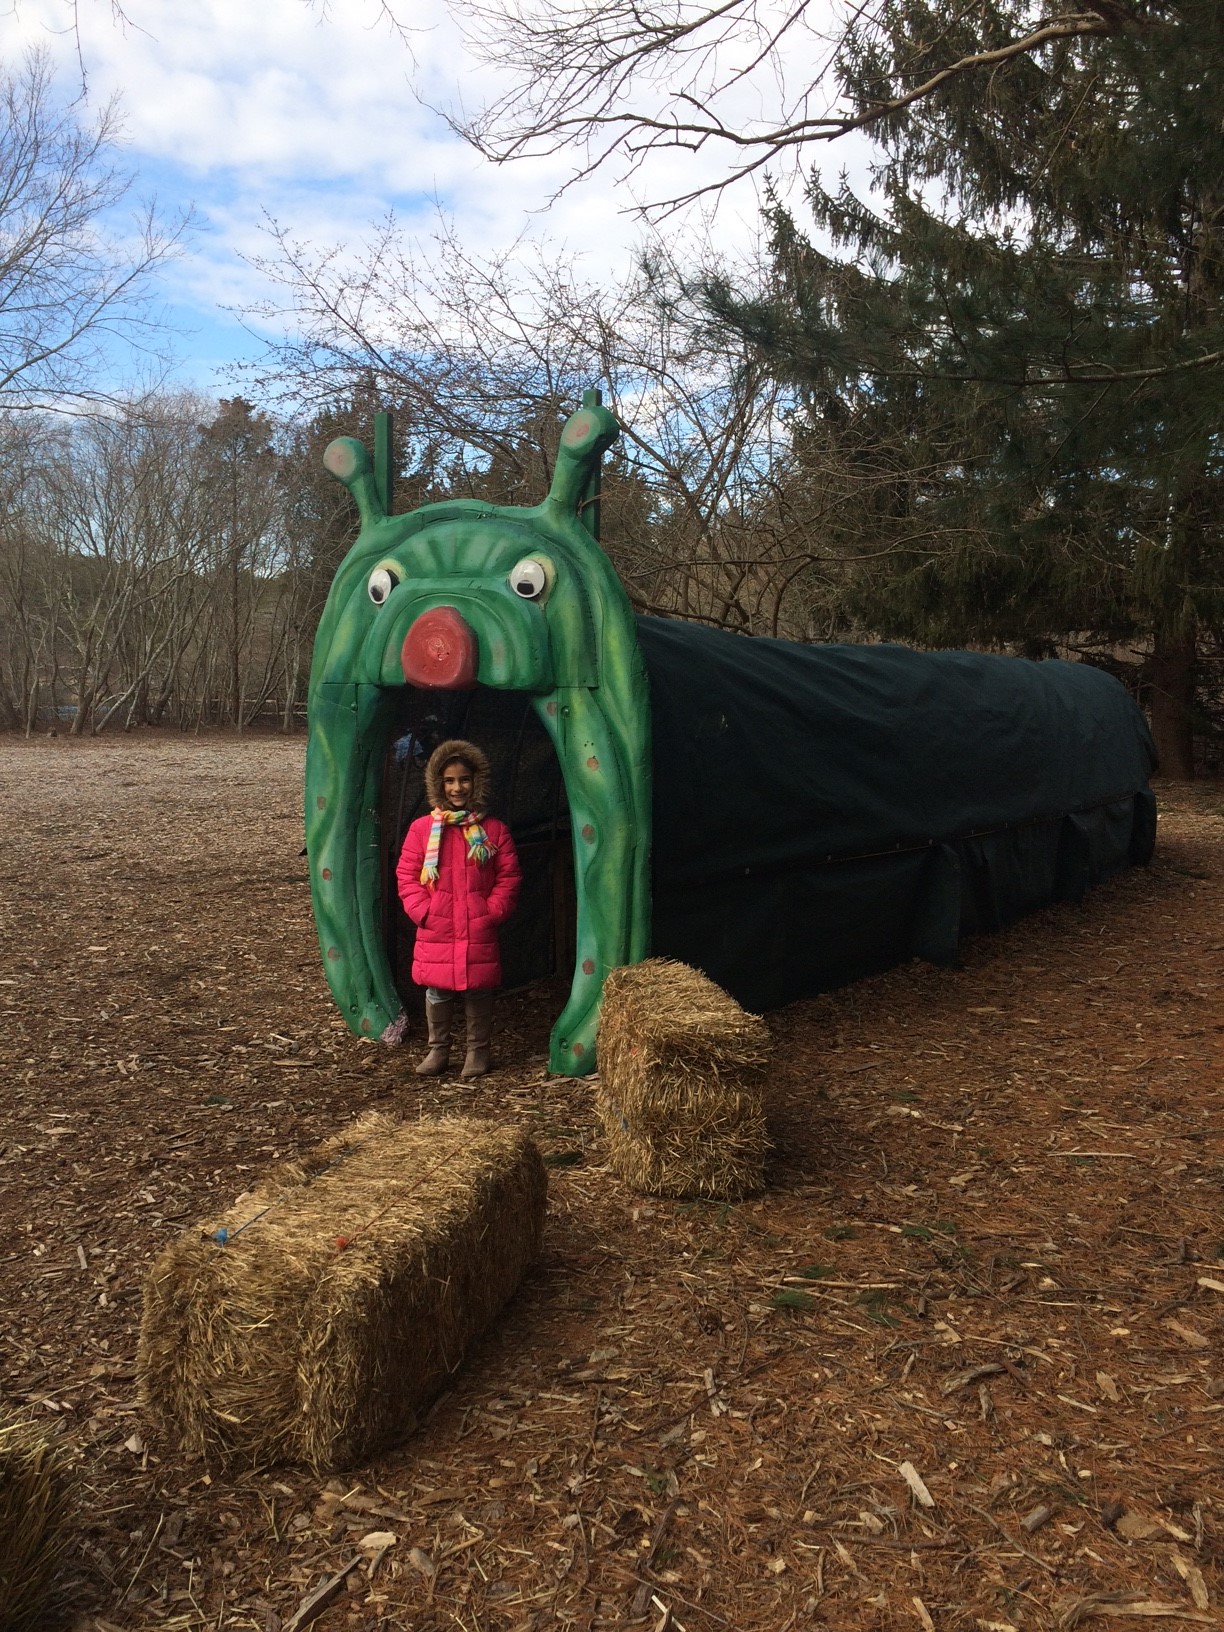
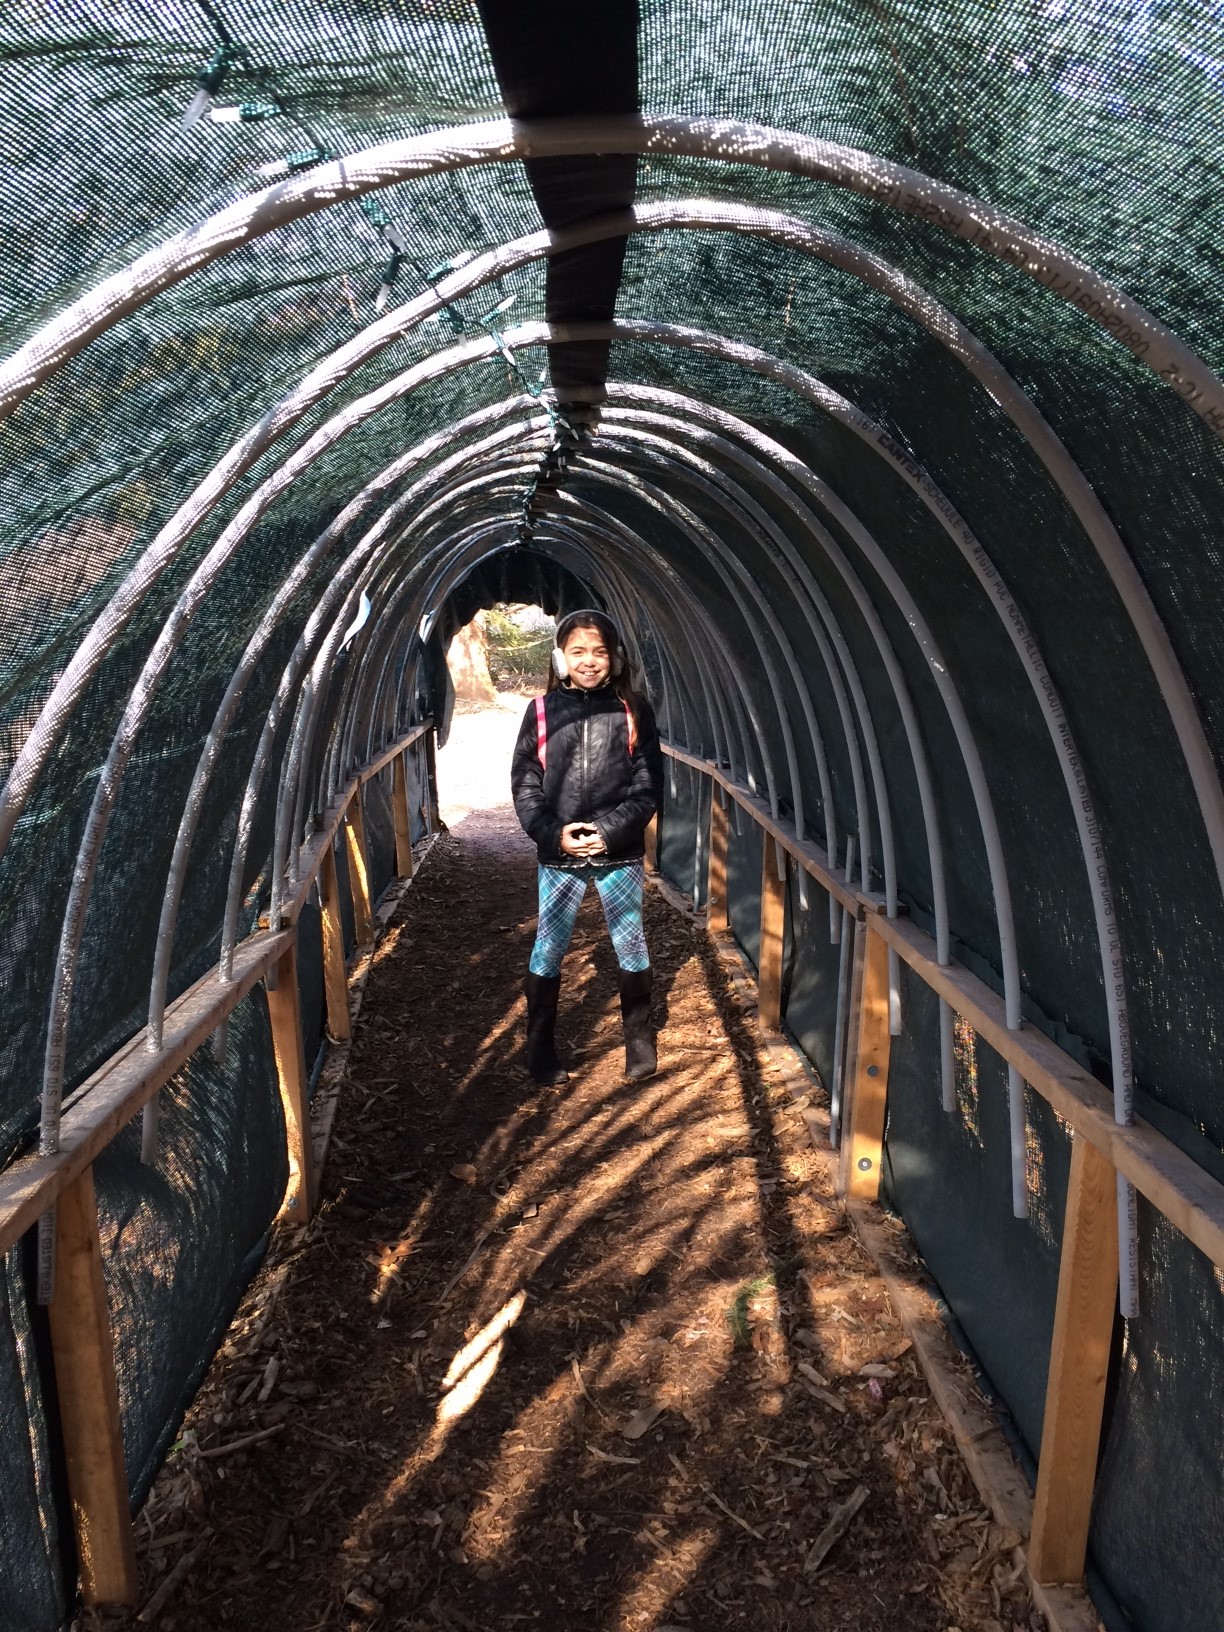
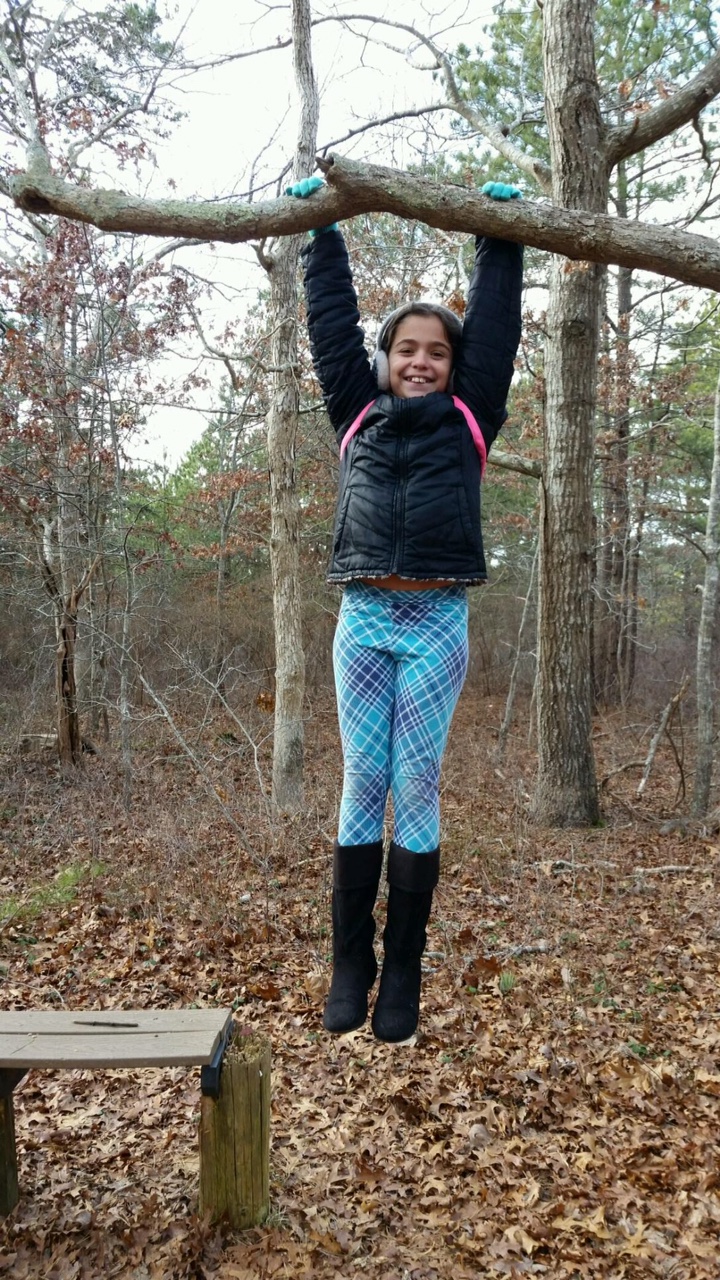
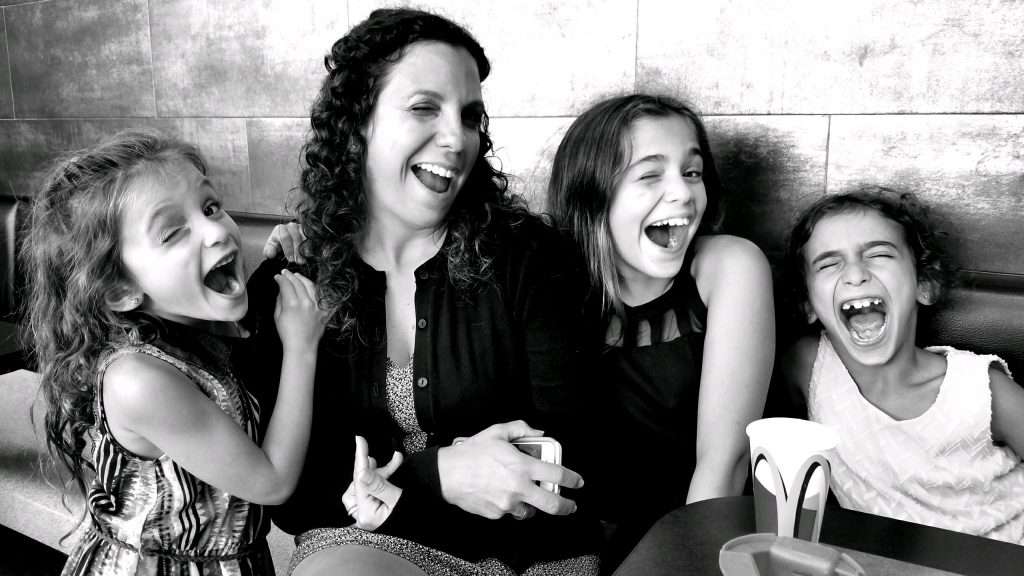 Another great summer is coming to an end. That’s just the cycle of life, everything comes to an end and then we hope and wait for it to begin all over again. I can’t believe how much these little ladies are growing, I think to myself, next summer they’ll be so different, bigger, wiser, will they still play with their little barbies and be obsessed with their little LOL dolls? Will their cute little summer clothes fit them next year? Will they still follow me around the house like three little ducks? Everything is a cycle, and yes, summer will come again but there will be change too. I’m saying goodbye to summer knowing that it will come again but these little girls will have shed some skin and have grown in personality and awareness. Of course change is good too but I’m hoping that they will not change too much too fast!