A Little Love Grows A Long Way

Teachers GiftTeachers GiftThanks Teacher! It seems as the school year comes to an end, my girls realize how much they love and will miss their teachers. My daughter Melina asked me the other night, “Mom?, can I take Miss. Christine and all my teachers to Kindergarten with me?” The fact that they get so close to these teachers only to have to say goodbye to them breaks their hearts and mine too! My girls take a while to warm up to someone, so by the time they have warmed up it’s time to say goodbye! They both really love their teachers and are very sad about the change that will come. I told them, “In life, there are going to be lots of wonderful people that will come into your lives, sometimes they stay for a while and sometimes they leave sooner than we are prepared for, so treasure them while they are in your life and know that they will always have a special place in your heart.”

I will never forget the wonderful teachers who taught me. Miss Ladhie, Miss Murphy, Miss Lane, Miss Thornton and so many more. I loved them all so much. Everyone of them helped to create the person I have become. I wish I could say thank you to them today!

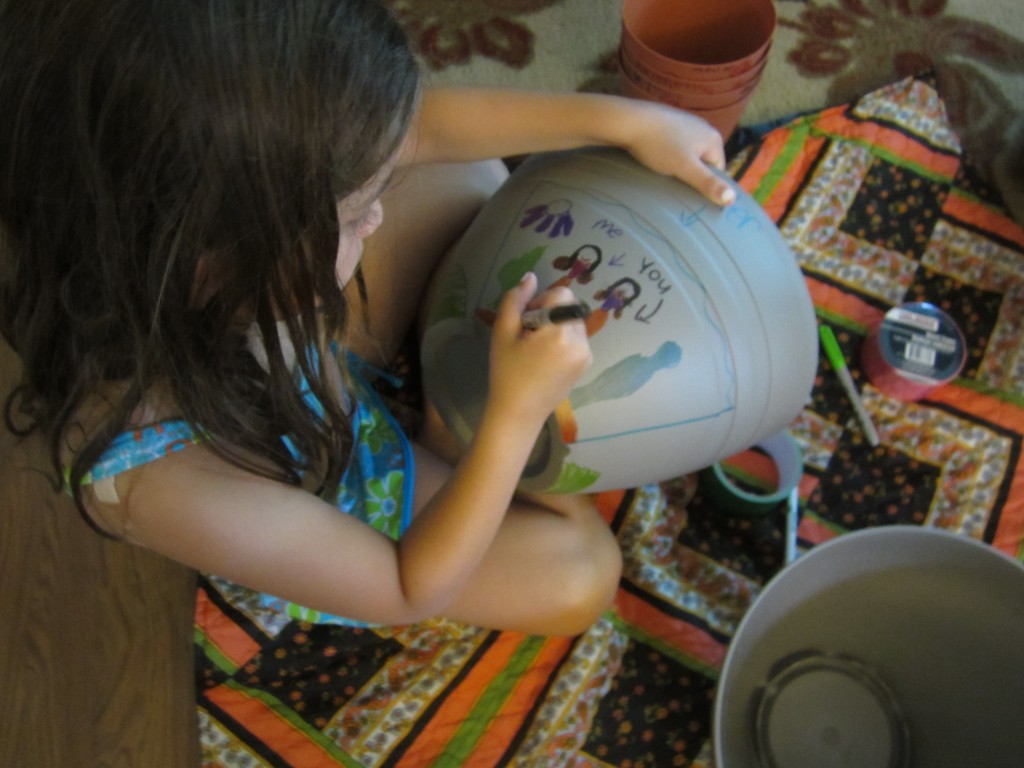
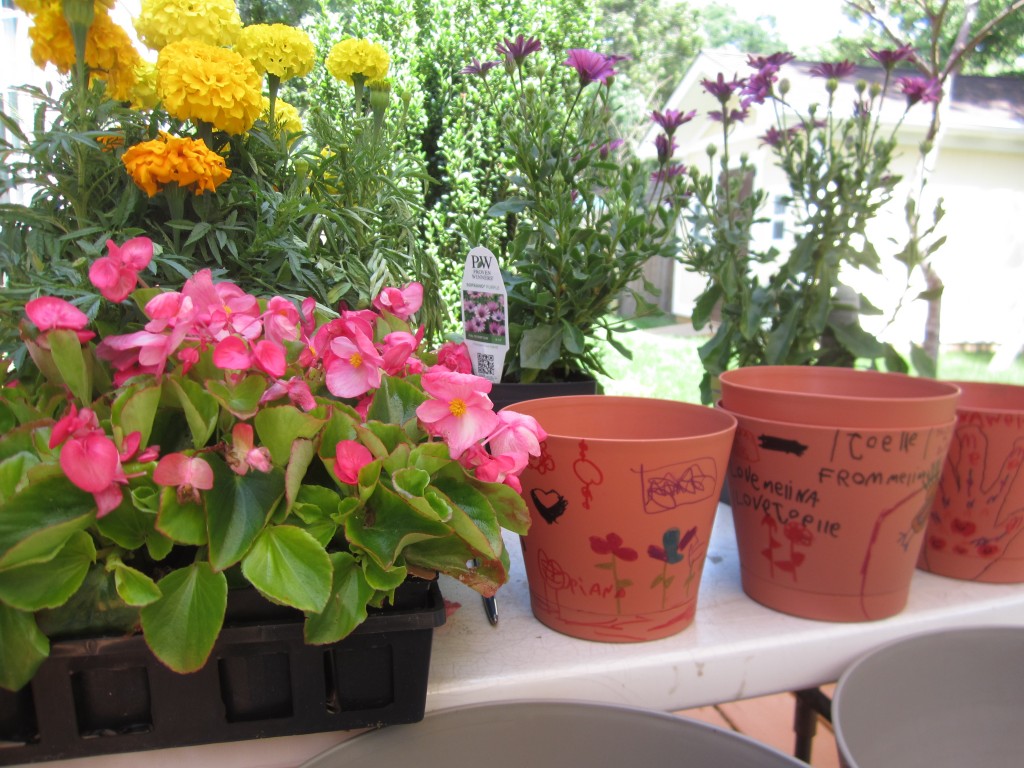
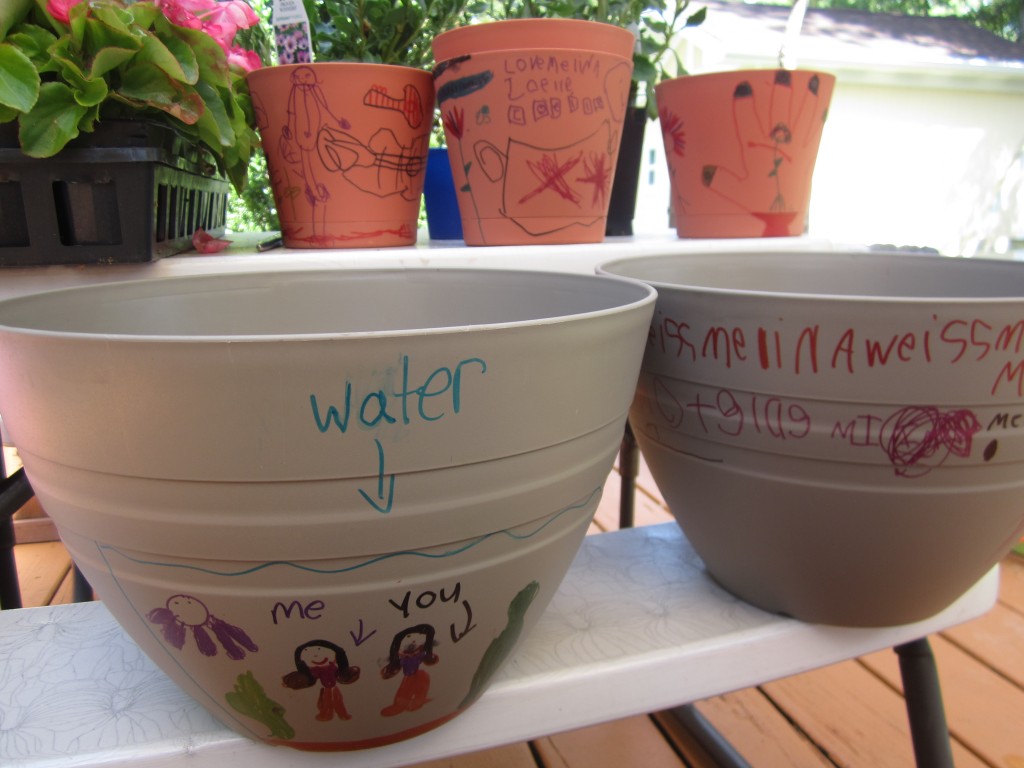
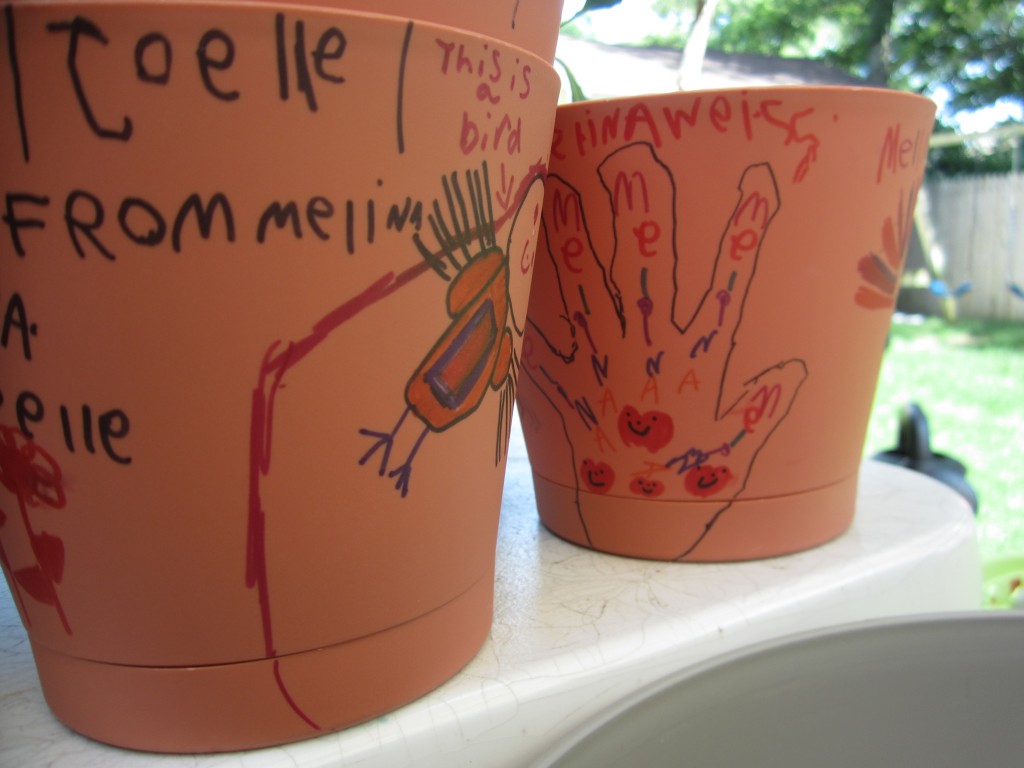
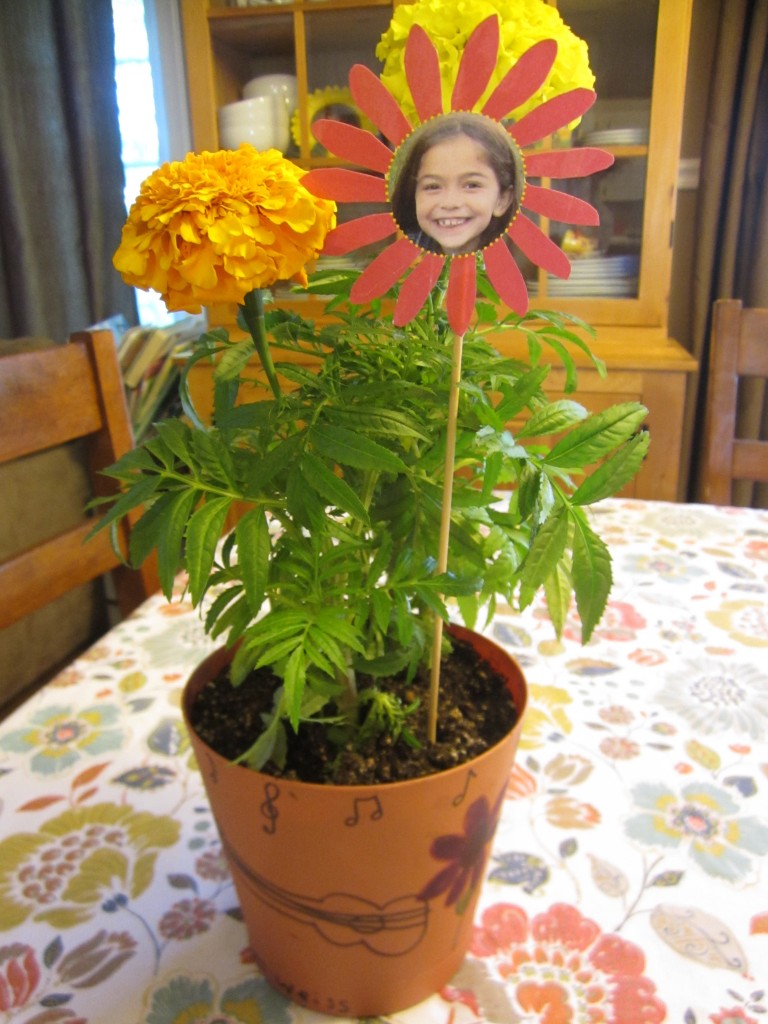
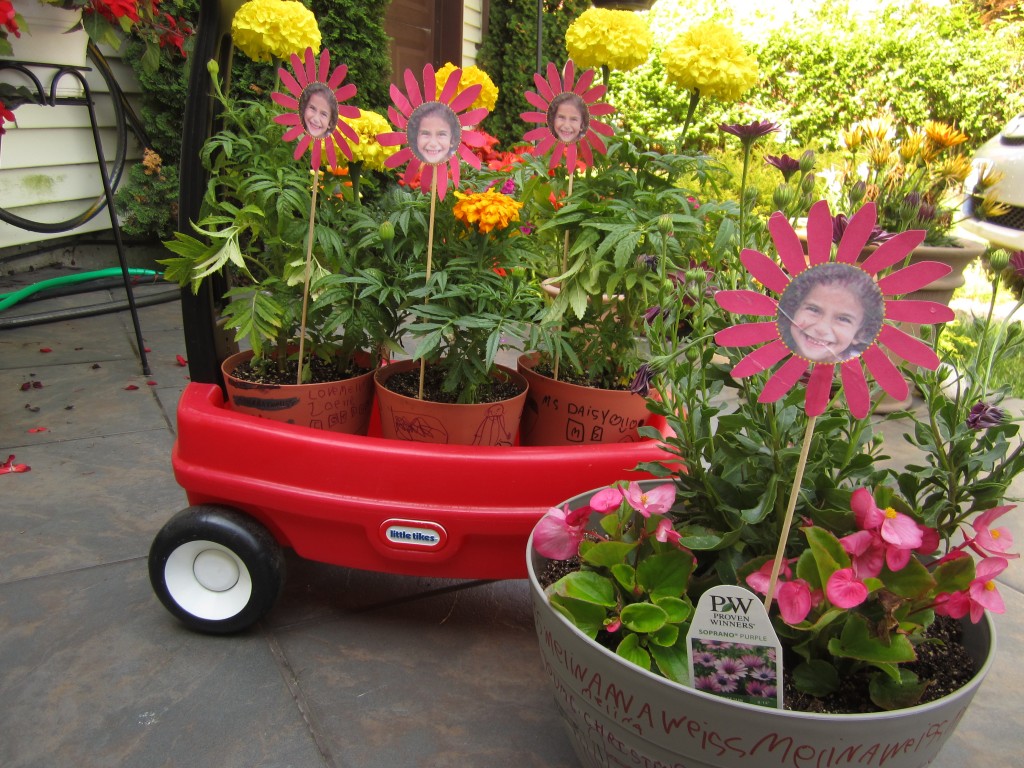
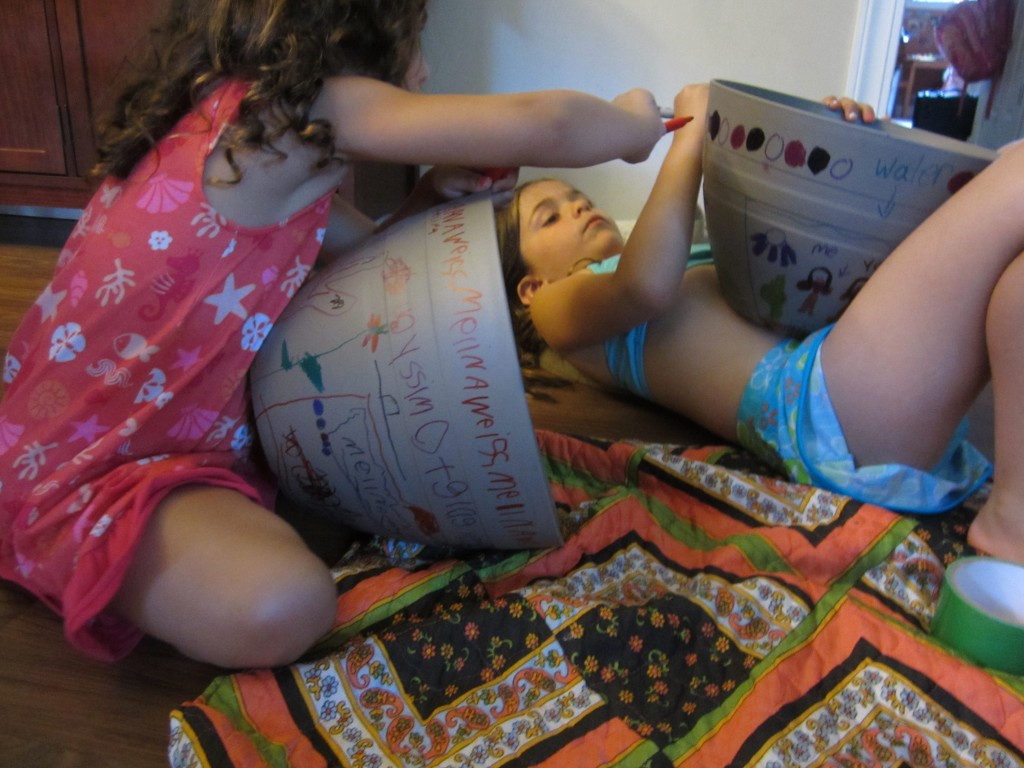
Now that school is about to end I wanted my girls to have a special way to thank their own teachers. I couldn’t think of anything special enough so I asked a friend who happens to be a teacher and she said she loves getting a plant especially a plant that’s in a pot decorated by the child. I instantly loved the idea and so did the girls!! I went out the next day and bought some inexpensive pots from Target and Family Dollar and had the girls pick out flowers at a local nursery. I was going to have them paint the pots but instead decided to have them use permanent markers. This made decorating them much easier and allowed them to work on the pots throughout the week without making a big mess and I don’t have to worry about their drawings getting washed off by the rain! They had a good 2 weeks to work on the pots before we planted the flowers. This also makes a great Get Well gift, Mothers Day gift or any kind of occasion gift!june 543 june 536 june 527 june 523 Thank You Teacher
Presentation

present

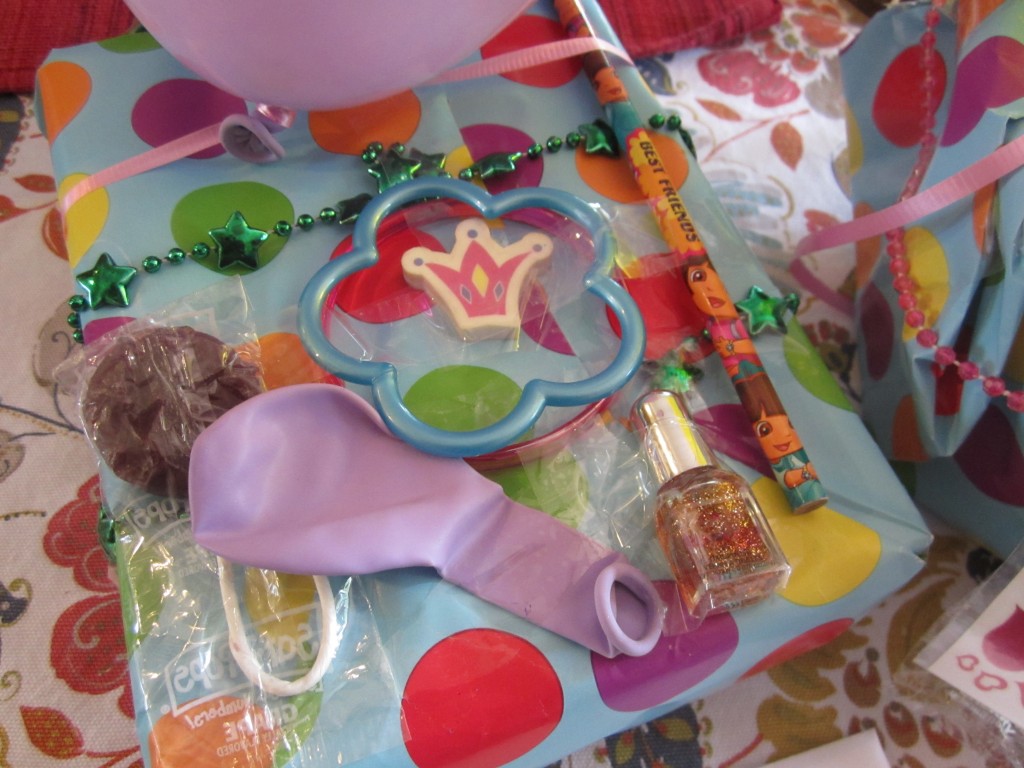
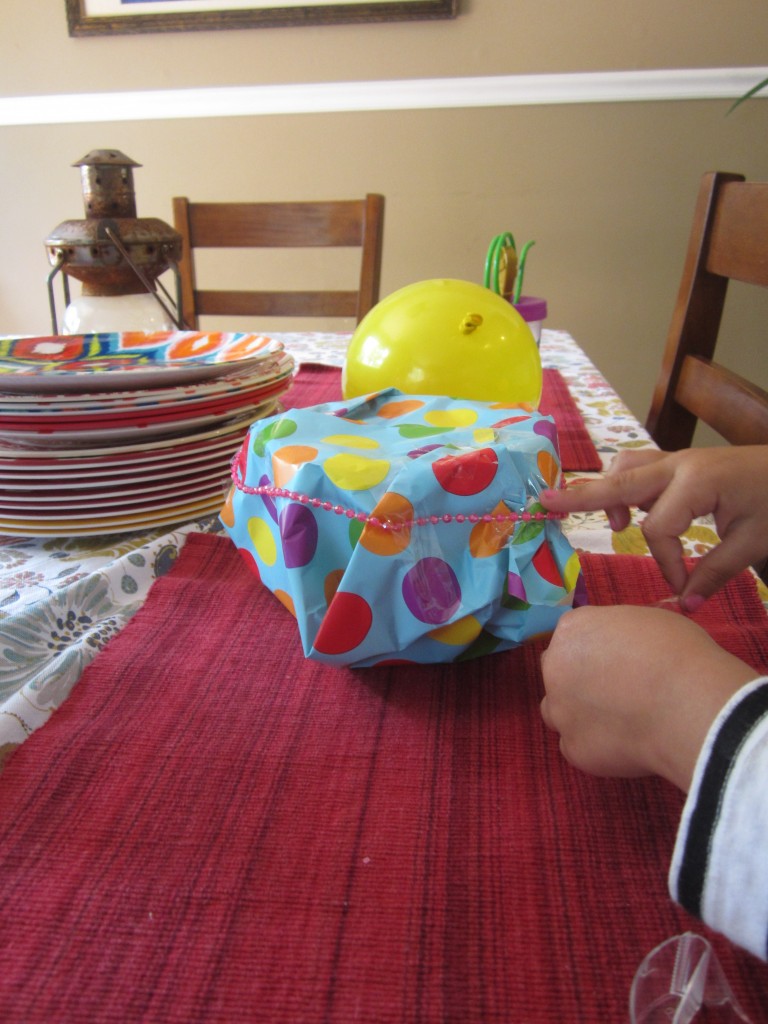
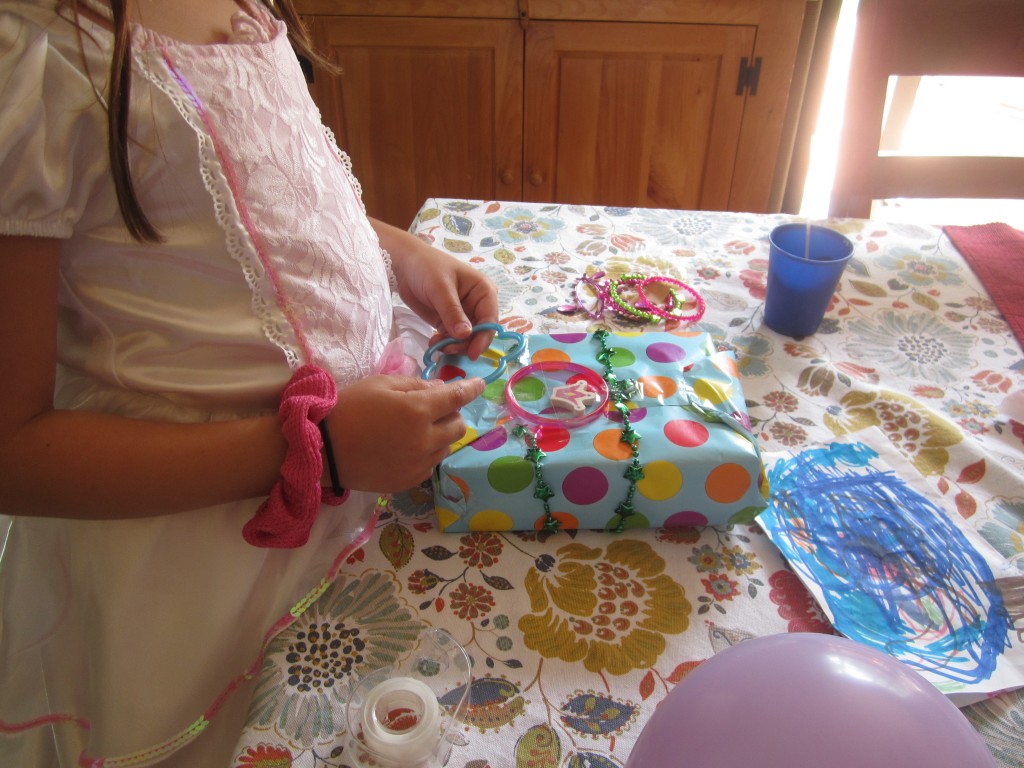
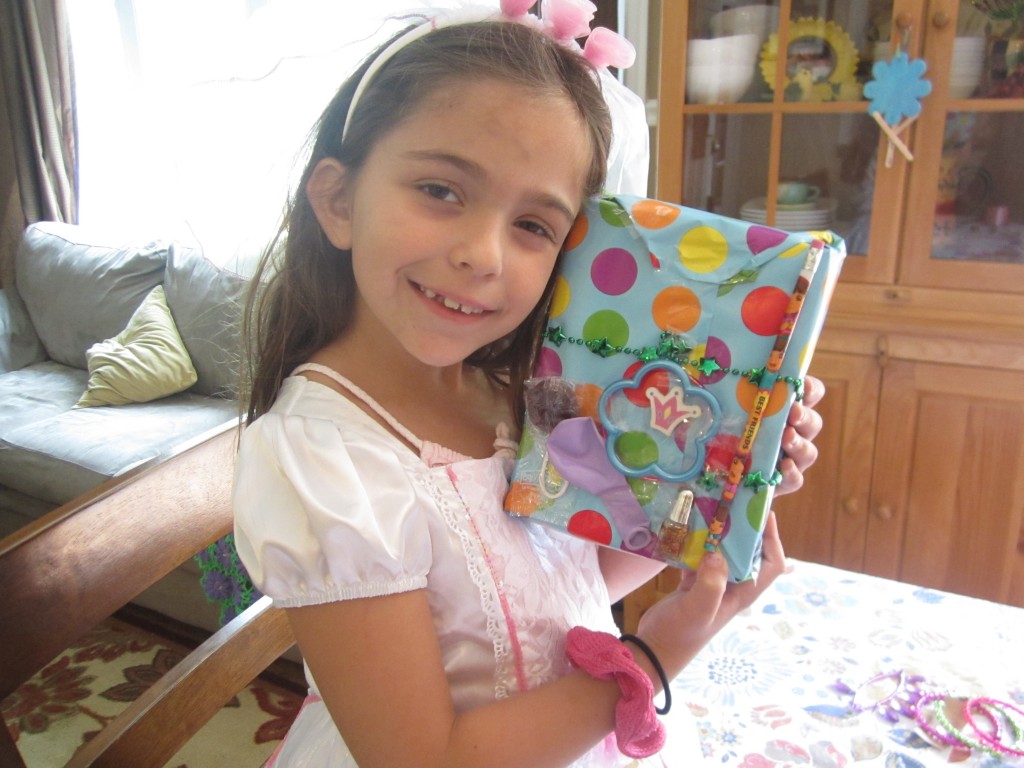
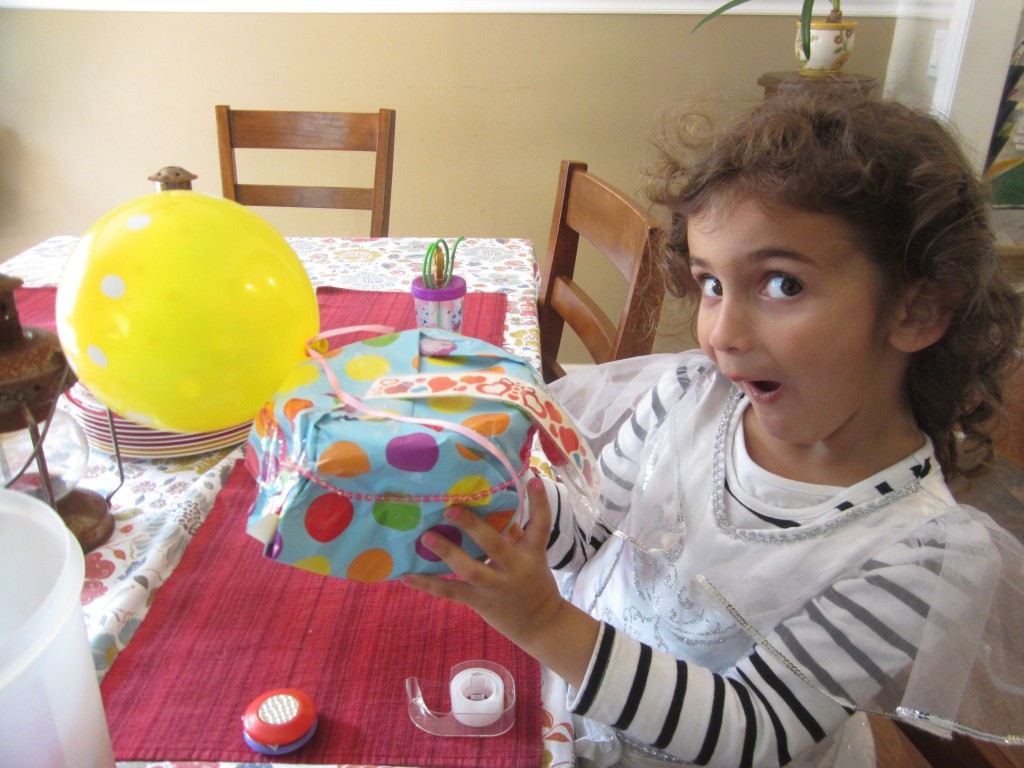
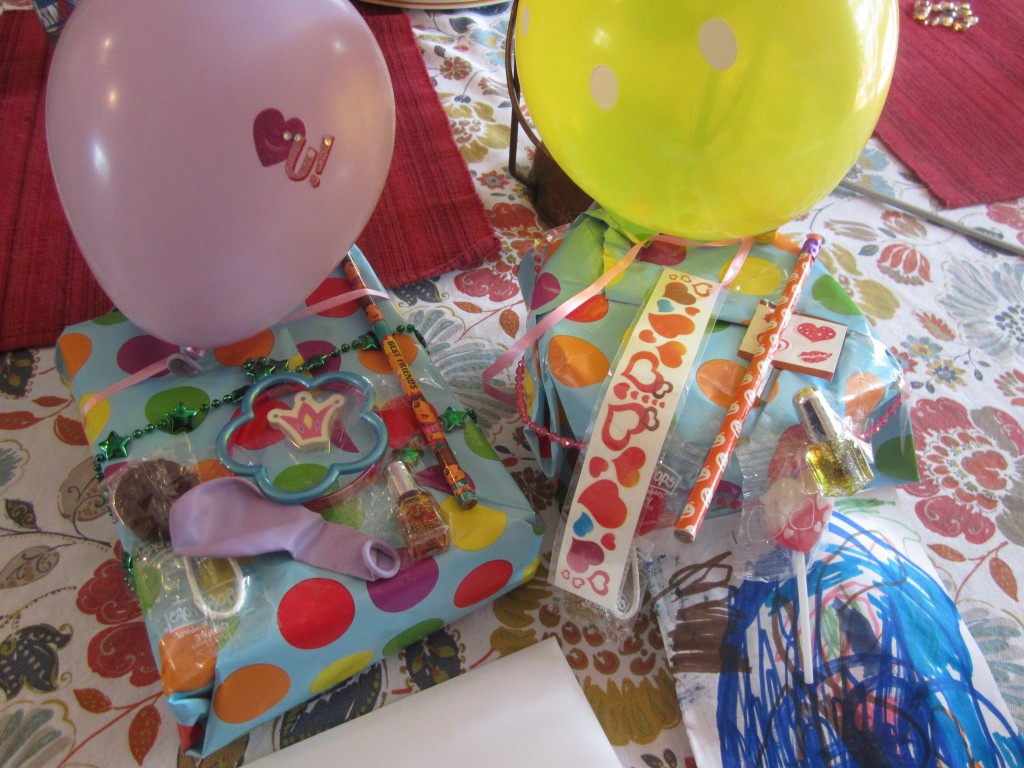
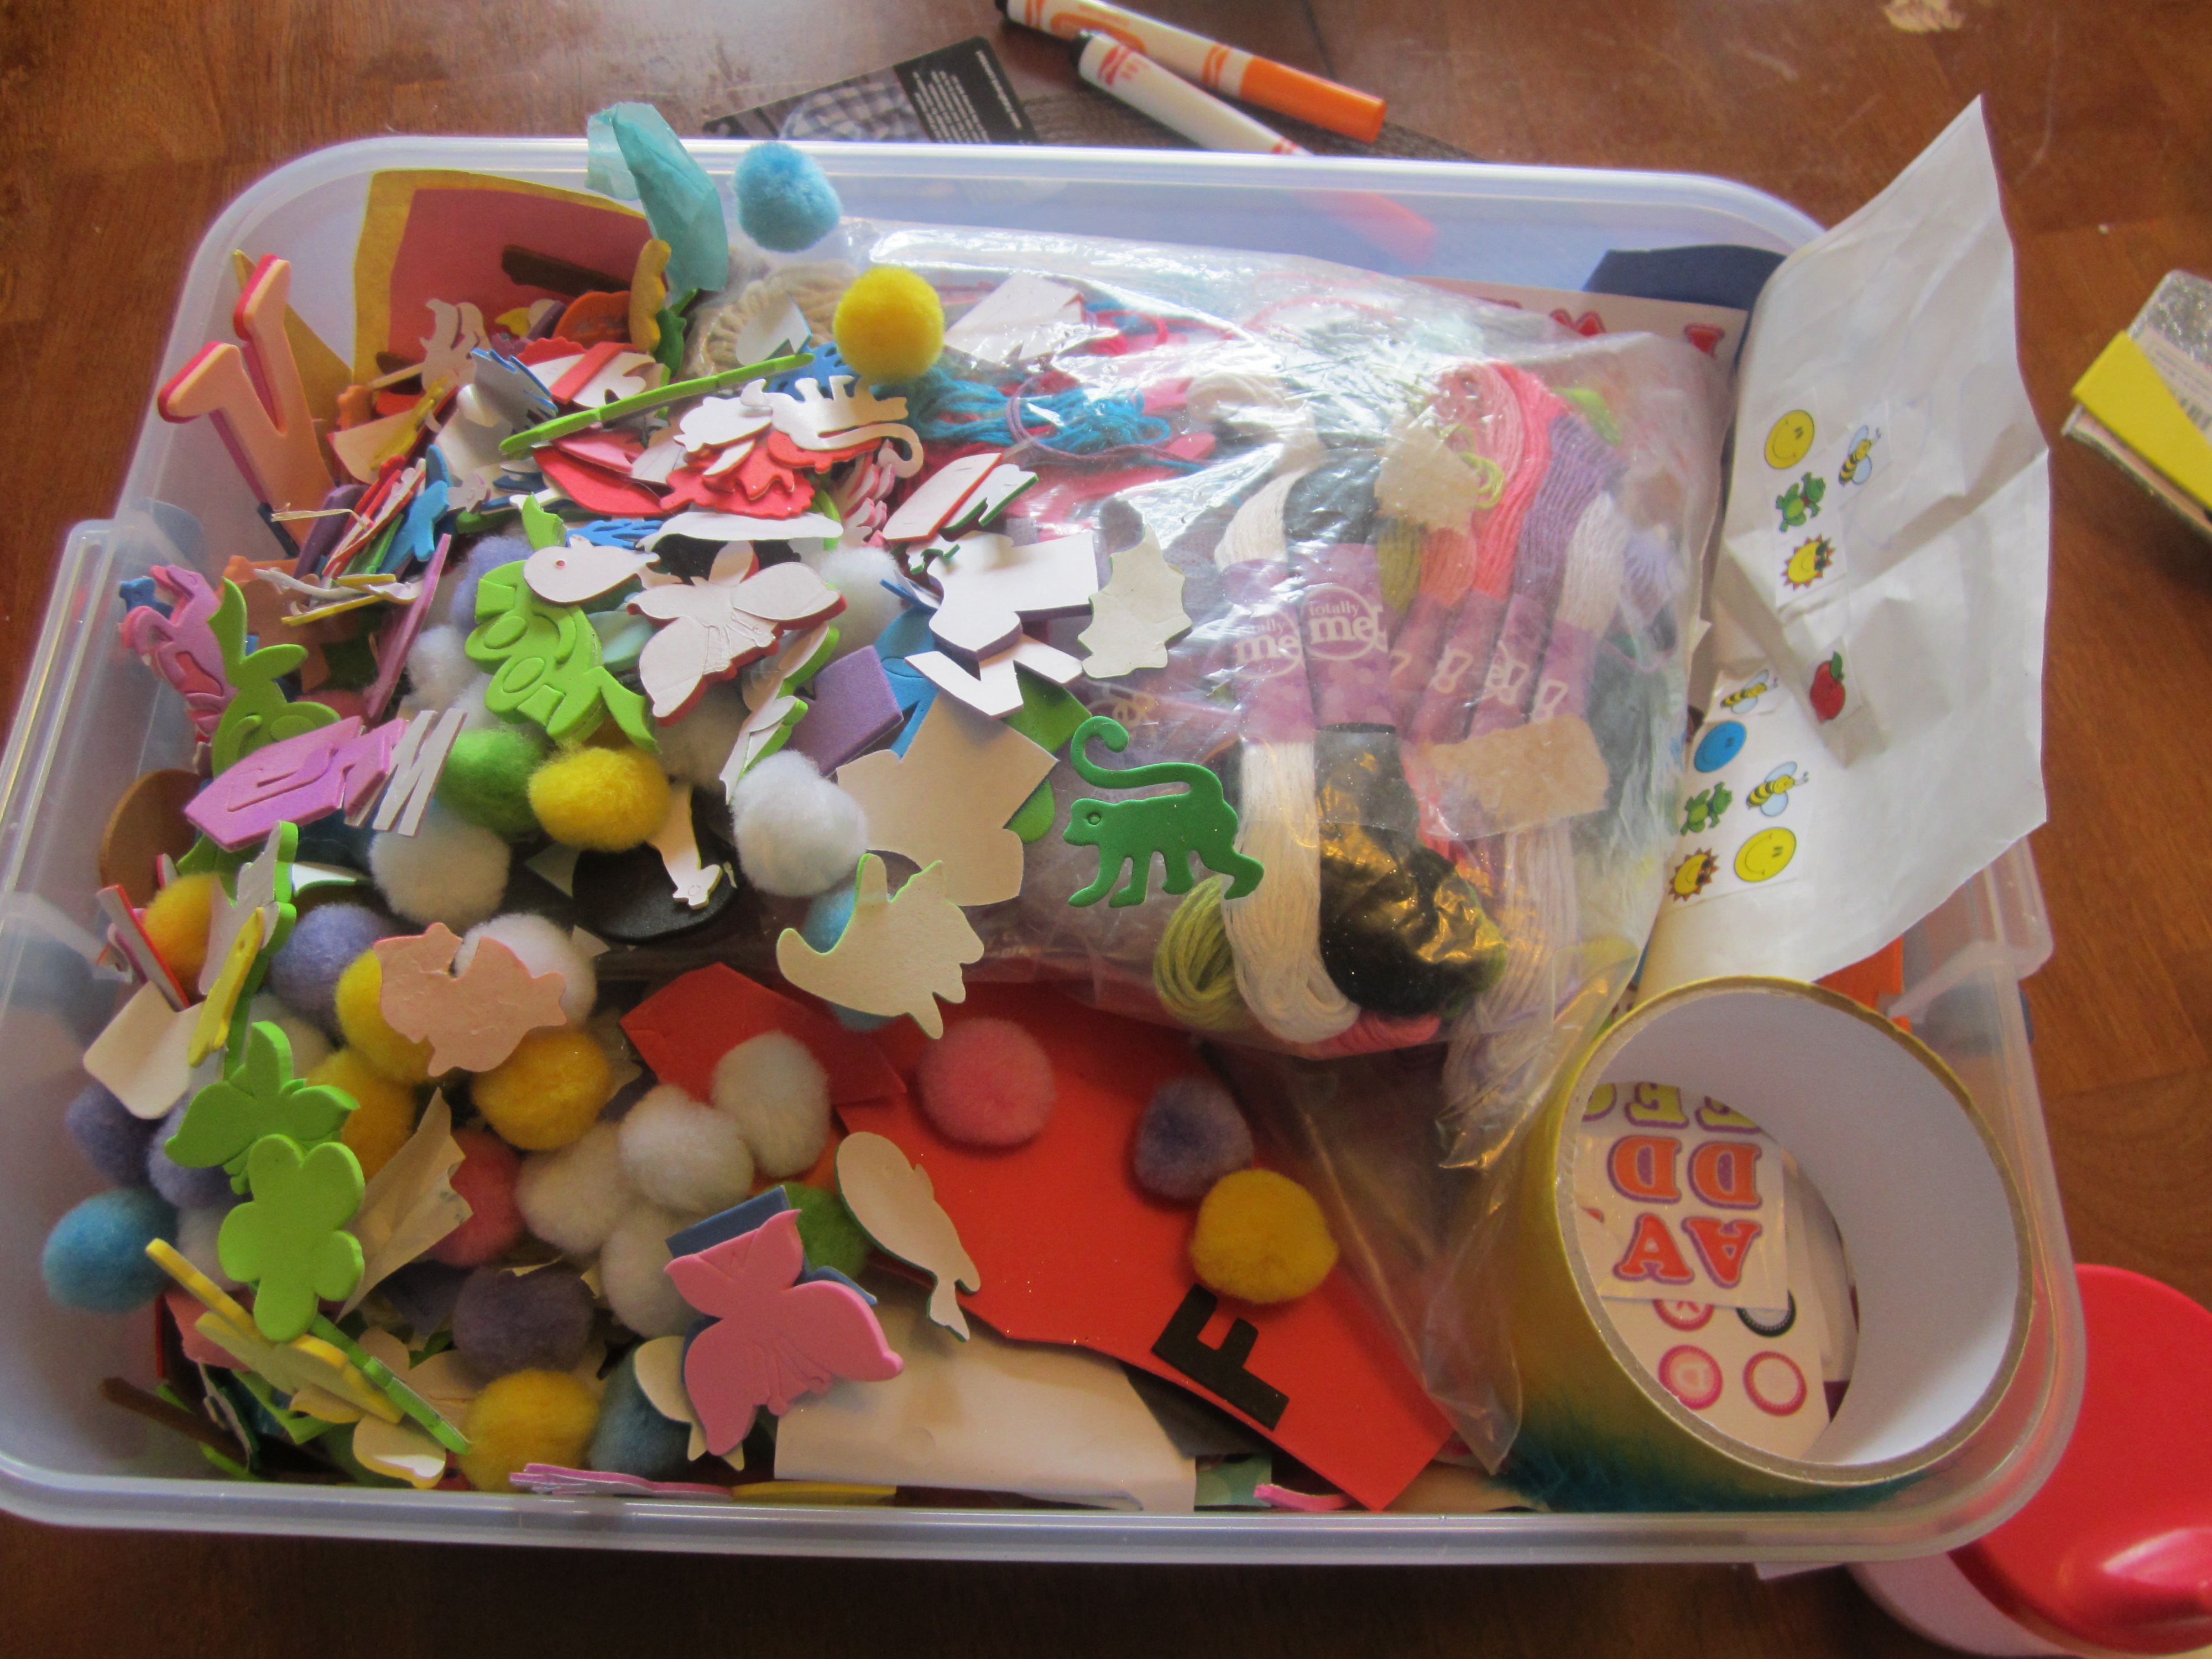
As the kids are growing I realize there are more and more things they can help me with. This time it was wrapping birthday presents. They were so excited when I asked them and honestly I wasn’t expecting a perfect job. But they wrapped these presents more beautifully than I ever could. I don’t know why but my kids turn everything into a project (I’m sure my constant project prompting has something to do with it). After they were done with wrapping the gifts they asked me if they could decorate over the wrapping paper and I said sure why not. I actually have a bin where I put all of the trinkets they collect from parties, Easter baskets, Halloween, and school prizes such as, stickers, tattoos, balloons, play necklaces, bracelets and many other little things. I gave them the bin and told them they could put whatever they were willing to get rid of onto the presents. My kids have a hard time giving anything away, but they found such joy in adding these trinkets onto their little cousins presents. After they were done they wanted more presents to wrap. They are officially my present wrappers and I love how they got rid of some stuff at the same time.

present2 present3present4 present5 Present6


Treasured Treasure Box

treasure box2014 Misc 8982014 Misc 902

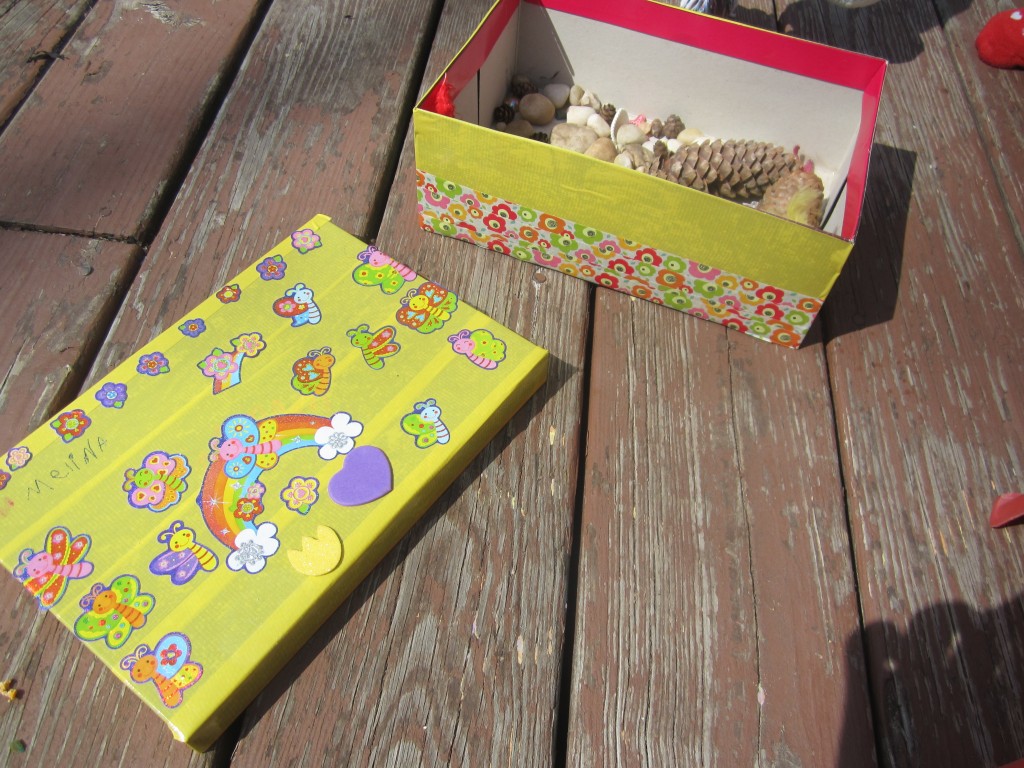
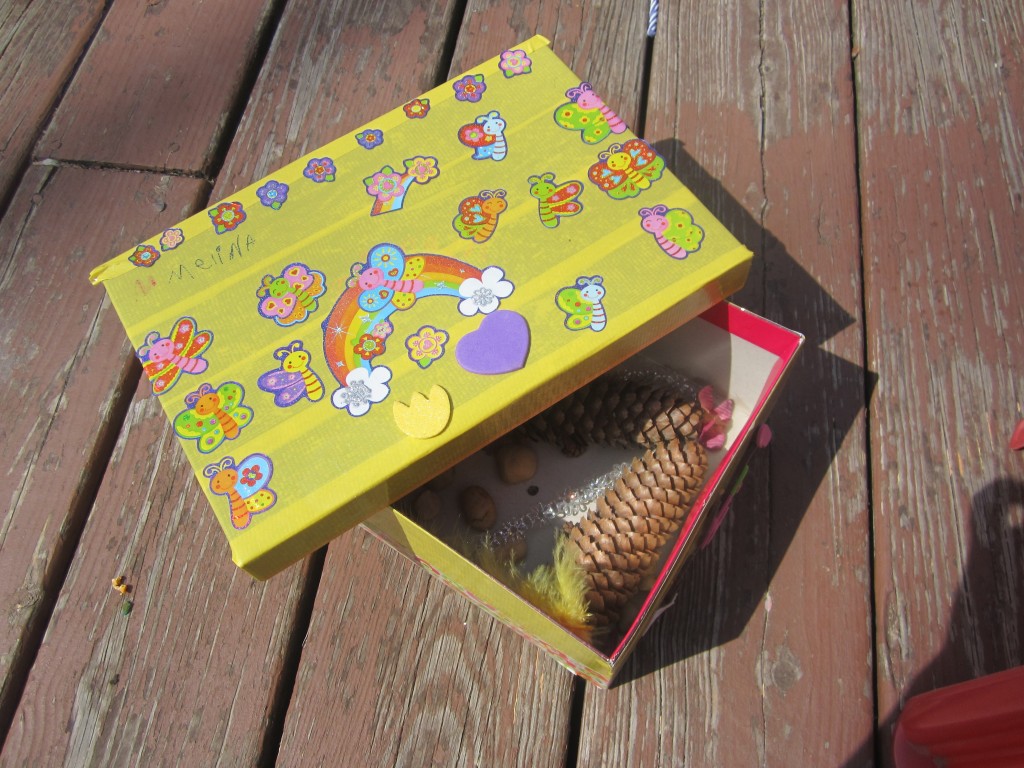
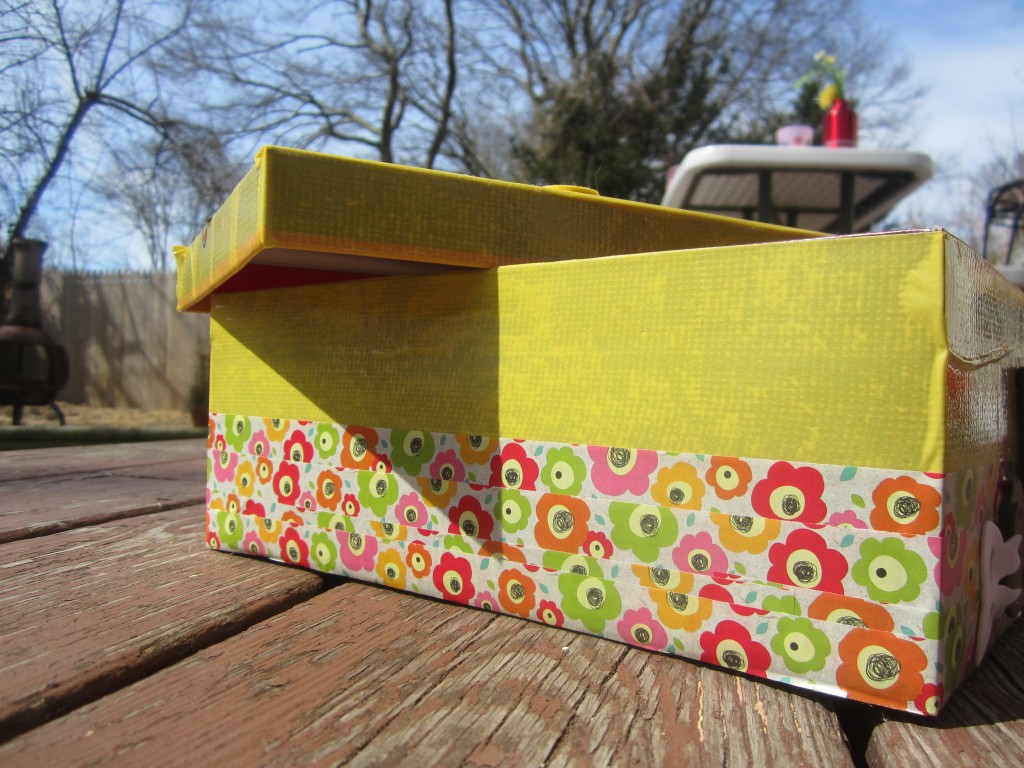
No matter where we go, my daughters are always finding treasures. They love looking for someones lost trinkets at the park, or cool rocks and bottle caps. My daughter Isabel is my biggest treasure hunter! She loves her cool finds and is never willing to part with them. One day we went to a near by working farm (Yaphank Farm) and they found marbles, pine cones, shells and rocks and several little trinkets. I couldn’t bare the thought of where all of these little things would end up so as soon as we came home I looked to see if we had shoe boxes and to my surprise we had three! I got out my craft bin, some colorful duct tape (I love duct tape and make sure I always have some in stock) and helped the girls to create a Treasure Box. I covered the boxes with colorful duct tape and I had them do the rest. The Boxes are stored in their closet and every time they find something they add it to their collection.


Can We Paint?

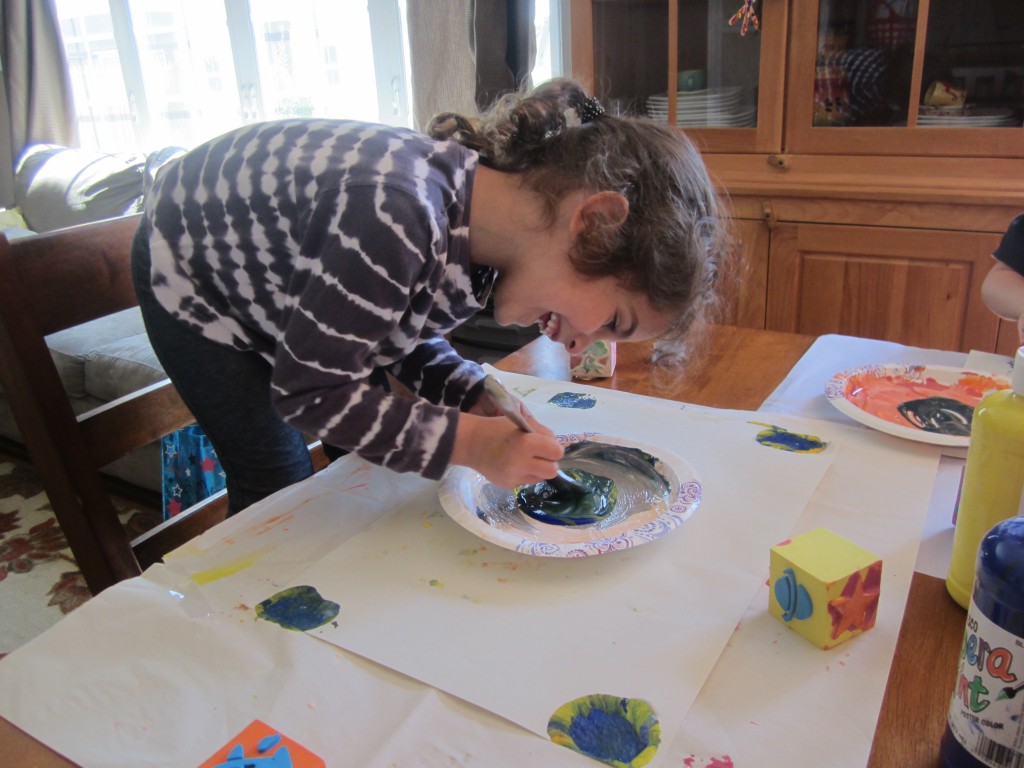
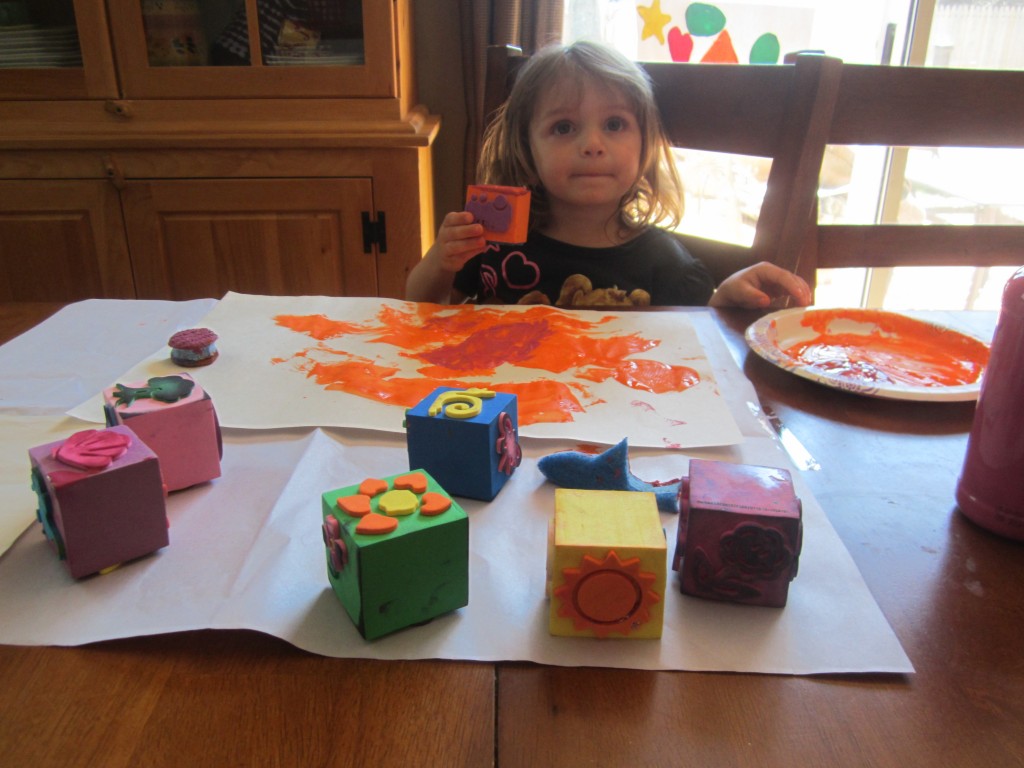
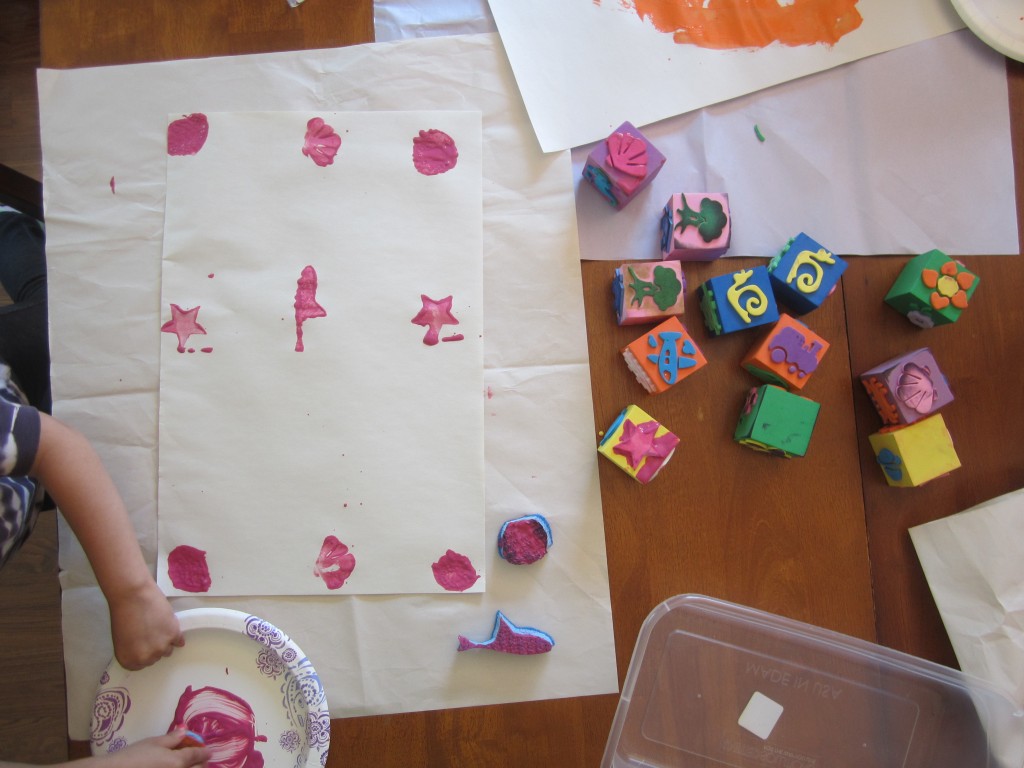
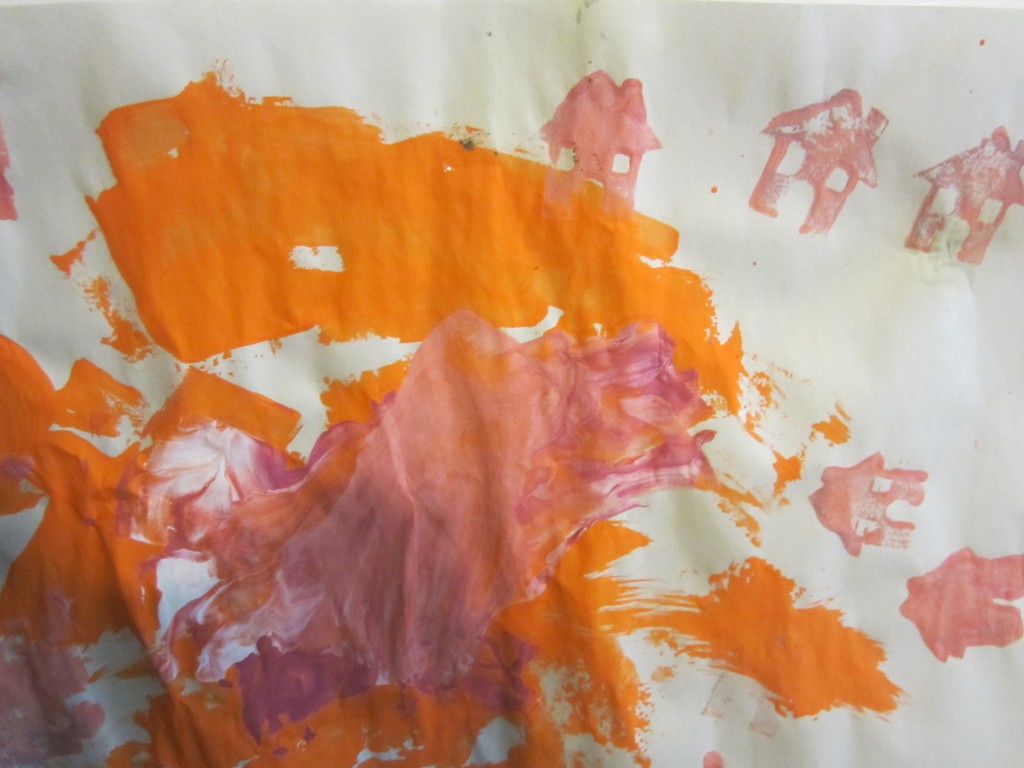
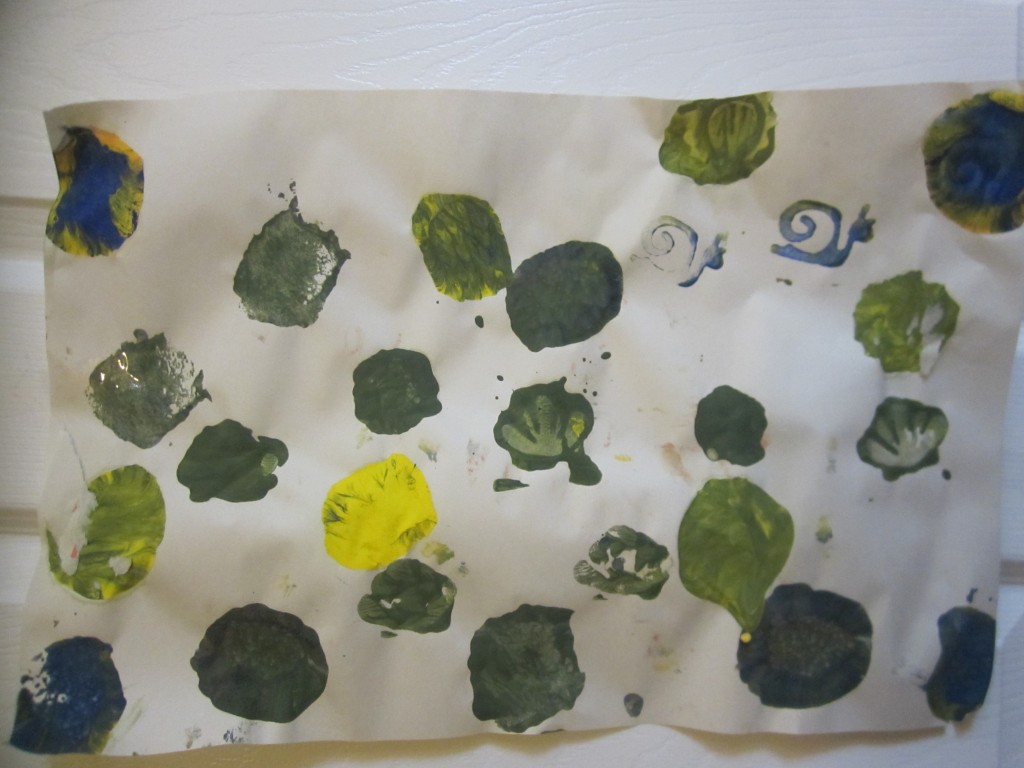
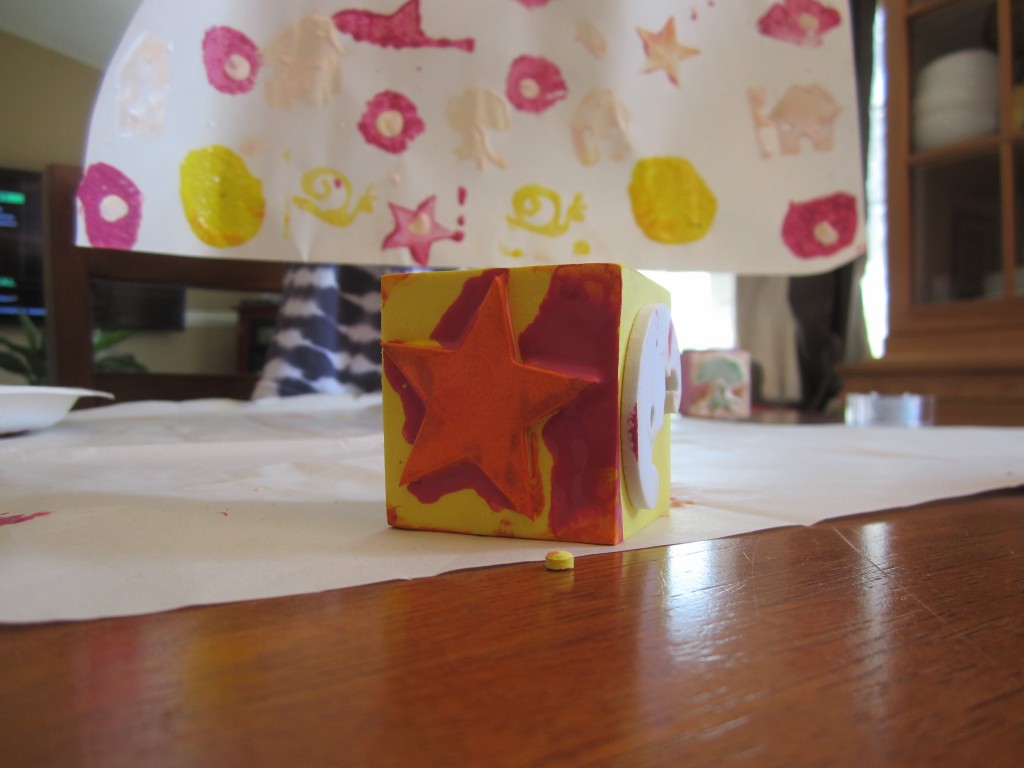
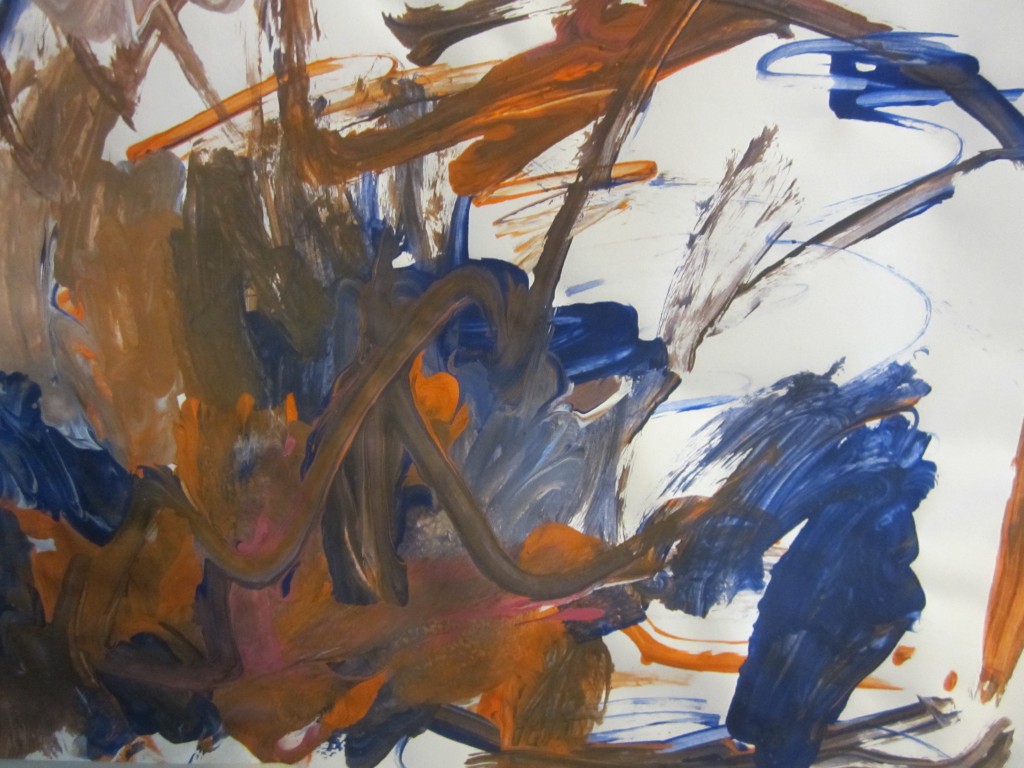
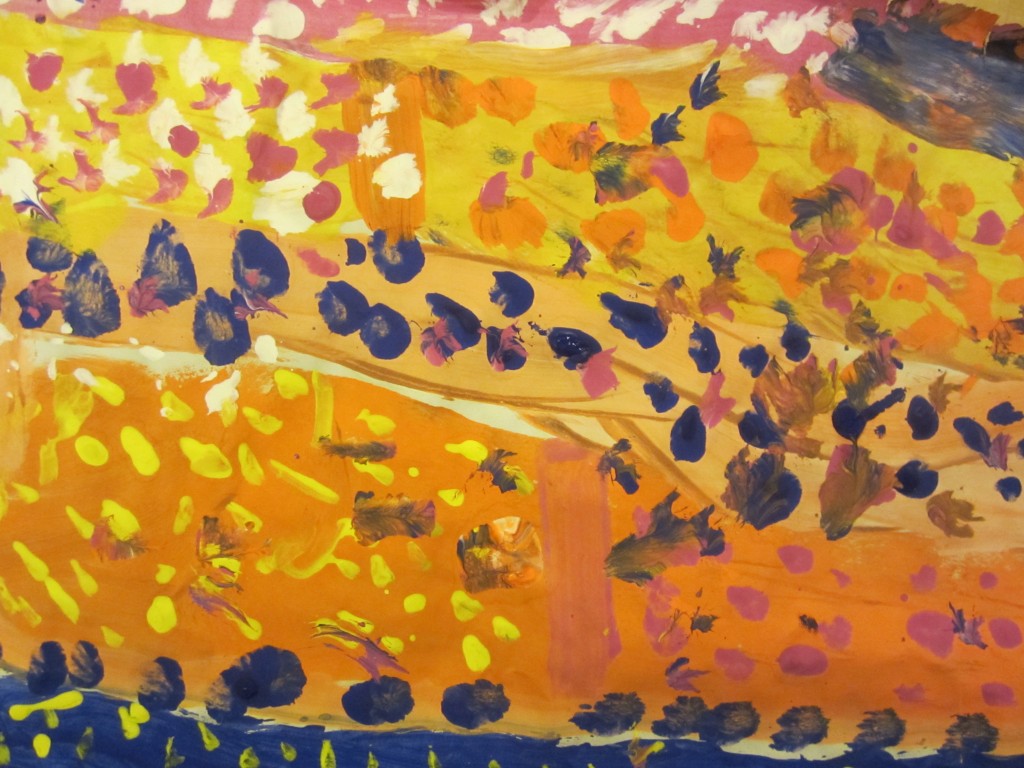
PaintingCan We Paint? I hear this question at least 10 times a week if not more! My kids love to paint, they are natural born creators and I make sure to keep them equipped with the tools to quench their desires. Sometimes I’m just not in the mood for the mess (like I mentioned in my previous post), but when we have the time I remind myself that once they are done the mess gets cleaned up and I am left with such beautiful art work. My home is their gallery, their pieces hang throughout it. It brings me such joy when I see them.painting 2014 Misc 1224For this painting session I gave the girls large drawing paper from the dollar store. I use whatever I have available. You can use a paper bag, even news paper or card board. The kids don’t care as long as they are painting. I brought out our bin filled with paint. I have all different types of paint, Finger paint, Acrylic and Tempera paint. I keep all of our paints and brushes in a large bin so it makes it easy to have everything ready when the kids ask to paint. It also makes it easy to bring the paints outside when weather permits.  We have these fun foam cube stamps the kids love to use them with paint. You can find them at any craft store or online. They had fun experimenting with each shape and mixing them to create their own personal piece. They are so easy for little hands to use! Oh and I always make sure to play classical music. It’s relaxing and the girls enjoy it!Paintingpainting2014 Misc 12302014 Misc 1274IMG_2153

Water Play with Rocks

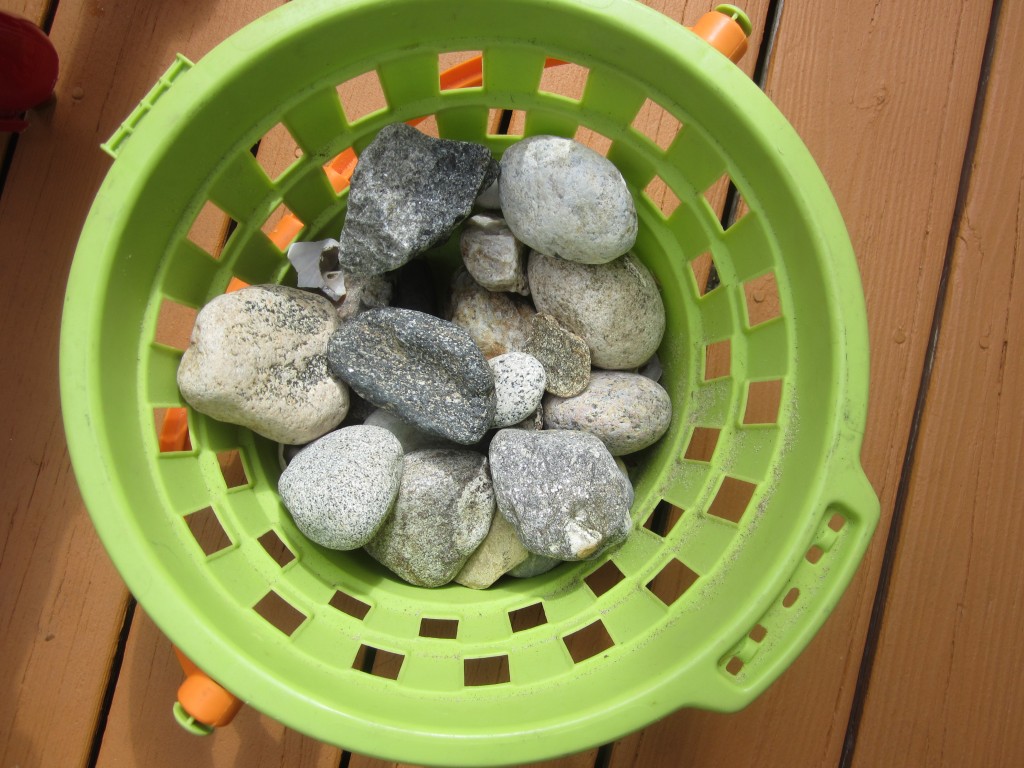
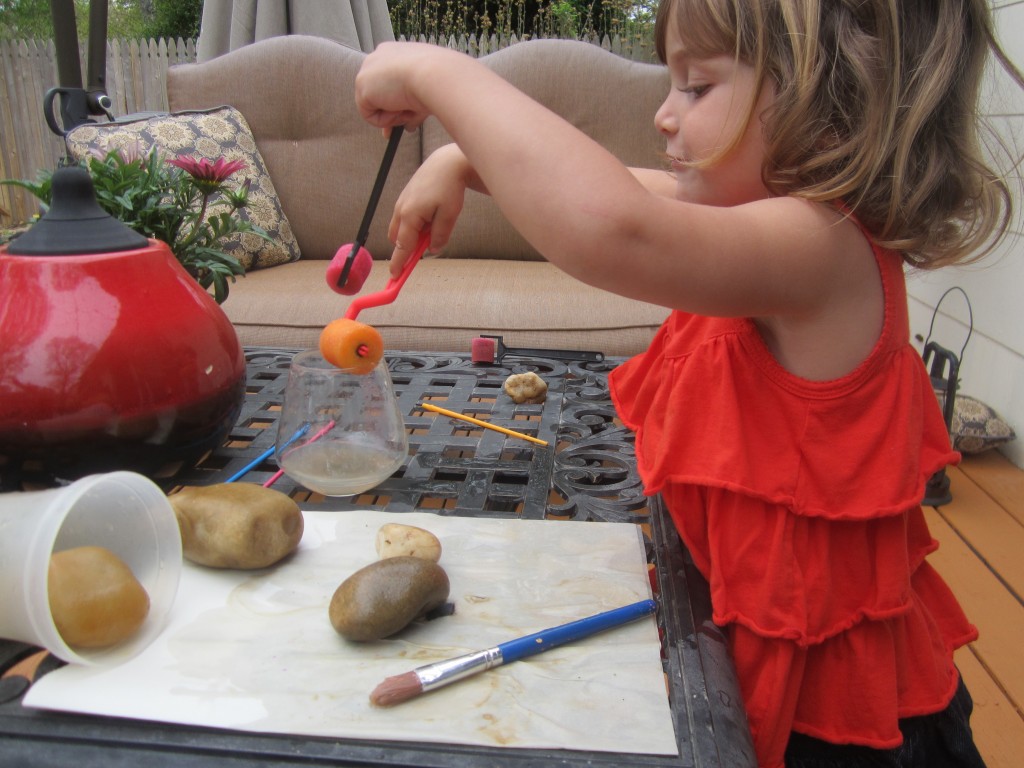
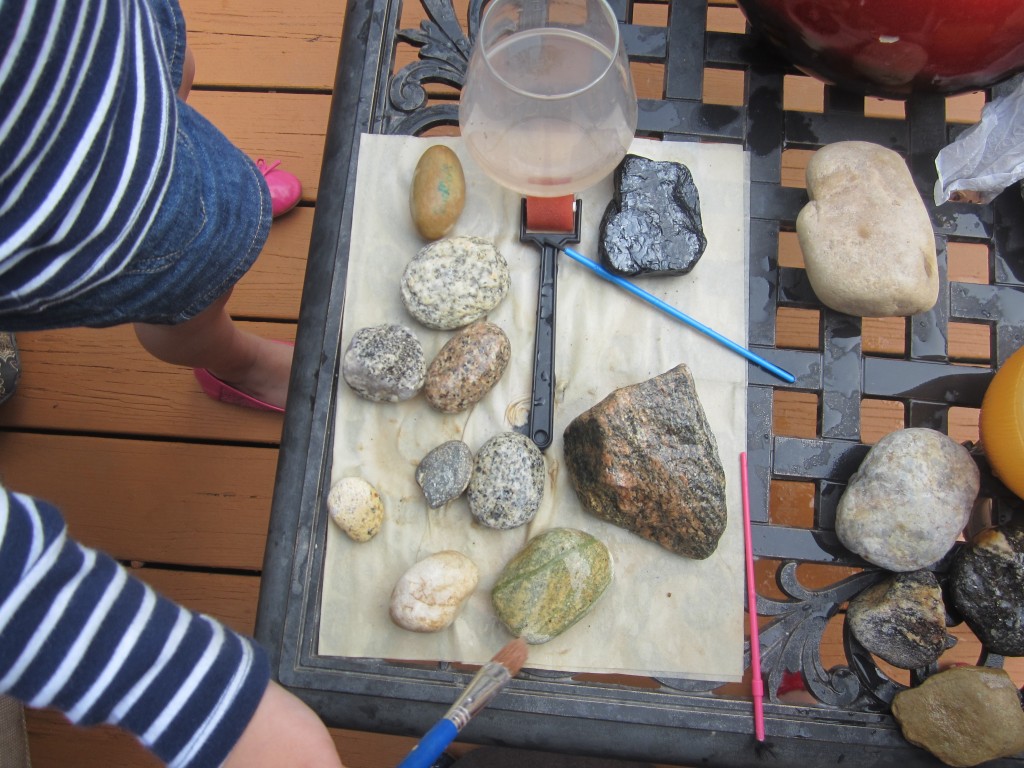
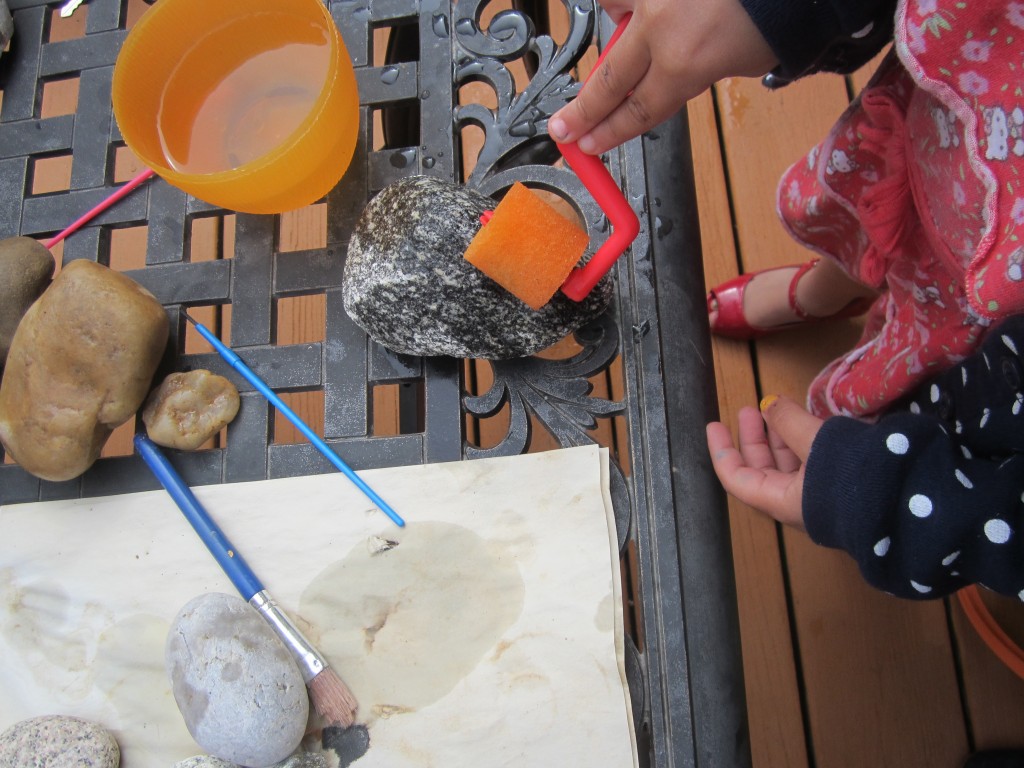
Rock PaintingThis year for Mother’s Day we took a nice long ride out to the Montauk Point Lighthouse. This is where the girls discovered and took home these beautiful rocks. My daughter Lia is always asking me if she could paint,  some days we have time for it but some days we just don’t or I just don’t feel like cleaning up the mess (which was the case on this day)! However, I was able to satisfy her urge by having her use plain water and a brush to paint onto these lovely rocks. I simply gave her a glass of water, some paint brushes and a paint roller and of course a bucket of rocks and she got right to work. She loved applying the water and watching it dry up and starting all over again. This kept her quite busy and I have to admit it kept me quite busy too. It was so relaxing and so fun to watch the effect of the water on the rocks. I left the rocks set up for the whole day. My 4 year old loved it and jumped right in as soon as she came home from pre-school and so did my 7 year old when she arrived home from school. It was definitely something they all enjoyed!

Rock PaintingRock PaintingRock Painting

Childs Eye View

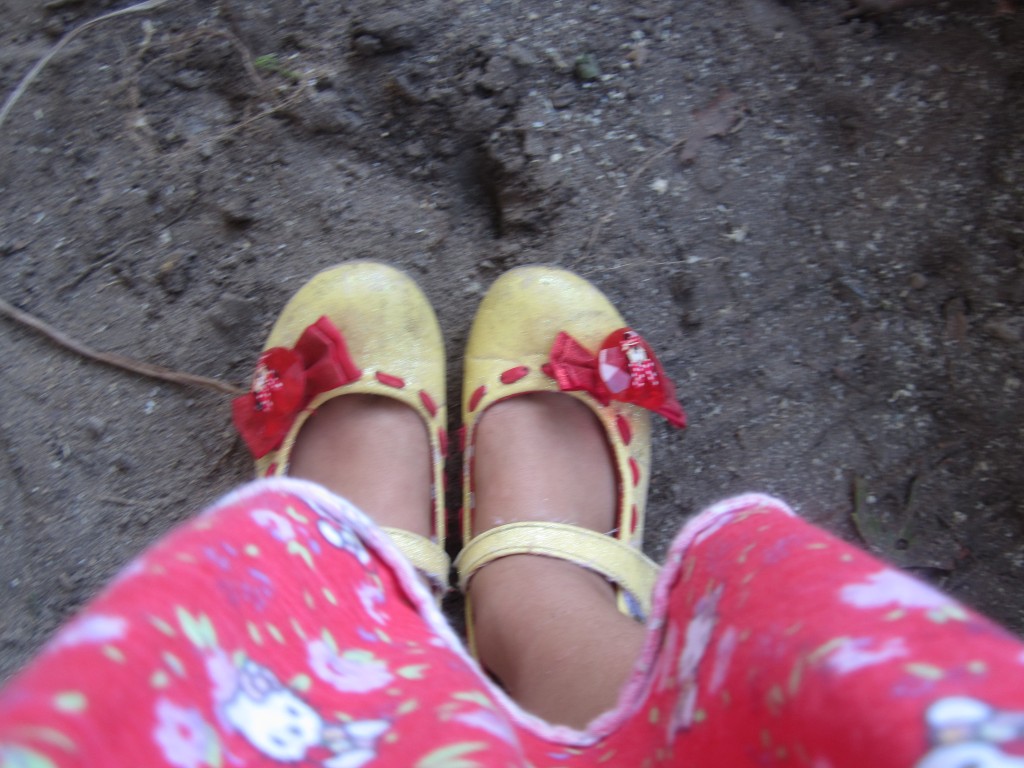
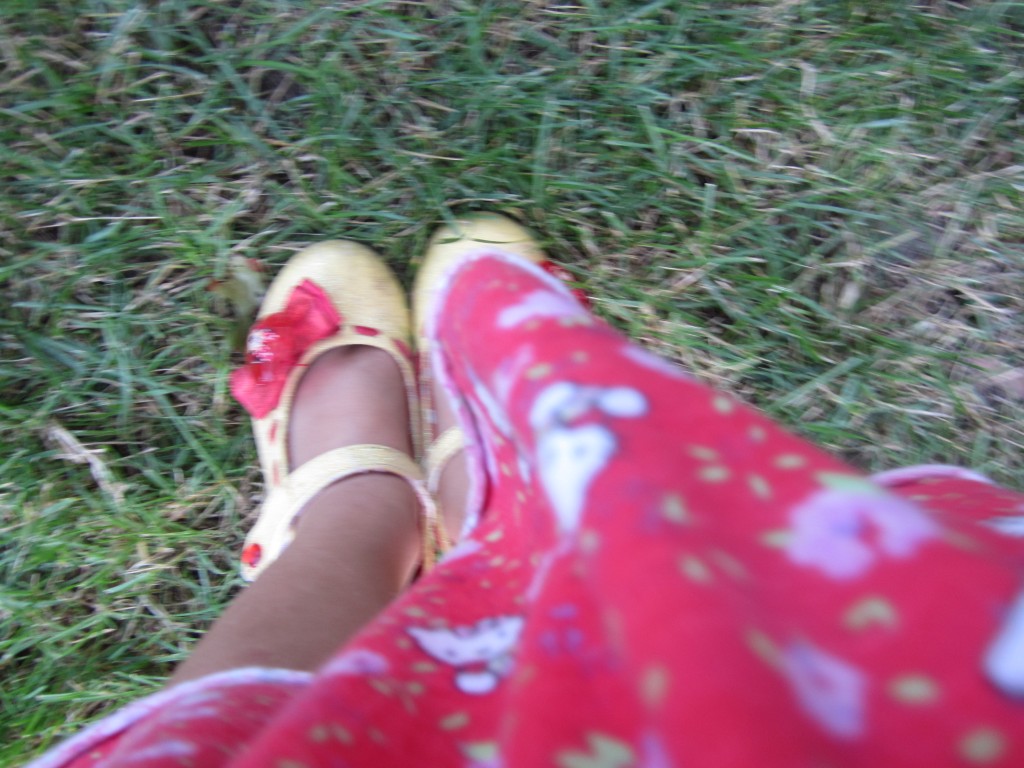
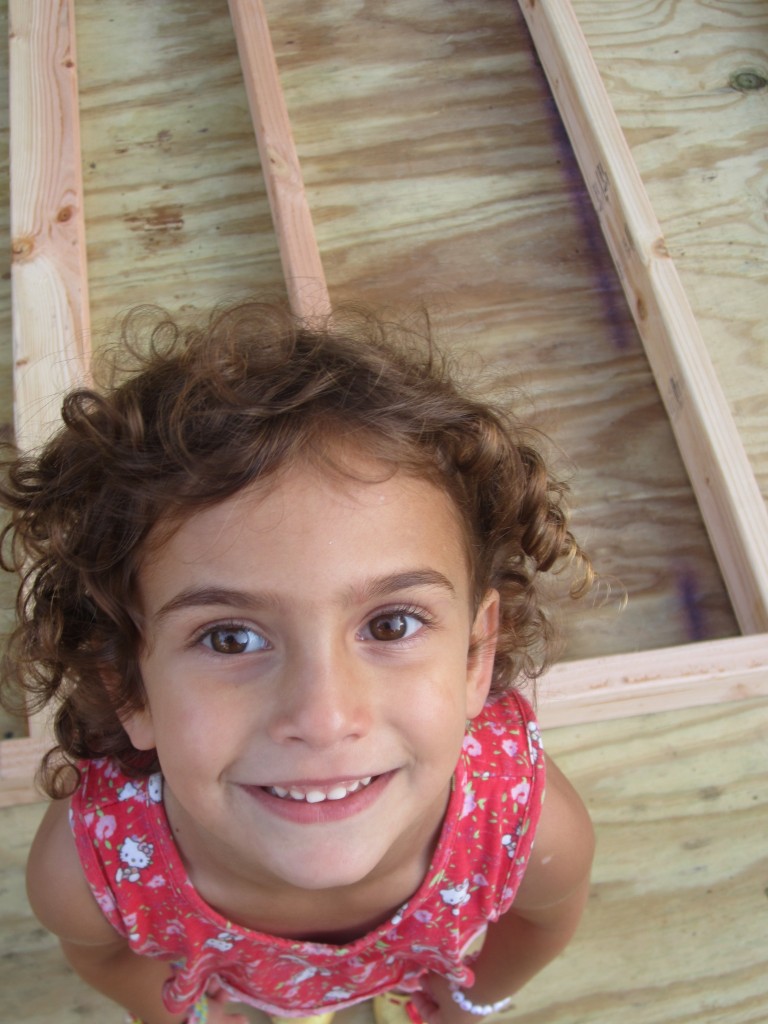
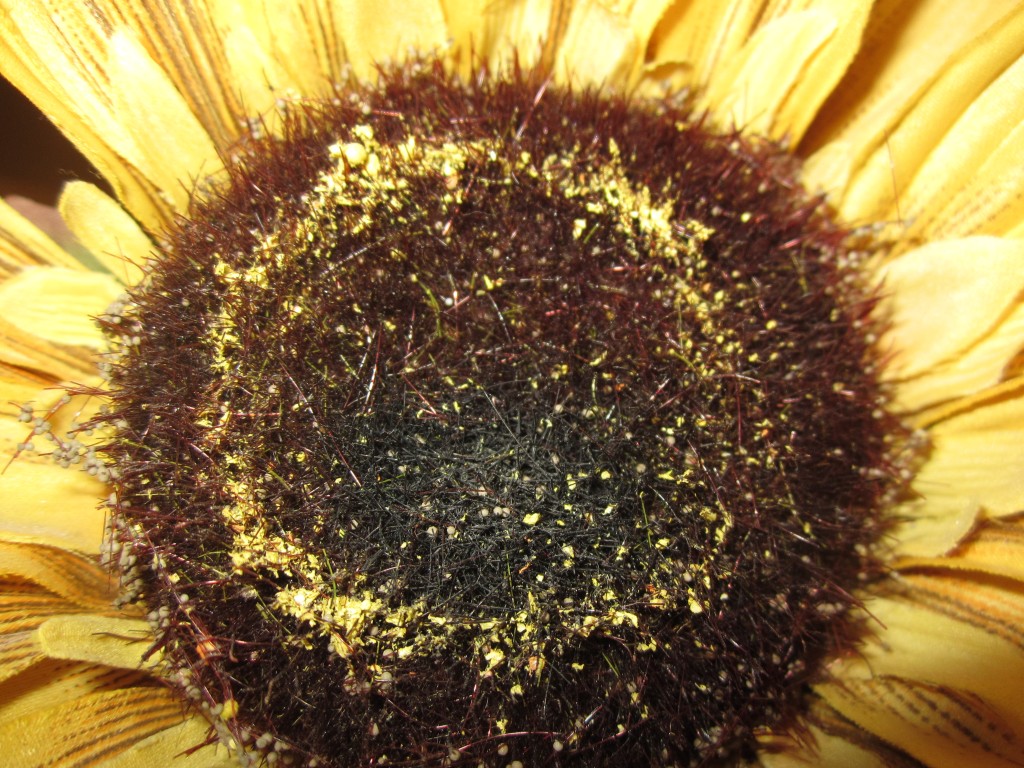
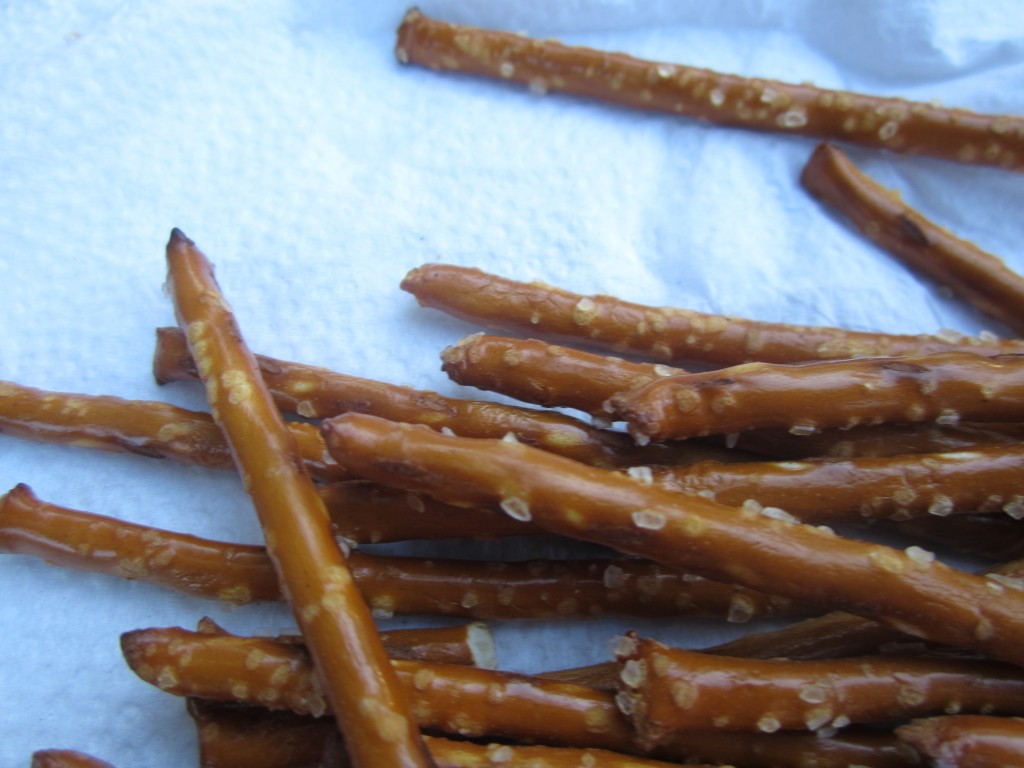
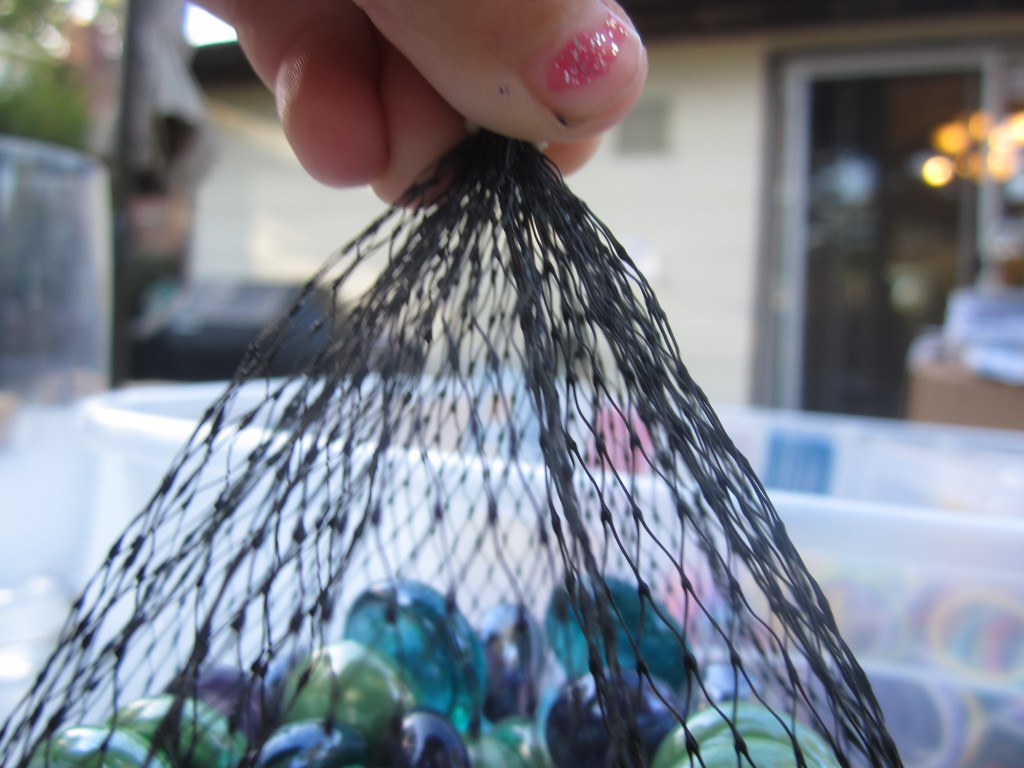
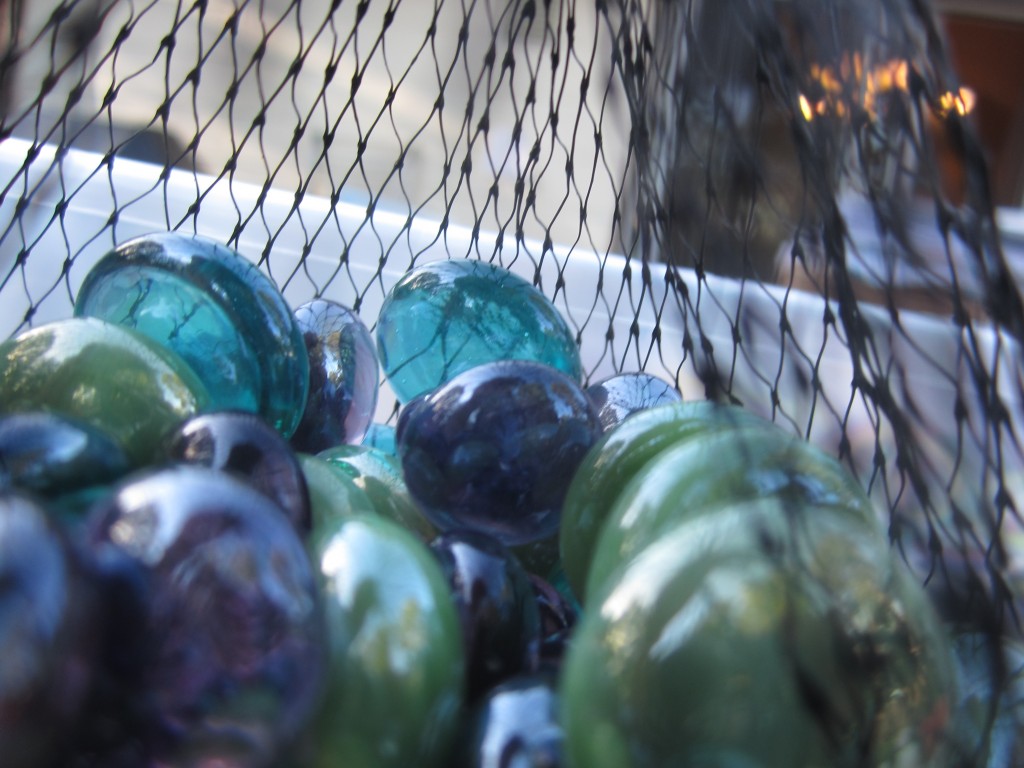
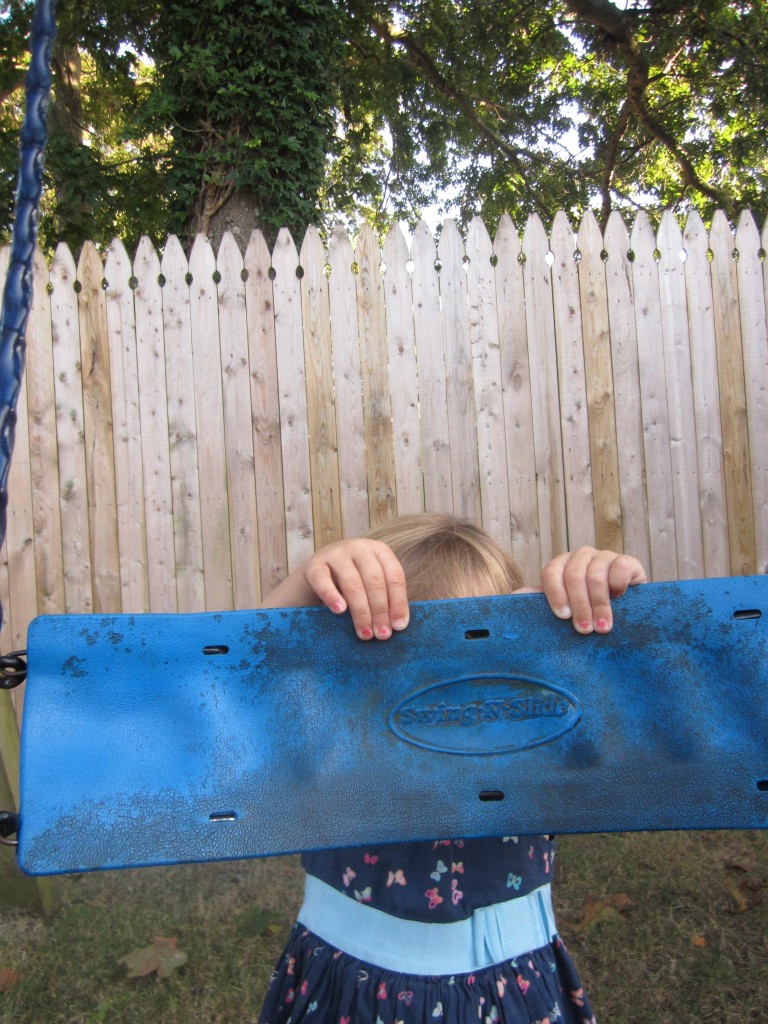
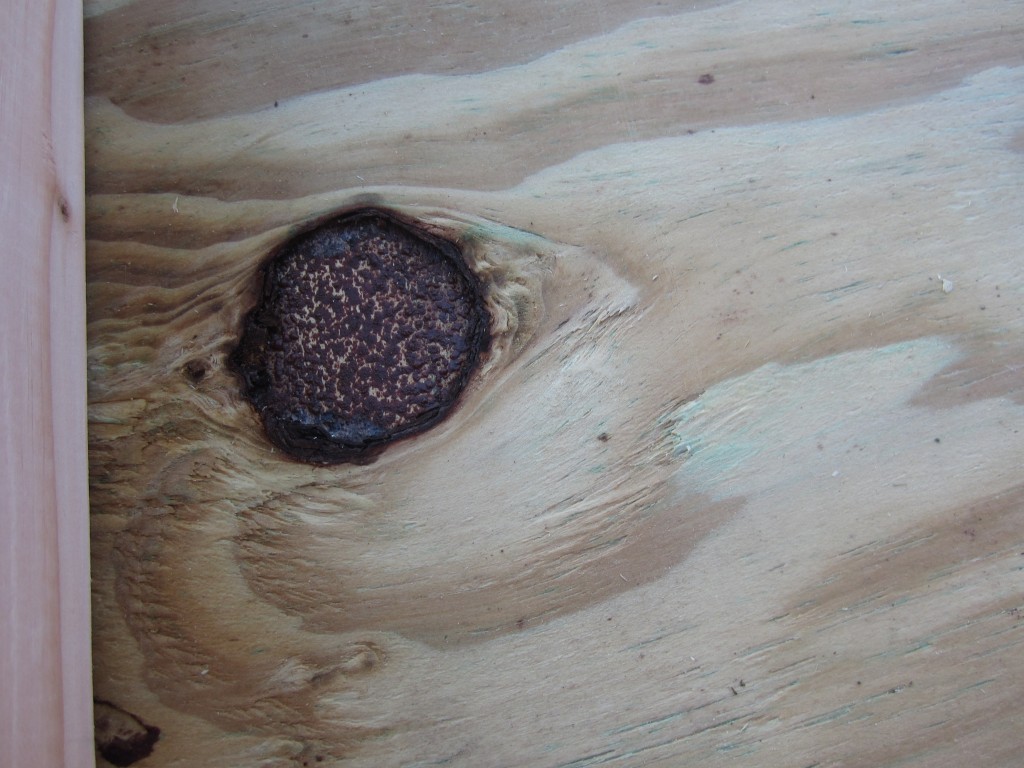
Every time I download pictures from my camera I find these amazing images taken by my daughters Isabel and Melina. These photos were amongst the ones that literally made my jaw drop when I discovered them on my camera! They captured such beauty in places I never would have looked.  I just had to share them. Melina loves taking photos of her shoes and her cute little face. Isabel loves to take closeups of objects and she took a great one of her sister! Lia is starting to get a hold of the camera but her photos are of the wall or my back side or me trying to grab the camera from her…they would probably give you all a good laugh! Rainbow Bands Seatbelt Happy Feet Fancy Feet Little Sis

sunflowerPretzel Sticks Marbles MarblesBehind a swingKnotNailsLittle Nest

Planting Fun

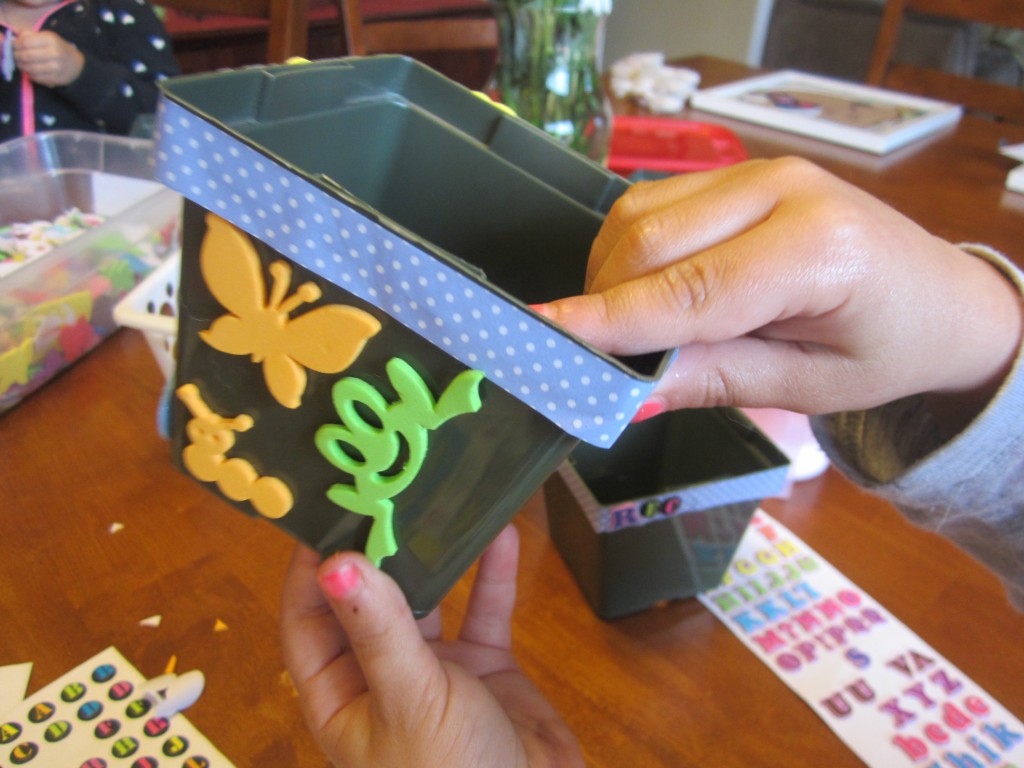
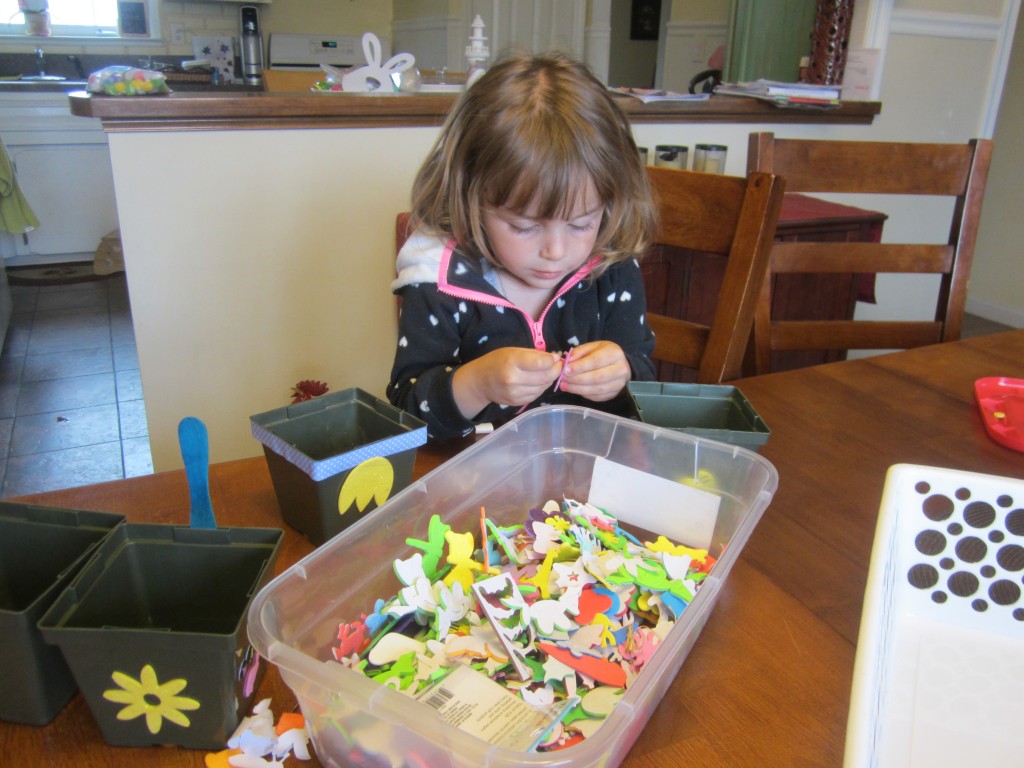
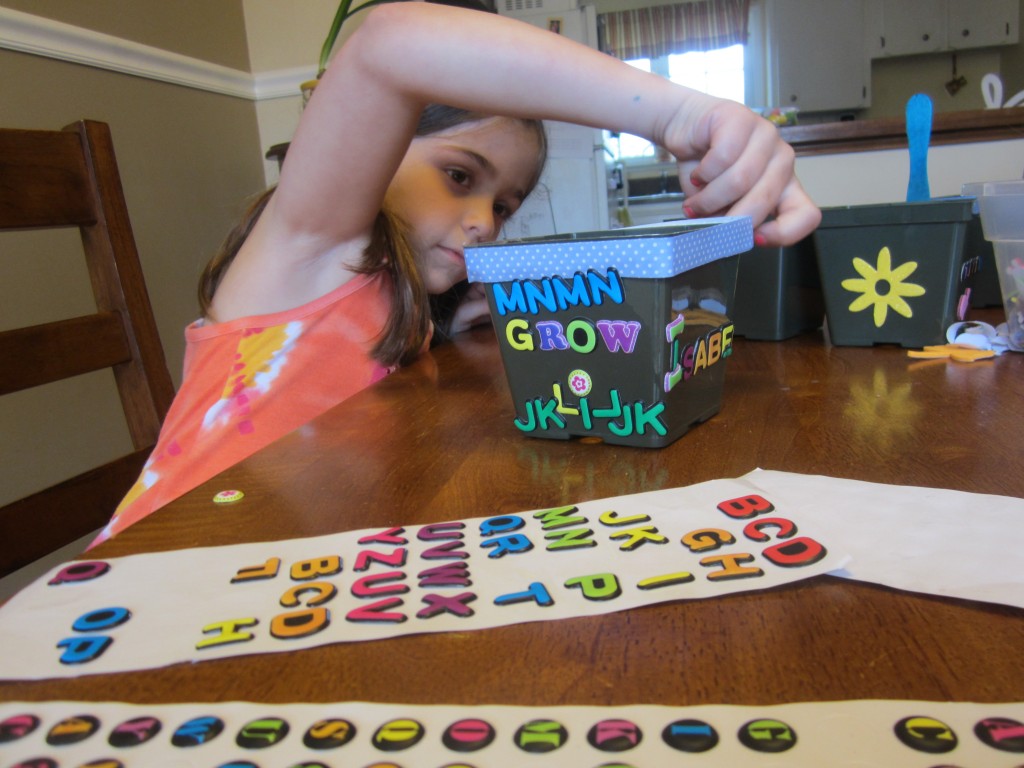
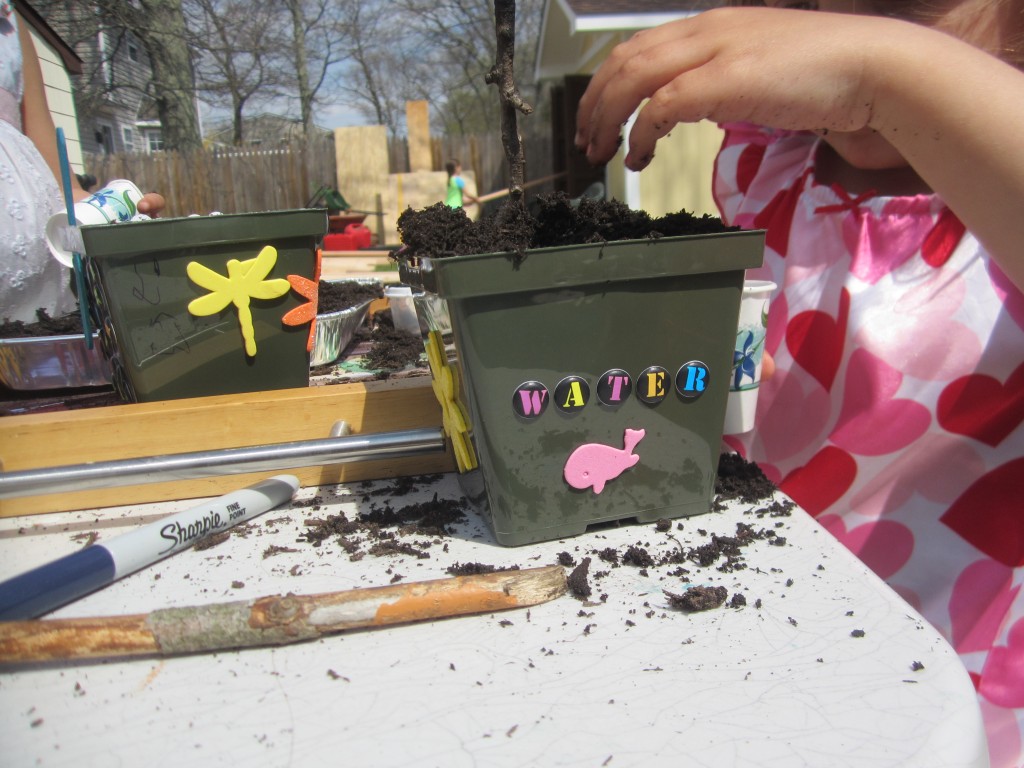
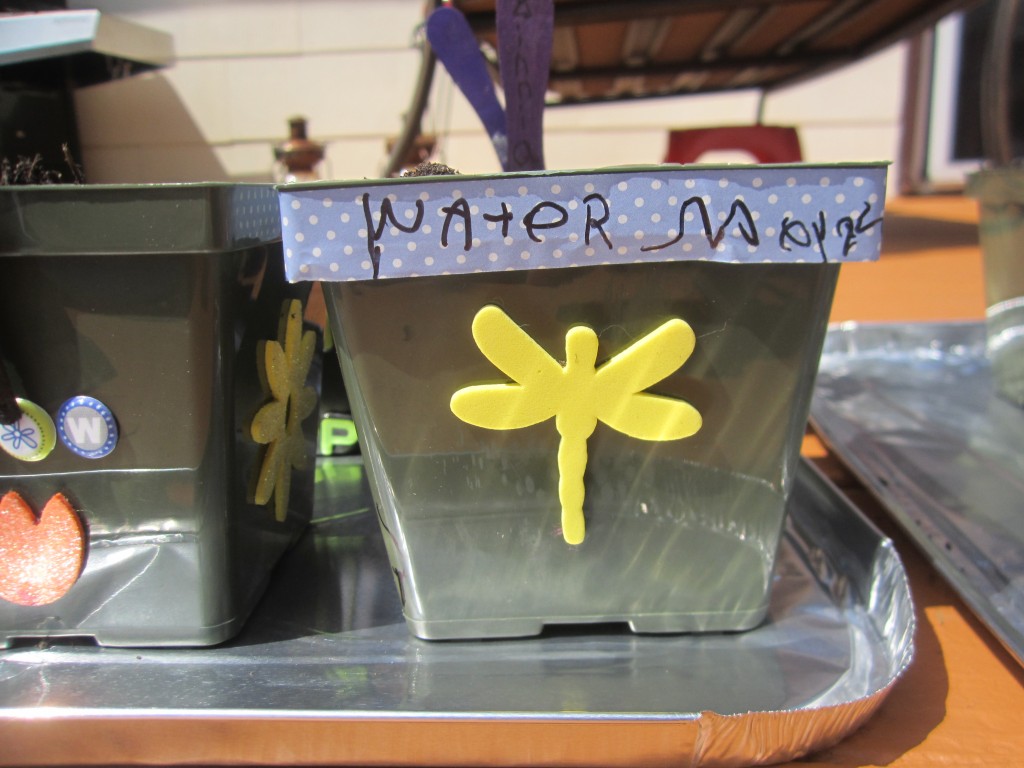
Planting FunThis was a fun way to celebrate Earth Day especially after a long winter of snow. I could not wait to start doing some planting and Earth Day was the perfect excuse. I went to our local nursery and bought these cute little plastic planting pots. The girls and I picked out some seeds we wanted to grow. My daughter Melina loves watermelon and picked watermelon seeds to plant. I honestly do not think I have enough space to grow one but I made her happy and we bought a pack of watermelon seeds. We will see what happens! After we got home I took out our craft box which always has some sort of foam stickers and they decorated 3 pots each.

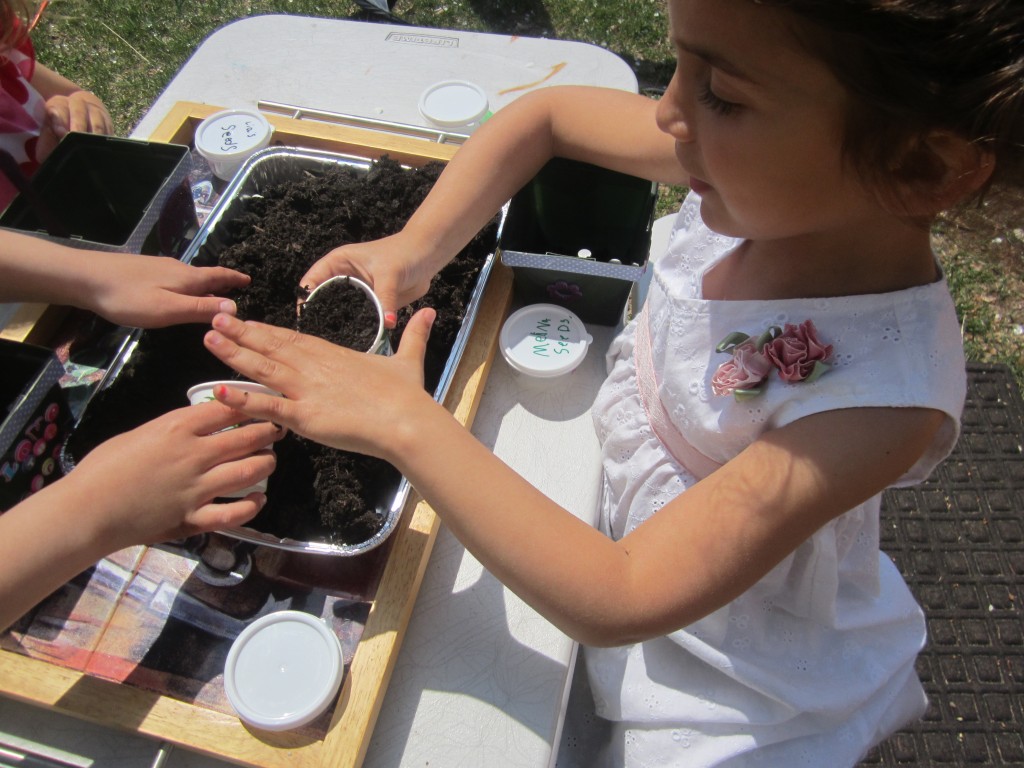
2014 Misc 1174 2014 Misc 1171After we finished decorating the pots we put them aside and waited for a sunny day to plant them so that we can make the mess outside. I provided the girls with a tray of dirt, little Dixie cups so they can scoop the dirt and tiny little containers to put their seeds in so that if we had any left over we could just save them in the containers. We made sure to label each container and each pot so that we could keep track of the seeds and what we were planting. The girls really had a great time with this project and they can’t wait to see what sprouts!05.10.14 Mothers Day Weekend 00205.10.14 Mothers Day Weekend 01505.10.14 Mothers Day Weekend 01305.10.14 Mothers Day Weekend 019

Don’t forget to water your seeds and plant your new sprouts into your garden! We can’t wait to see what grows!

Posted in DIY

Site Word Fun

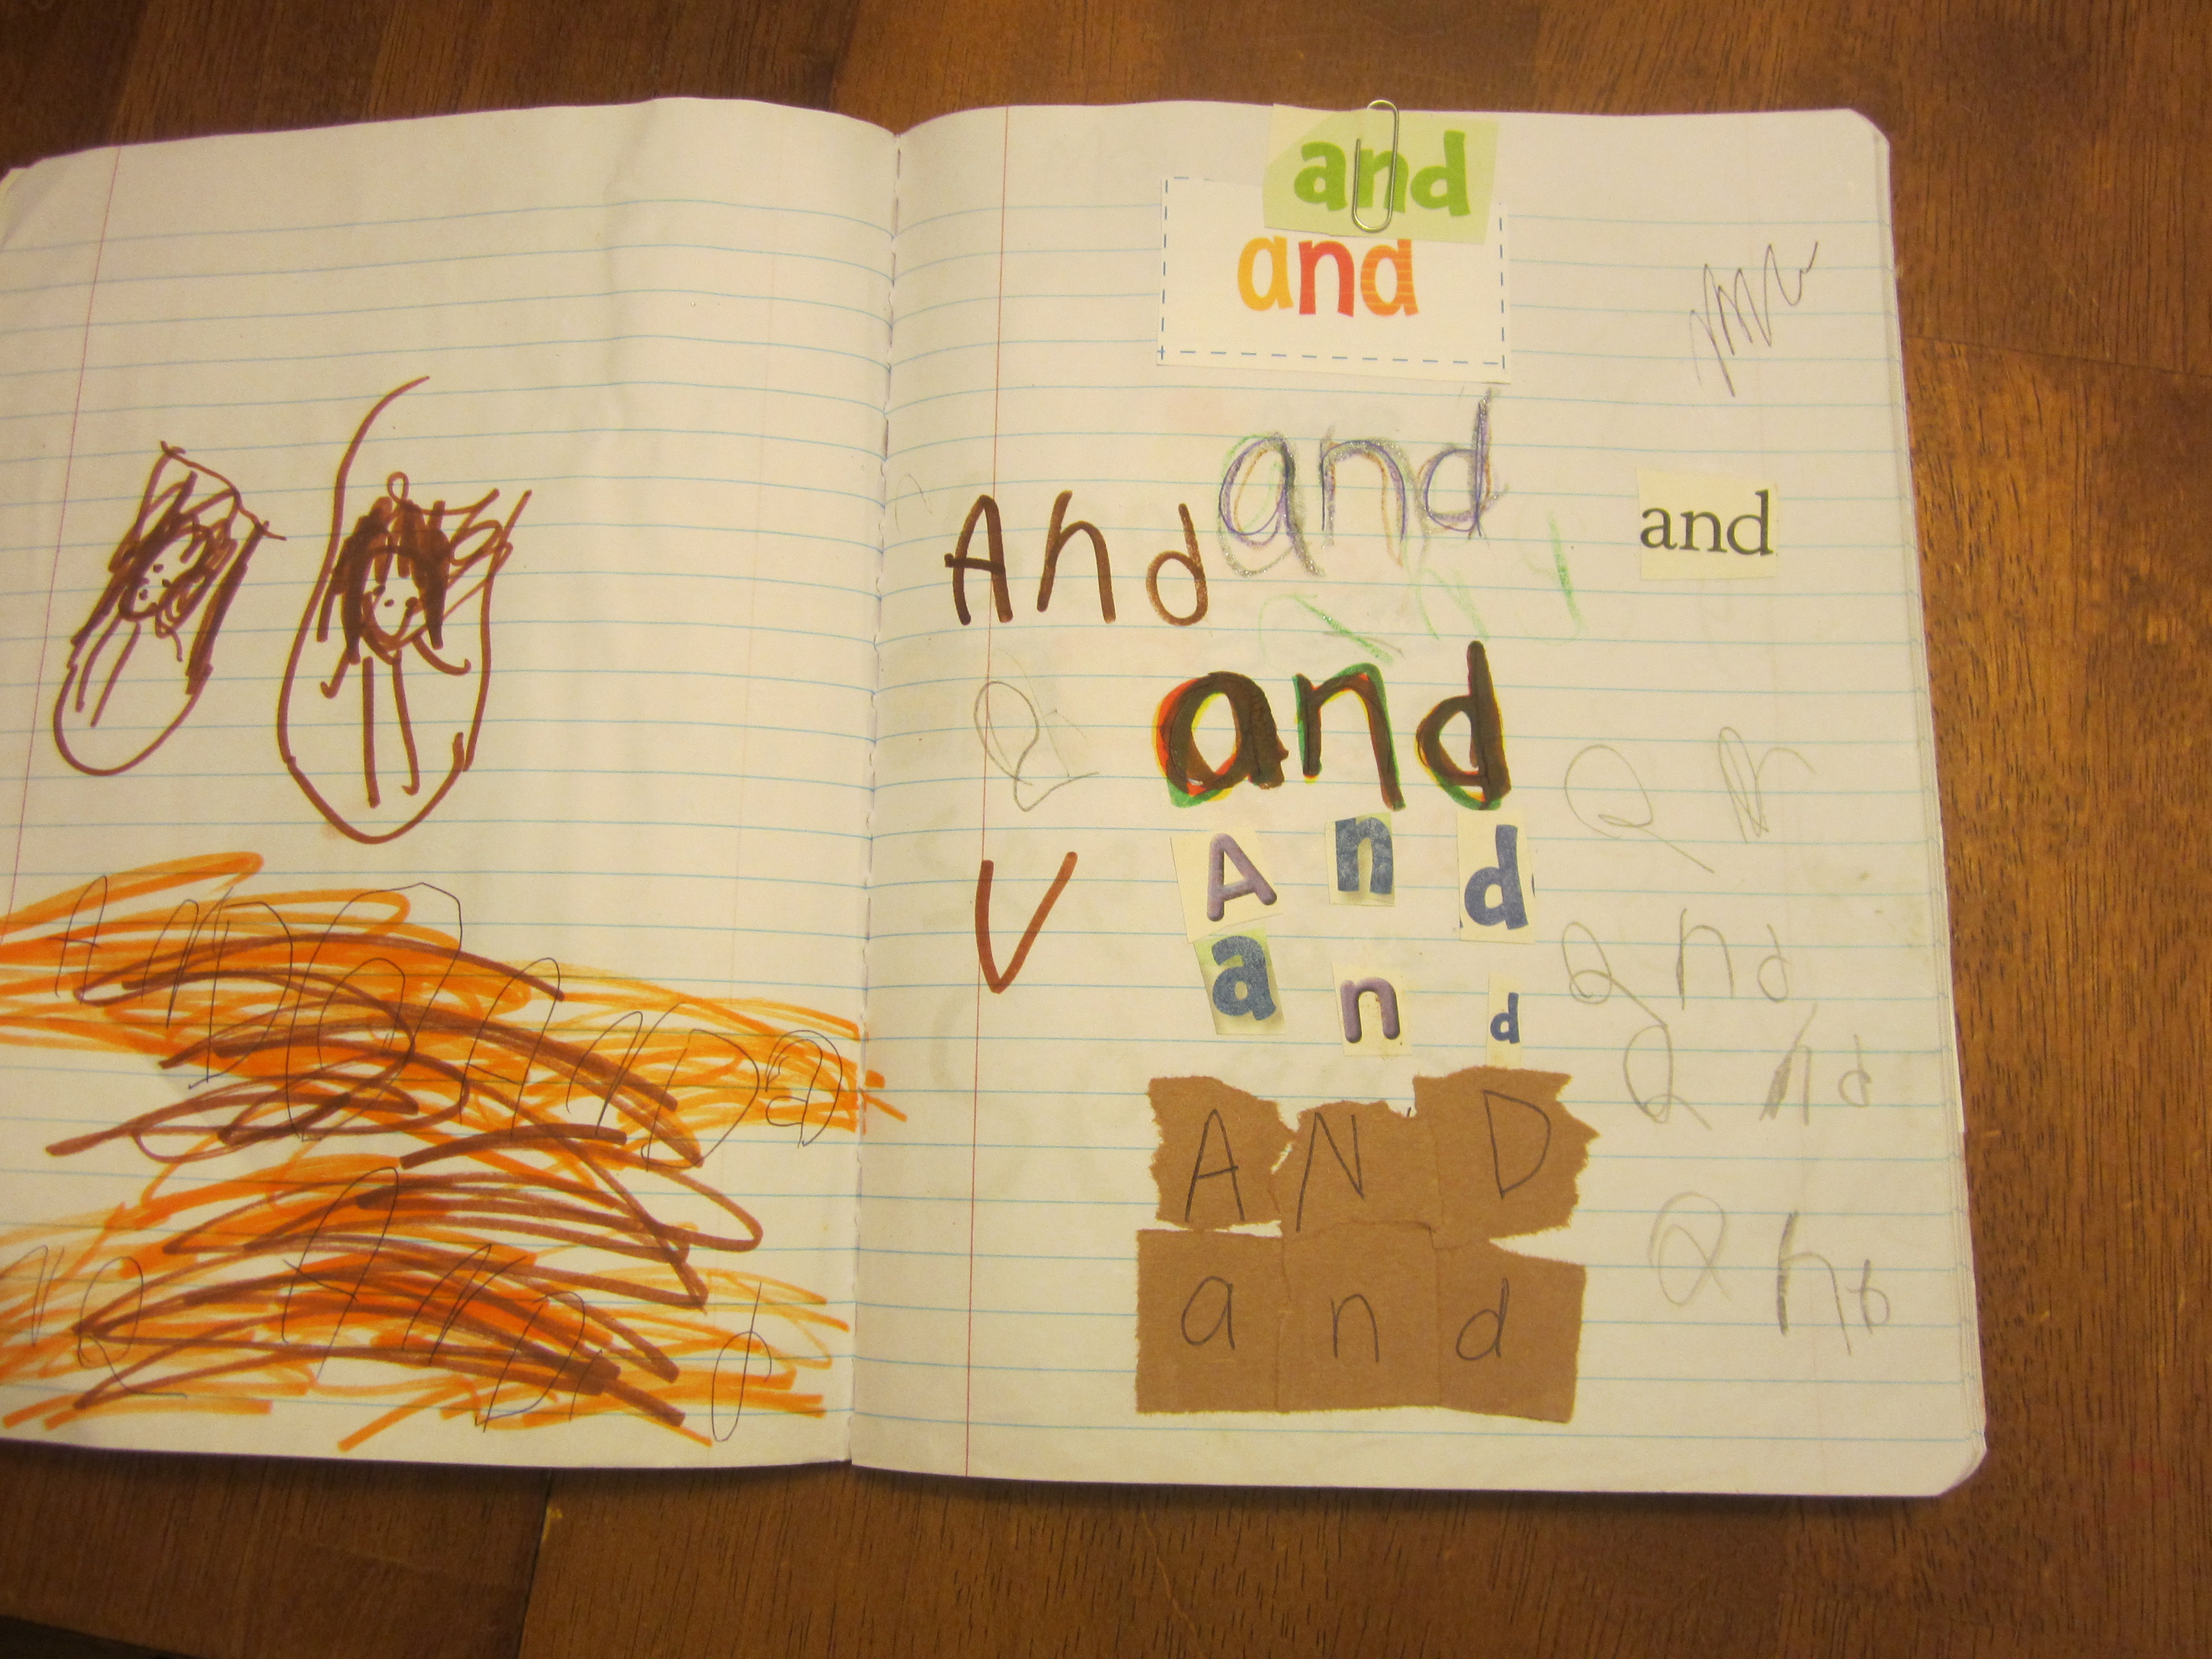
sitewords I love teaching the girls! I always wanted to be a teacher and now I get to teach my own children and prepare them for school.

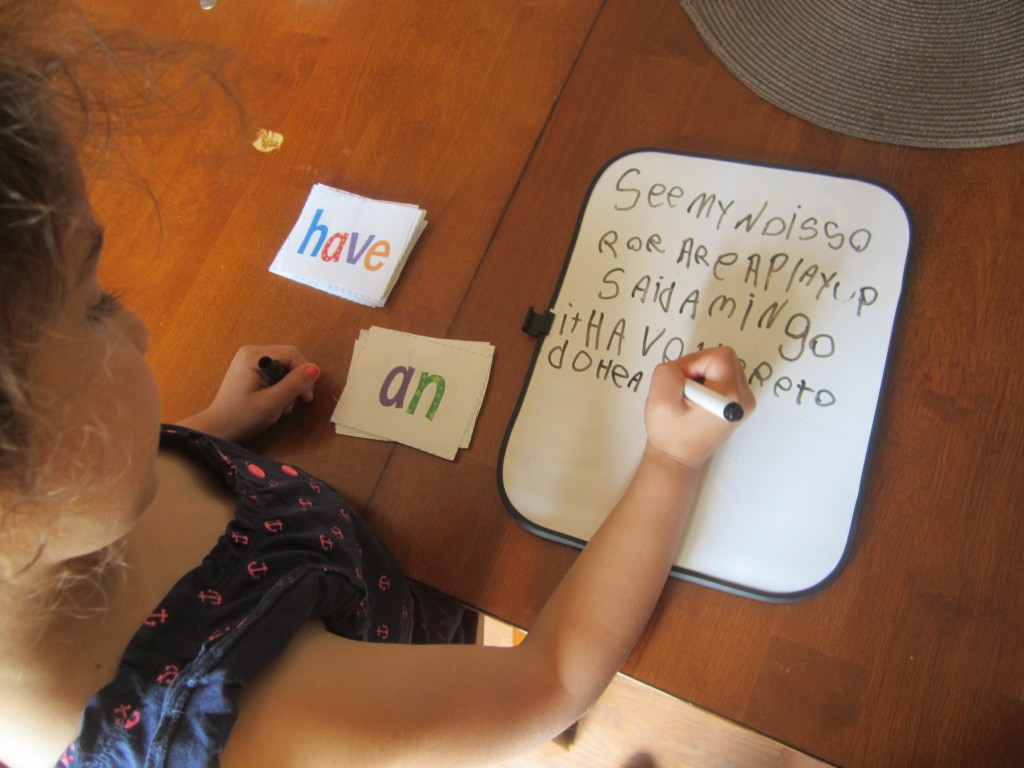
Here is a very simple and fun way to help your child get familiar with site words. First I created a list of site words I wanted my child to learn. There are pre-primer, primer, first, second and third words. You choose the appropriate level for your child. Melina is working on the pre-primer words. I have a paid membership with http://www.education.com (this site is so awesome and so worth the membership) which is where I printed the site word flashcards you see in the photo, but you can search for a list anywhere online. I found one at  www.createdbyteachers.com. Just click on the Site Word List tab once you access the site. You can simply print and copy the list onto index cards and make your own flashcards. To have her practice the words I bought an individual Dry Erase Board at the dollar store and I have her go through the words and write them onto her board. She loves this so much and at the same time she is learning!

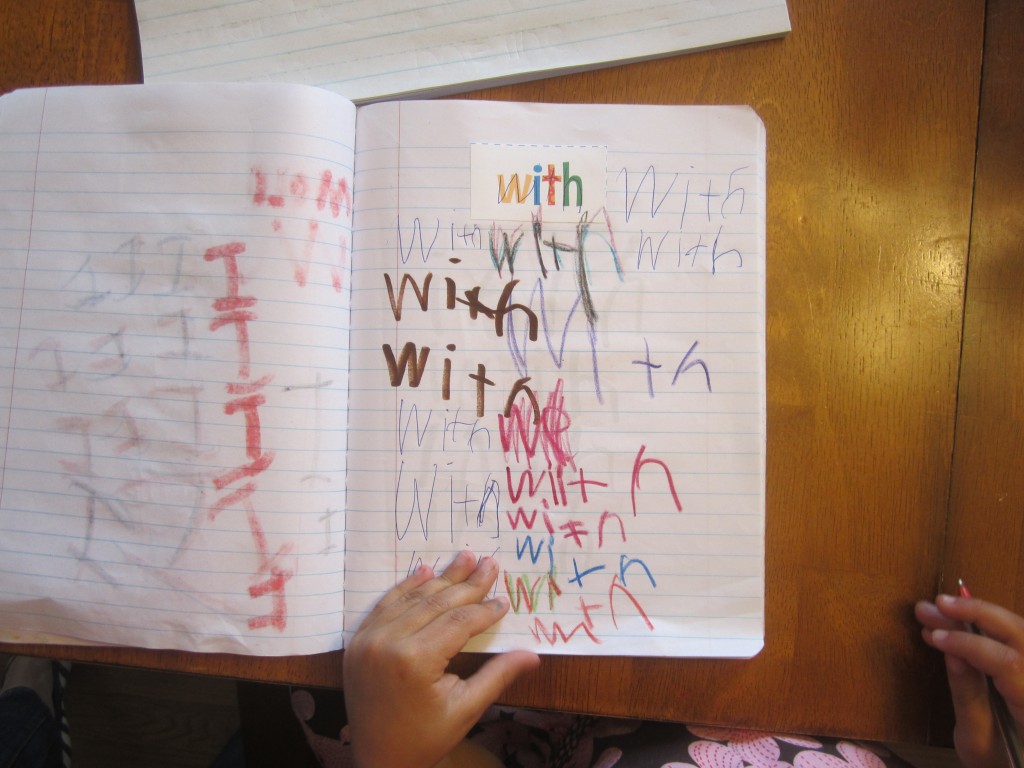
I also created a site word practice book for her using a composition book I bought from the dollar store. I made copies of the site words and glued each word onto the top of a page ( you can simply write the word at the top of the page with a marker ). Every week she practices writing a different word. Sometimes I let her look through magazines to find the letter she needs to make the word and I have her glue it down onto the page. This allows her to practice the words in different ways, which keeps it exciting and the repetition helps her to remember the words.

Site Words sitewordfun

Its a Rainy Day!

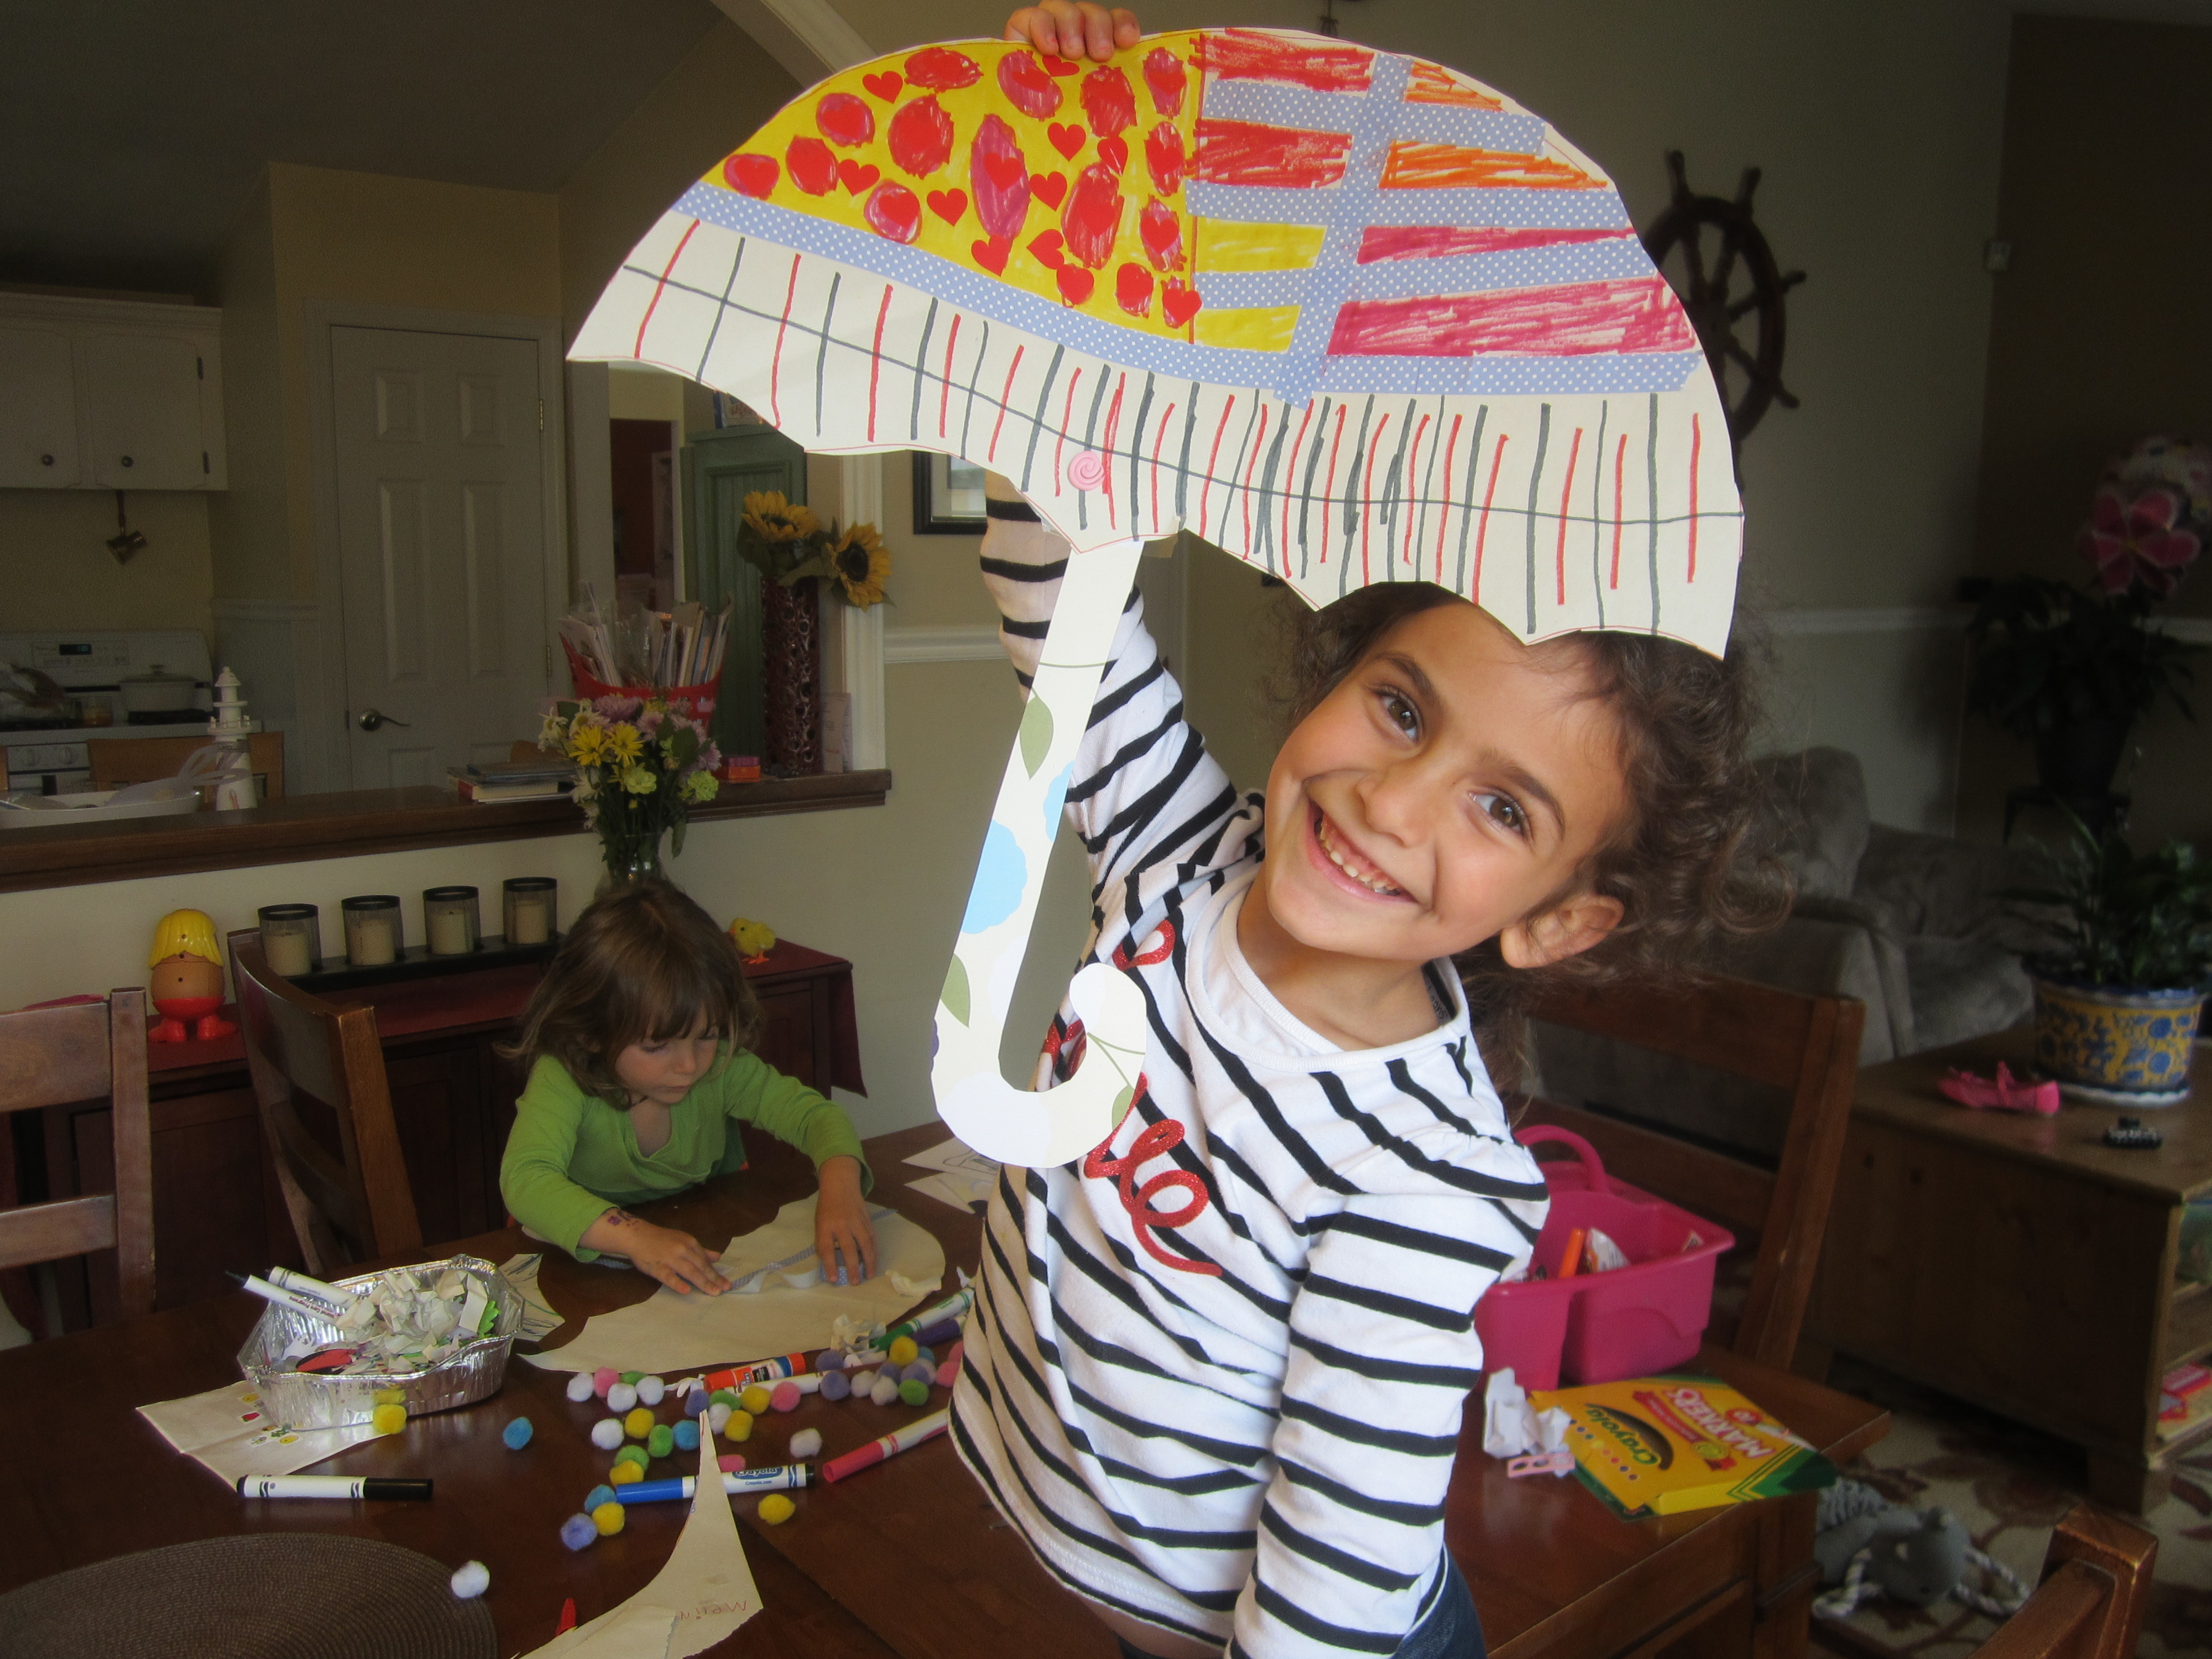
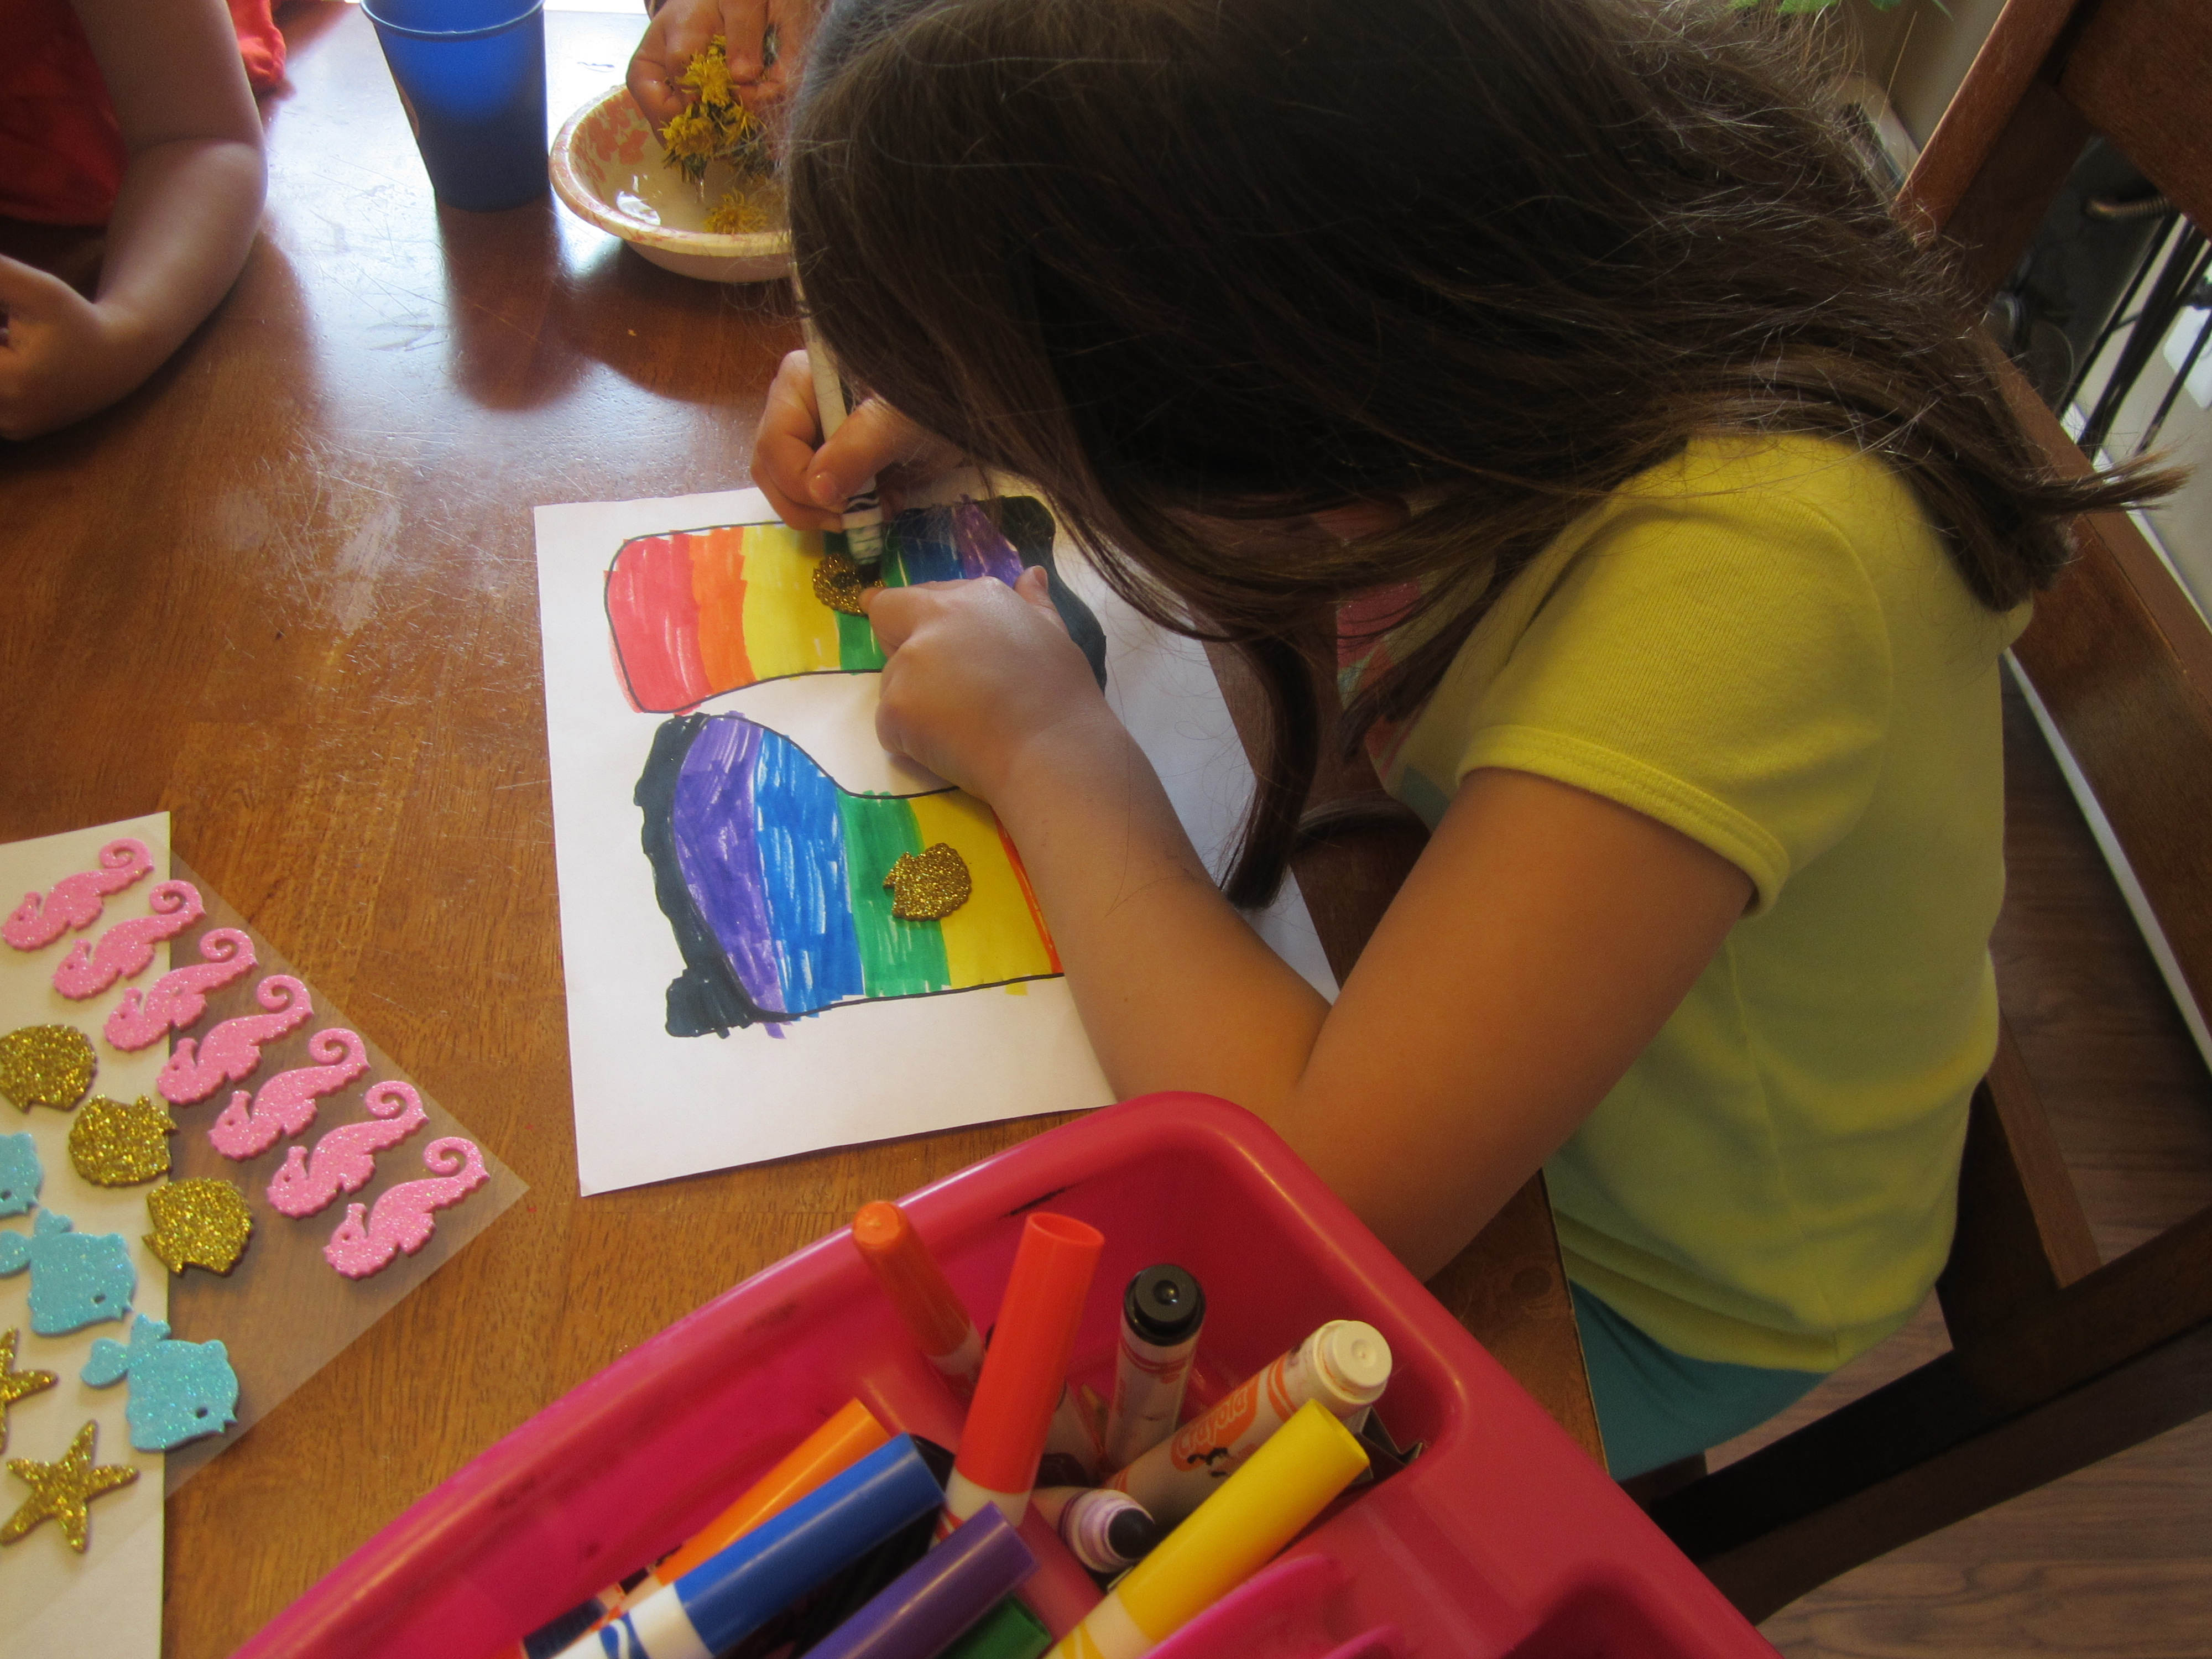
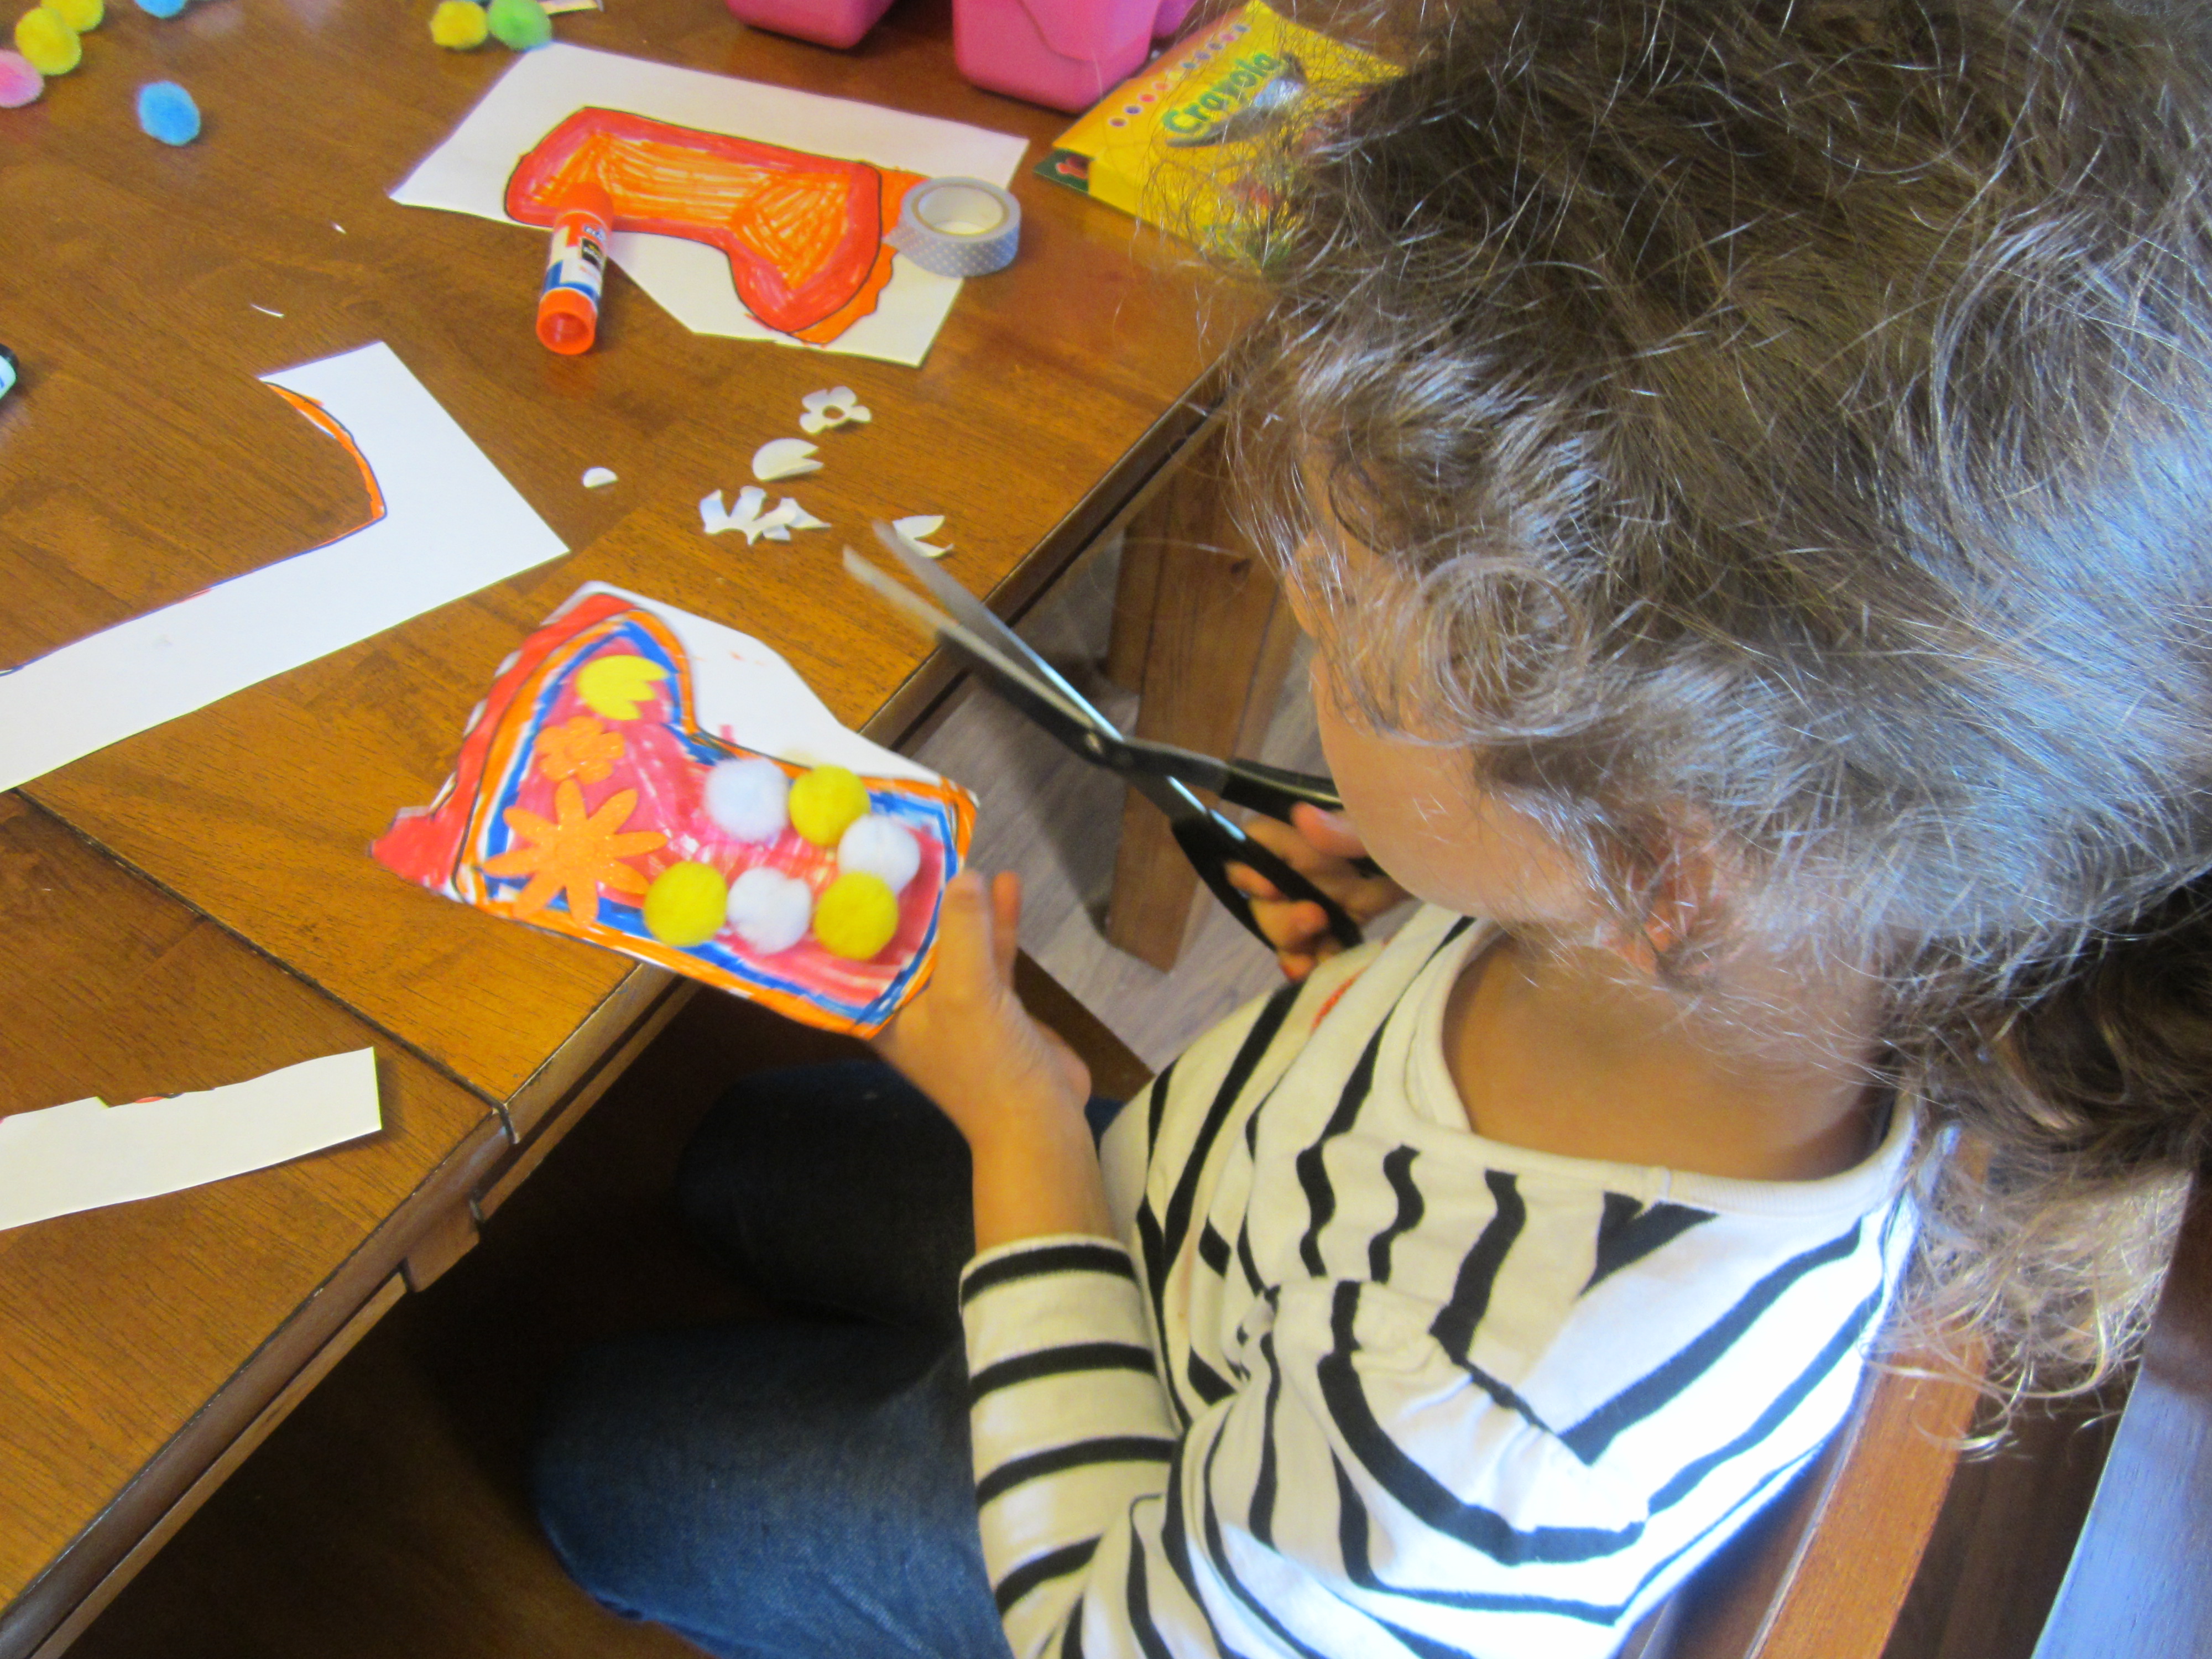
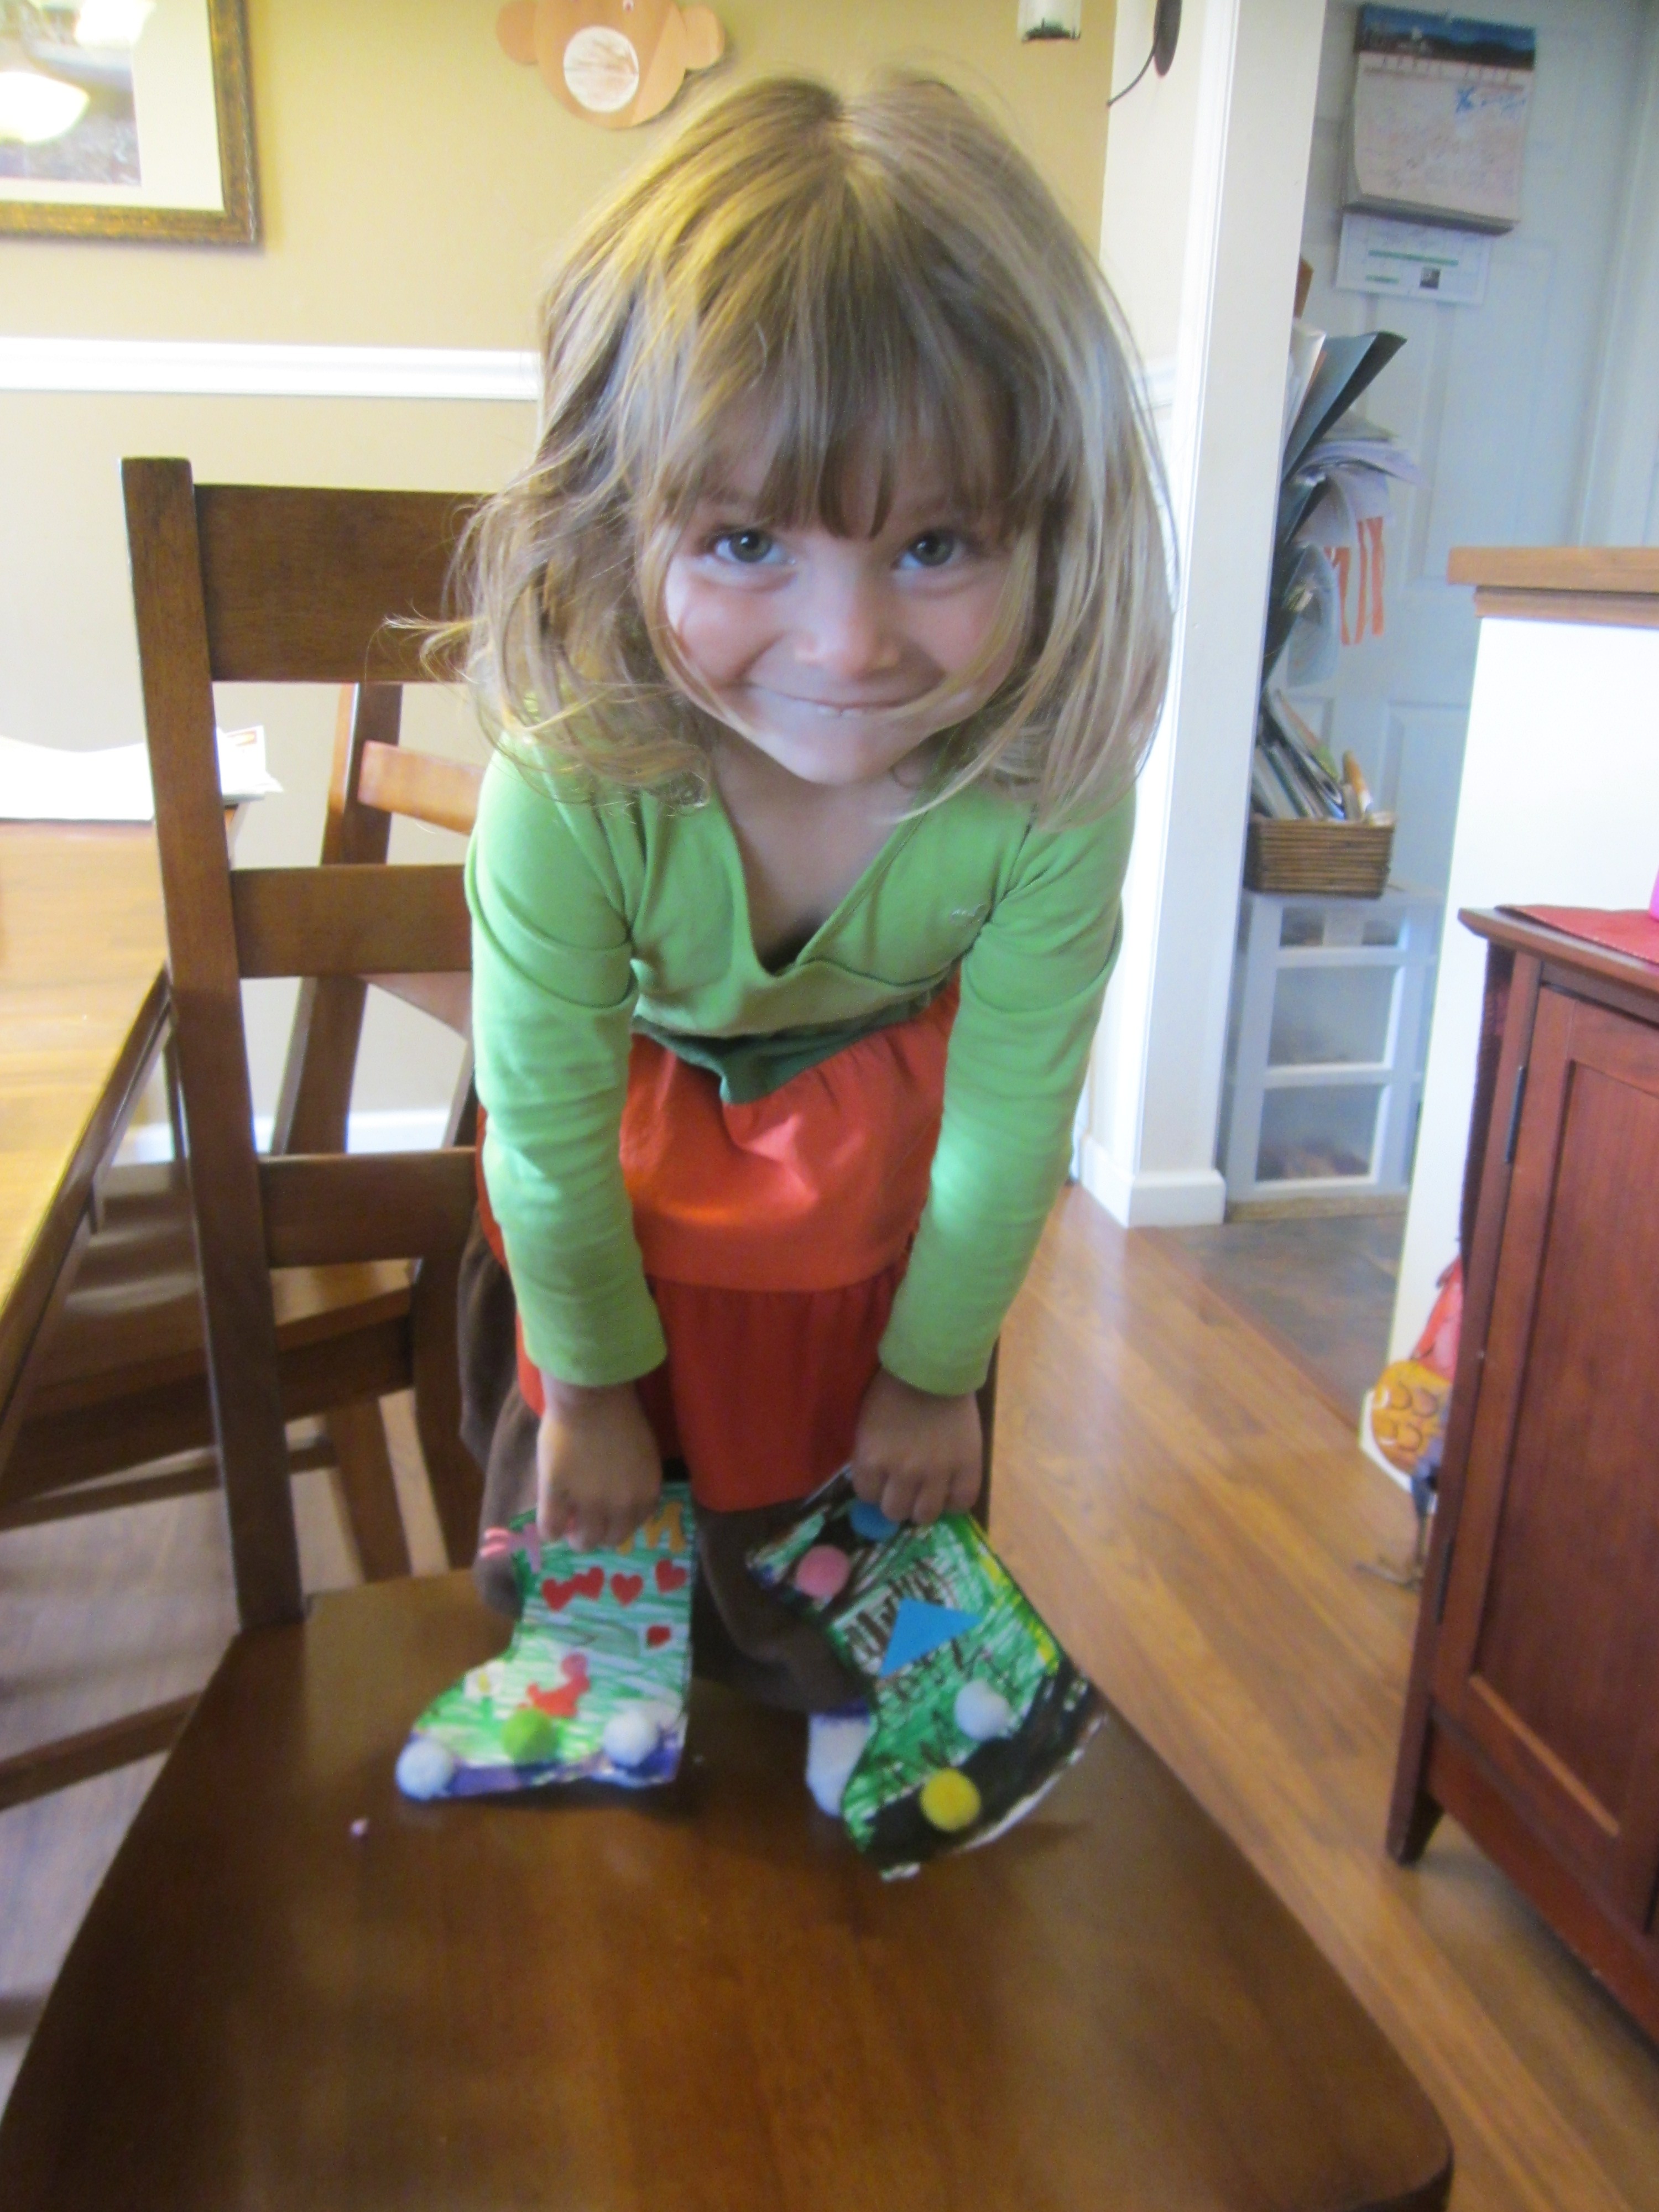
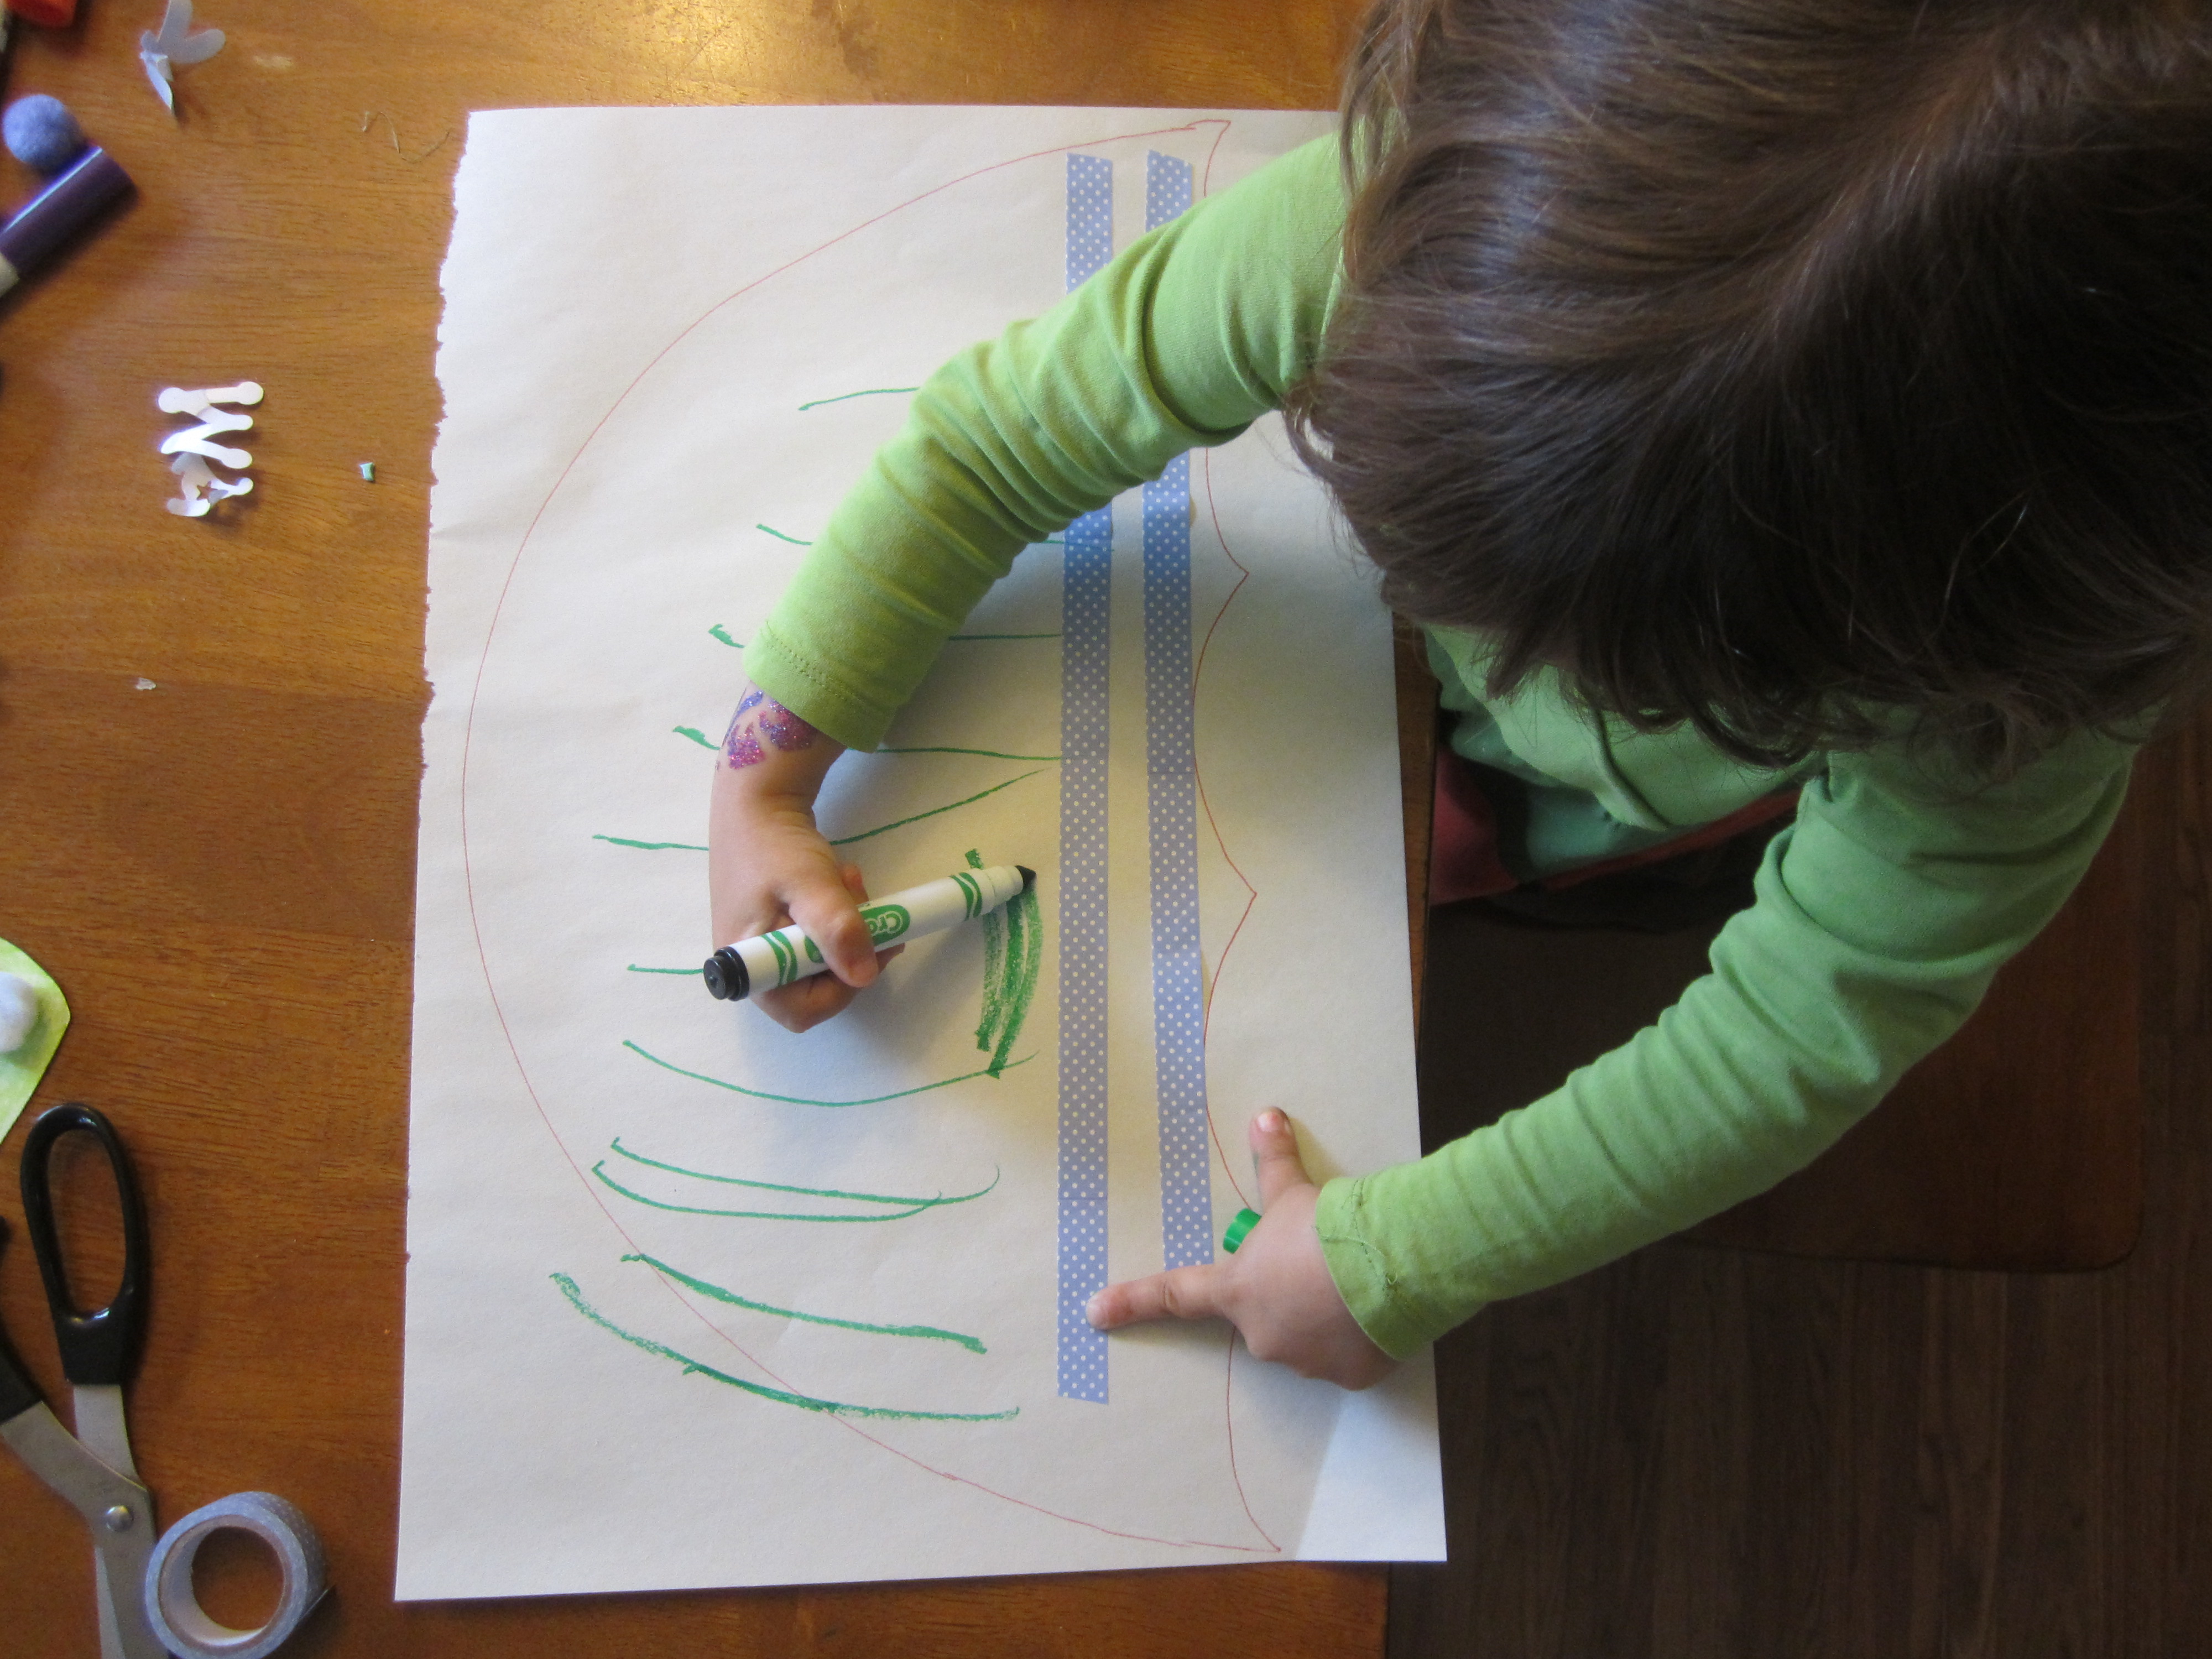
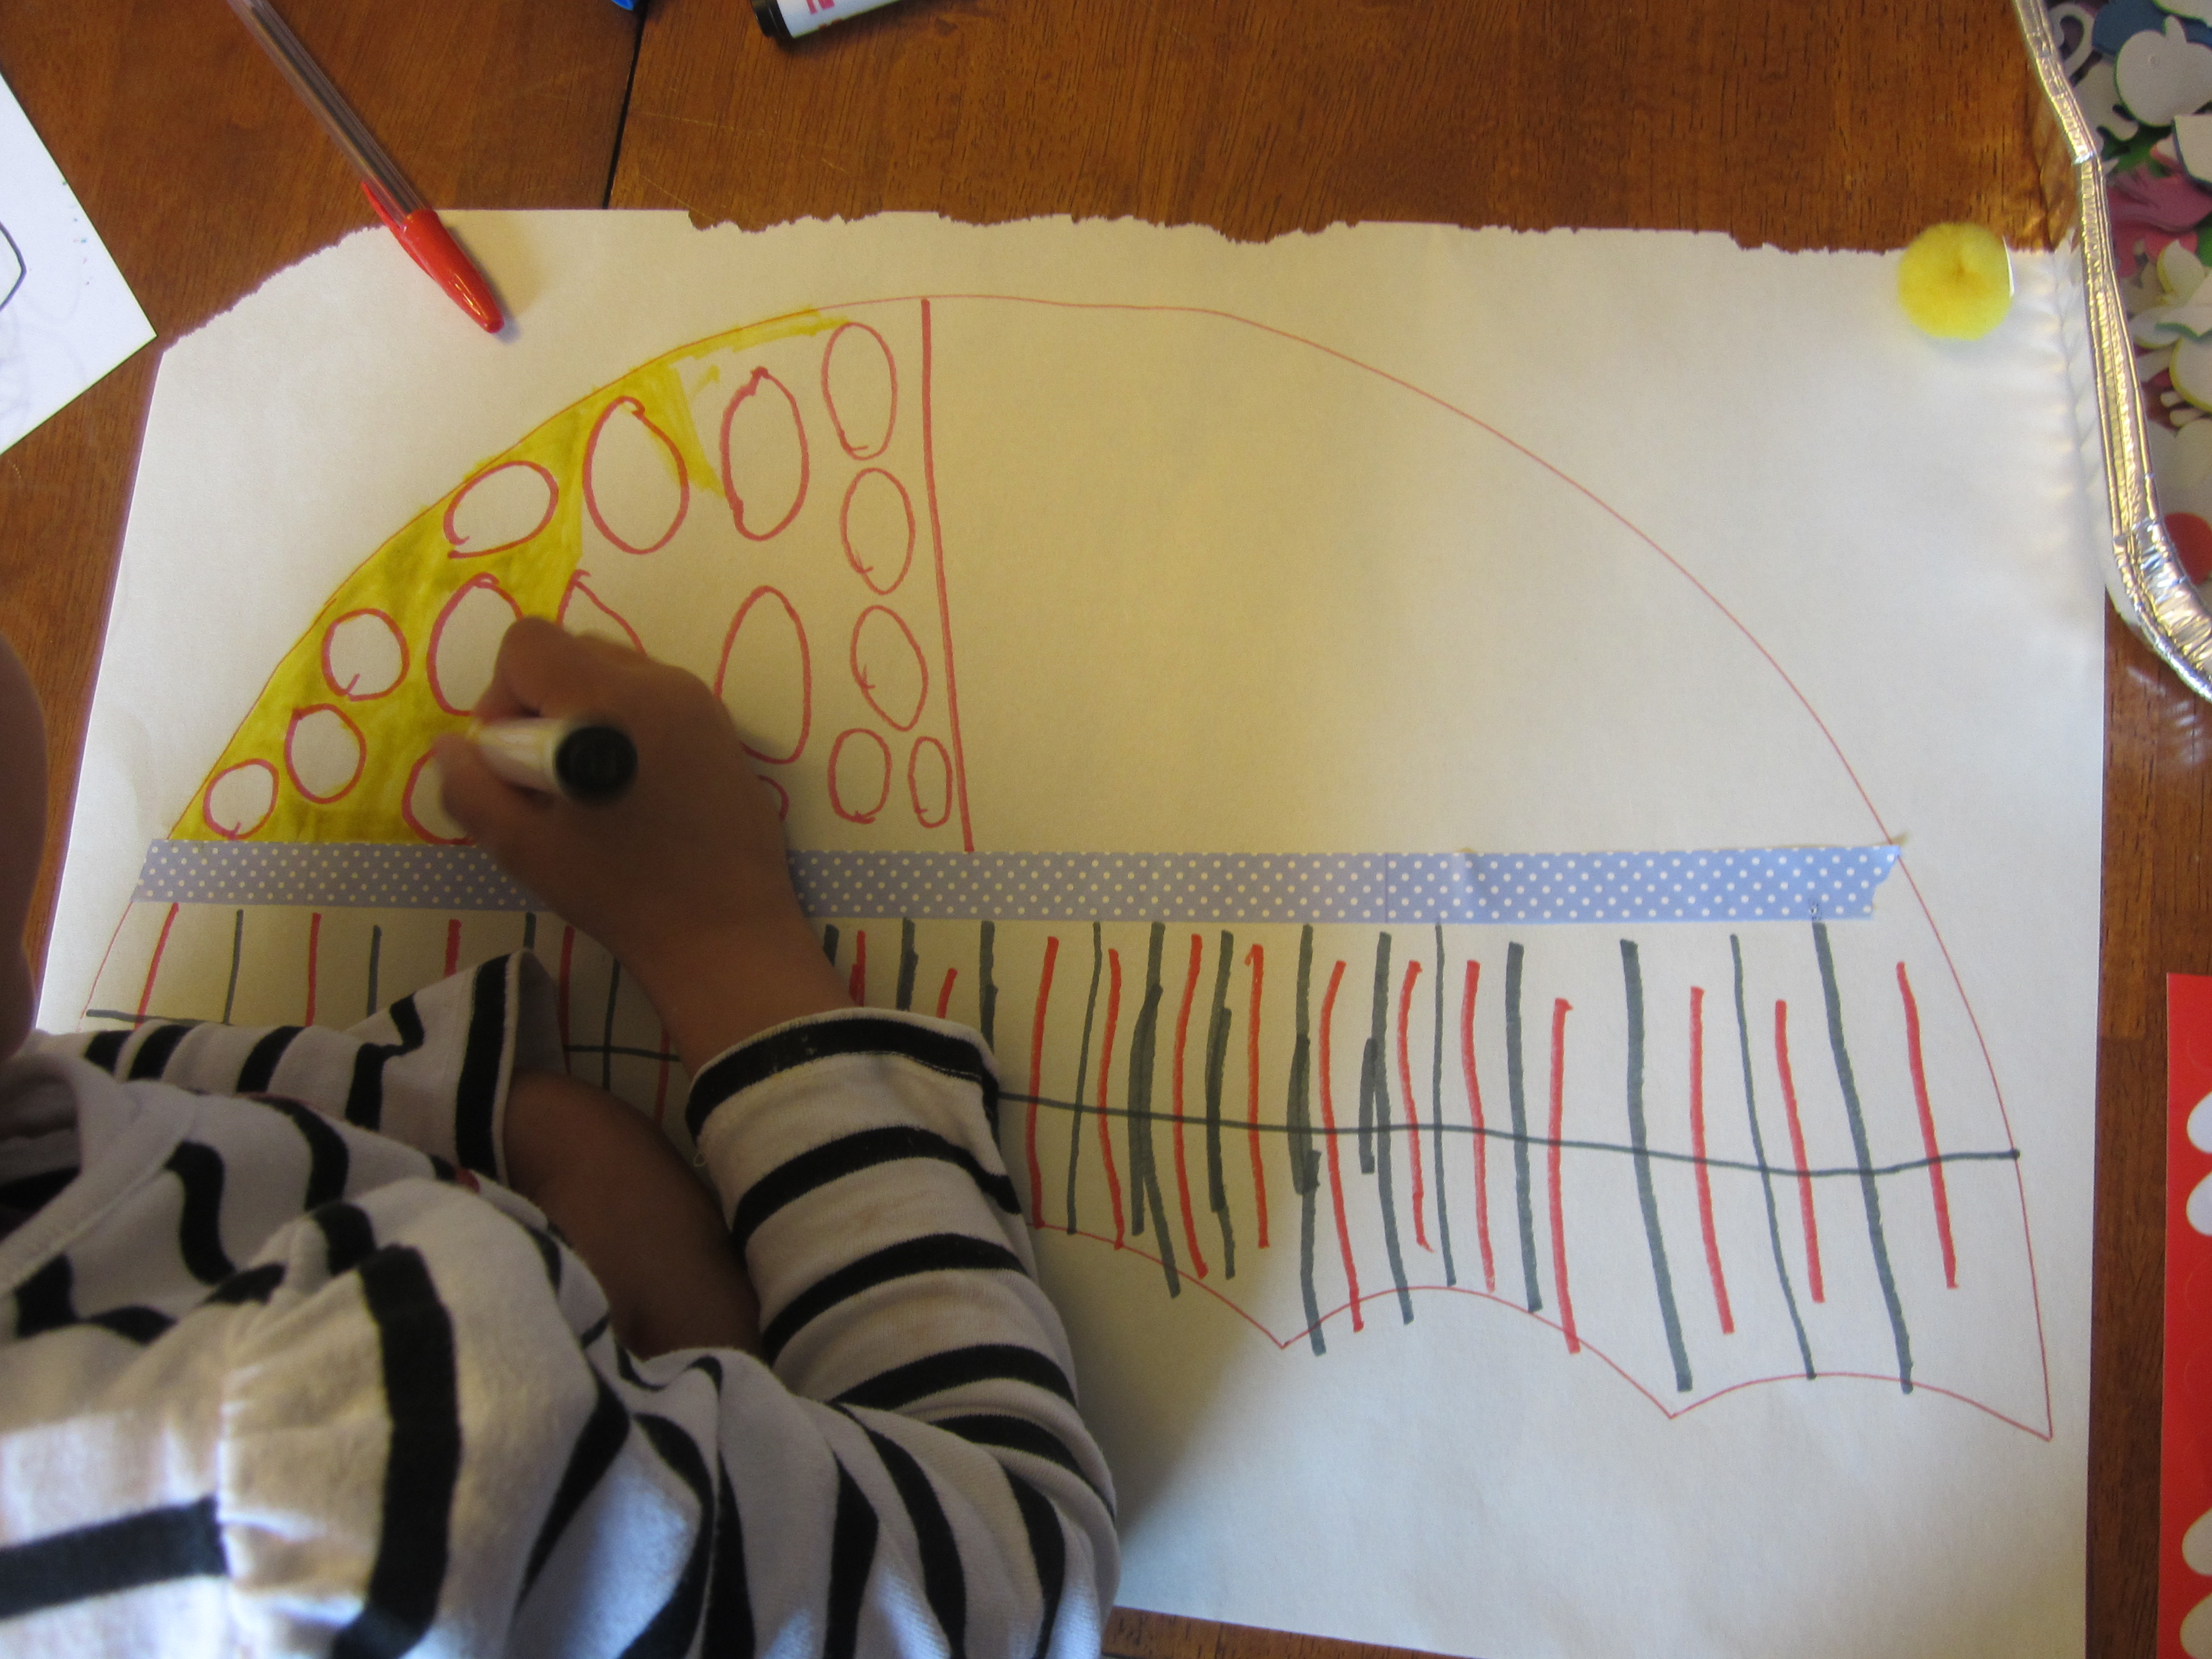
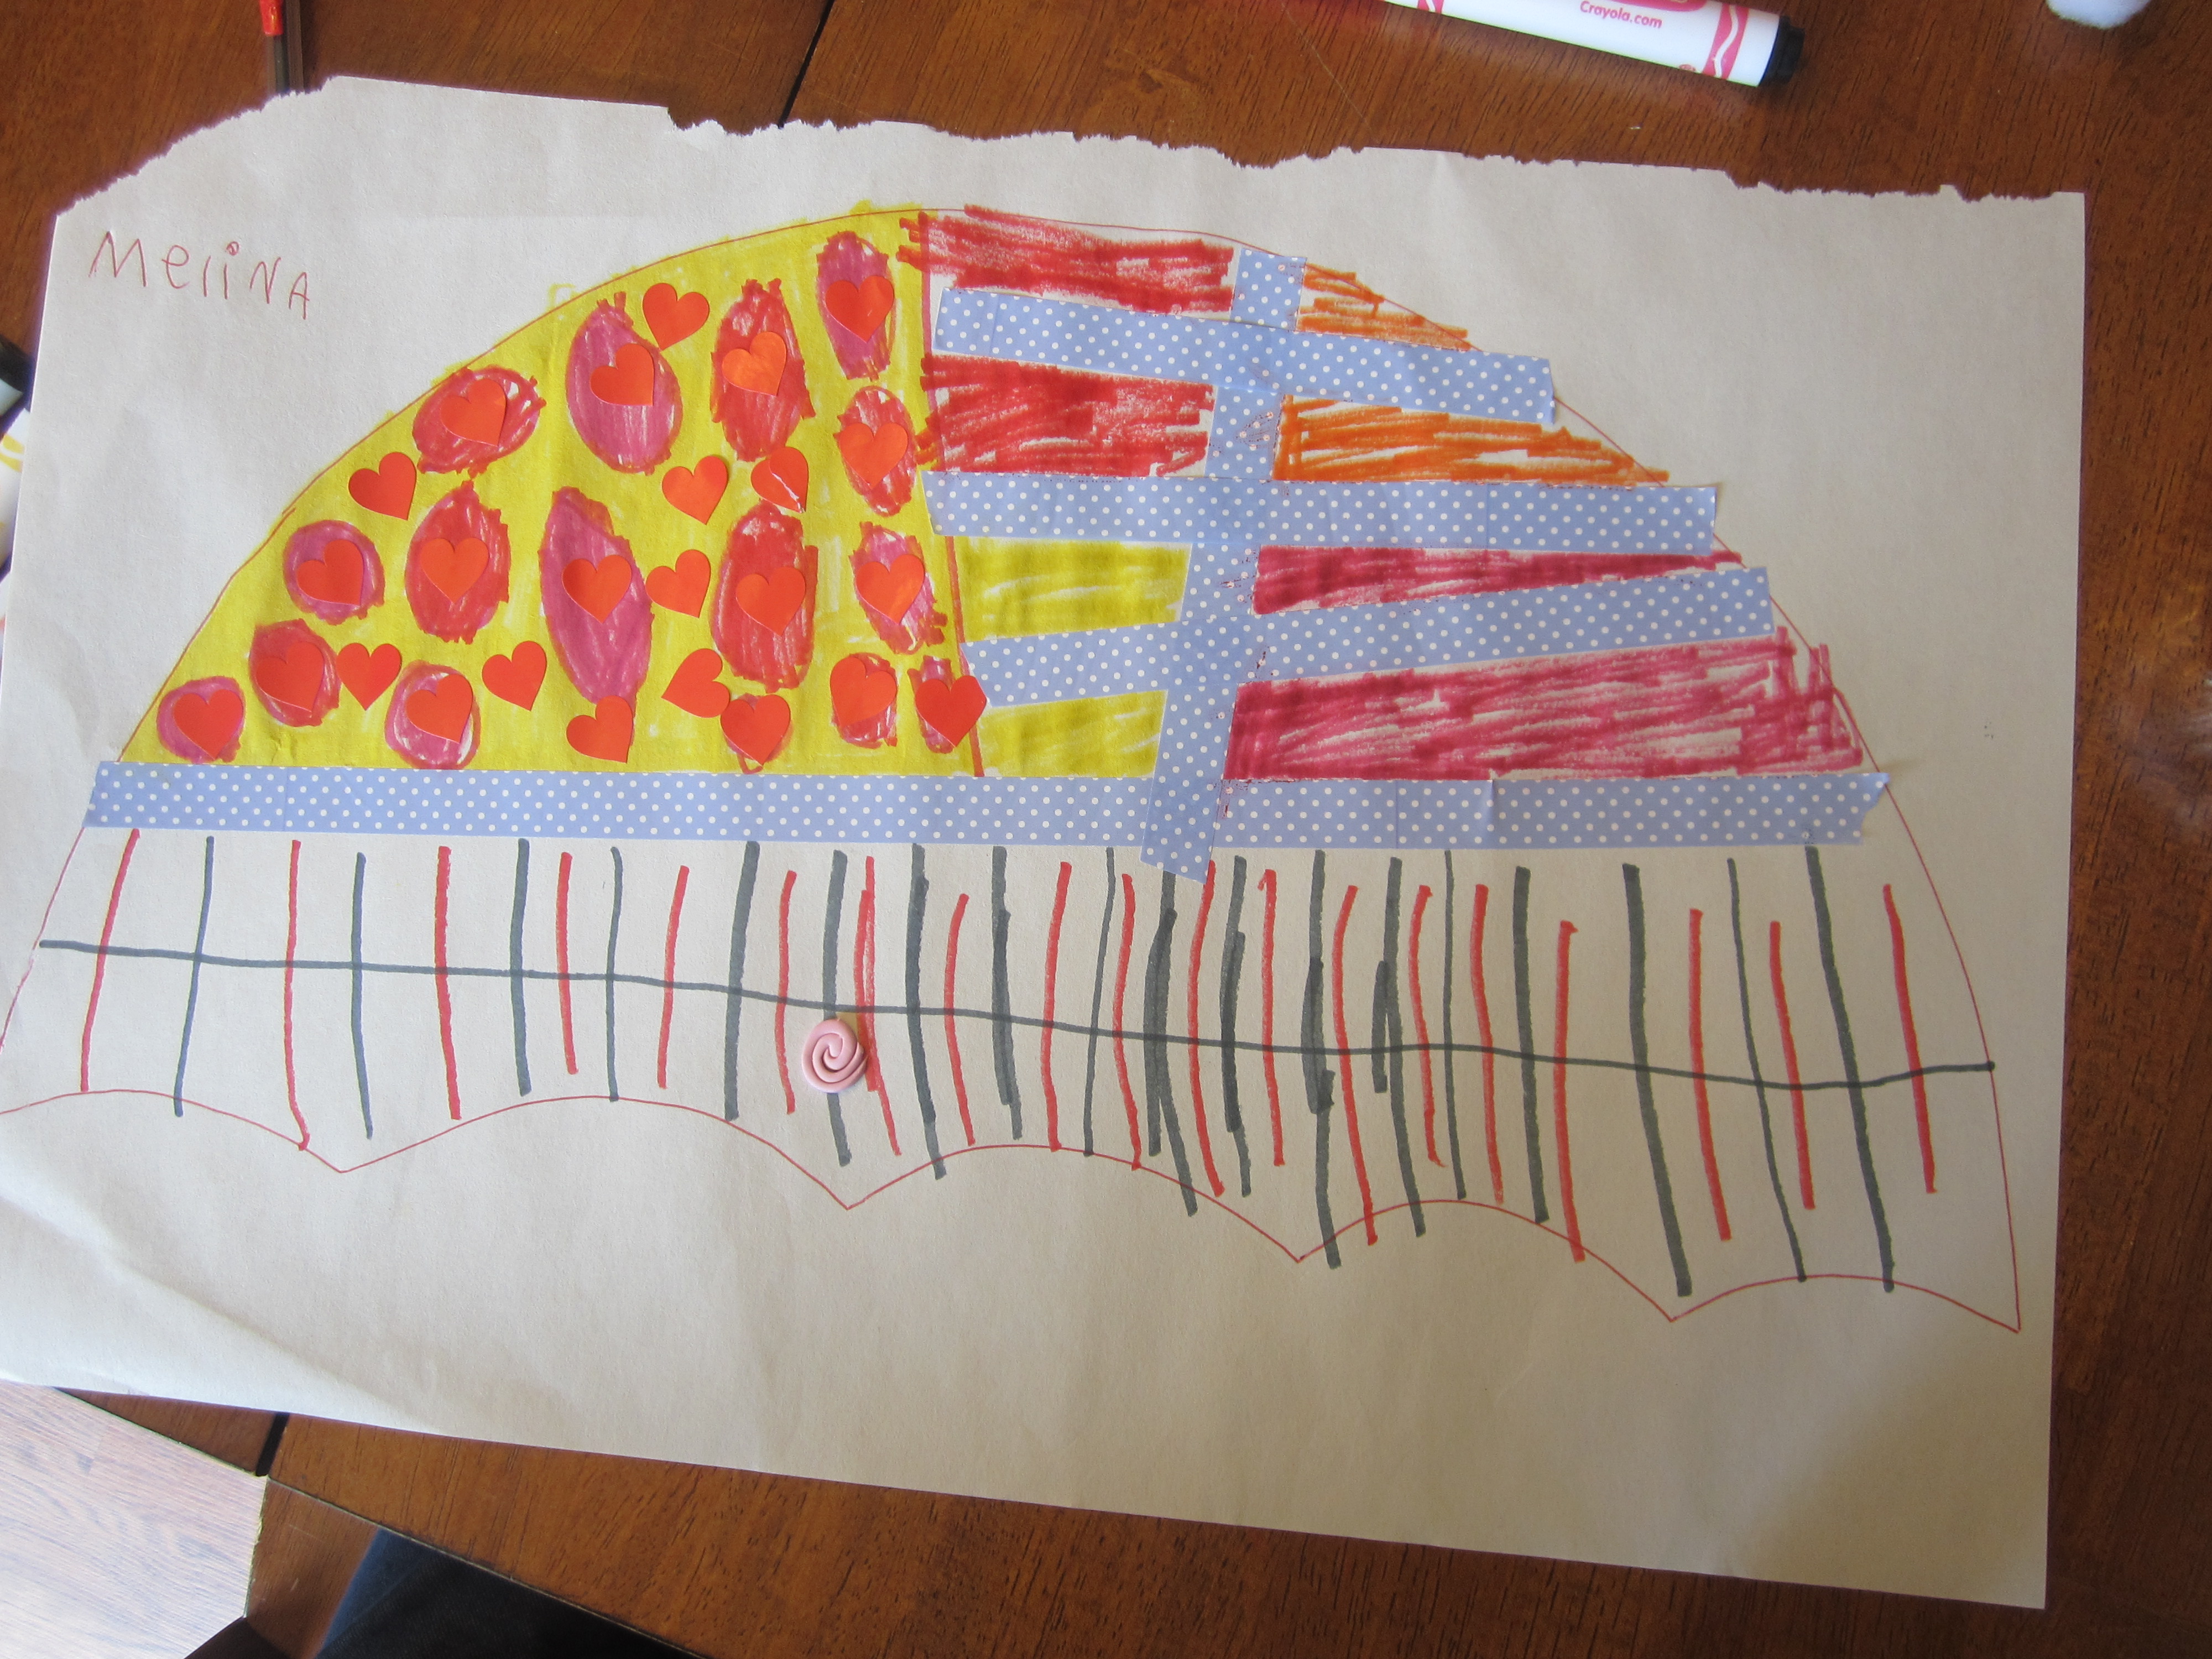
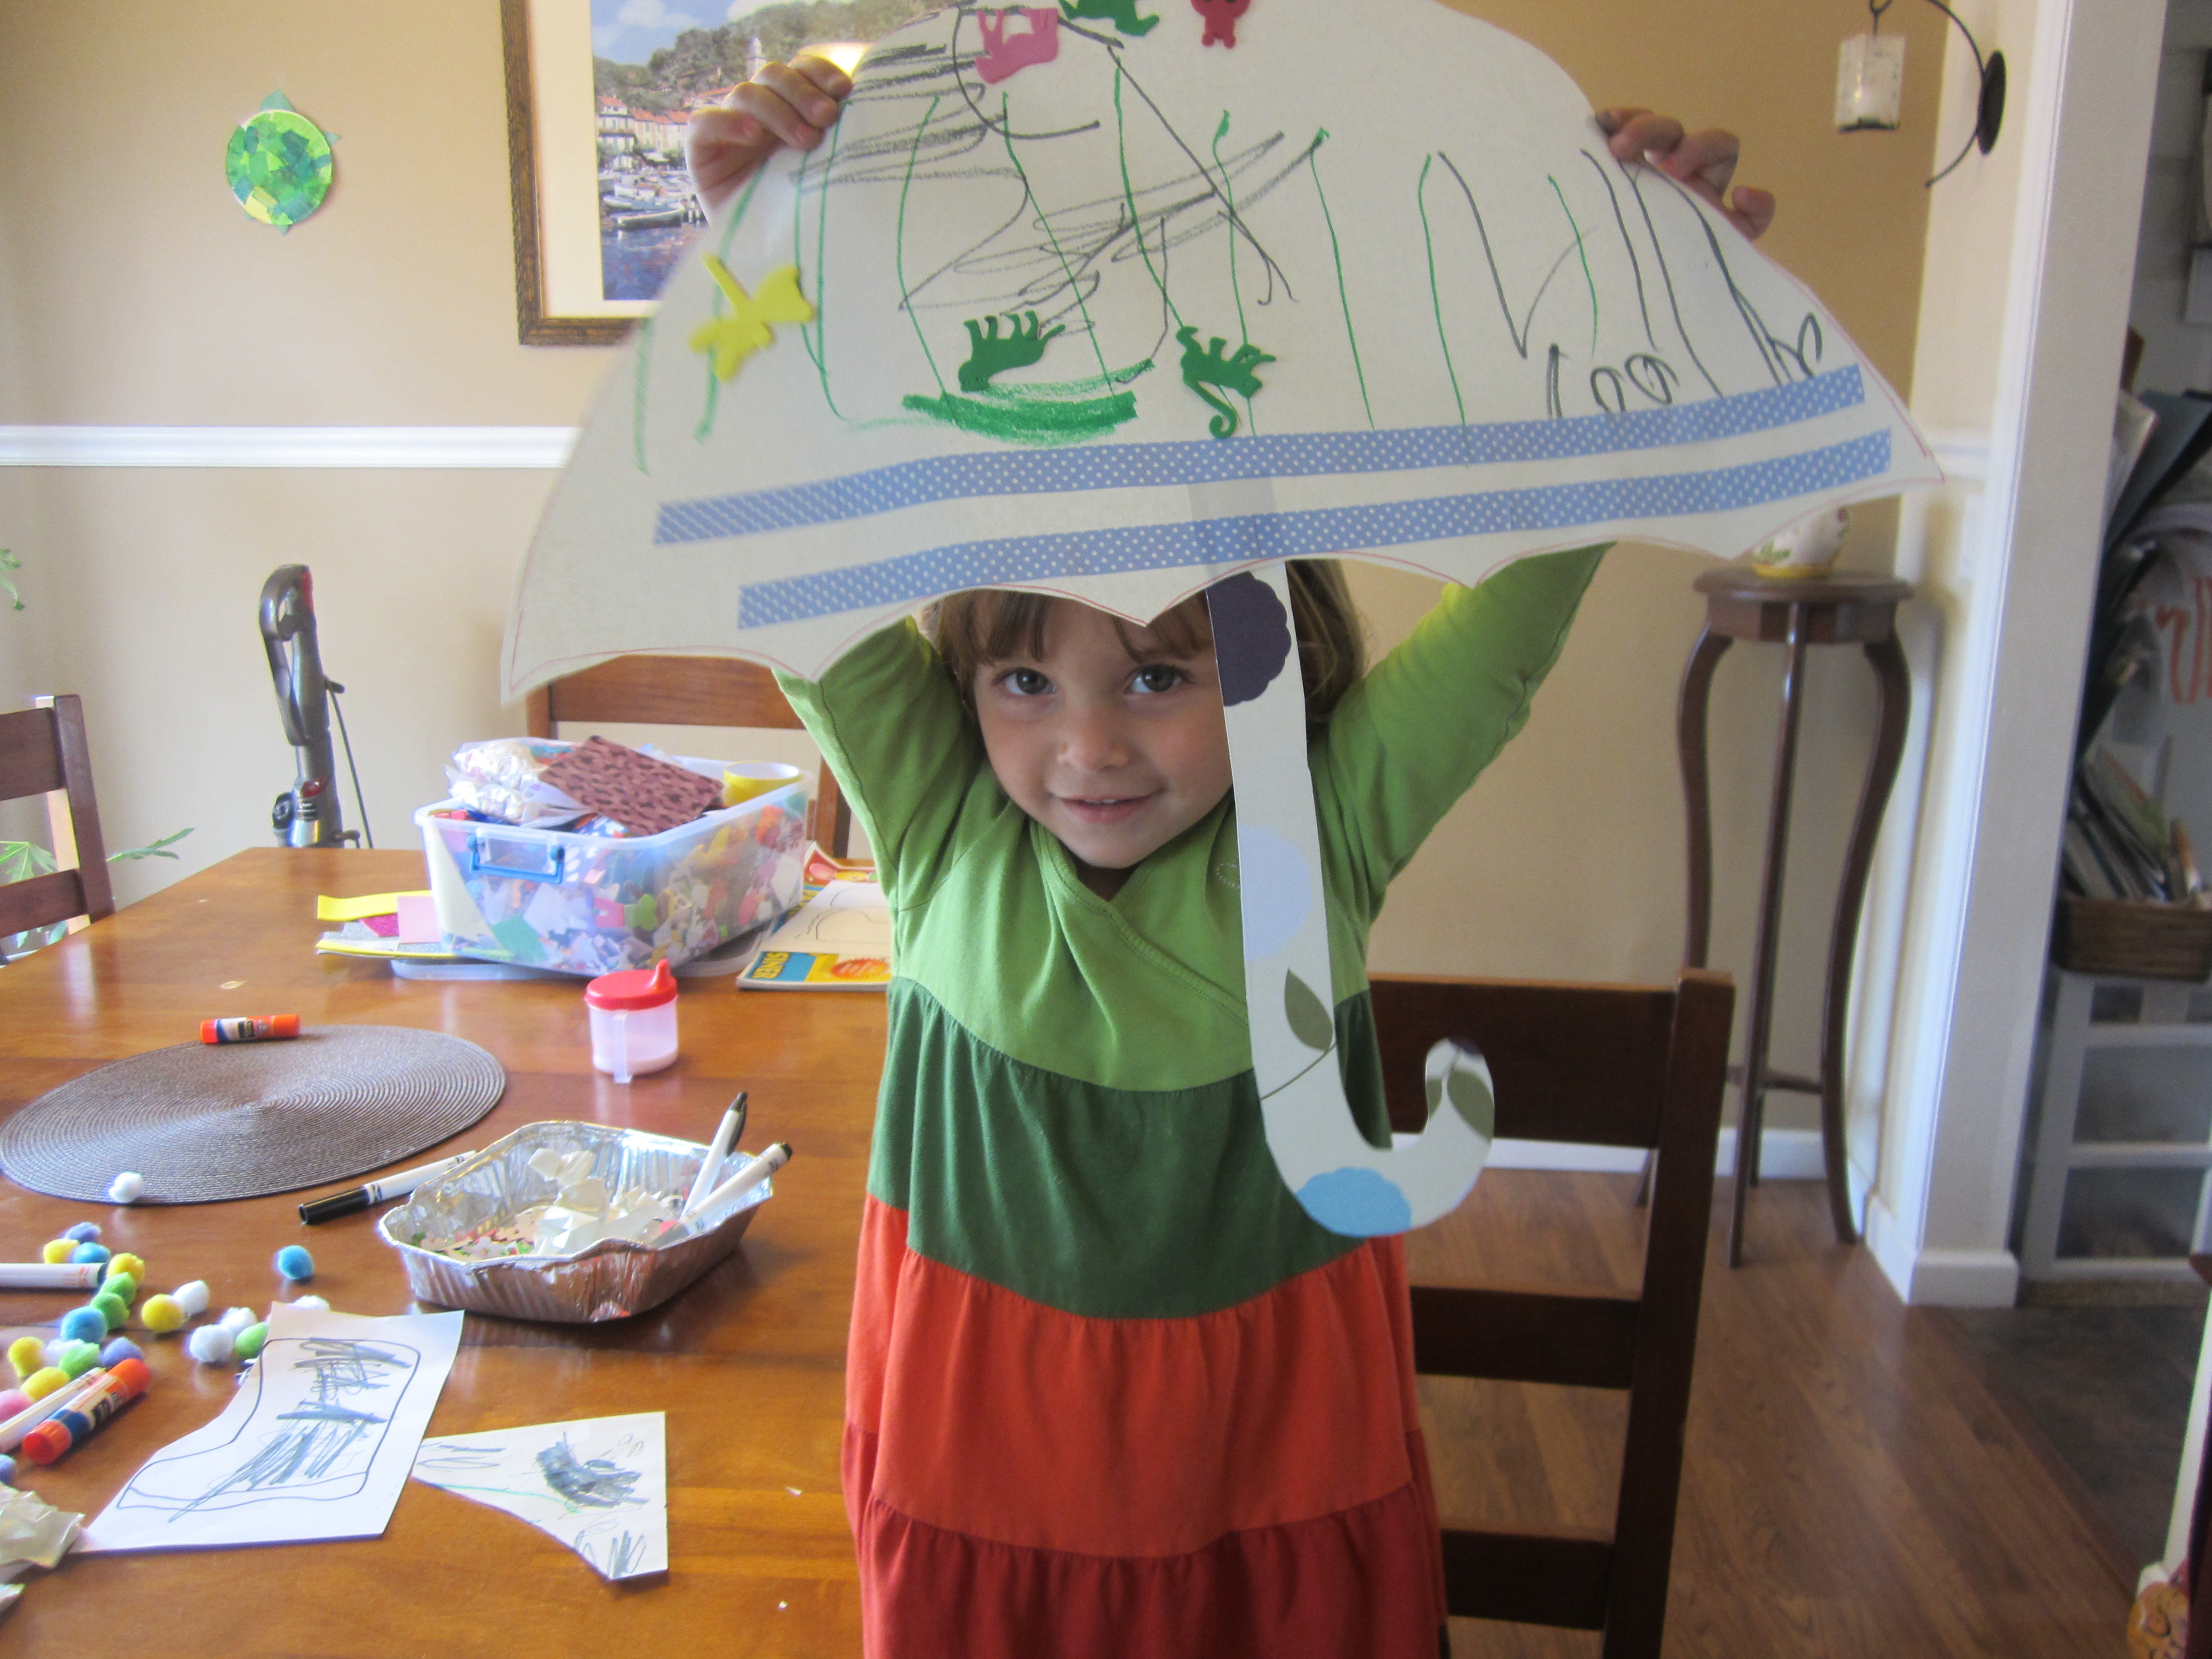
2014 Misc 13292014 Misc 1333rainyday2014 Misc 13032014 Misc 13082014 Misc 13202014 Misc 13232014 Misc 13282014 Misc 1326Its been a long rainy week! Instead of feeling gloomy I decided to embrace it!  I had the girls create and design their own rain gear, boots and an umbrella! I took out our handy art bin (filled with stickers, pom poms, glitter, googly eyes, etc) and we got right to work. For a print out of the boots I went to http://www.thebestkidsbooksite.com. Go to Craft, Coloring Sheets and search for rain boots.  For the umbrella I outlined the shape onto a large piece of white paper ( you can use colored paper if you like) and let the kids decorate however they pleased. Then I outlined the shape of the handle onto scrap paper, cut it out and had the kids tape it to their umbrellas. The girls really enjoyed making their personalized rain gear and we almost forgot about our rainy day!
Lets Make an Aquarium

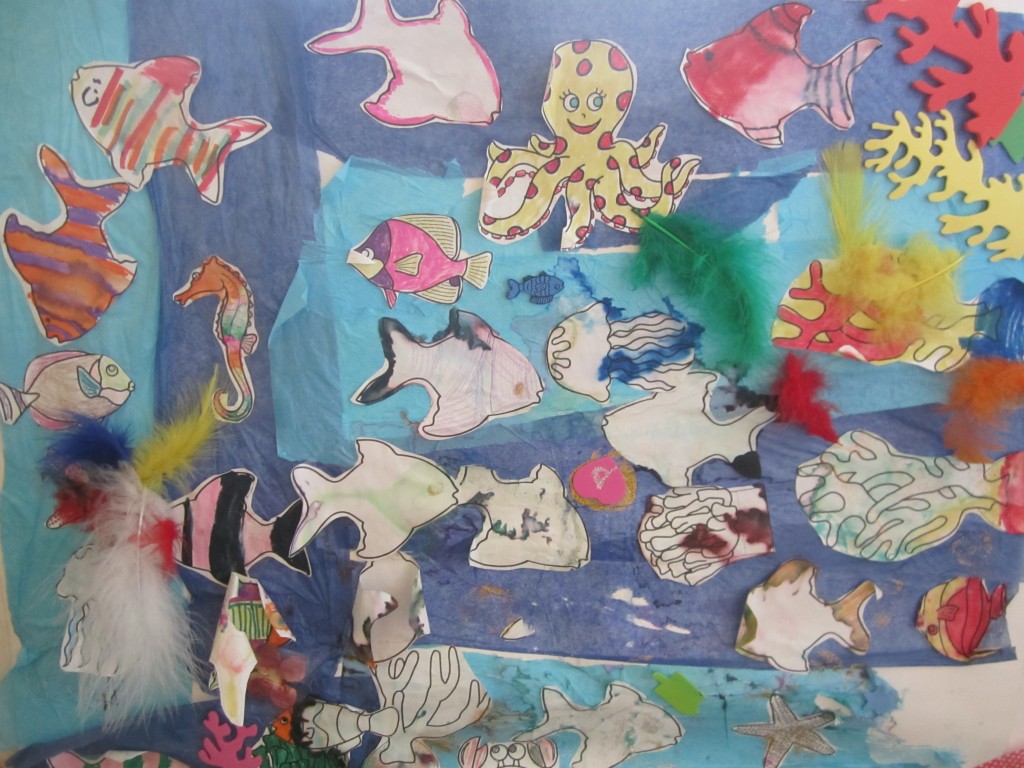
aquariumFor this simple project I went to http://www.firstpalette.com/tool_box/printables/seaanimals.html and printed out the sea animals. I had the girls color the sea animals of their choice. They used markers, crayons and glitter glue. This took a few days to complete, as they colored a few at a time. Once we had all of our sea animals completed, the girls and I cut them out and put them aside. I bought a large piece of poster board at the Dollar Store and we used colored tissue paper to lay down as our Ocean water. Once we had our Ocean Water the girls each took their time and placed the little sea animals into the ocean.