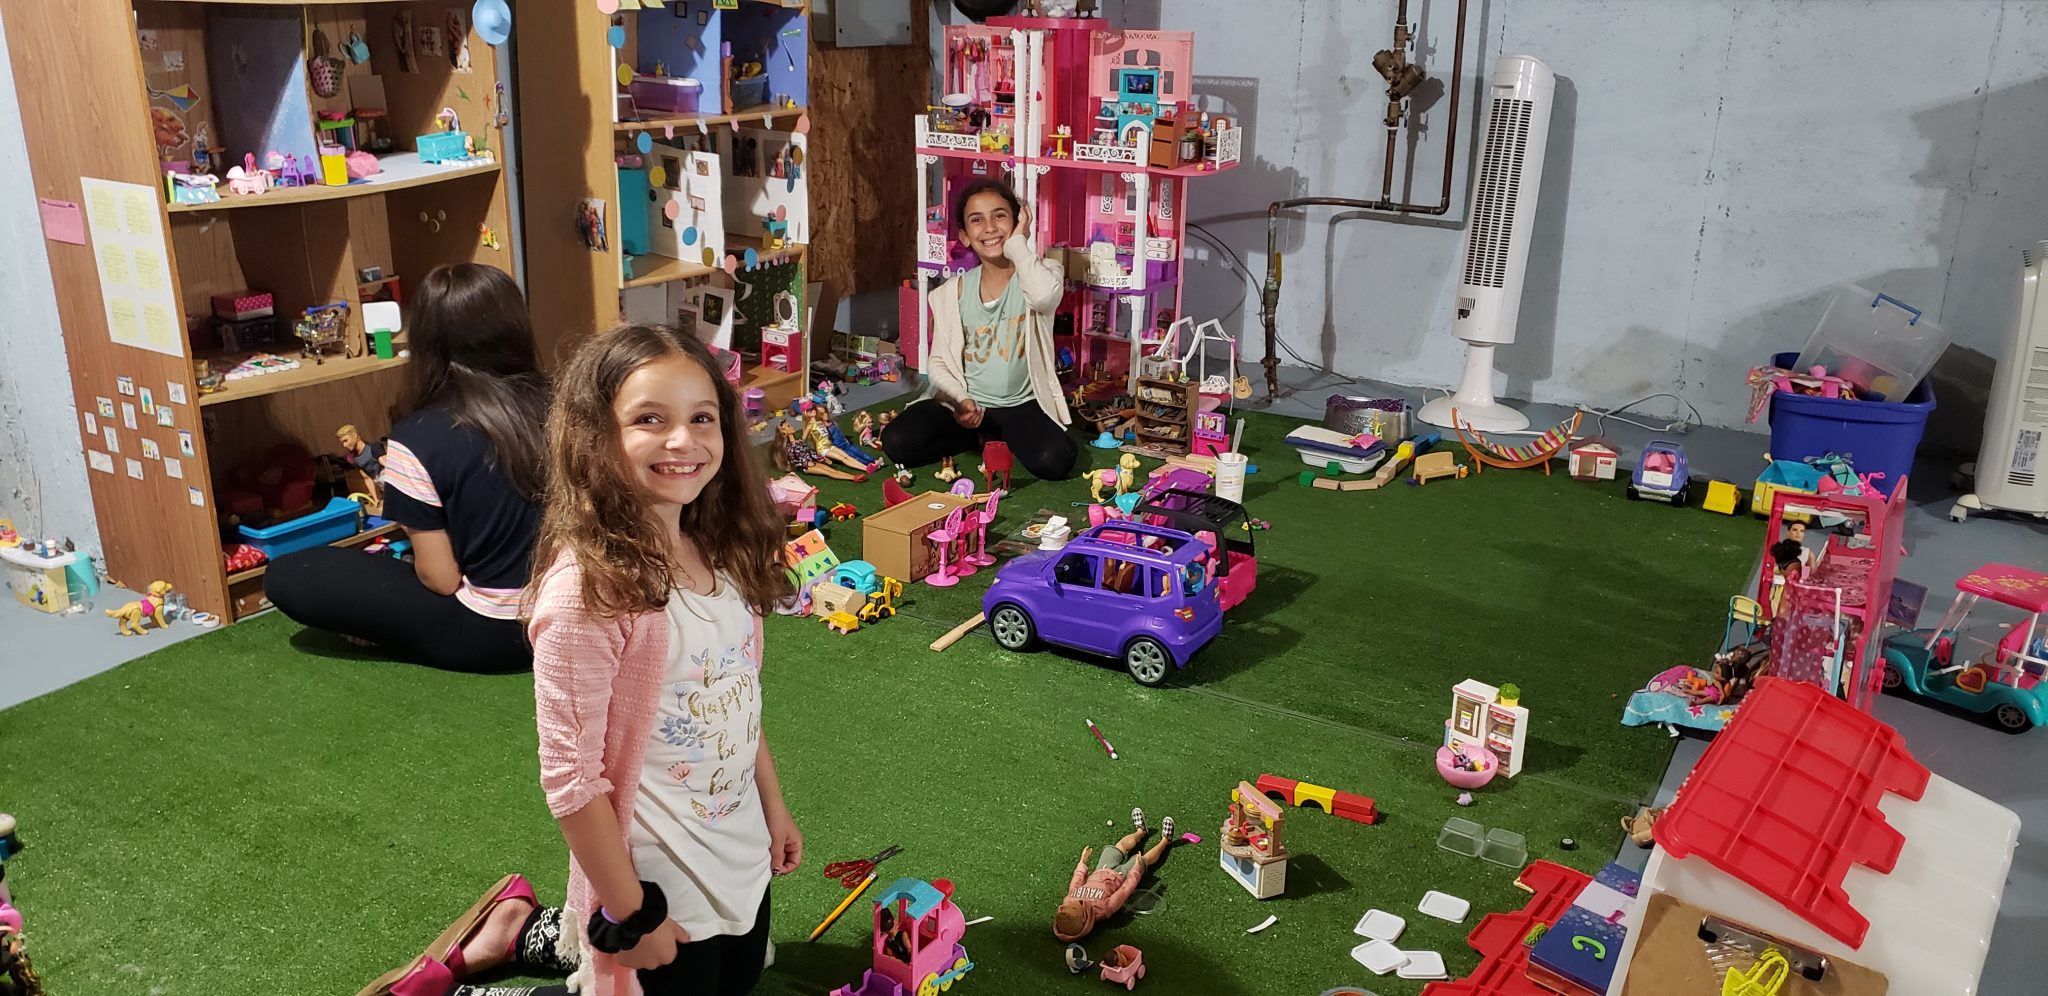
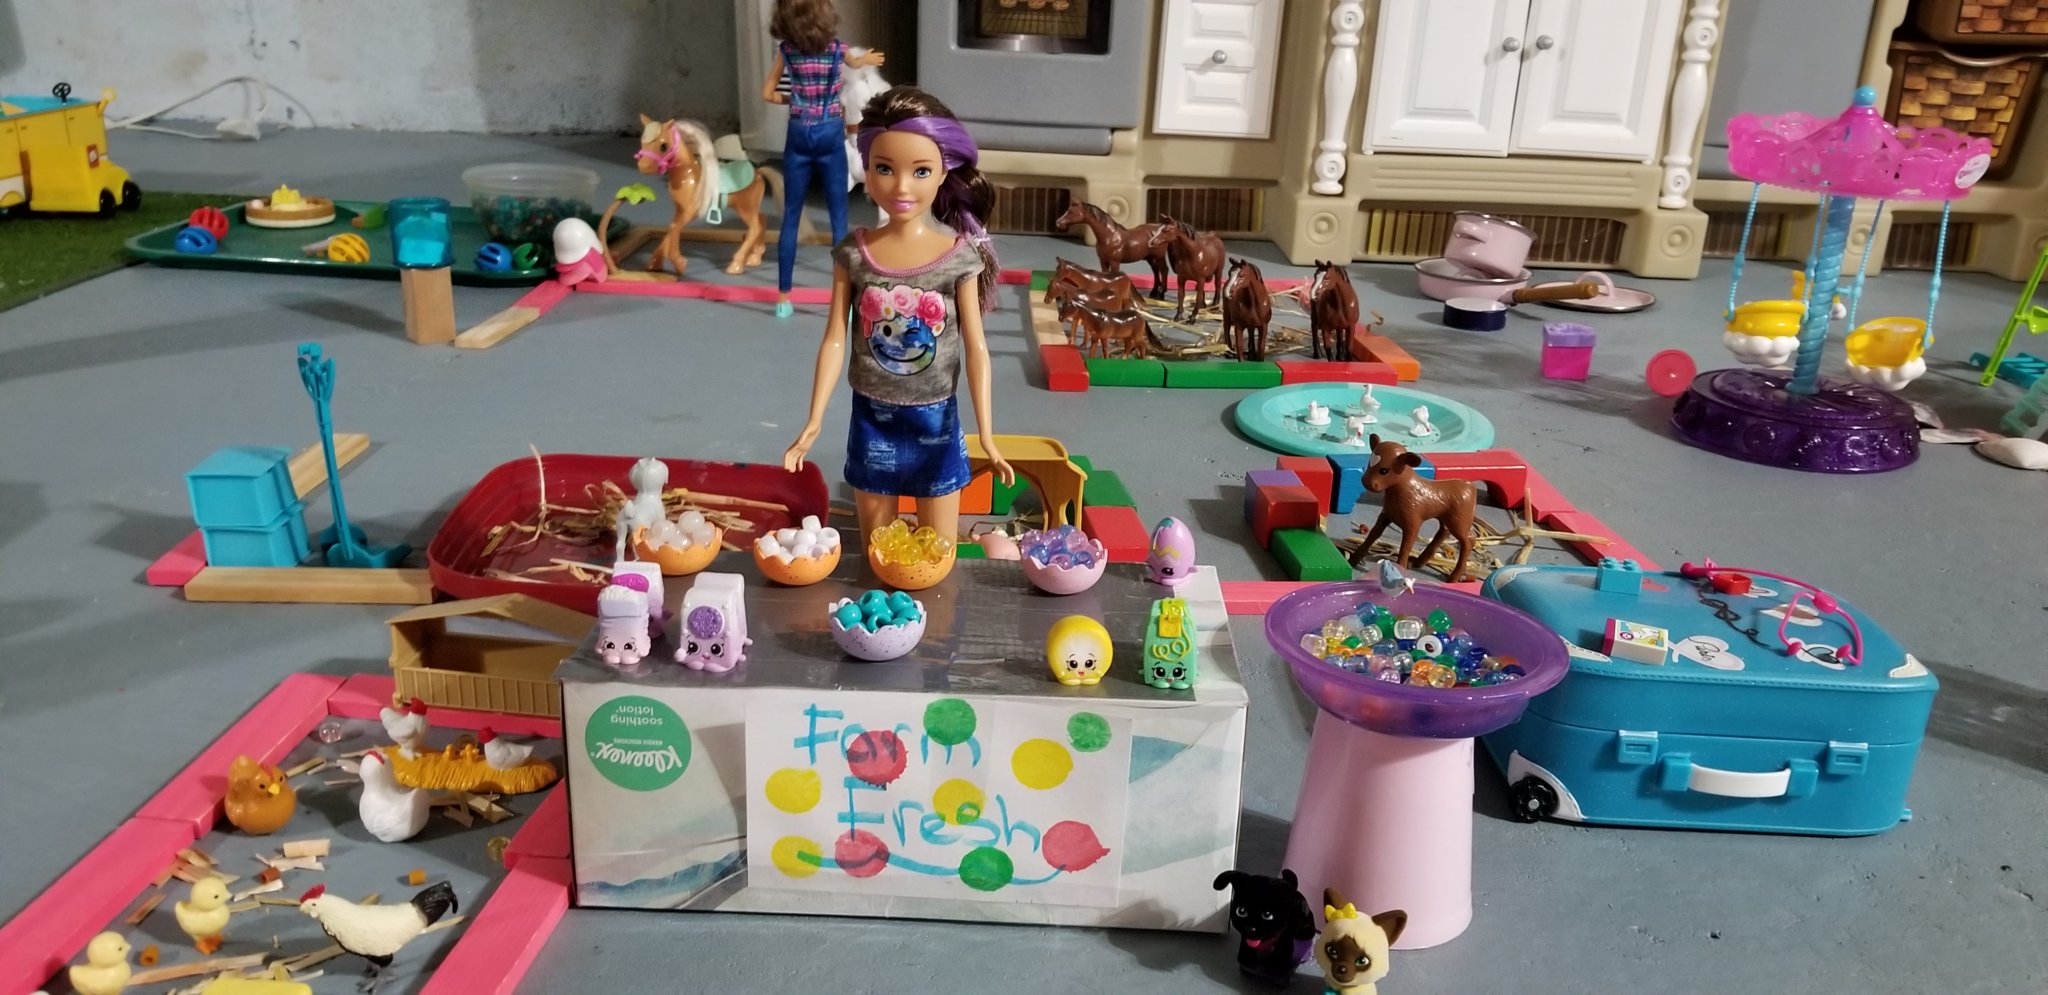
 You’ll often hear my girls say to eachother B.I.T.B? This is what they say to one another when one of them wants to play Barbies In The Basement. It’s become one of their go to activity together. My girls have a love for barbie. I love that they are all into it and that it’s something they love to play together. Since we moved two years ago, their barbie collection has grown immensely. They have free range of our entire unfinished basement and have used almost every square inch of space to build an entire barbie community. They have scenerios they come up with and then they play it out. For instance, one day they plan a birthday party, or a baby shower or a family is playing a soccer tournament and all of the girls play based on this event. The barbies have real families and stories. They have jobs and responsibilities. Some of the families have foster and adopted children. They all have names and the girls can name each and every one of them. They can get lost in playing for hours, but the play sometimes comes to an abrupt ending due to a disagreement between what the barbies should and should not be doing. I love how their imagination sparks. It’s not just playing but theres alot of creativity going on too.
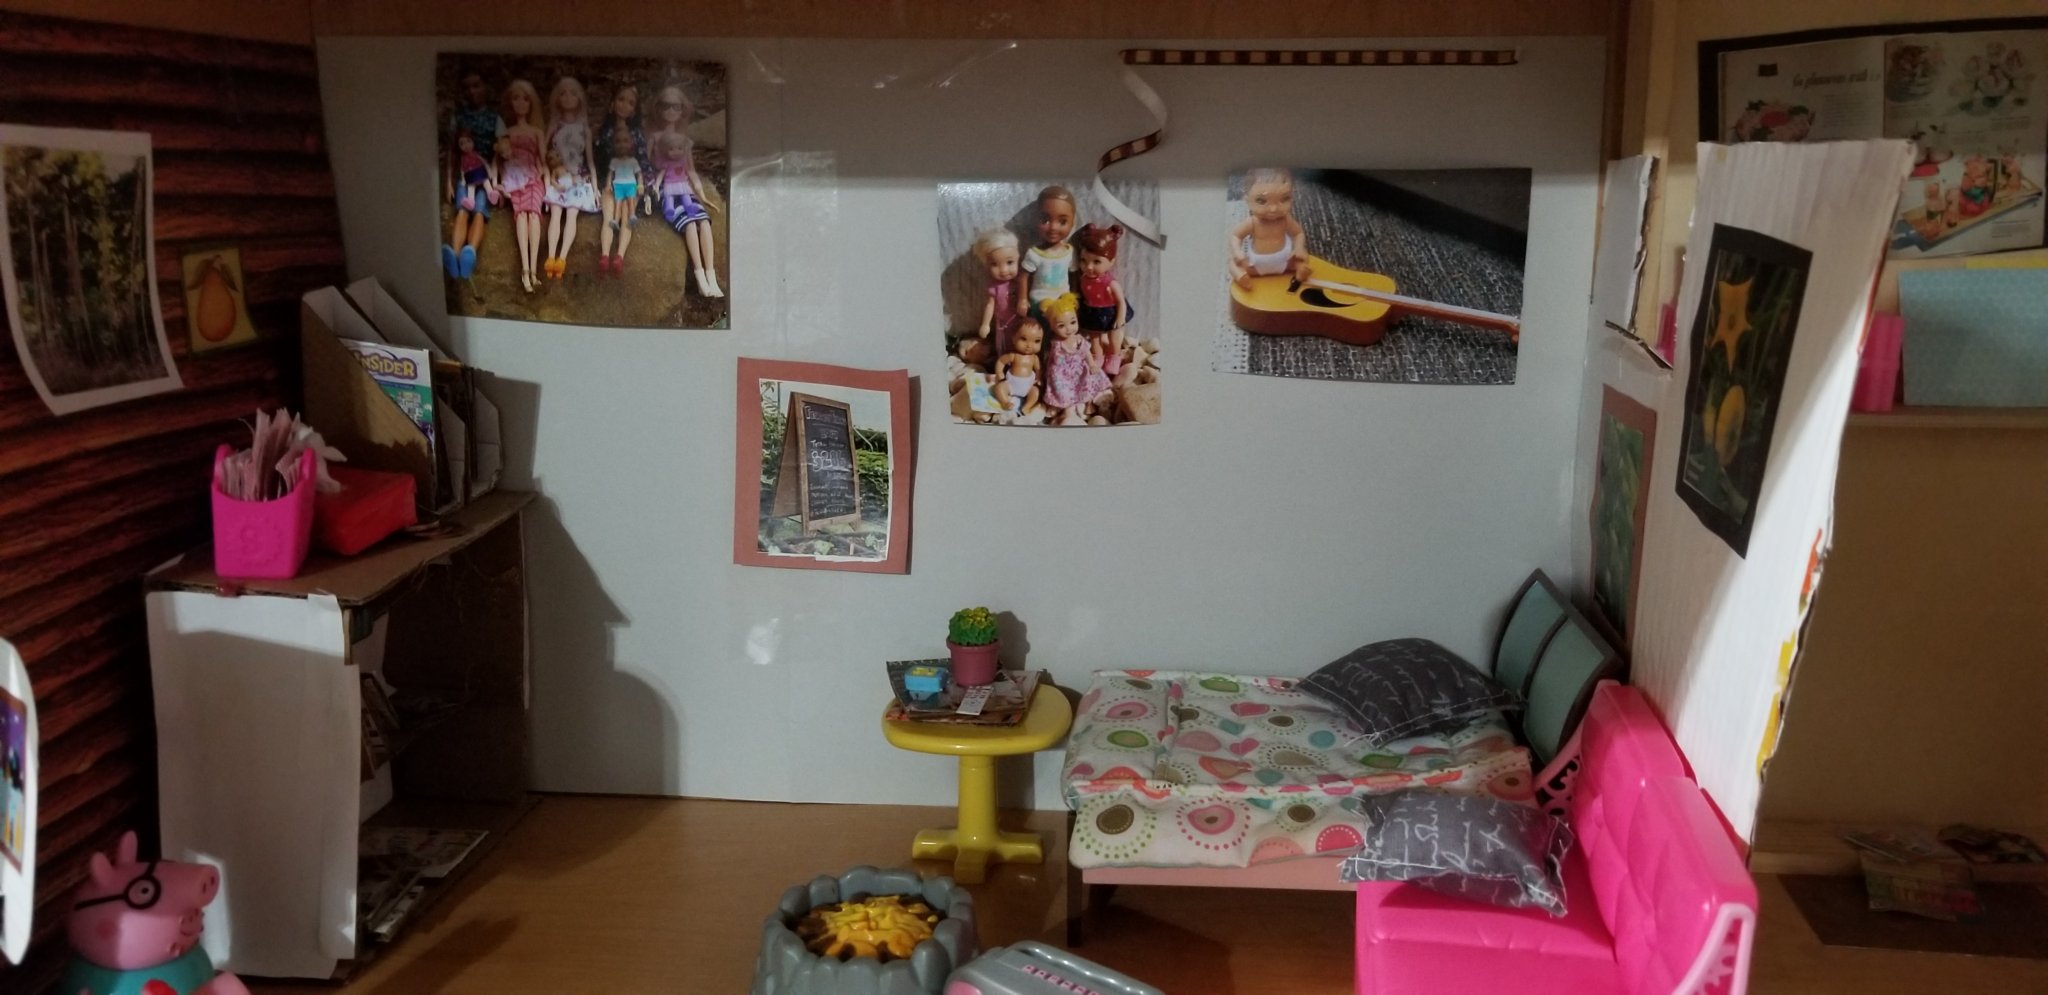
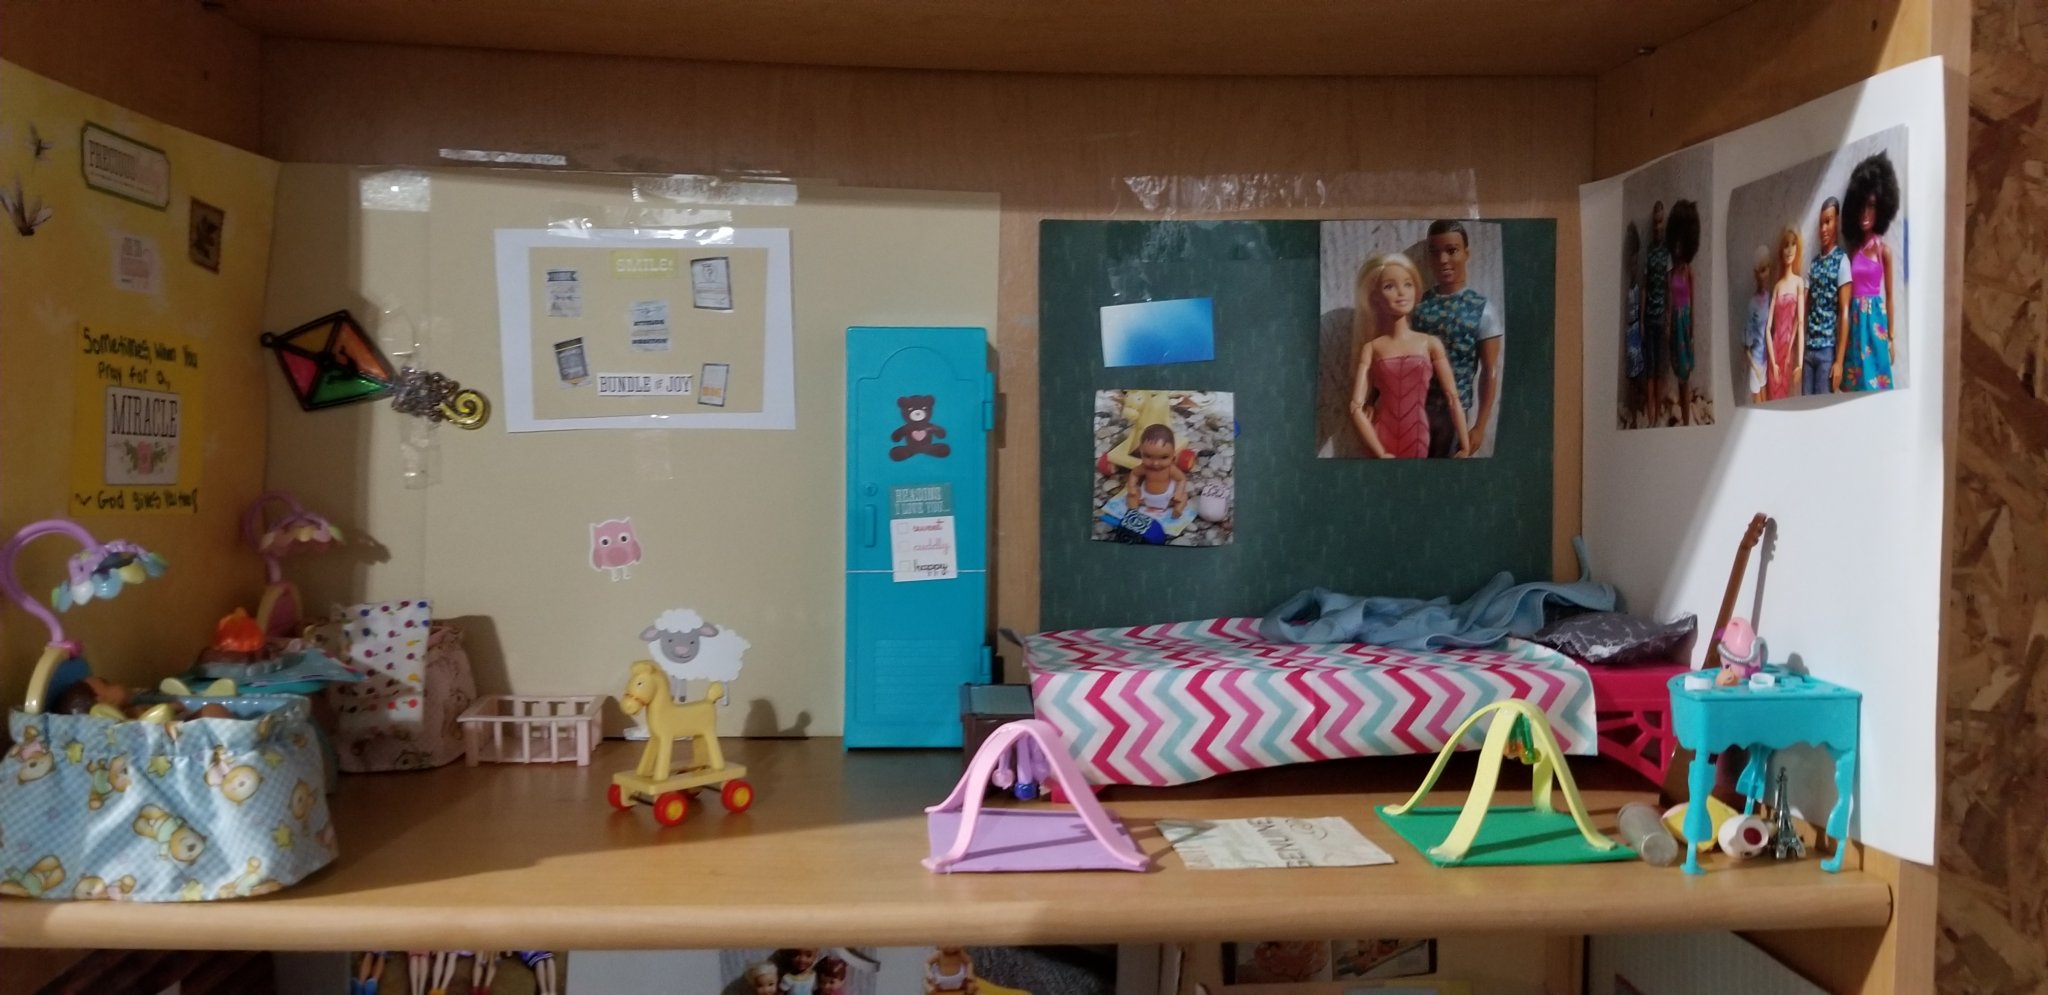
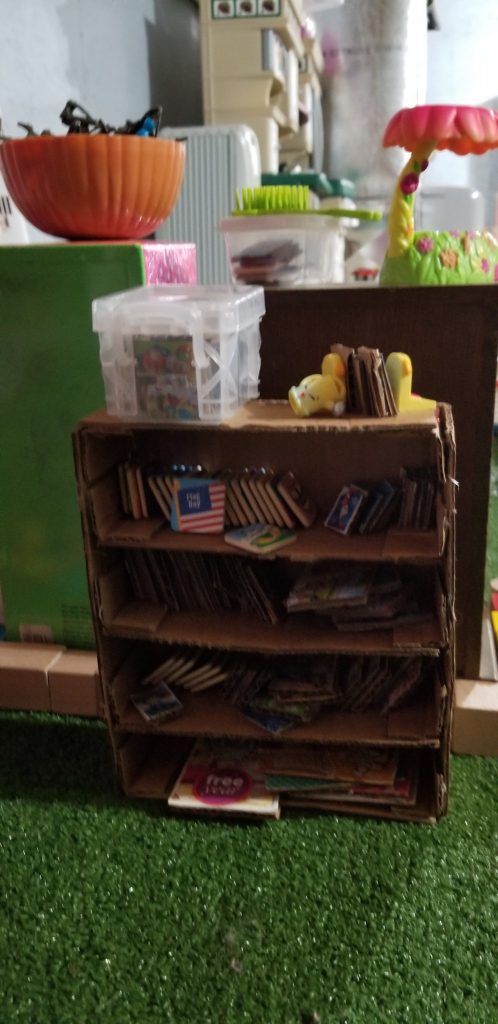
 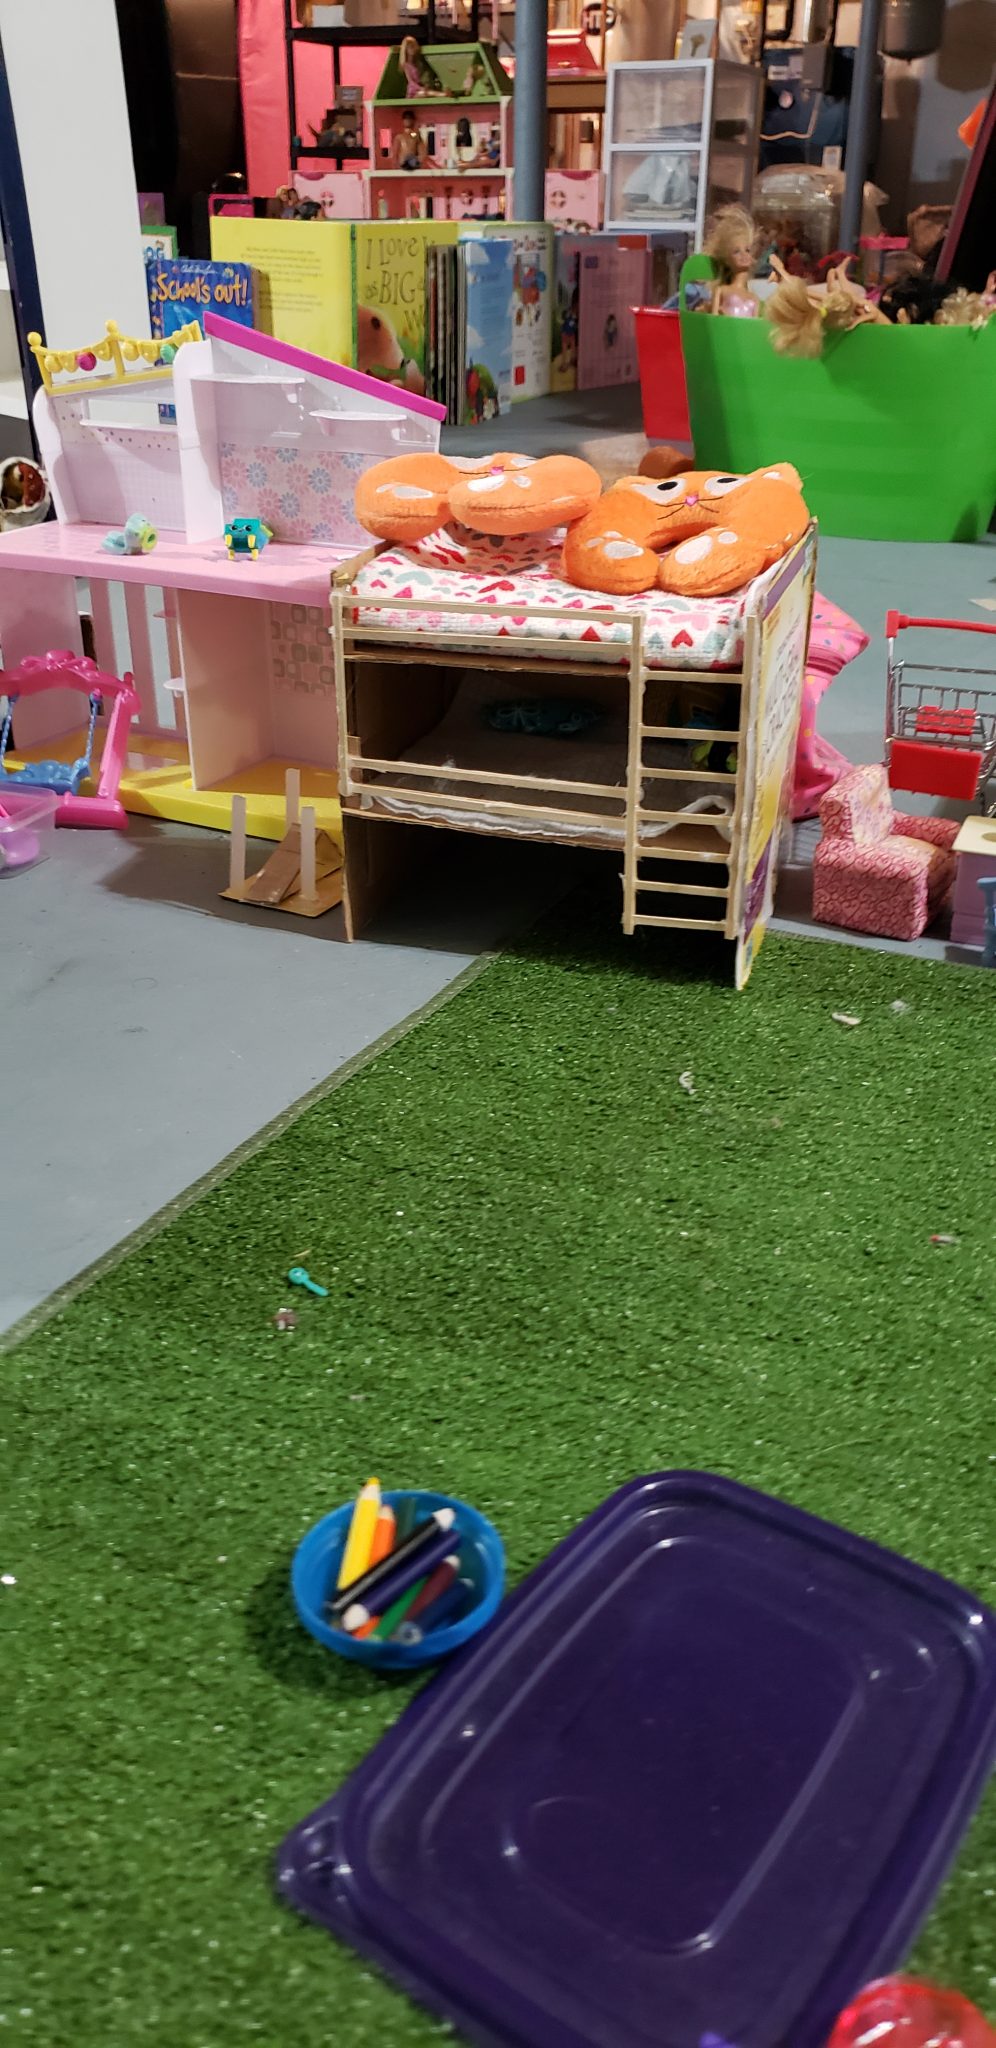 They built bunk beds out of card board, book cases, and other household furnishings. They’ve made bounce and play areas, and mini books using magazine cut outs. They’ve built laundry rooms, custom made beds, closets, garages. Theres so much thought and detail involved. I tell them when they get older the three of them should open a real Barbie Land where little girls and boys can go and play everything and anything barbie.
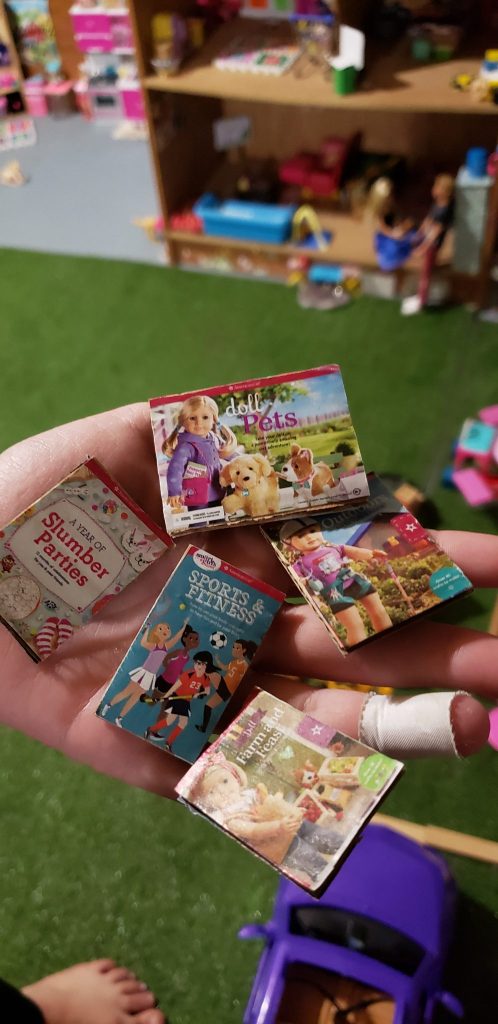
 I wish I was their sister! We would have had so much fun together and fights too, but the fun definatley outweighs the fights. I hope they remember these days forever. They are so blessed to be here on this earth together as sisters and have the opportunity to play together.
DIY
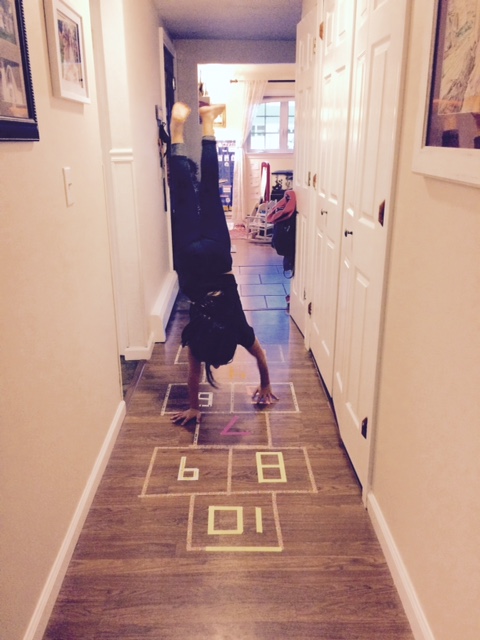
Hopscotch into 10!
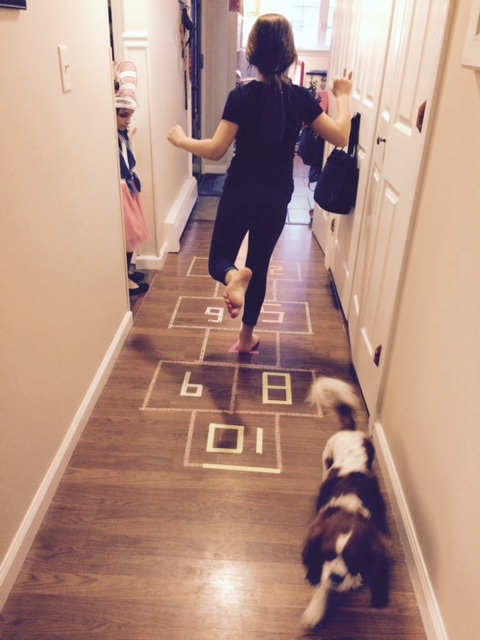
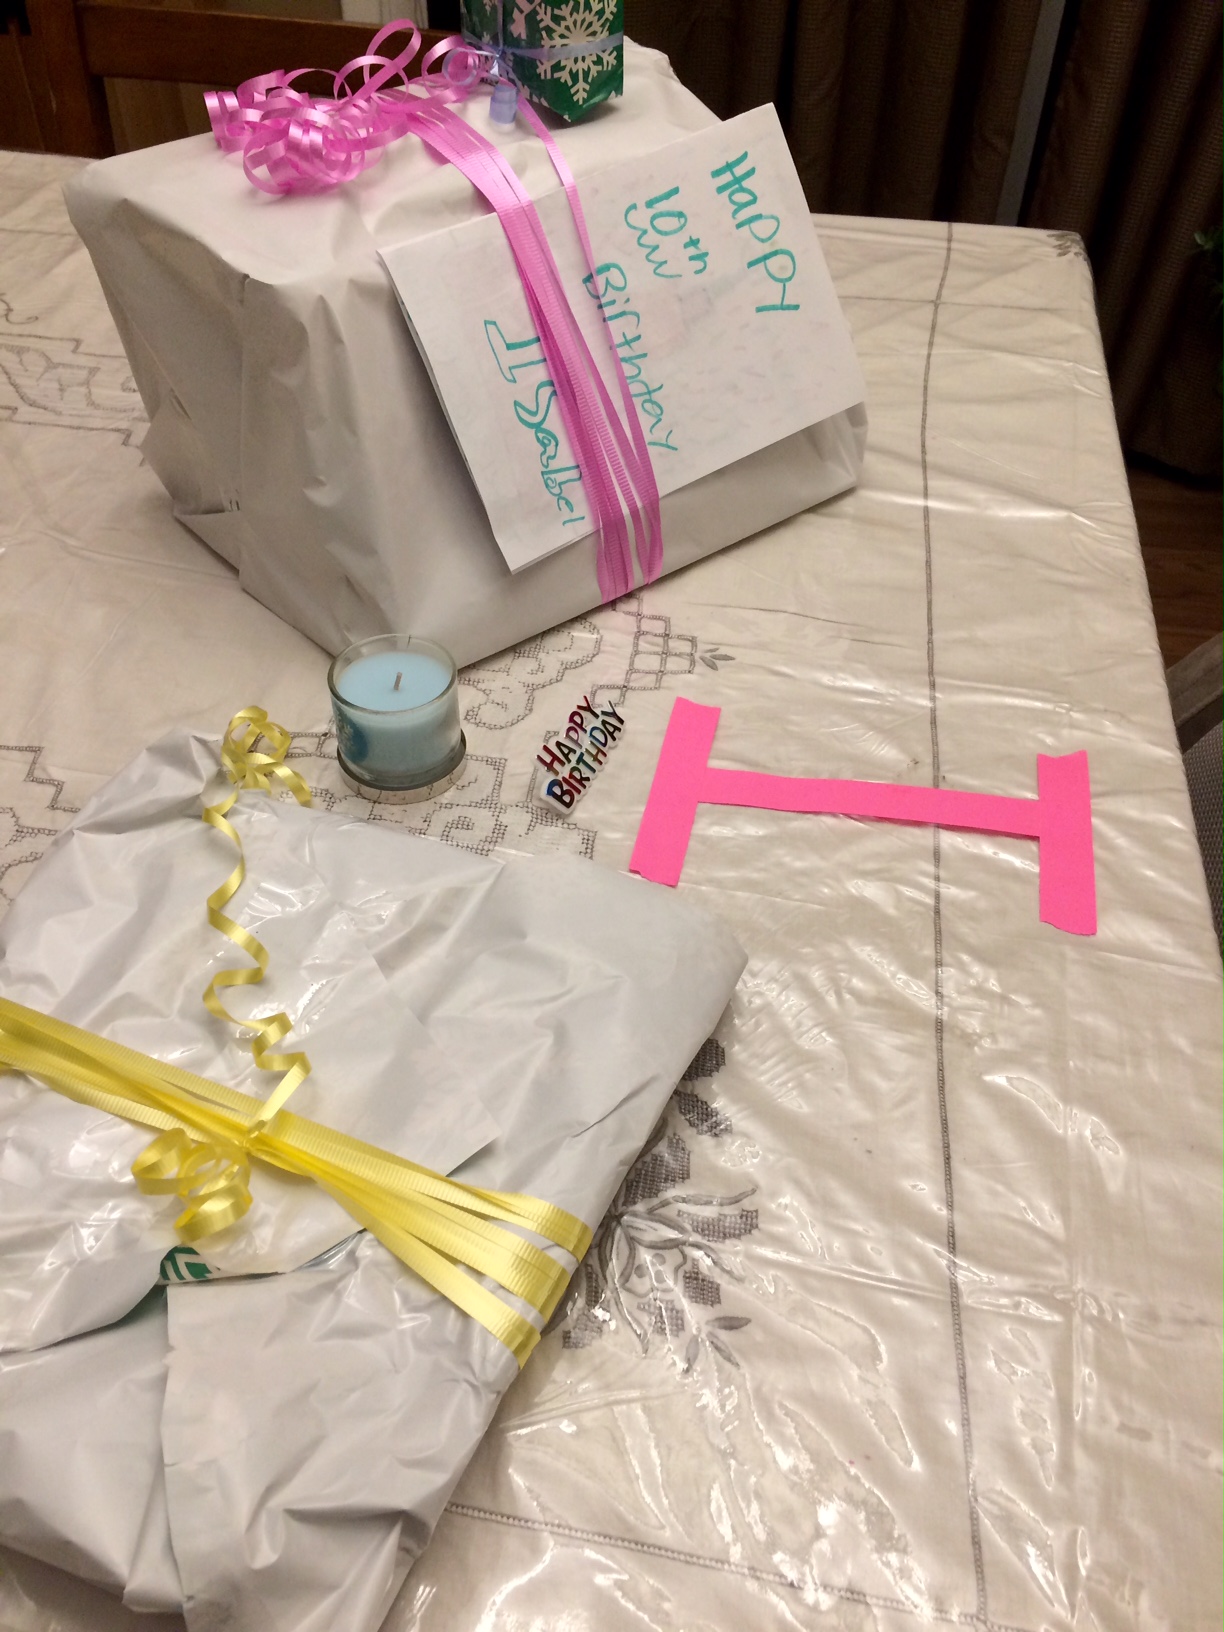
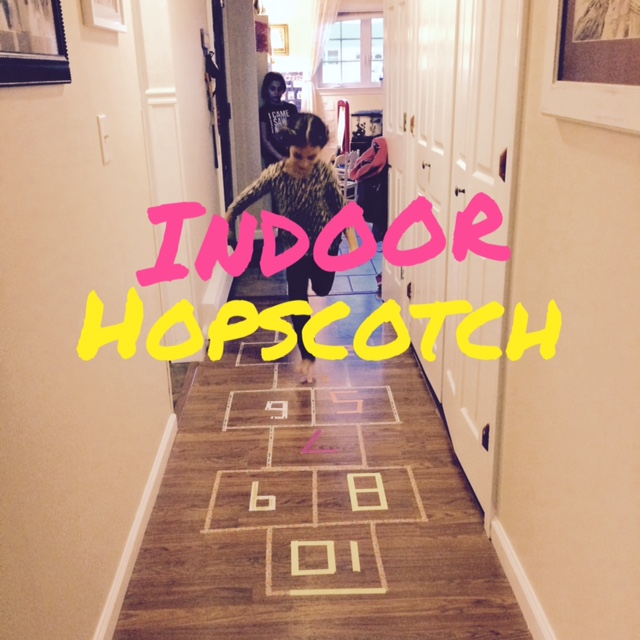 My middle daughter, Melina came home from school the other day and asked me to make an indoor hopscotch for her. Immediately I thought this was an awesome idea and quickly thought of a way to incorporate it into celebrating my oldest daughter, Isabel’s birthday. She was turning ten, so what a perfect way for her to enter the double digit world! We always have a stash of washi tape so I figured that was the best way to make one. I also thought it would be fun to use washi tape to write a big number ten in front of her room so that when she came out in the morning, she’d follow it to the hopscotch in the next hallway. After she got through the hopscotch, her sisters had some gifts waiting for her. It was a perfect way to celebrate her b aefore she headed off to school for the day. I’m letting the girls keep the hopscotch until I get tired of looking at it! It was also a great little addition to her birthday party!
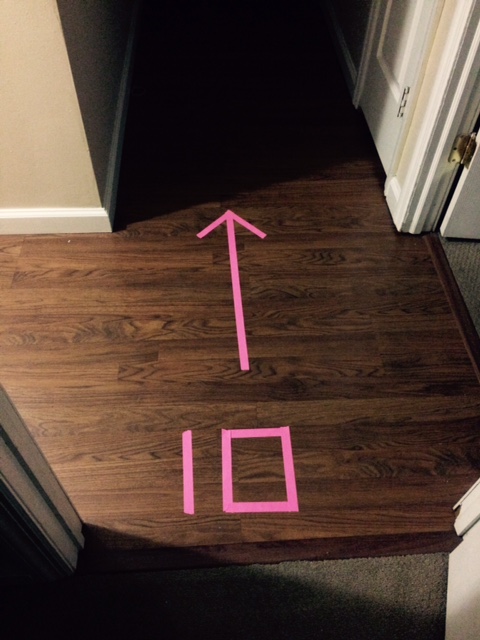
Valentine Treat Plate
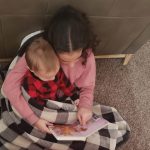
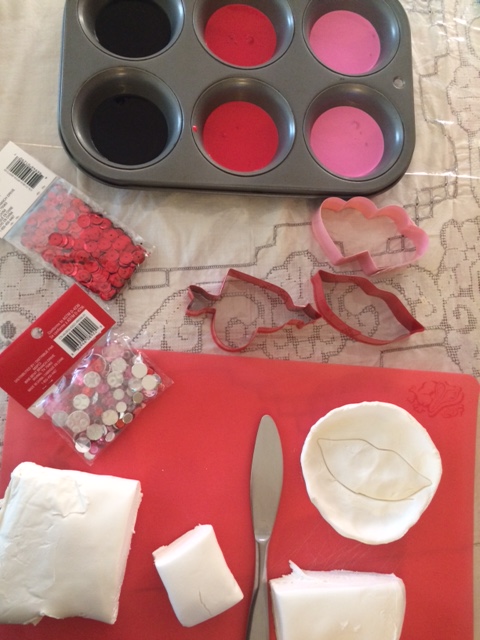
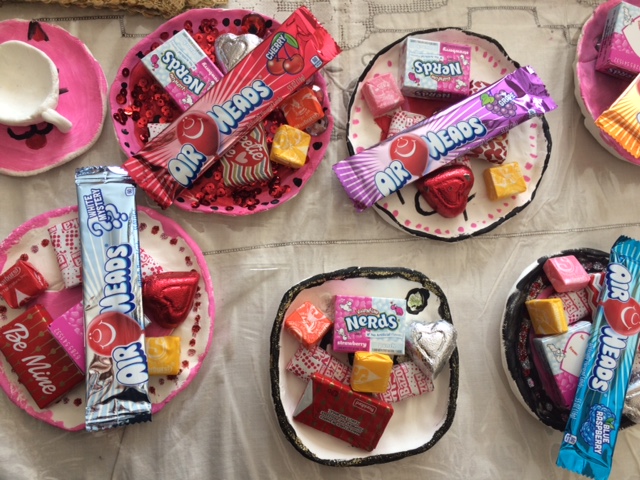 Valentine’s day is right around the corner and I thought it would be fun for the girls to make something for their cousins, who also happen to be their absolute bestest friends! They love using Crayola Model Magic at school, so I thought to use that to make their special gifts. The idea was to hand make some small plates out of modeling clay and then fill them with their favorite treats (chocolate hearts, Conversation hearts, etc). The plates can then be reused on a desk for paperclips or on a dresser for jewelry.
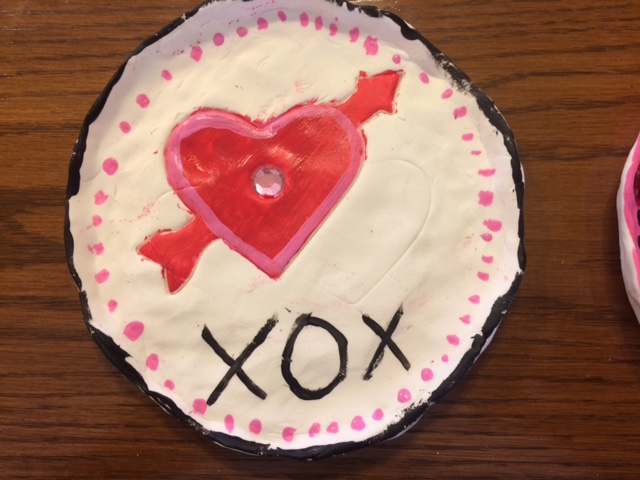


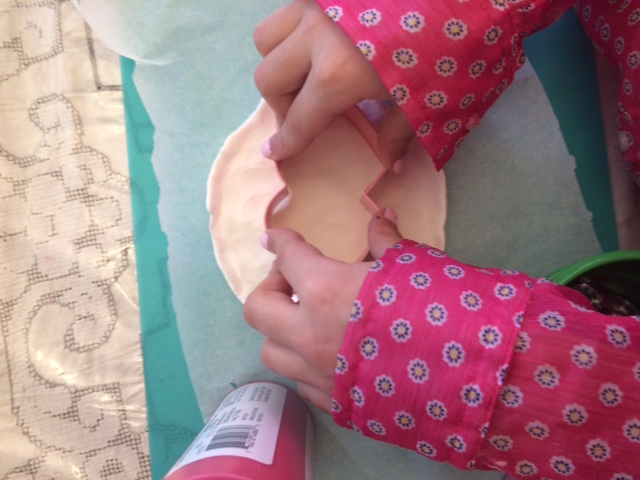
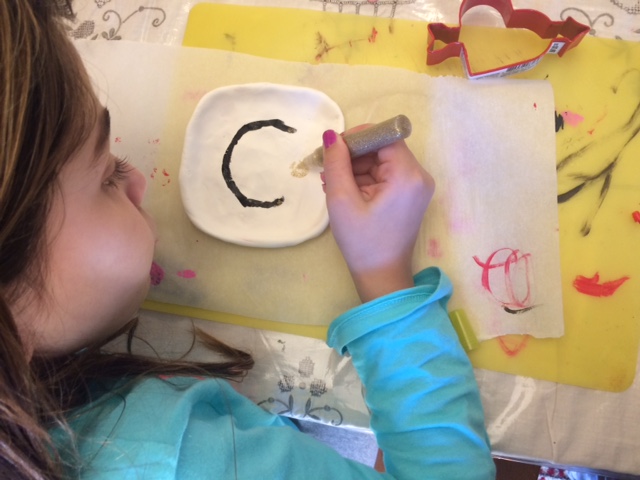
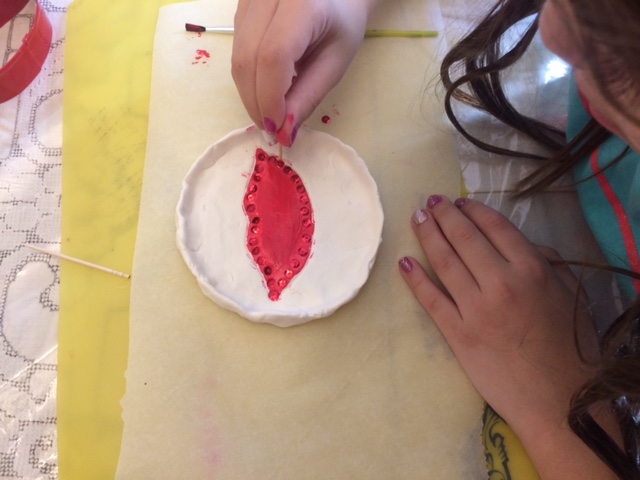
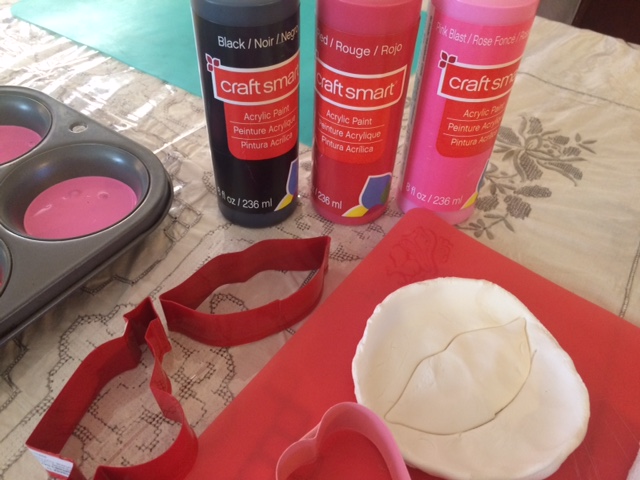
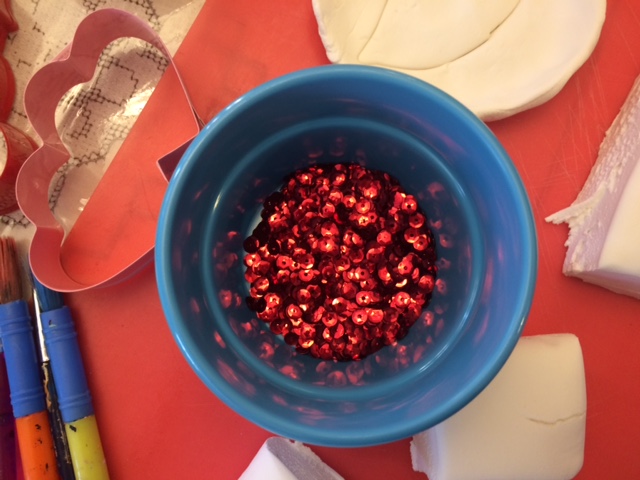
 I simply helped the girls roll out their clay and mold their plate (use parchment paper as a backer to keep the Magic Model clay from sticking). They then either painted a design or used one of the molds to lightly imprint a design onto the plate and then paint it. Using a toothpick, they proceeded to press little red sequins and gems into the plate for added decoration. Lastly, just place the plates somewhere out of the way and allow to fully dry which will take roughly 24 hours.
Materials Used:
- Magic Model (white). This is a soft, squishy modeling clay material. So fun for little hands. It doesn’t break apart and it’s easy to handle.
- Lips and Heart molds
- Acrylic Paint
- Paint Brushes
- Wax or Parchment Paper
- Sequins, gems, beads.
- Toothpicks (to help push the sequins and gems firmly into place).
Happy Valentines Day!
Homemade Holiday Gifts
 Merry Feet & Happy Toes (For Christmas and Chanukah)
With so many amazing people in my life, I can’t help but want to give a gift to each and everyone especially during the holidays! Between teachers, neighbors, friends, and that certain someone who just makes me smile, I like to give a little something that says you’ve left an imprint on my heart.
I love homemade gifts! I love making things from scratch and packing them up with special handmade gift tags! It satisfies the creative bug in me especially during a hectic time of the year.
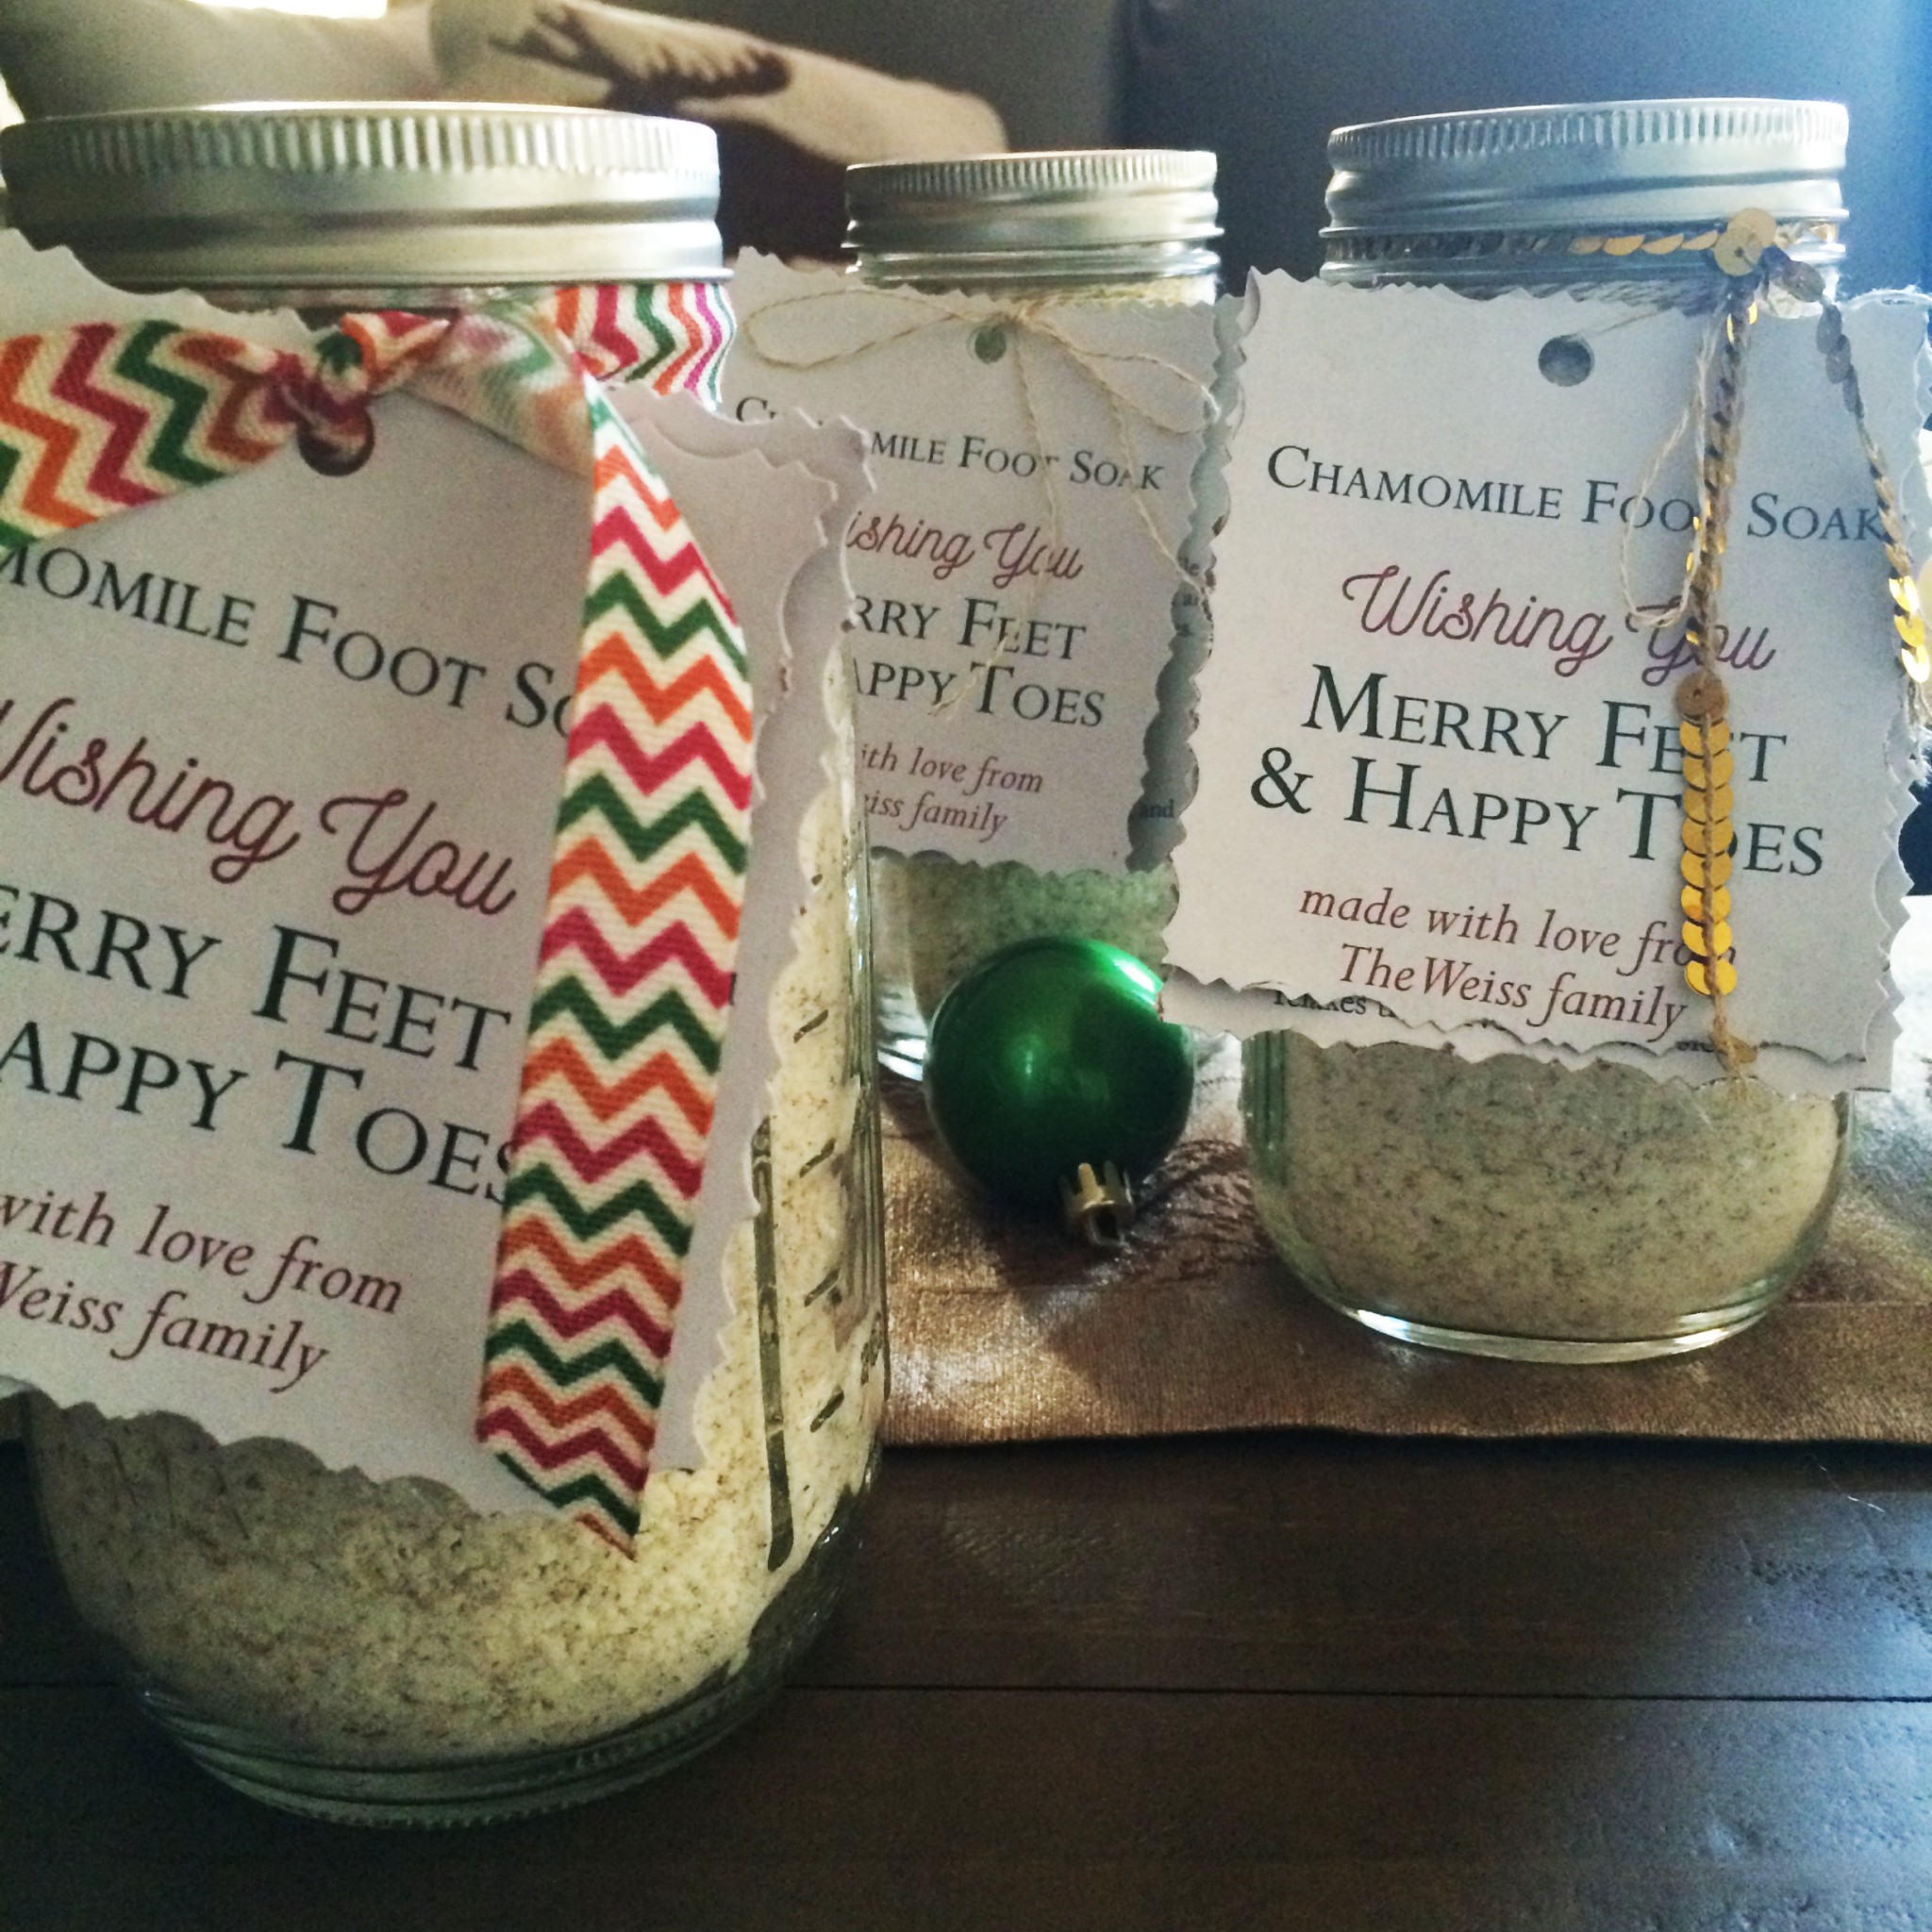
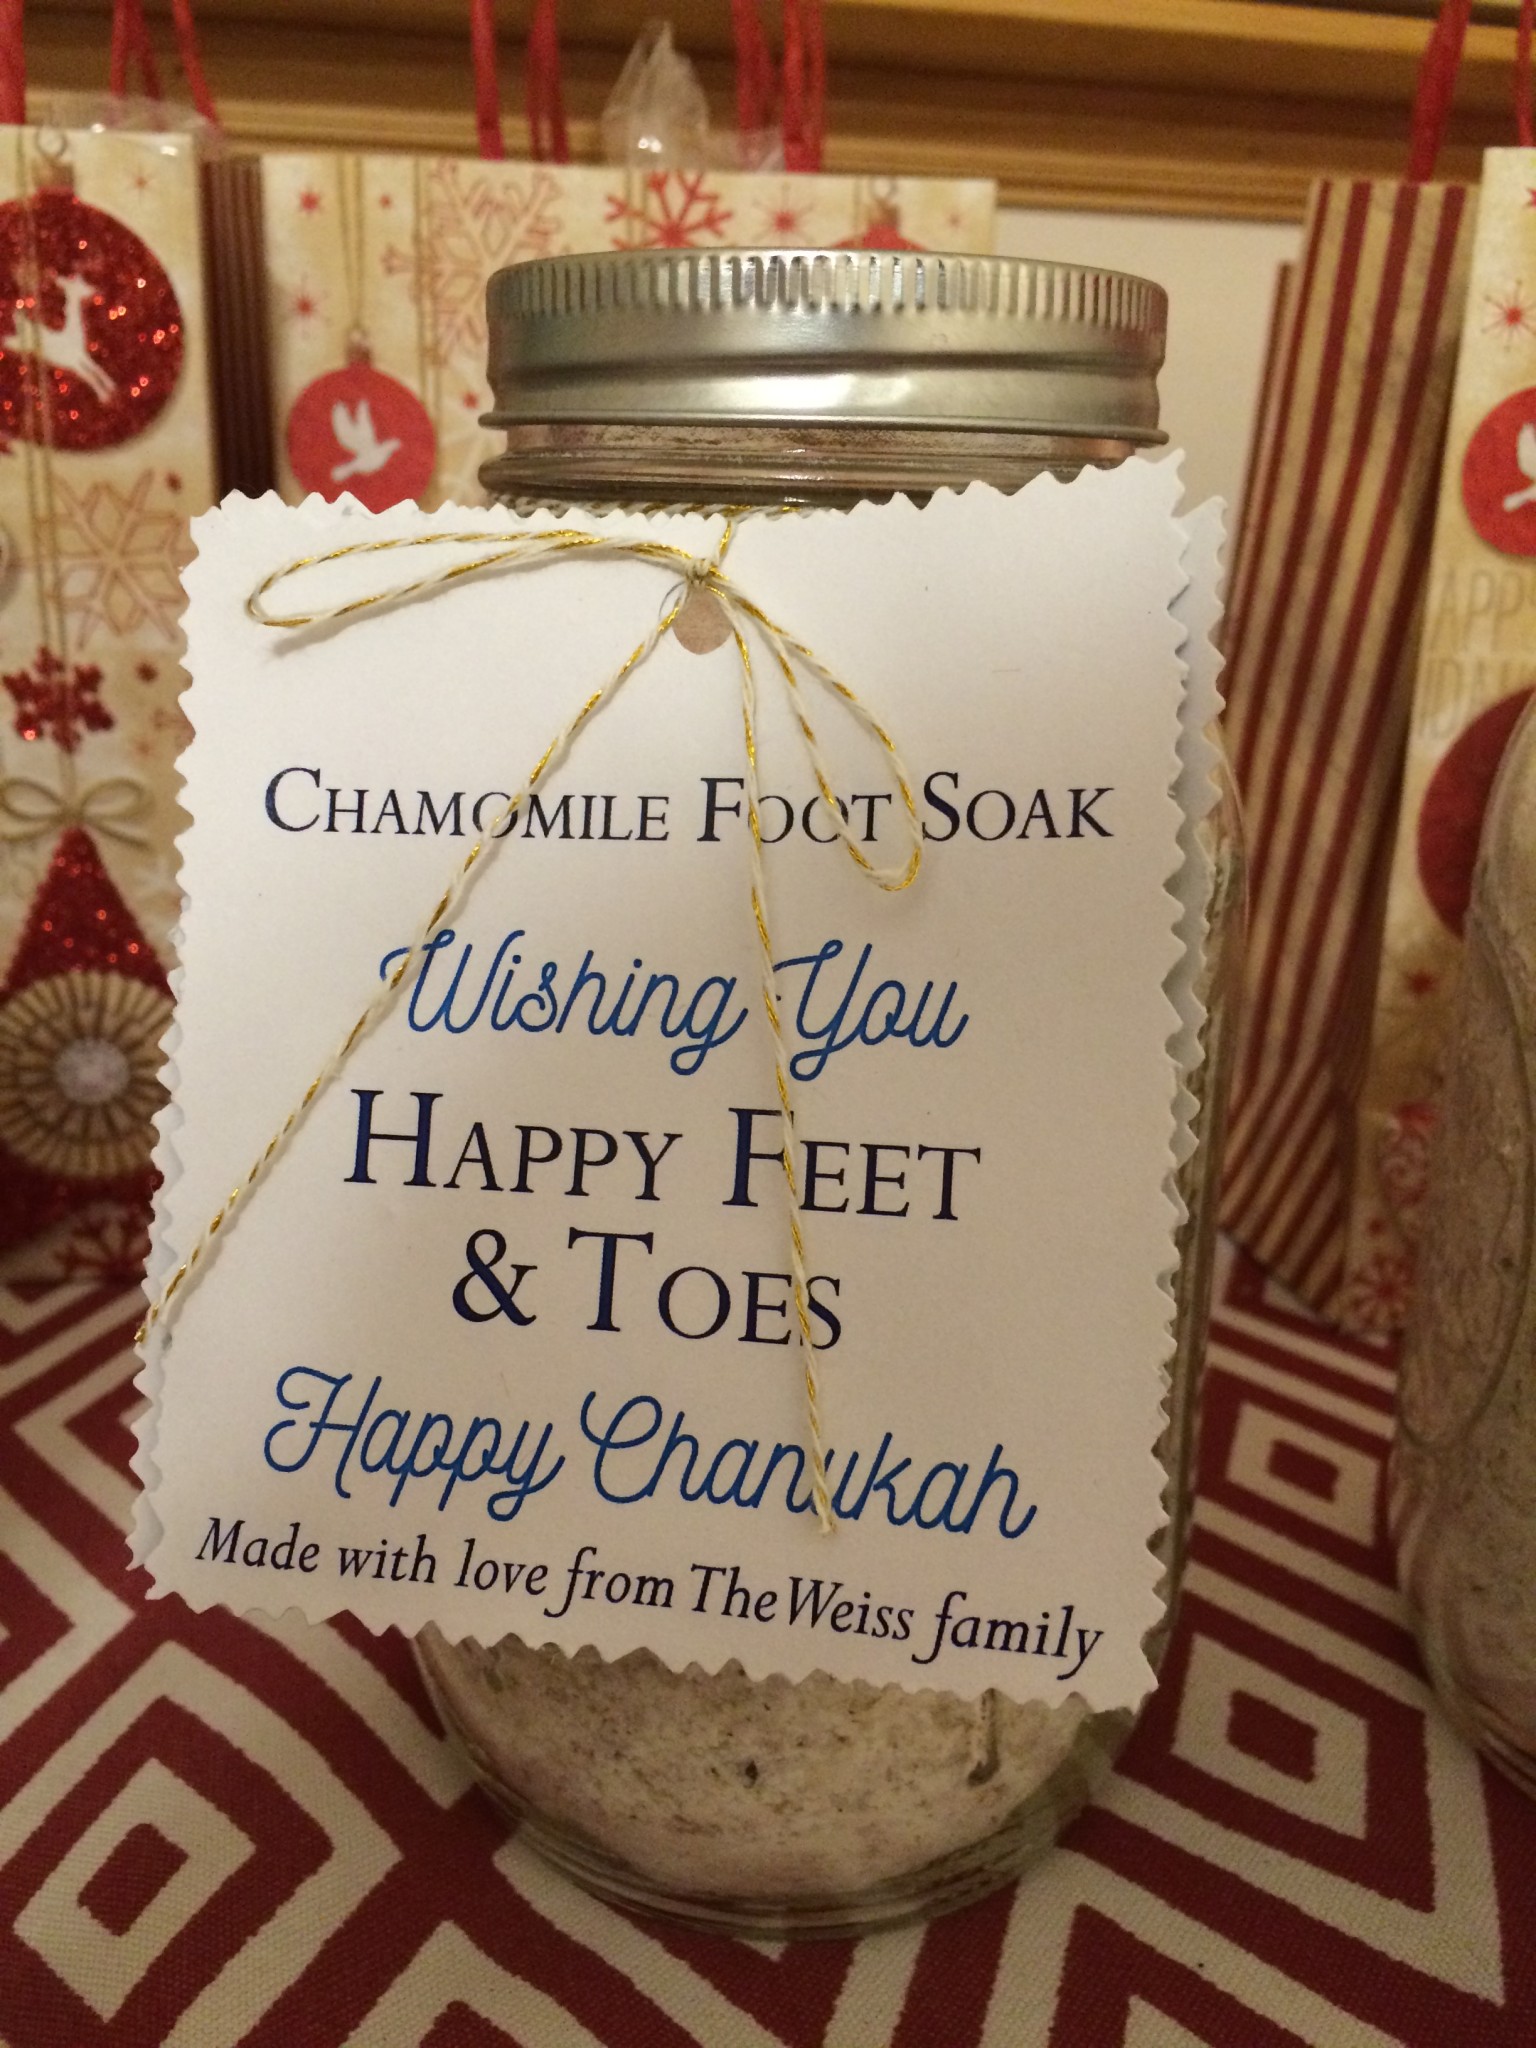
I wanted to give something really special to the teachers this year. With three children now in full day school, the amount of teachers add up and purchasing something really special sometimes can become expensive. So I decided to make something special instead! Teachers are on their feet all day long, so I searched for a homemade foot soak recipe, created my own little tags and wrapped them pretty into a canning jar. We added cozy slip-on socks for the finishing touch! The Recipe for the foot soak is so simple and I altered it a bit but you can find it here.
Here is what you need but first figure out how many jars you’d like to fill and how large the jars will be. So easy to make big batches of this foot soak.
- 1 pint for large or 16 ounce Mason Jars. The size is up to you.
- Epsom Salt (I found that Walmart had the best price) I made about 12 large jars and 12 Small jars and used about 4, 3lb bags.
- Instant Dry Milk. ( I bought about 3 boxes at the supermarket)
- Chamomile Tea bags. I purchased 3 boxes with 20 bags.
- Lavender Essential oil ( or any scent you prefer)
- Ribbon
- Hole Puncher
- Decorative Scissor
- Holiday Scrap Booking Paper
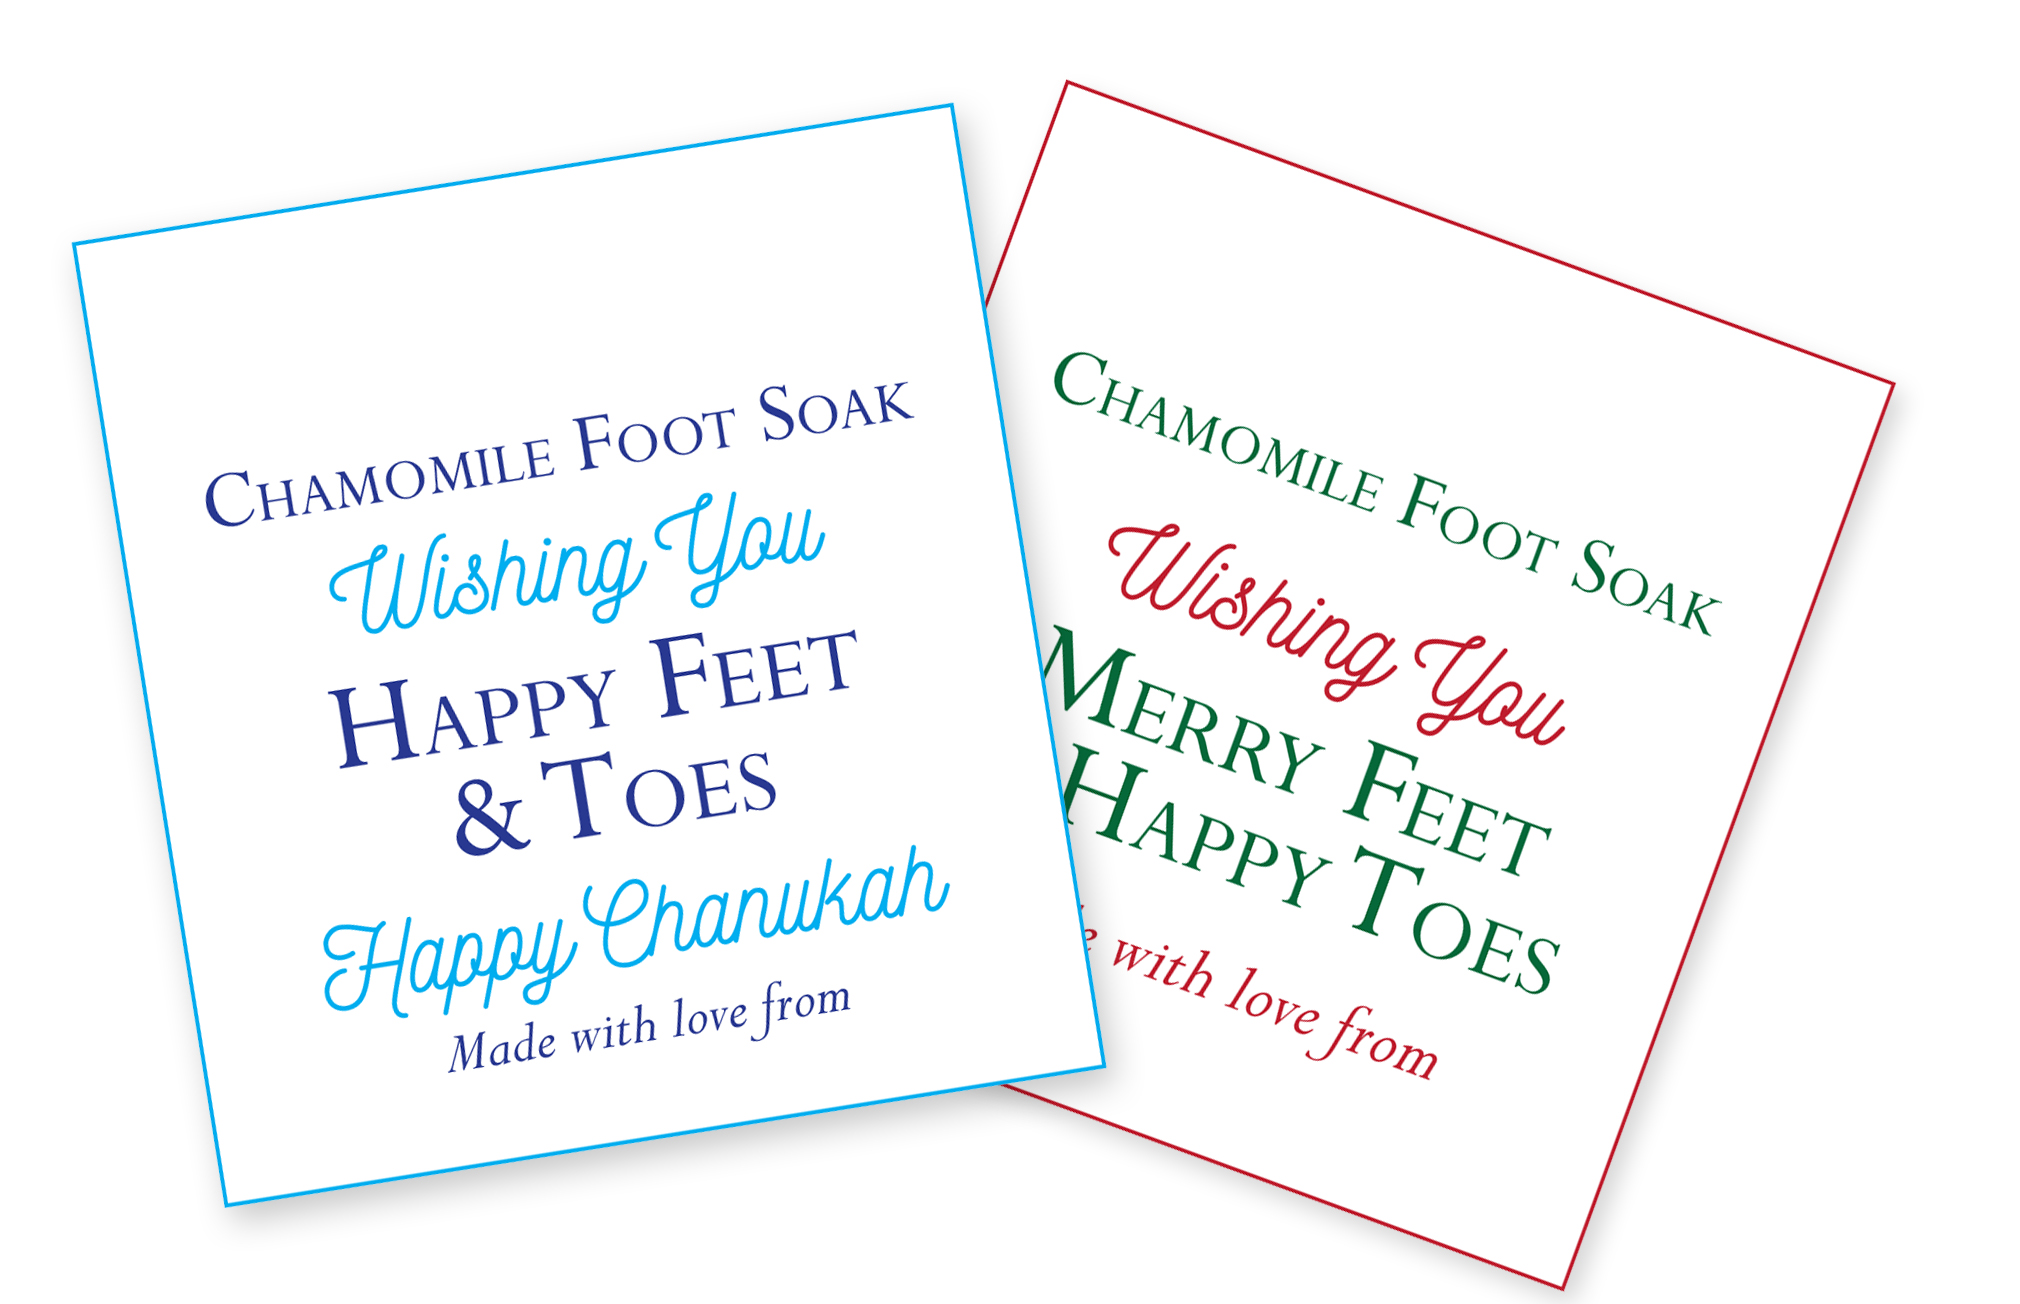
- Printable Gift Tags
- Hanukah Gift Tags
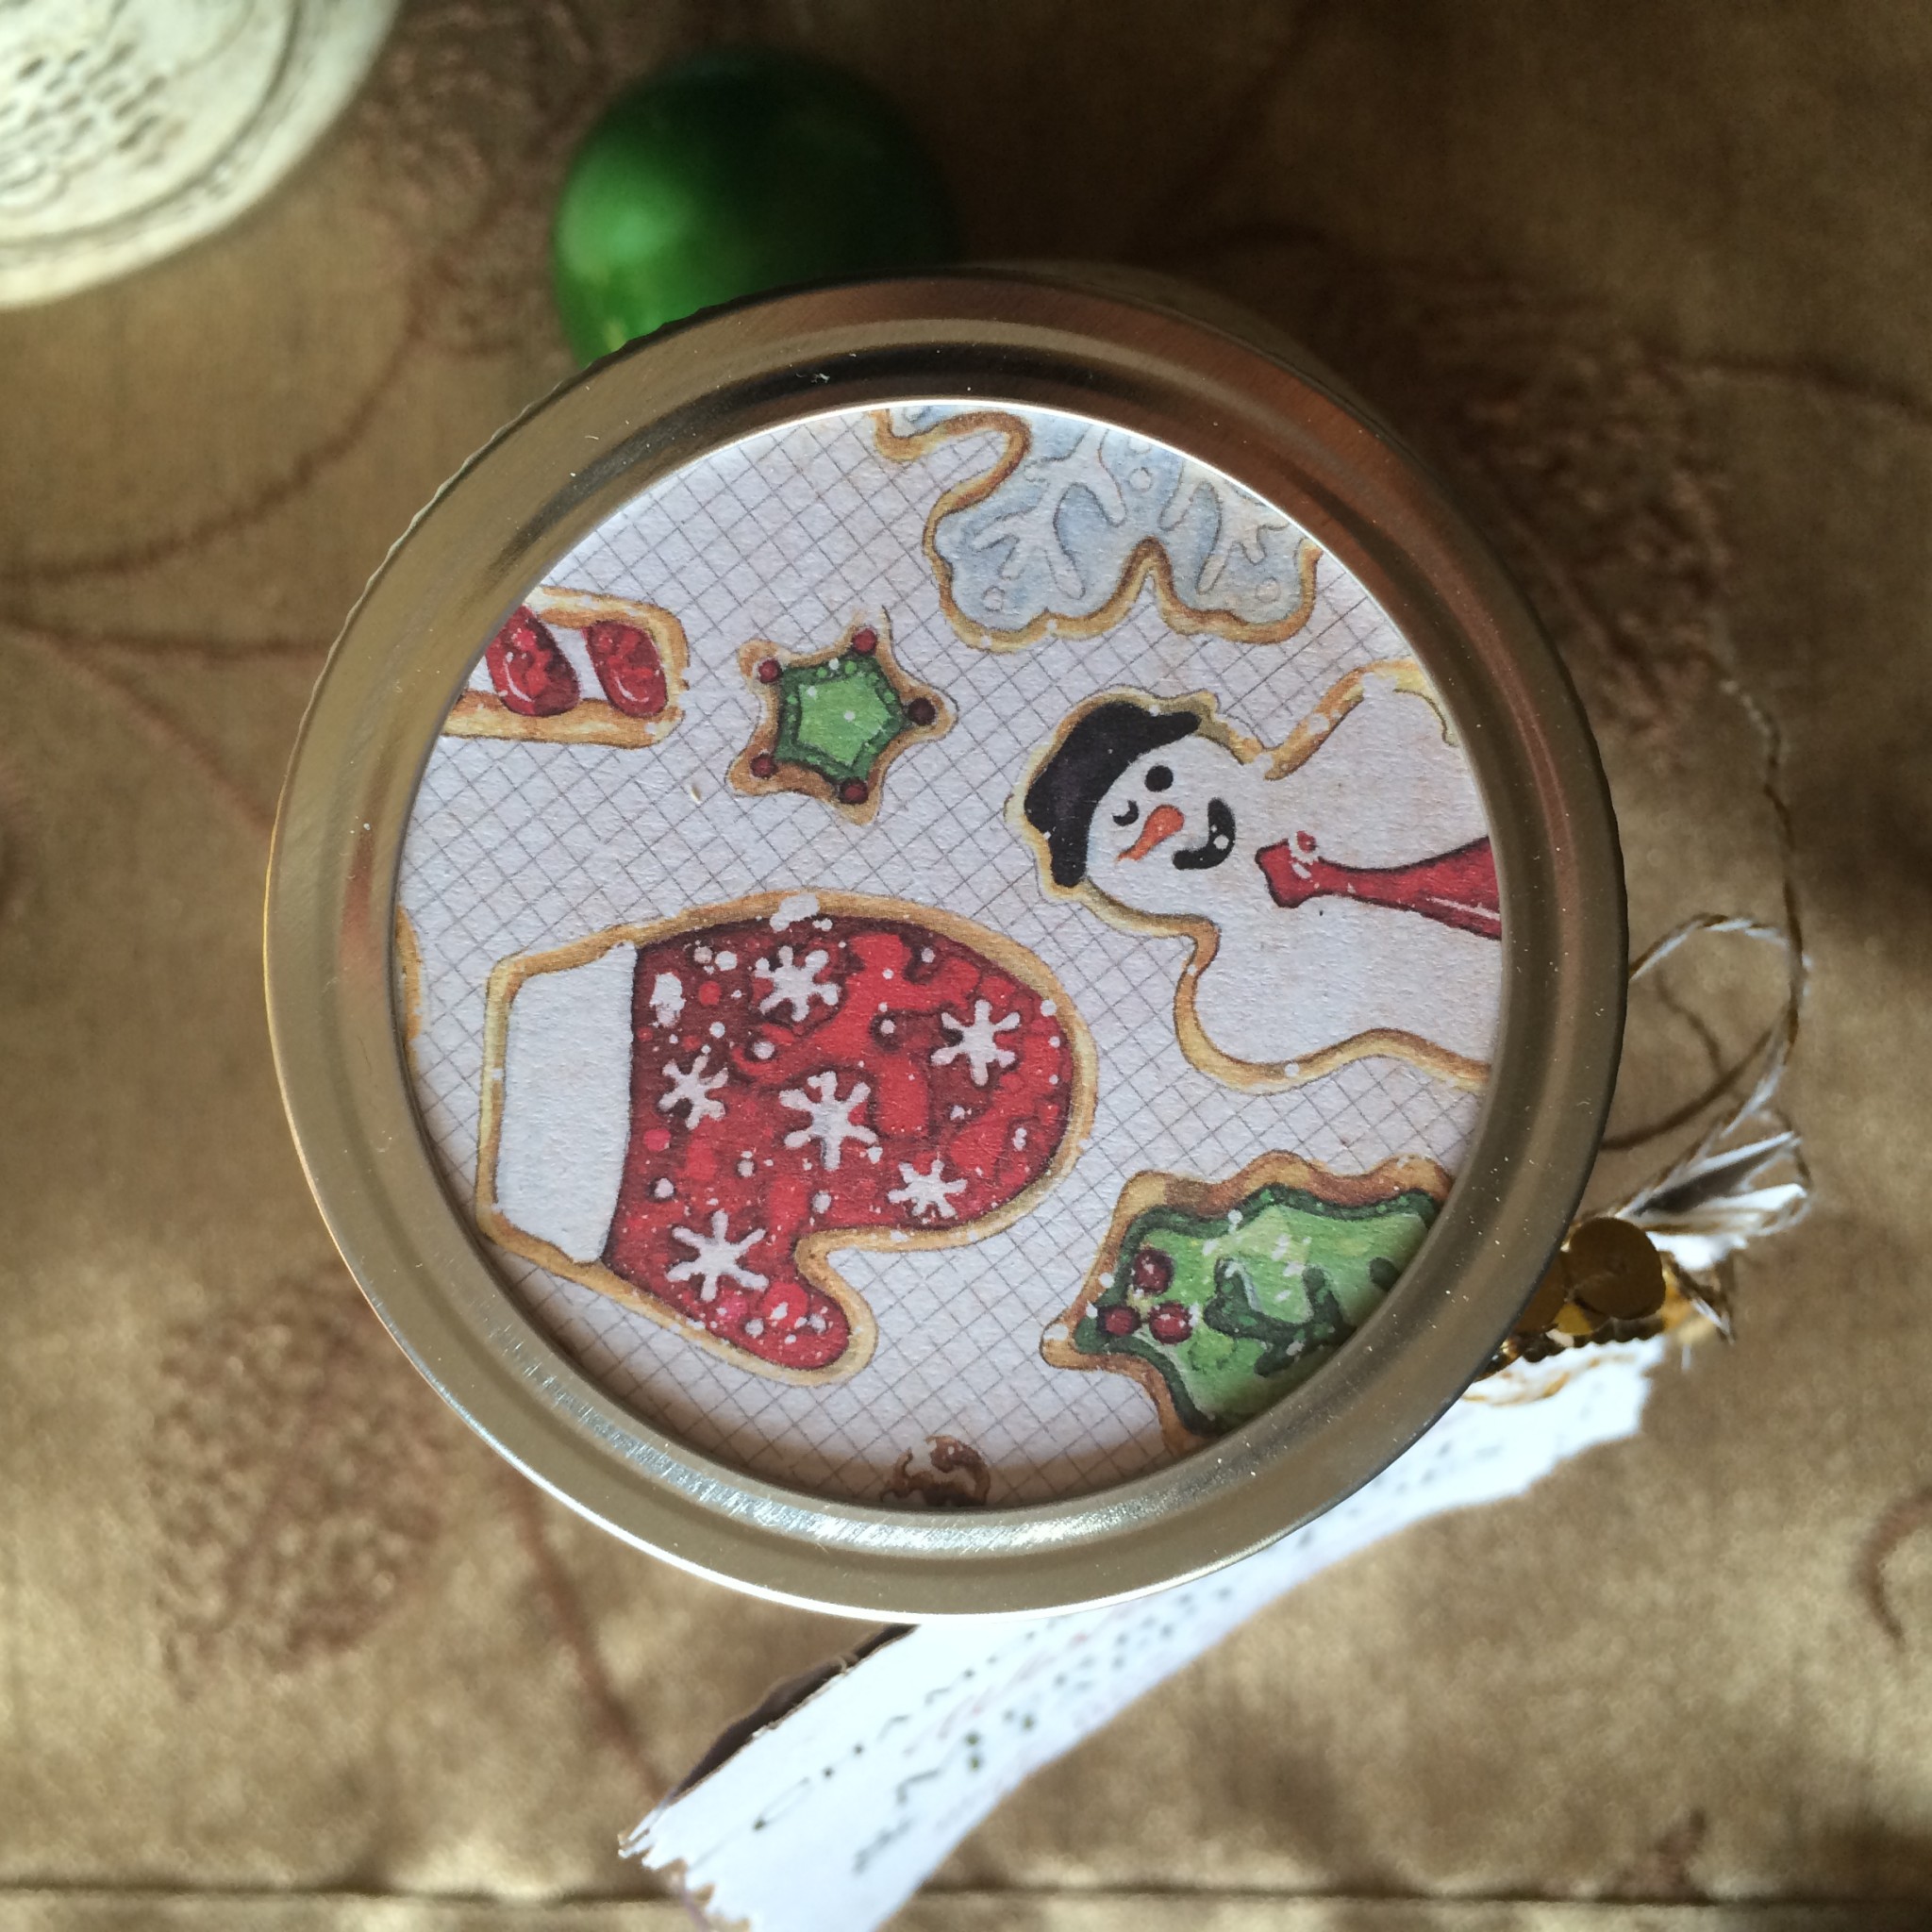
I used equal parts of Epsom salt and Dried Milk. Added about 20 bags of Chamomile tea bags per Box of Dried milk/ bag of Epsom Salt. I used a little less amount of the Lavender oil that was recommended here. Using a large basin or Tupperware, I mixed all ingredients together and using a measuring cup I scooped mixture into the jars filling it to the top. Once they were filled, using the lids as a guide I traced circles onto decorative scrap paper cut them out and placed them onto the top of the lids and sealed jars tightly. You can print the tags straight onto a thick hard stock. I used a decorative scissor to cut out the tags, popped a hole through them and used bakery string/ribbon to tie the tags around the jars and tah-dah! Merry Feet!
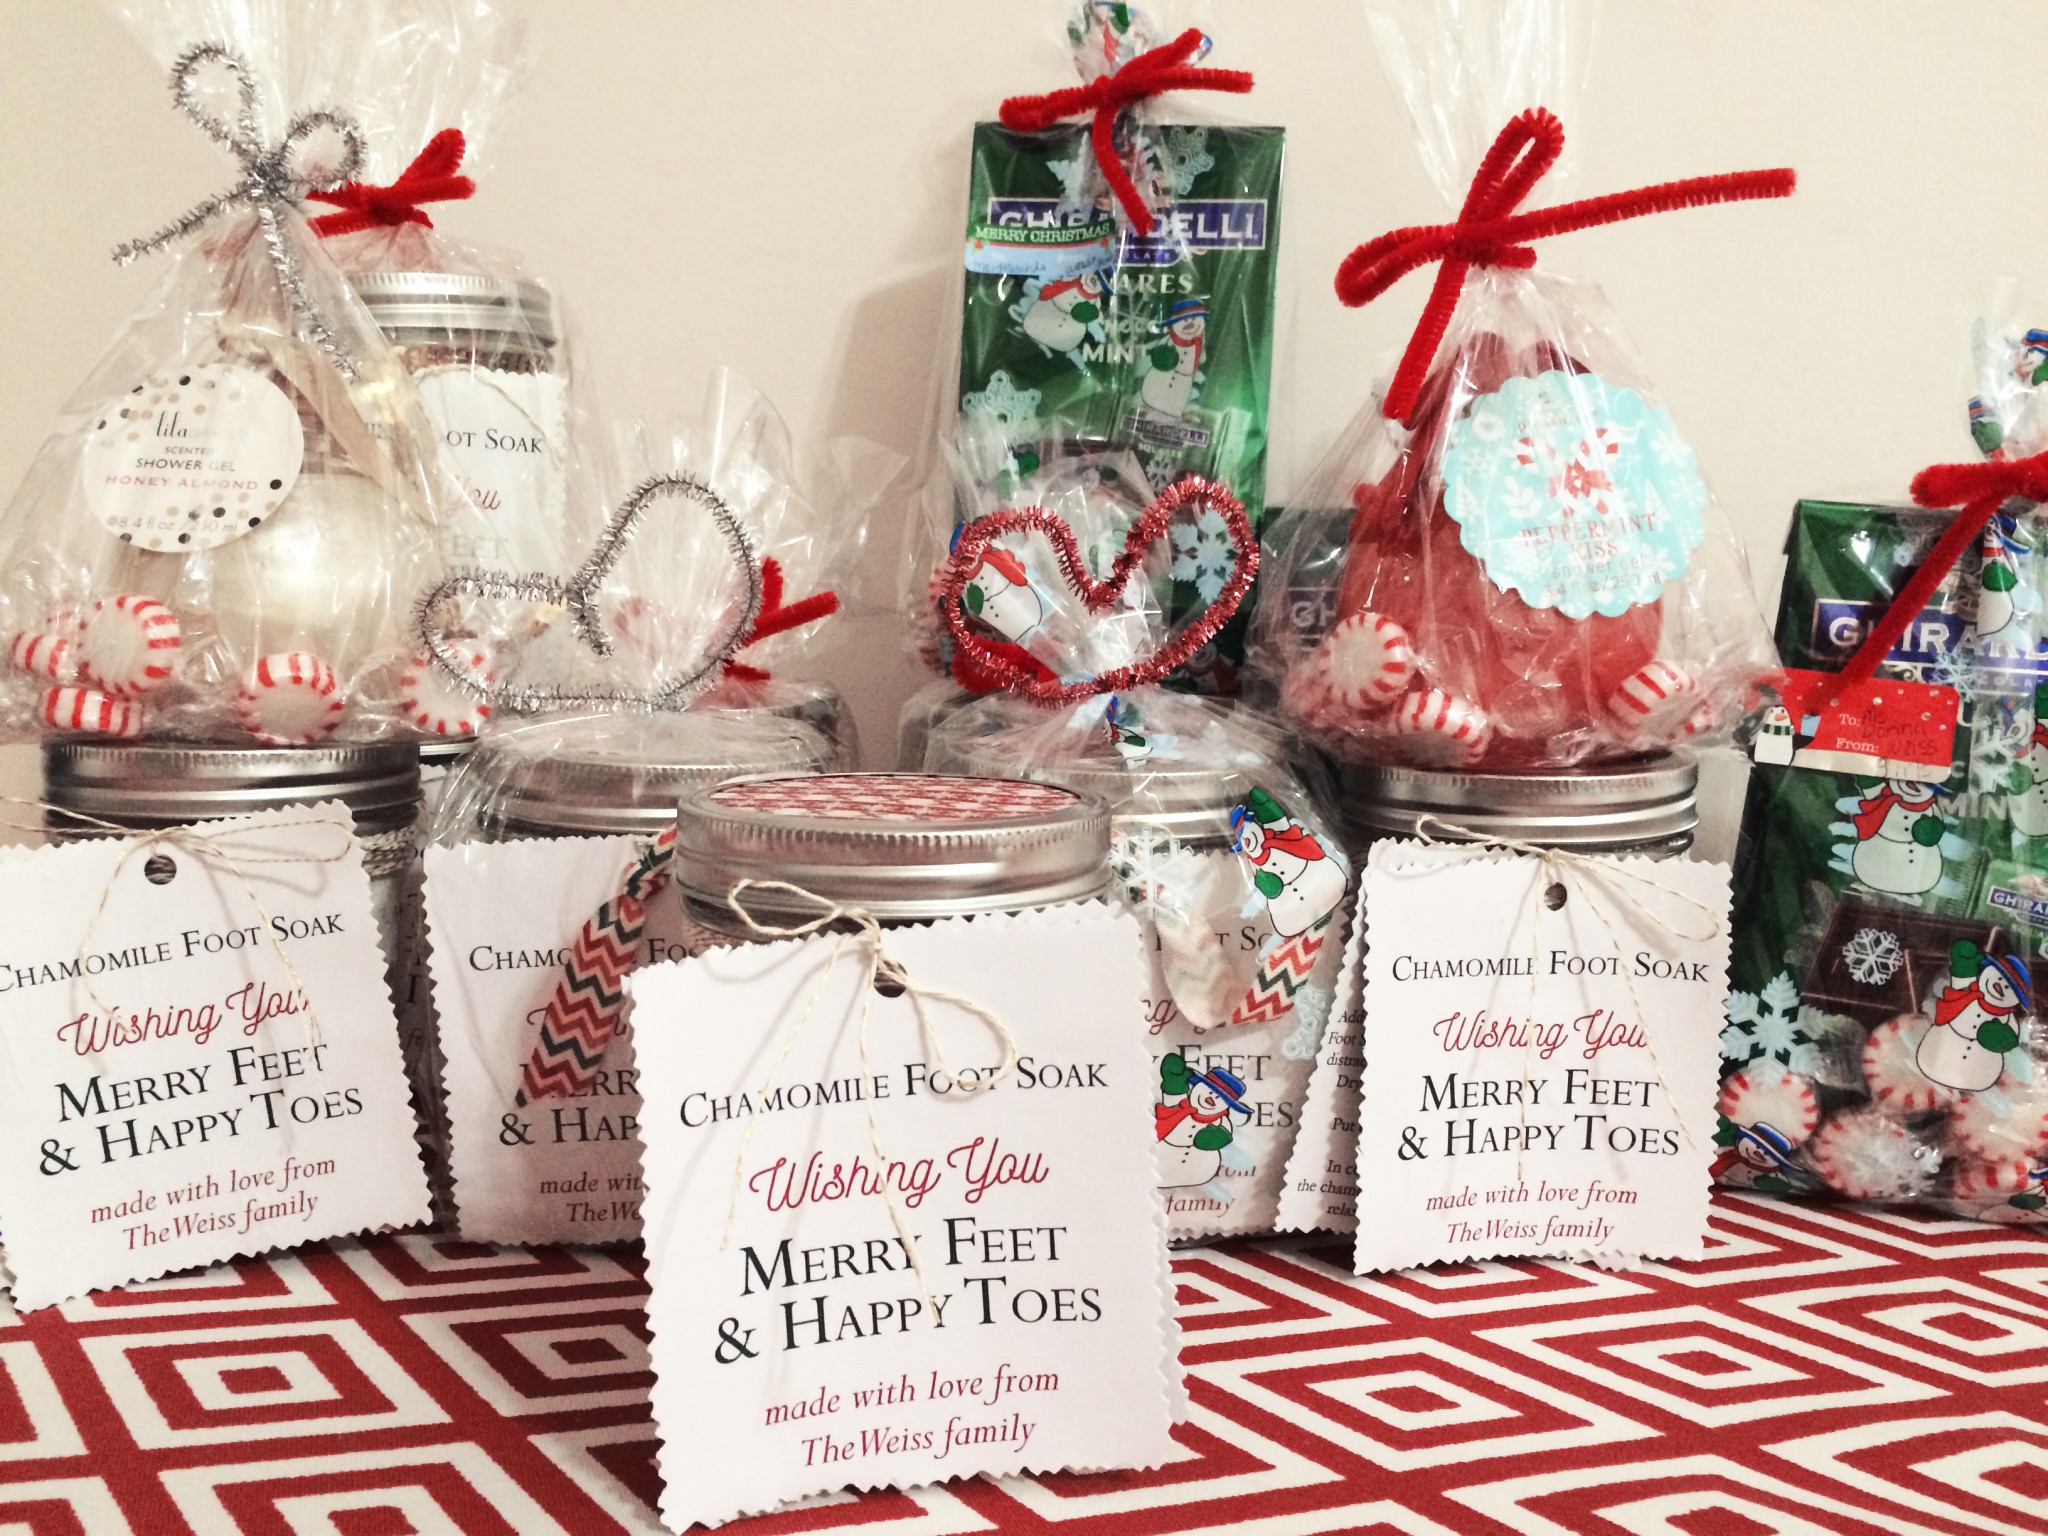
These make great gifts all year round! Just create a new gift tag for each season.
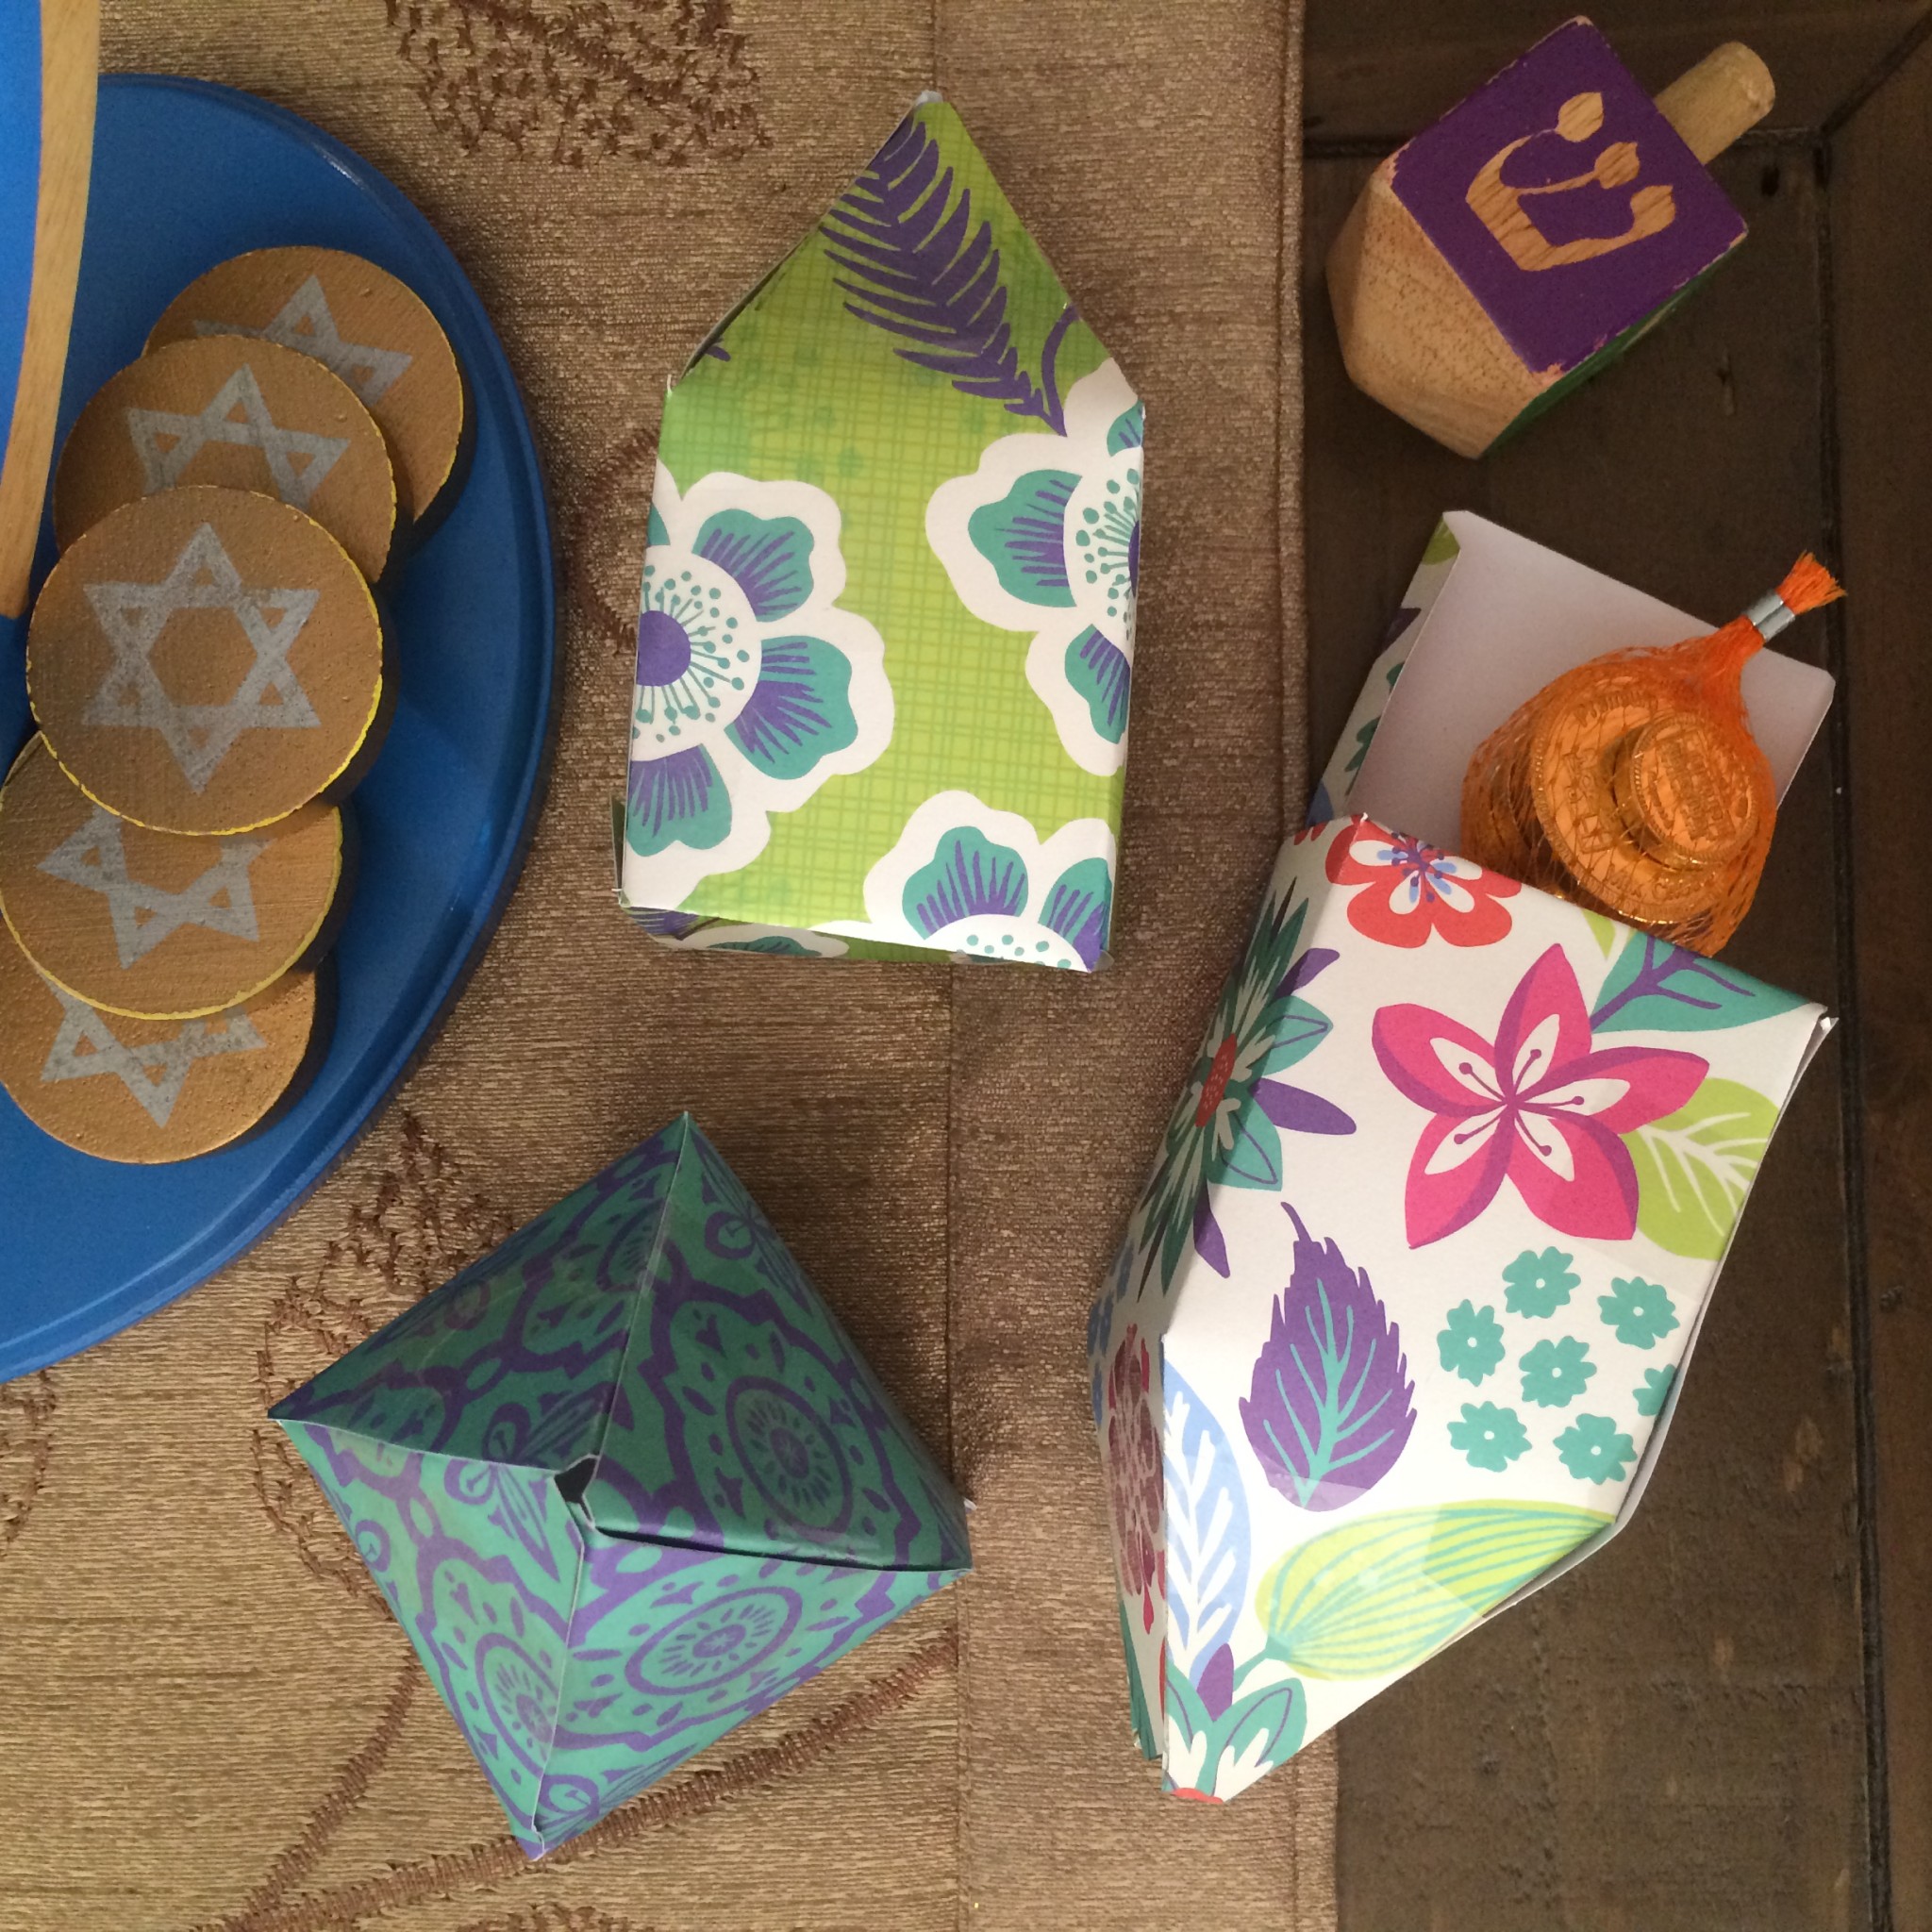
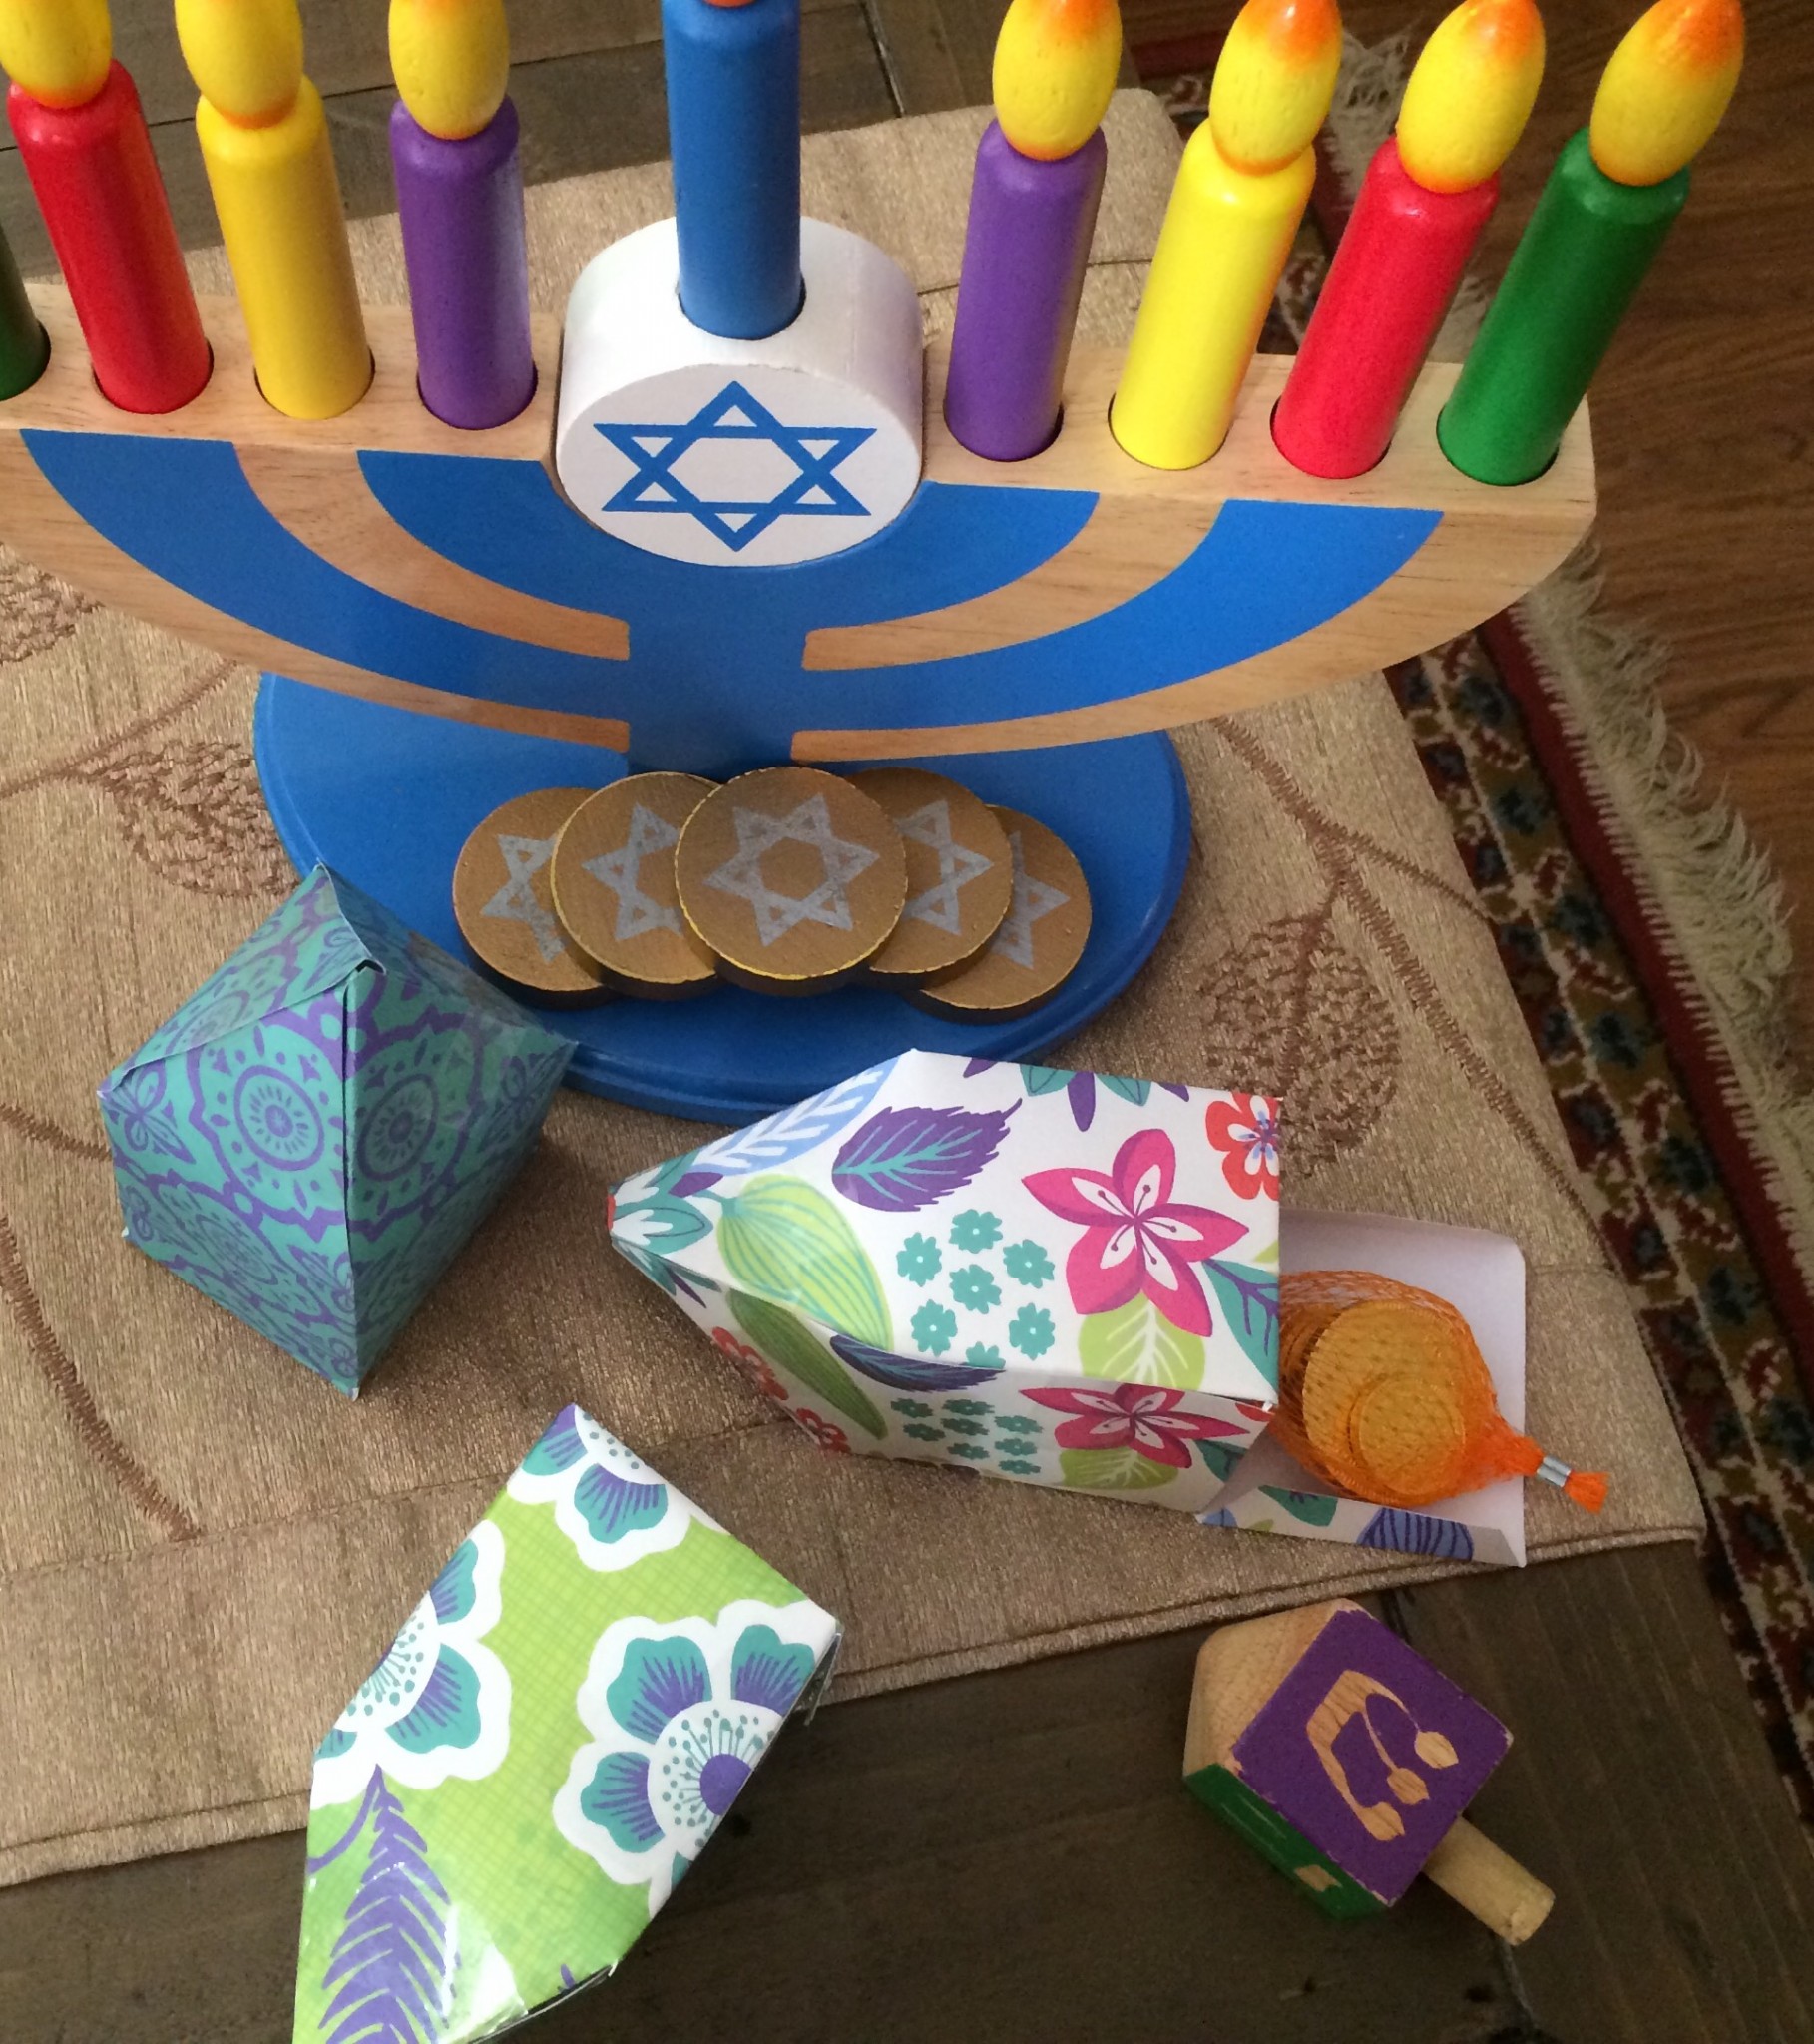
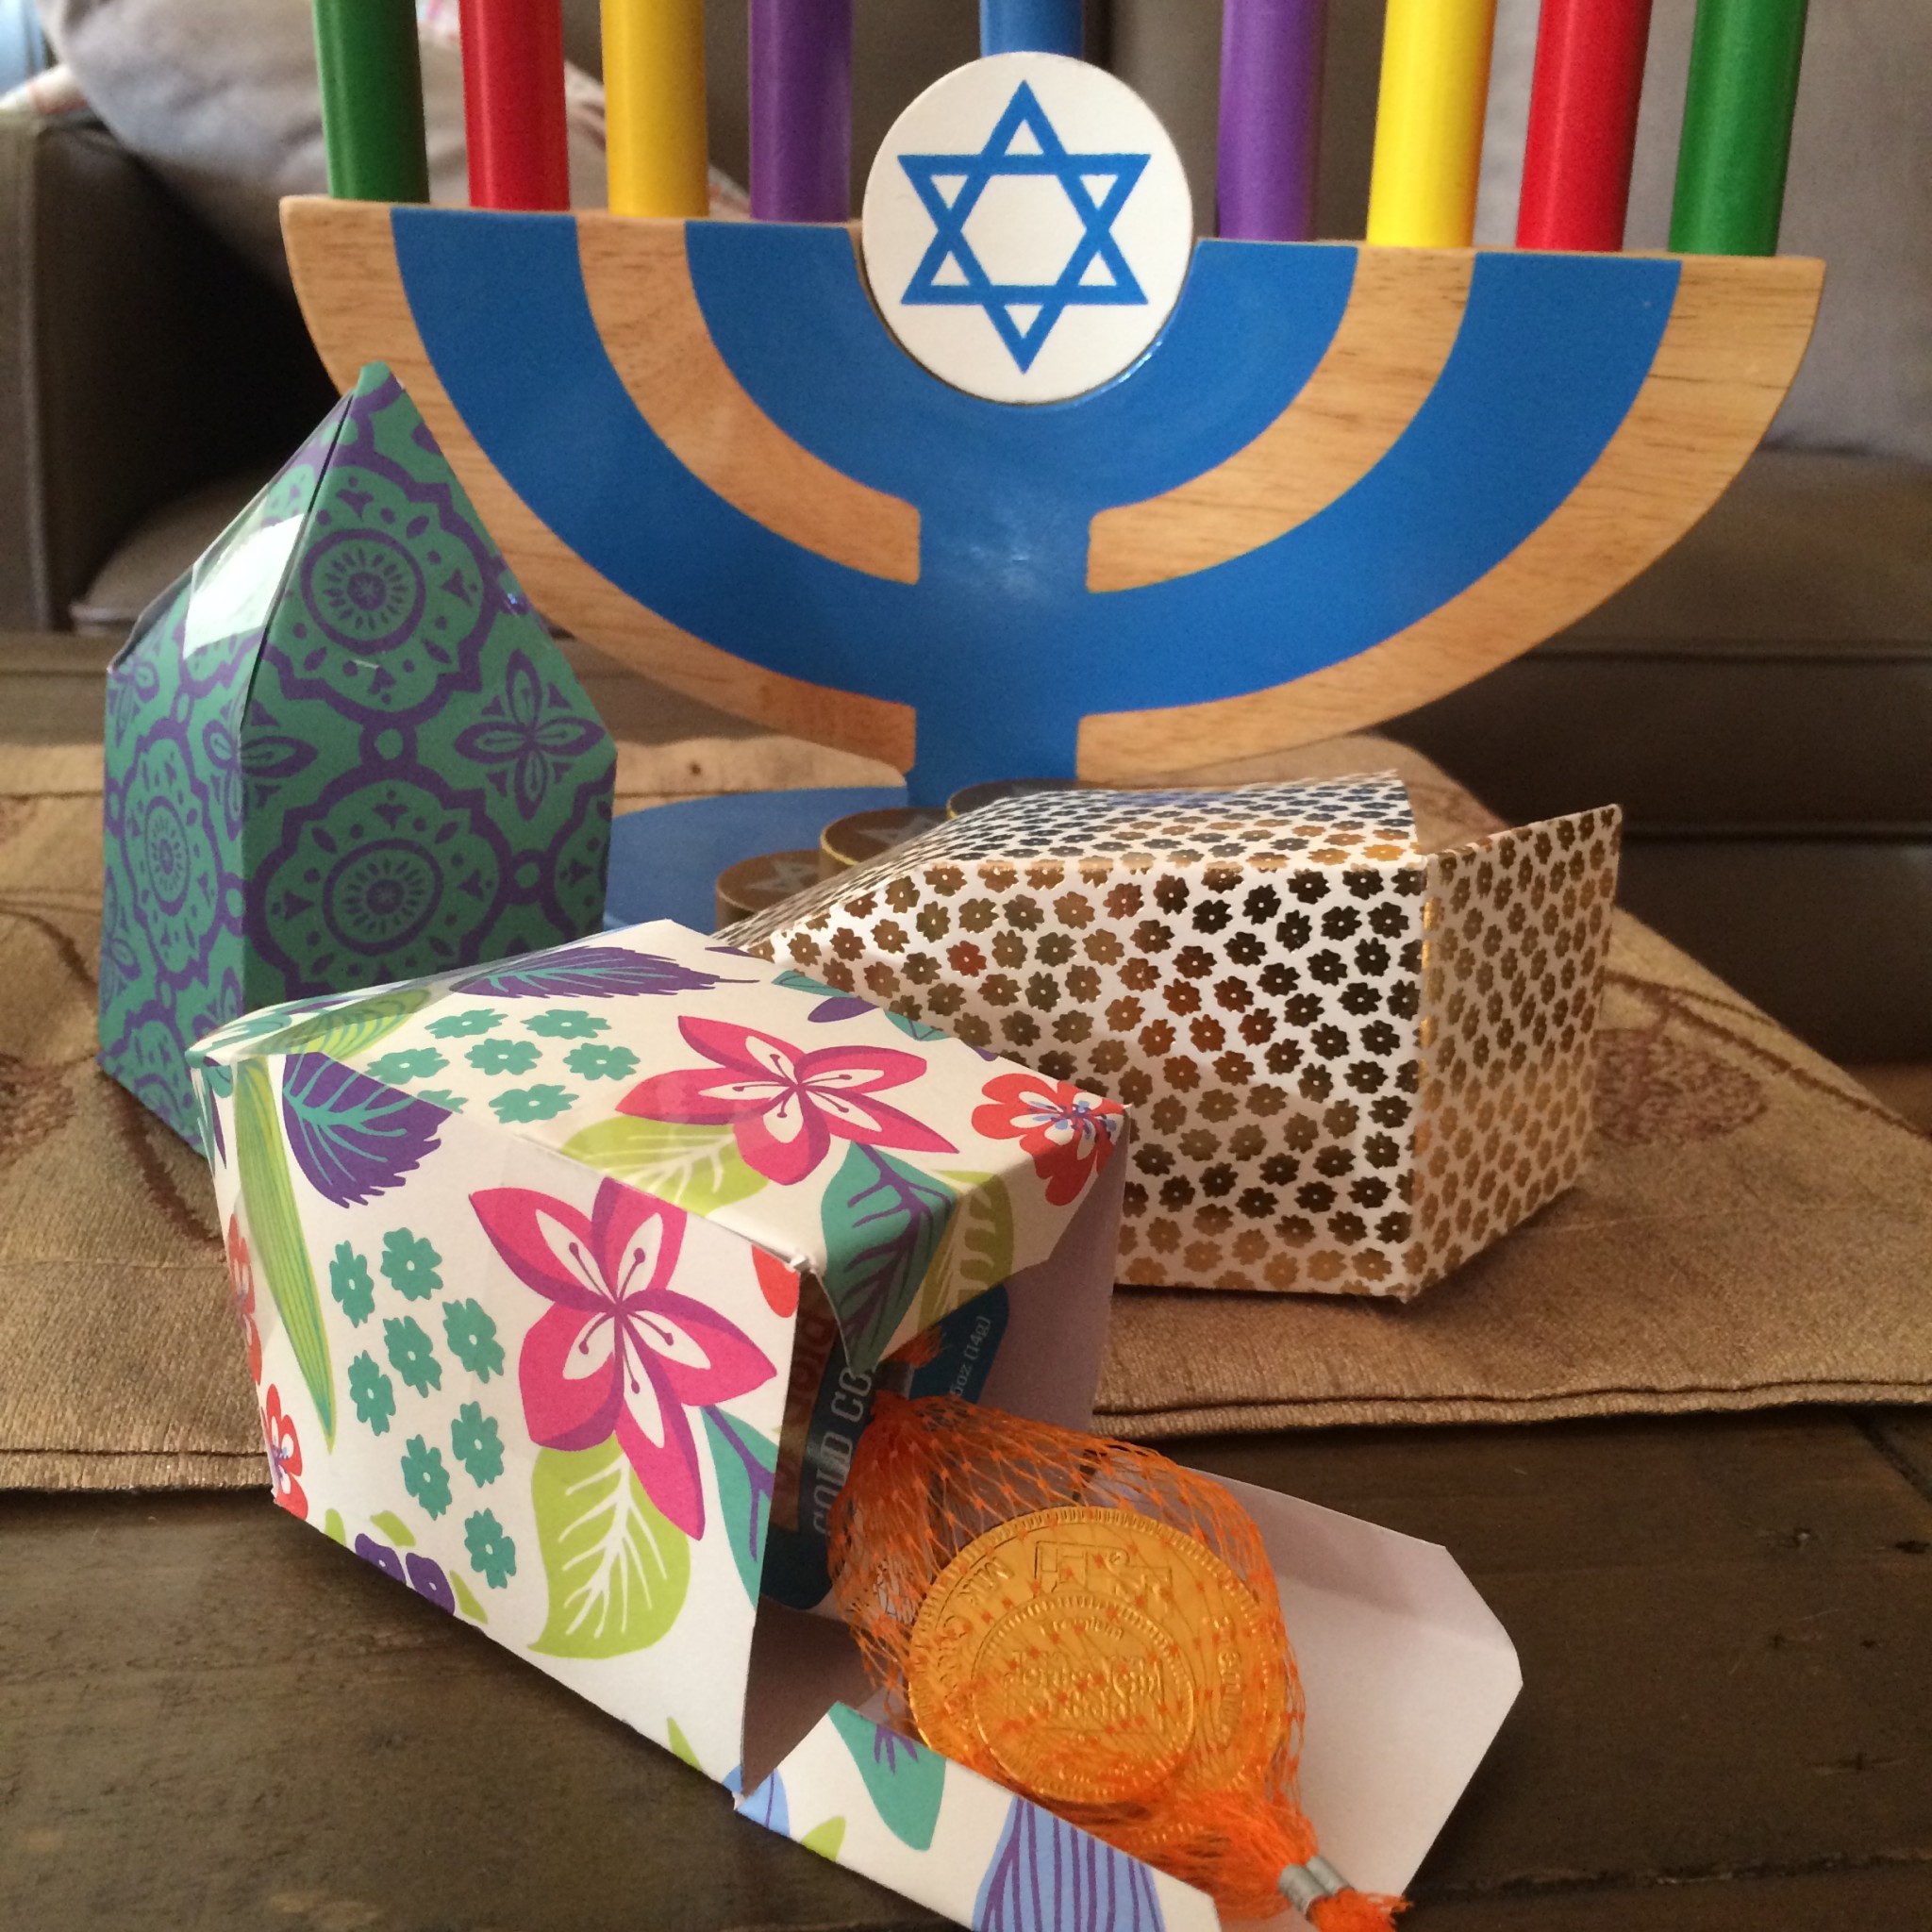
Eight Nights of Dreidels
I’m actually pretty excited that Hanukah will continue well after Christmas is over. Although the two holidays begin on the same night we still have 7 days of Hanukah left after the Christmas celebration is over. Being Catholic, Hanukah is still one of my favorite holidays to celebrate with my husband and children. This beautiful festival of lights, is a quiet, peaceful holiday, filled with candles burning bright and the aroma of sweet sufganiyot (also known as hanukkah donuts), cottage cheese latkas, potato latkas, delicious soups and of course yummy gelt.
One of my best friends from Kindergarten sent my girls this beautiful wooden advent calendar from KidKraft. The kids have been so excited each day to open one window and find a little surprise awaits them while counting down the days until Christmas. I wanted to find something as exciting for them to do for each night of Hanukah. I found this simple DIY Dreidel template from FamilyFun magazine. I simply printed it out, cut it and used it as a template to make 8 paper dreidels. I happen to have a large selection of srapbook paper and simply picked papers with blues and gold tones. I placed the template over the paper that I chose and traced the pattern onto it. I then cut it out and folded the tabs and taped all of the side’s together. My intention is to fill each one with a special surprise for each of the girls like a little trinket, or a note mentioning a special event we can do for the evening , or a hint to where their presents await them. I’m definitely filling one with gelt and requesting a night of spin the dreidel. Happy Hanukah!
DIY Bottle Cap Magnets
 We were on a hunt for a couple of quilts for the girls’ beds so we figured we’d head down to Barntique Village and see if we could find something there before paying full price at a department store. Well, it must have been my lucky day because one of the shops had just gotten a couple of quilts in which were pretty much in brand new condition and half the original price. We bought two sets! The woman at the shop was so sweet and of course we started talking. She was enjoying the girls and shared with them a bunch of bottle caps made by her grand daughter. The girls loved them! Not only did we walk out of there with two beautiful quilts but we were also inspired to go home and learn how to make our own bottle caps!
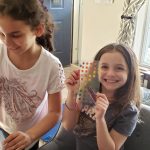
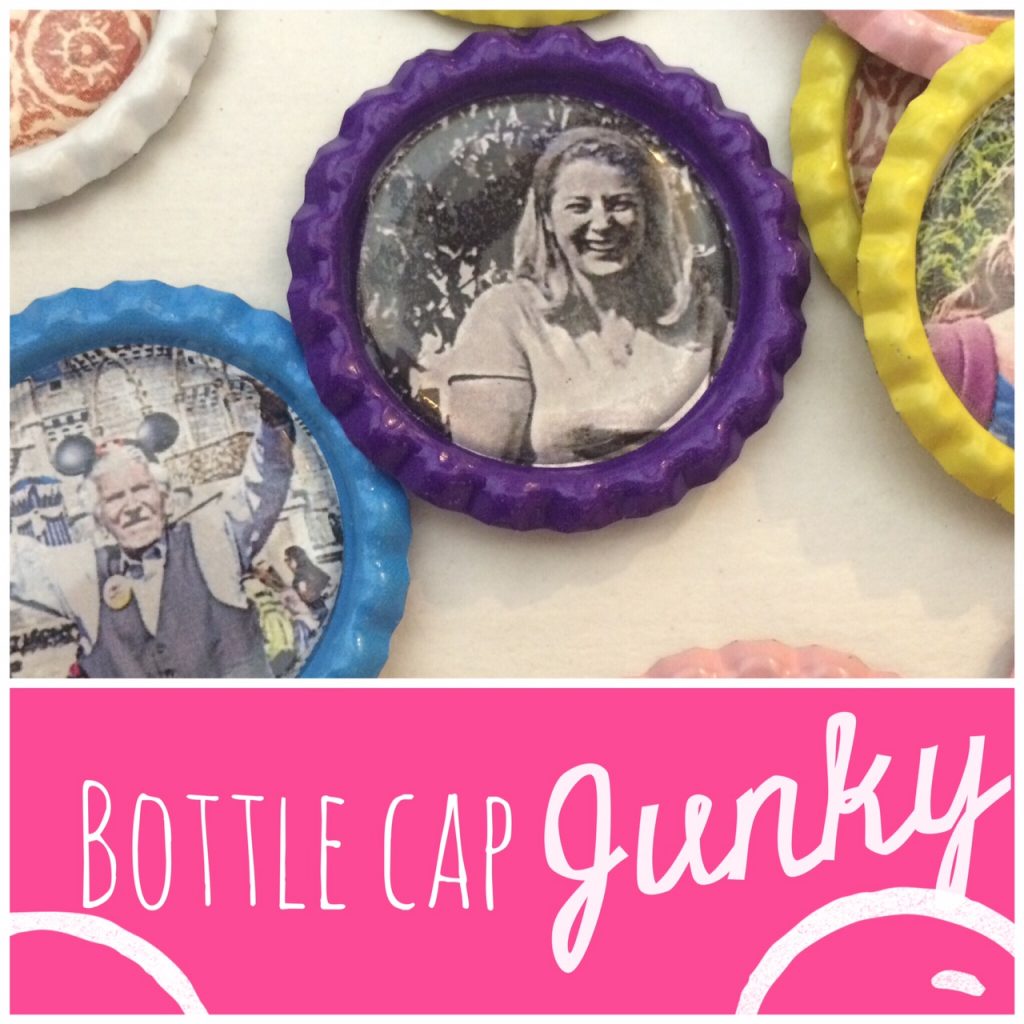
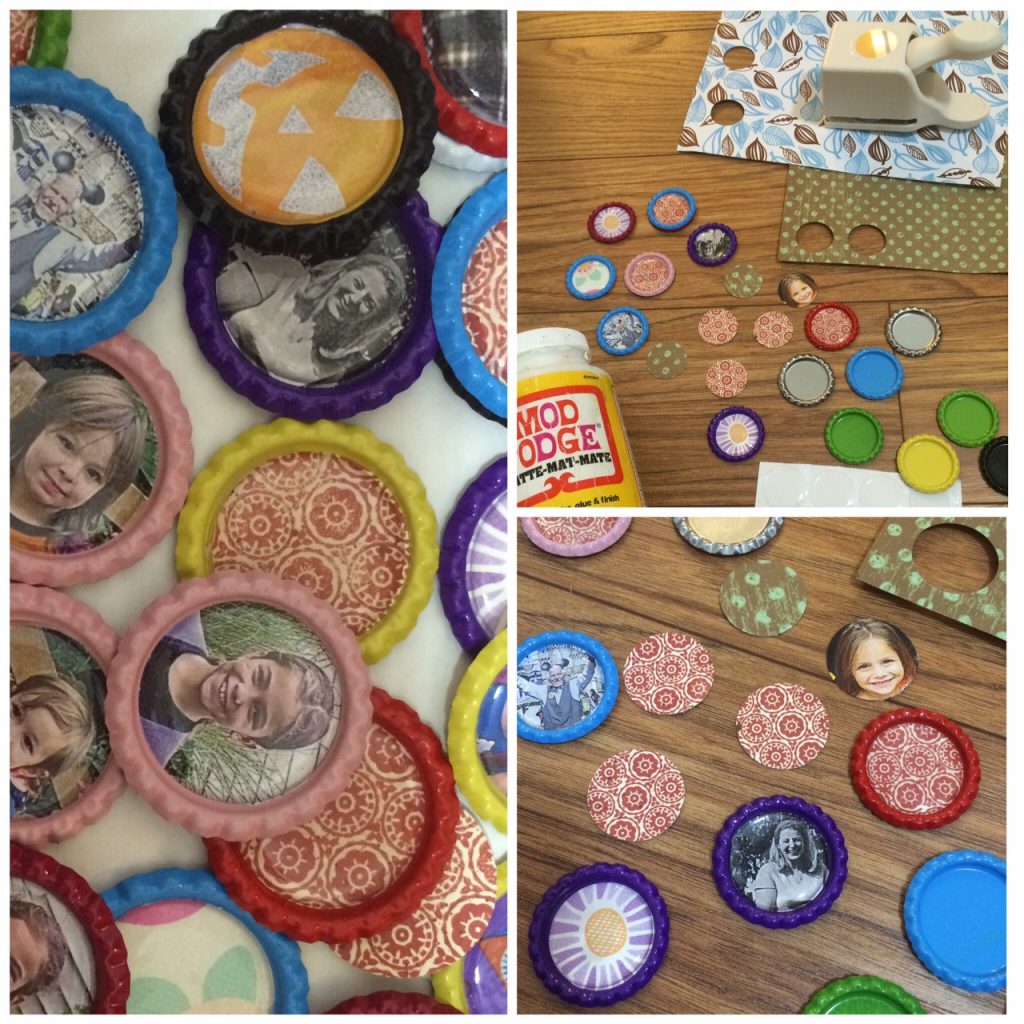
These little caps are so much fun! You can turn your crafty bottle caps into magnets, earrings, hairclips, pushpins,the possibilities are endless. But let me warn you, once you start it’s really hard to stop! We literally made about 50 bottle caps in like one day! There’s four of us so I guess that’s not as crazy as it sounds!
Along with some pretty scrap paper I also chose a couple of family pictures that I love and printed those to use as well. These also make cute little gifts!
Here’s what you’ll need
Magazine clippings, scrapbook paper, photographs, newspaper, cereal box, or you can even create your own computerized images and print them out
Basic Elmer’s or Tacky glue
Epoxy Stickers for Bottle Cap Pendants, 1-Inch, Clear
Bottle Cap 50 Multi-Pack Bottle Caps
Martha Stewart Crafts Punch, 1-Inch Circle I wasn’t so crazy about this hole punch. But it was good for the price.
3/4 Inch Diameter Adhesive Magnets 54 count or backing of your choice: Clasp, hairclip, push pin etc.
Step 1:
Use your 1” hole punch to cut out circles to fit inside your bottle cap
Step 2:
Use a paintbrush to paint on Elmer’s or Tacky glue on the inside of the bottle caps. Place your circle cut out on top of the glue and press down.
Step 3:
I Placed a 1” Epoxy Sticker over the cutout to protect the image placed inside of the bottle cap. I liked the Epoxy sticker because its so quick and easy and I didn’t have to wait for it to dry. This was also easier for the kids to handle. You can also fill the inside of the cap to cover the photo or paper with Modge Podge Dimensional Magic. Simply fill the cap with the Dimensional glue and let dry for at least 24 hours.
Once your bottle caps are complete, using Gorilla glue or Tacky glue you can attach a little magnet, clasp or hair clip. You can even glue them onto a pushpin!
These make great little gifts!
.
How to make a mini Sukkah for Sukkot
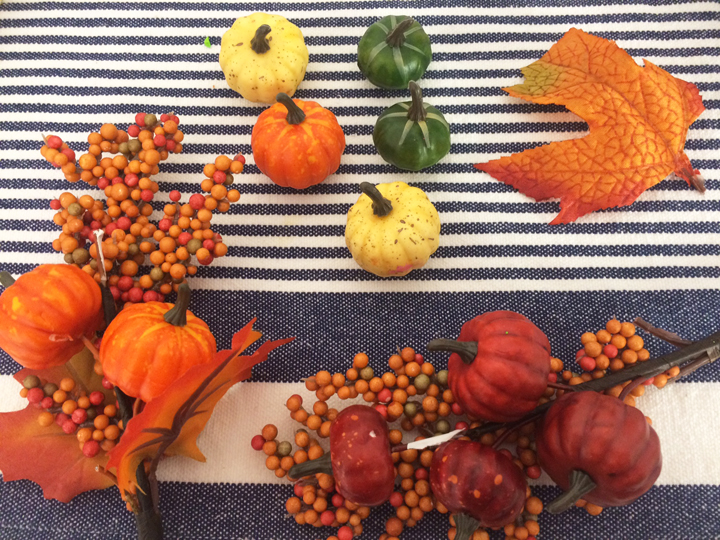
 Since meeting my husband in 2001, one of my favorite Jewish traditions has been celebrating Sukkot. I love the fall and this is such a beautiful way to celebrate and give thanks for the harvest even if you are not Jewish! This holiday is usually celebrated in September shortly after Rosh Hashana and Yom Kippur. On Sukkot, Jewish people remember their ancestors who traveled for 40 years in the dessert by building a temporary shelter called a sukkah. Families decorate their sukkah with fruits and vegetables, gourdes, leaves, twigs.
The Jewish people are expected to spend as much time in the sukkah as possible, eating meals in there and sleeping as well. It is a mitzvah (good deed) to welcome people into your sukkah, as a way for the Jews to remember the way their ancestors Abraham and Sarah welcomed people into their tent.
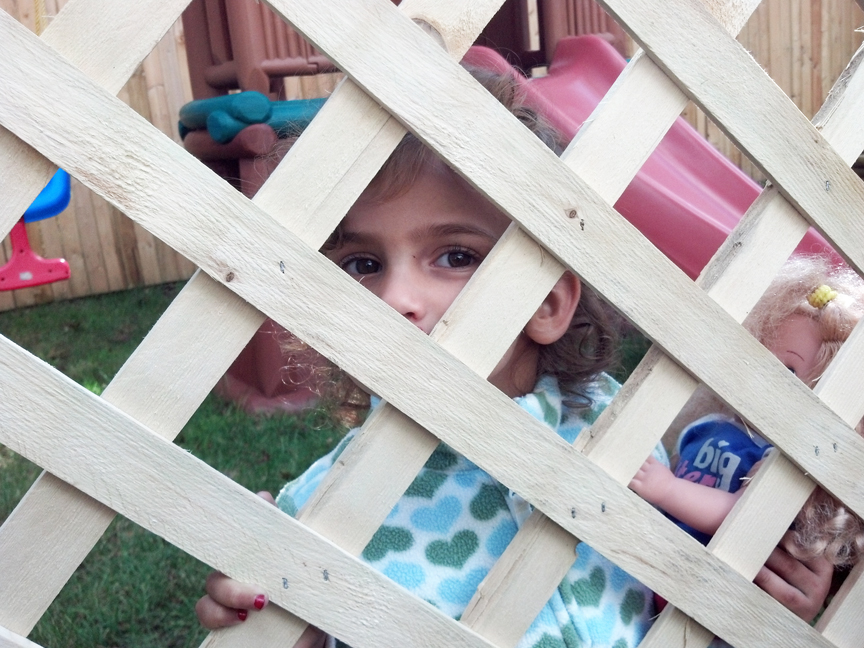
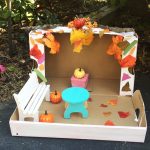
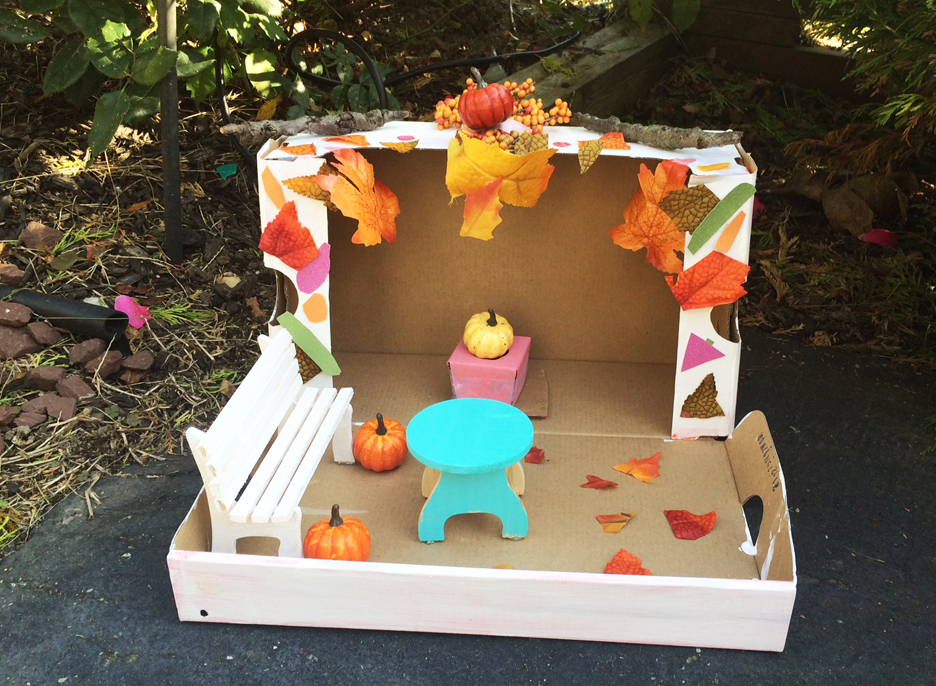
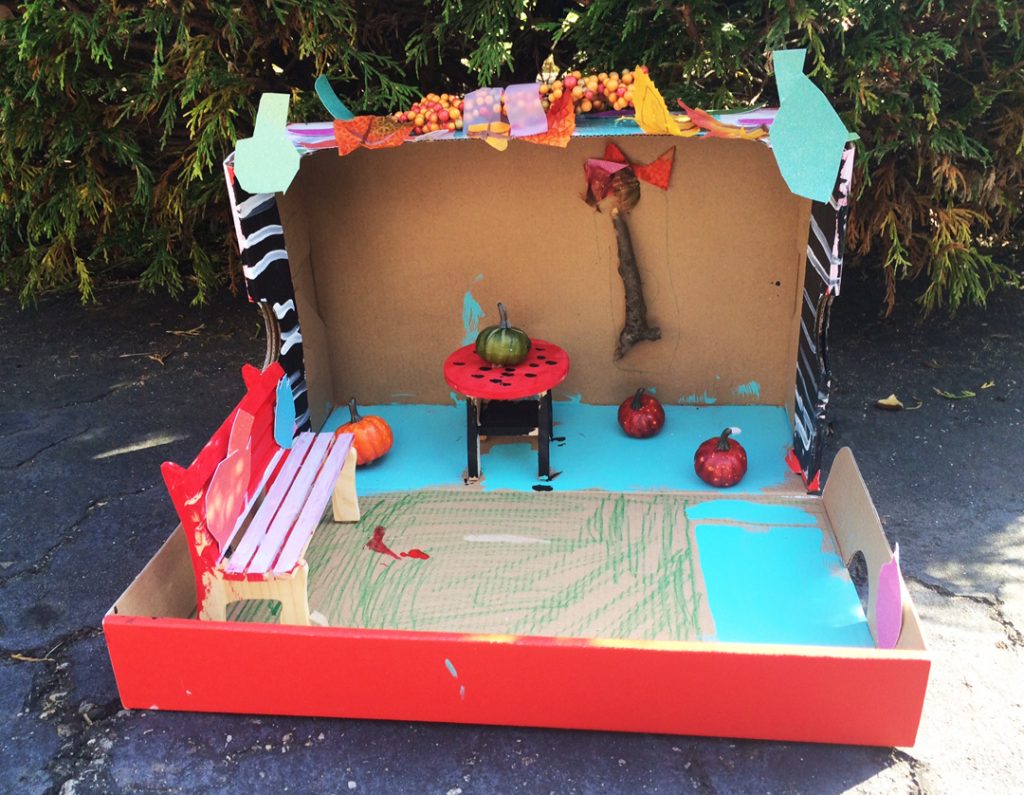
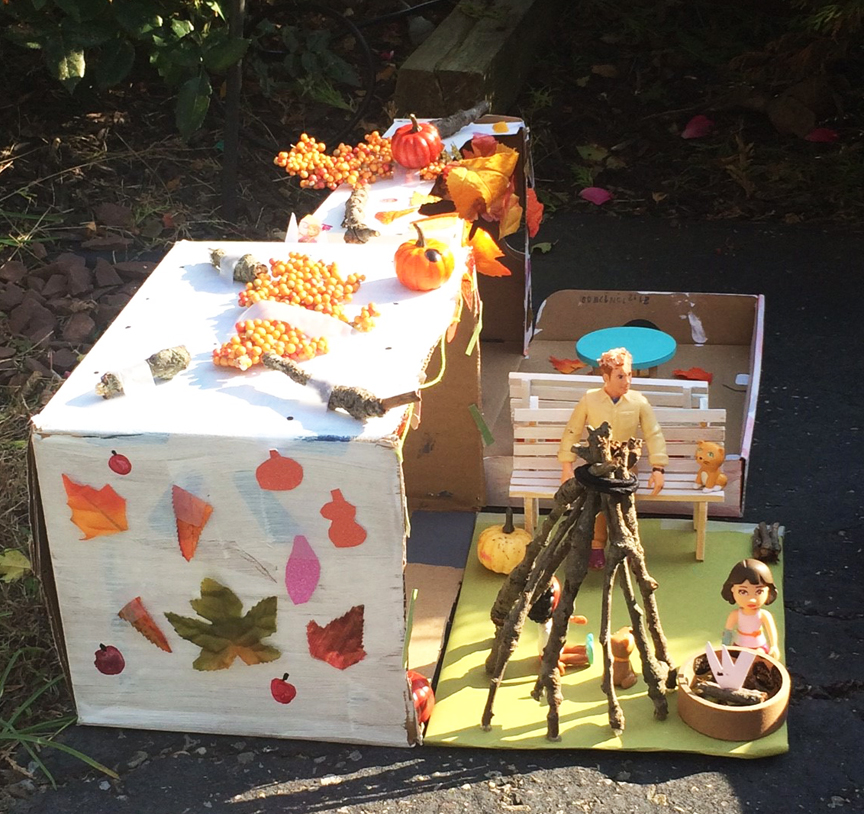
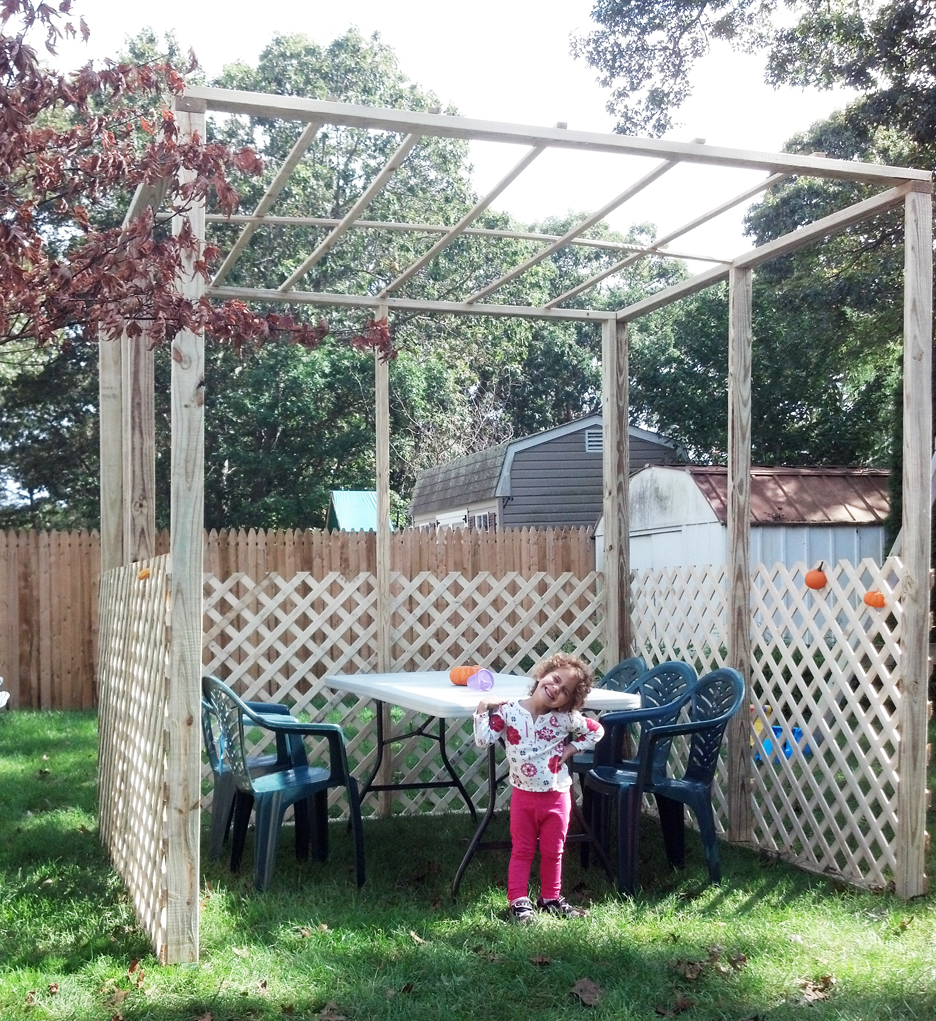 For the past few years my husband has built a beautiful sukkah made out of wood (picture above was taken before we decorated it with gourdes. Not sure what happened to the after picture!) This year since he was away in Taiwan, I wanted to be able to honor the holiday by having the girls make their own mini versions of a sukkah. Granted, we can not fit inside to eat or sleep in it ourselves but its been great fun letting their little dolls and shopkin’s hang out and celebrate the harvest. There are so many ways to build a mini sukkah. I believe there are many guidelines that must be followed in the construction of a real sukkah, but I let the kids have fun with this. As long as they stuck to traditional materials, and understood the true use of a sukkah I gave them all creative freedom. You can use a shoe box, card board or purchase Styrofoam or use any pieces of scrap wood laying around to build the sukkahs structure. Go hunting for natural materials in your yard to help decorate the top and around your mini sukkah such as leaves, twigs, and acorns. I was also able to find little mini, super tiny, decorative pumpkins in the artificial flower section of Michael’s. You can use tiny gourdes if you can find any small enough! We also used colored paper to cut out little veggies and fruits. The kids absolutely loved creating their very own sukkahs!
 Materials we used to build our sukkahs
- Shoe Box
- Acrylic paint (to paint the boxes)
- Colored paper to cut out fruits and vegetables
- Inexpensive artificial fall leaves and mini pumpkins from Michaels Craft store.
- glue dots or tape
- Twigs
- String
- Mini wooden bench and table from Michaels Craft store.
The possibilities are endless! Prepare your structure (sukkah) by painting or using craft paper to decorate the walls. You can leave them plain if you wish. Using glue dots and tape decorate the outer part of your sukkah with your collection of harvest, twigs etc. Add a little table or chairs inside your little sukkah. You can place mini play food on the table and prepare a yummy harvest feast for your little dolls. Happy Sukkot.
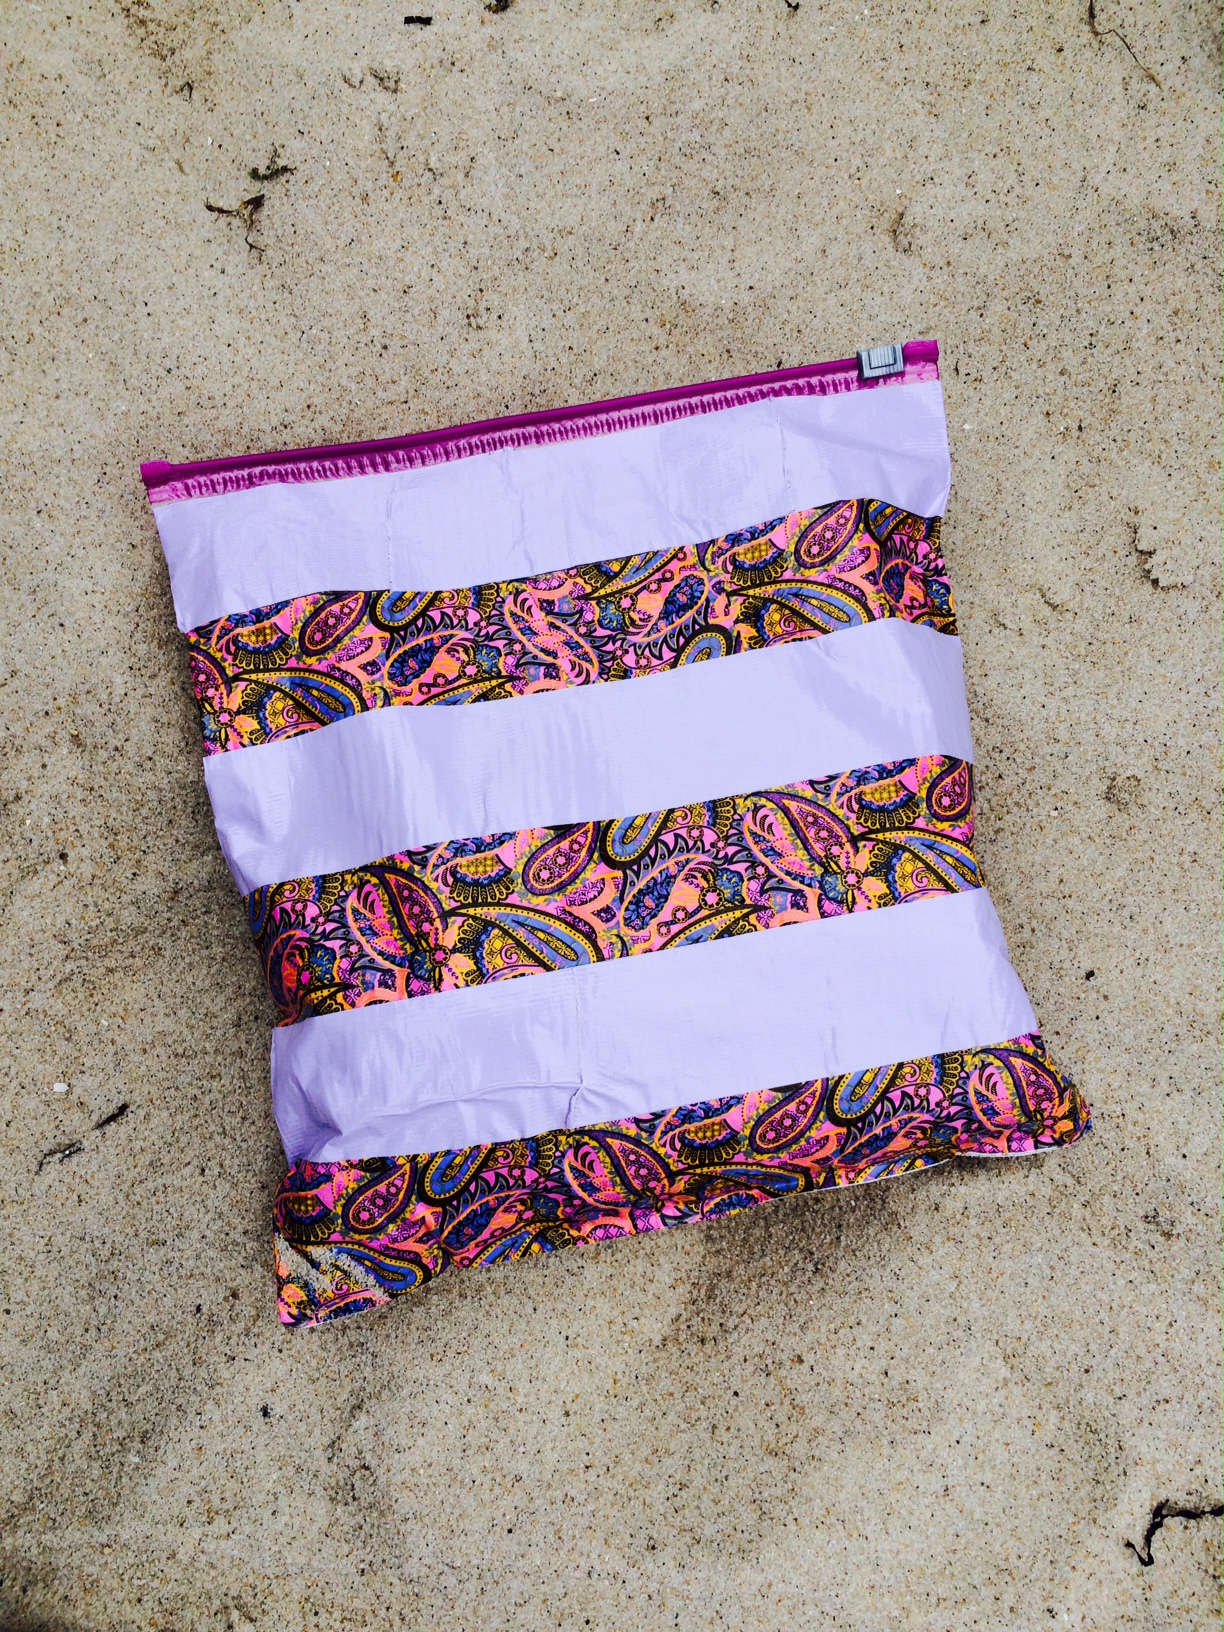
DIY Ziploc Beach Bag
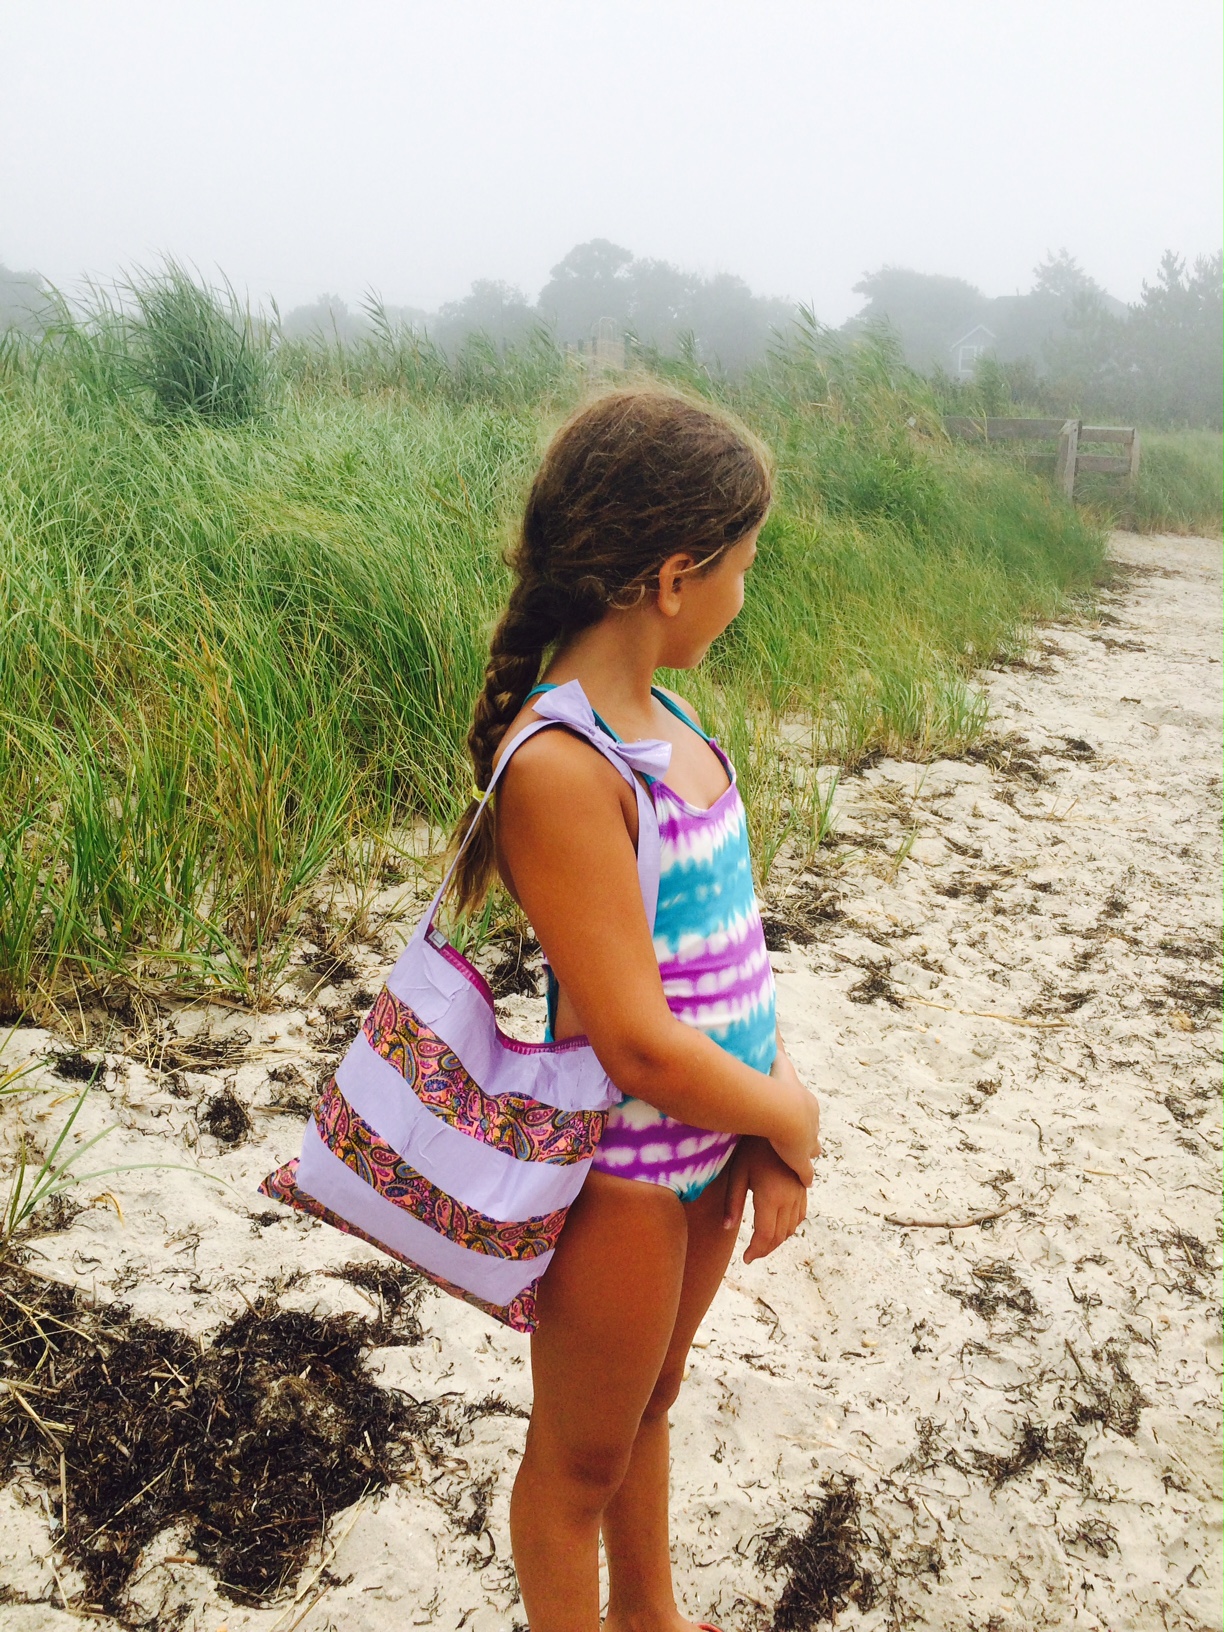
If my Isabel could, she would Duct tape our entire home! She’s so creative and so inspiring! She’s constantly taking my Ziploc bags, for all kinds of uses, until I literally run out of them! Grrrr!!! Makes me so crazy sometimes! But this time, she really caught my attention and I was really loving what she used them for. She made her own waterproof beach bag using a roll of Duct tape and a gallon sized Ziploc bag! So simple and so clever! I’m sure there’s many of you who’ve done this before but I’ve honestly never even thought to do this myself. I’ve always wished Ziploc bags were prettier and this is a great and inexpensive way to make a storage bag look wonderful. And it’s so durable and strong. She literally uses it every time we go to the beach or the pool which has been pretty much the entire summer. It fits her change of clothes, a hairbrush, her sunblock and a book. Even the strap has held up!
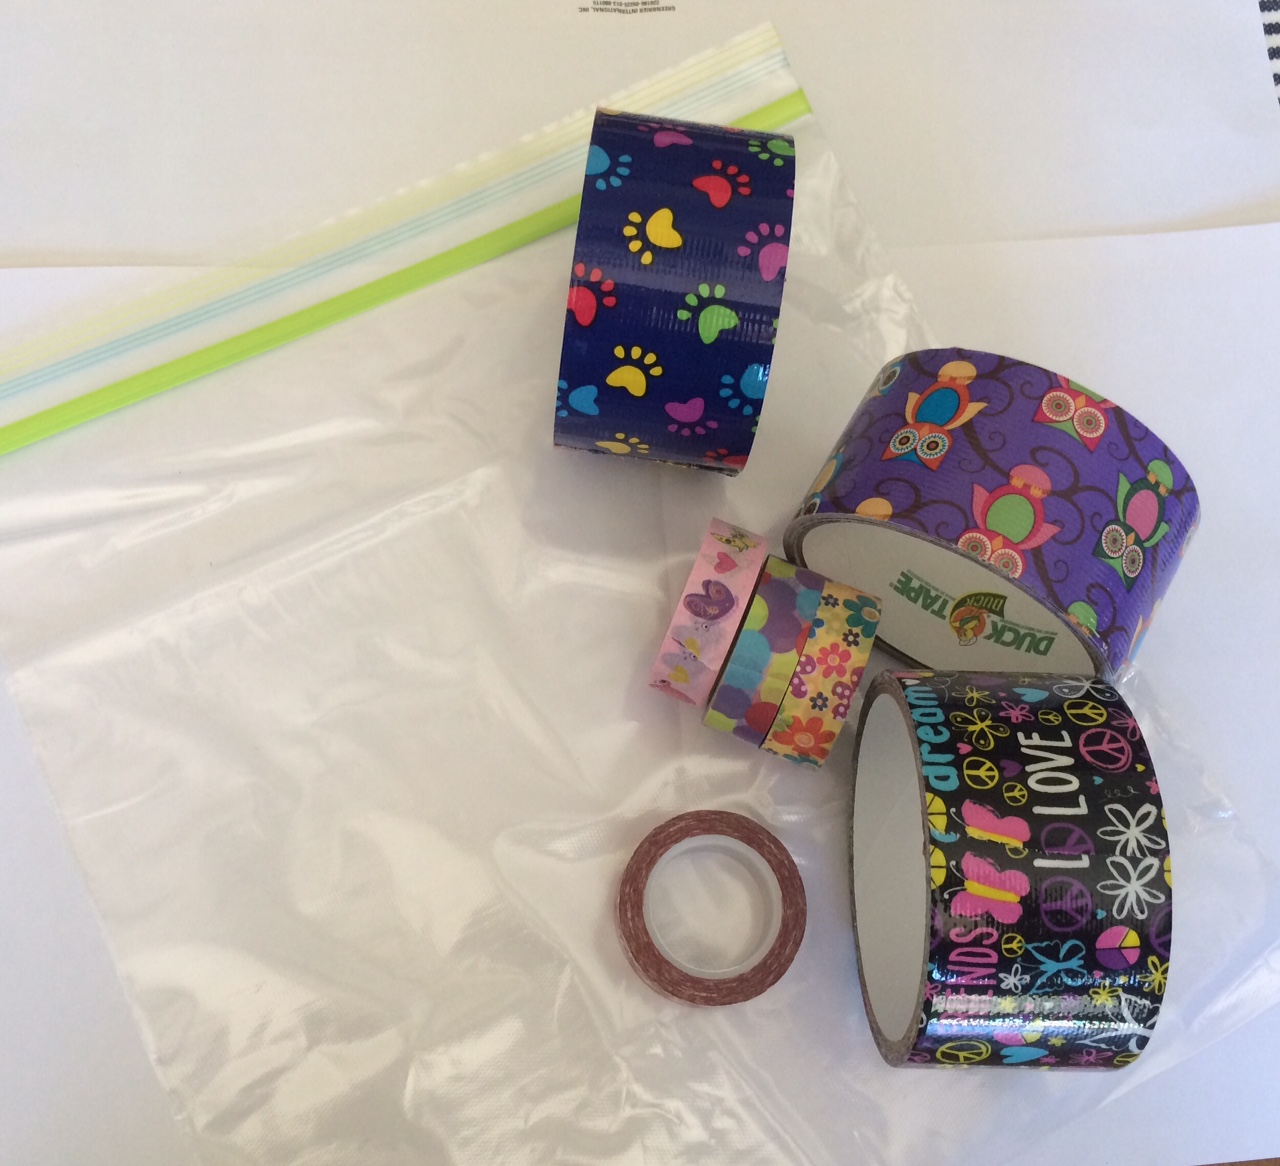
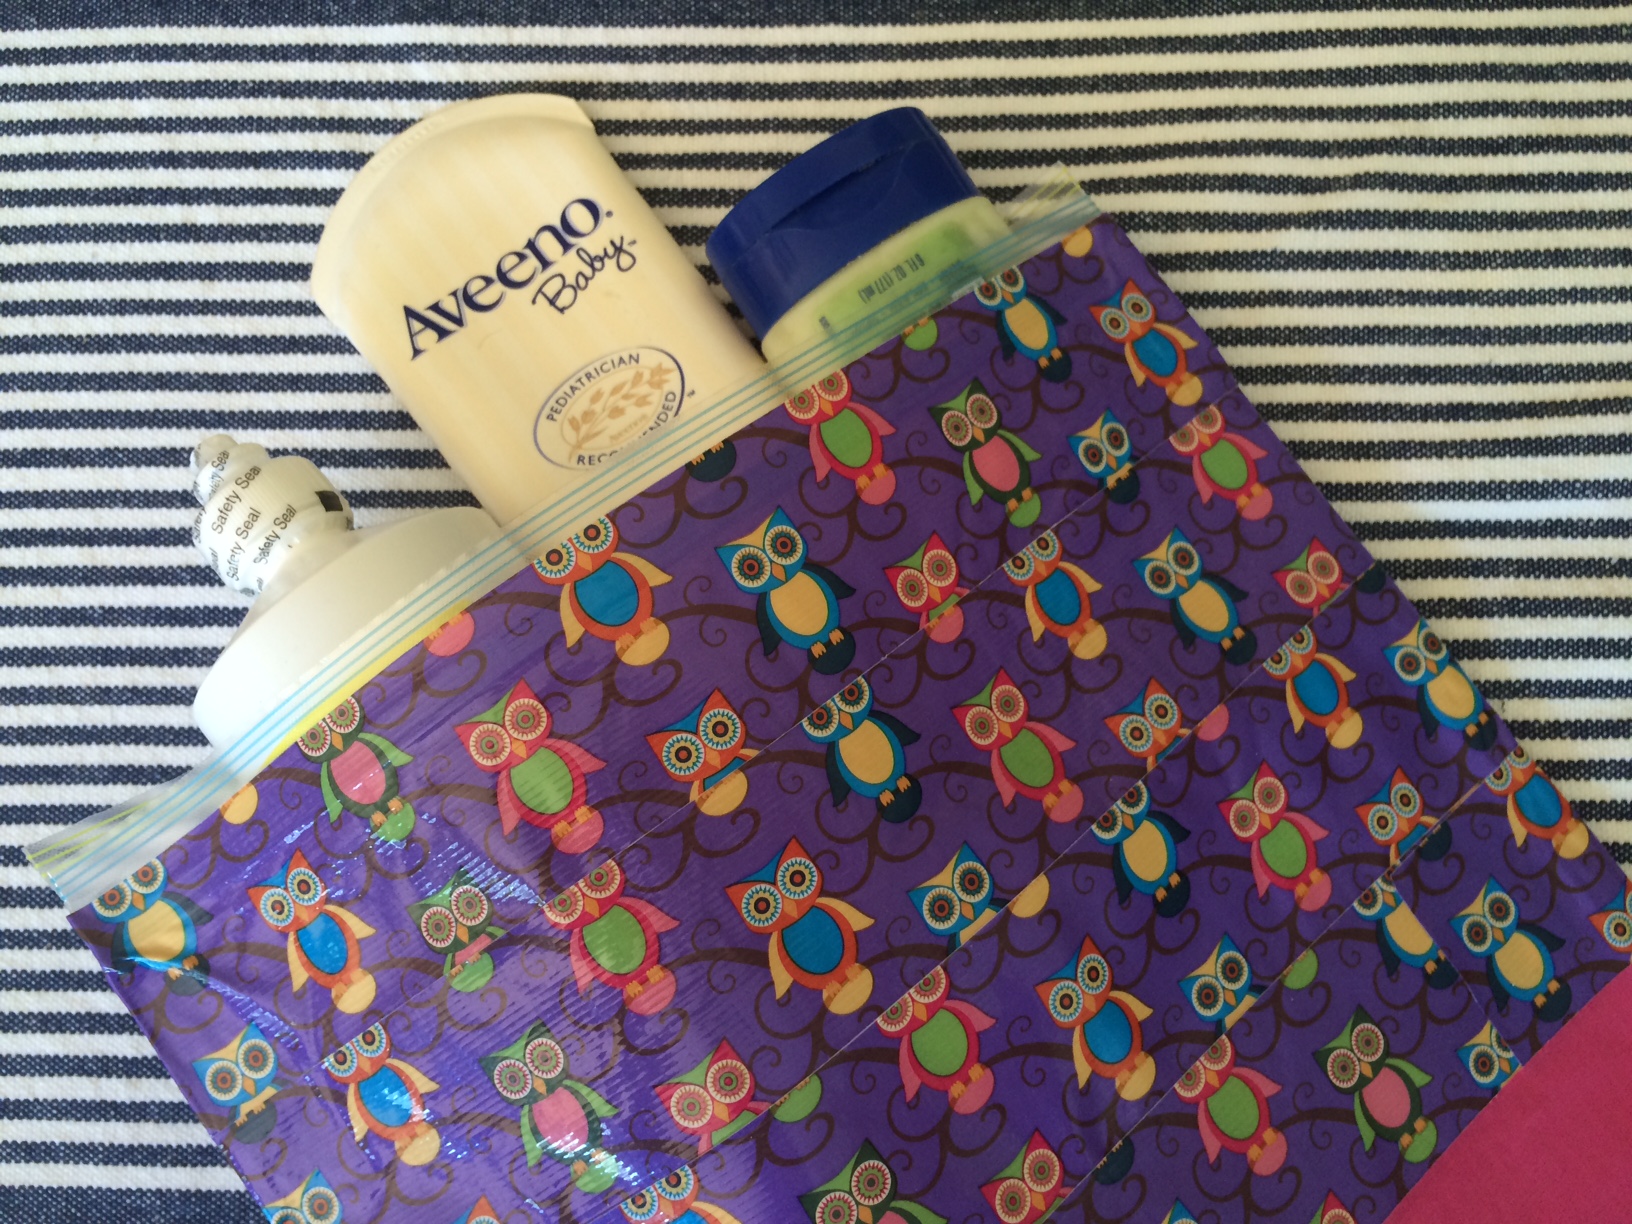
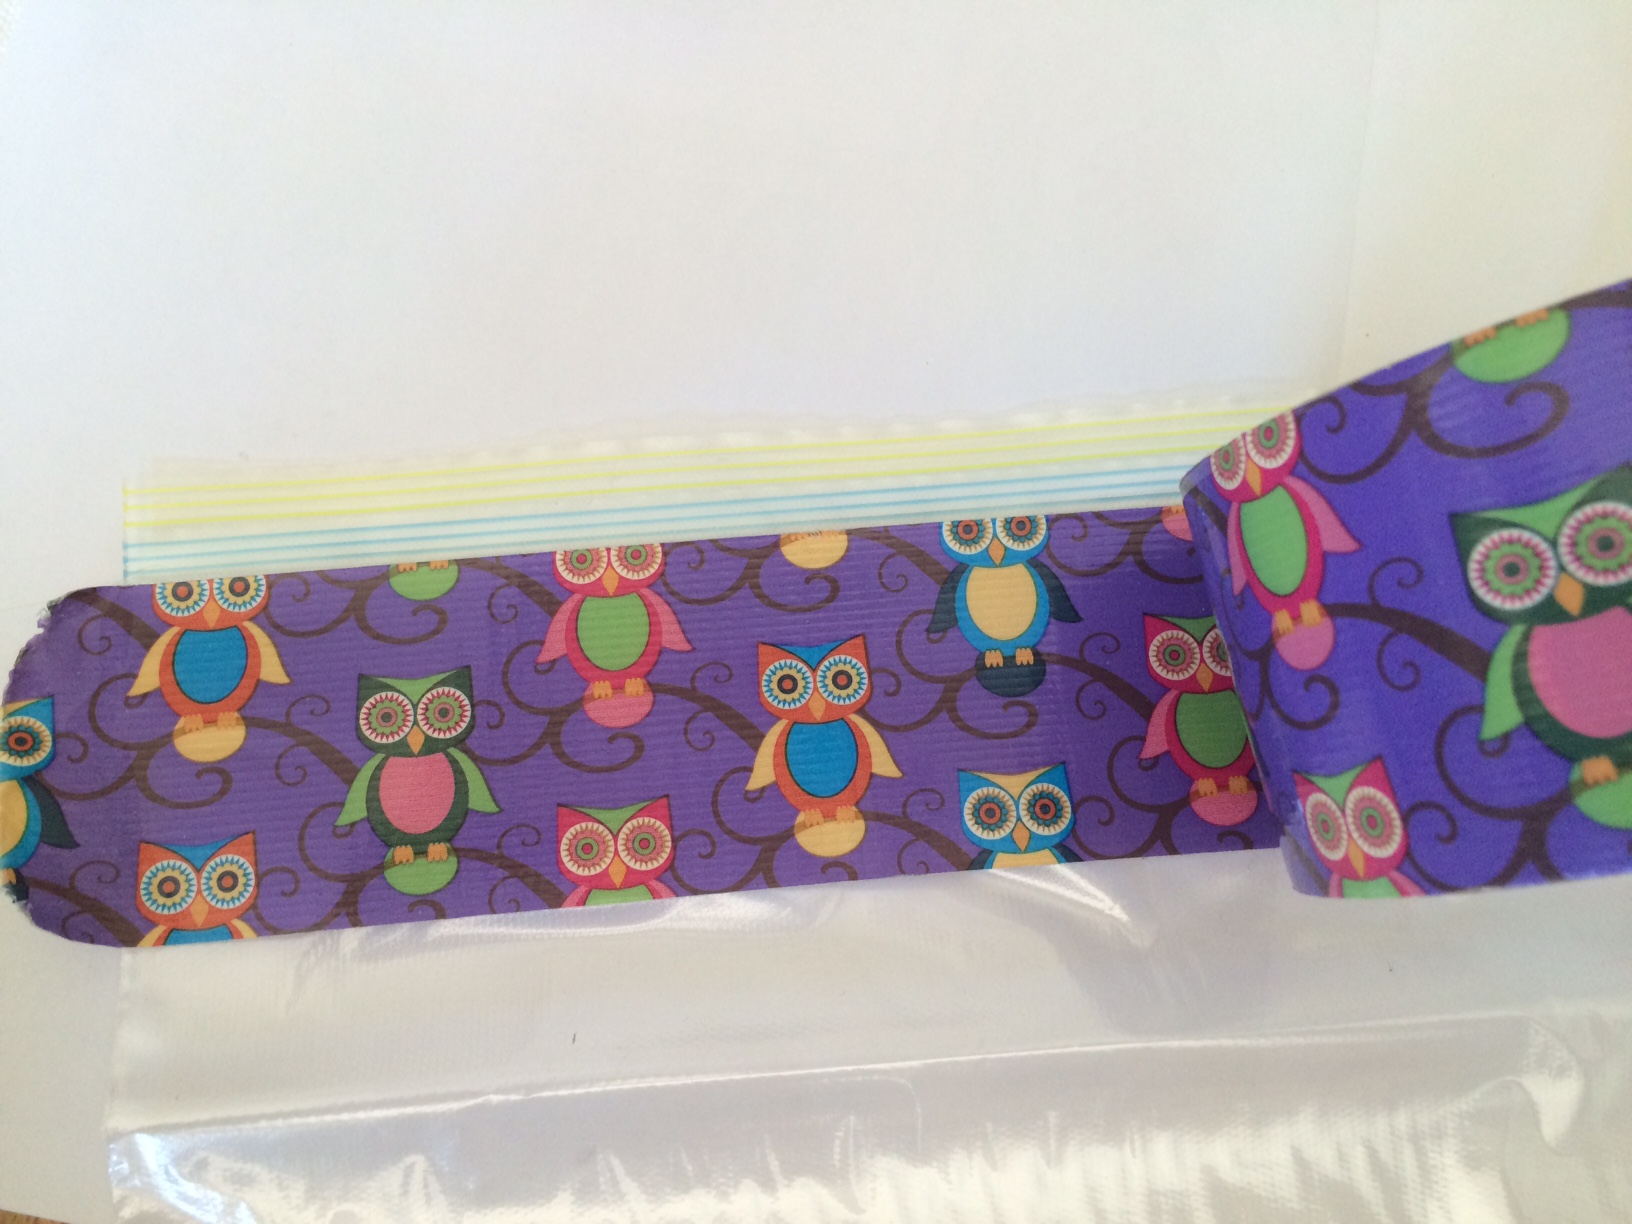 In order to make your own, all you need is some Duct tape and a gallon sized Ziploc bag (or a smaller one depending on what you’d like to use it for). She made me a little one that I can put in my pocketbook to carry band aids and Tylenol, etc. All you do is take the roll of Duct tape and start from the top and cover the Ziploc with one strip of tape, going around the front and back of the bag (unless you want to use a different pattern on the back). Let a little piece hang over so you can fold it over. Overlap each subsequent piece by about 1/8”. It should take about 6 strips for a one-gallon bag. These are great for storing sunblock, phones, books, diapers and wipes. They are great for the beach all also fun for everyday use! If you’d like to add on a strap, cut a piece of Duct tape to the length you’d like, fold it (long way) one third of the way, then fold it again the last third and…whallah…you have a strap! Bend it, and using a piece of Duct tape, attach each side to the bag. You could also substitute hot glue as your holding method, but the Duct tape holds up surprisingly well!
DIY Flower Pressed Art
Whether it’s a beautiful bloom from your garden, a special rose or sunflower from a certain someone, or a beautiful flower you found on a nature trail, flower pressing is such a great way to preserve that special flower. They also make great sentimental gifts!
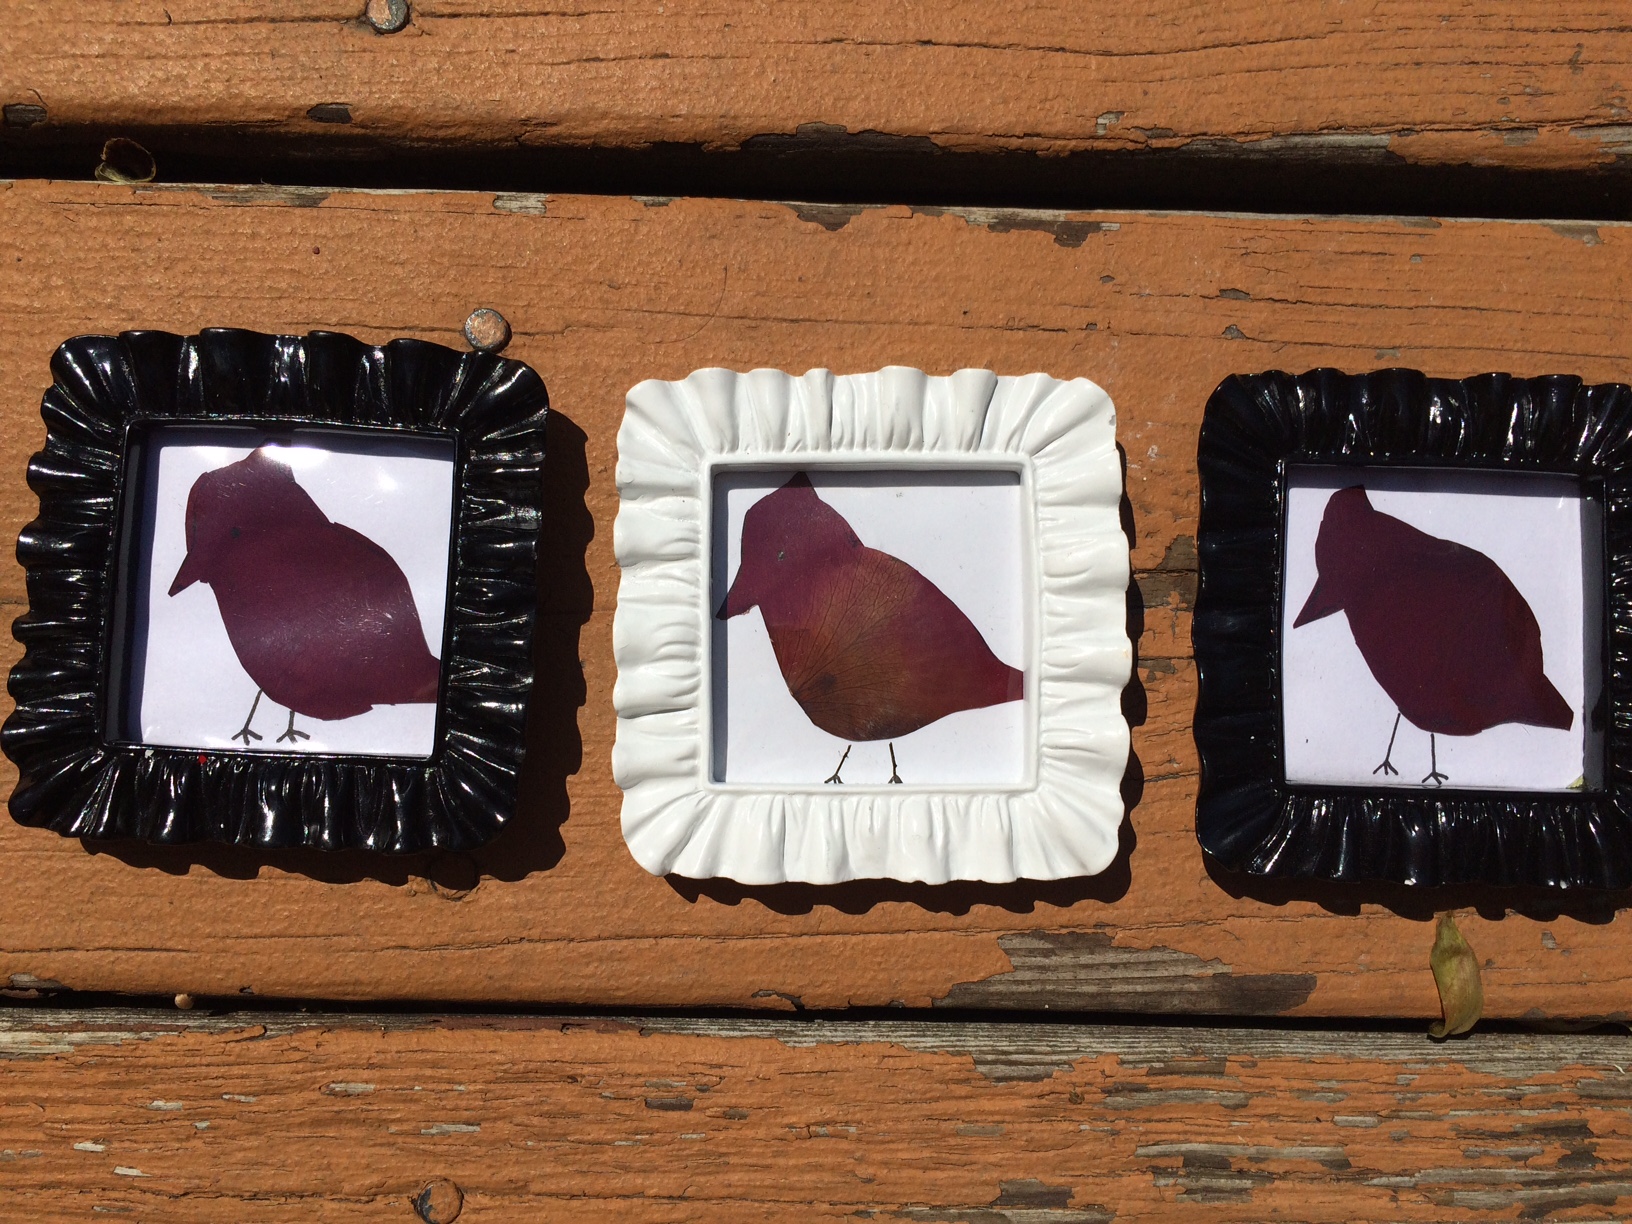
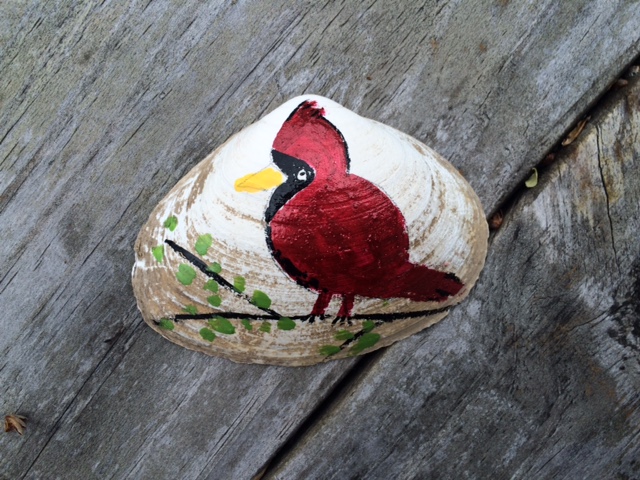
 We were each given roses to throw onto my fathers casket at his funeral. Something made me take an extra one. When we got home, my husband took the rose, separated the petals and pressed them in between a book, put a piece of wax paper over the petals and closed the book. He then placed a huge change jar over it and left it there for a couple of weeks. You can find exact instructions from here. The days after my fathers funeral I couldn’t help but notice a cardinal coming to visit my feeder every single day! They say that a visit from a Cardinal is a visitor from heaven. So whenever I see the Cardinal I yell out “Hi dad!.”
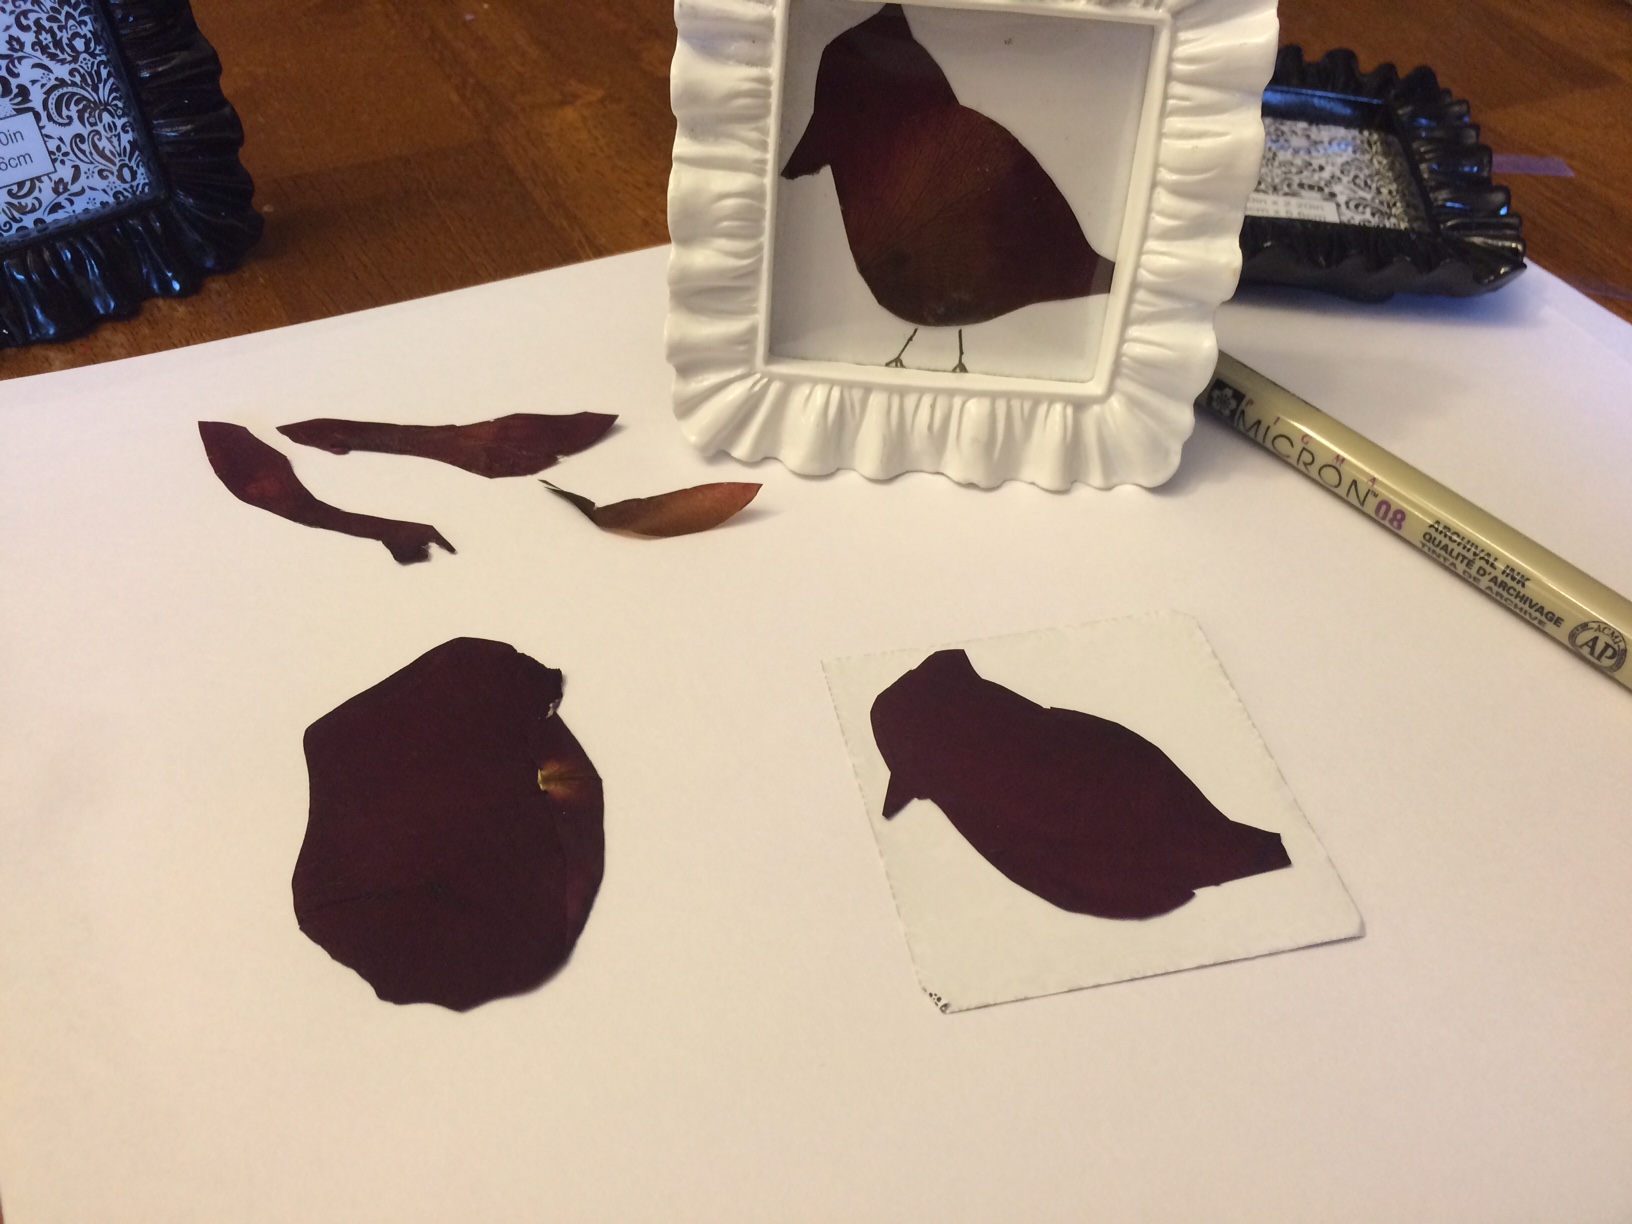
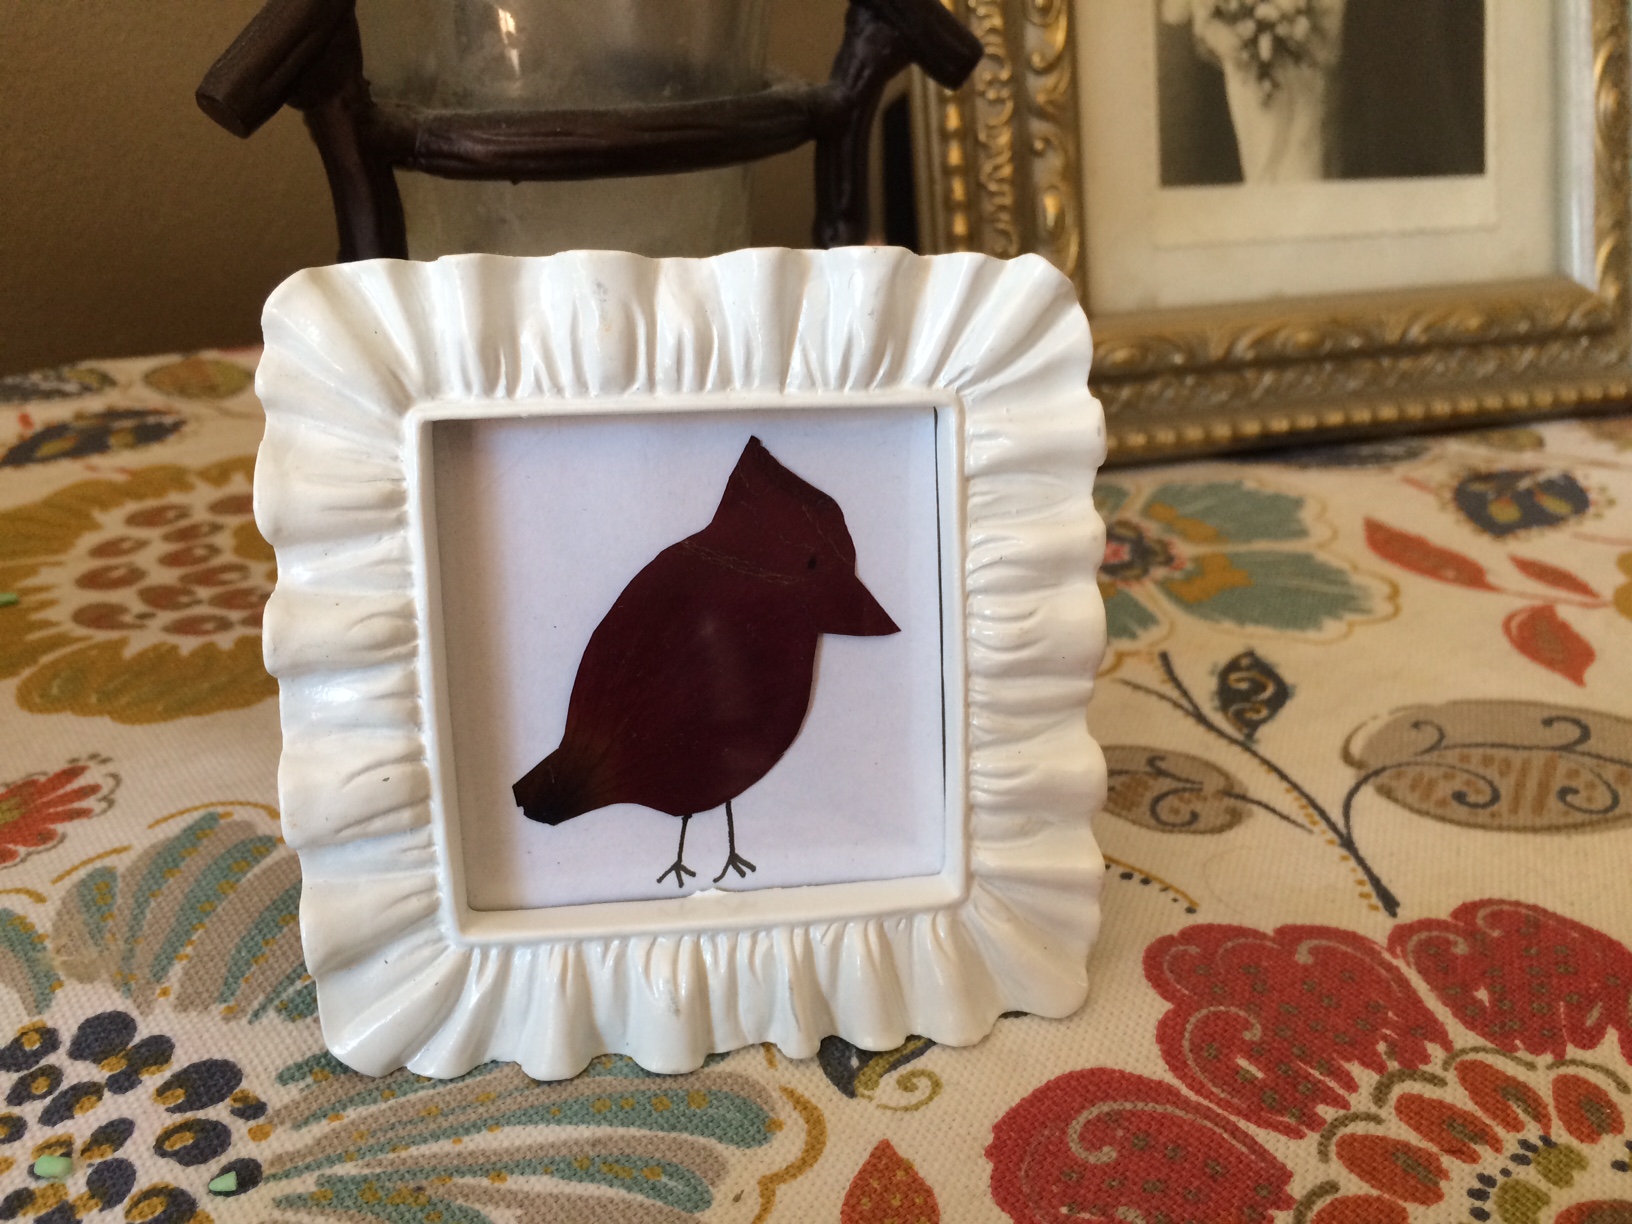
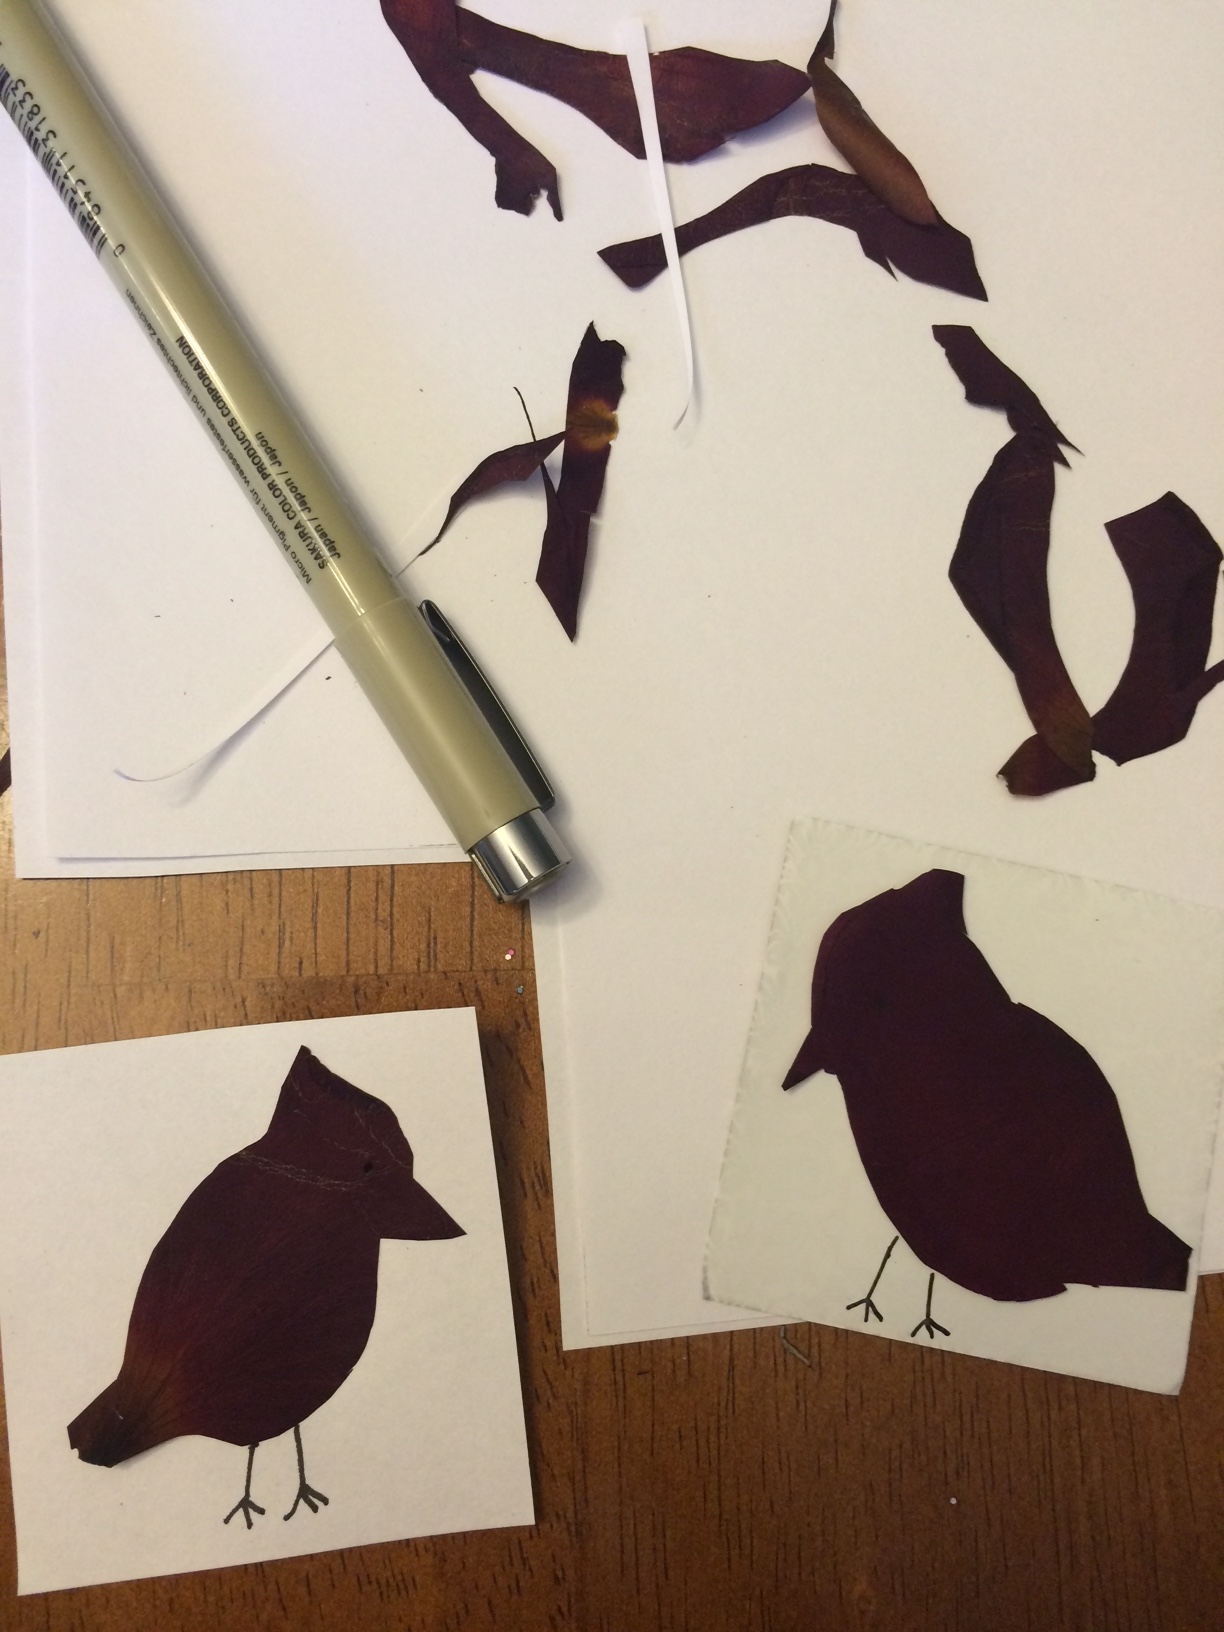
I wanted to make something special with the flower, at first I was just going to frame each petal, but then my daughter Melina said “mom you should cut them!” As soon as she said “cut”, it gave me the idea to cut them into the shape of little cardinals. Since my brother and sister have also experienced a cardinal visit as well, I thought this would be a great little gift to share with them. So, I carefully cut each rose into the shape of a cardinal and used a felt tip black marker to add little bird legs and a beak. I bought small little frames from Michael’s Craft store for like a dollar each and framed each little bird.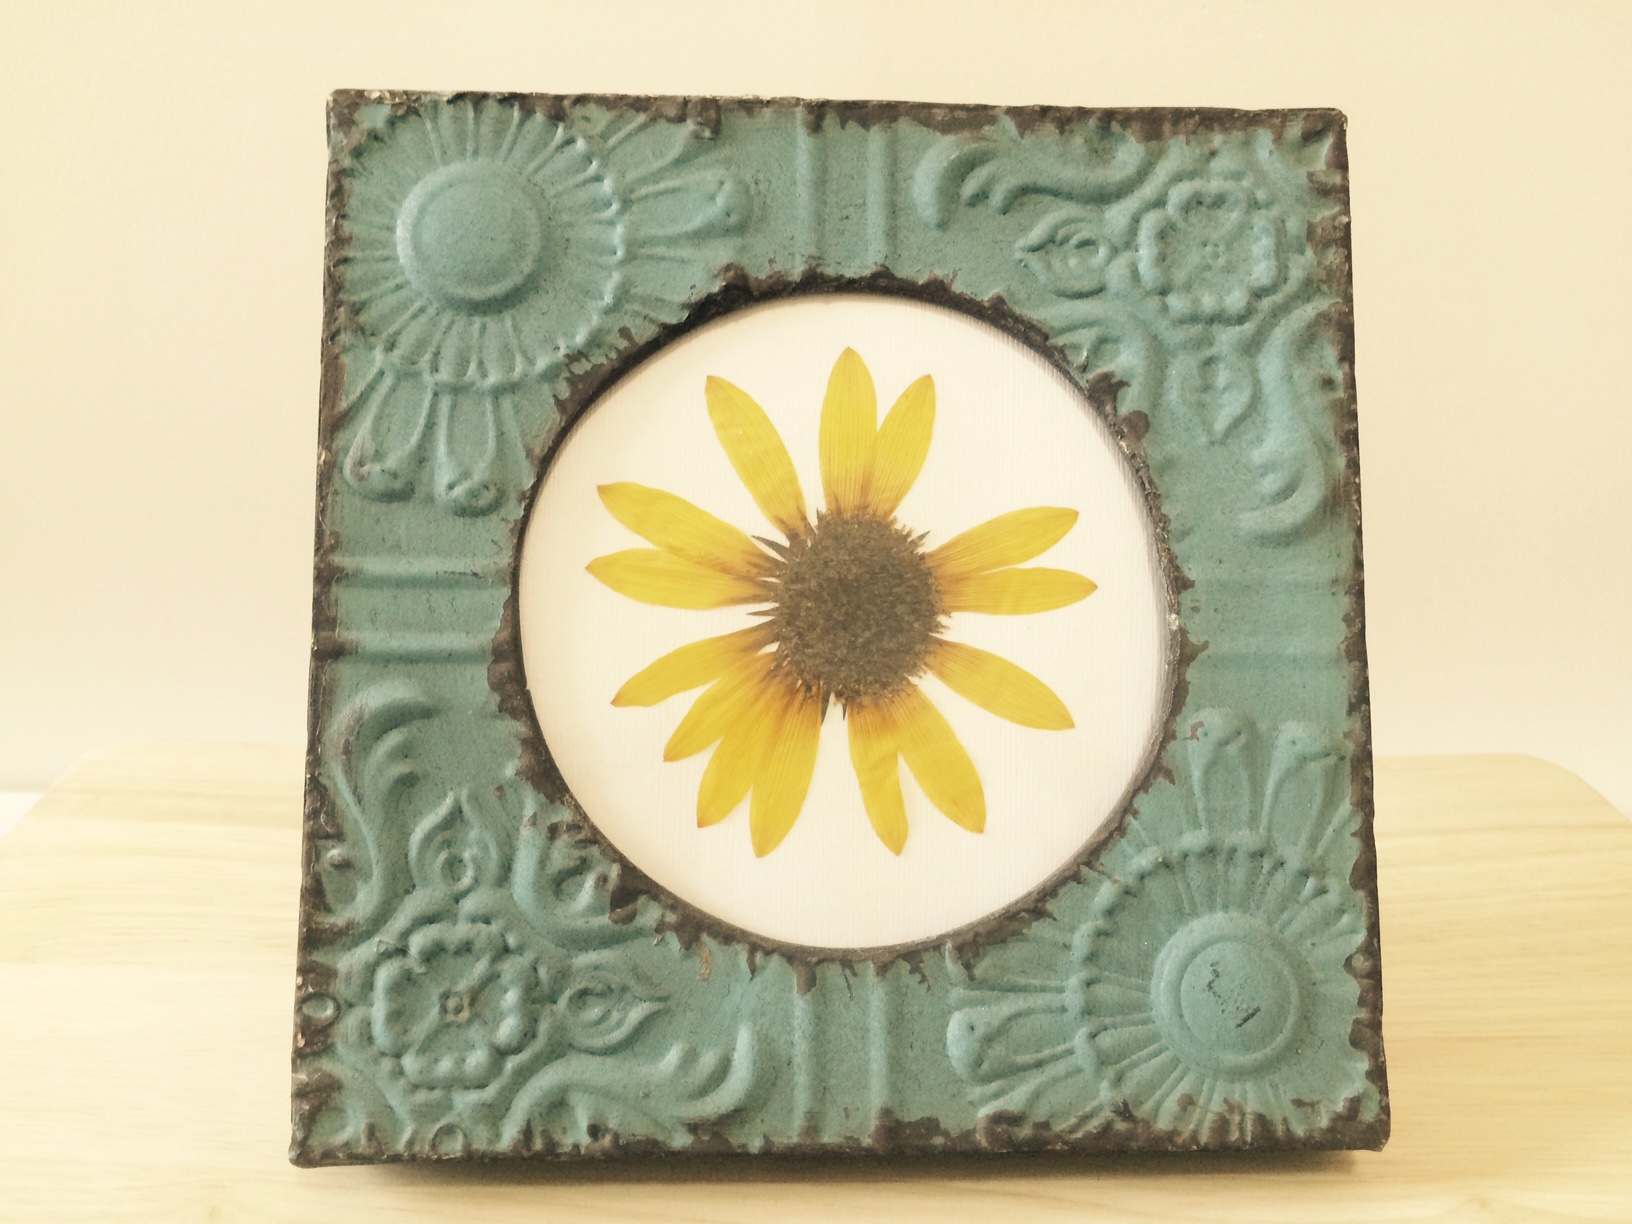 Last year, my husband noticed a sunflower in our garden with 14 petals. That number was his moms favorite number. So we took the flower, pressed it and framed it. It’s a beautiful reminder of his mom. This is also a great idea if you’re moving and you want to have a piece of your garden with you, or a family or friend is moving, this makes a great little gift!
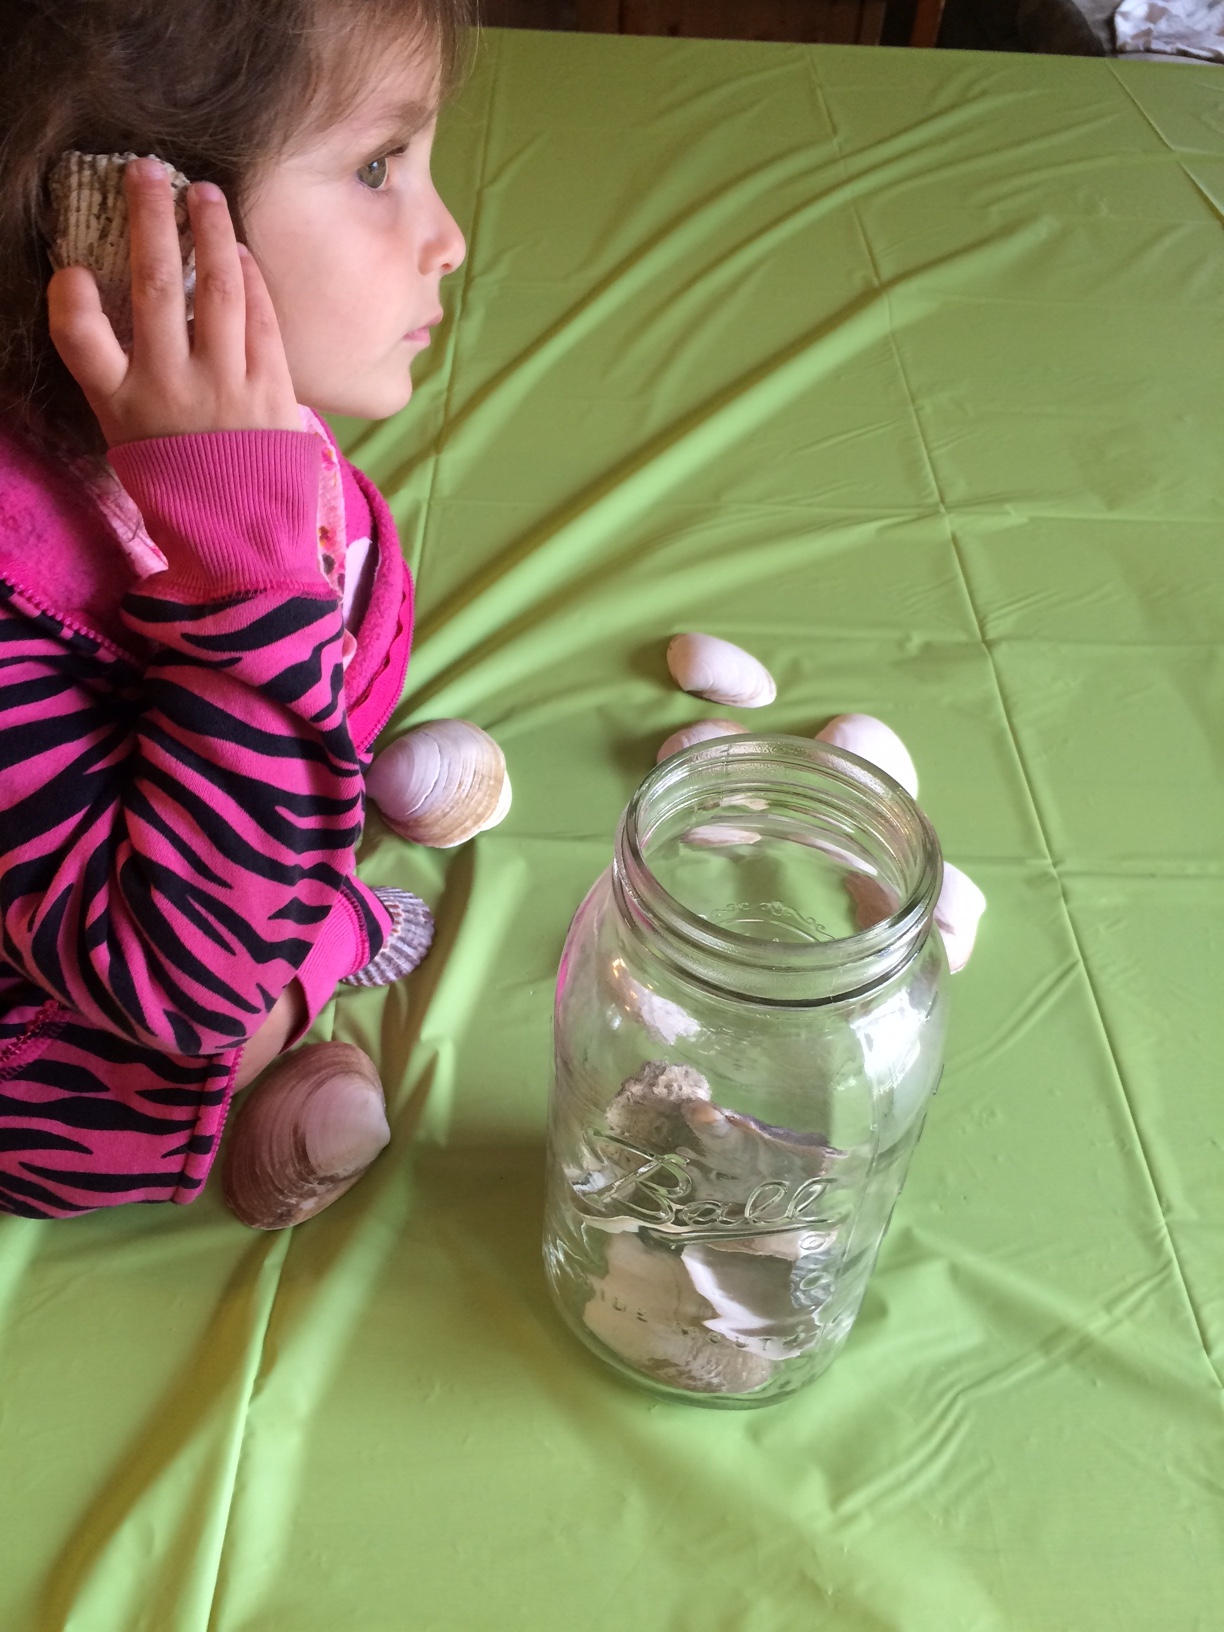
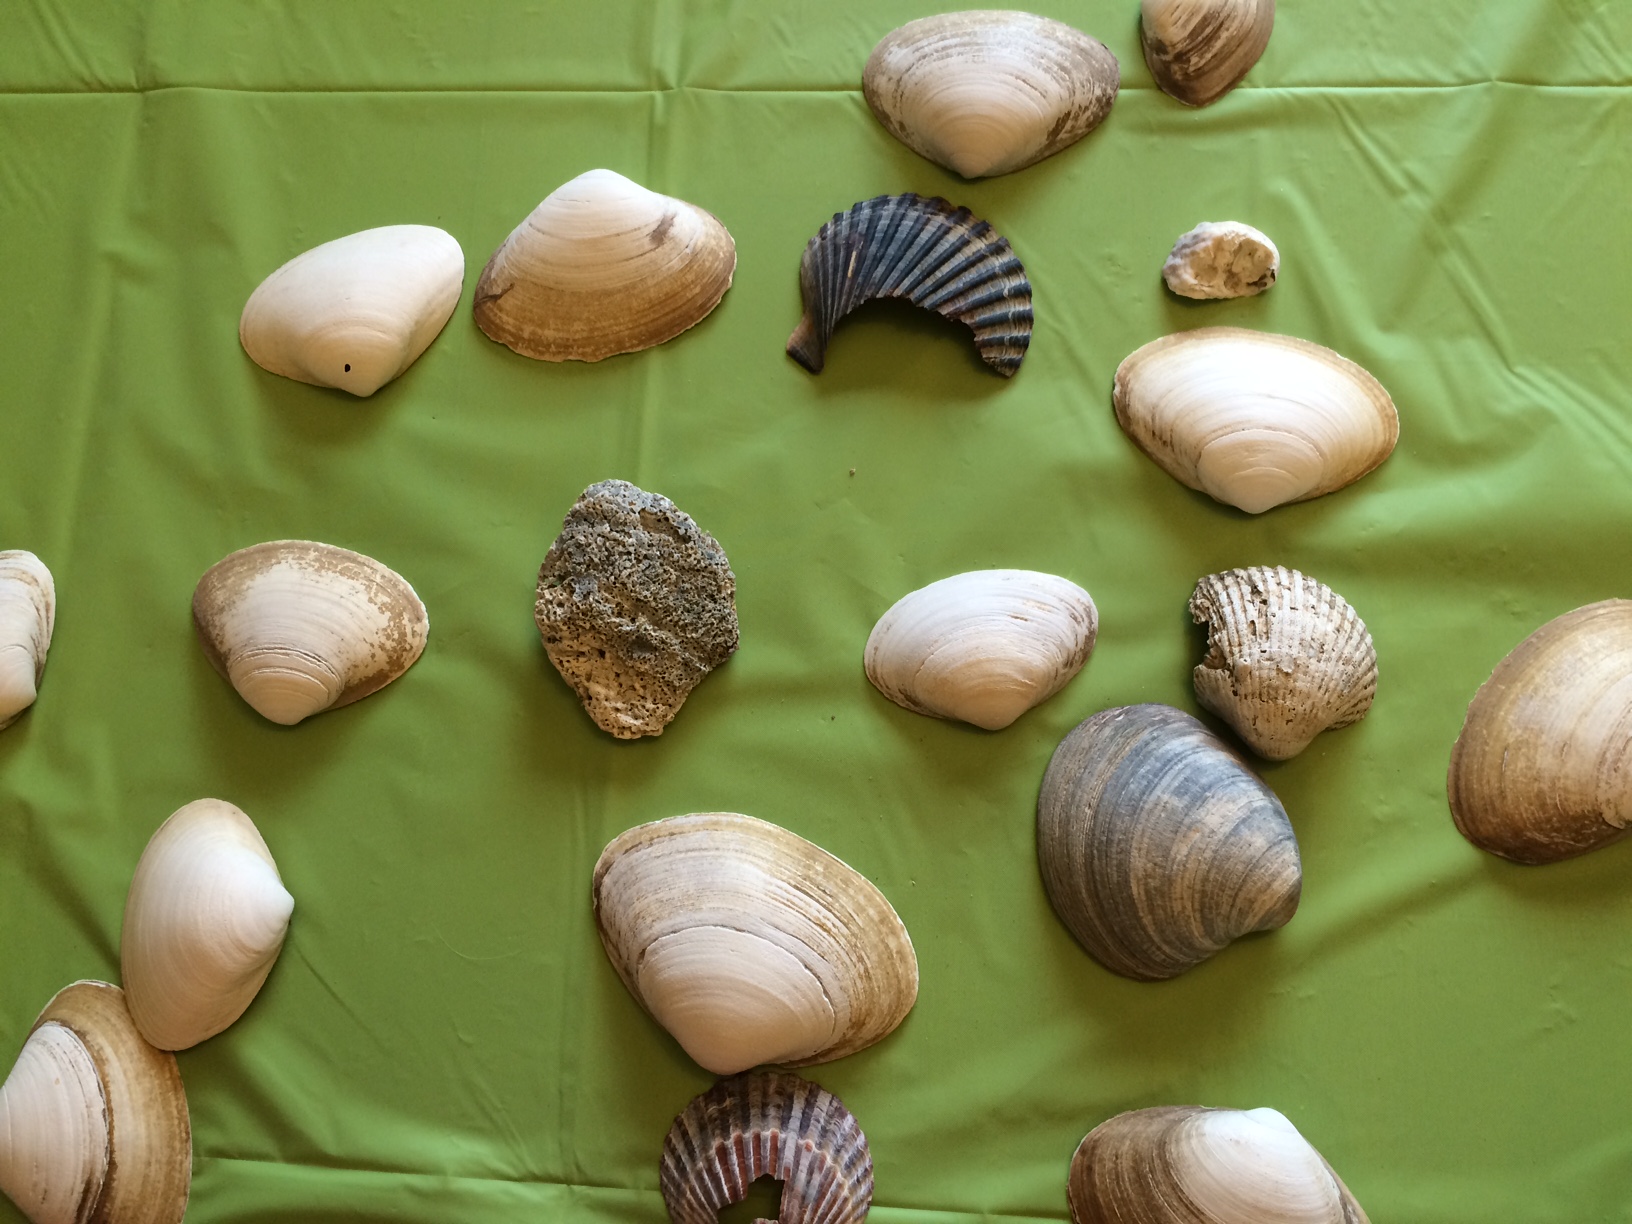
Summer Fun: Shell Art
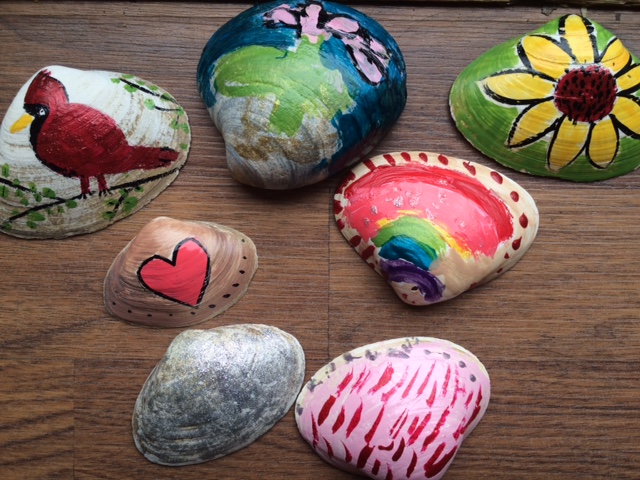
 We have about 4 huge Mason jars filled with shells! Living on Long Island it’s impossible to not collect shells! My girls literally collect buckets of them throughout the summer and of course every single one of them is special so how dare I ask them to leave some behind! Well, the other day I was very thankful that we did have many on hand as Mothers day and my fathers birthday was approaching and I wanted to leave something thoughtful on their graves to let them know we were there visiting. Every time we visit my mother- in- law the kids love leaving little rocks so this time they were excited to make something special to leave with her. I of course enjoyed painting some myself! My dad passed away very recently and his birthday was a perfect reason to decorate one for him too. Since his passing, a cardinal family visits us every day! And we know in our hearts that the male one represents my father, the female represents my mother-in-law and the baby male cardinal represents our little Gabriel. You gotta have some kind of hope that it’s true! And I smile and say hello every day that I see them! Of course you can decorate these shells and place in your garden, or give it away as a gift. You can use them as a paper weight, or display them on a shell or in a jar.
Here’s what I used to make them:
- Shells
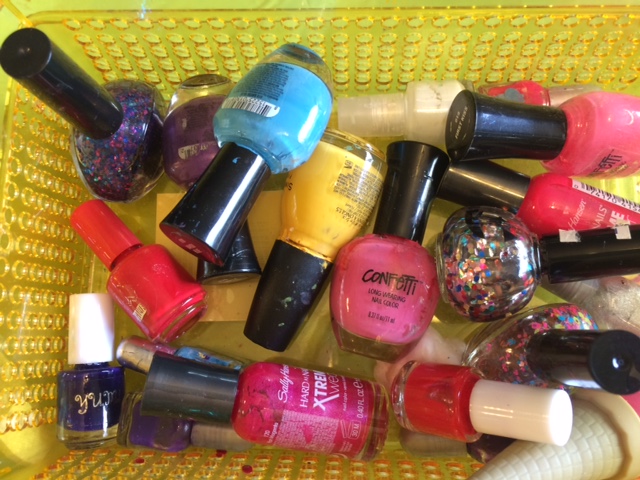
- Nail Polish. (I loved using this because it drys very fast and won’t get washed off in the rain, brushes were nice and small and no one fought over the brushes because each color had it’s own). I also had several Nail Art nail polish that I used to outline and add detail. You can also use permanent markers or any type of ink/paint that will not wash off.
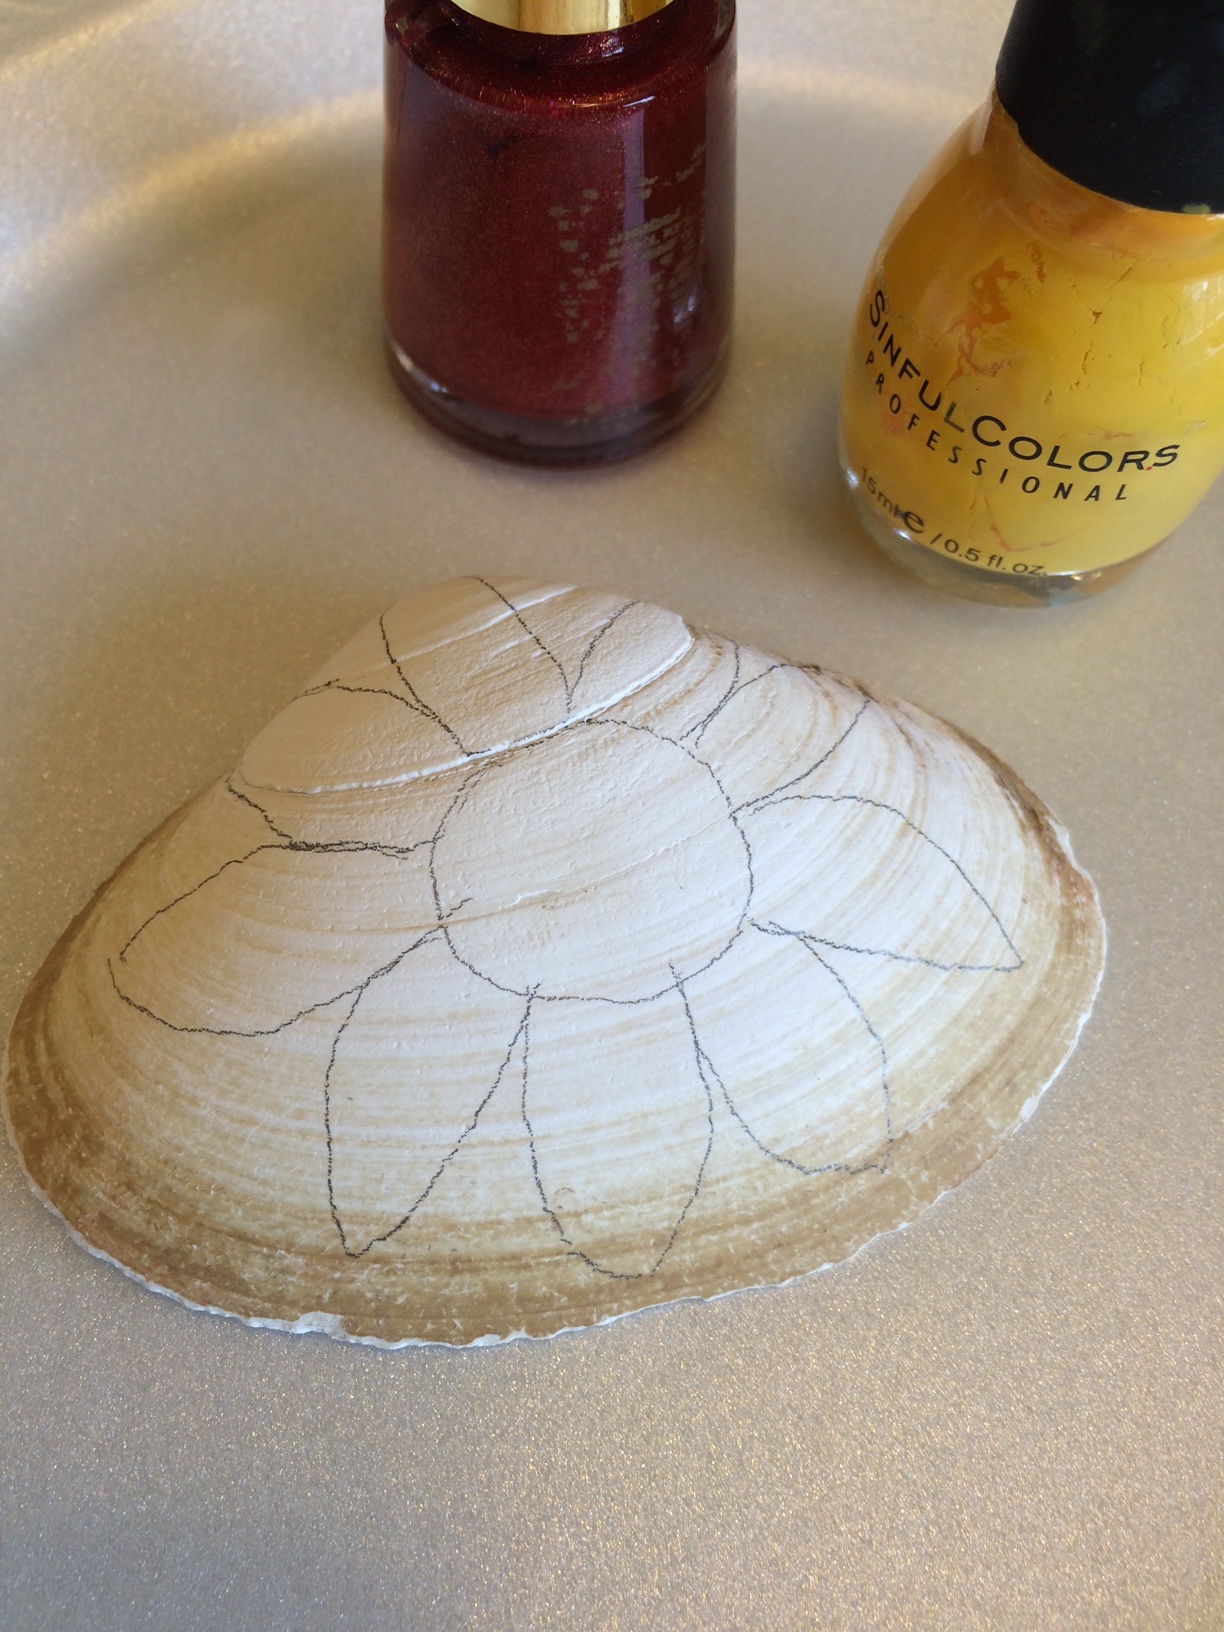
- Pencil (you can draw on the shell before you paint it
- plastic table cloth to protect surface
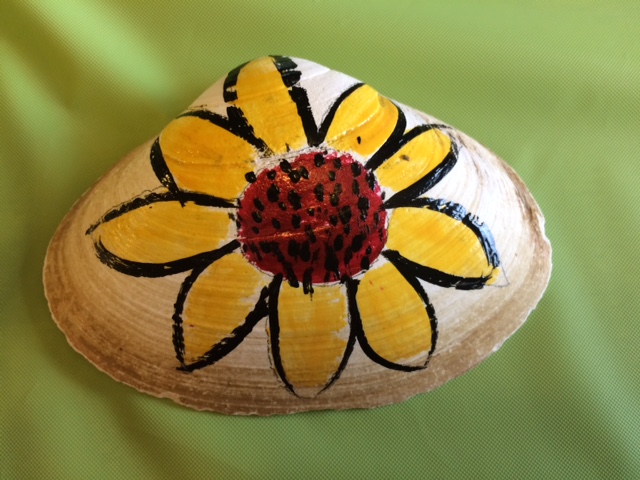
When the shells were all painted, the kids wrote on them with permanent black markers. On the sunflower shell I wrote all of my mother- in- laws 9 grand children! As soon as we got to her grave the clouds opened and the sun stood over us!