Site Word Fun

sitewords I love teaching the girls! I always wanted to be a teacher and now I get to teach my own children and prepare them for school.

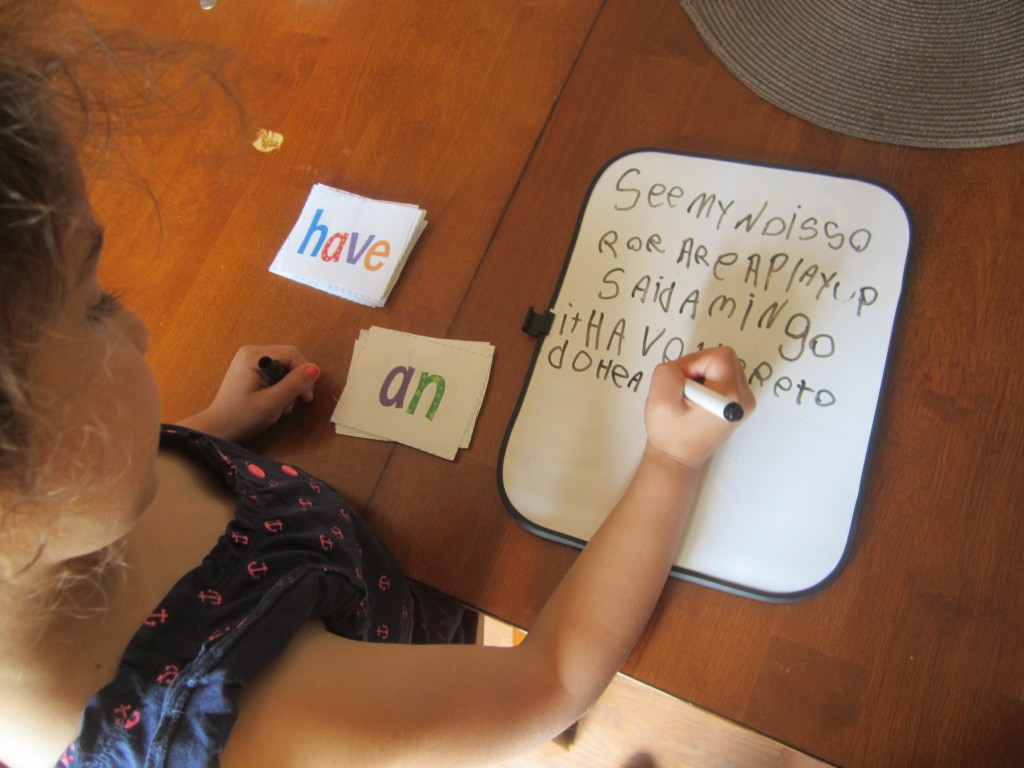
Here is a very simple and fun way to help your child get familiar with site words. First I created a list of site words I wanted my child to learn. There are pre-primer, primer, first, second and third words. You choose the appropriate level for your child. Melina is working on the pre-primer words. I have a paid membership with http://www.education.com (this site is so awesome and so worth the membership) which is where I printed the site word flashcards you see in the photo, but you can search for a list anywhere online. I found one at  www.createdbyteachers.com. Just click on the Site Word List tab once you access the site. You can simply print and copy the list onto index cards and make your own flashcards. To have her practice the words I bought an individual Dry Erase Board at the dollar store and I have her go through the words and write them onto her board. She loves this so much and at the same time she is learning!

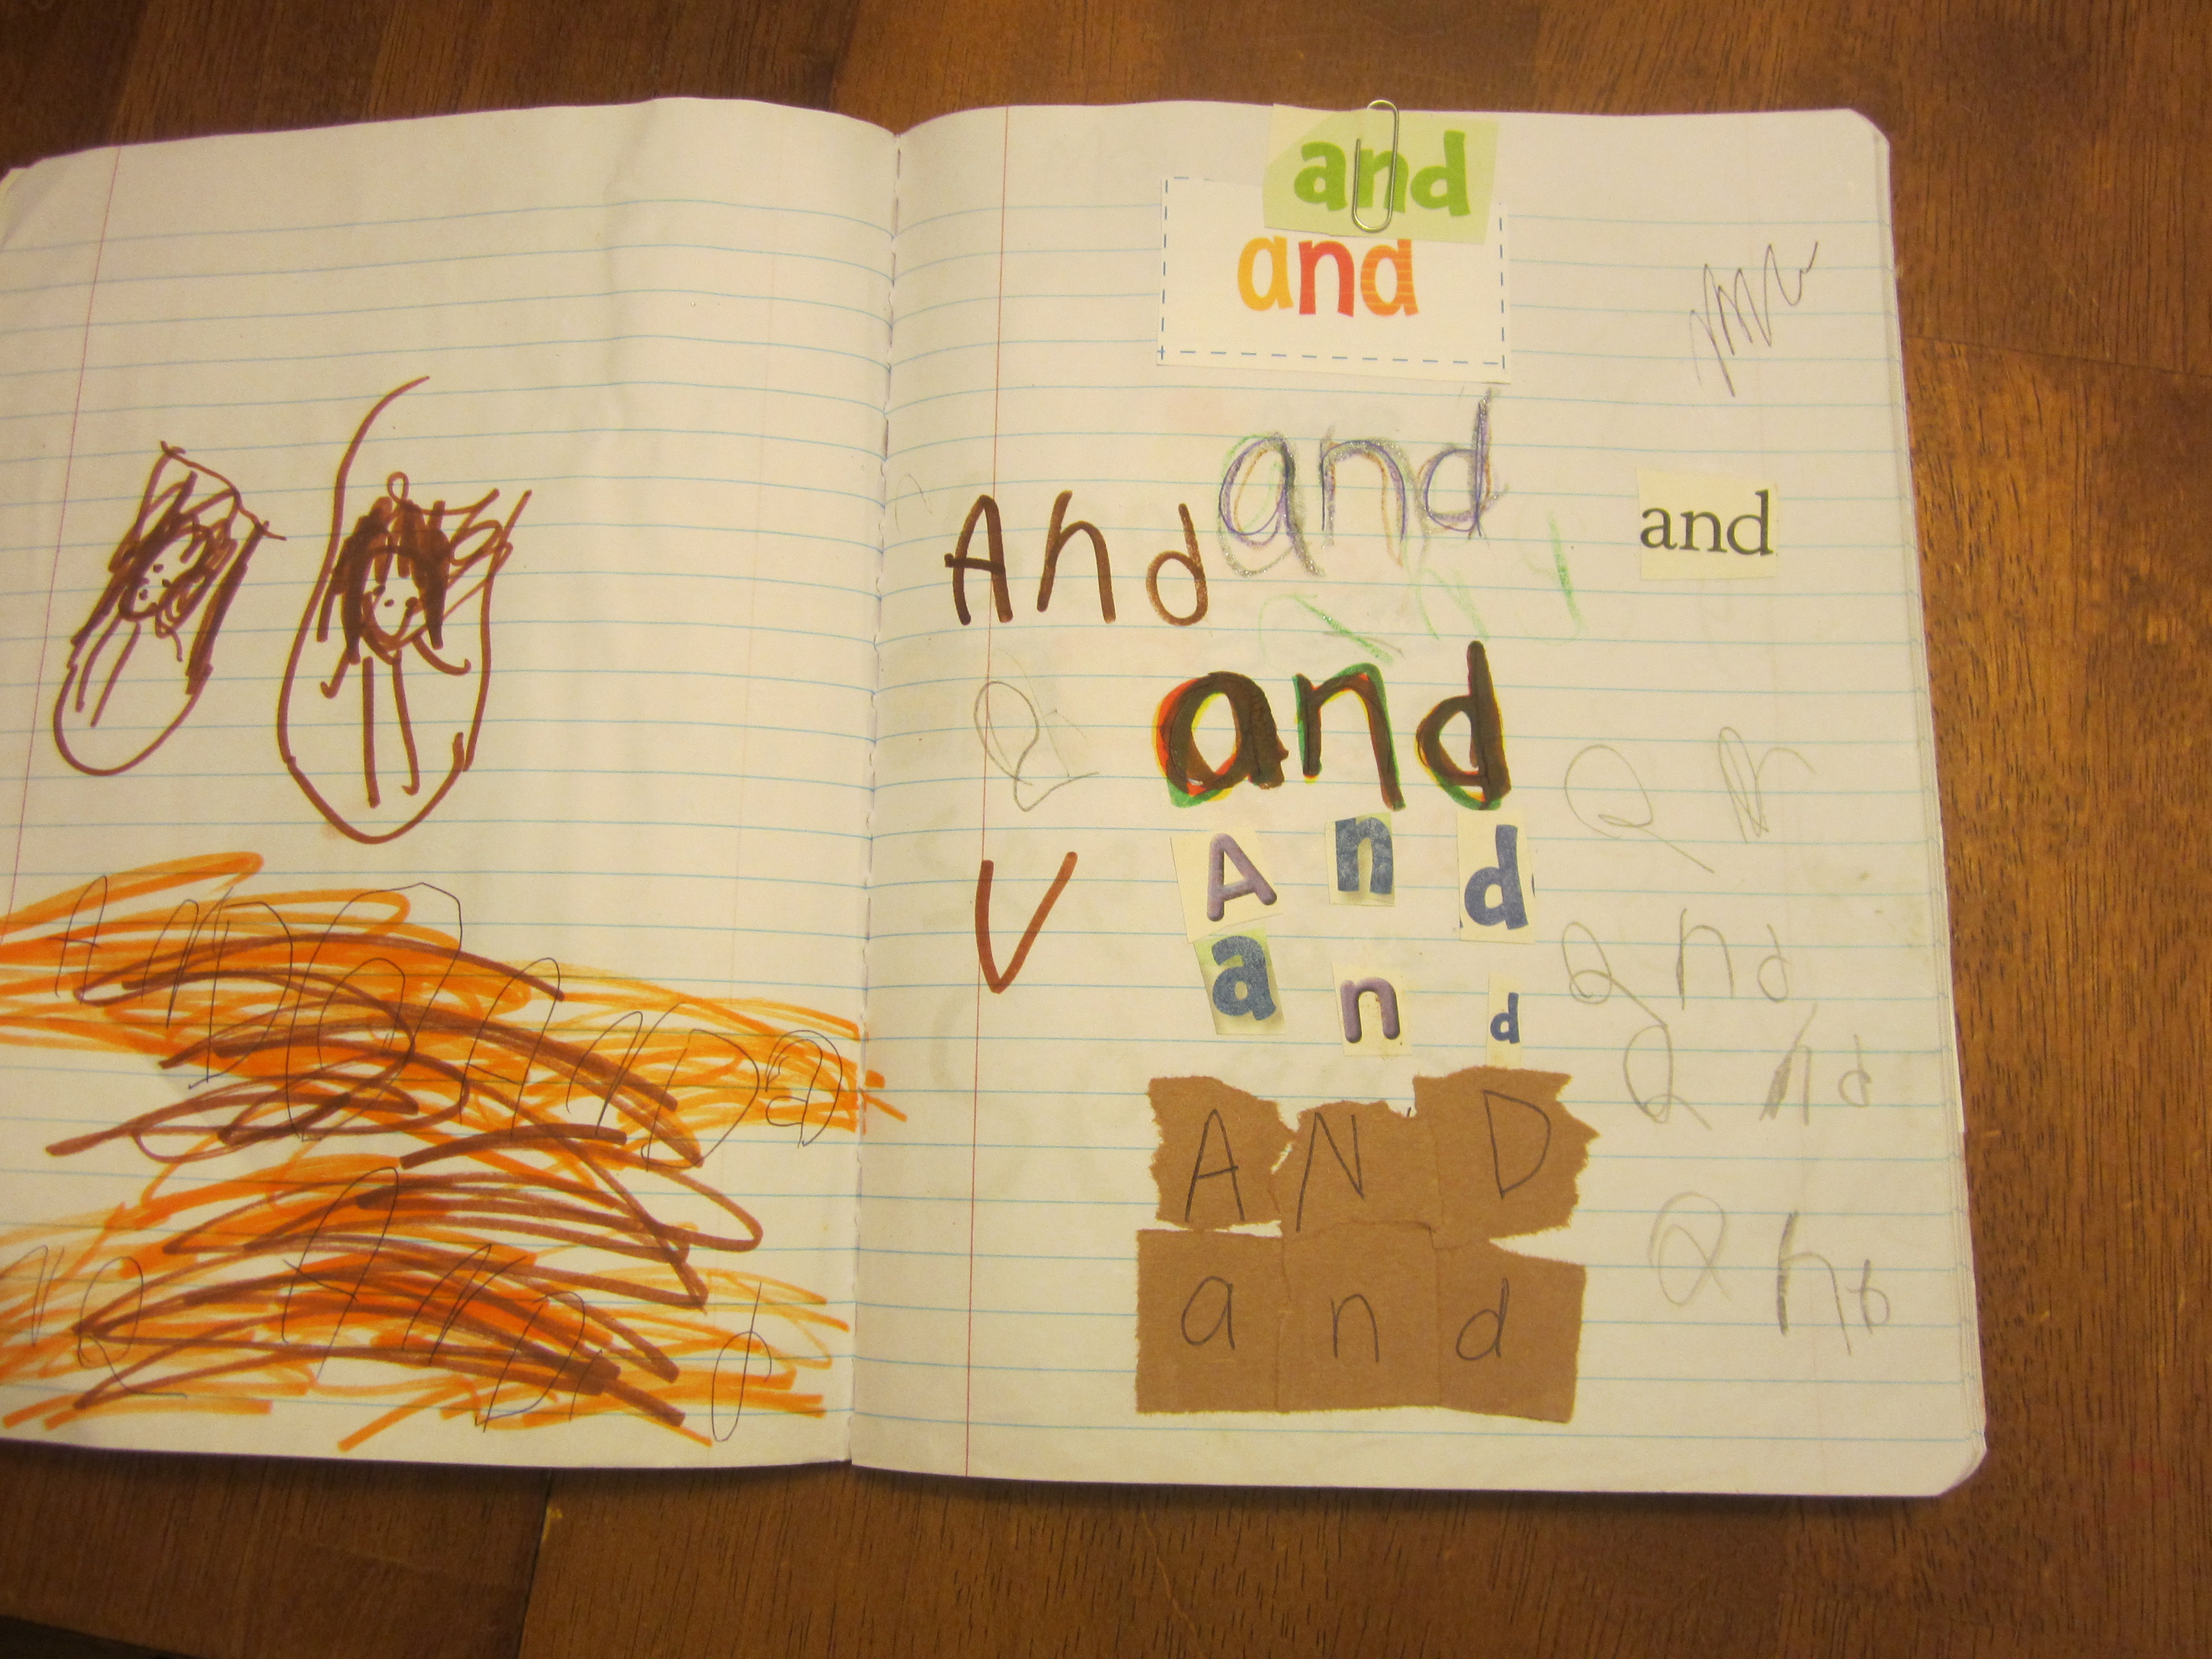
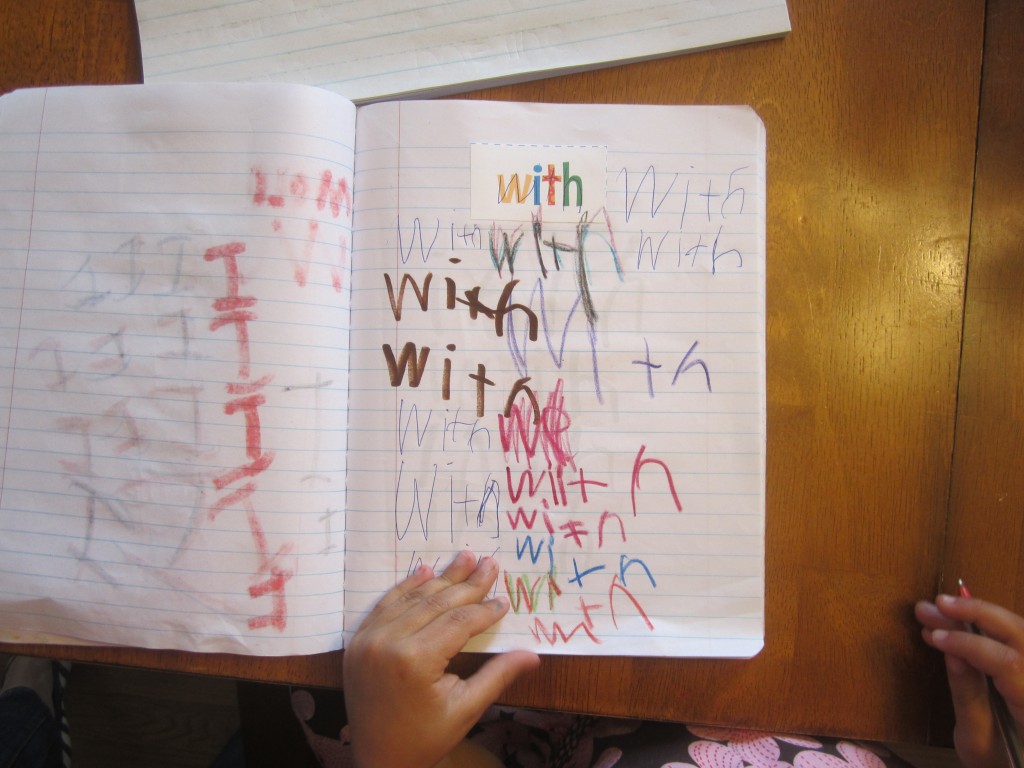
I also created a site word practice book for her using a composition book I bought from the dollar store. I made copies of the site words and glued each word onto the top of a page ( you can simply write the word at the top of the page with a marker ). Every week she practices writing a different word. Sometimes I let her look through magazines to find the letter she needs to make the word and I have her glue it down onto the page. This allows her to practice the words in different ways, which keeps it exciting and the repetition helps her to remember the words.

Site Words sitewordfun

Its a Rainy Day!

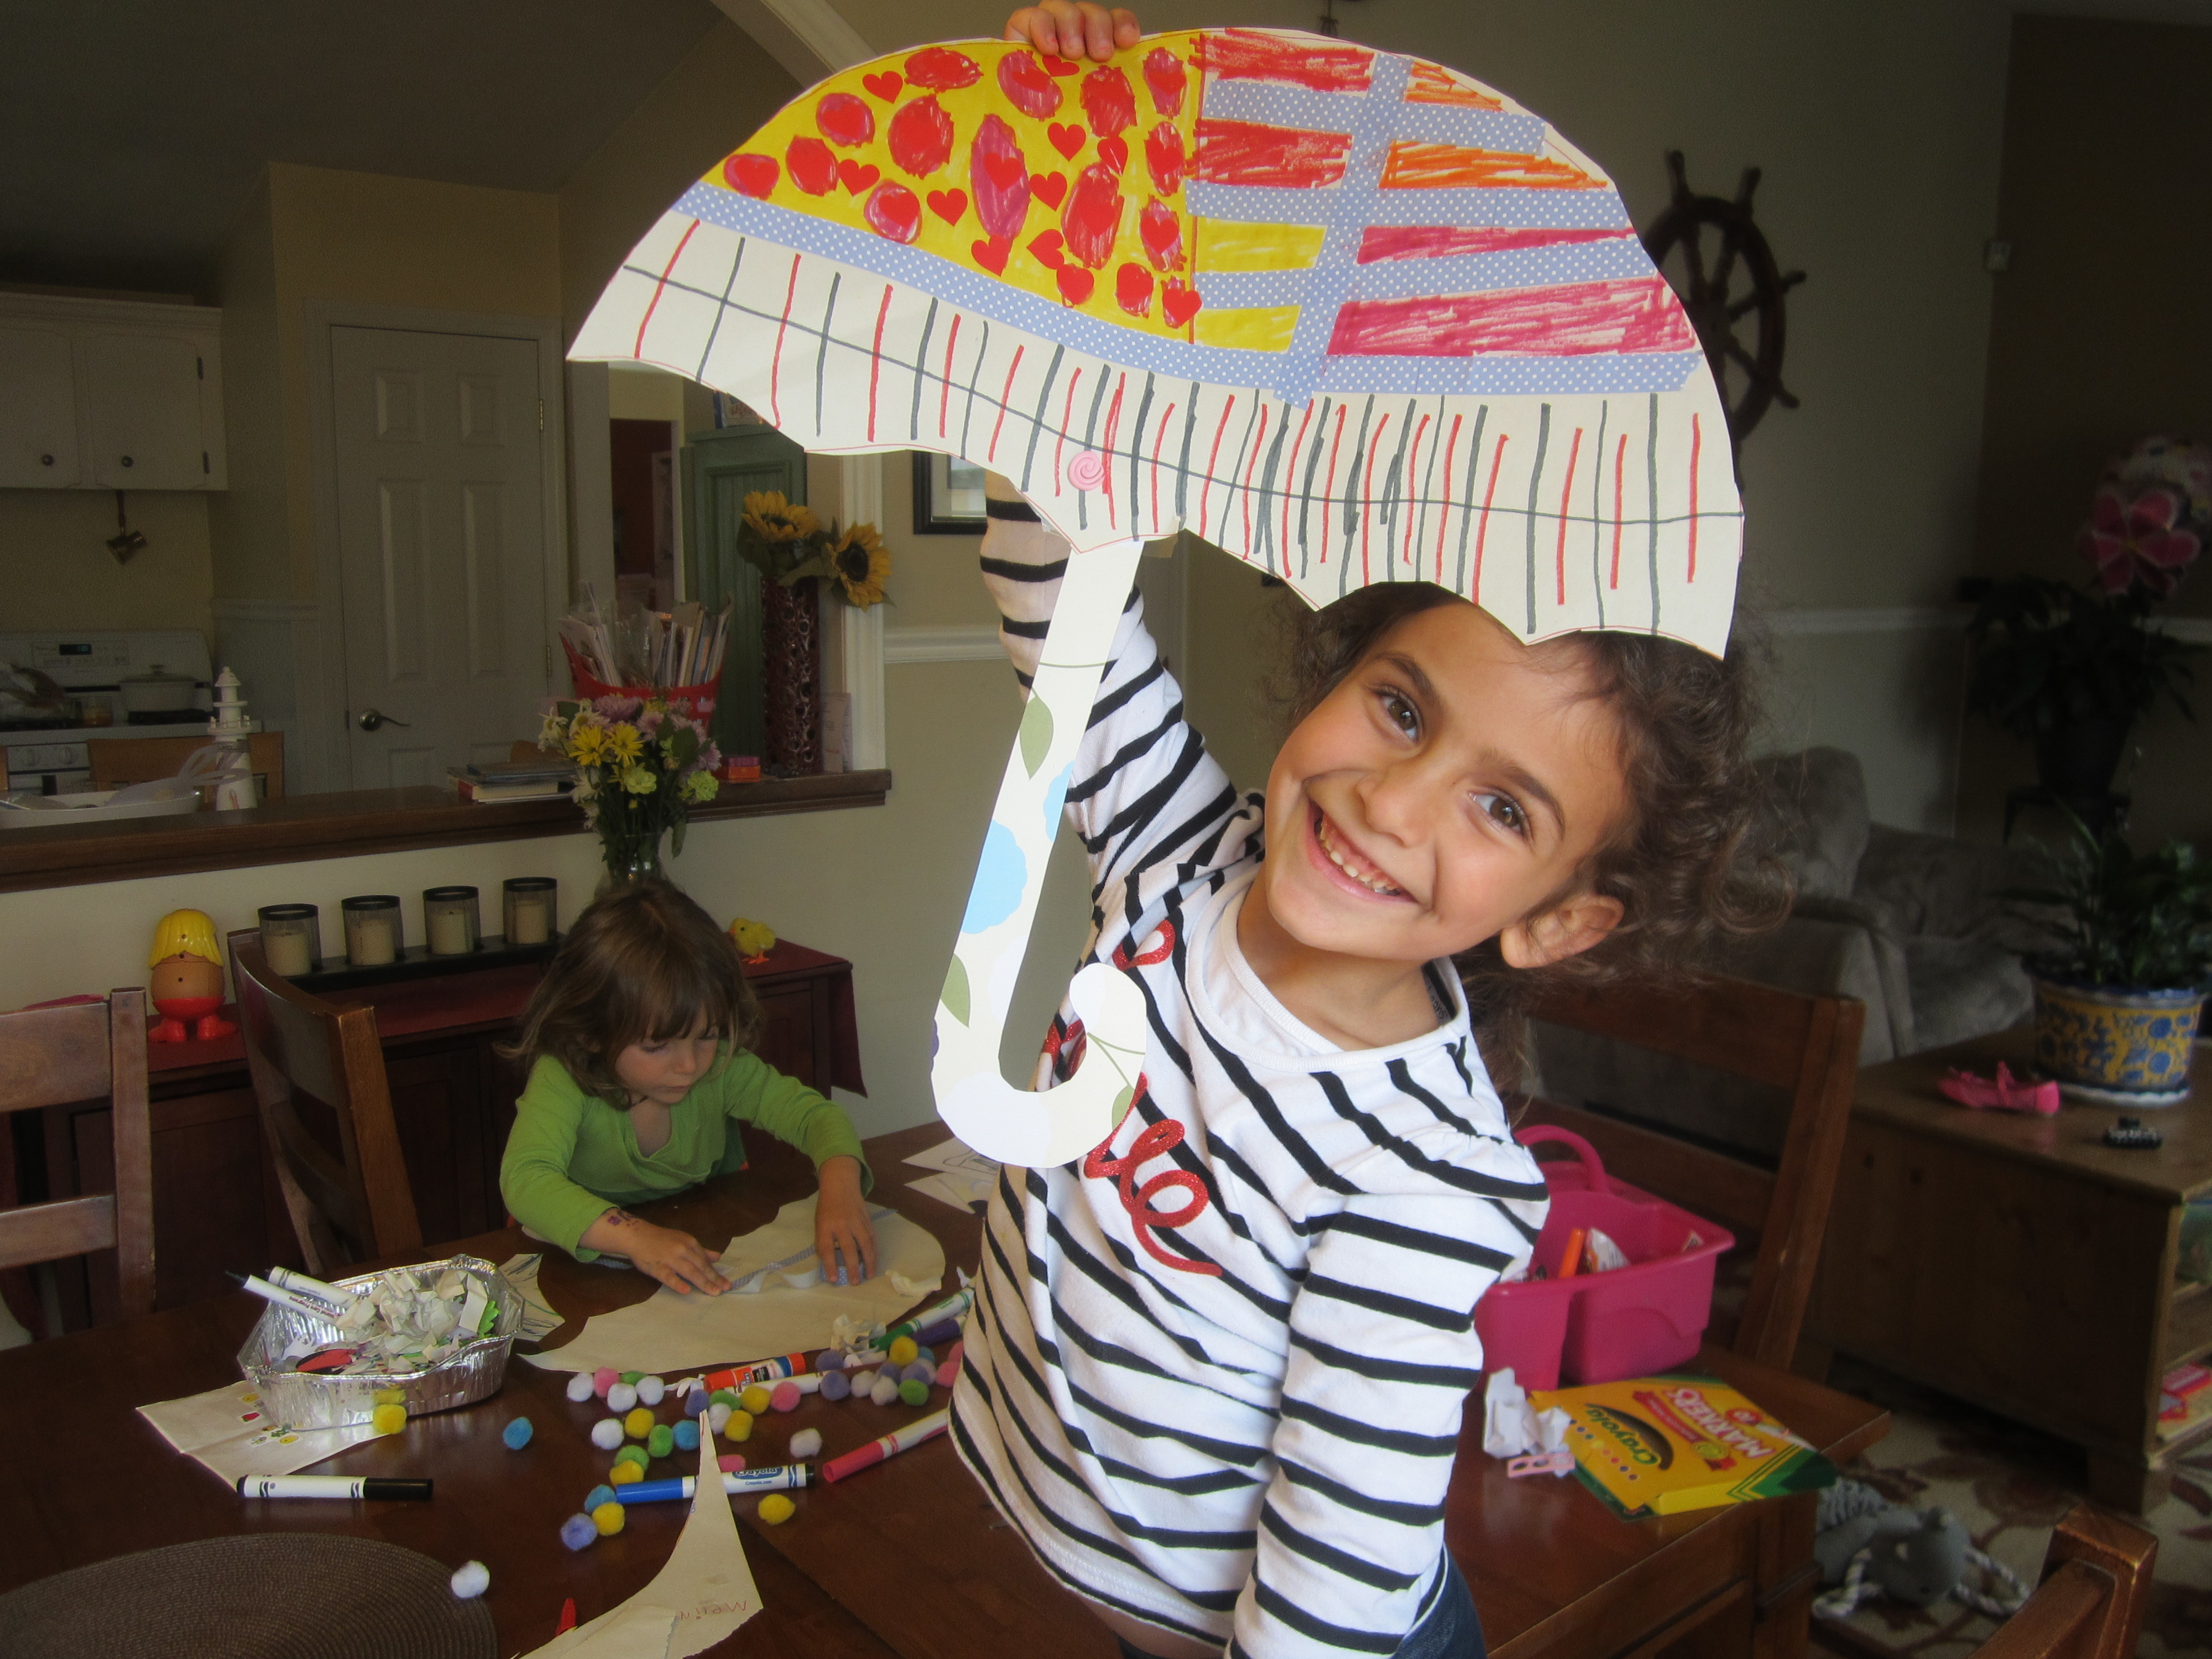
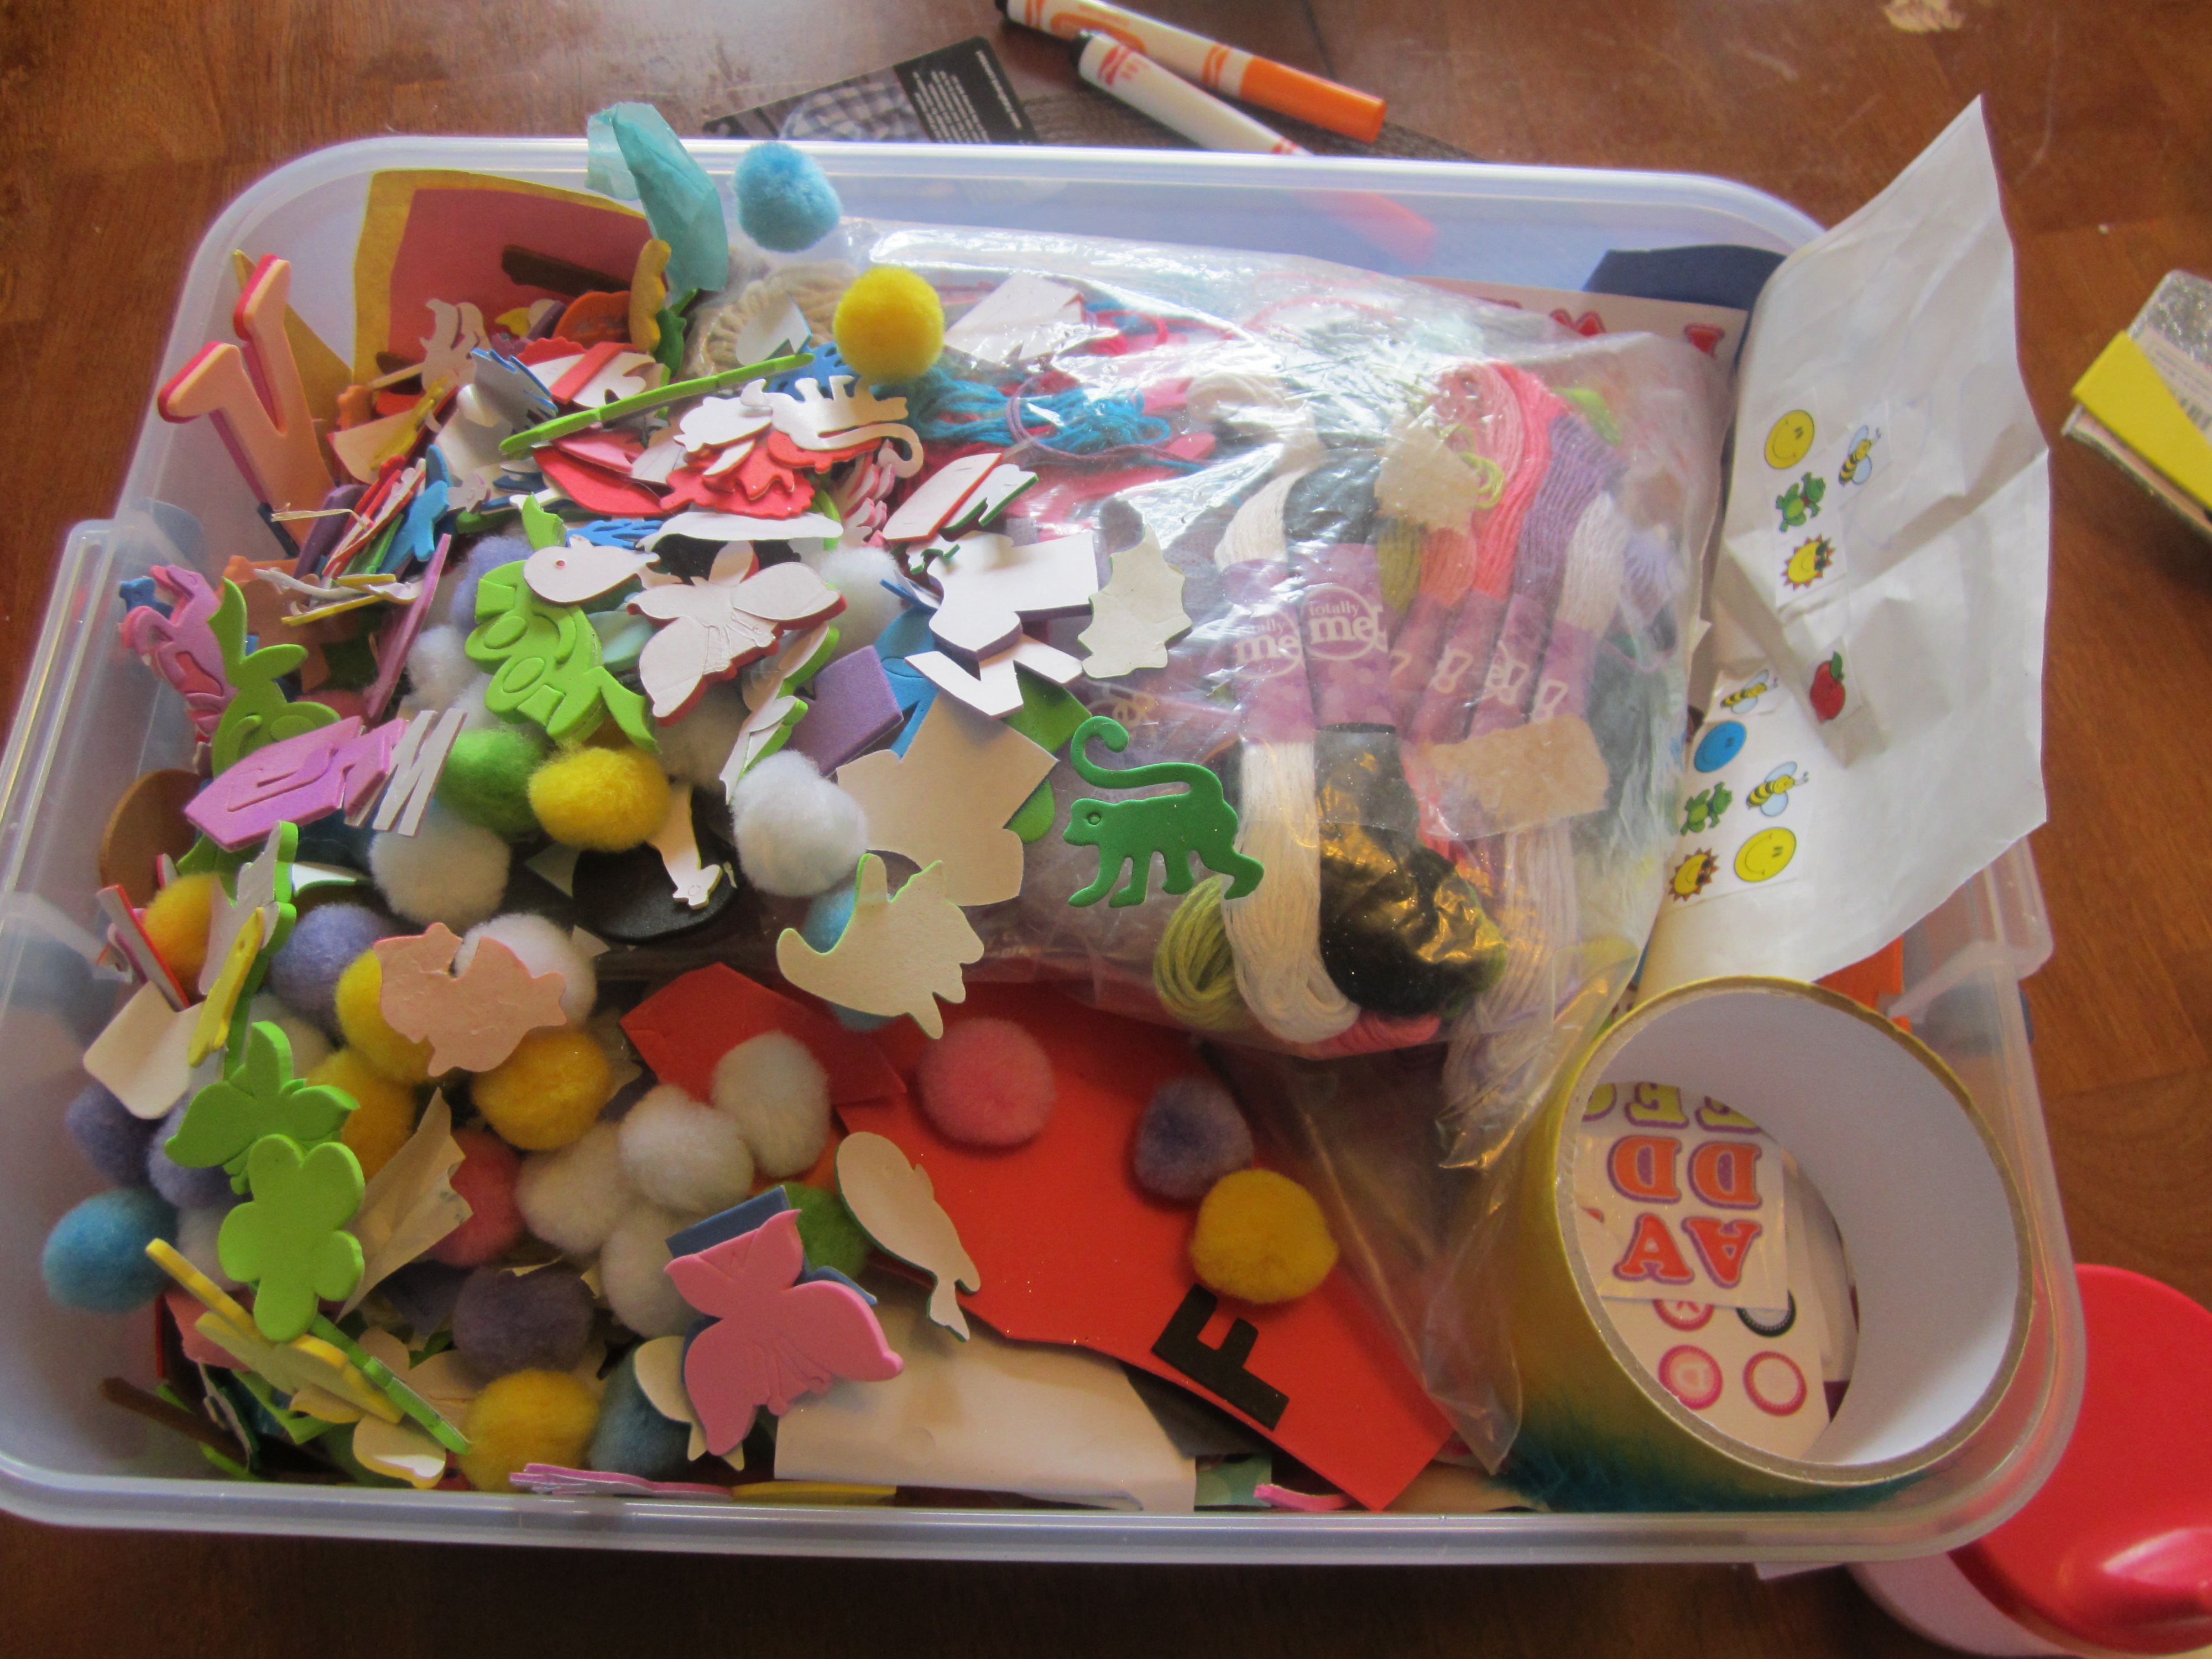
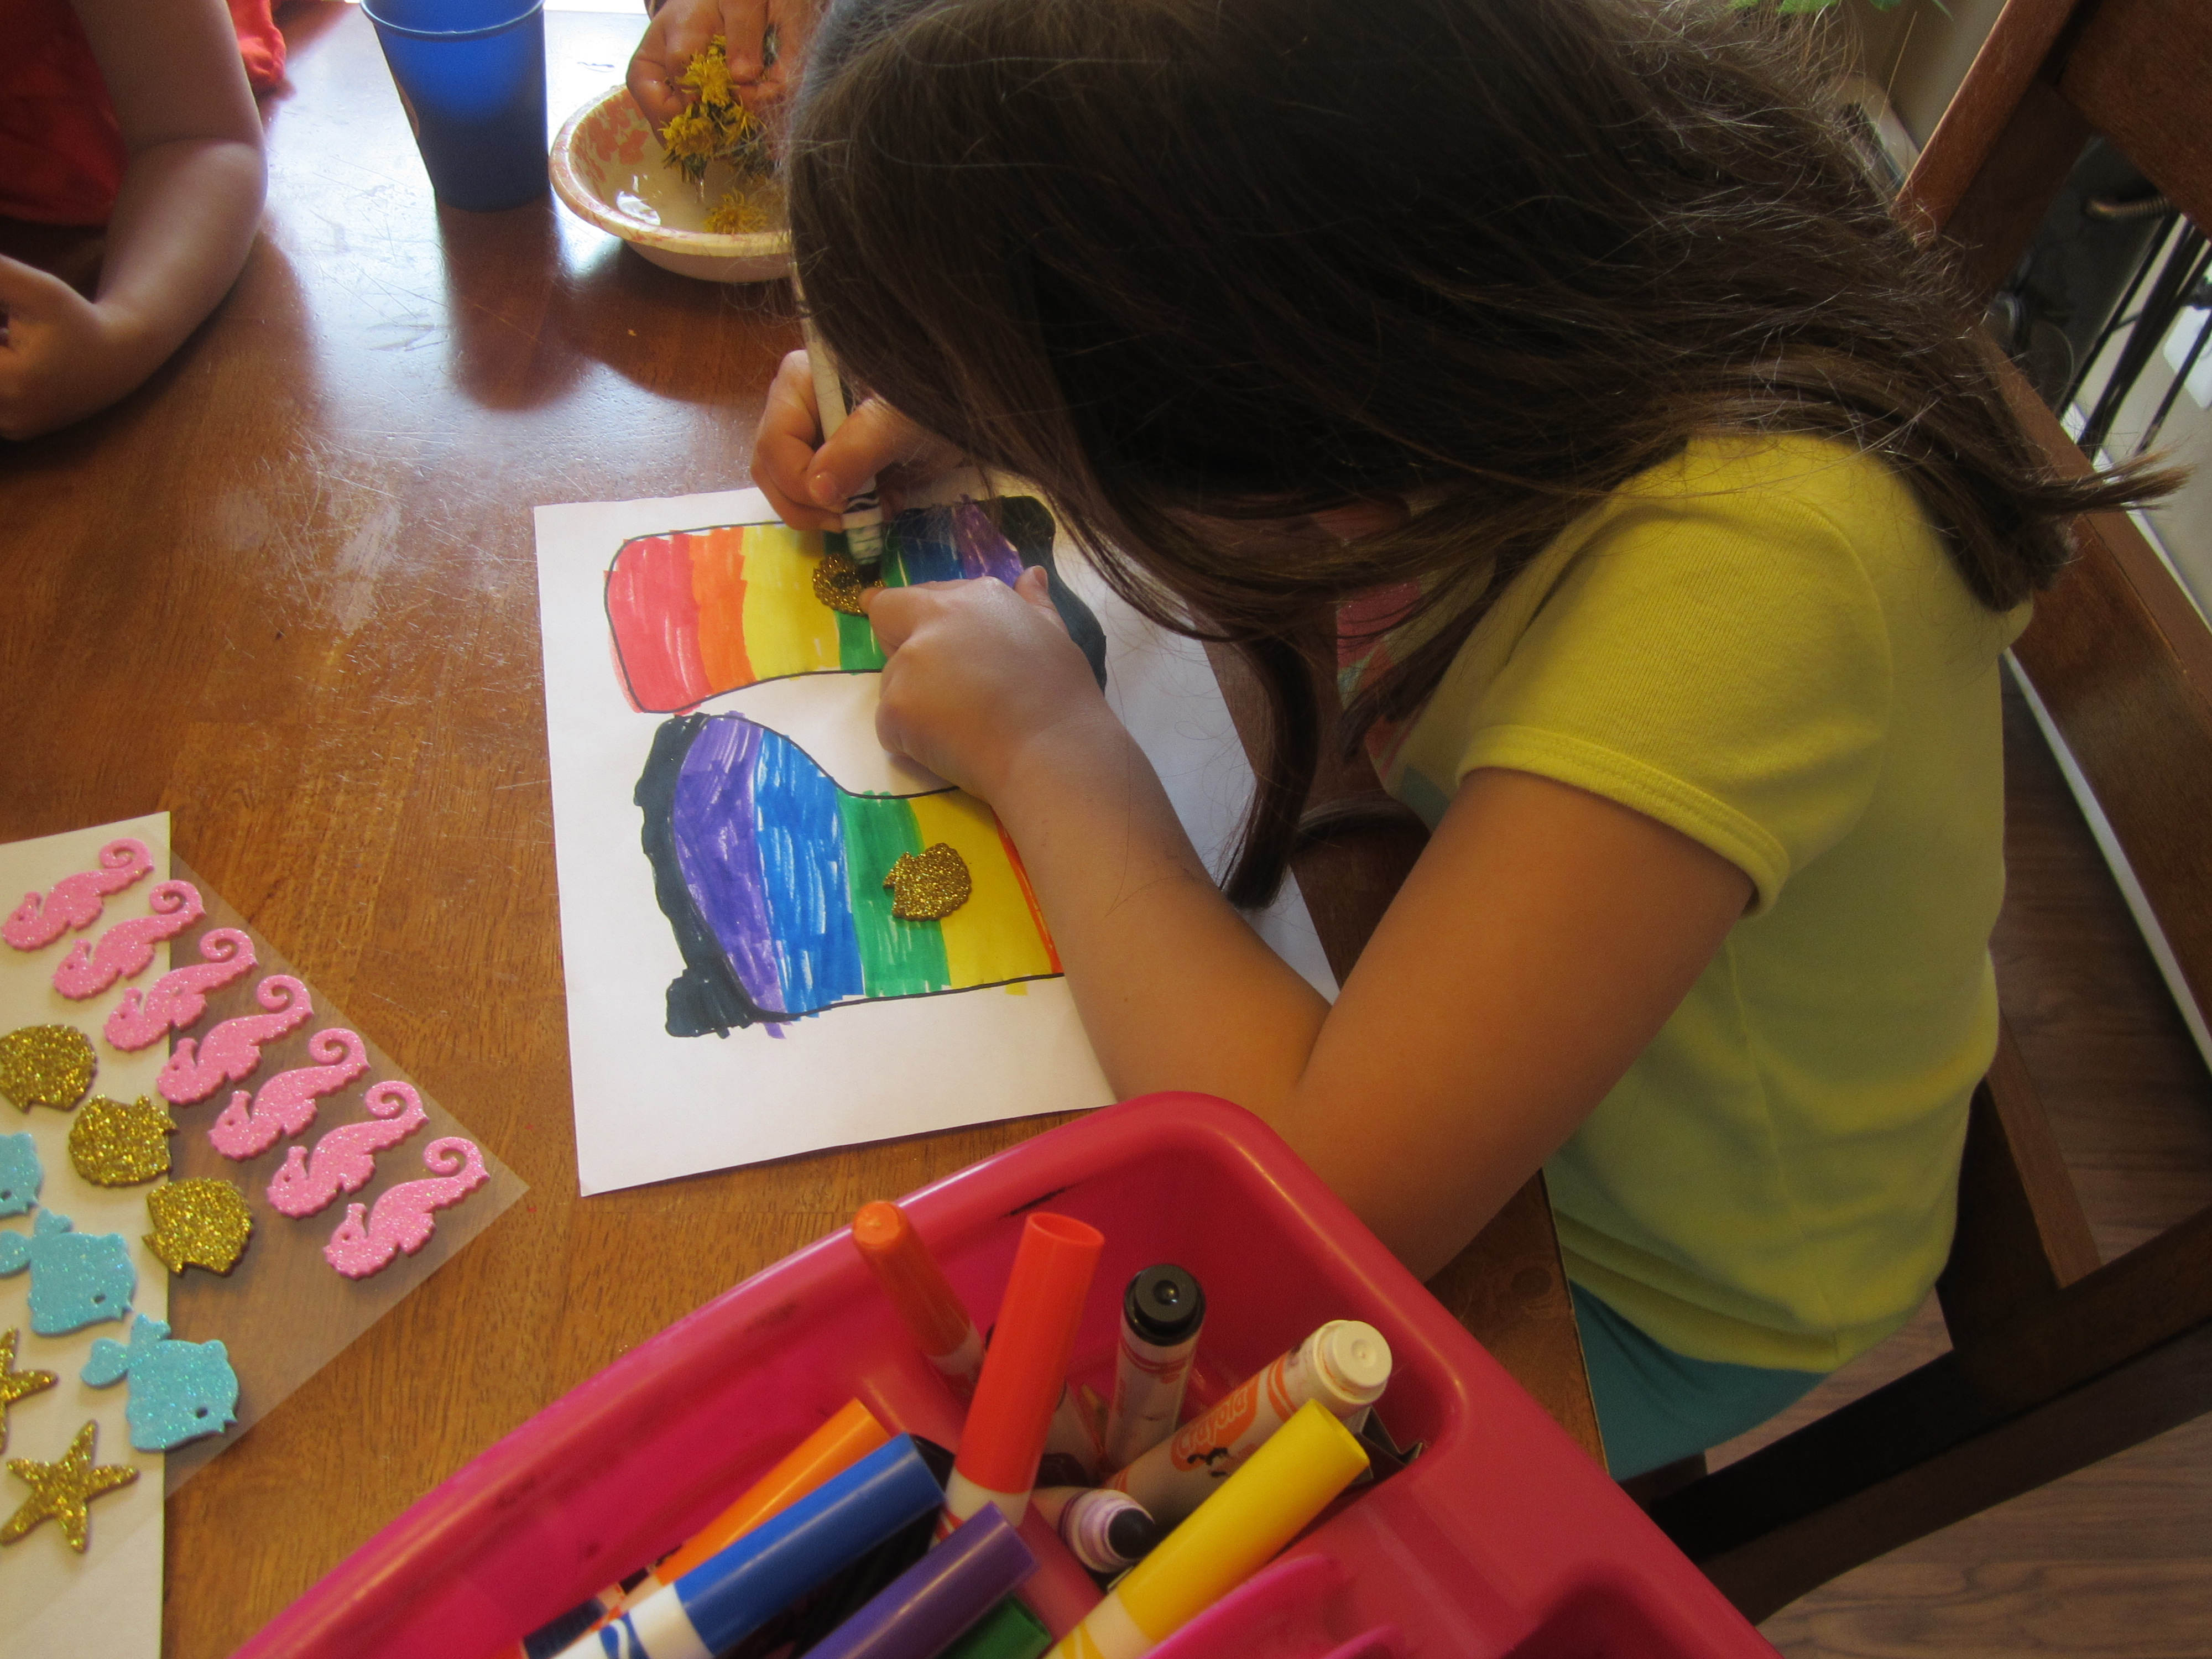
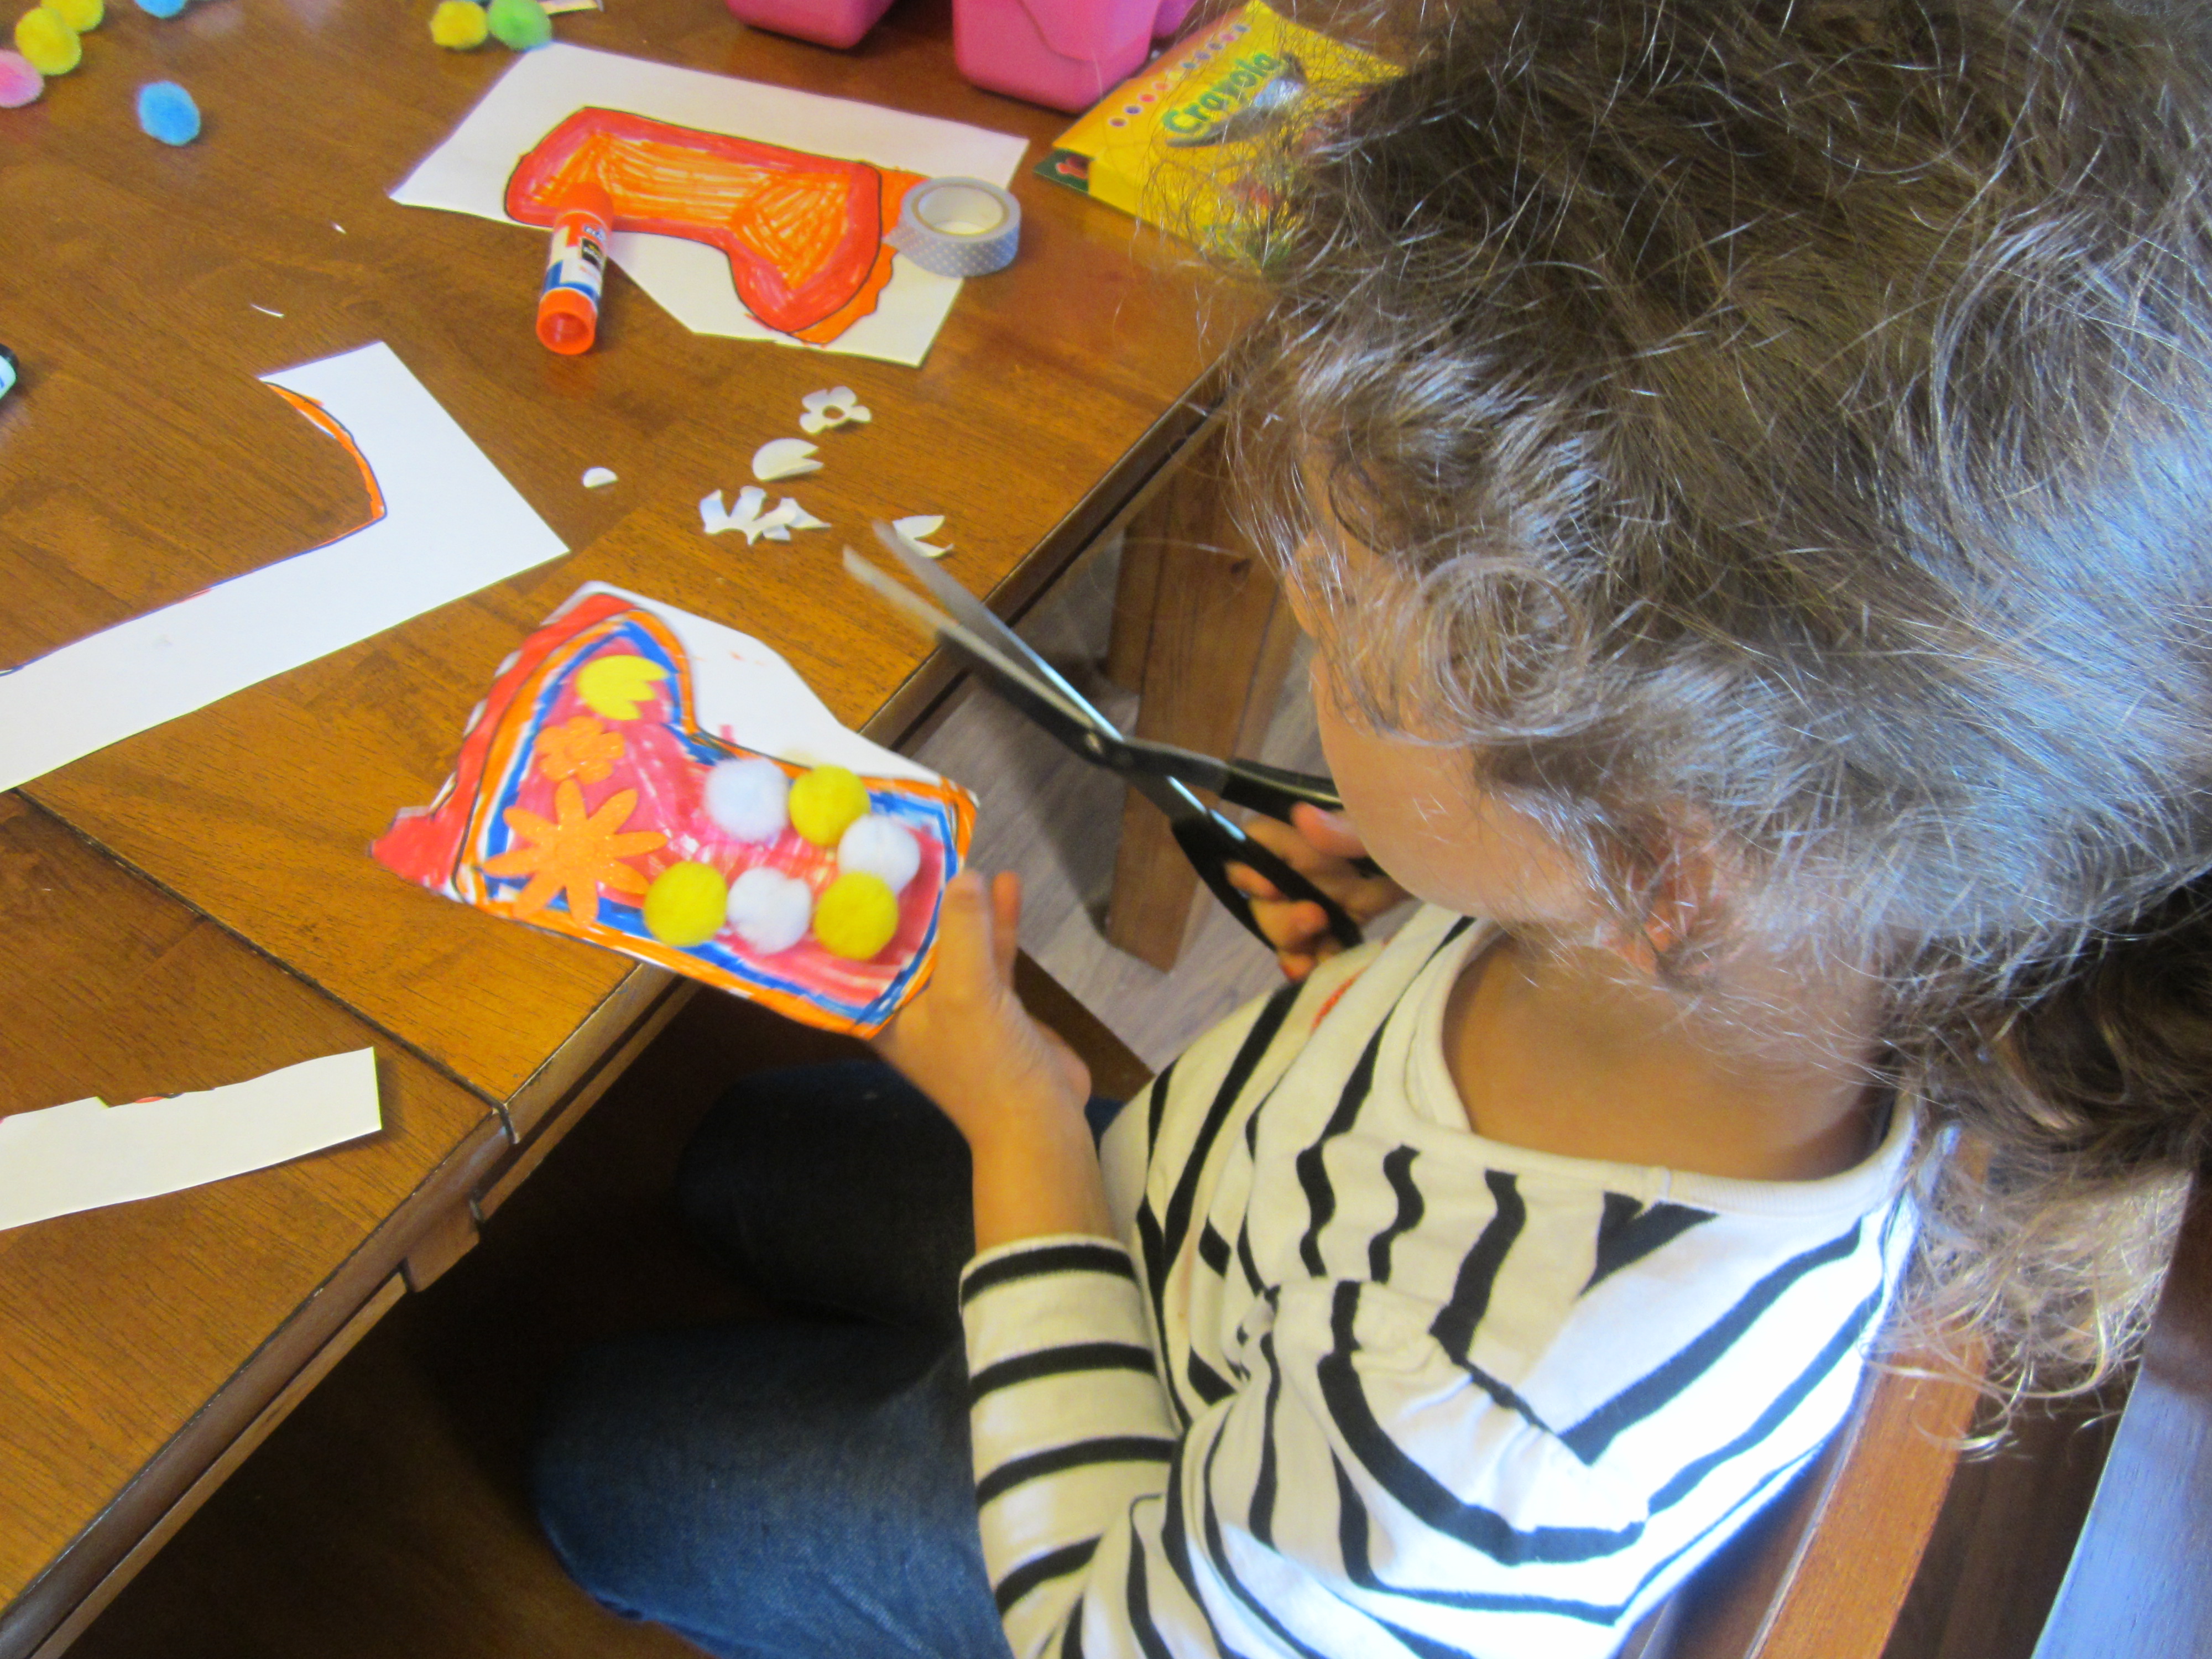
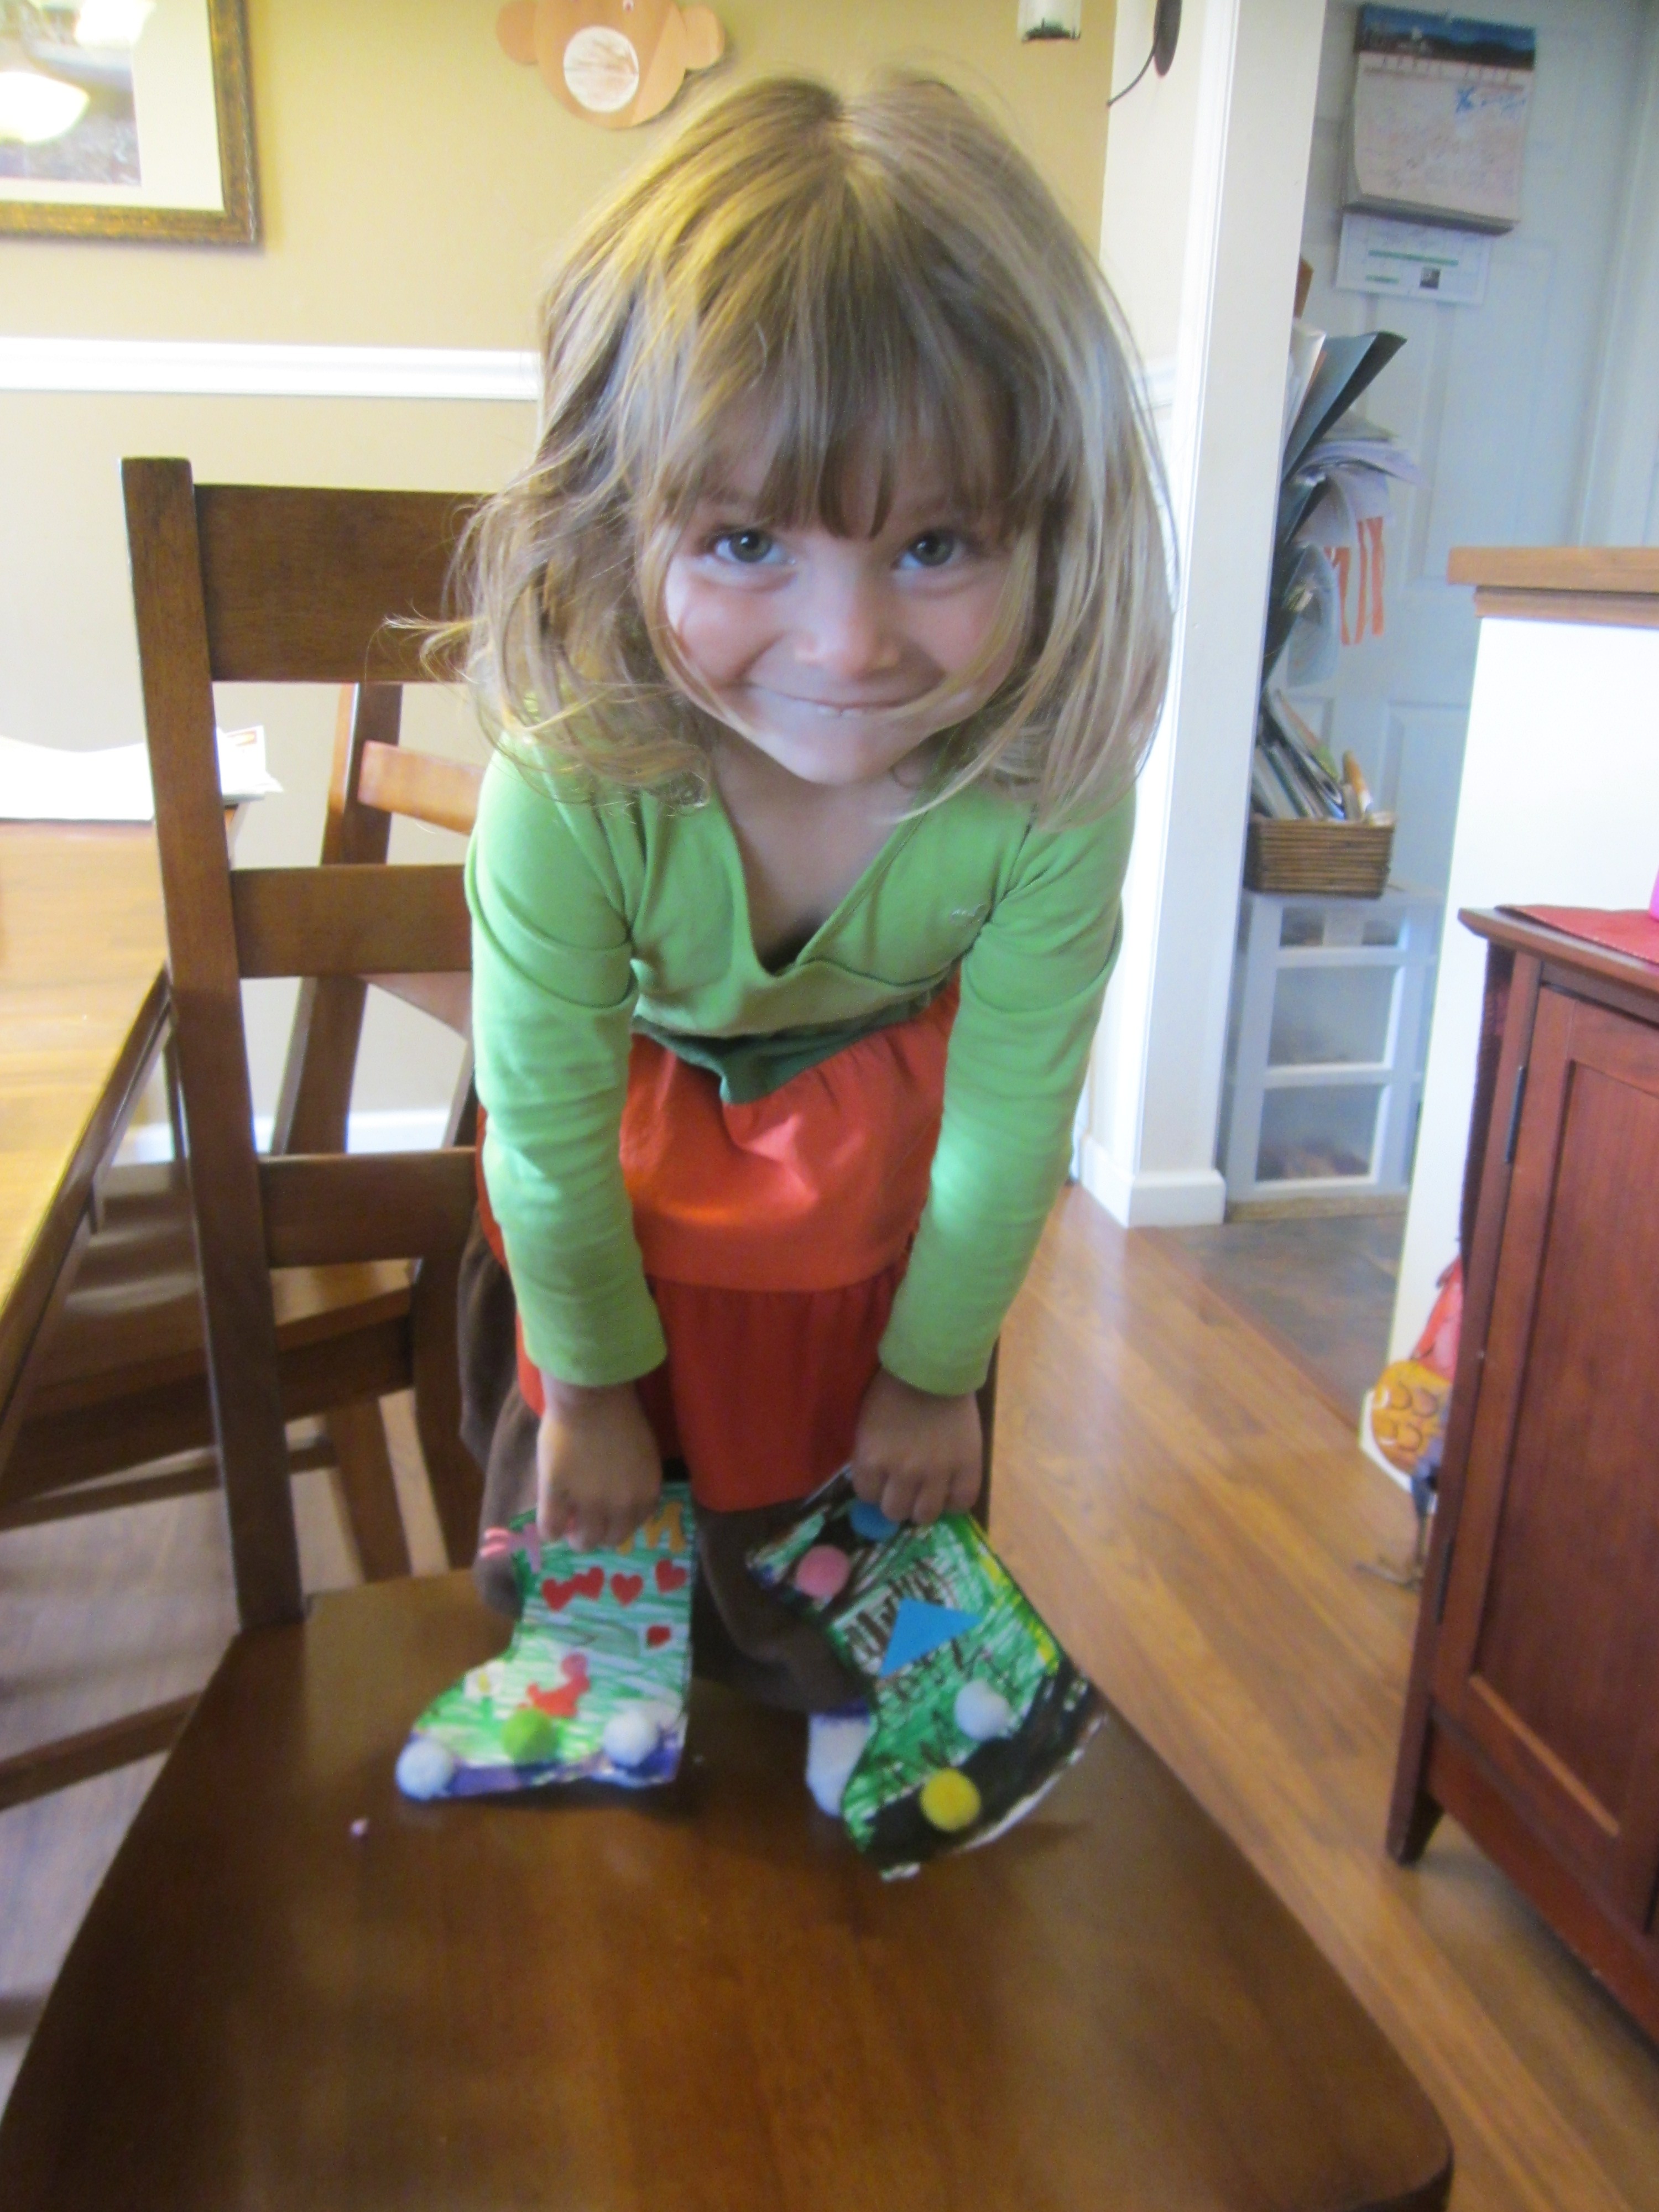
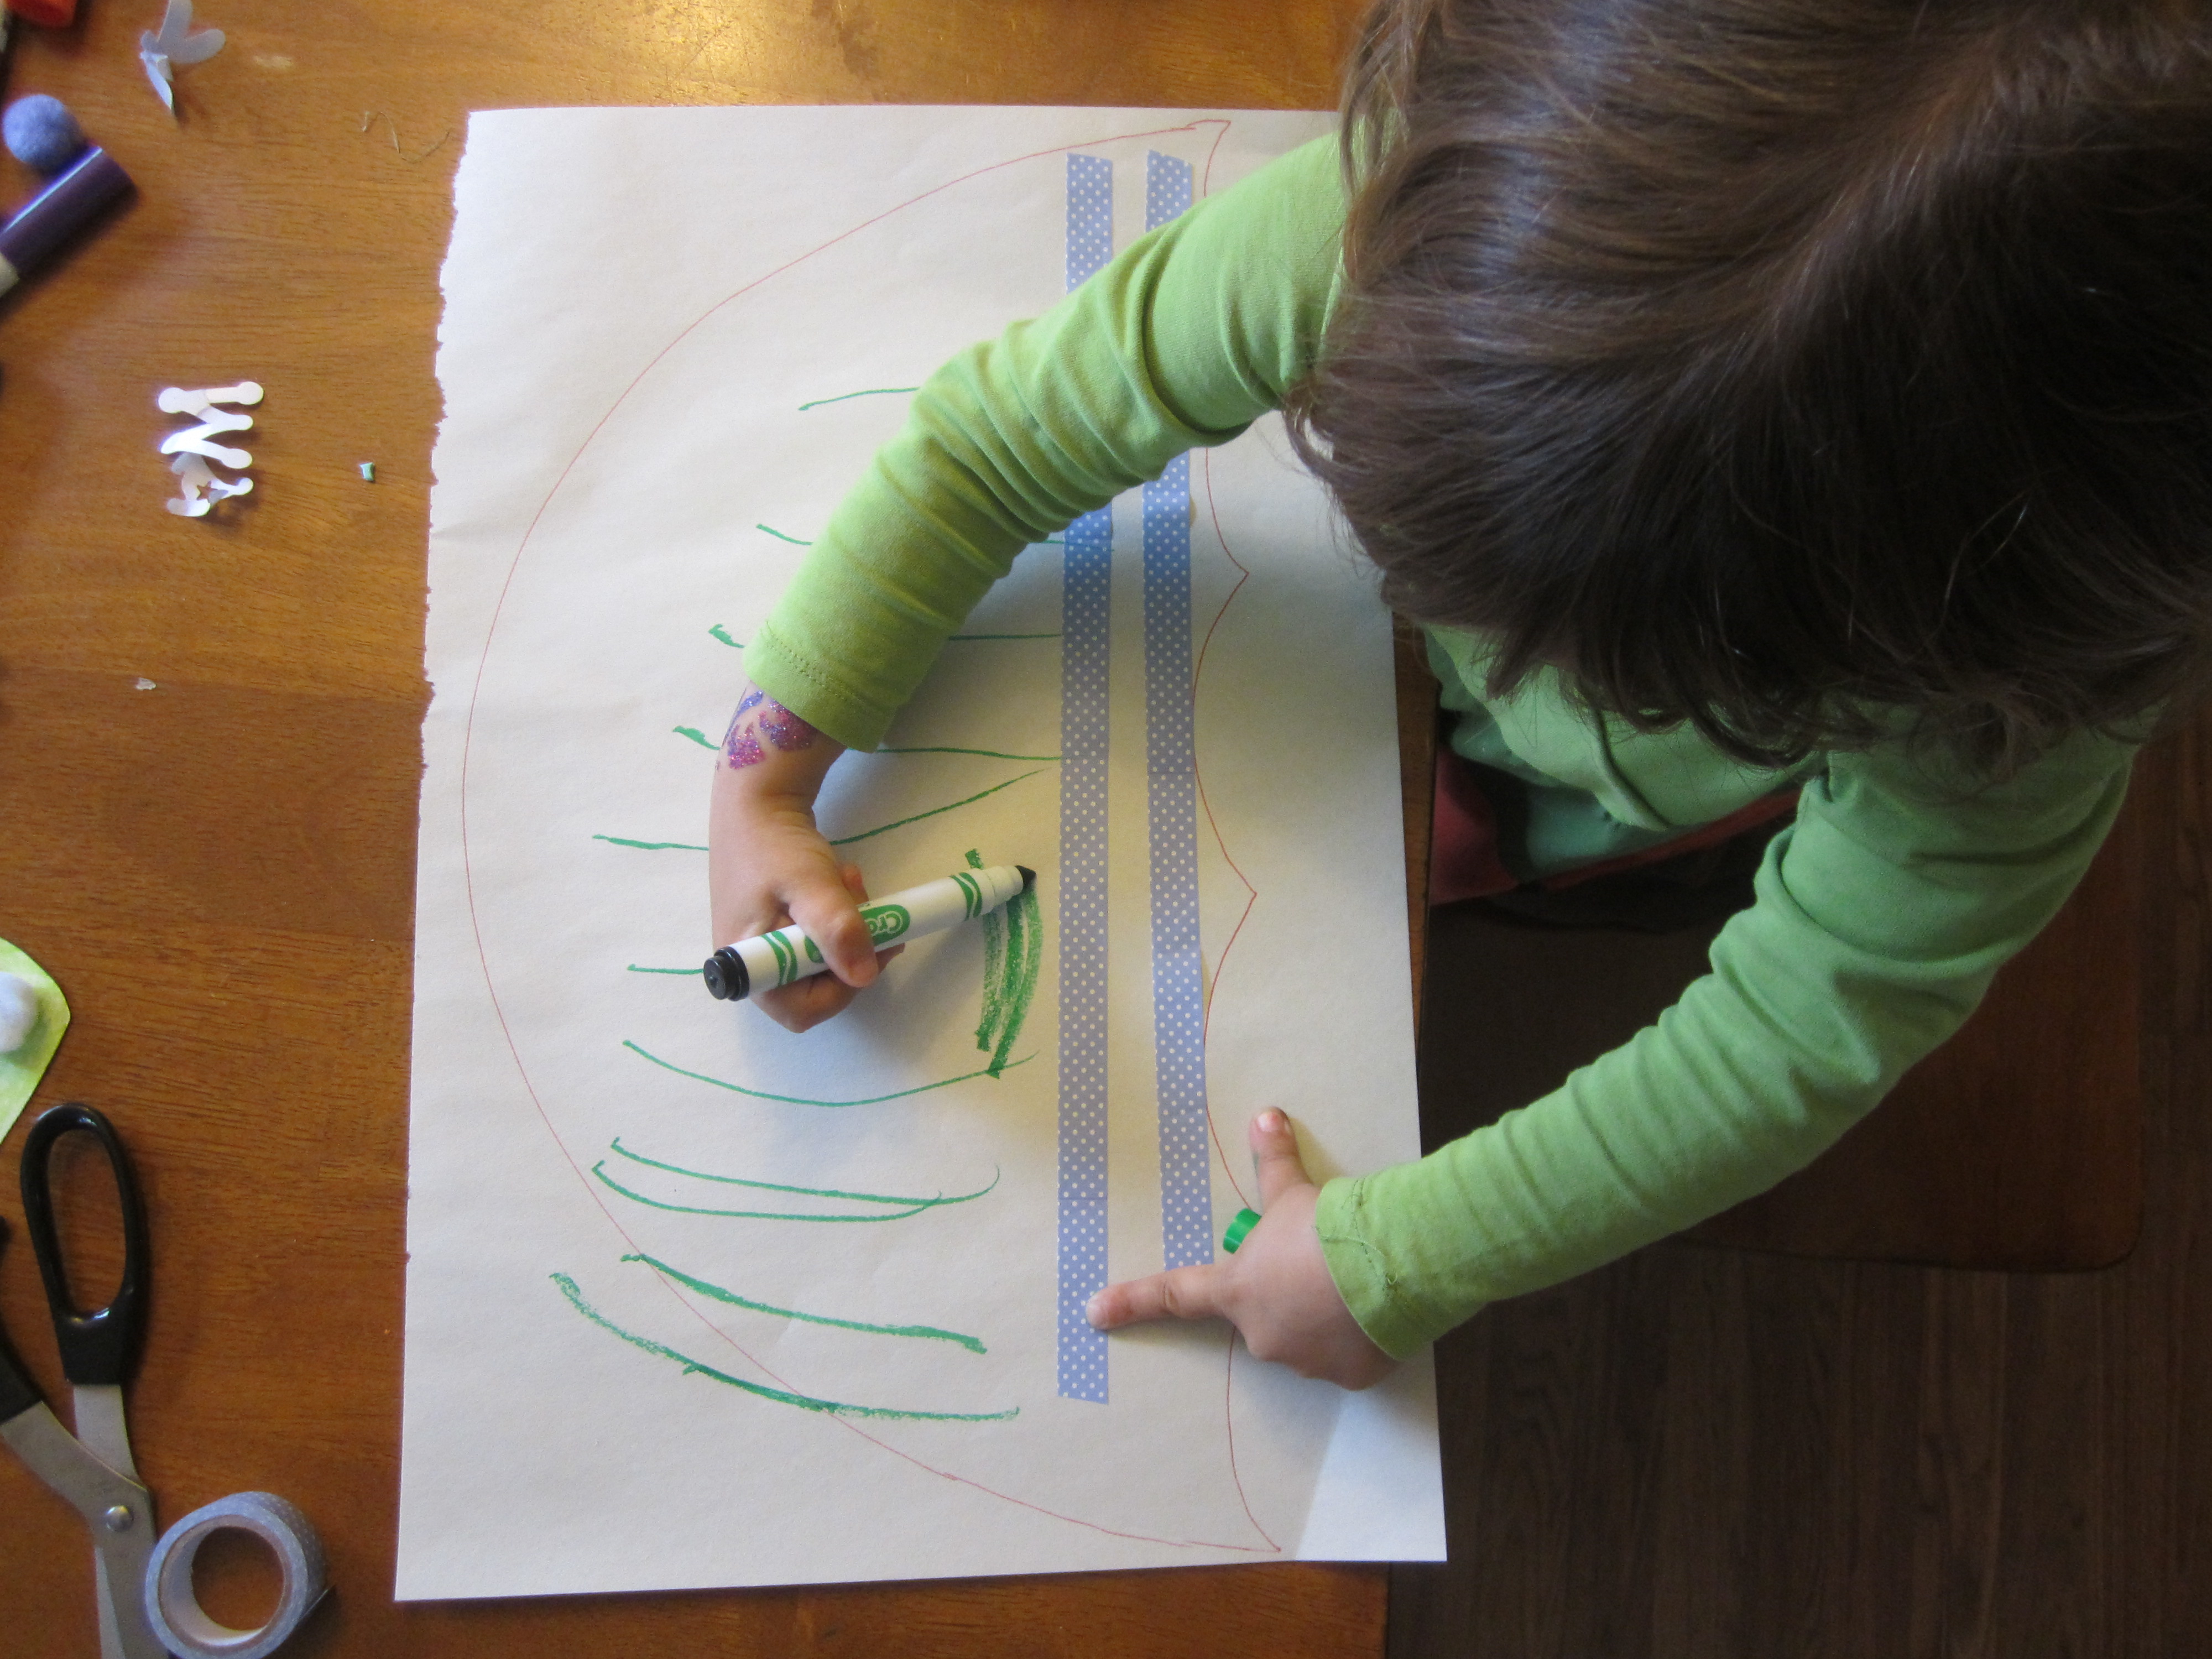
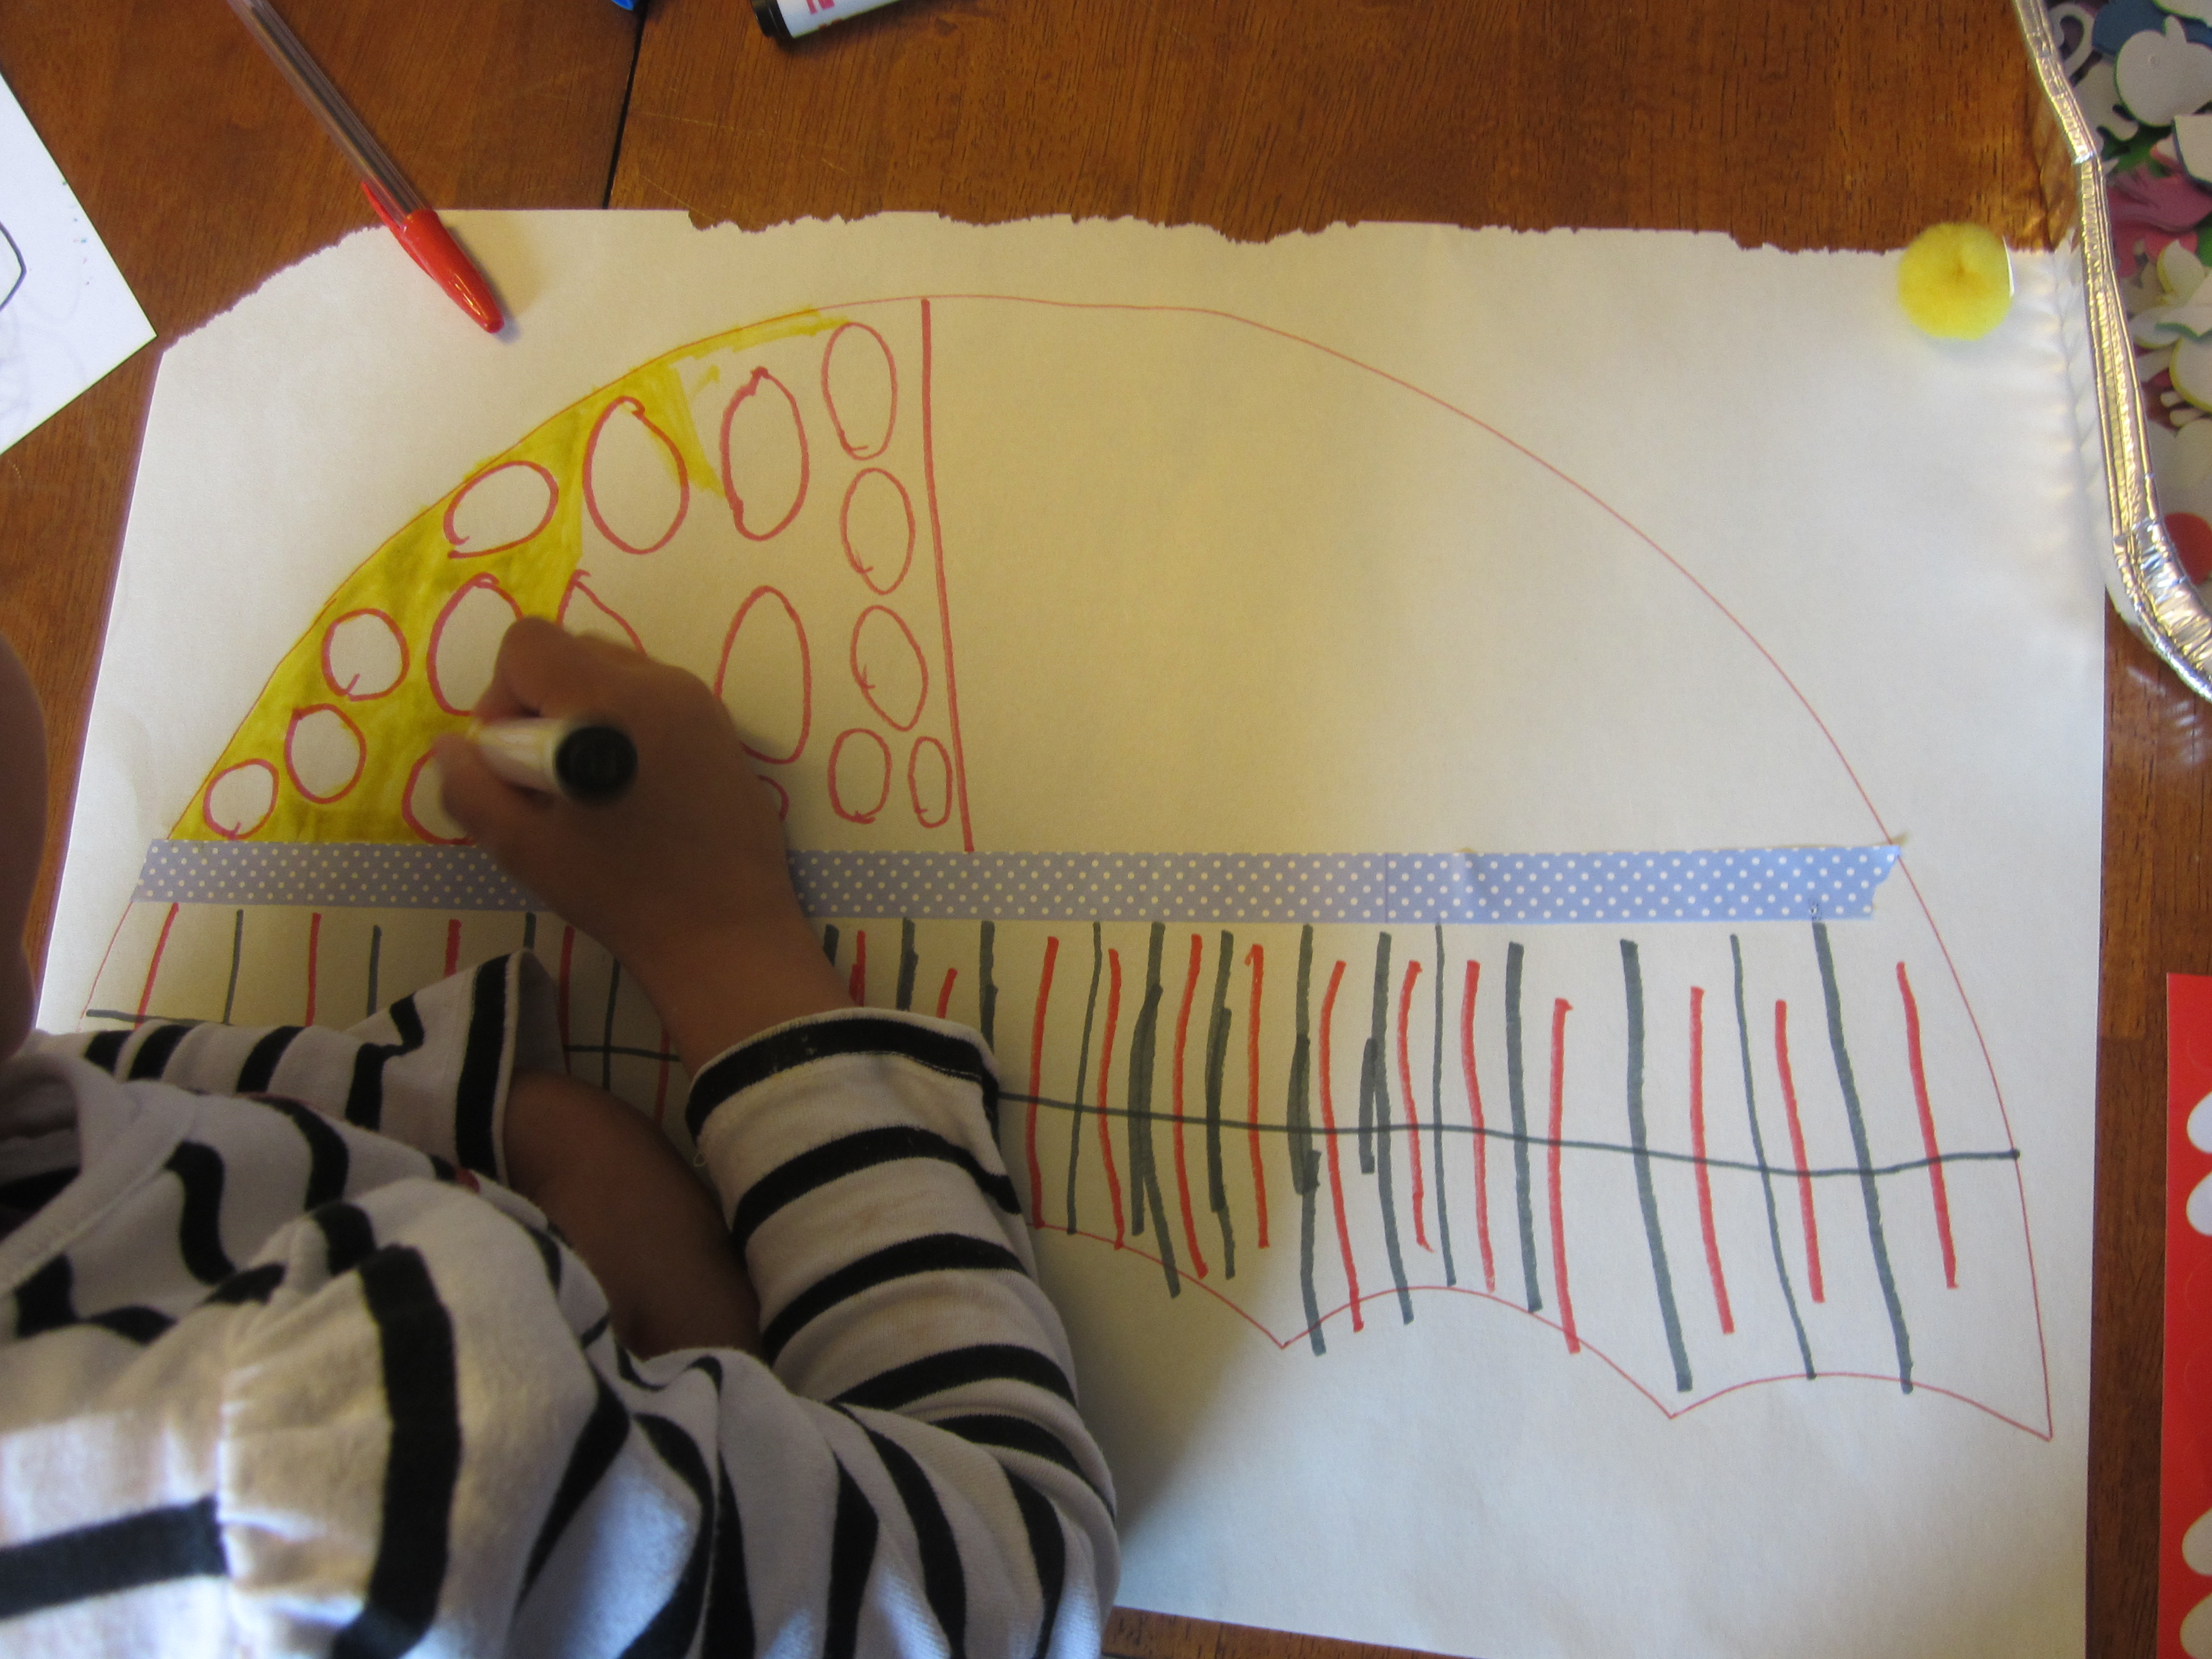
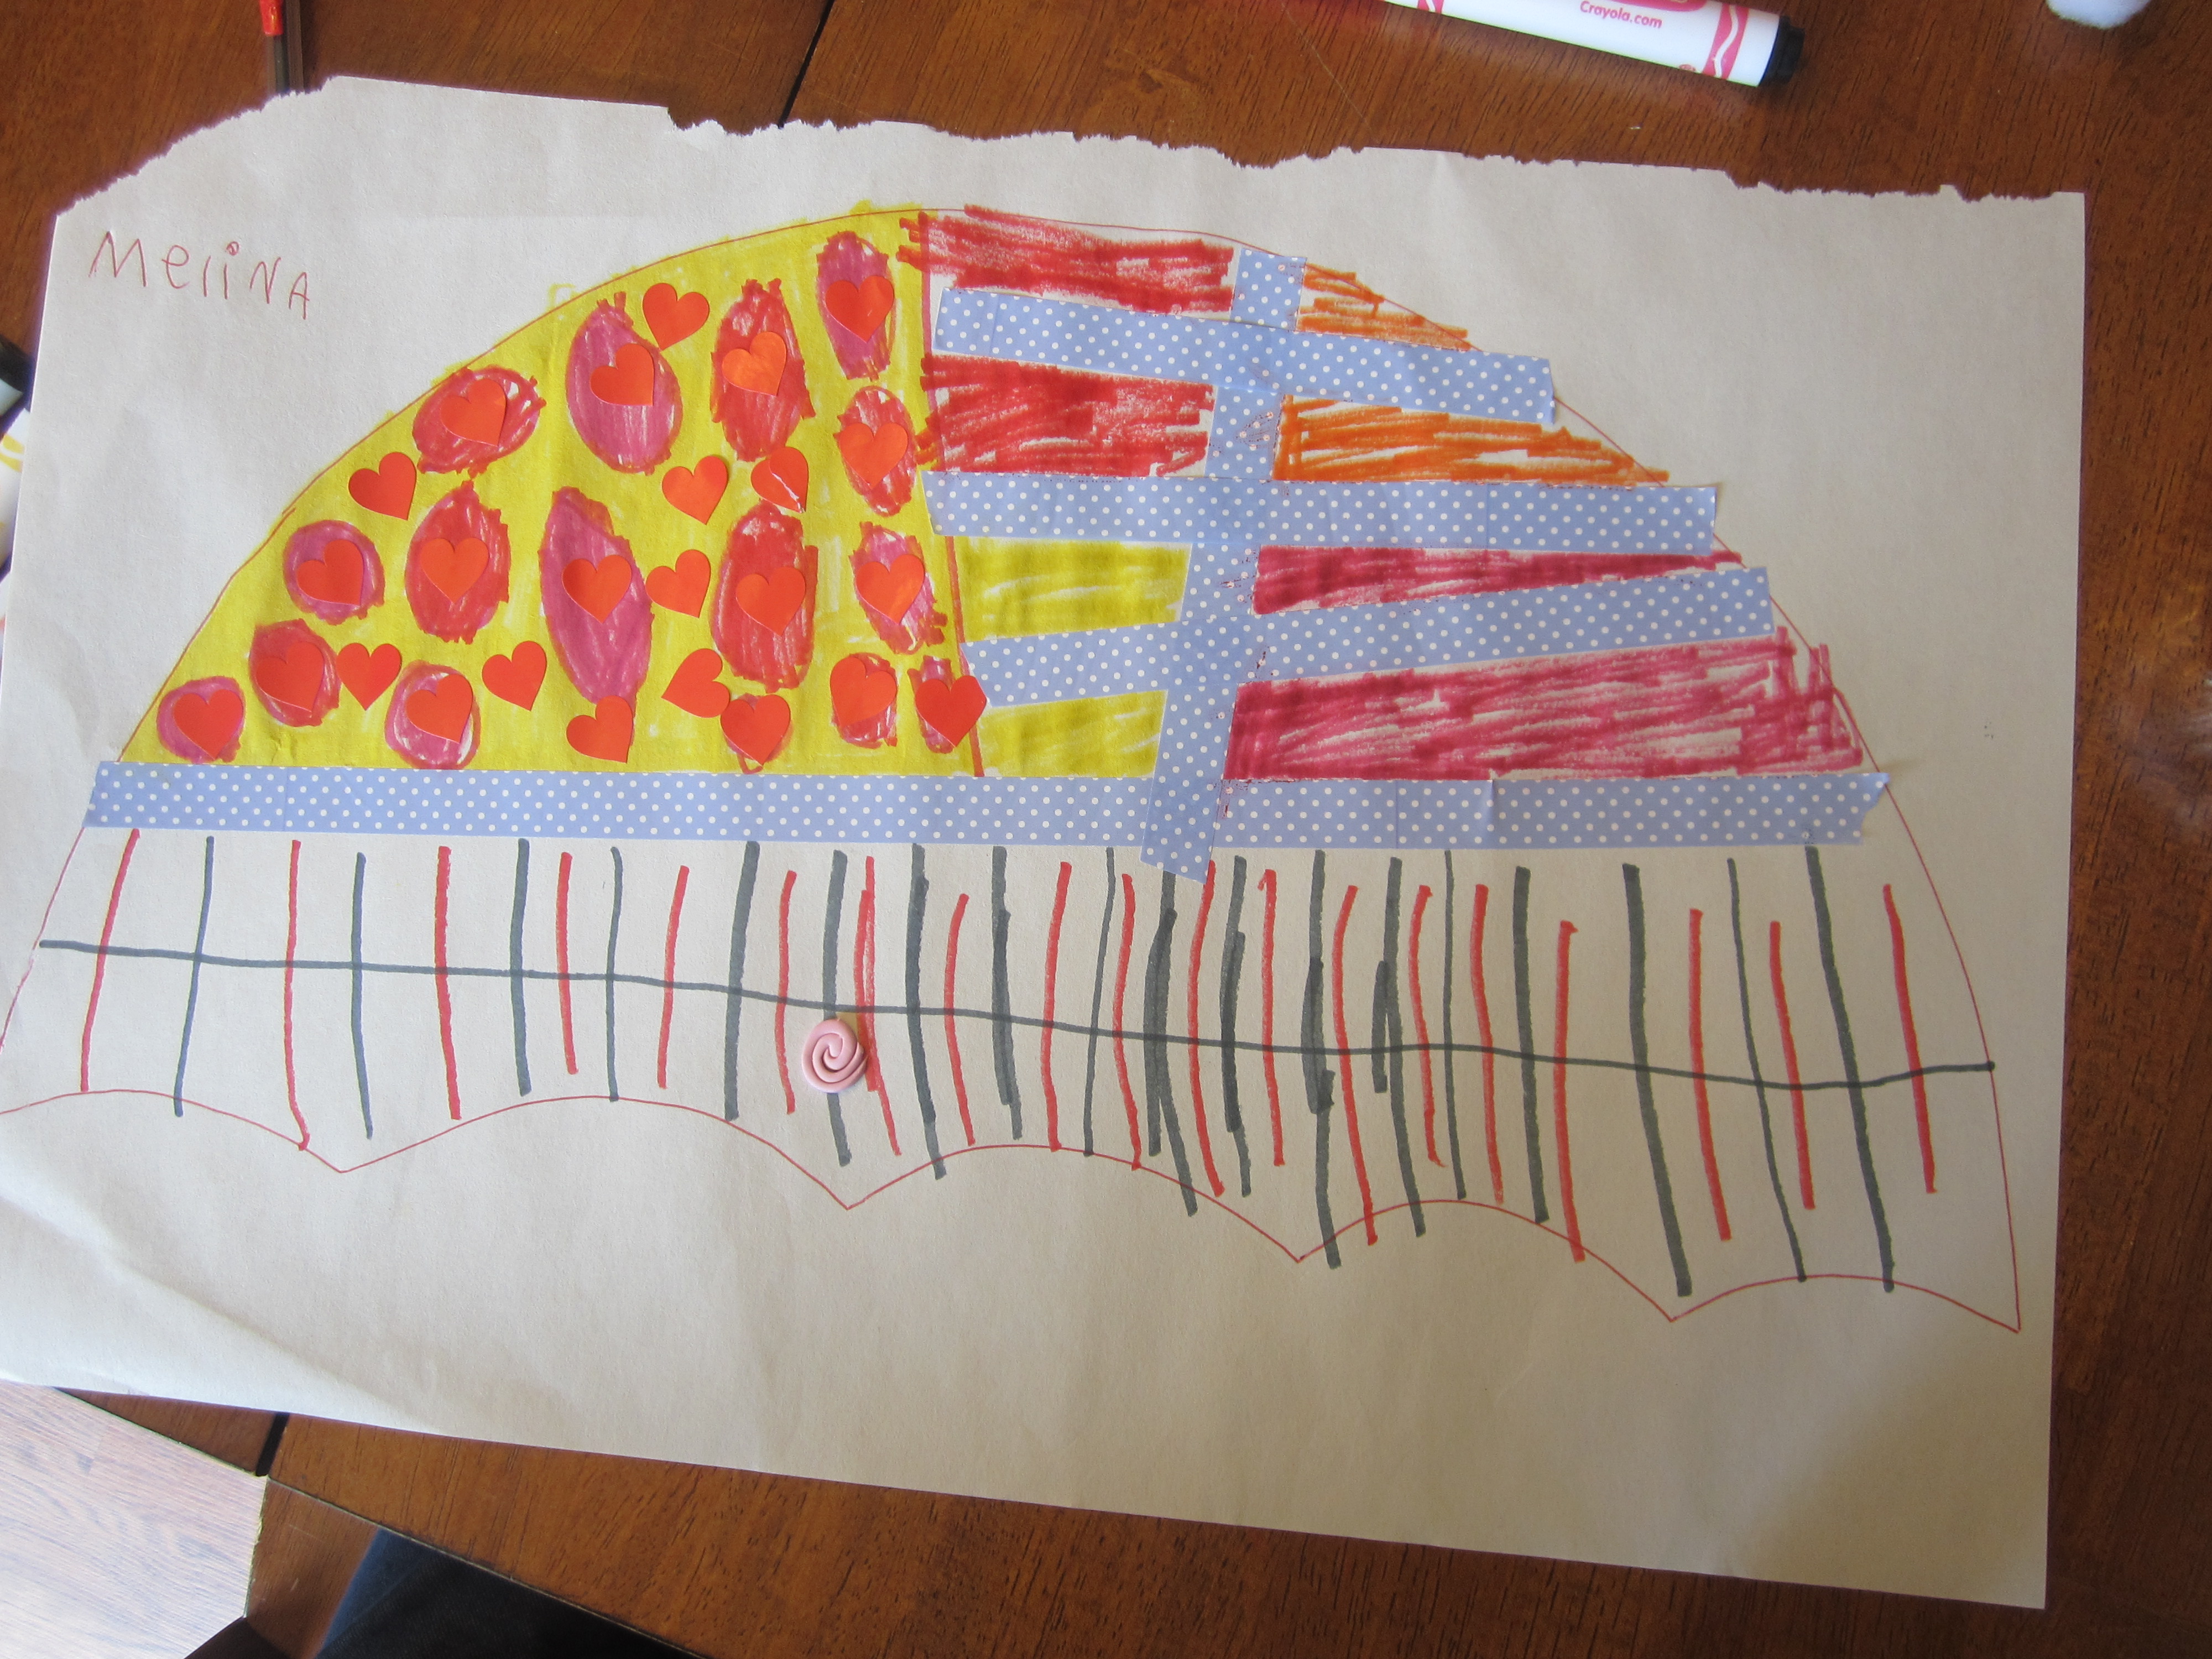
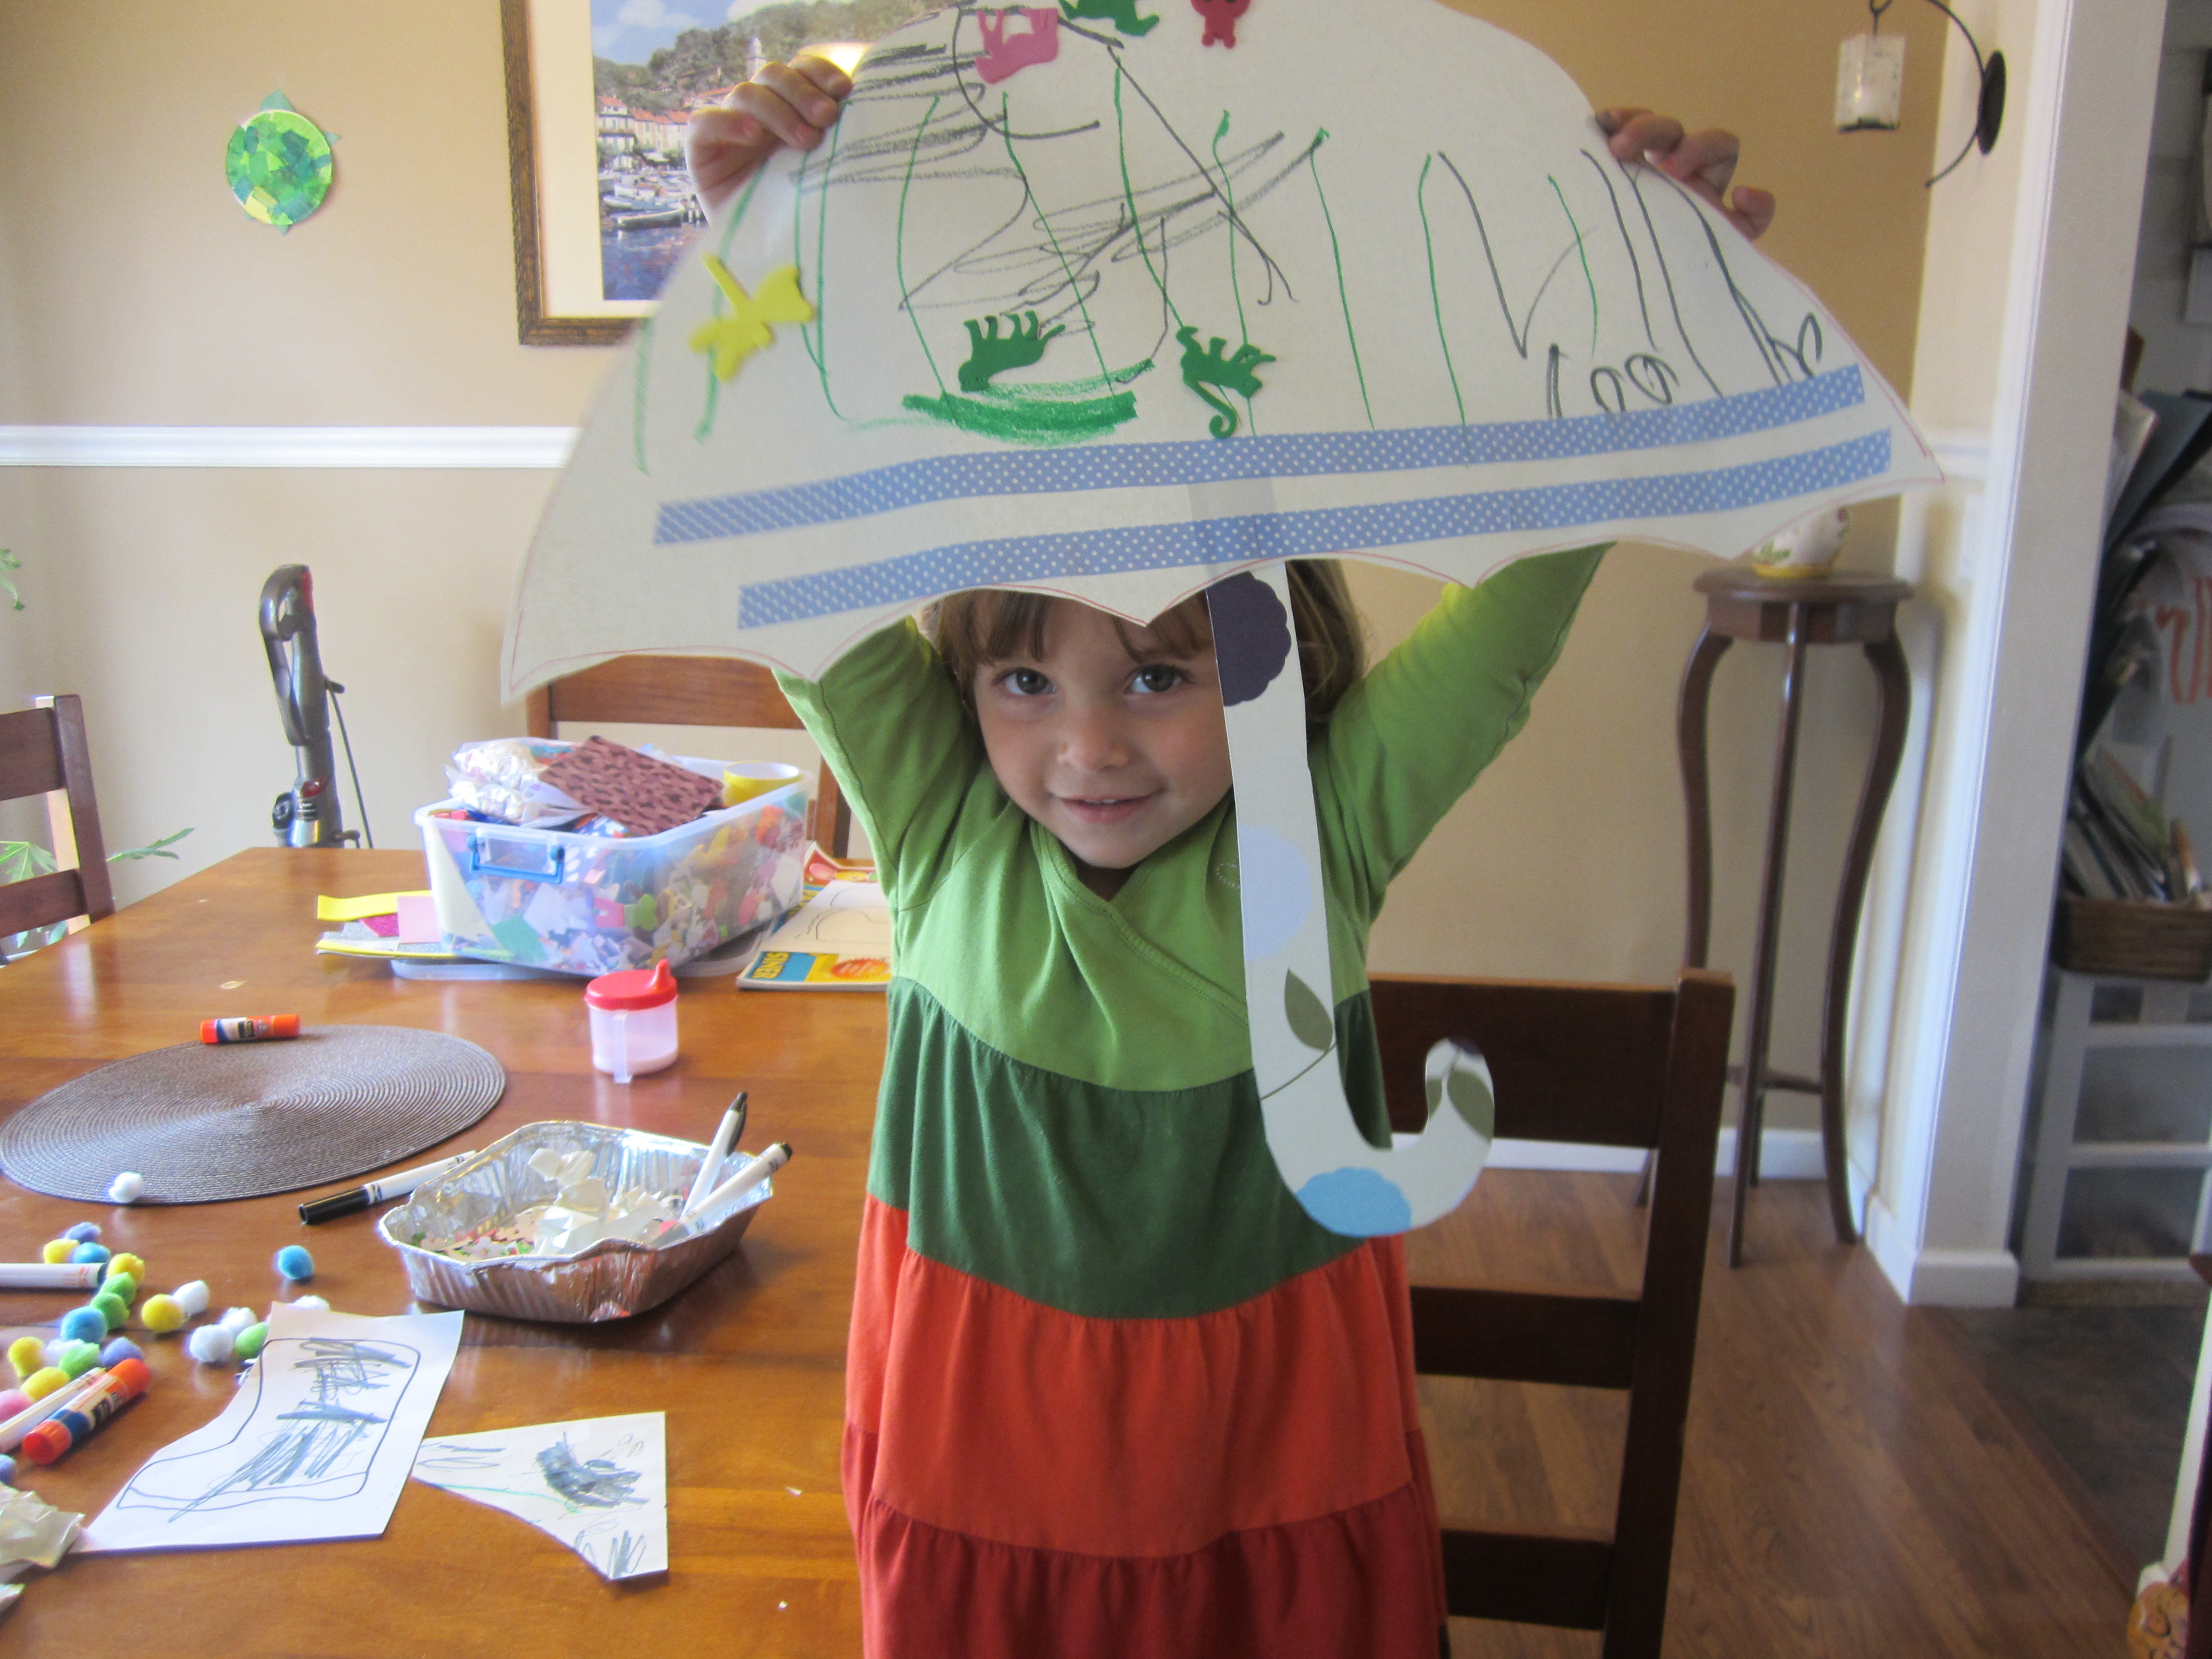
2014 Misc 13292014 Misc 1333rainyday2014 Misc 13032014 Misc 13082014 Misc 13202014 Misc 13232014 Misc 13282014 Misc 1326Its been a long rainy week! Instead of feeling gloomy I decided to embrace it!  I had the girls create and design their own rain gear, boots and an umbrella! I took out our handy art bin (filled with stickers, pom poms, glitter, googly eyes, etc) and we got right to work. For a print out of the boots I went to http://www.thebestkidsbooksite.com. Go to Craft, Coloring Sheets and search for rain boots.  For the umbrella I outlined the shape onto a large piece of white paper ( you can use colored paper if you like) and let the kids decorate however they pleased. Then I outlined the shape of the handle onto scrap paper, cut it out and had the kids tape it to their umbrellas. The girls really enjoyed making their personalized rain gear and we almost forgot about our rainy day!

Lets Make an Aquarium

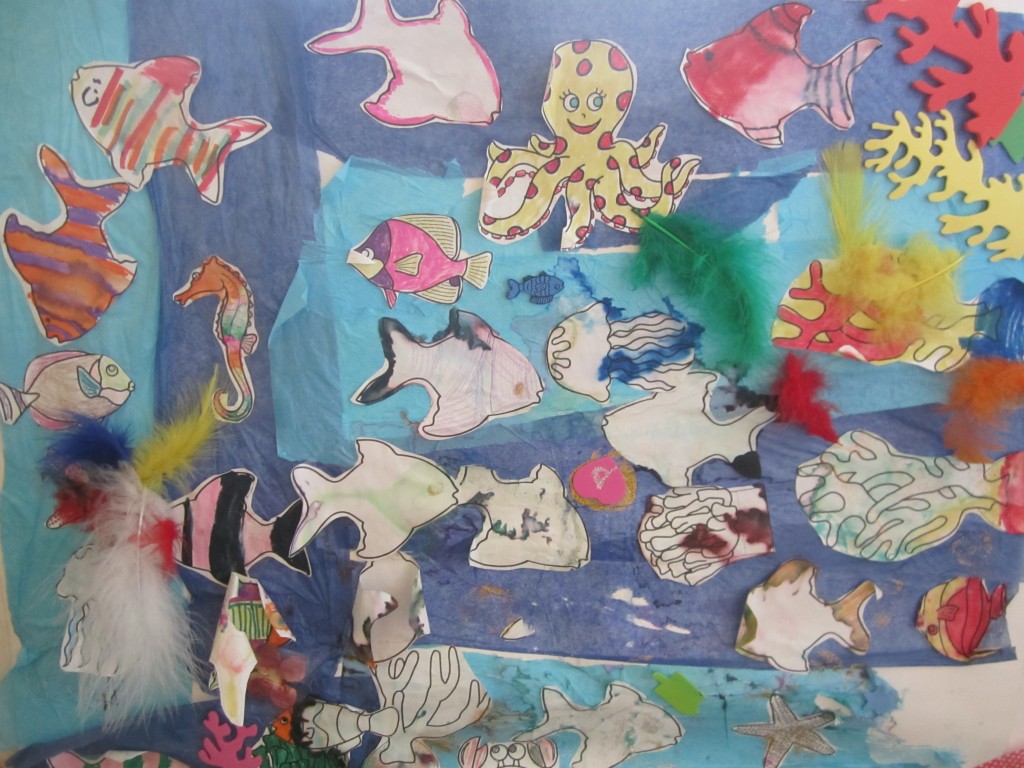
aquariumFor this simple project I went to http://www.firstpalette.com/tool_box/printables/seaanimals.html and printed out the sea animals. I had the girls color the sea animals of their choice. They used markers, crayons and glitter glue. This took a few days to complete, as they colored a few at a time. Once we had all of our sea animals completed, the girls and I cut them out and put them aside. I bought a large piece of poster board at the Dollar Store and we used colored tissue paper to lay down as our Ocean water. Once we had our Ocean Water the girls each took their time and placed the little sea animals into the ocean.

Everyone Loves Playdough

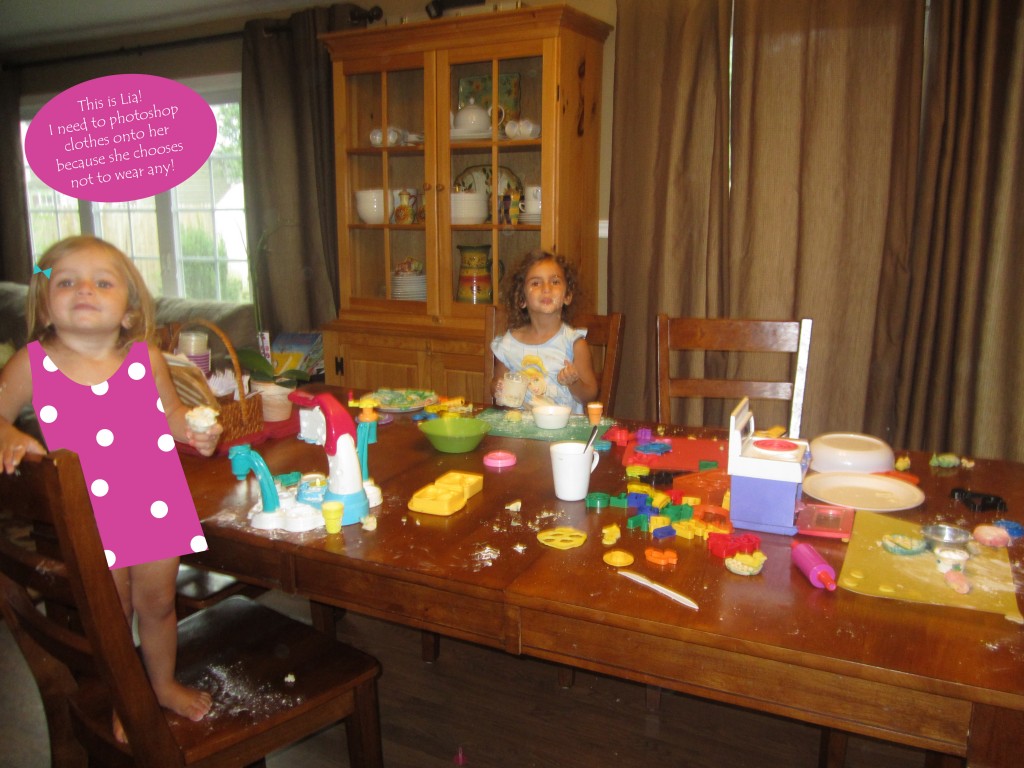
12.02.12 Misc 012Playdough is a MUST in our house. The girls absolutely love it and so do I! I make sure to have some on hand and if I don’t, I simply go online and find a simple recipe. Below is a recipe I found at http://theimaginationtree.com. We have several accessories but they just love using household items like bowls and baking pans and utensils. They pretend they are Chef Giada (from the Food Network, Everyday Italian) and they create some wonderful dishes and desserts. When I’m in a really good mood I let them each have a little bowl of flour to play along with. This is definitely an activity that will keep them busy for the entire afternoon! Great summer activity to set up outside!

  • 2 cups plain flour (all purpose)
  • 2 tablespoons vegetable oil
  • 1/2 cup salt
  • 2 tablespoons cream of tartar
  • Up to 1.5 cups boiling water (adding in increments until it feels just right)
  • food colouring (optional)
  • few drops glycerine (optional- adds more shine!)

Method:

  • Mix the flour, salt, cream of tartar and oil in a large mixing bowl
  • Add the boiling water
  • Stir continuously until it becomes a sticky, combined dough
  • Add the food coloring and glycerine (both optional)
  • Allow it to cool down then take it out of the bowl and knead it vigorously for a couple of minutes until all of the stickiness has gone. * This is the most important part of the process, so keep at it until it’s the perfect consistency!*
  • (If it remains a little sticky then add a touch more flour until just right)